*This post is sponsored by The Home Depot.
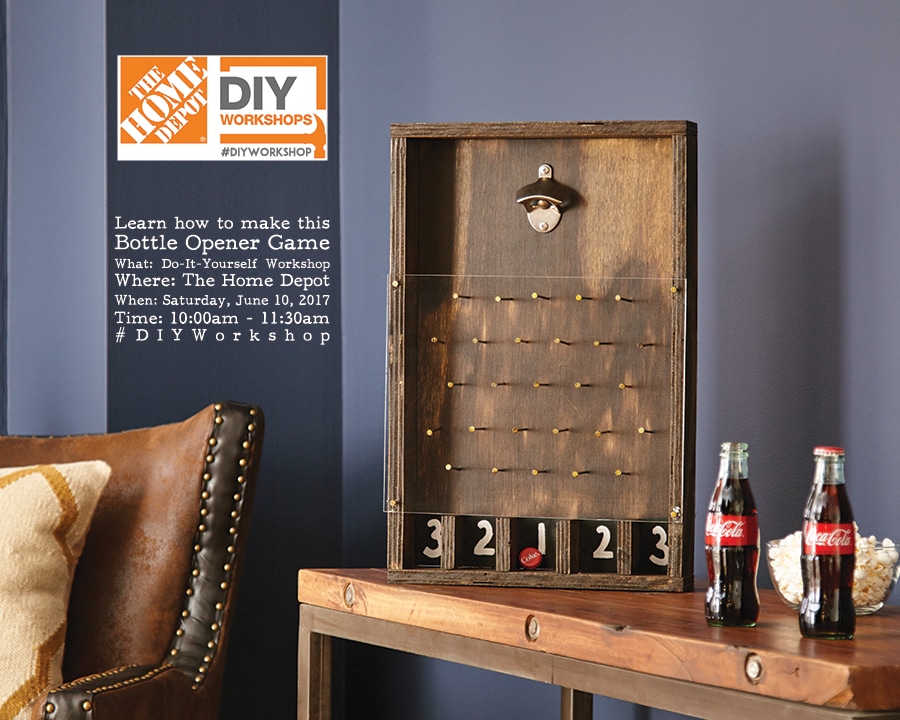
Hello and happy Monday, friends! It’s almost Father’s Day – are you on the hunt for the perfect Father’s Day gift? Check out this fun bottle opener game! You can learn how to make one at The Home Depot DIY Workshop that’s happening this Saturday!
Speaking of bottles, can we talk about something serious for a second? Whenever I’m at a restaurant and the waiter says, “oh, sorry, we don’t have Coke. Is Pepsi okay?” I want to say, “oh, sorry. I don’t have real money. Is Monopoly money okay?”
I mean, let’s be honest, this is completely unacceptable. I don’t understand why someone would willfully choose Pepsi. It’s like they’re asking me to set the place on fire.
(On a completely unrelated note, did I mention that Coke is sponsoring this Home Depot DIY Workshop?) 😉
Alright. Enough shenaniganry. Before we dive into my version of this fun DIY project, let me give you the deets so you can get in on this action:
What: Do-It-Yourself Workshop
Where: The Home Depot
When: Saturday, June 10, 2017
Time: 10:00 am – 11:30 am
Are you ready to see how I put my own spin on this project? Feast your eyes.
My dad is a bona-fide snack addict – candy, in particular. He’s had a stash of sweet treats at his desk ever since my very first ‘take-your-daughter-to-work’ day. It’s a miracle the man’s not a diabetic.
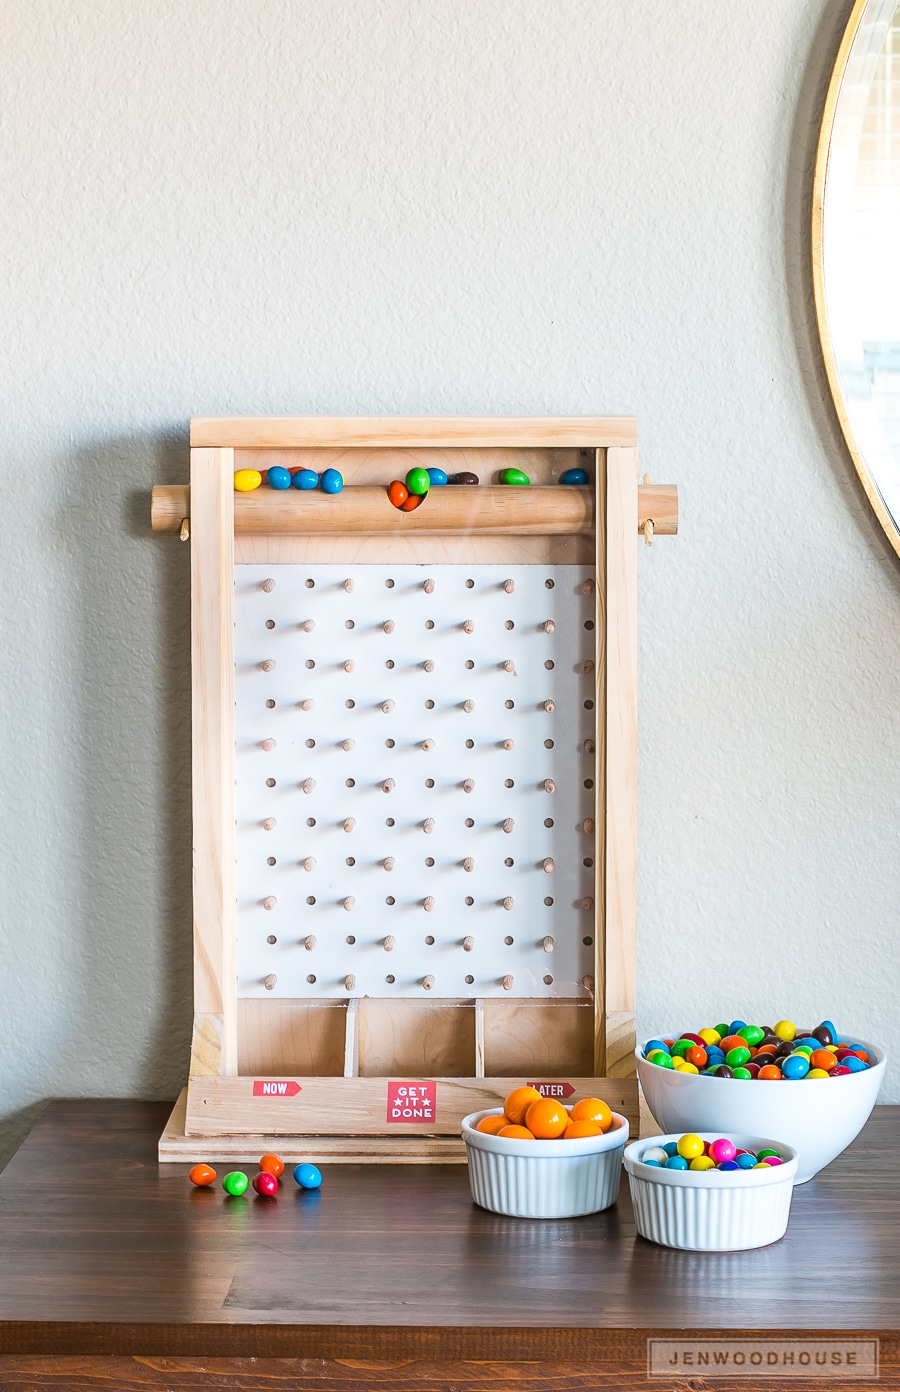
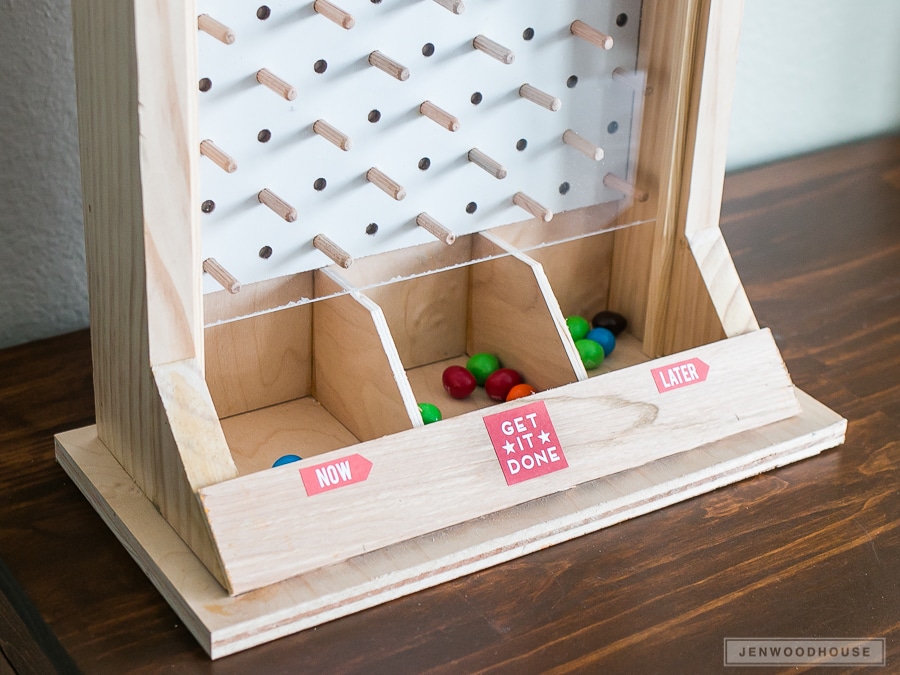
So naturally, I made him a desktop candy dispenser for Father’s Day. What can I say? I’m an enabler.
When I was googling researching “DIY candy dispenser” it turns out, it’s been done before! Ah, well… not surprising. There is nothing new under the sun, right? (That’s biblical.) Have you heard of Steve Ramsey? He has a fun YouTube channel called Woodworking for Mere Mortals with a couple of great video tutorials for DIY candy dispensers. Mine is slightly different with the added pegboard, hinged top, and ‘track’ for the acrylic sheet to slide into, but he’s got free plans if you’d like to build a DIY candy dispenser for your dad (or yourself – no judgement).
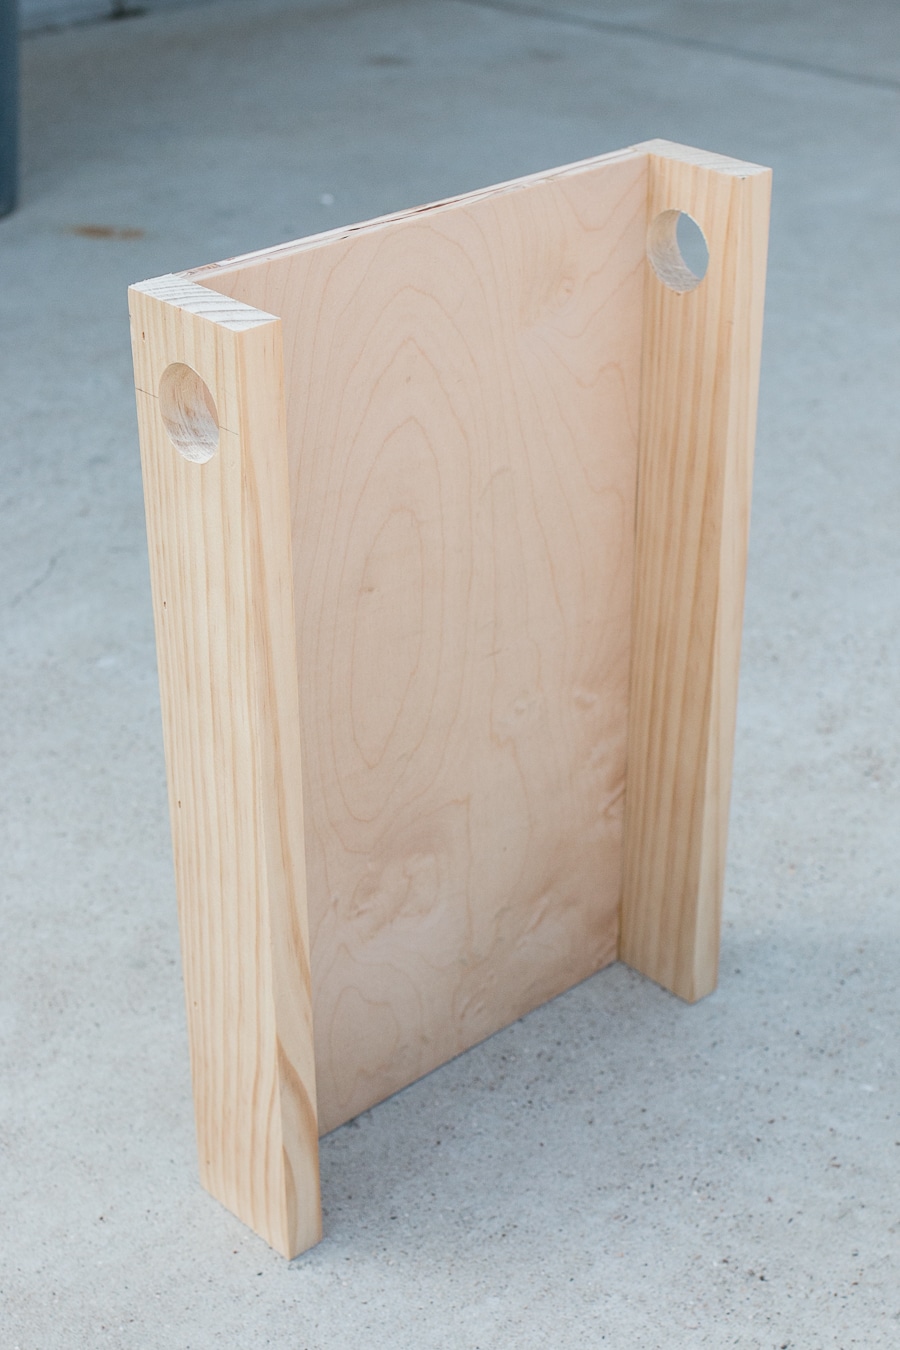
First, I built the box. The back is 1/2-inch plywood and the sides are made from 1×3 boards.
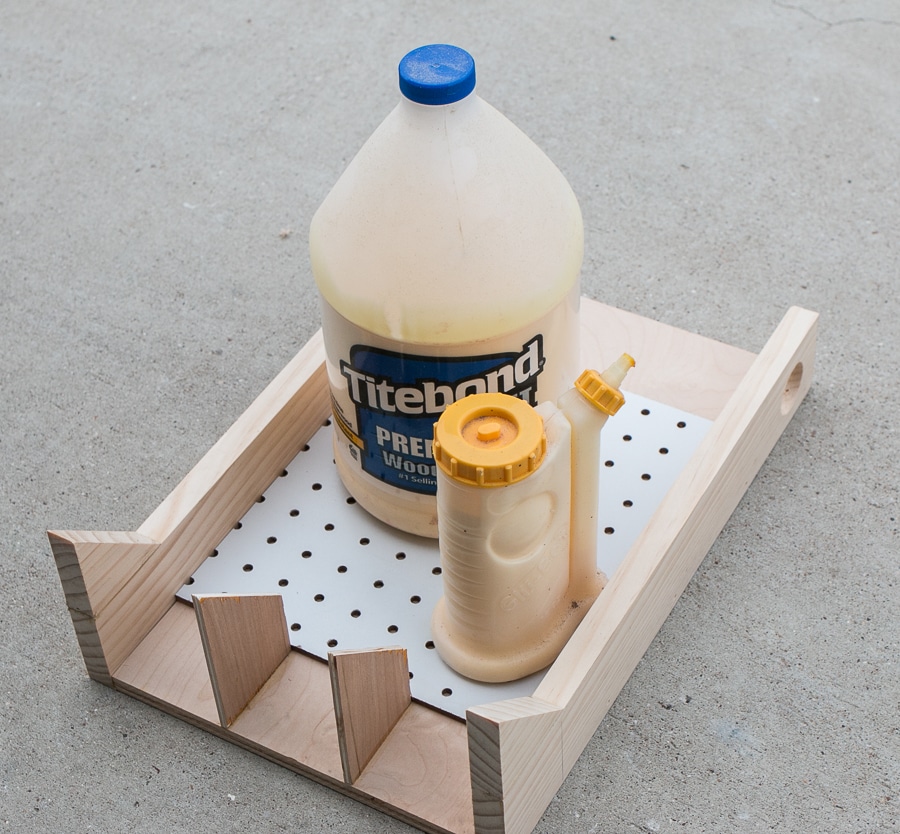
Then I added the ‘feet’ and dividers. And because I tend to be a bit obsessive, I added pegboard to the back as a guide to keep the dowel pins evenly spaced. My wood glue is pulling double duty here. It’s not only bonding the pegboard to the back of my candy dispenser, but it’s serving as a weight until the glue dries. It’s a two-fer.
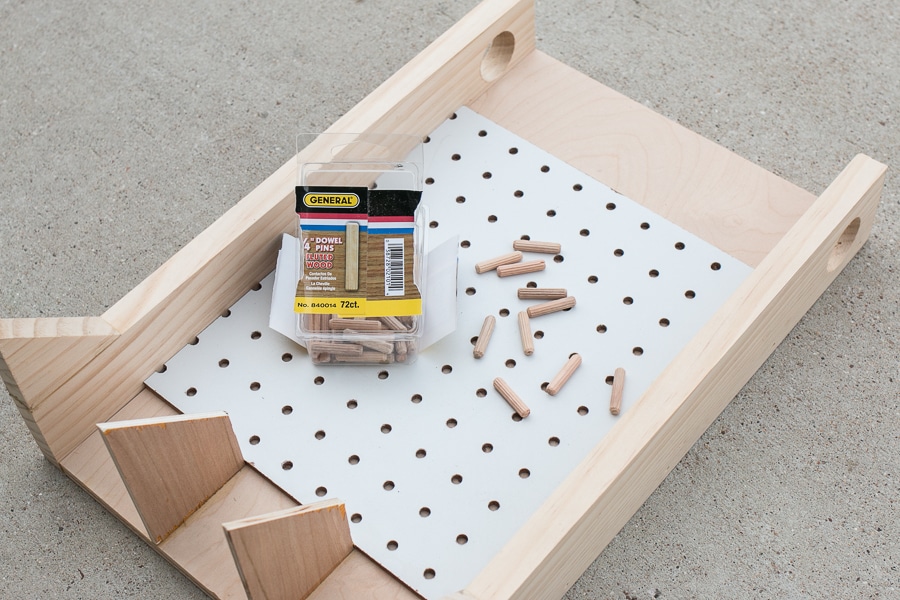
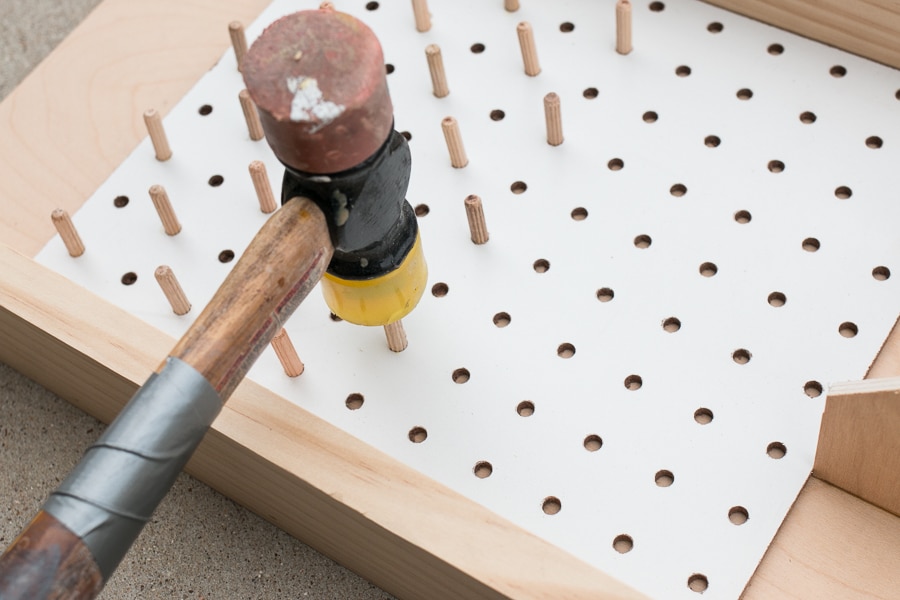
Once the glue is dry, now it’s time to insert the dowel pins. I simply squeezed a little wood glue into every other hole in the pegboard and tapped each dowel pin into place with a mallet.
Be sure to stagger the dowel pins. Glue, tap-tap-tap, repeat eleventeen more times.
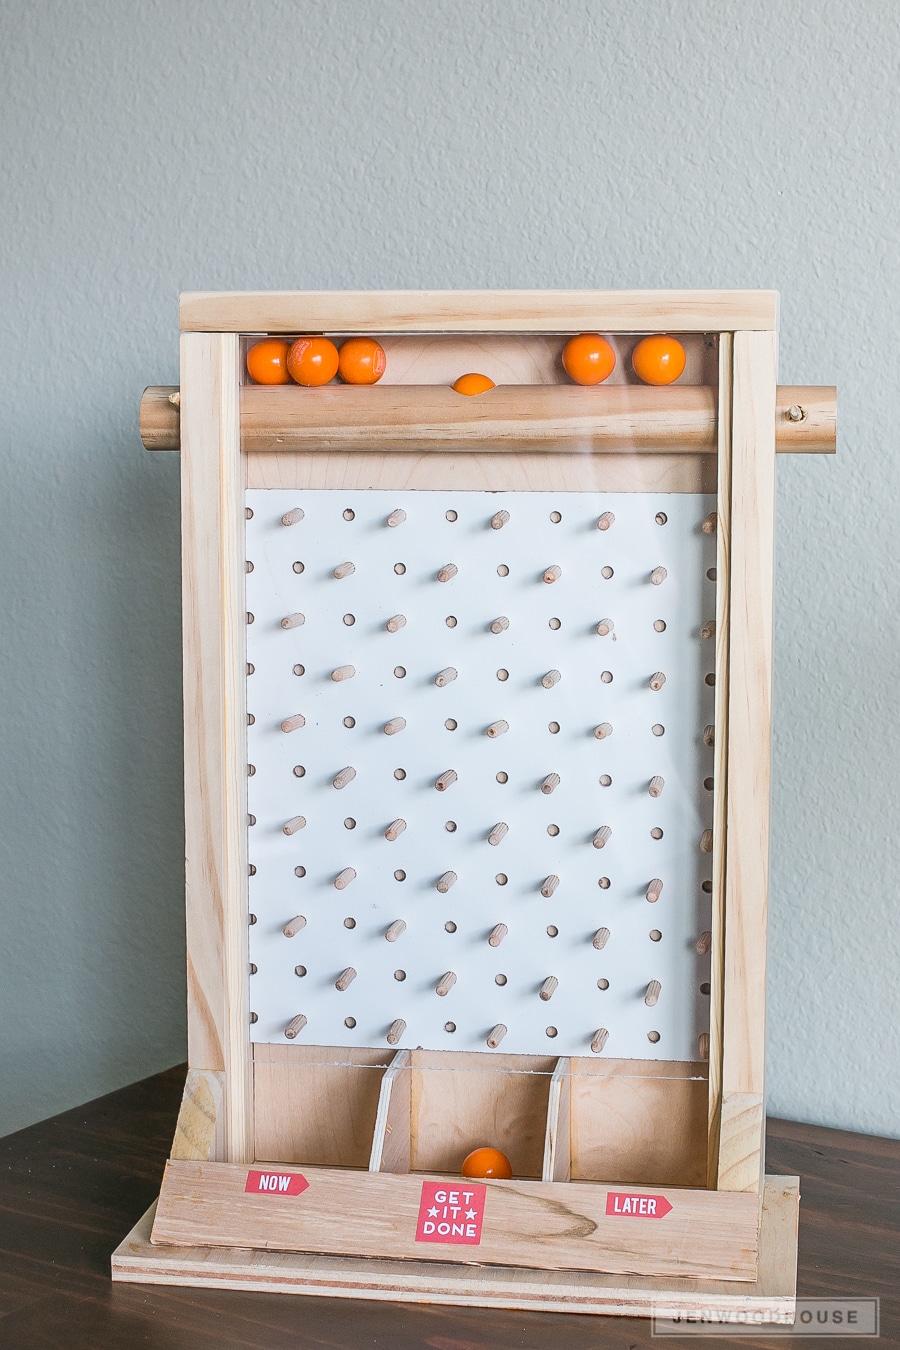
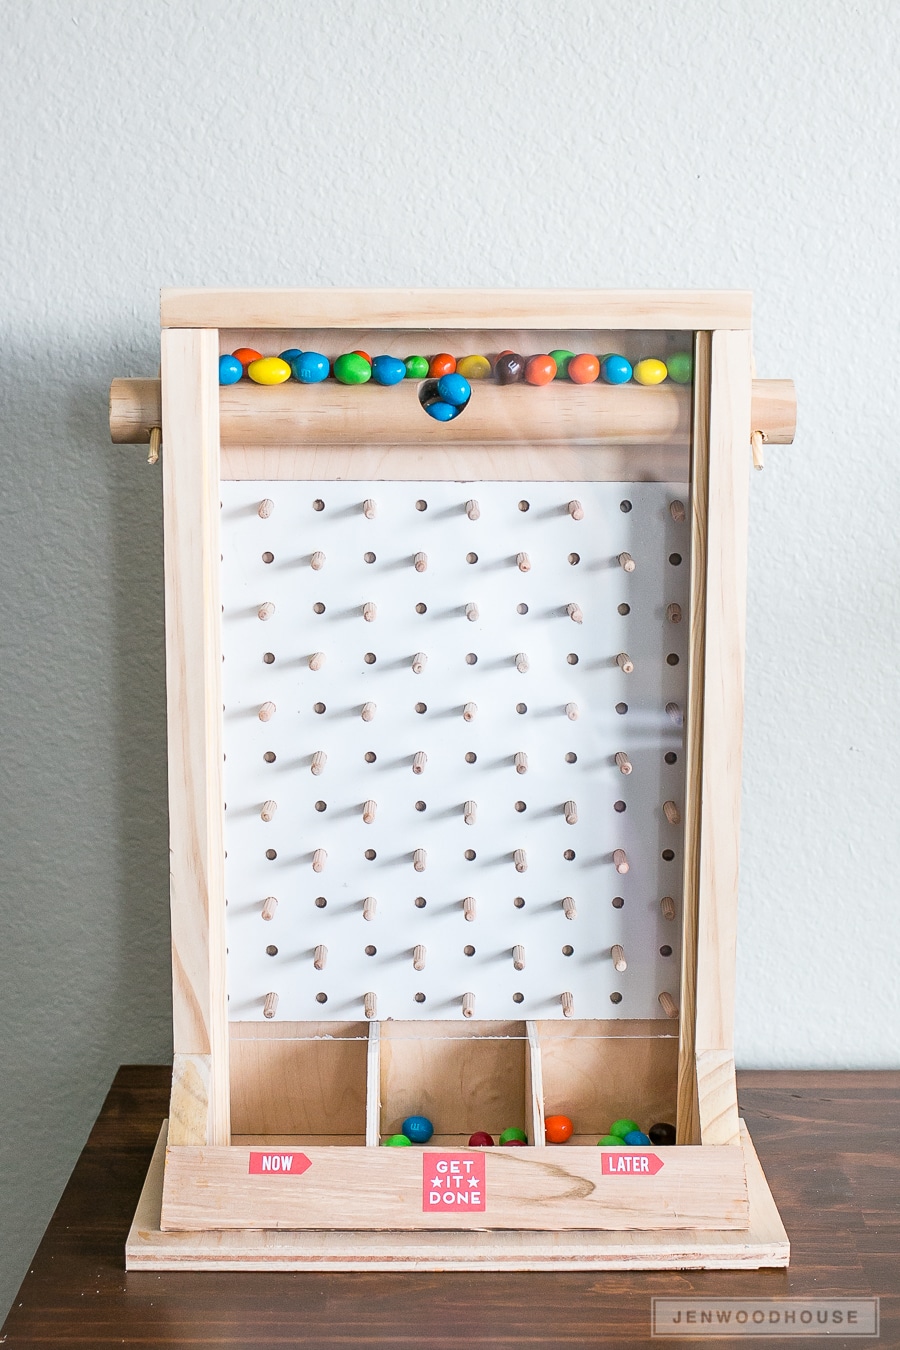
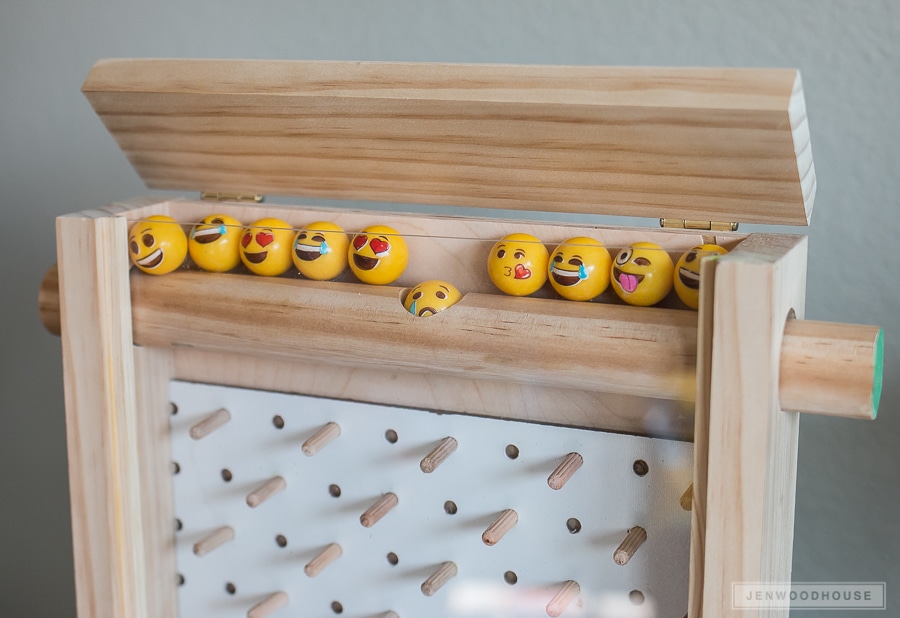
Finally, I screwed on a couple hinges so the top would flip open and closed. I used a 1-inch forstner bit to carve out a hole in the dowel for the candy to sit in and slid the dowel into place. You just flip the top up, fill it with your favorite sweet treat (M&Ms and gumballs work best), then rotate the dowel until the candy comes plink-plink-plinking down. So fun, right?
This is an excellent decision-making tool by the way – the perfect way to prioritize tasks. Get it done now or later? Let chocolate be your guide.
Now those are words to live by.
I’m pretty sure this DIY candy dispenser is a way better Father’s Day gift than the rolling grill cart I built him a few years ago. Because my dad’s a vegetarian. #winning.
And check out these adorable emoji gumballs. Look at the little guy in the middle – he’s in the hole and he is not happy about it. Womp womp.
Alright. So are you ready for the DIY Workshop this weekend? You bet you are.
What: Do-It-Yourself Workshop
Where: The Home Depot
When: Saturday, June 10, 2017
Time: 10:00 am – 11:30 am
Before you go, be sure to check out how my blogging buddies customized their project! You’ll be inspired by all of their fun ideas!
- That’s My Letter
- All Things Thrifty
- The Rustic Life
- Her Toolbelt
- Build Basic
- Thistlewood Farms
- Toolbox Divas
- Refresh Restyle
One more thing… if you’ve recently attended an in-store Workshop at The Home Depot, we’d love to hear your thoughts! Feel free to leave comments and feedback by clicking here.
Love this project? Please PIN and SHARE it!
*I acknowledge that The Home Depot is partnering with me to participate in this Workshops Program. As a part of the Program, I am receiving compensation in the form of products and services, for the purpose of promoting The Home Depot. All expressed opinions and experiences are my own words. This post complies with the Word Of Mouth Marketing Association (WOMMA) Ethics Code and applicable Federal Trade Commission guidelines.




So fun!
Is it possible to get the plans?
Love your humor!
Can I just pay you to make me one and ship it to me? Haha for real though.
Yep most of us are just too lazy
Could I get the plans?
Amazing! Such a great gift! 😀
I would really appreciate if you could send me a more specific plan of your construction!
Where can I get the parts for this from?
Where can I get this plan????Also is this company / site still opperating ?????
This DIY Candy Dispenser Plinko Game looks like so much fun! I love the combination of a classic game with the sweet reward of candy. Can’t wait to try making one for my next party! Thanks for the detailed instructions!
This DIY Candy Dispenser Plinko Game looks like such a fun project! I love how it combines creativity with something delicious at the end. Can’t wait to try this out with my kids—thanks for sharing the step-by-step instructions!