Hey there! It’s Angie from House Becoming Home. Today I’m back to share a project that helps tame electronic clutter: a DIY Charging Station.
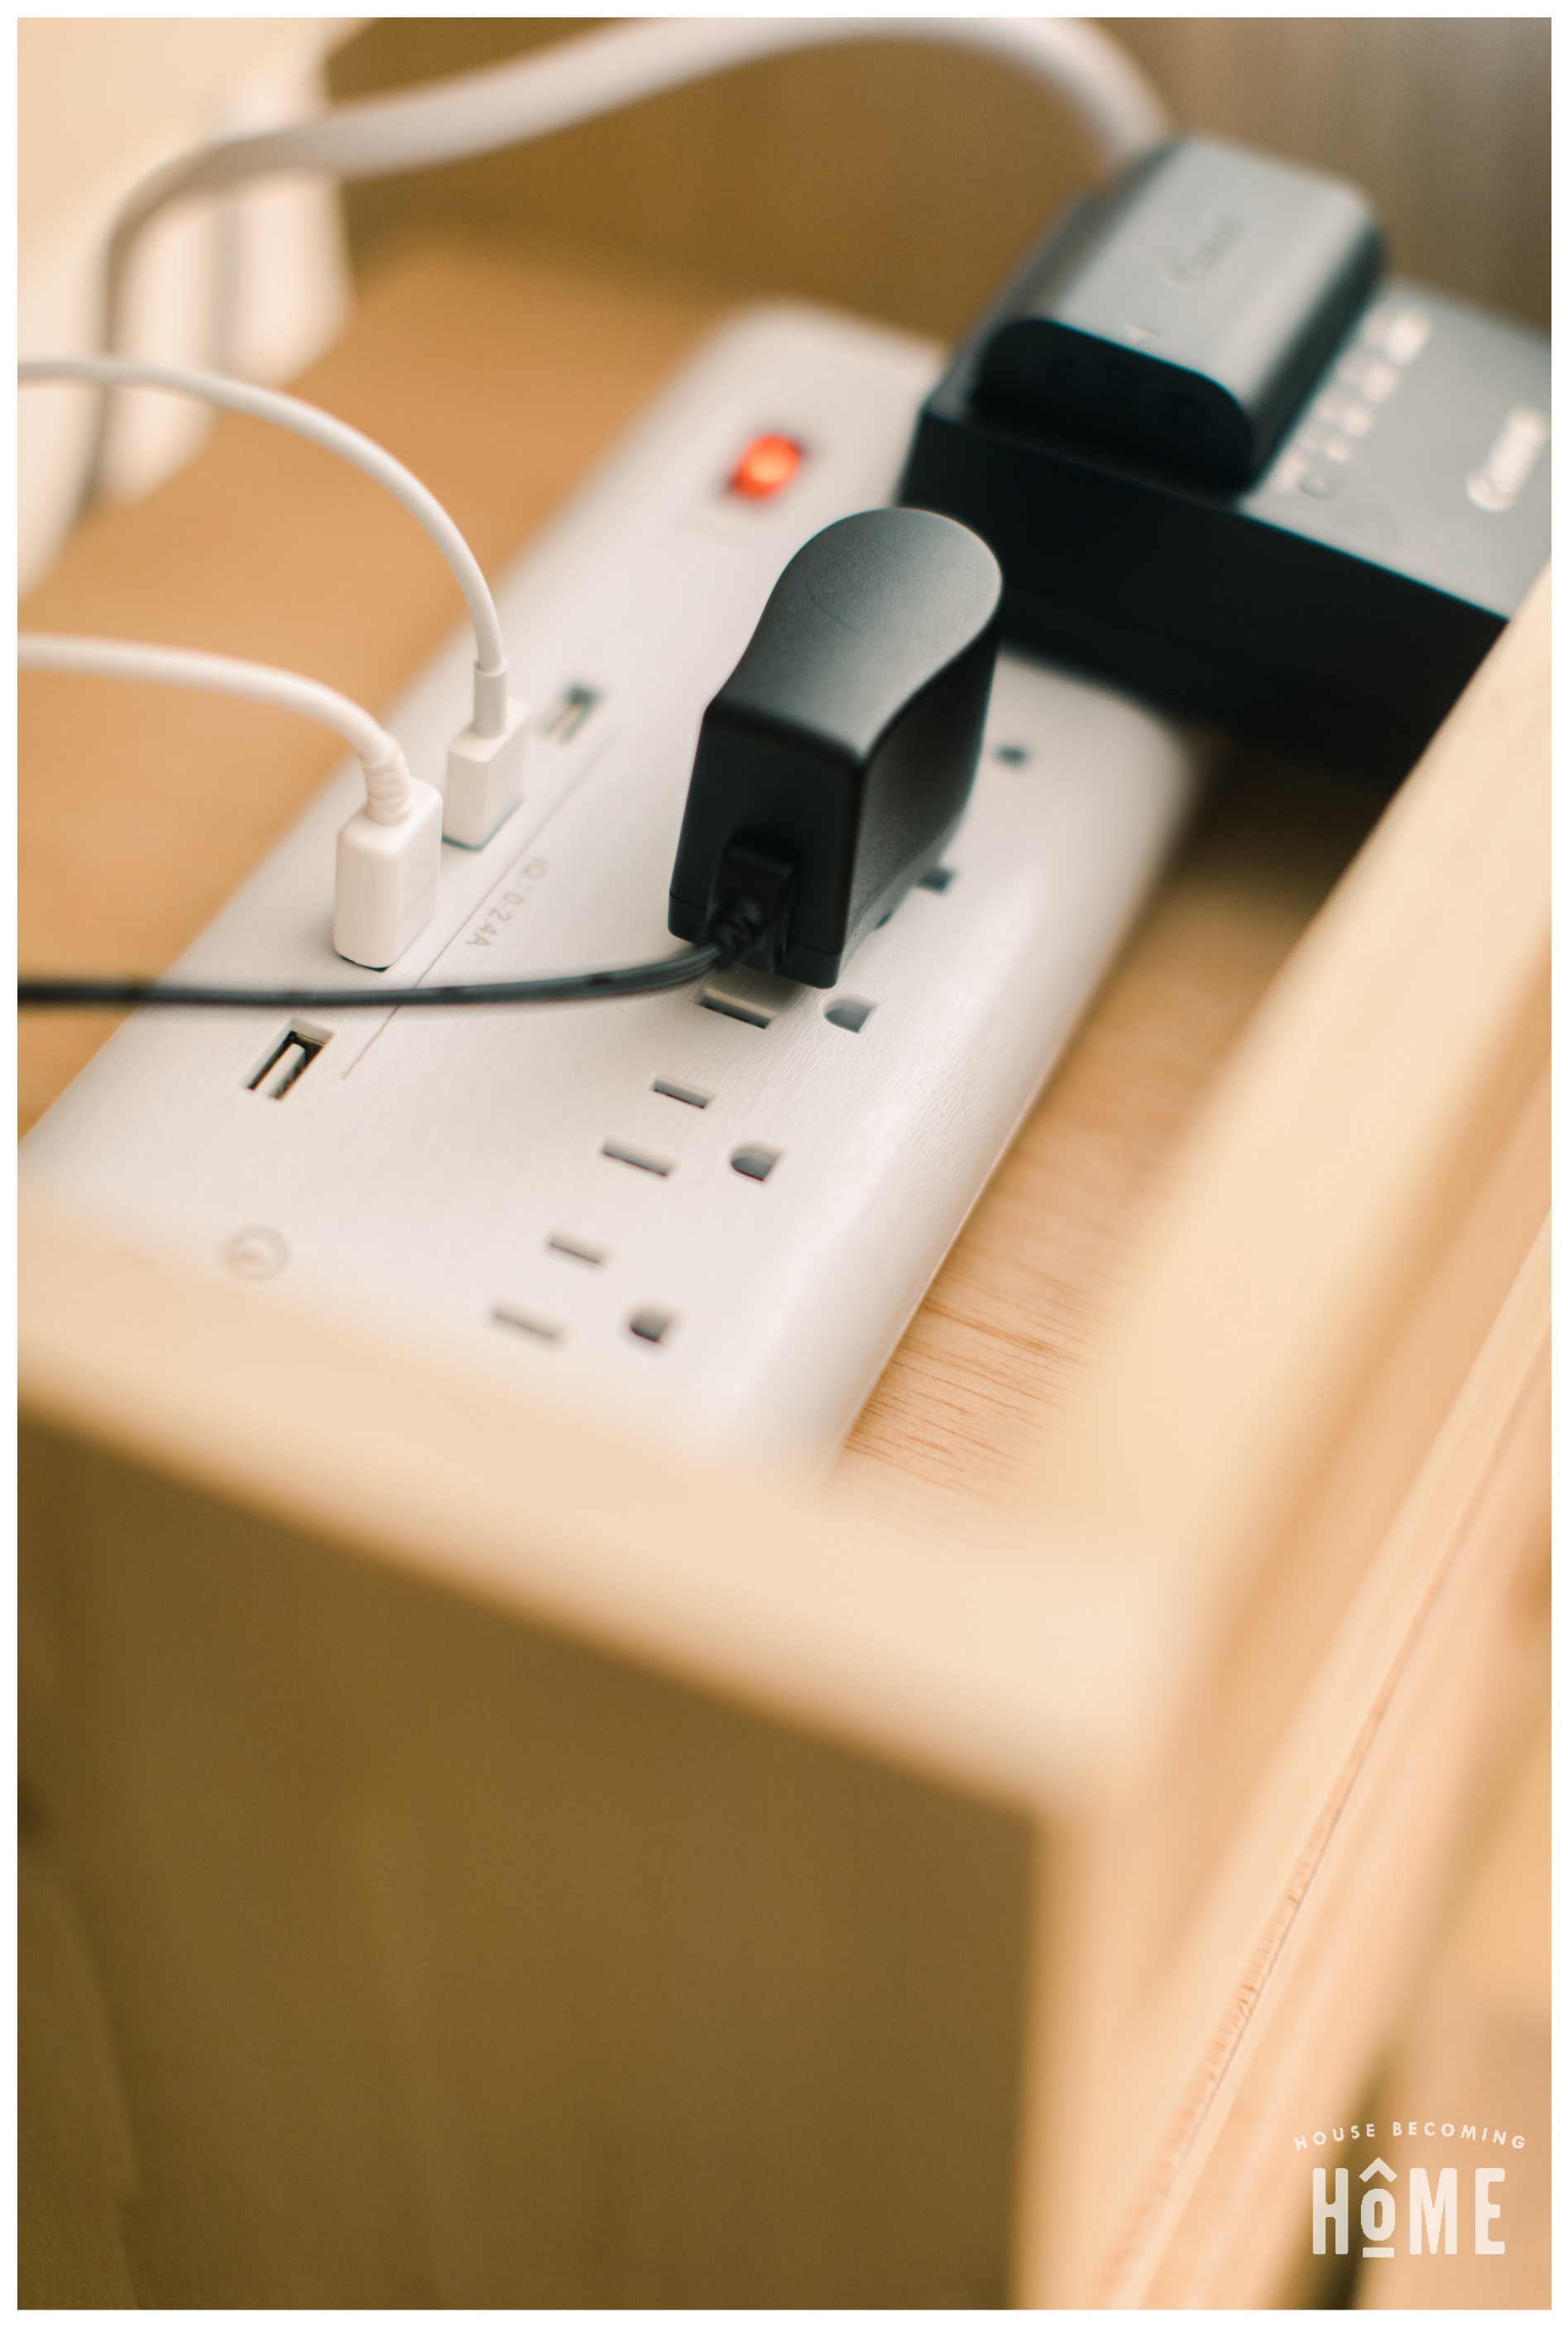
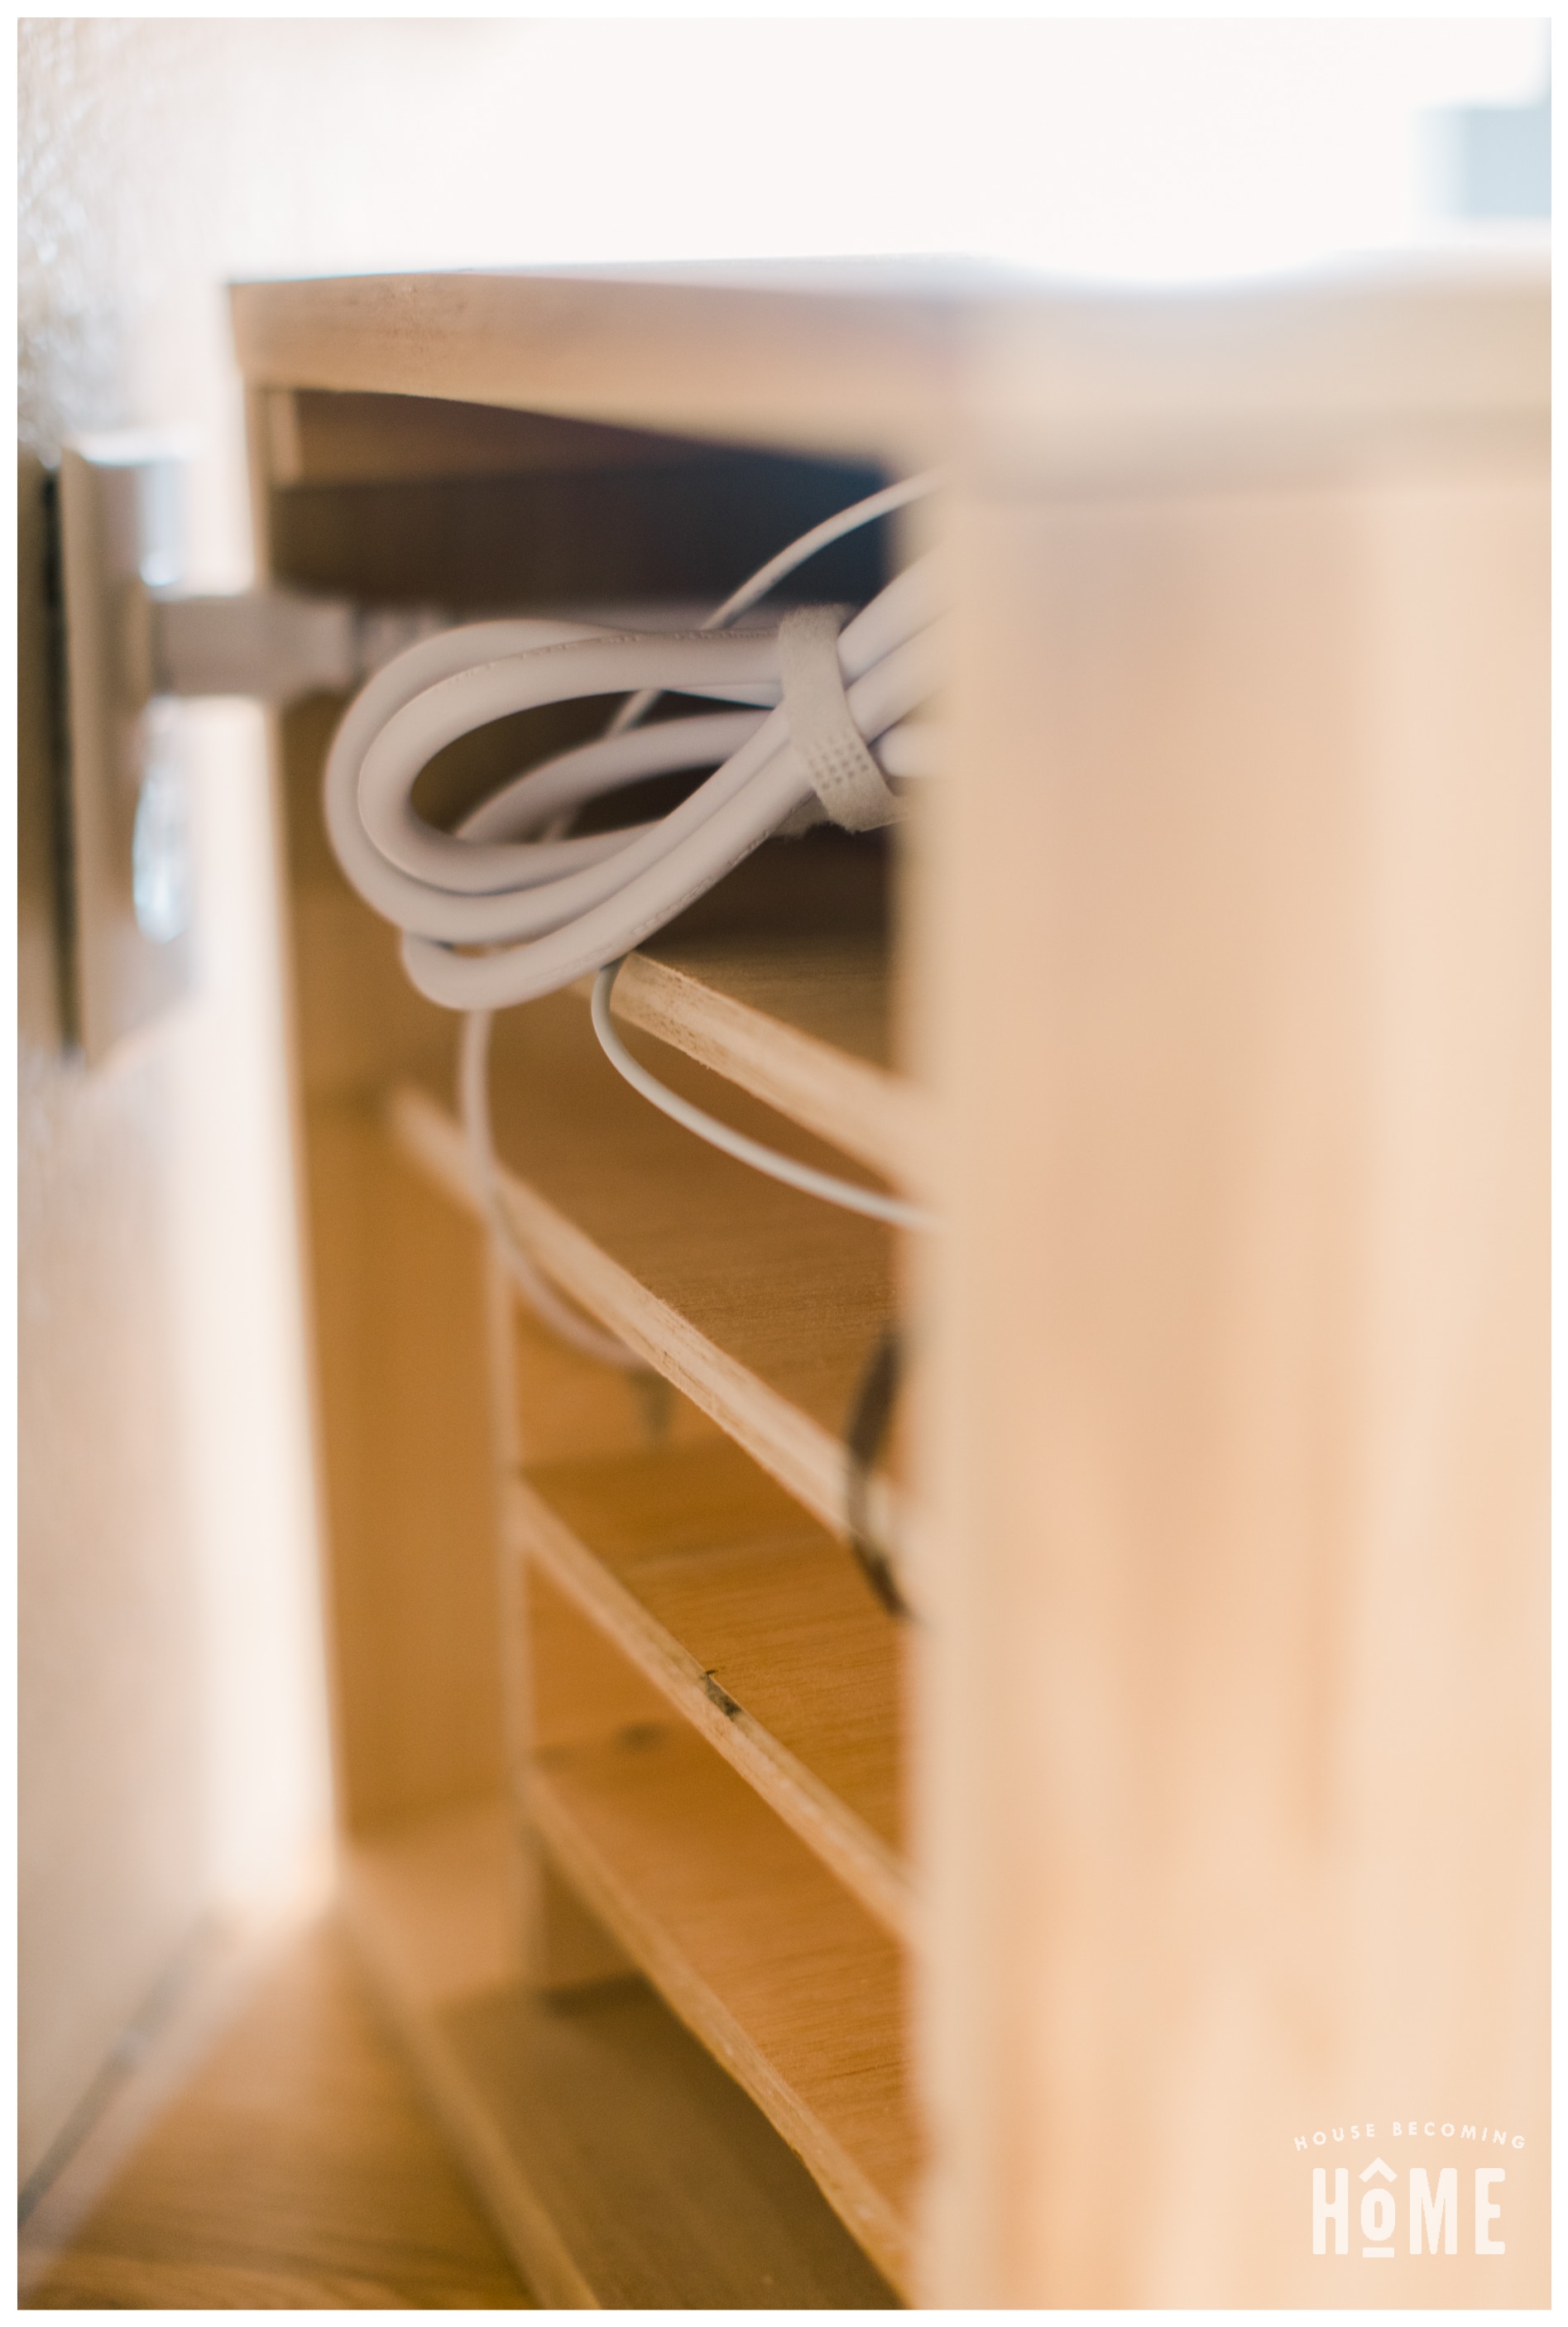
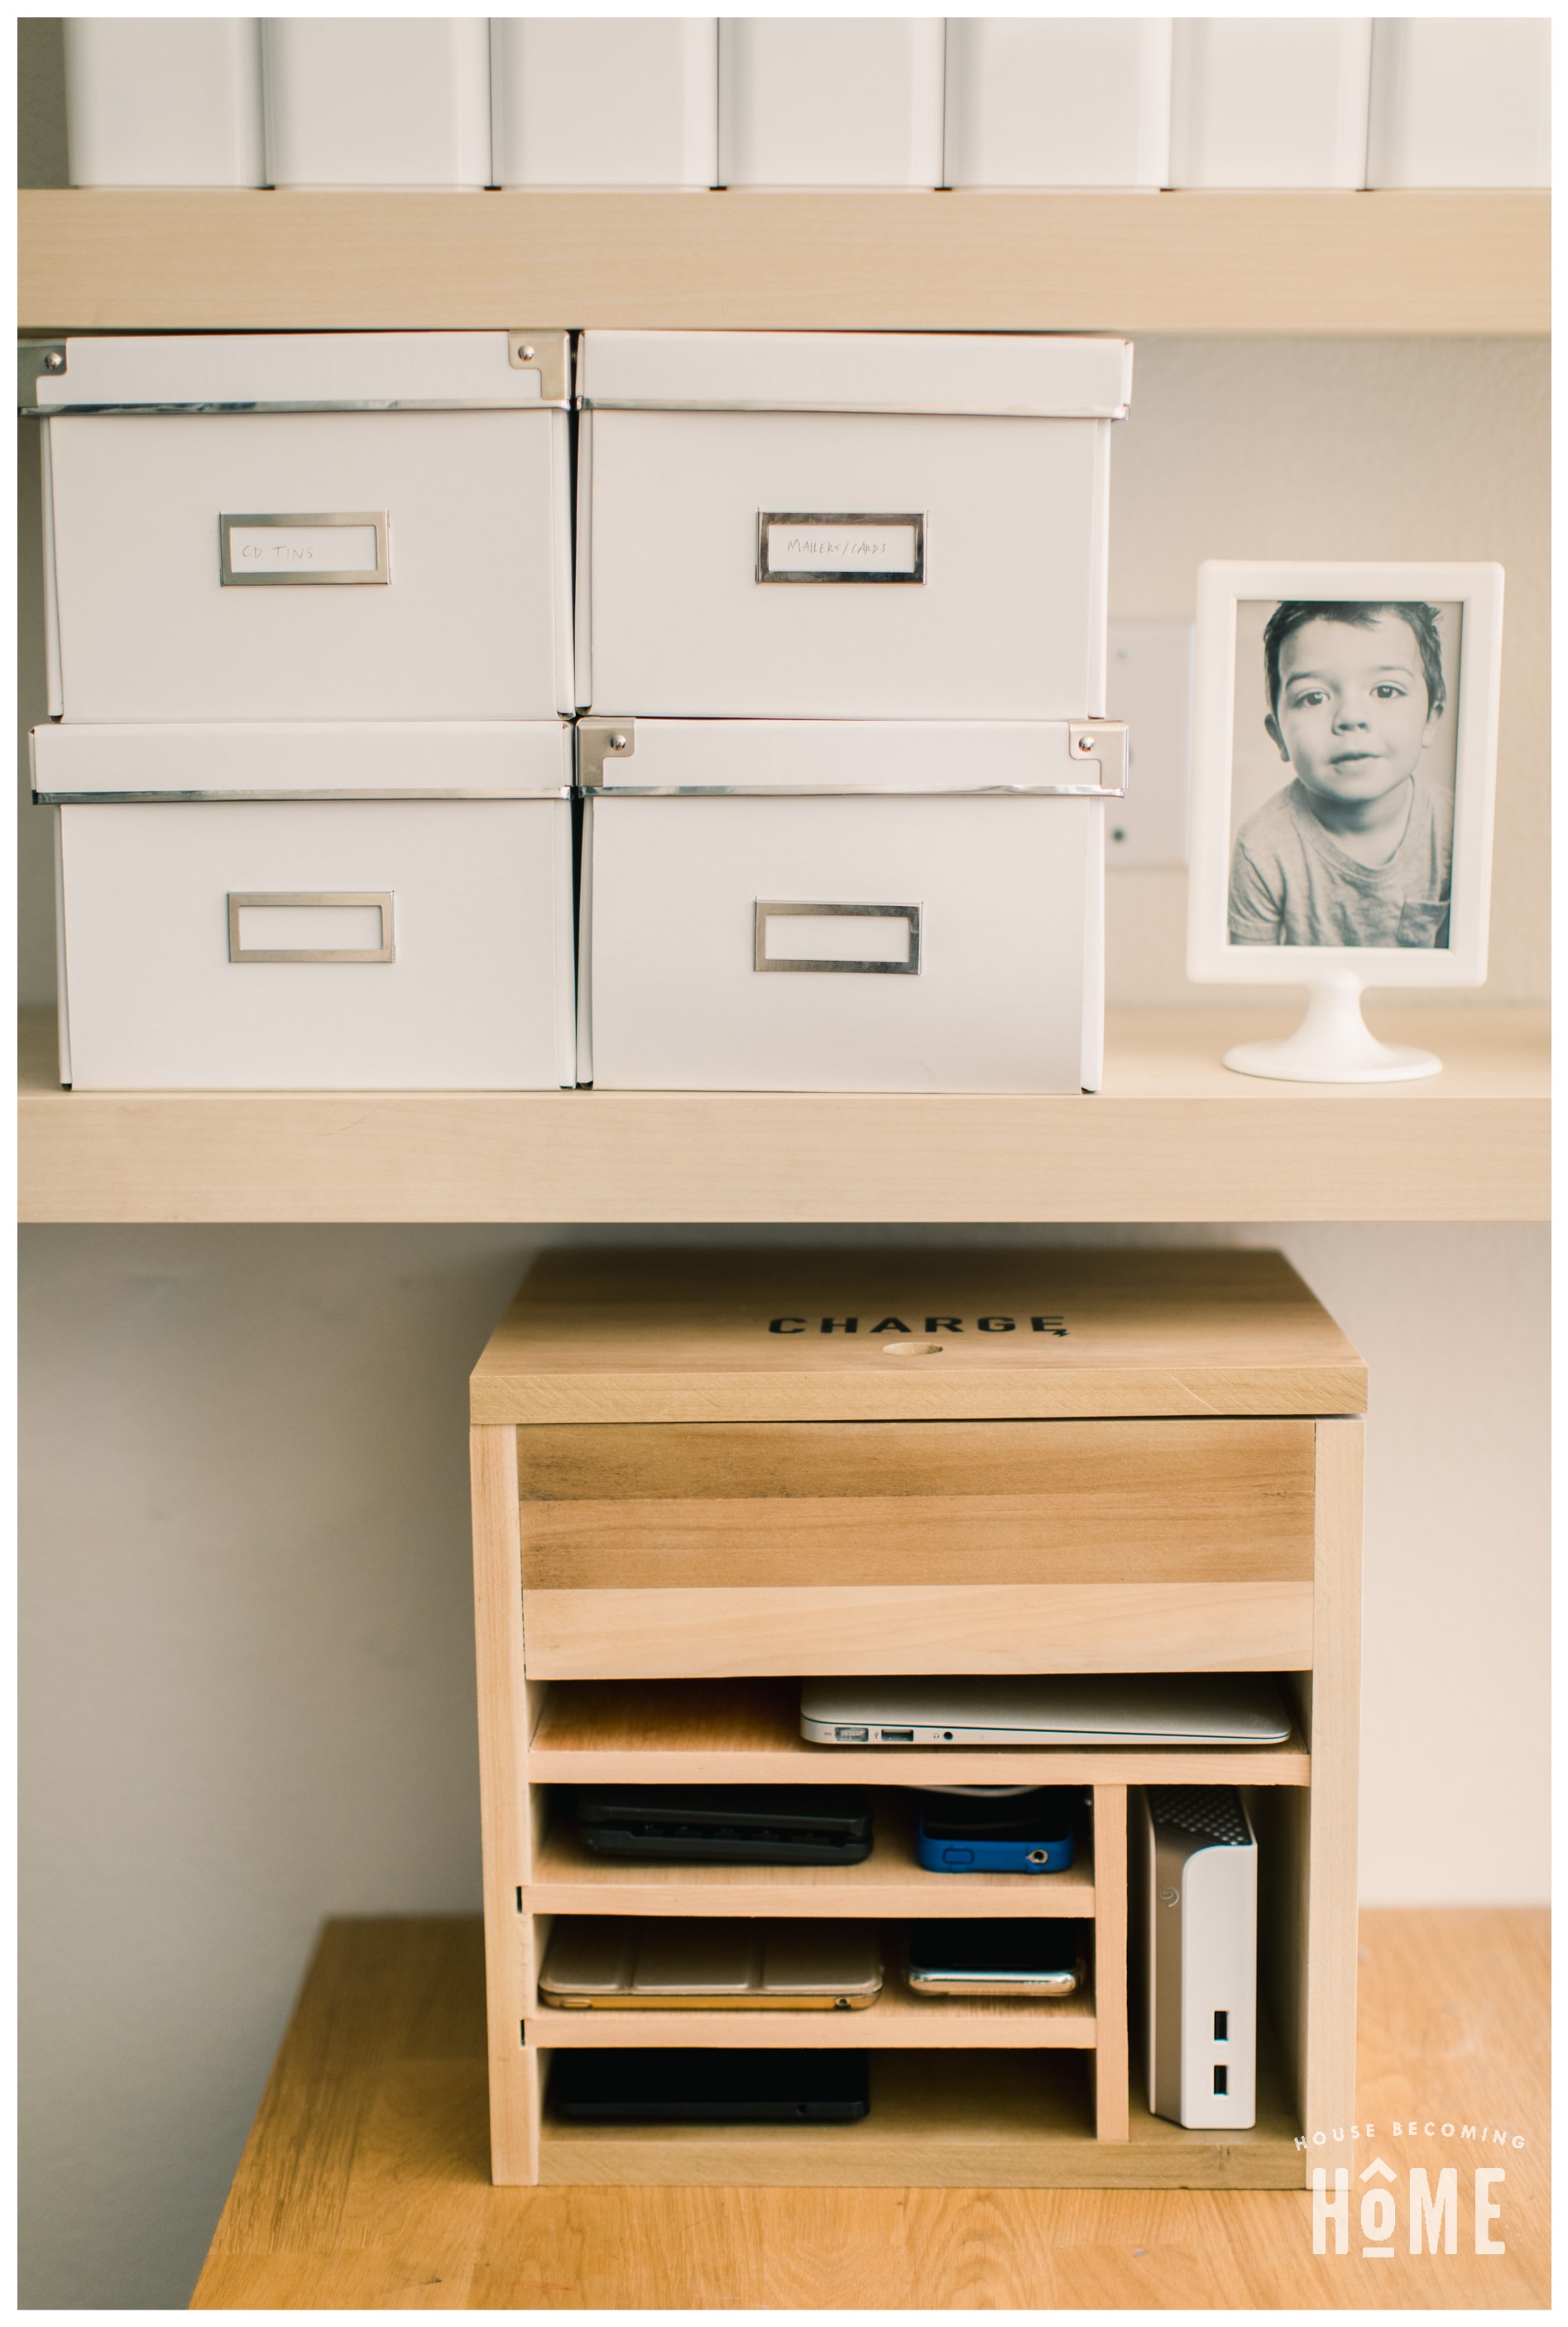
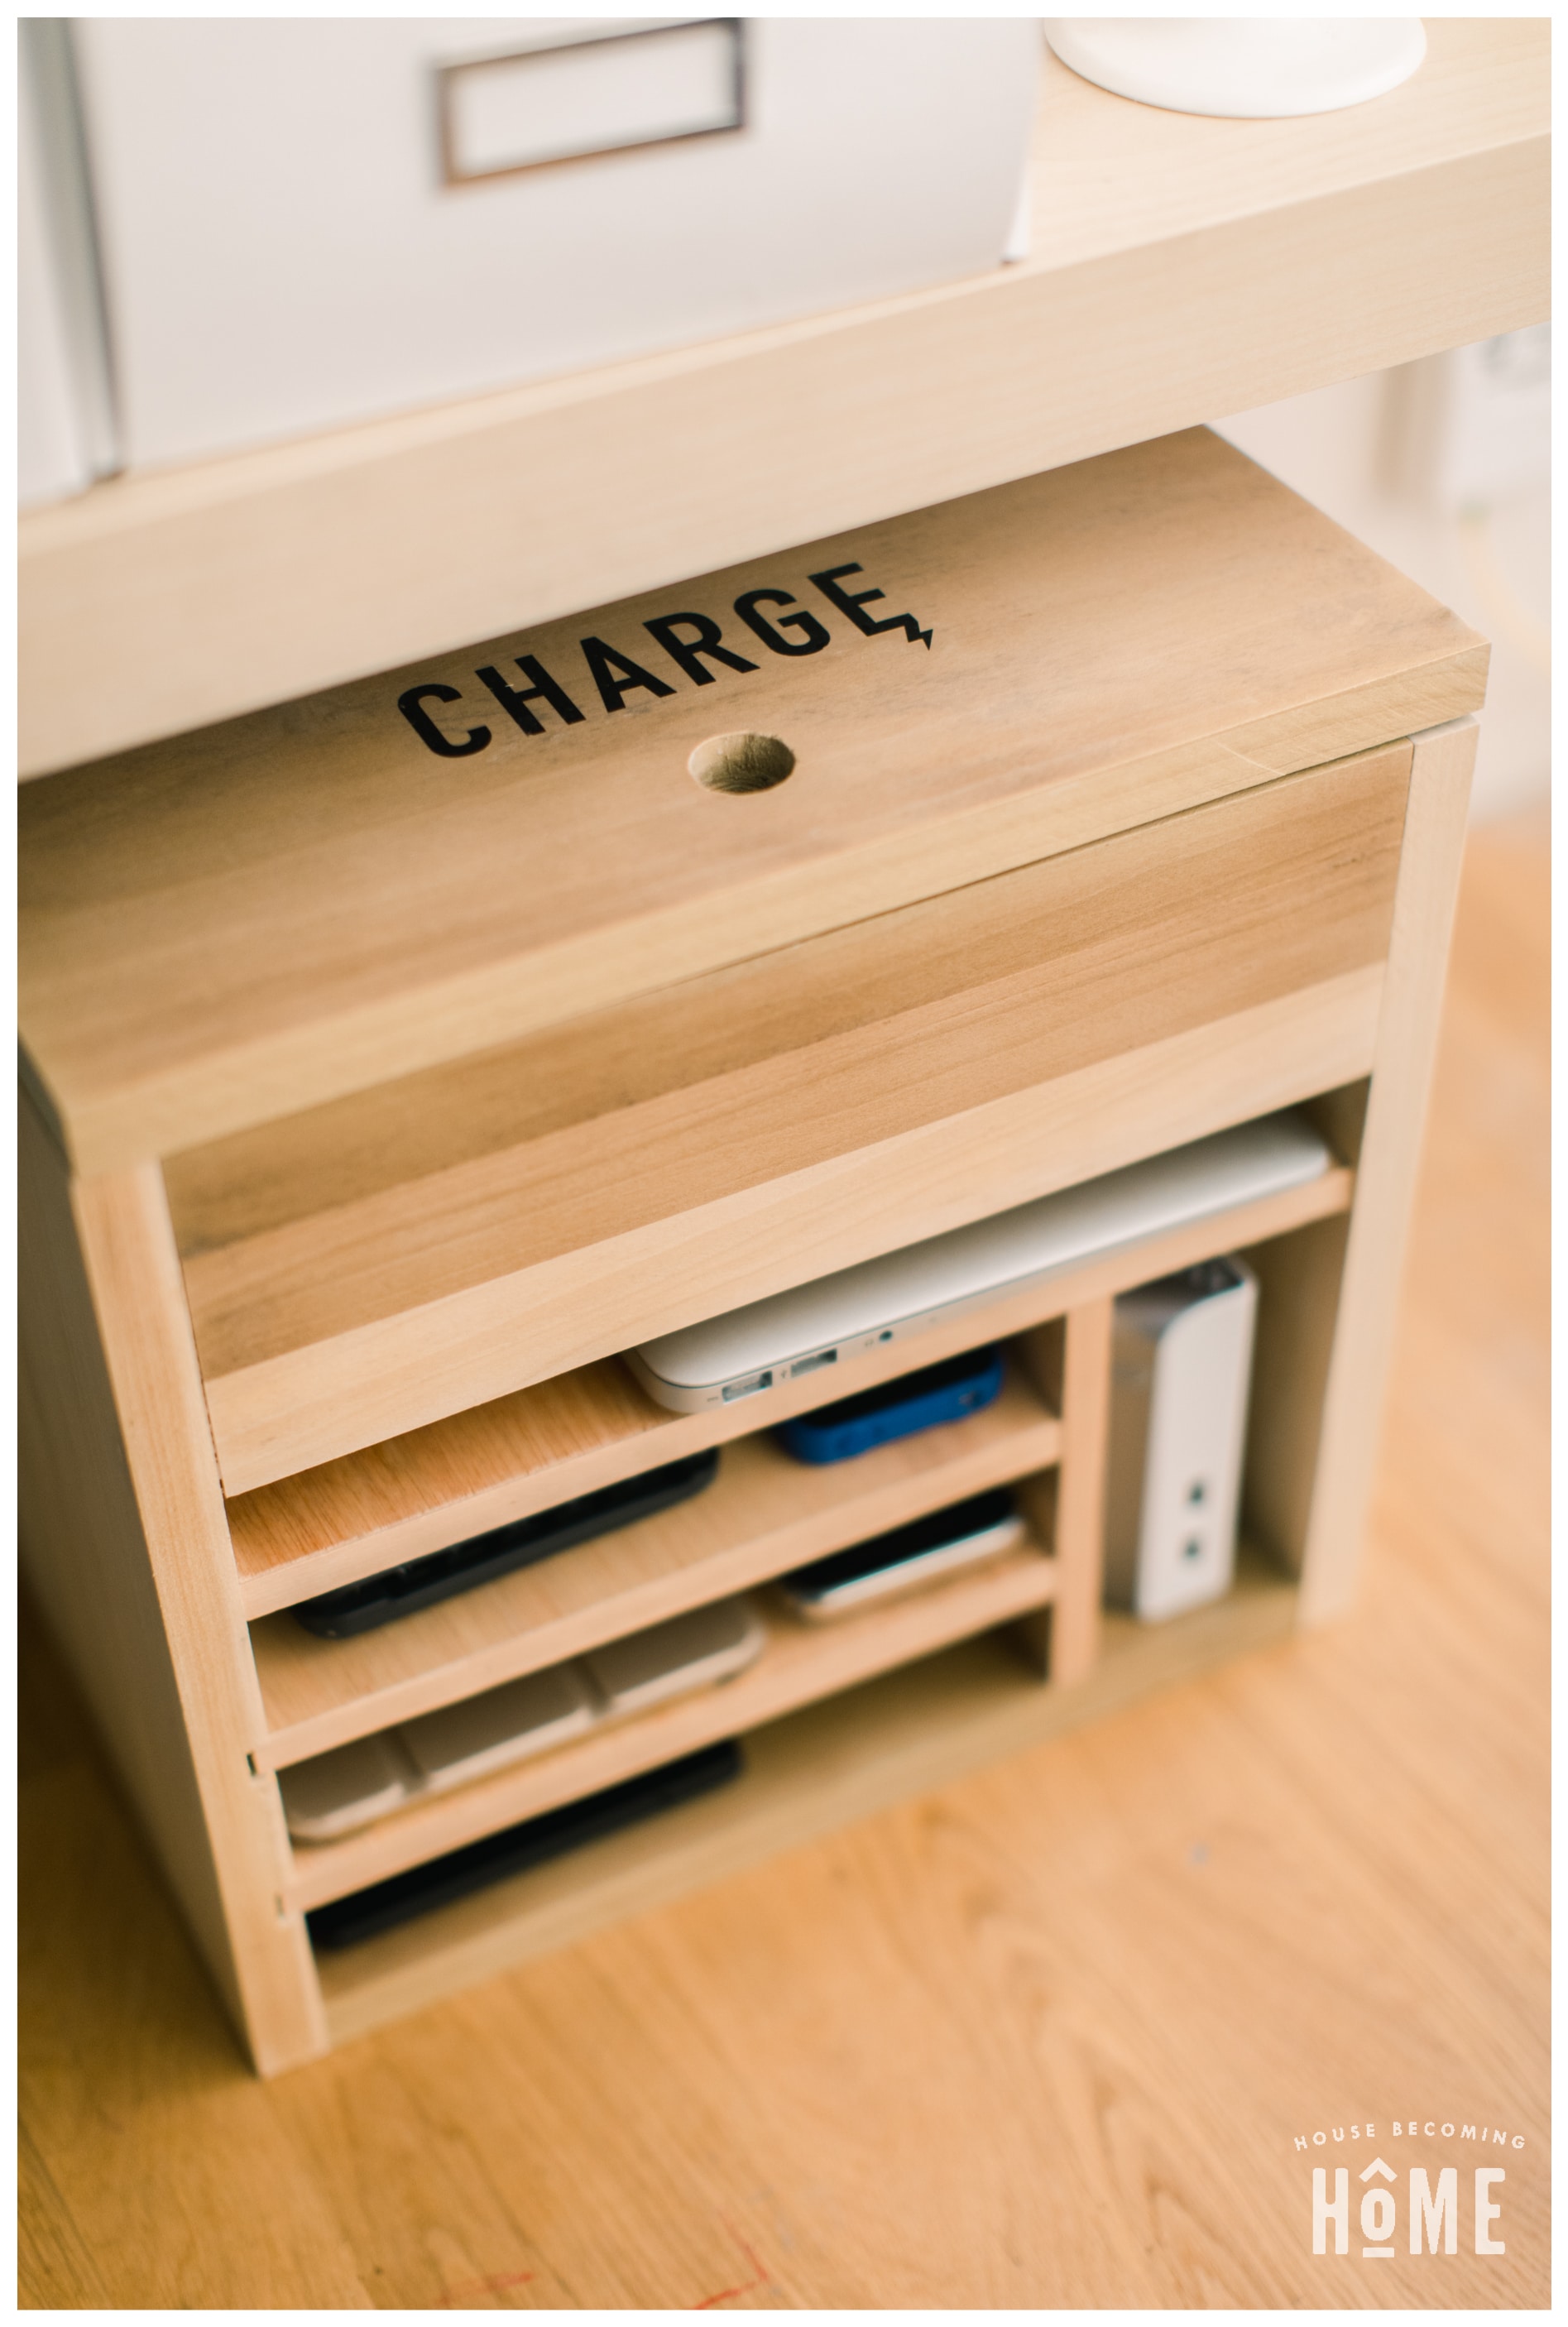 A few months ago I began finding electronics and their charging cables all over my house – on the kitchen island, in my workspace, on the living room floor, etc. The clutter was really starting to bug me, so I decided it was time to build something to house our electronics and their cables. The charging station I made holds a small laptop, several iPads/tablets, smartphones, and my external hard drive. The top compartment hides a large seven outlet/5 USB port power strip and alllllll the electronic cables!
 How To Build A DIY Charging Station
Supplies:
- ¾-inch thick material of your choice (pine, poplar, walnut, etc.)
- ½-inch plywood
- Veneer edging
- 1 1/4-inch Pocket Screws
- Wood Glue
Tools:
- Table Saw
- Miter Saw
- Router & ½-inch straight bit (or table saw + stacked dado blade)
- Pocket Hole Jig
- Drill with ⅞-inch bit
Cut List:
(¾-inch thick poplar or wood of choice)
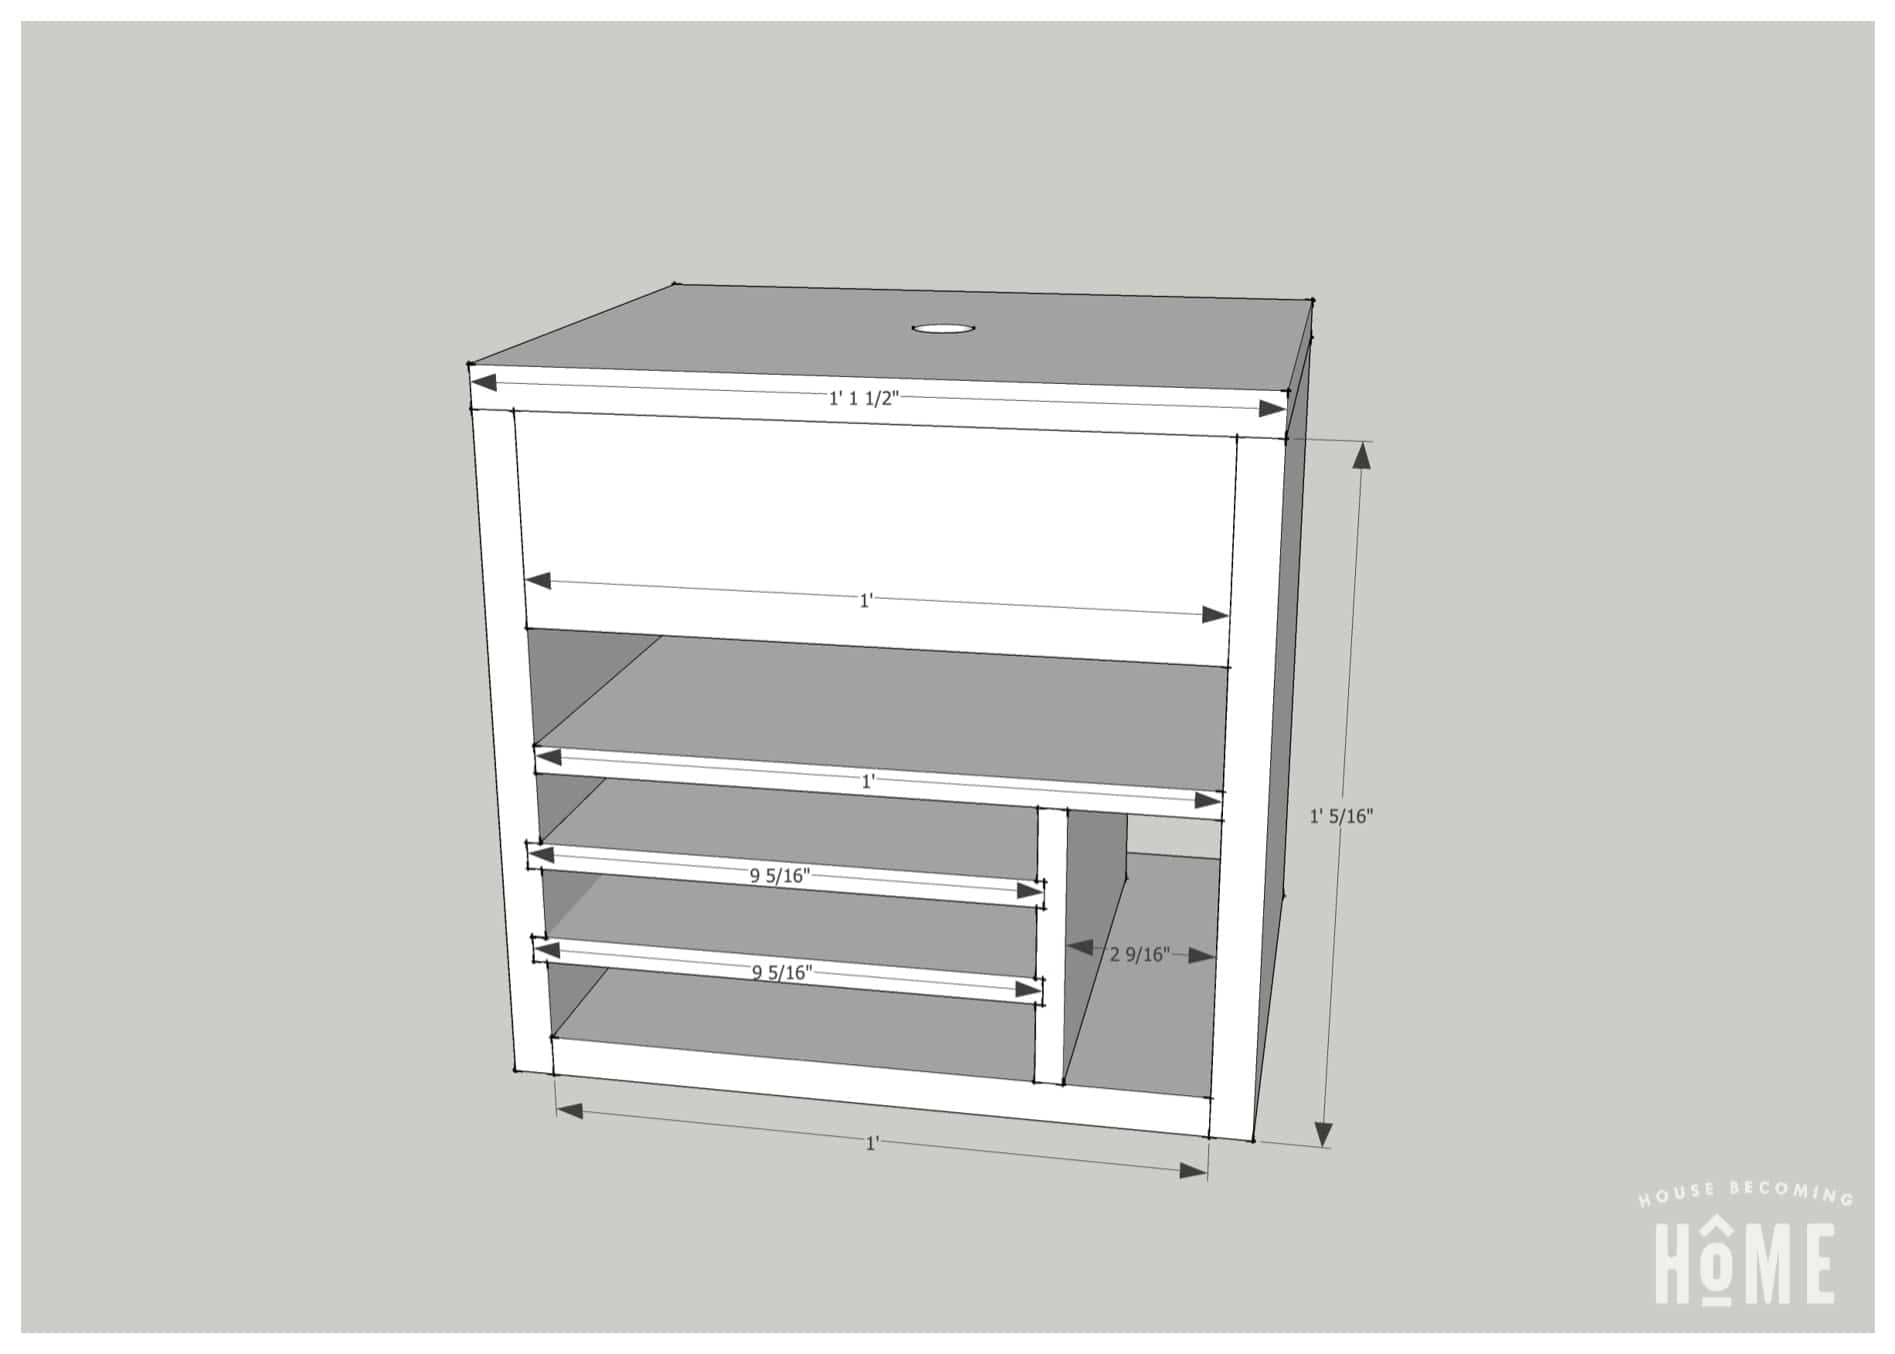
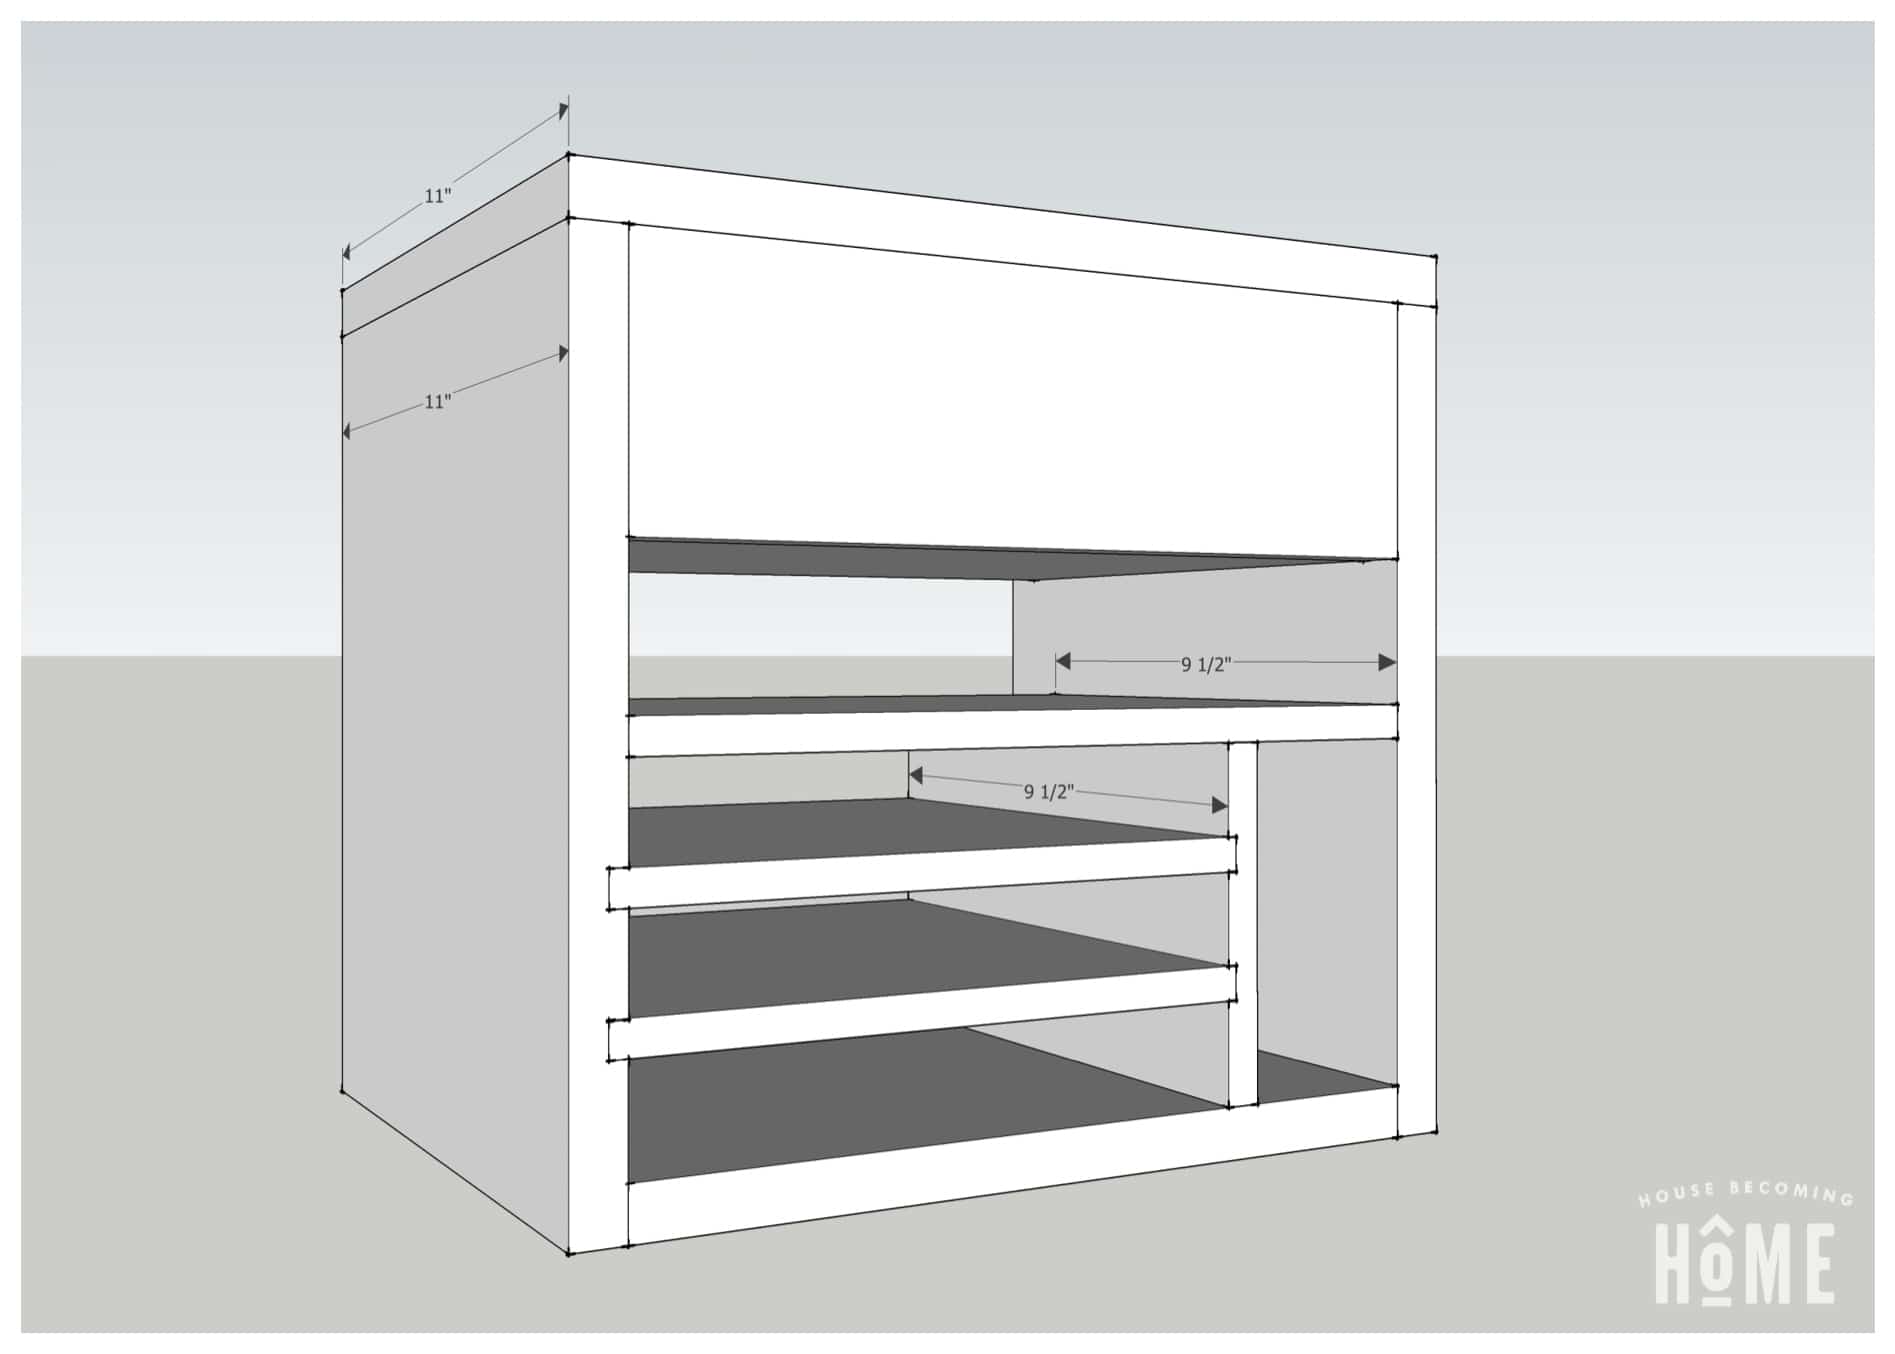
- (2) Charging Station Sides: 11 inches x 12-5/16 inches
- Charging Station Bottom: 11 inches x 12 inches
- Charging Station Lid: 11 inches x 13 1/2 inches
- Front cover piece: 3 ¾ inches x 12 inches
(½-inch plywood)
- Power Strip Shelf: 8 3/4 inches x 12 inches
- Laptop Shelf: 9 ½ inches x 12 inches
- (2) Small Shelves: 9 ½ inches x 9 5/16 inches
- Vertical Shelf: 9 ½ inches x 5 ⅛ inches
- Lid alignment strips: 9 inches x ⅞ inches

 DIY Charging Station Instructions:
Step 1 :
Gather lumber and cut all pieces to size. If you can’t find lumber 11 inches wide (for the charging station sides, top and bottom), glue together two smaller pieces then rip to 11 inches.
Step 2 :
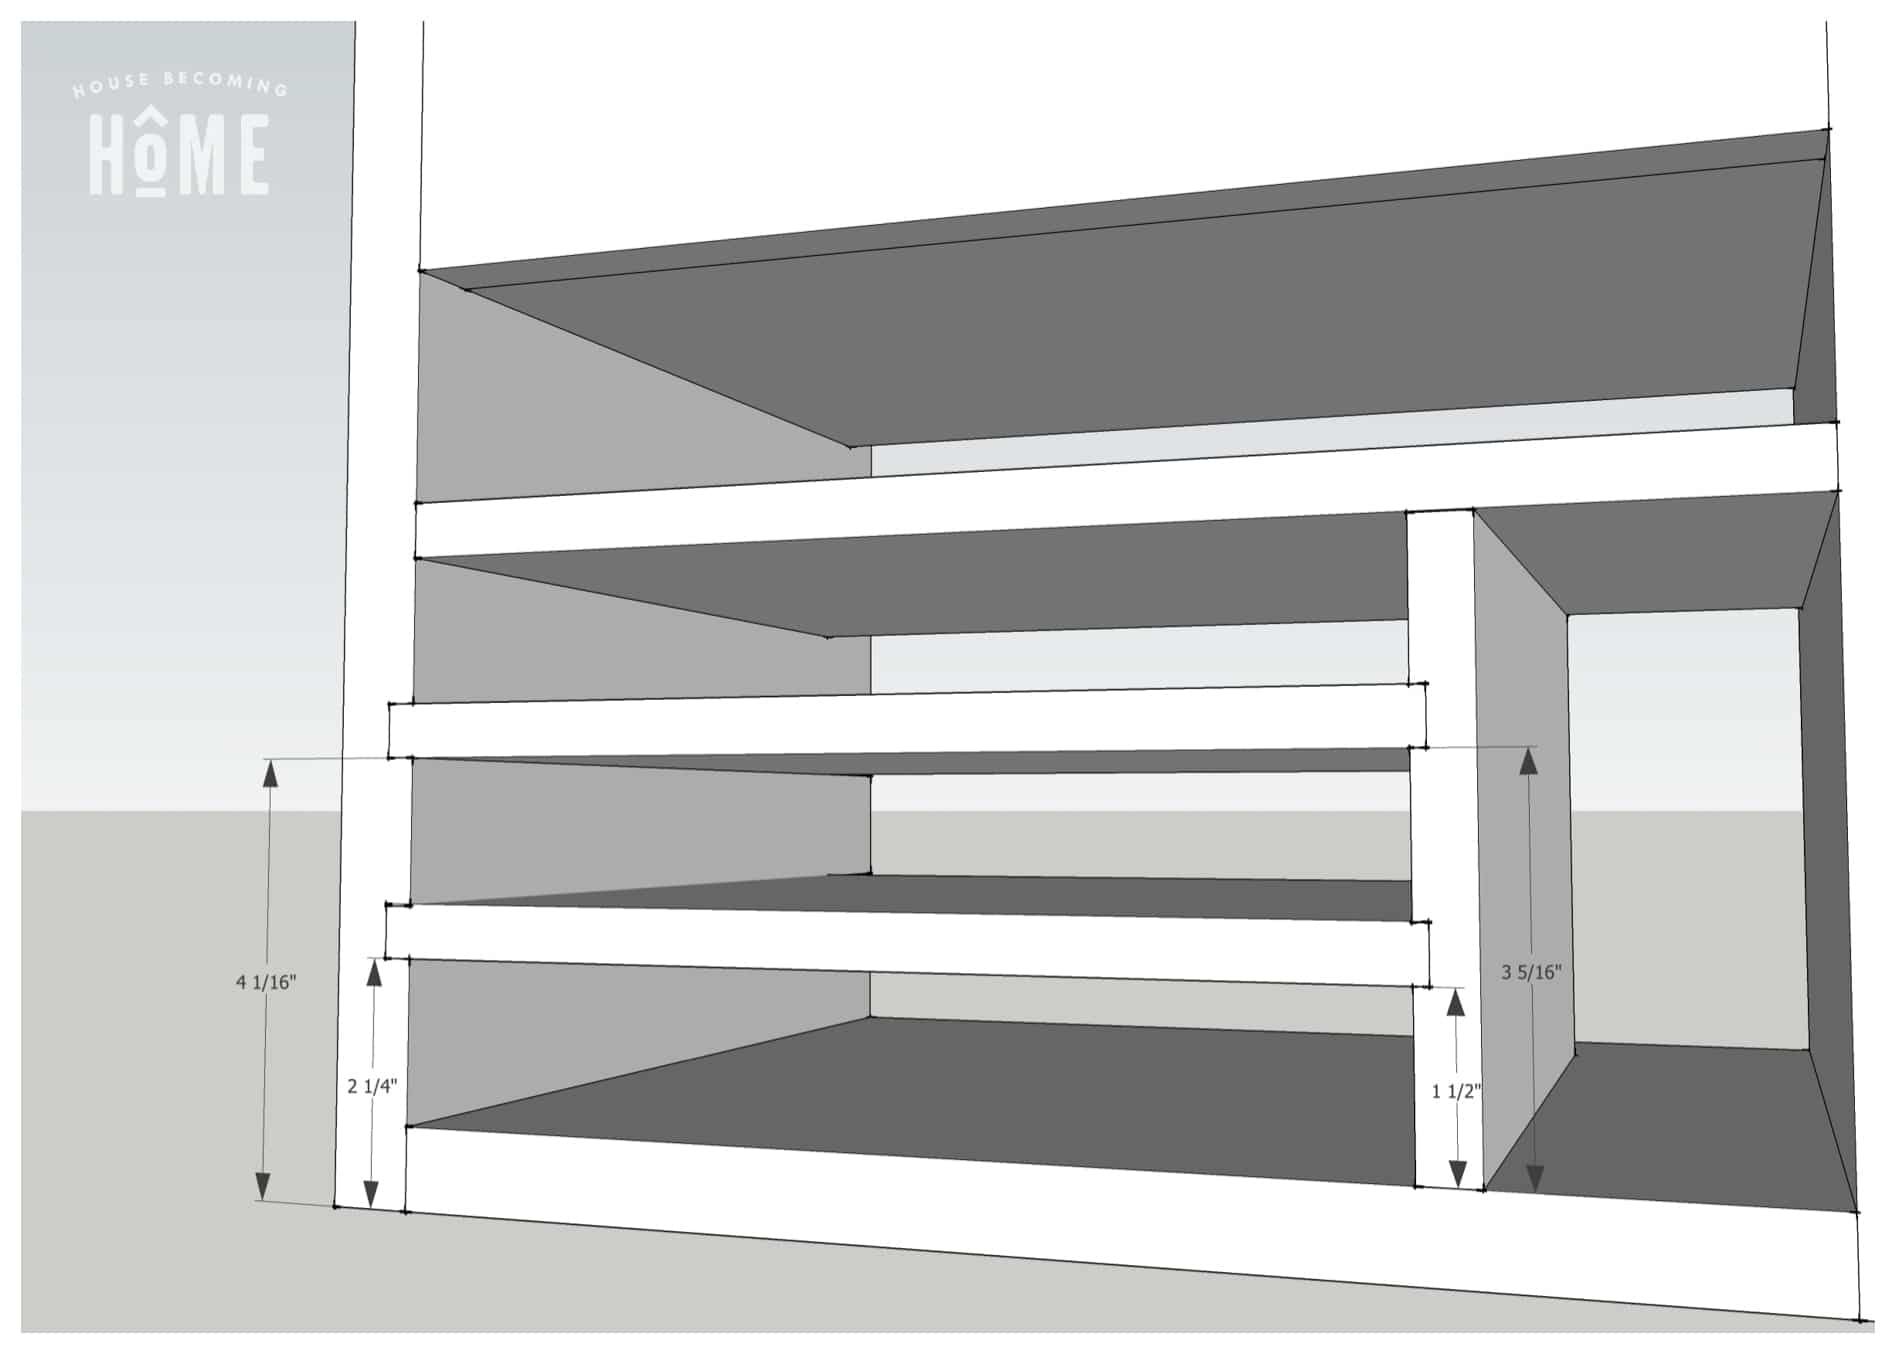
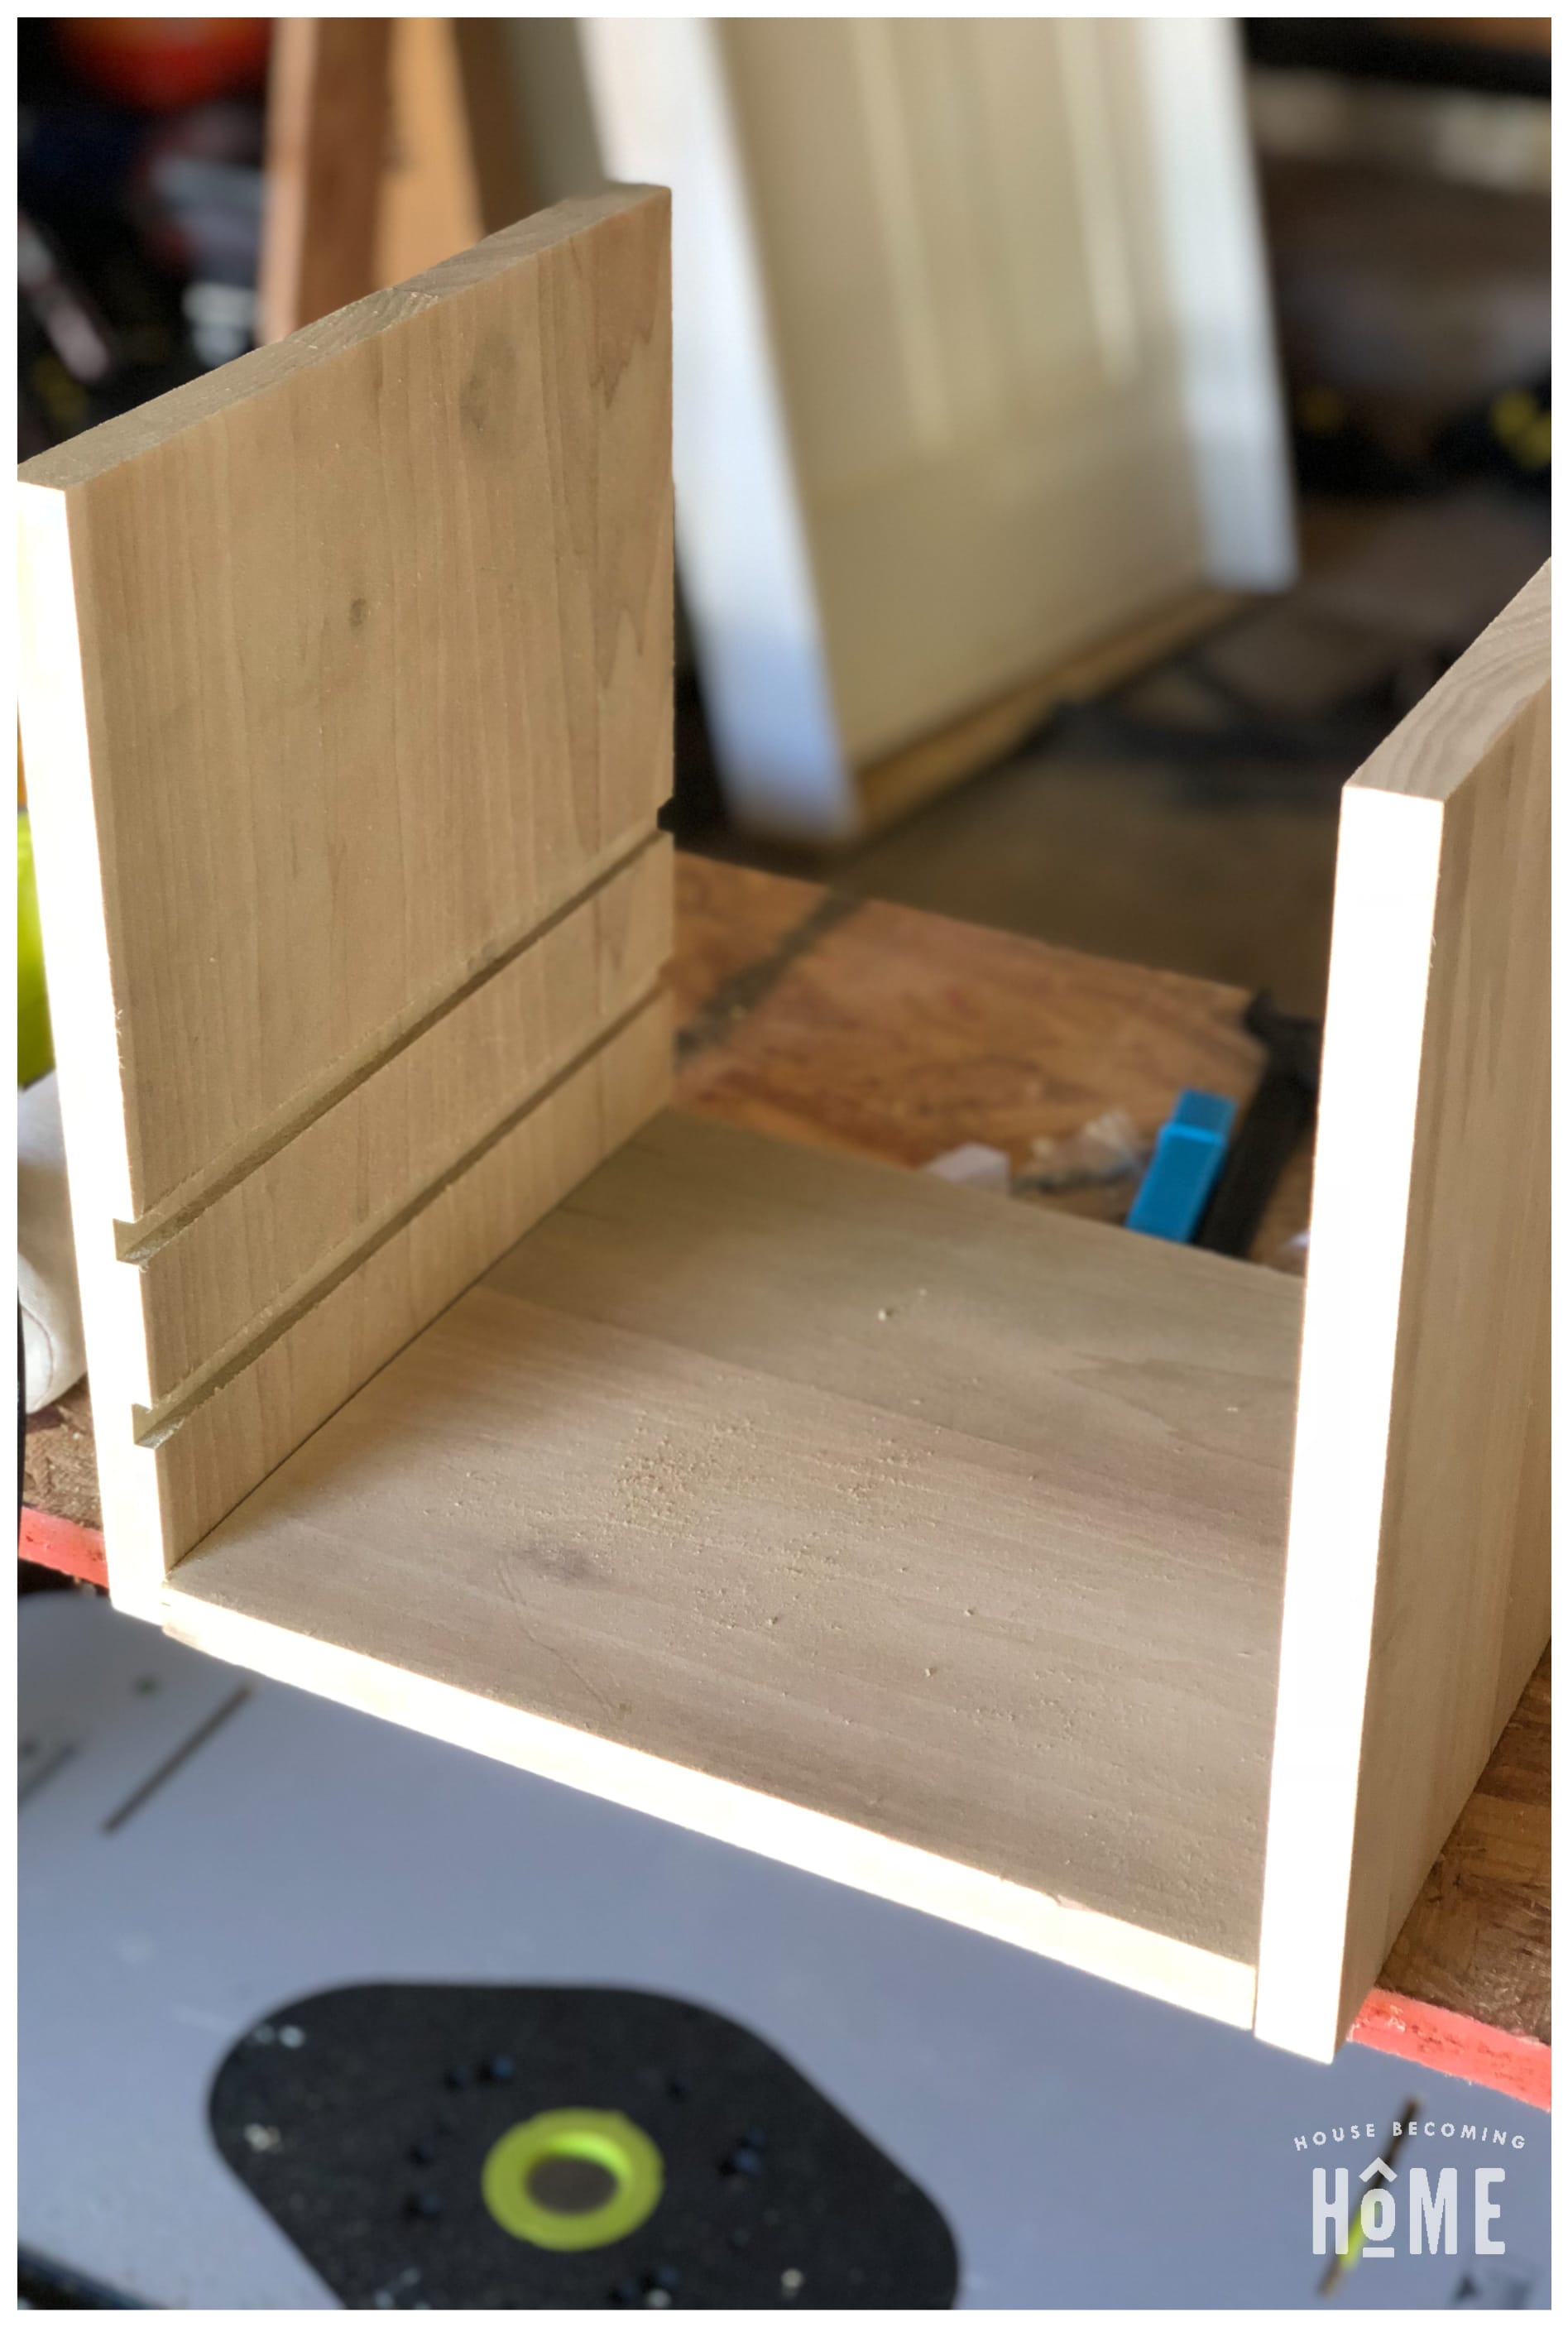
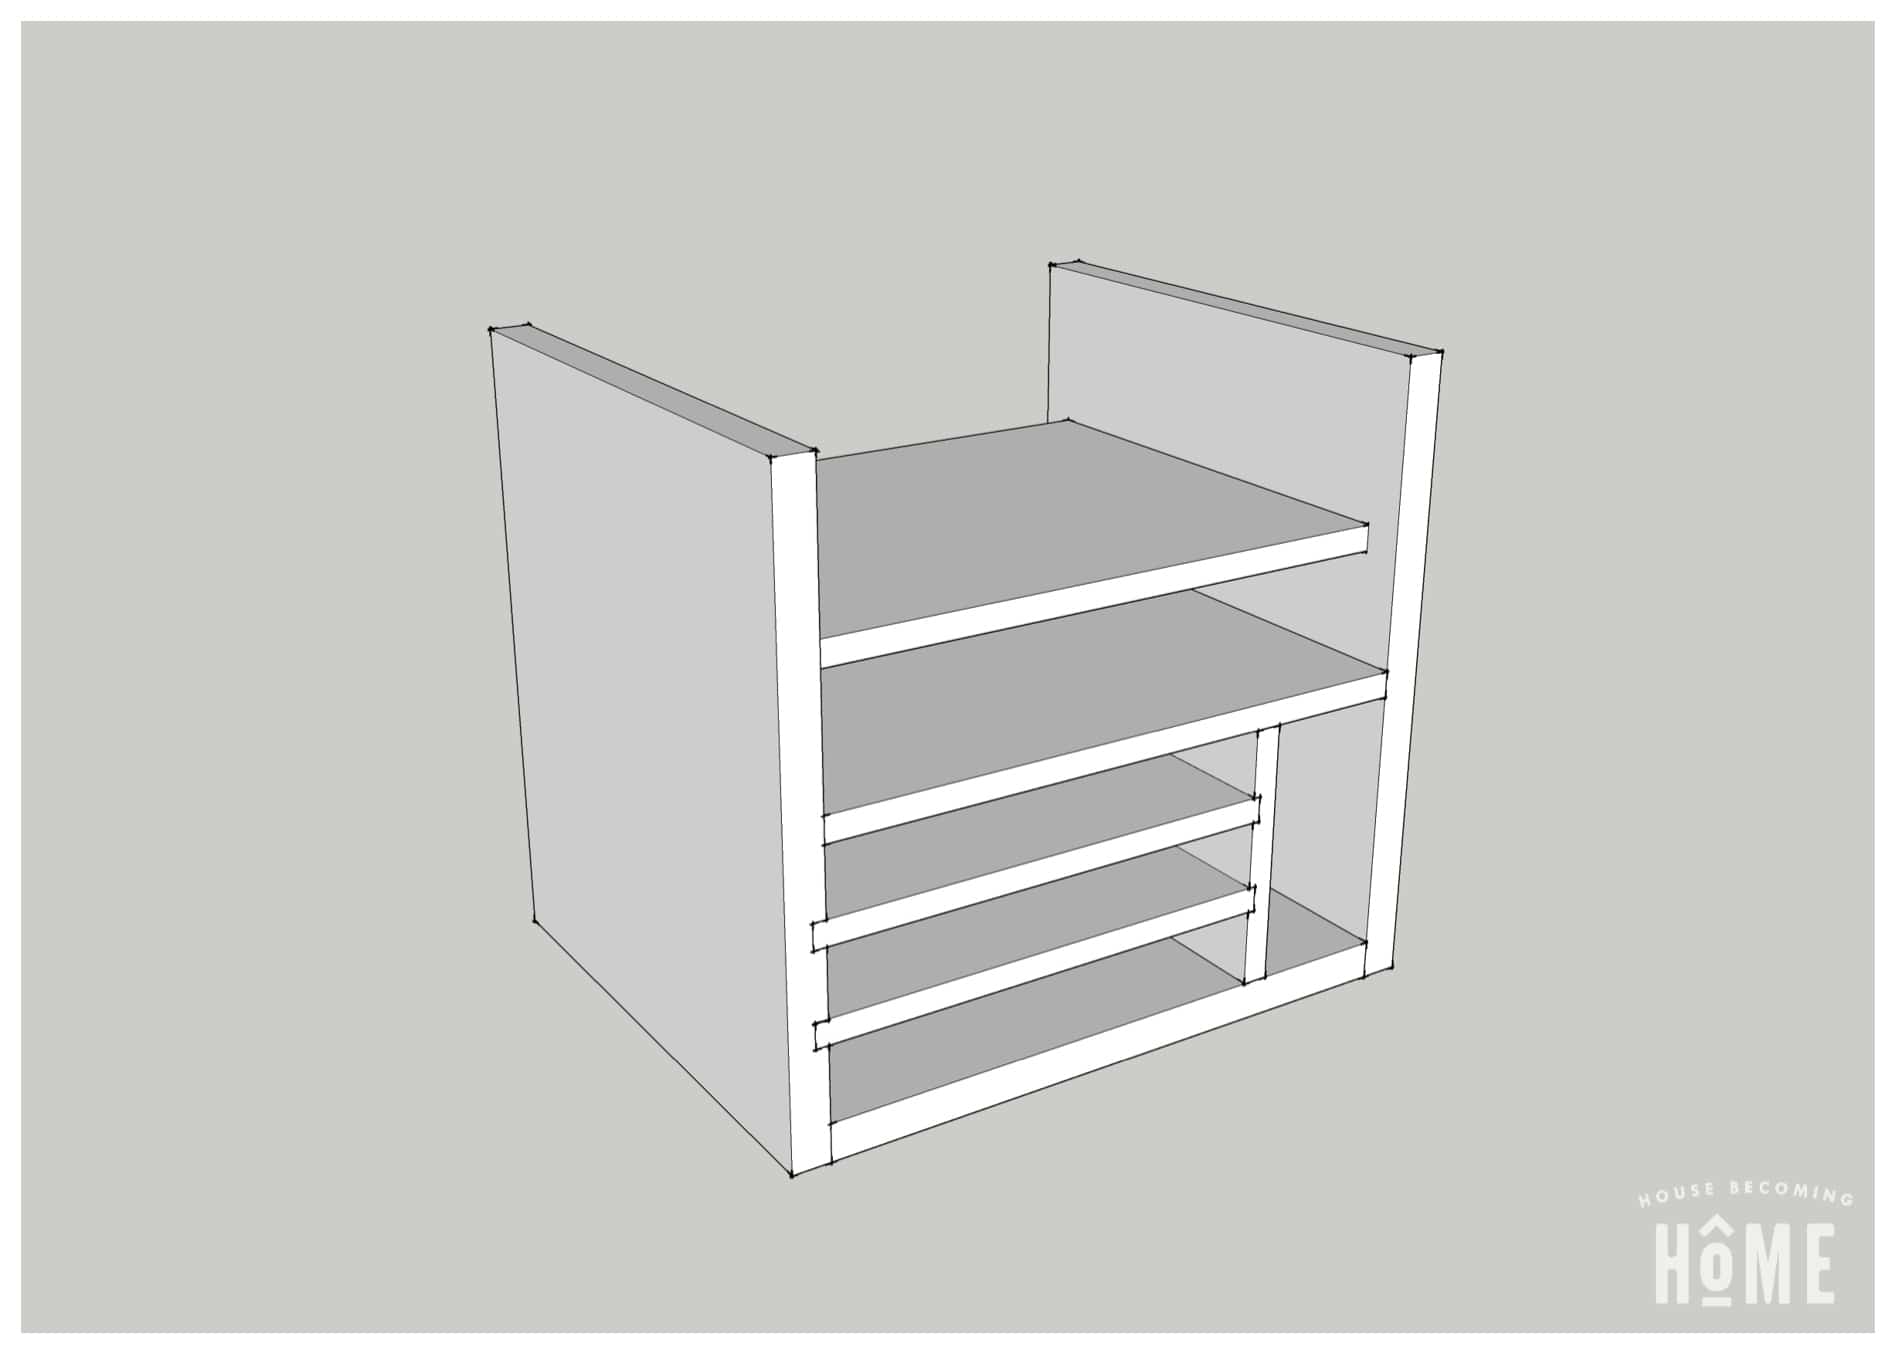
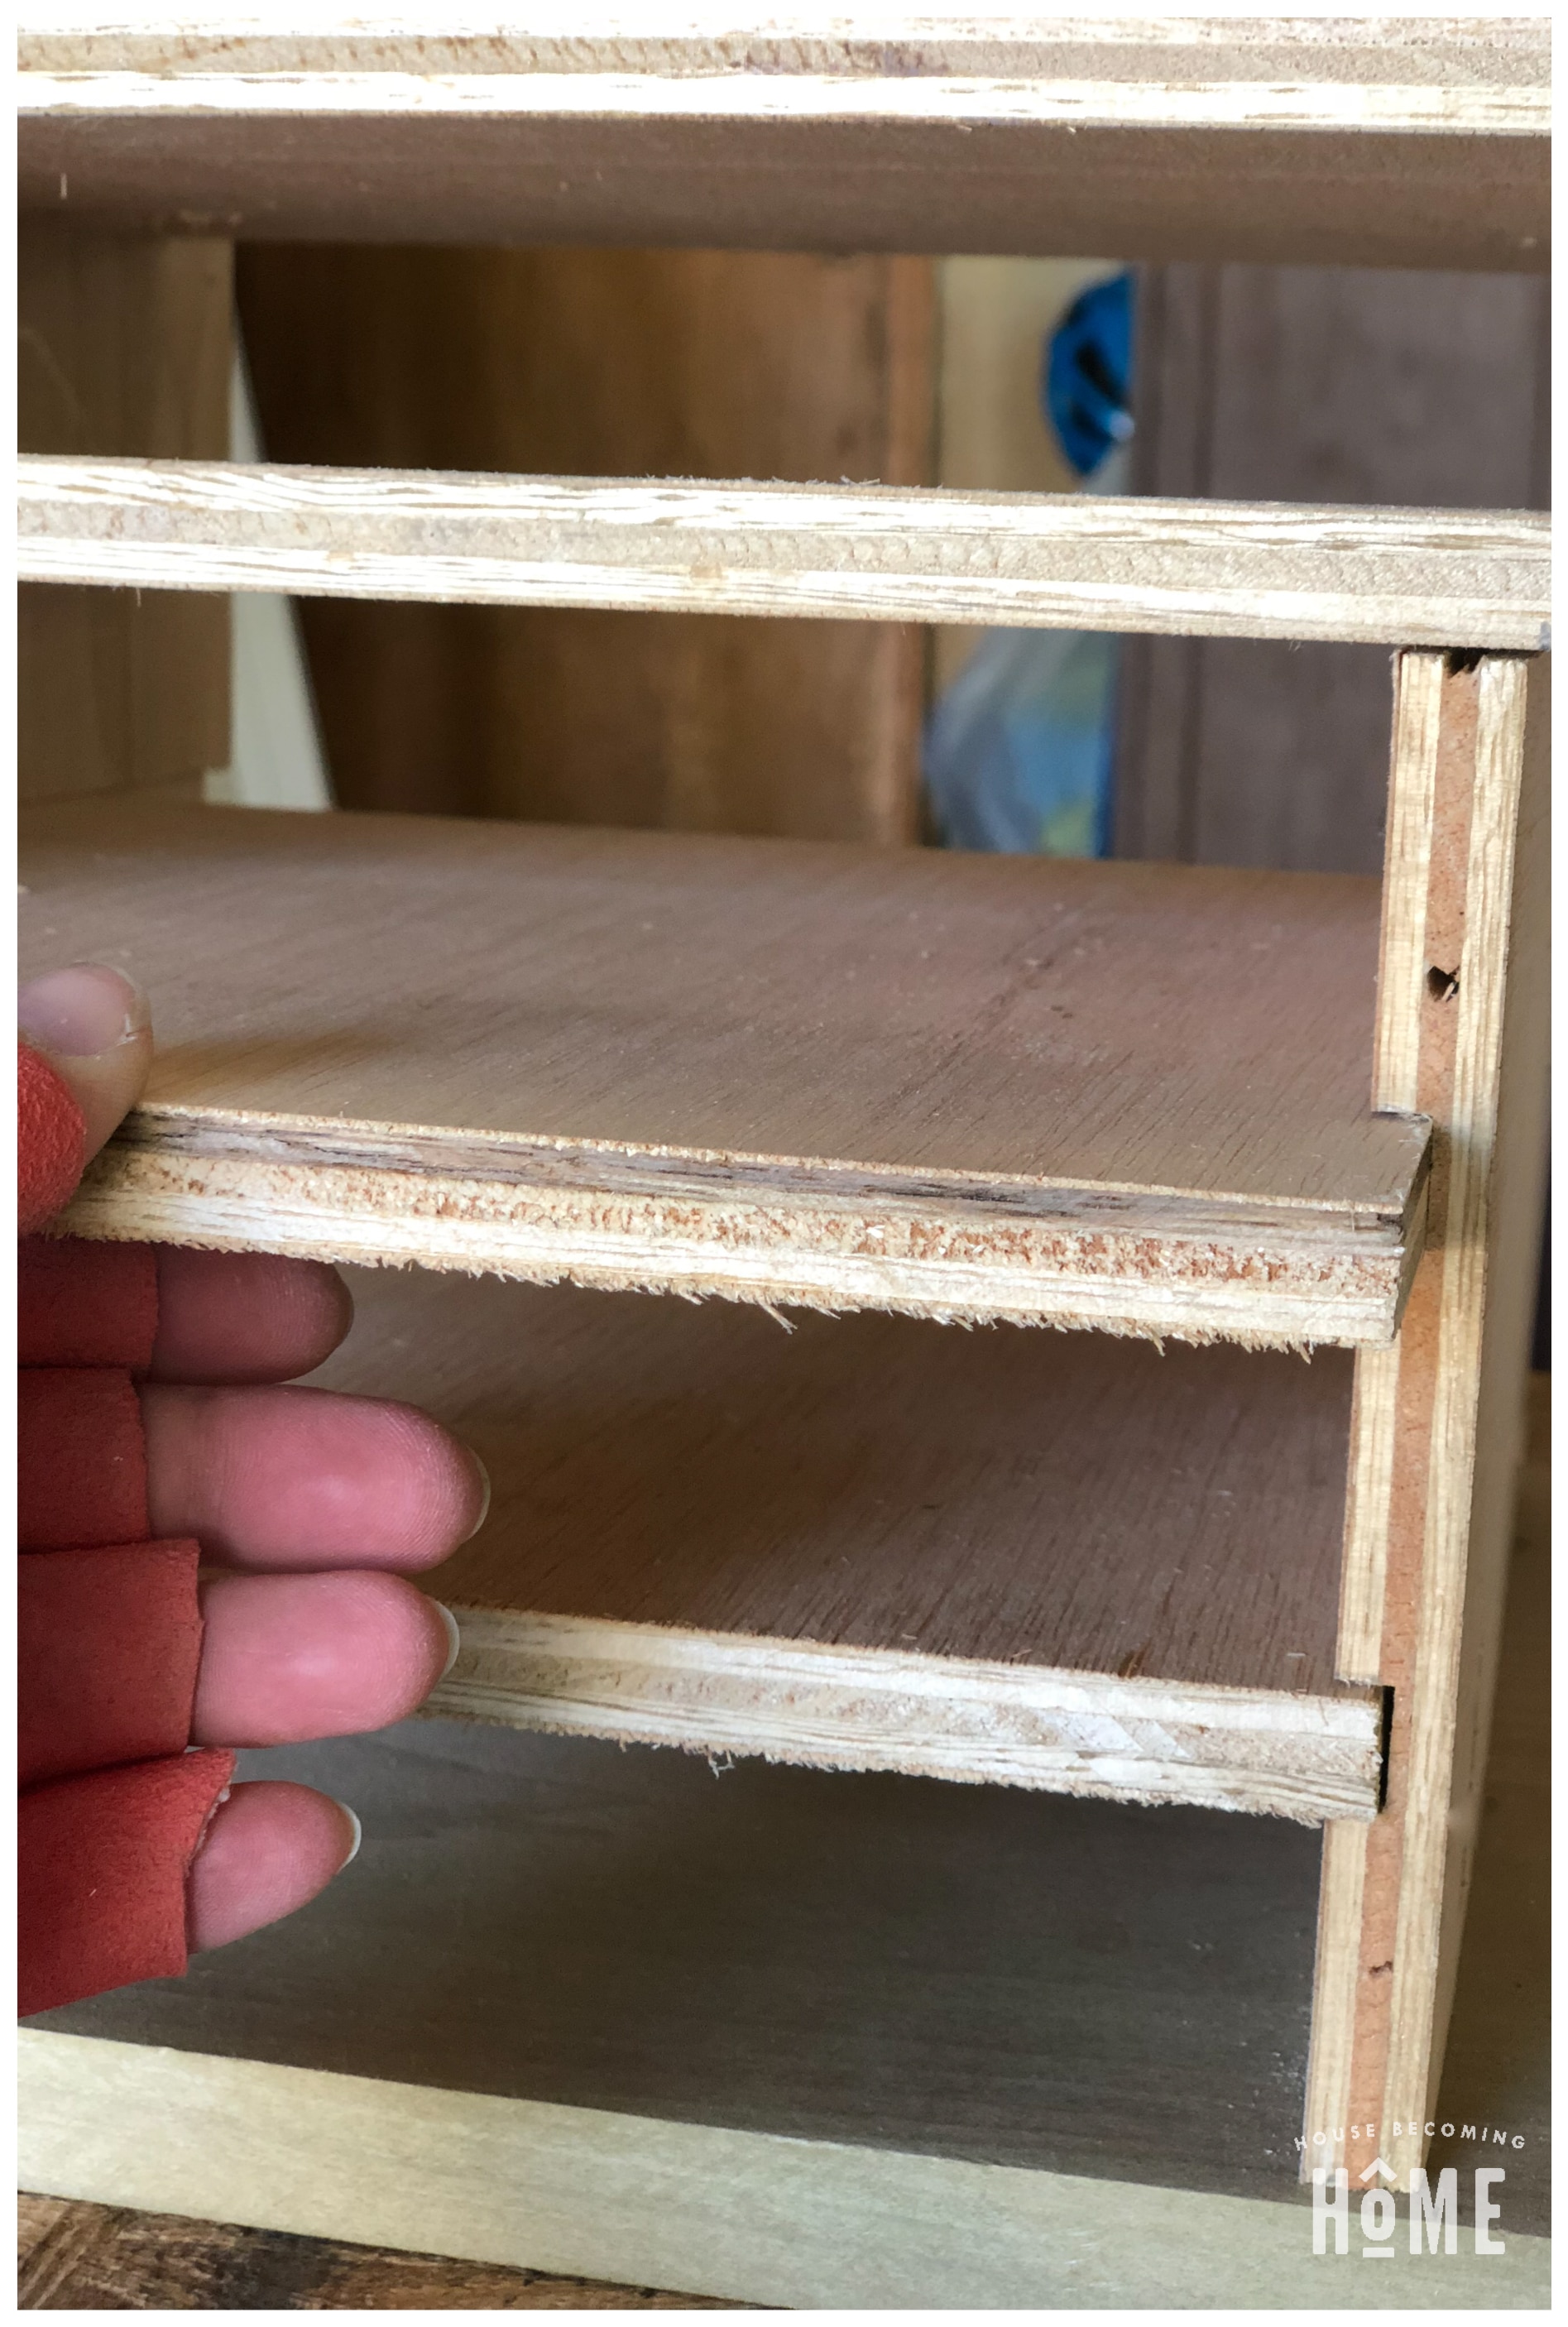
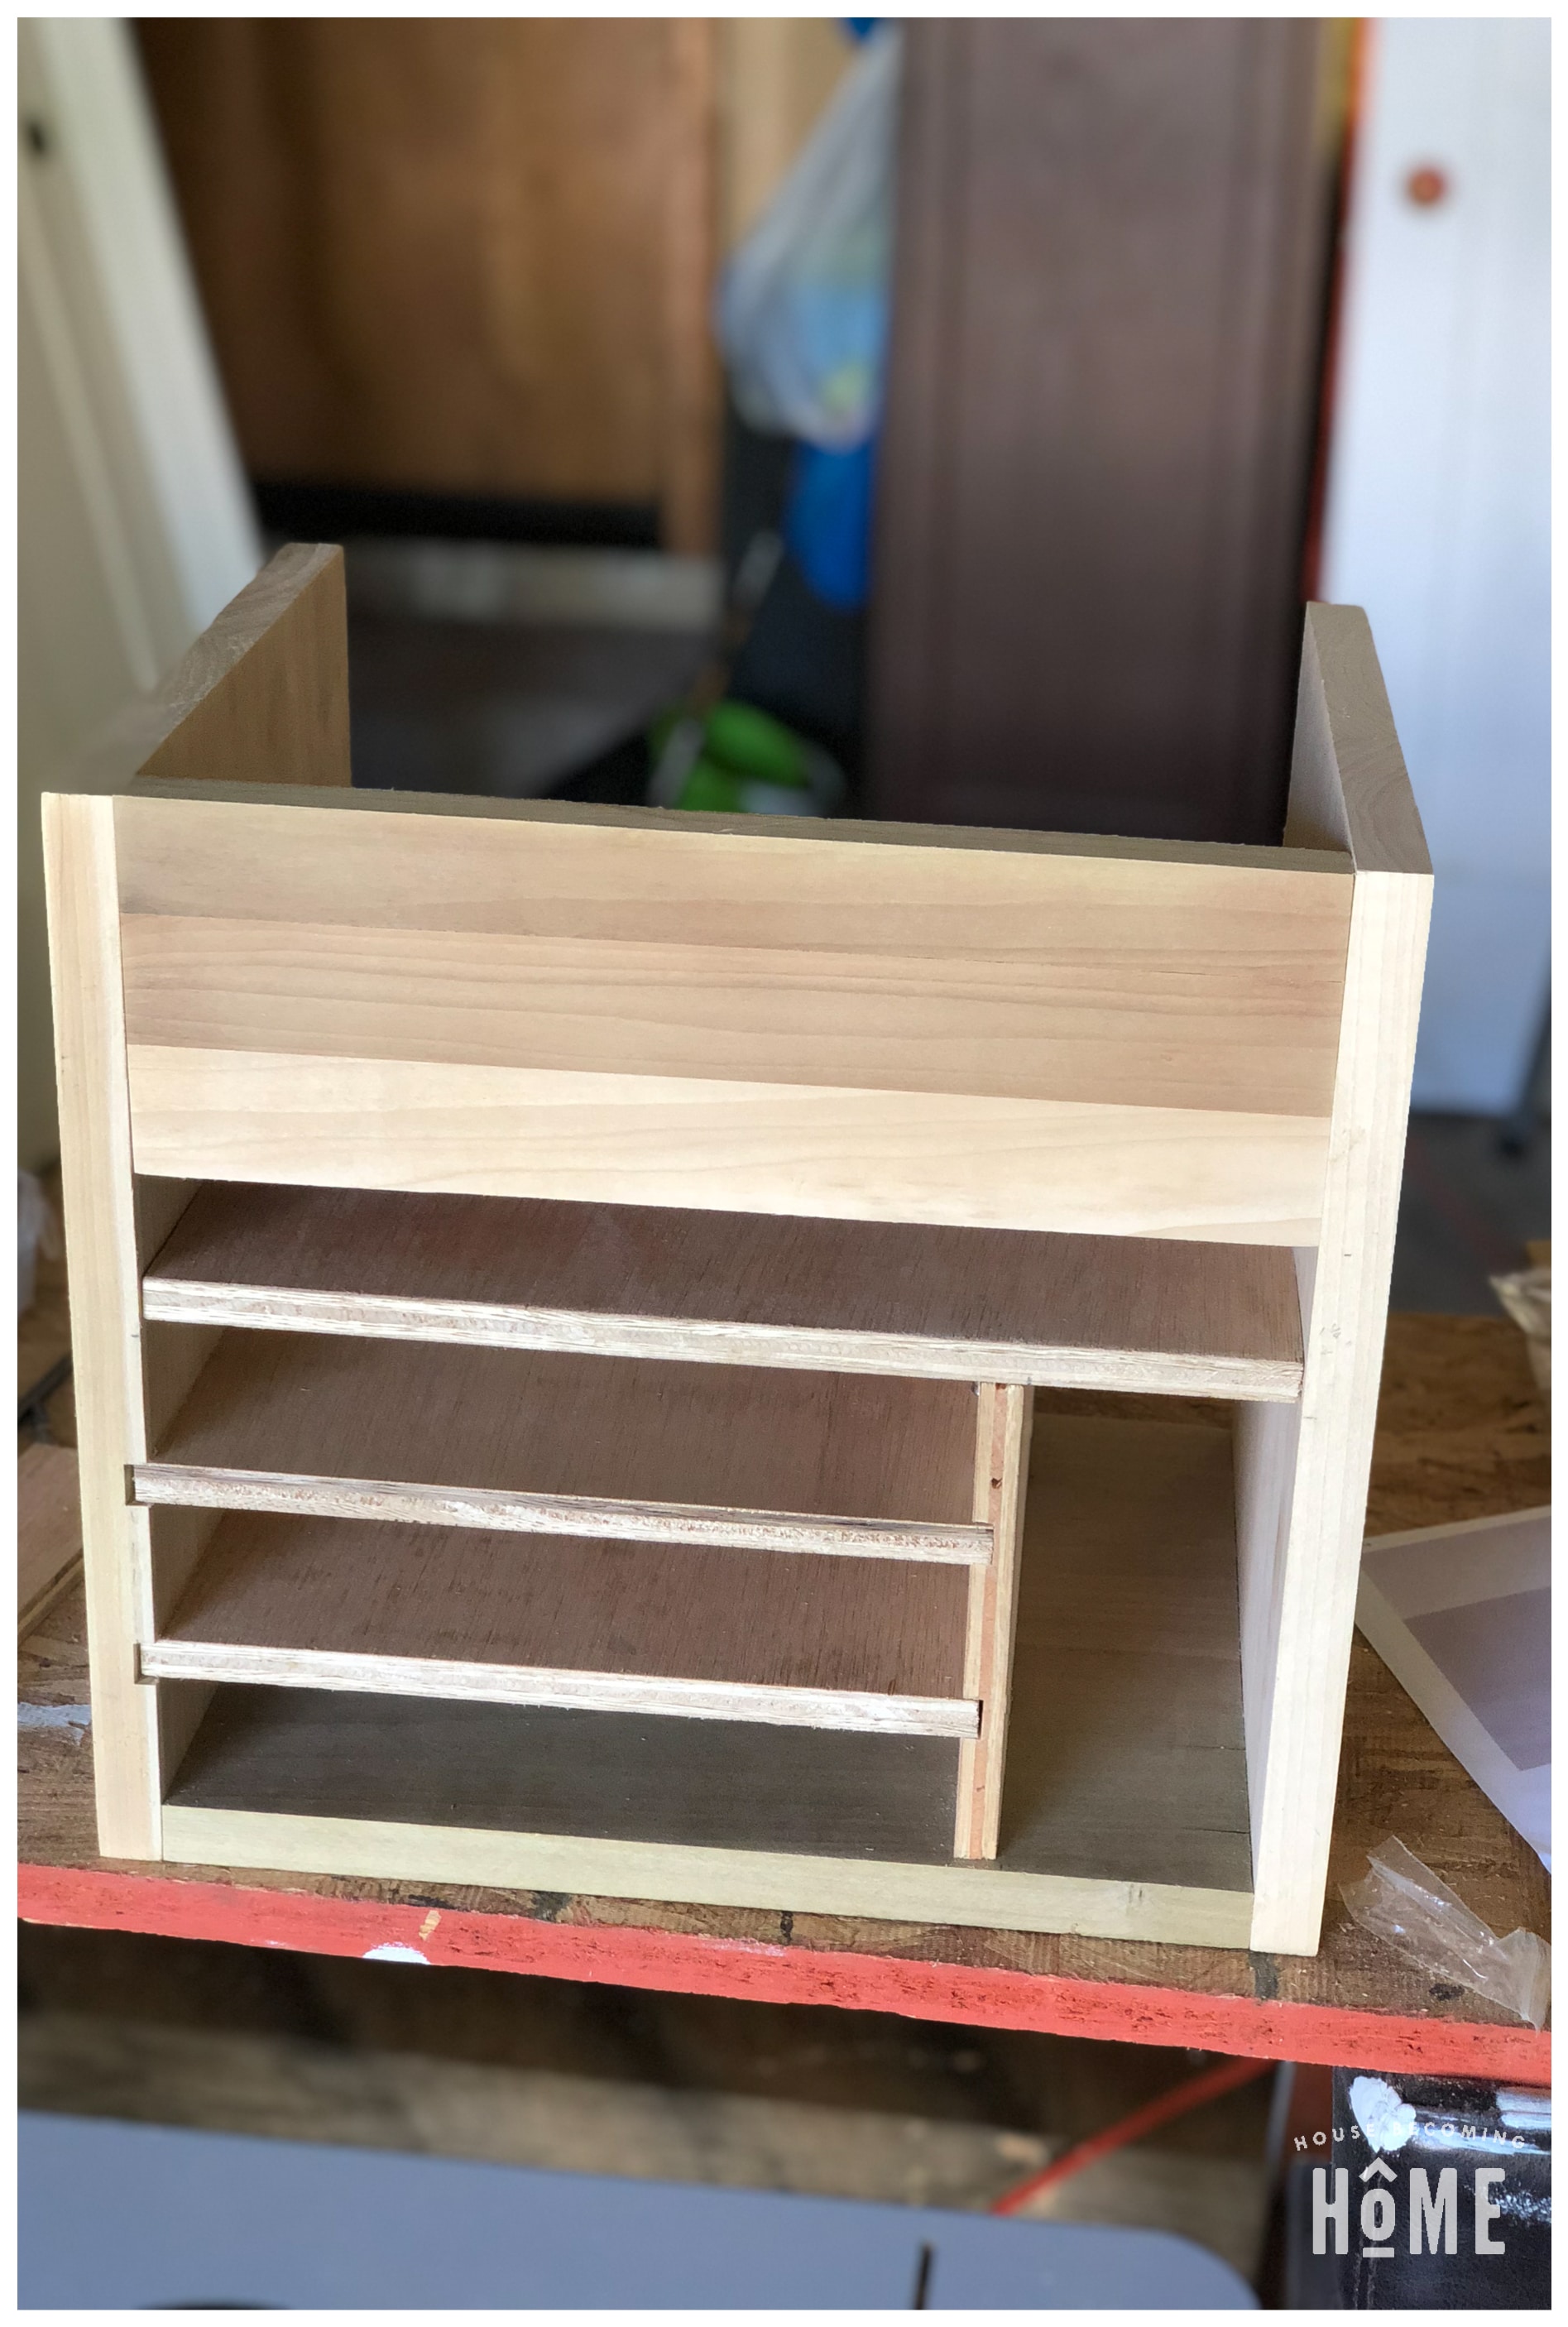
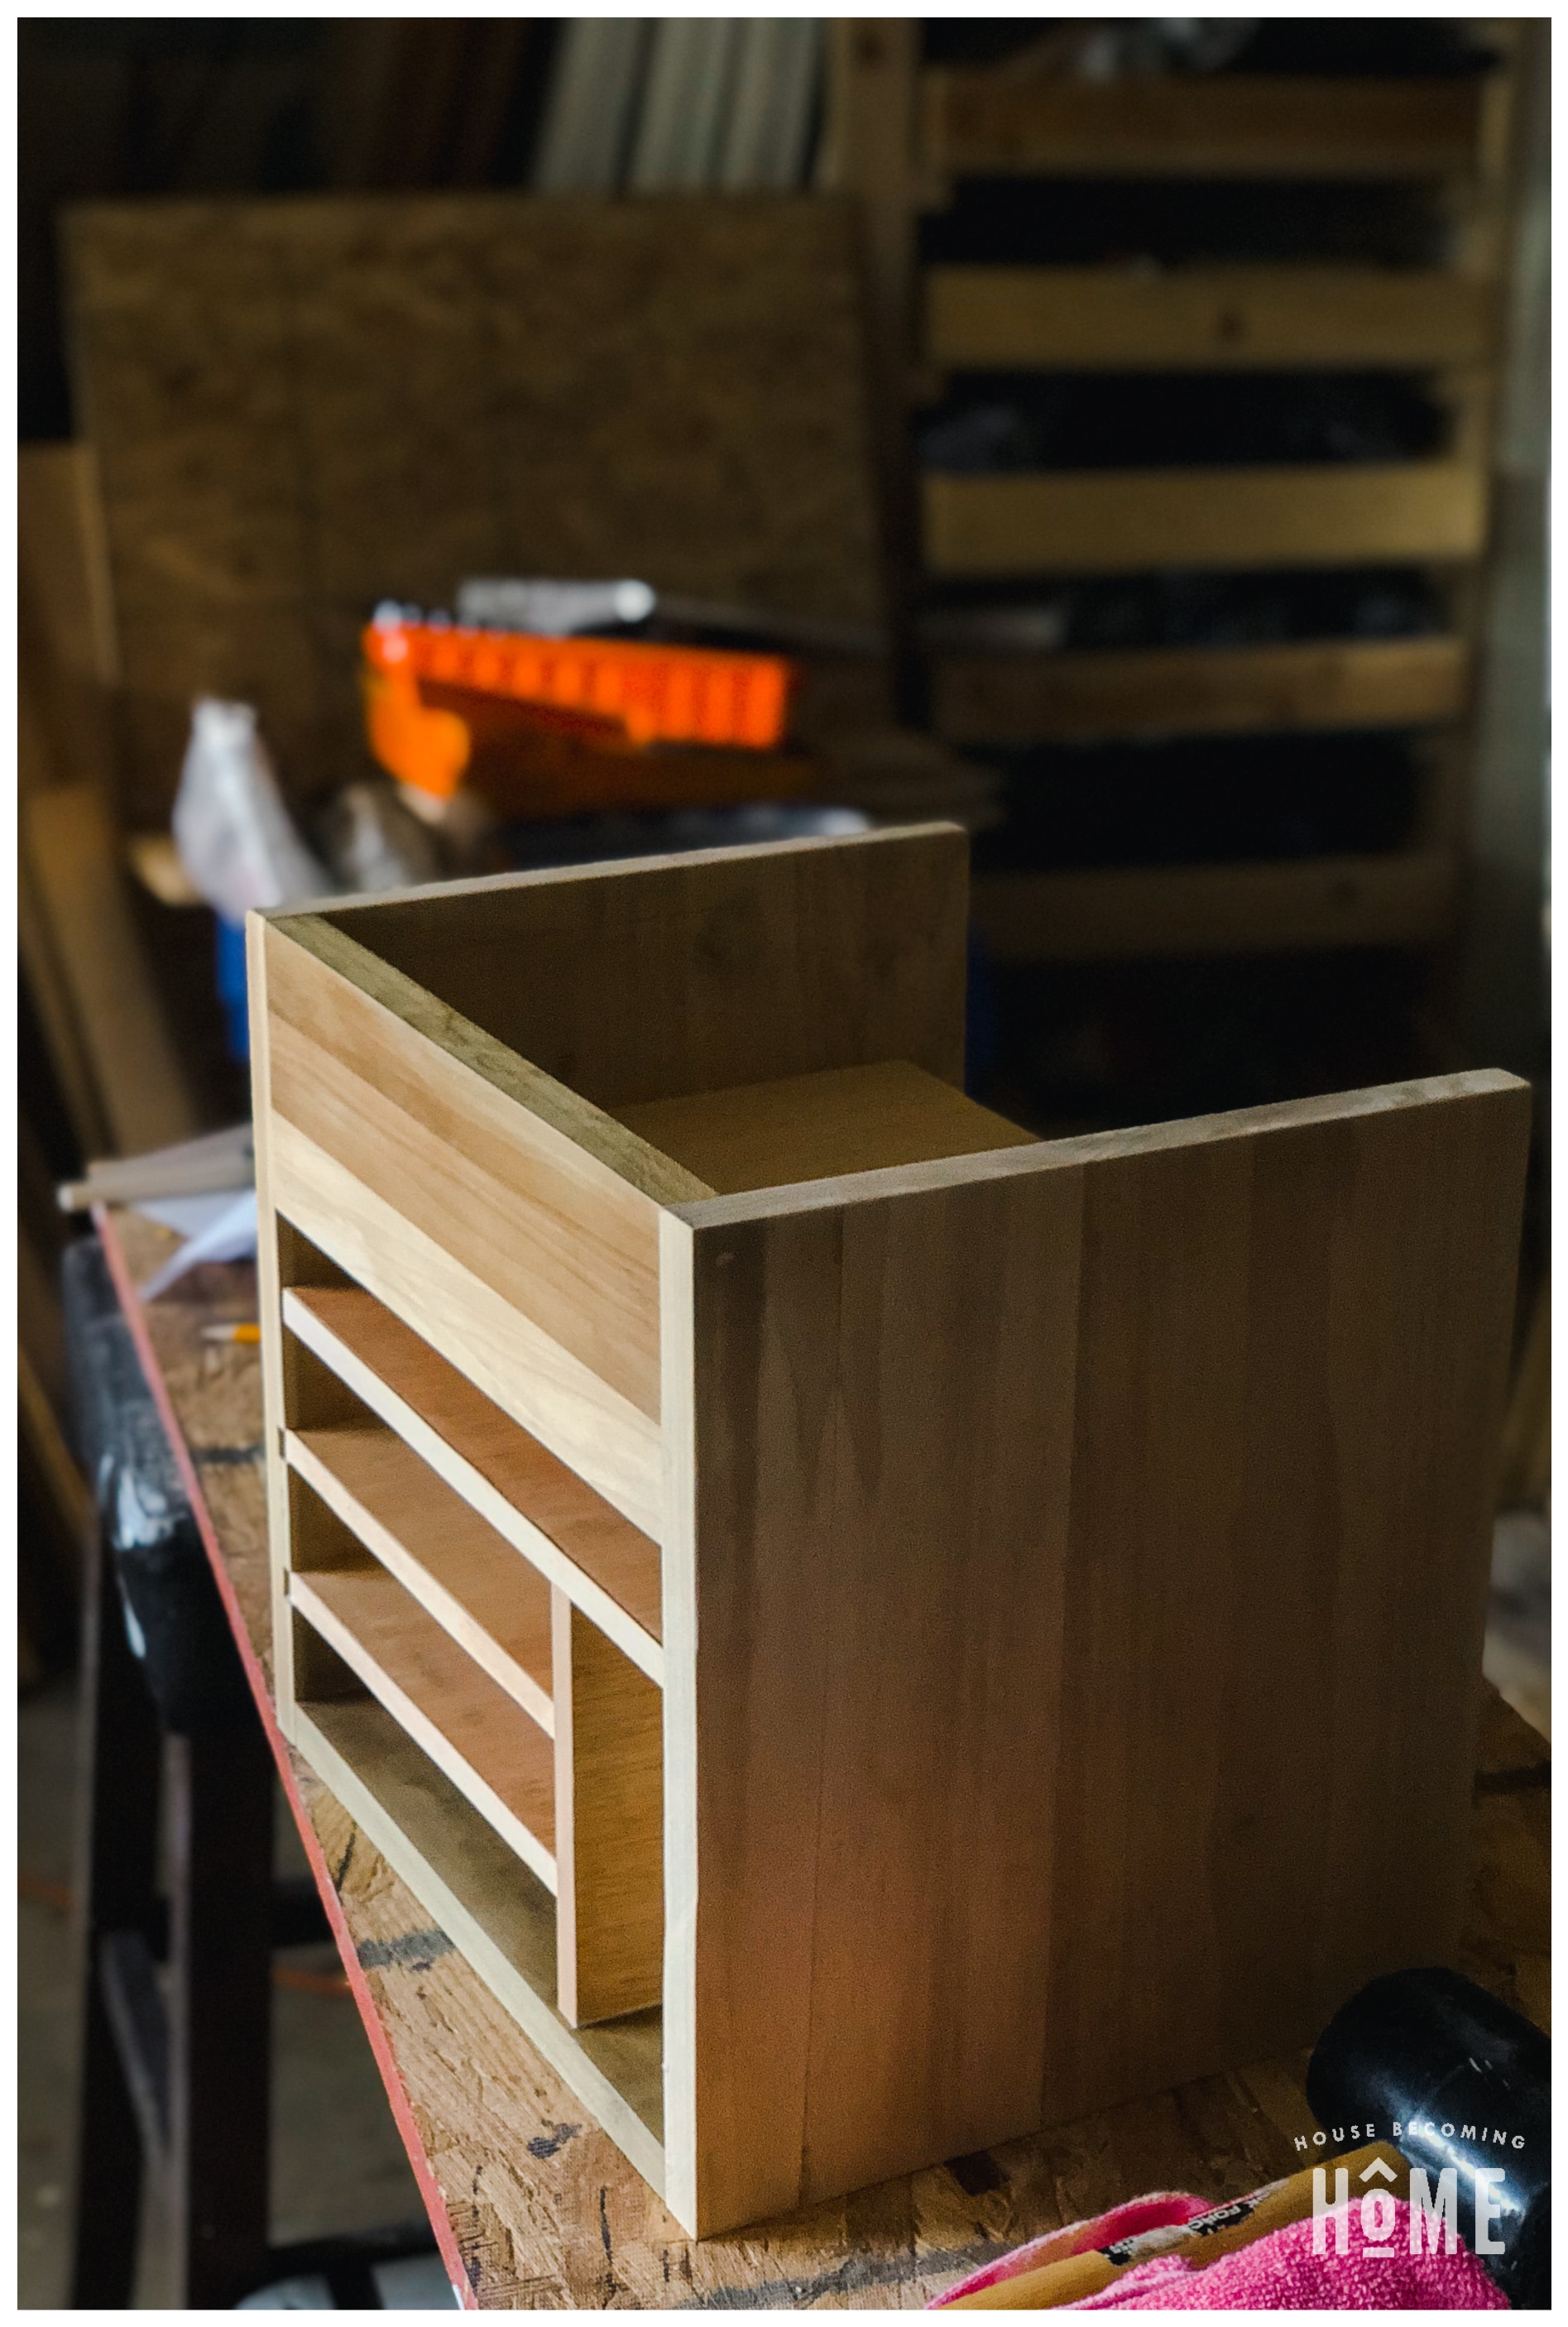
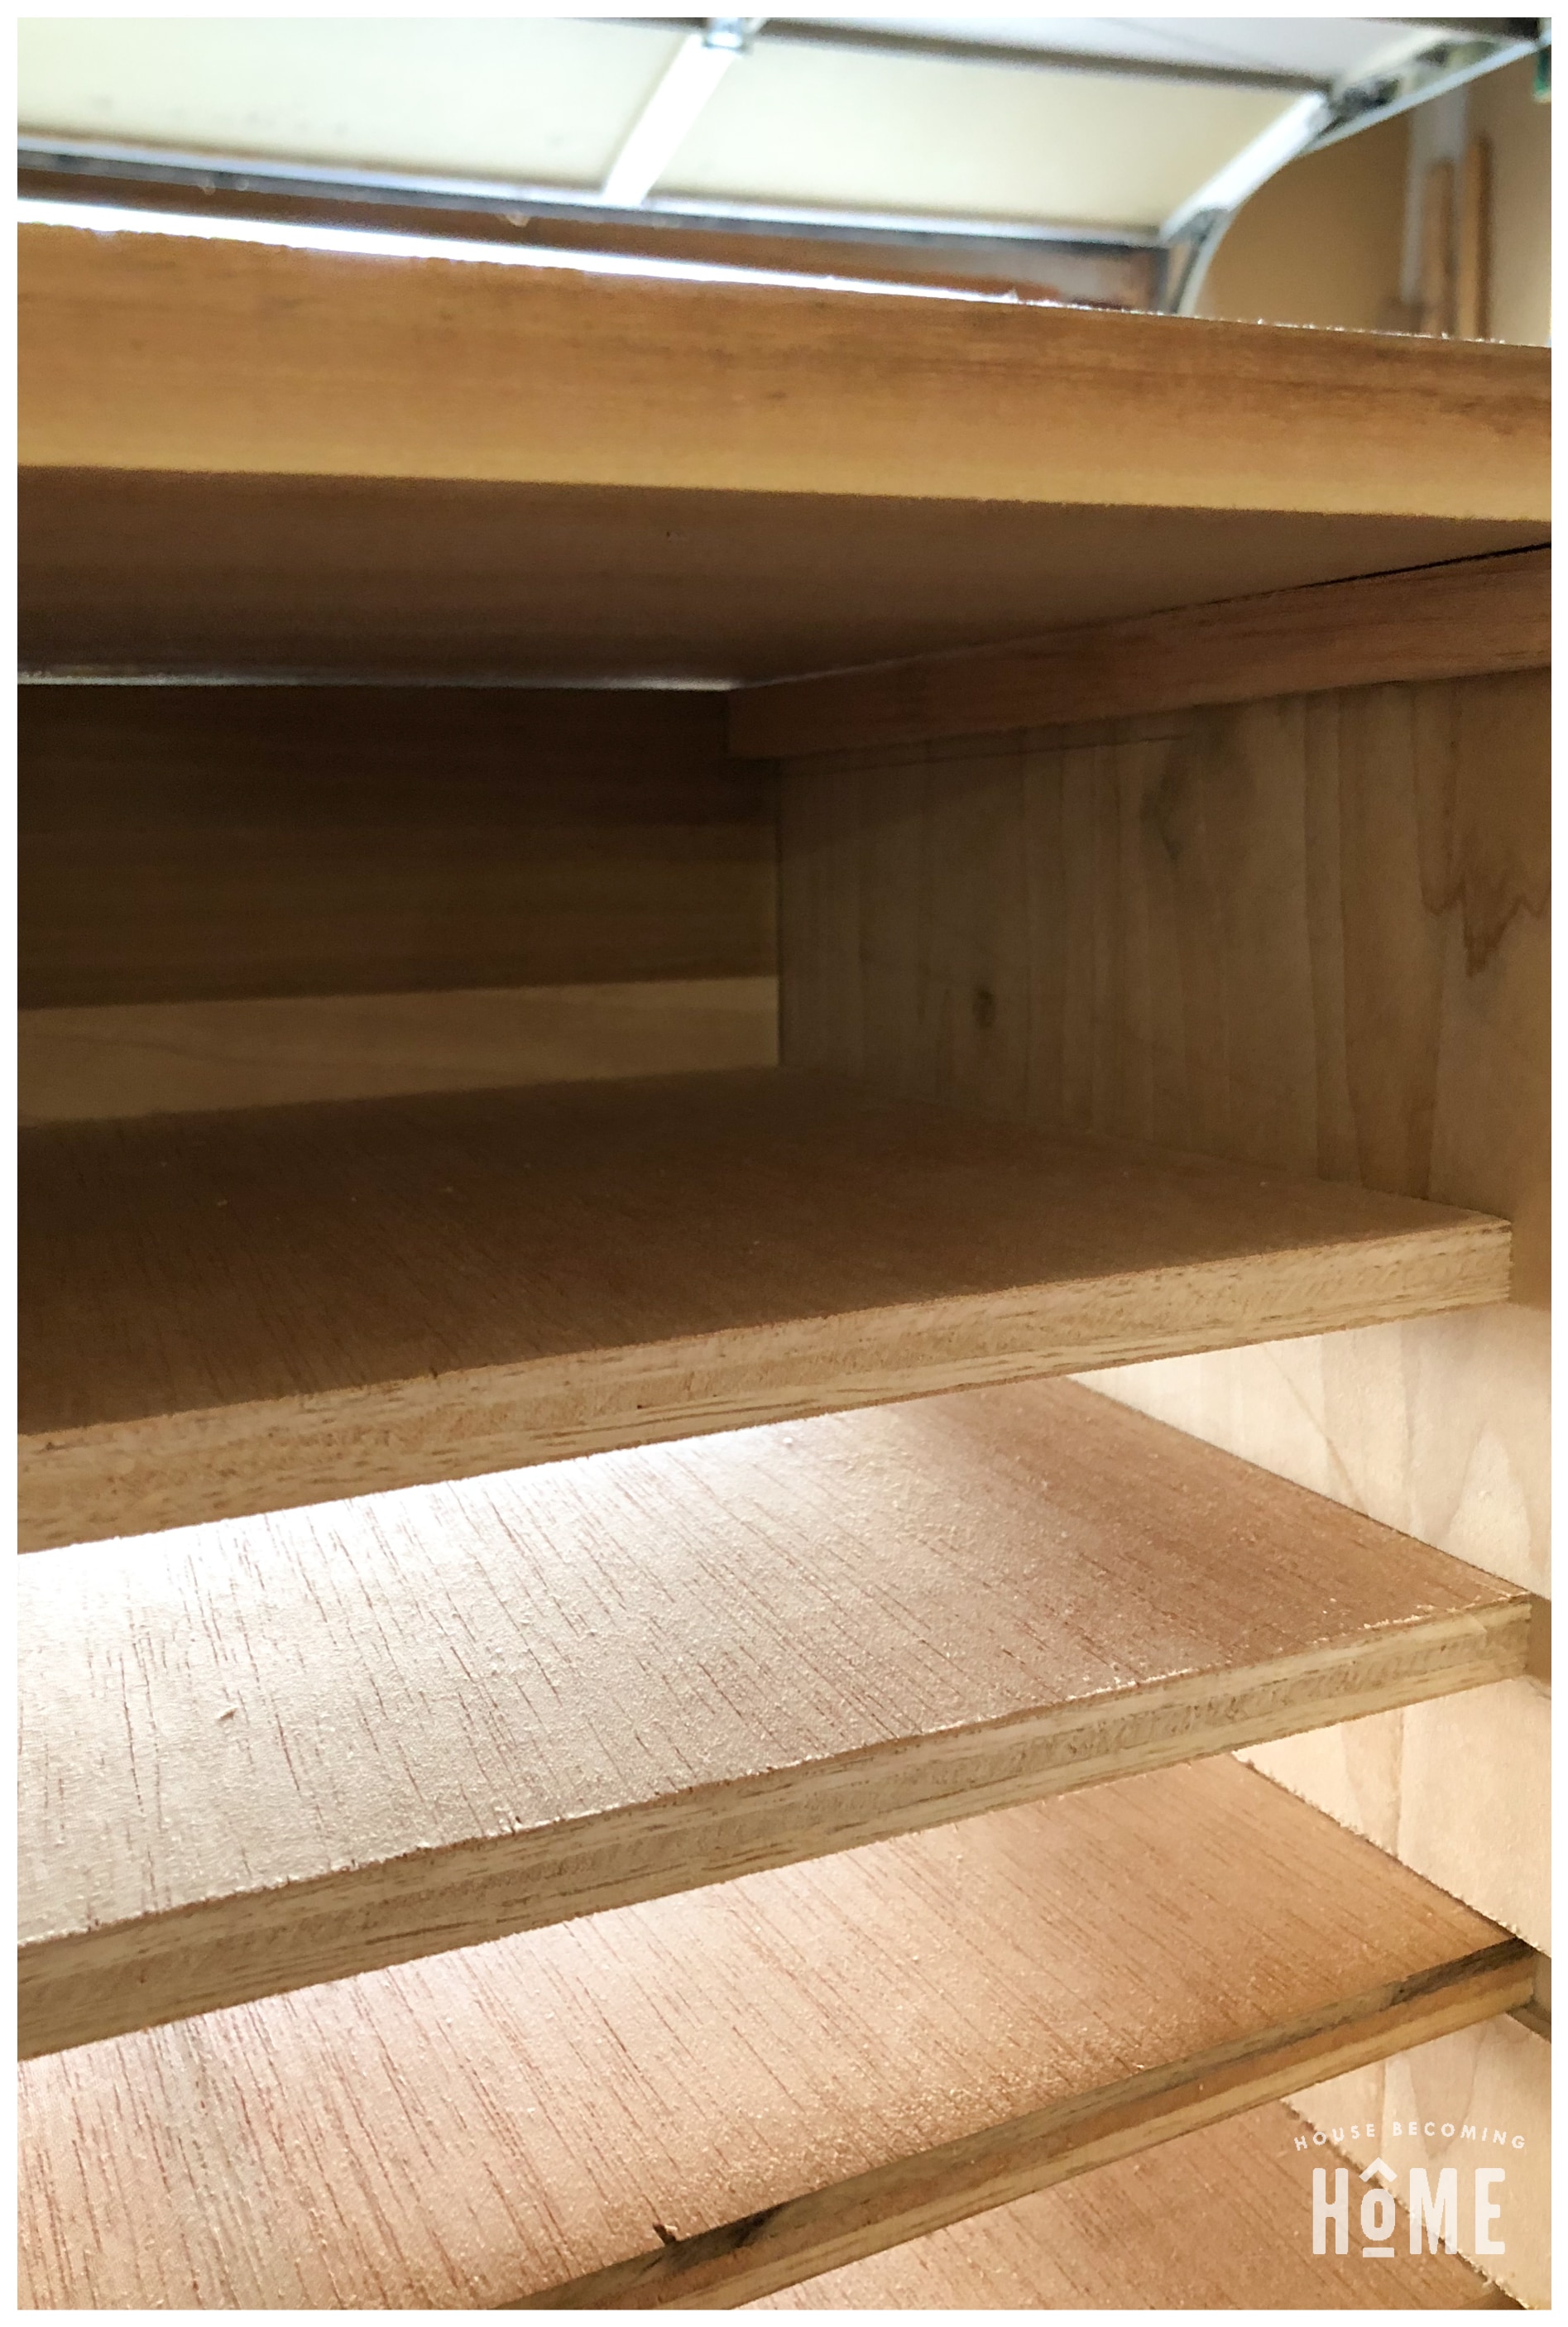
Using a router or table saw with dado blade, make ½-inch grooves, ¼-inch deep in the inside of the left side of the charging station. Make one groove at 2 1/4 inches and another at 4 1/16 inches. Next, make ½-inch grooves, this time only ⅛ inches deep, on the inside of the vertical shelf piece. Make one of the grooves at 1 ½ inches, the other at 3 5/16 inches. The photo below shows the charging station after the pieces have been put together.
 Step 3 :
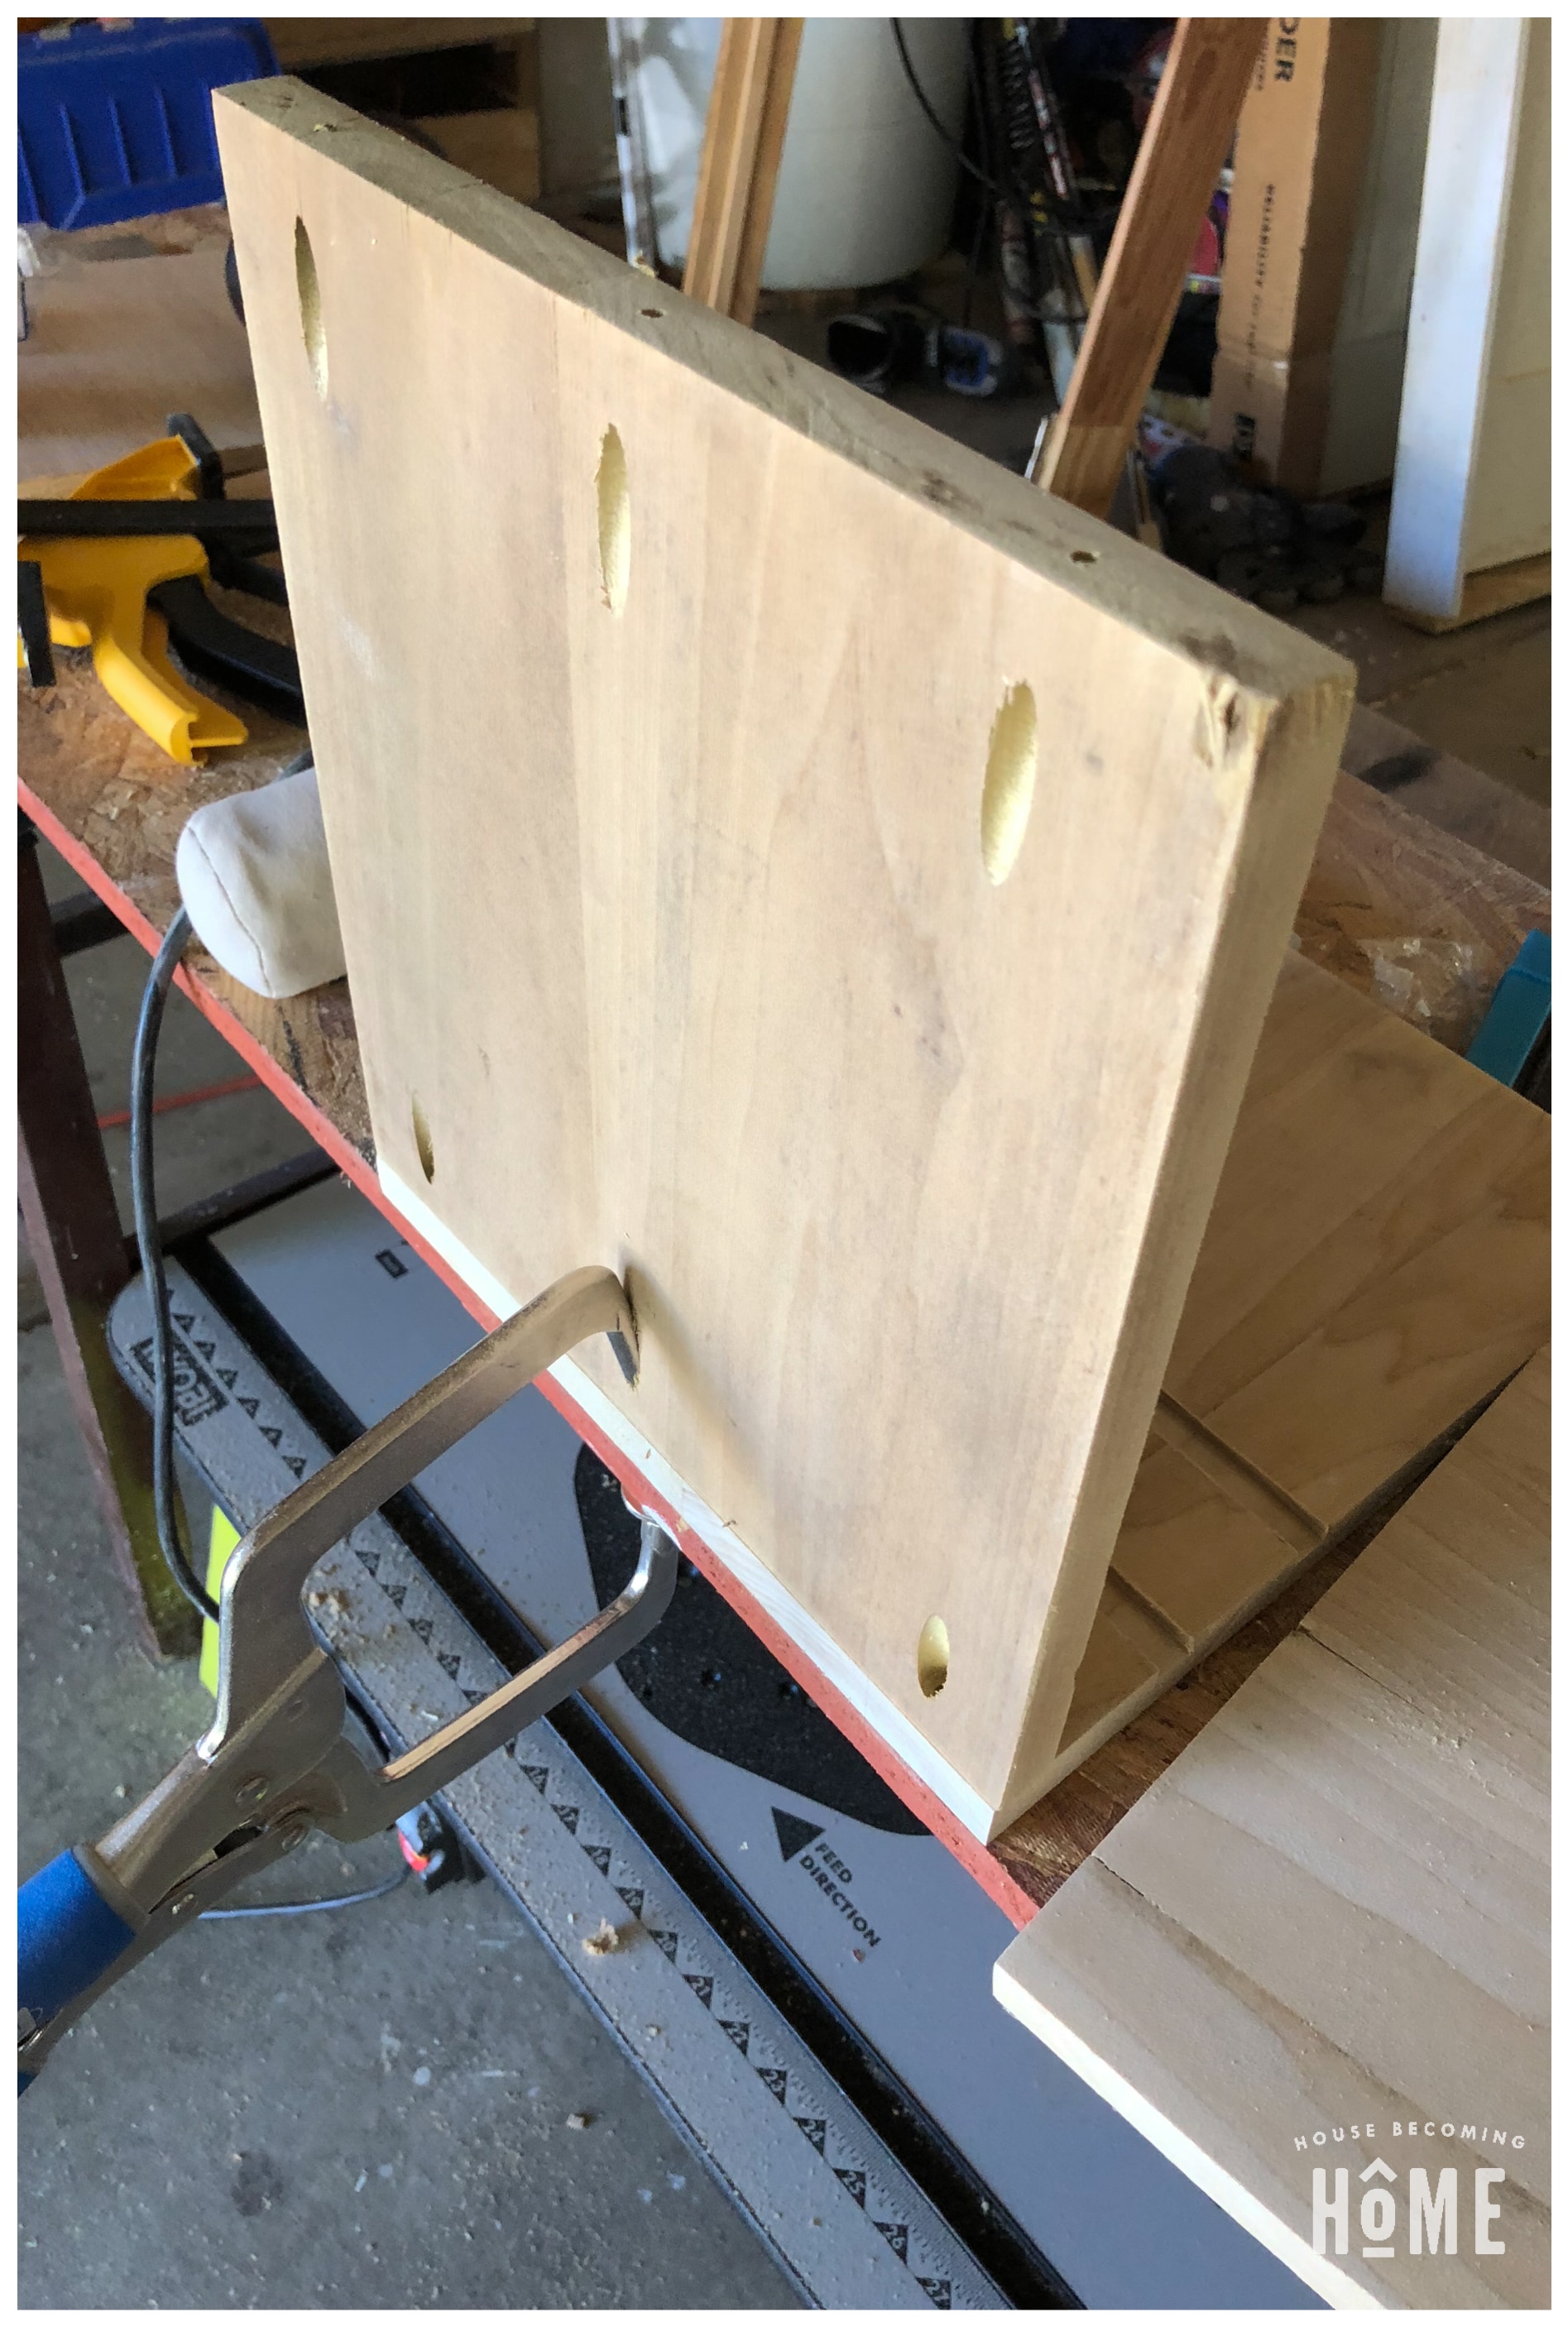
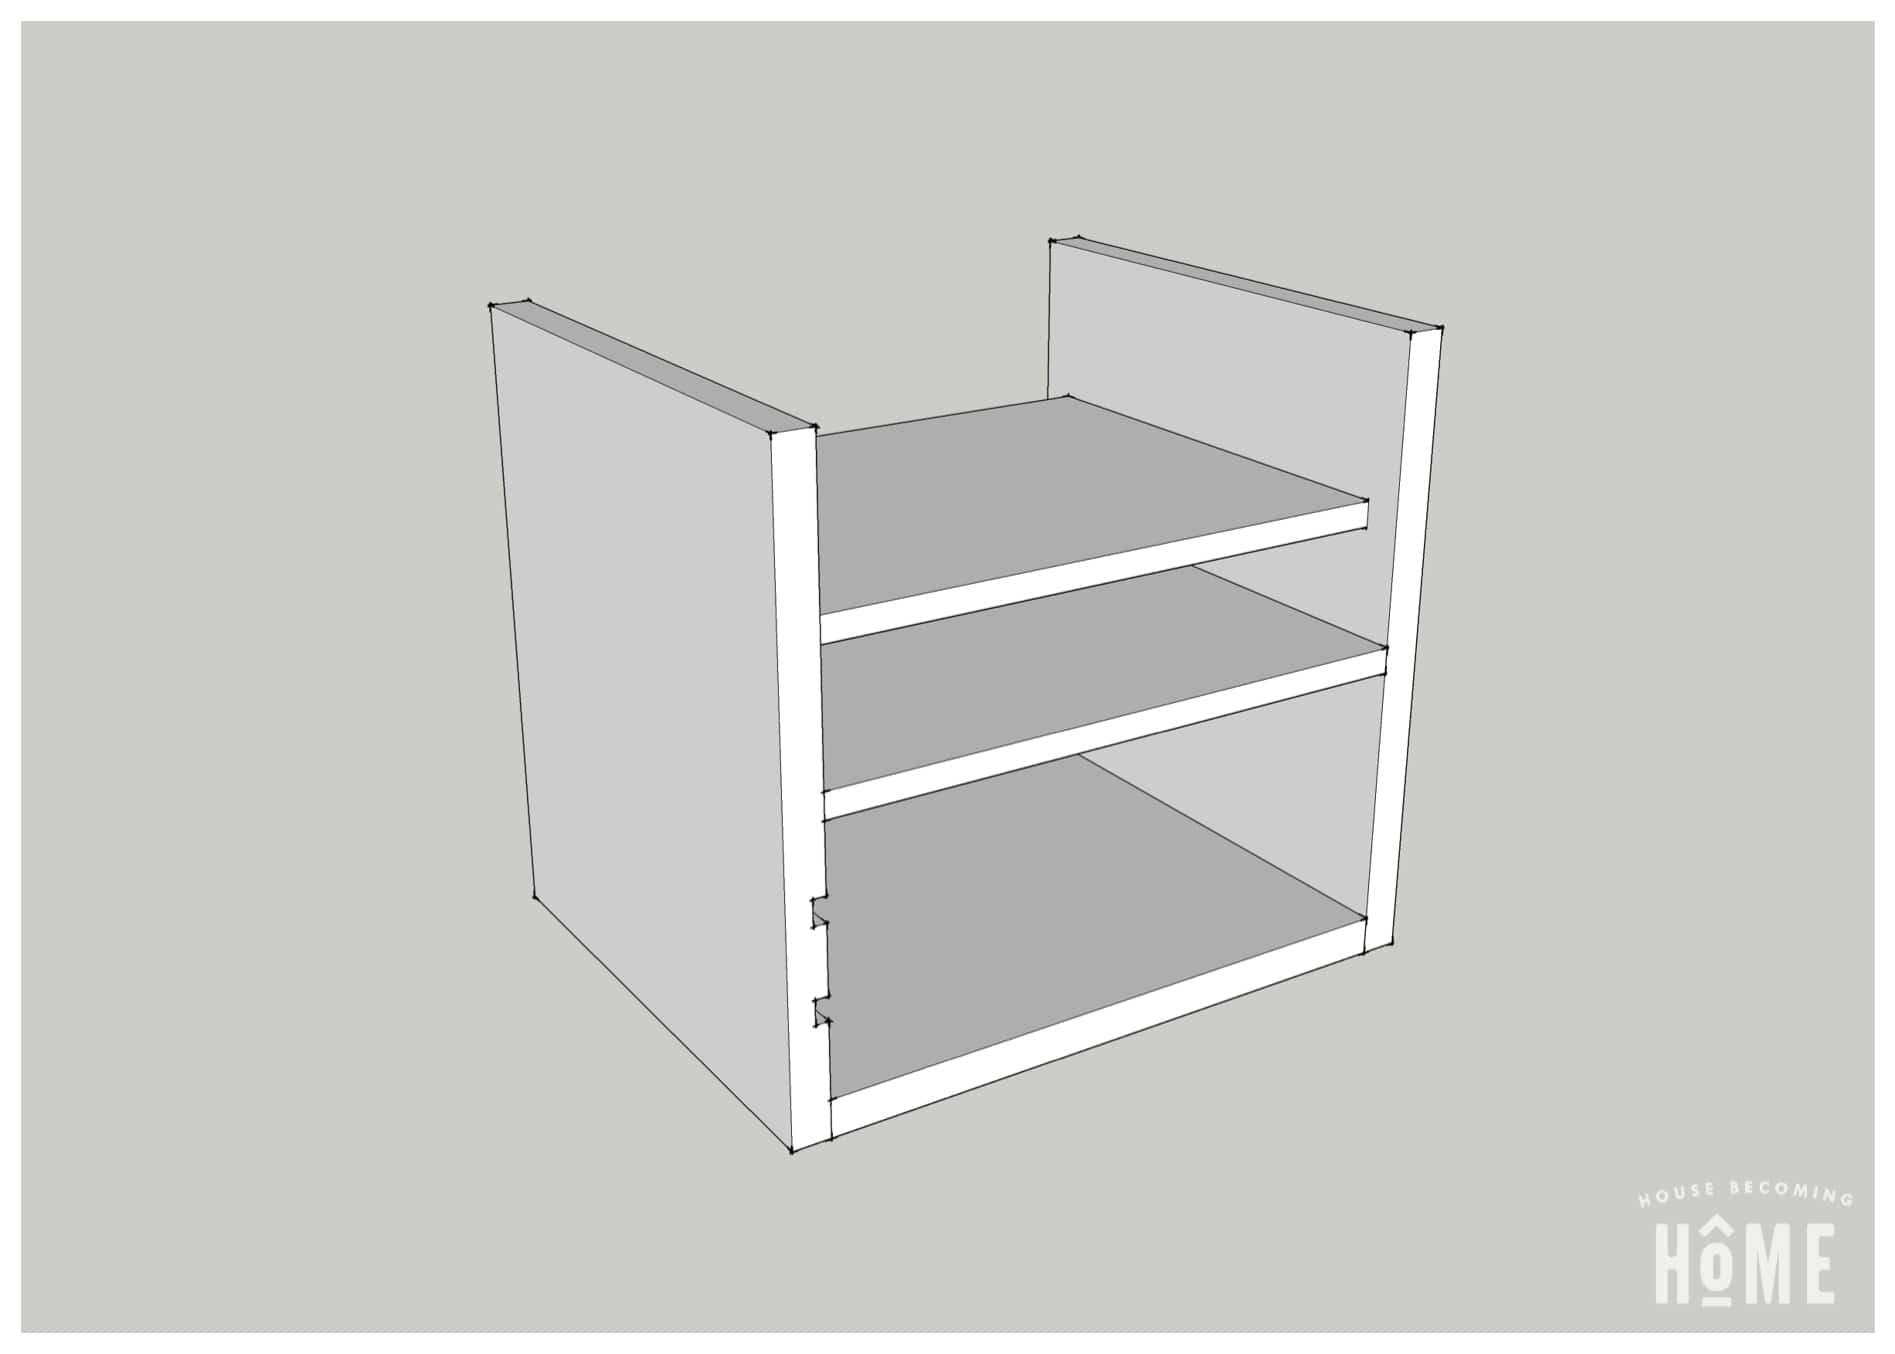
Construct the shell of the charging station using the bottom and two side pieces. Make pocket holes on the bottom side of the bottom piece, then use 1 ¼-inch pocket screws to connect it to the sides.

 Step 4:
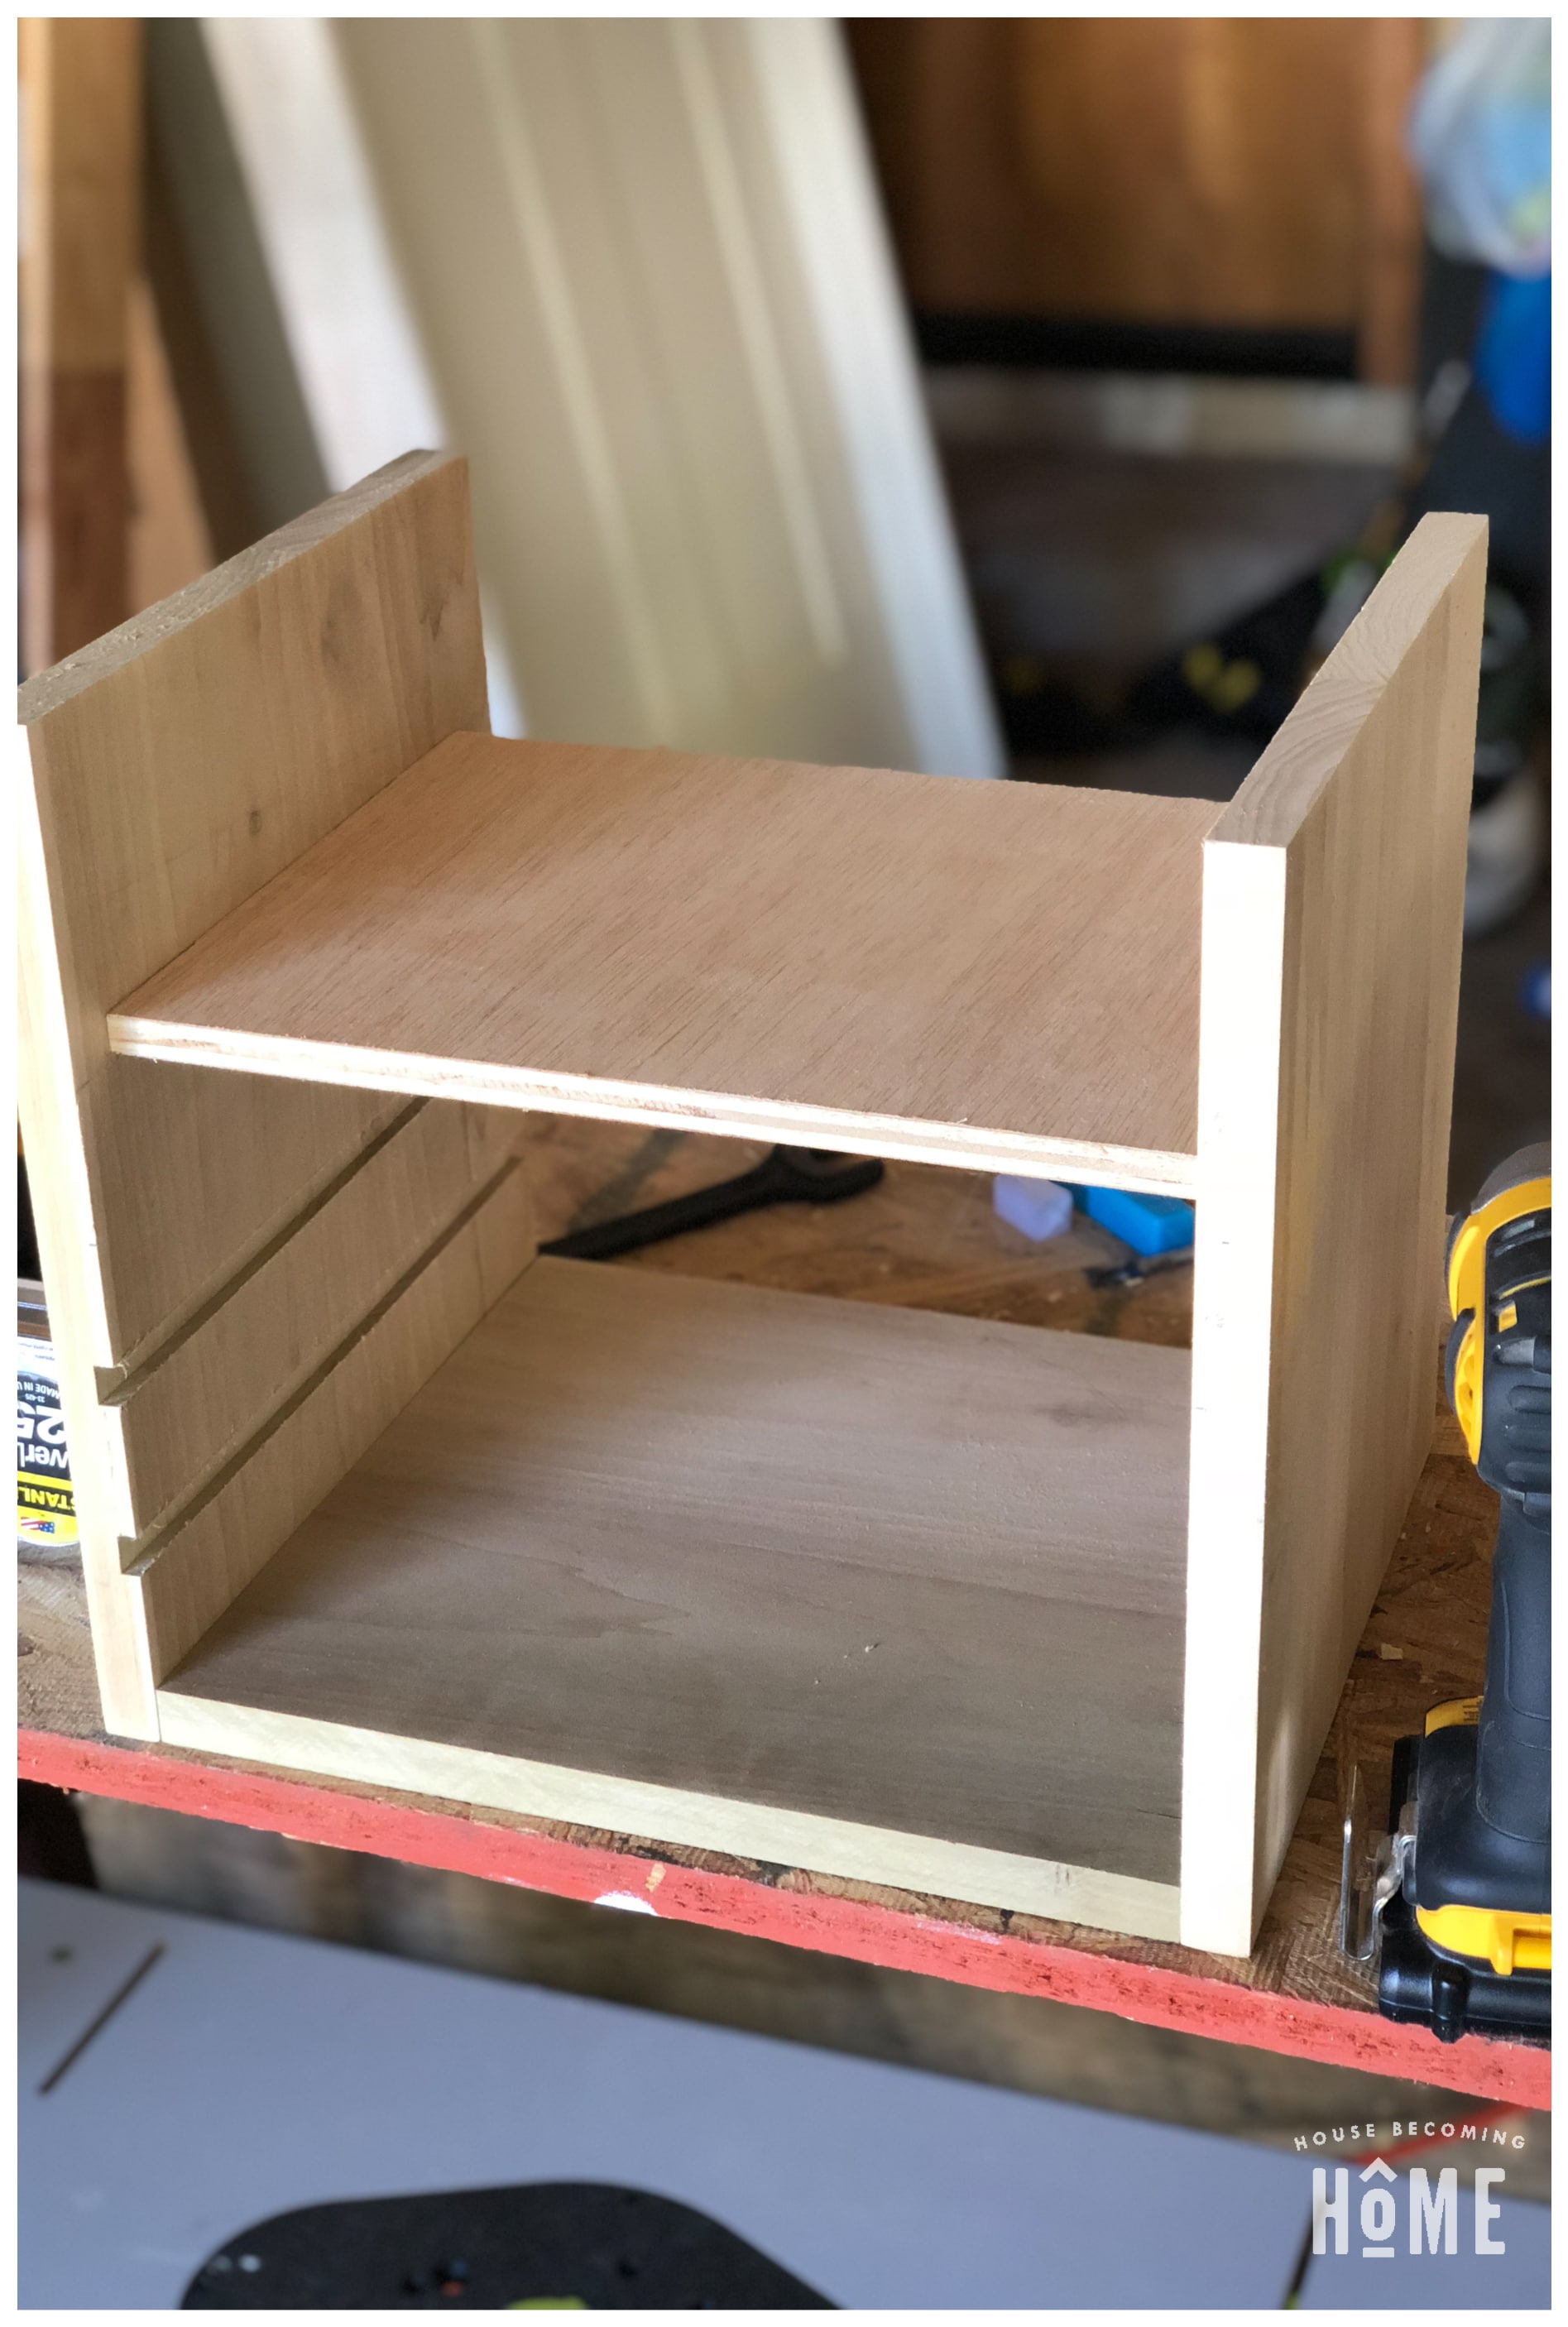
Make pocket holes in the bottom side of shelf that will hold the power strip. Attach with 1 ¼-inch pocket screws to the charging station sides, 3 ¼ inches from the top, making sure it is set back ¾ inches from the front, and 1 ½ inches from the back.
 Step 5:
Next, make pocket holes in the bottom of the laptop shelf. Attach to the sides, 2 ⅛ inches below the power strip shelf, with 1 ¼-inch pocket screws. The laptop shelf should be flush to the front.
 Step 6:
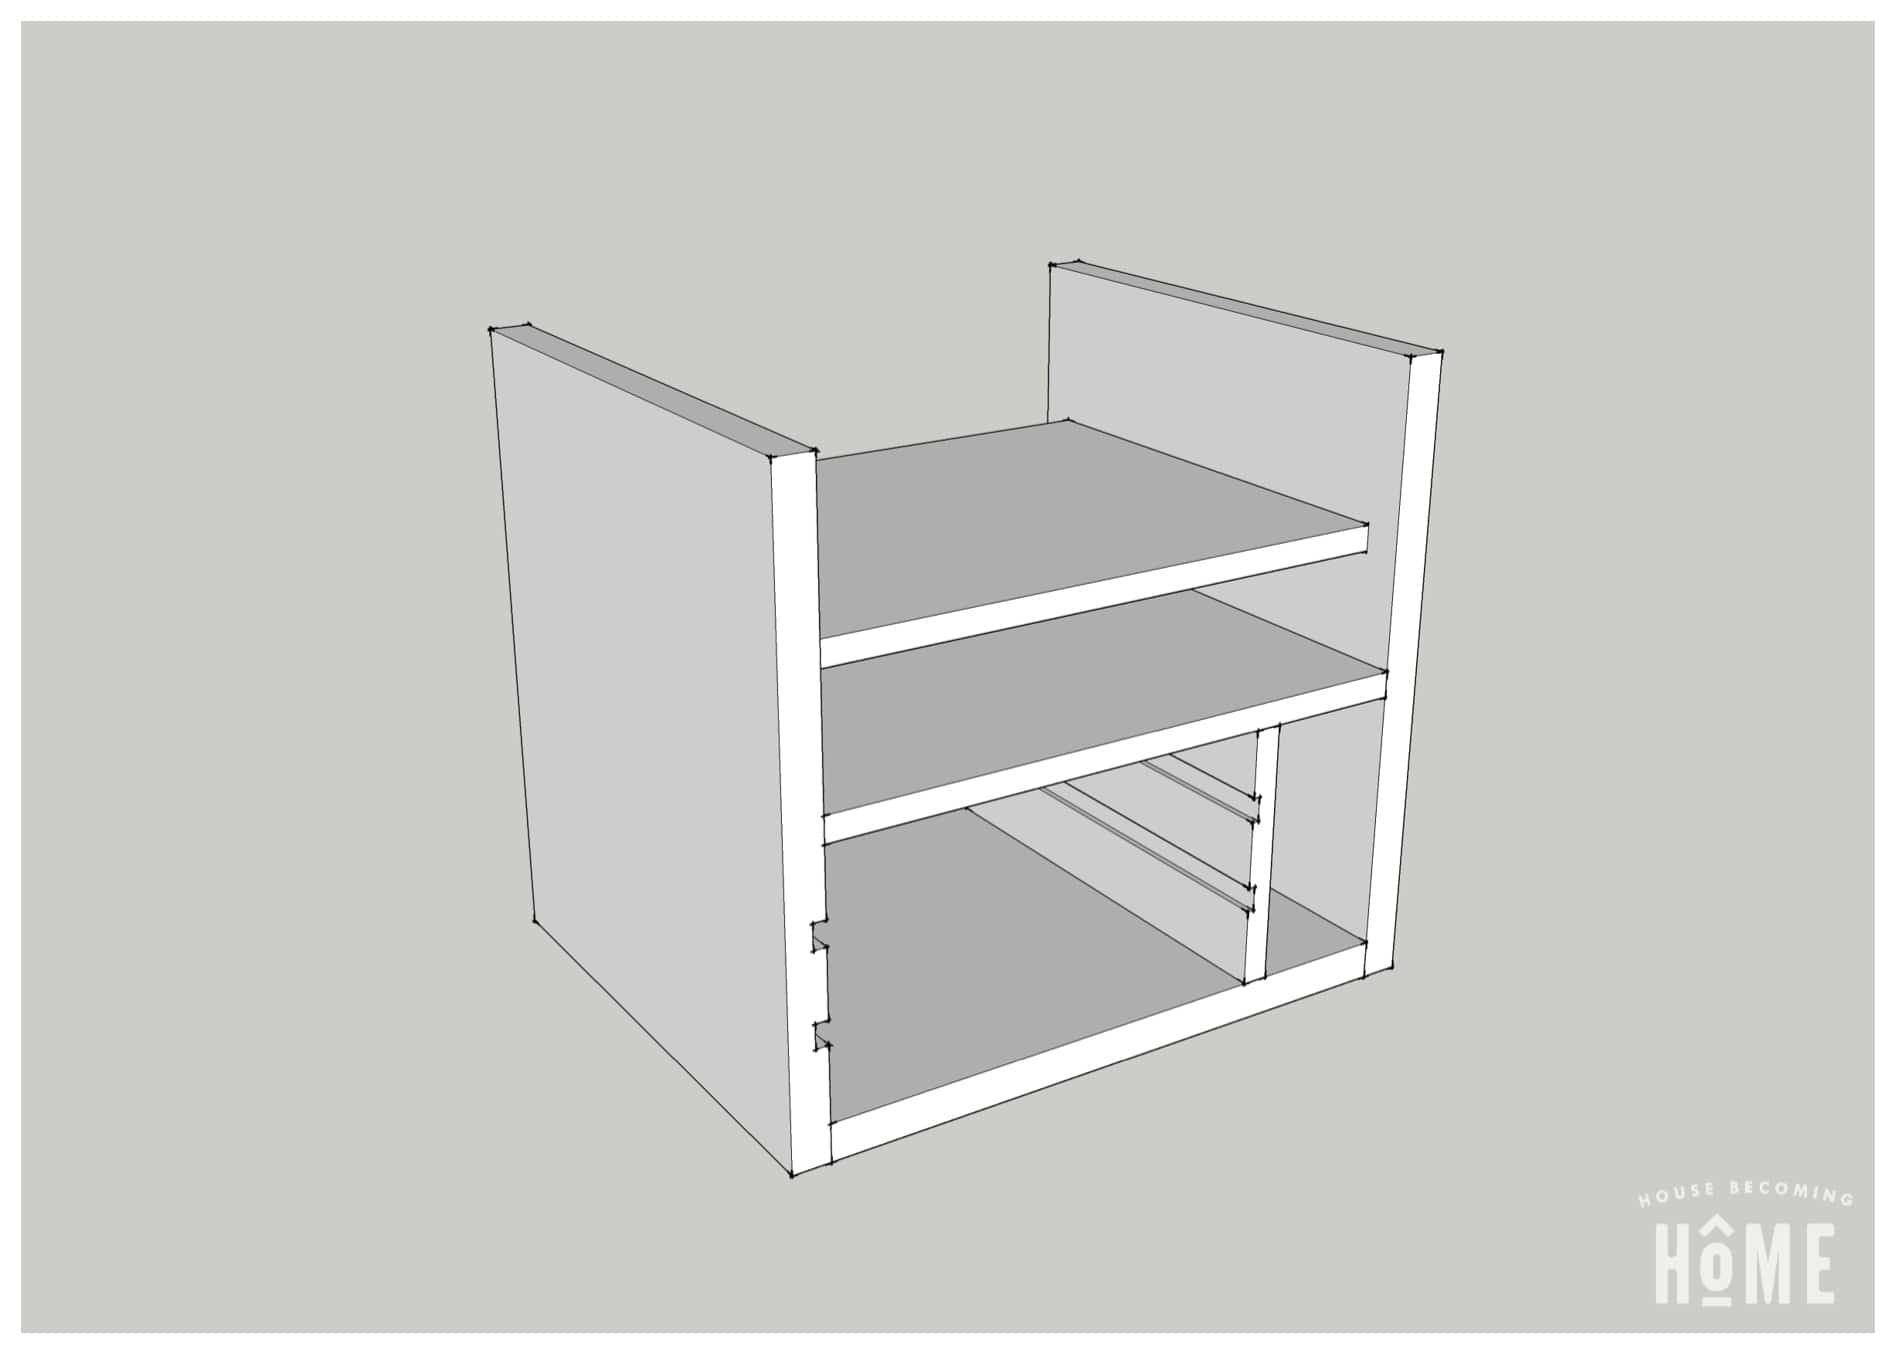
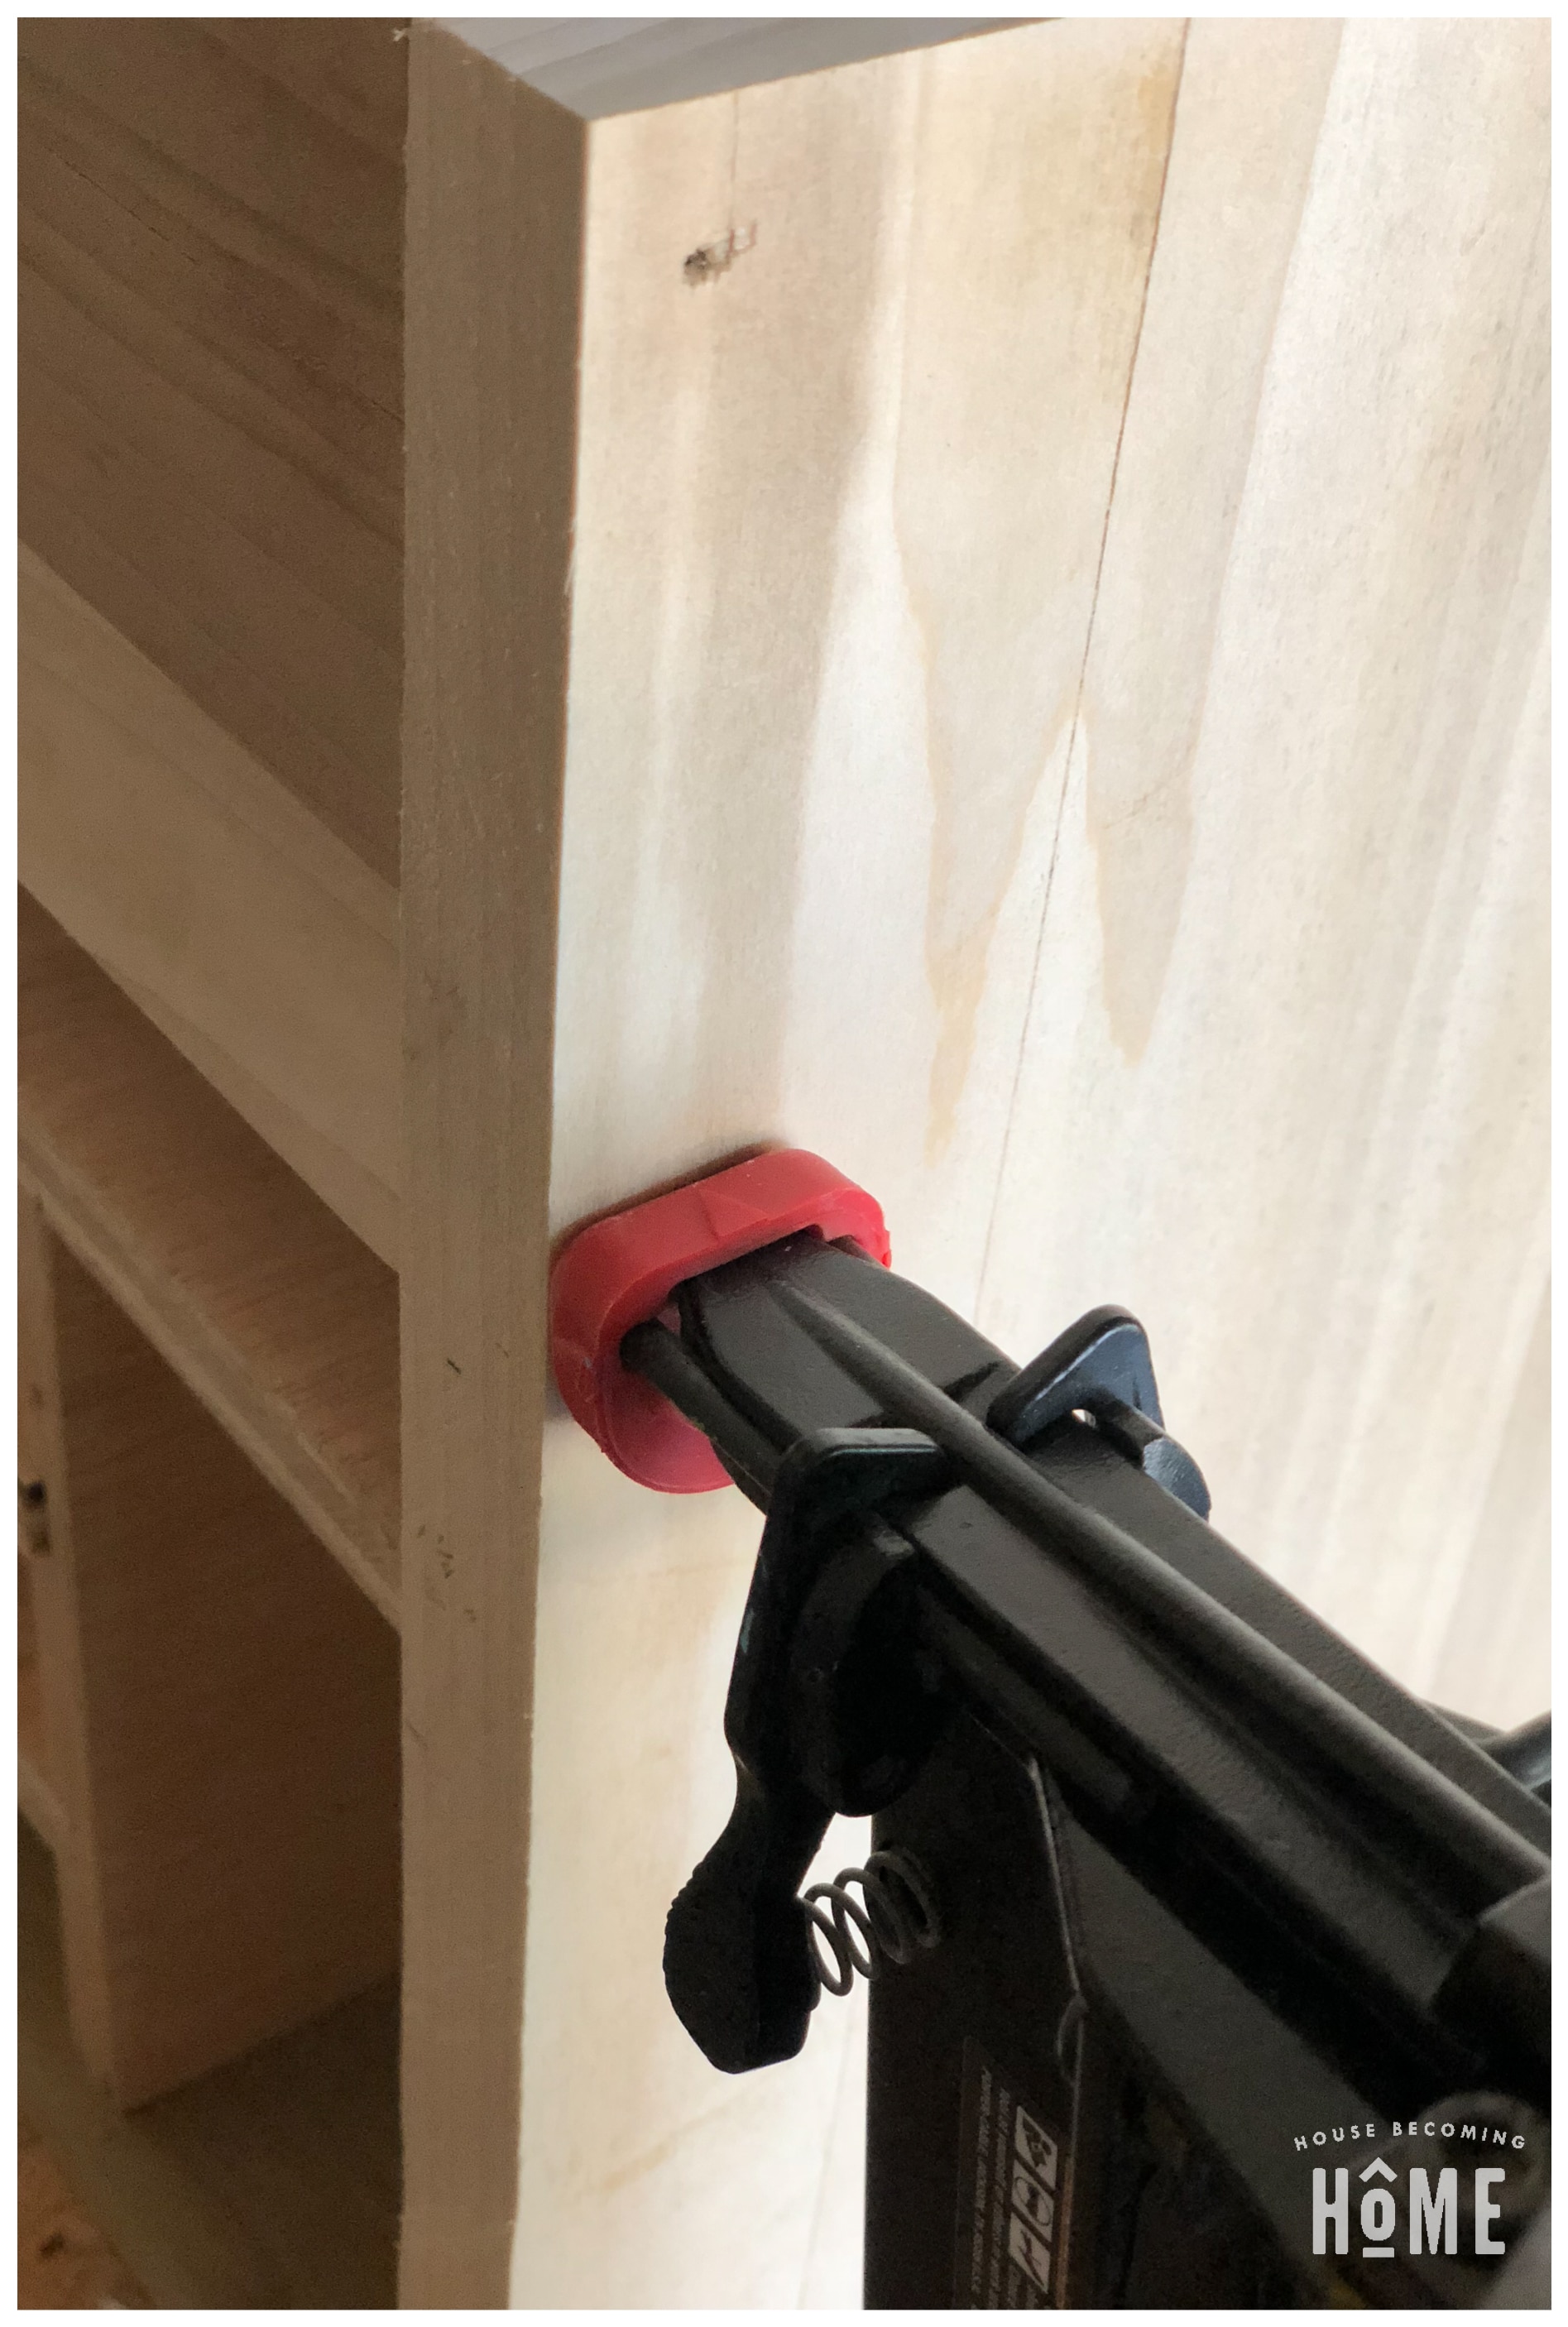
Attach the vertical shelf piece to the laptop shelf and the charging station bottom, 2 9/16 inches from the right side. Use wood glue and nails driven from both the top and bottom.
 Step 7:
Slide the two small shelves into the grooves. Secure with wood glue.
 Step 8 :
Attach the front cover piece that will hide the power strip and charging cables. The top should be flush with the top of the charging station sides, and the bottom should be flush with the bottom of the power strip shelf. Attach with nails from the sides, then fill holes with wood filler.

 Step 9:
Add veneer edging strips to front edges of plywood. Begin with the two small shelves, stopping where the shelf meets the vertical piece. Next, apply a veneer strip to the vertical plywood.
 Step 10:
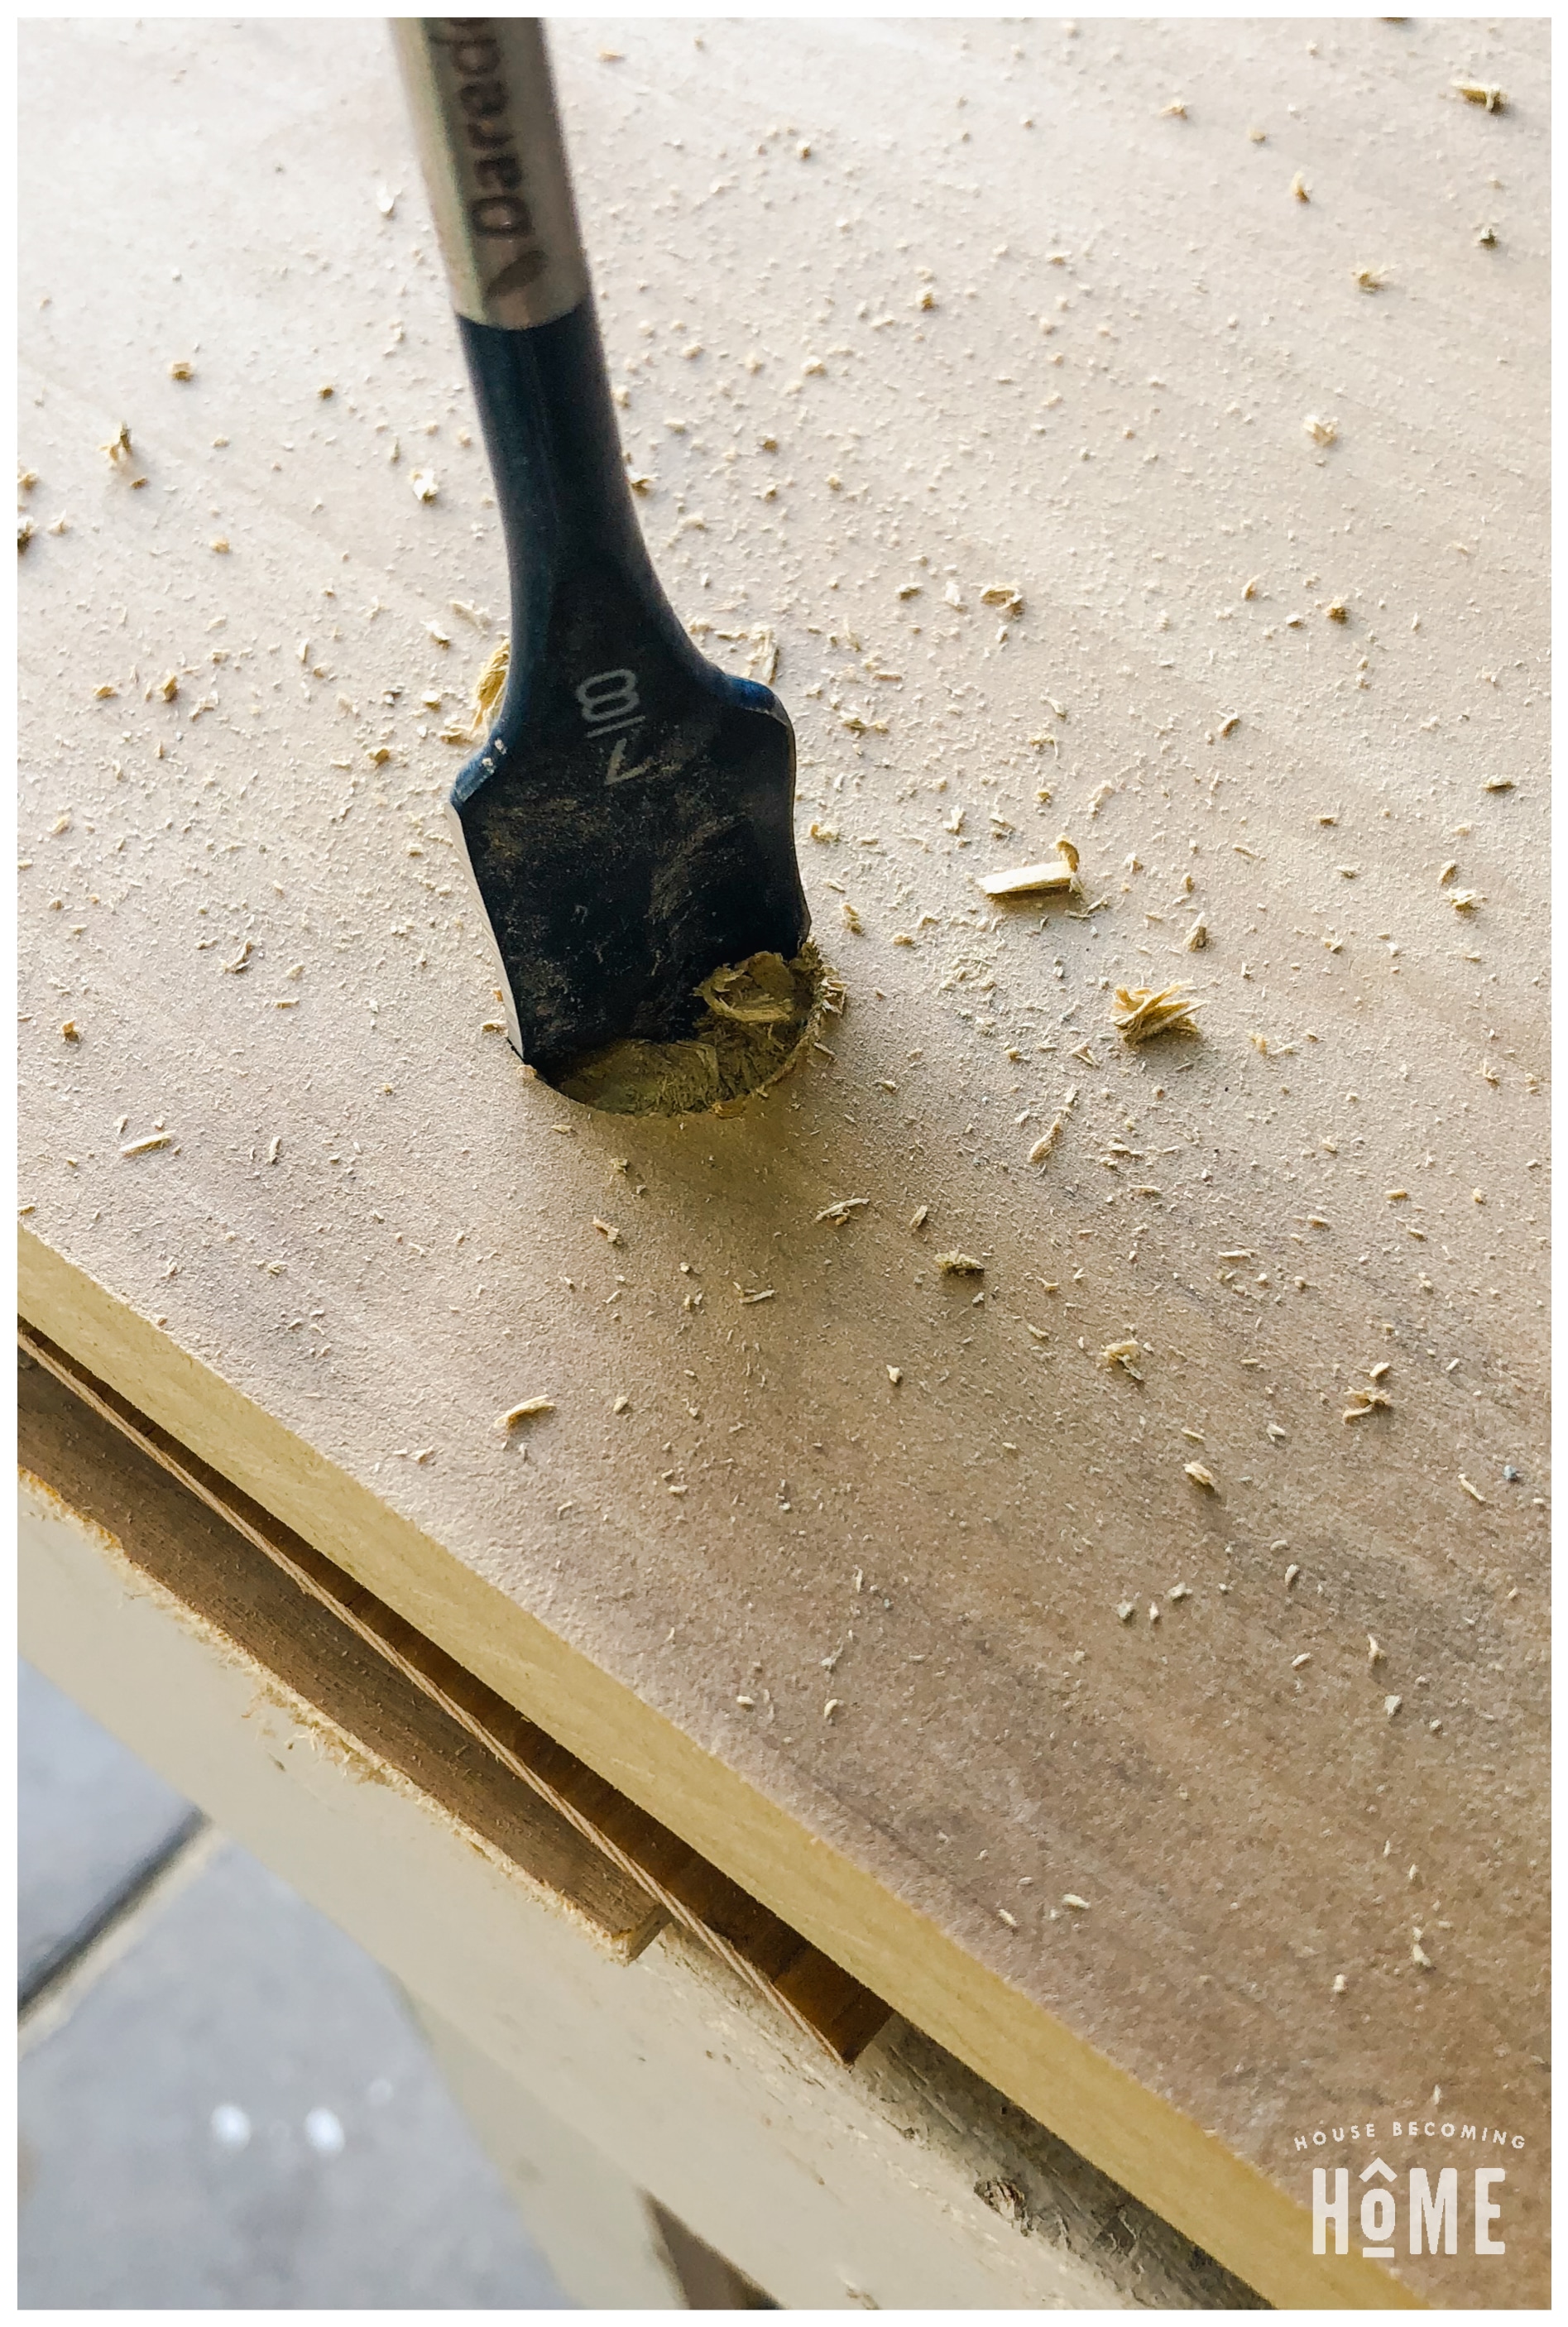
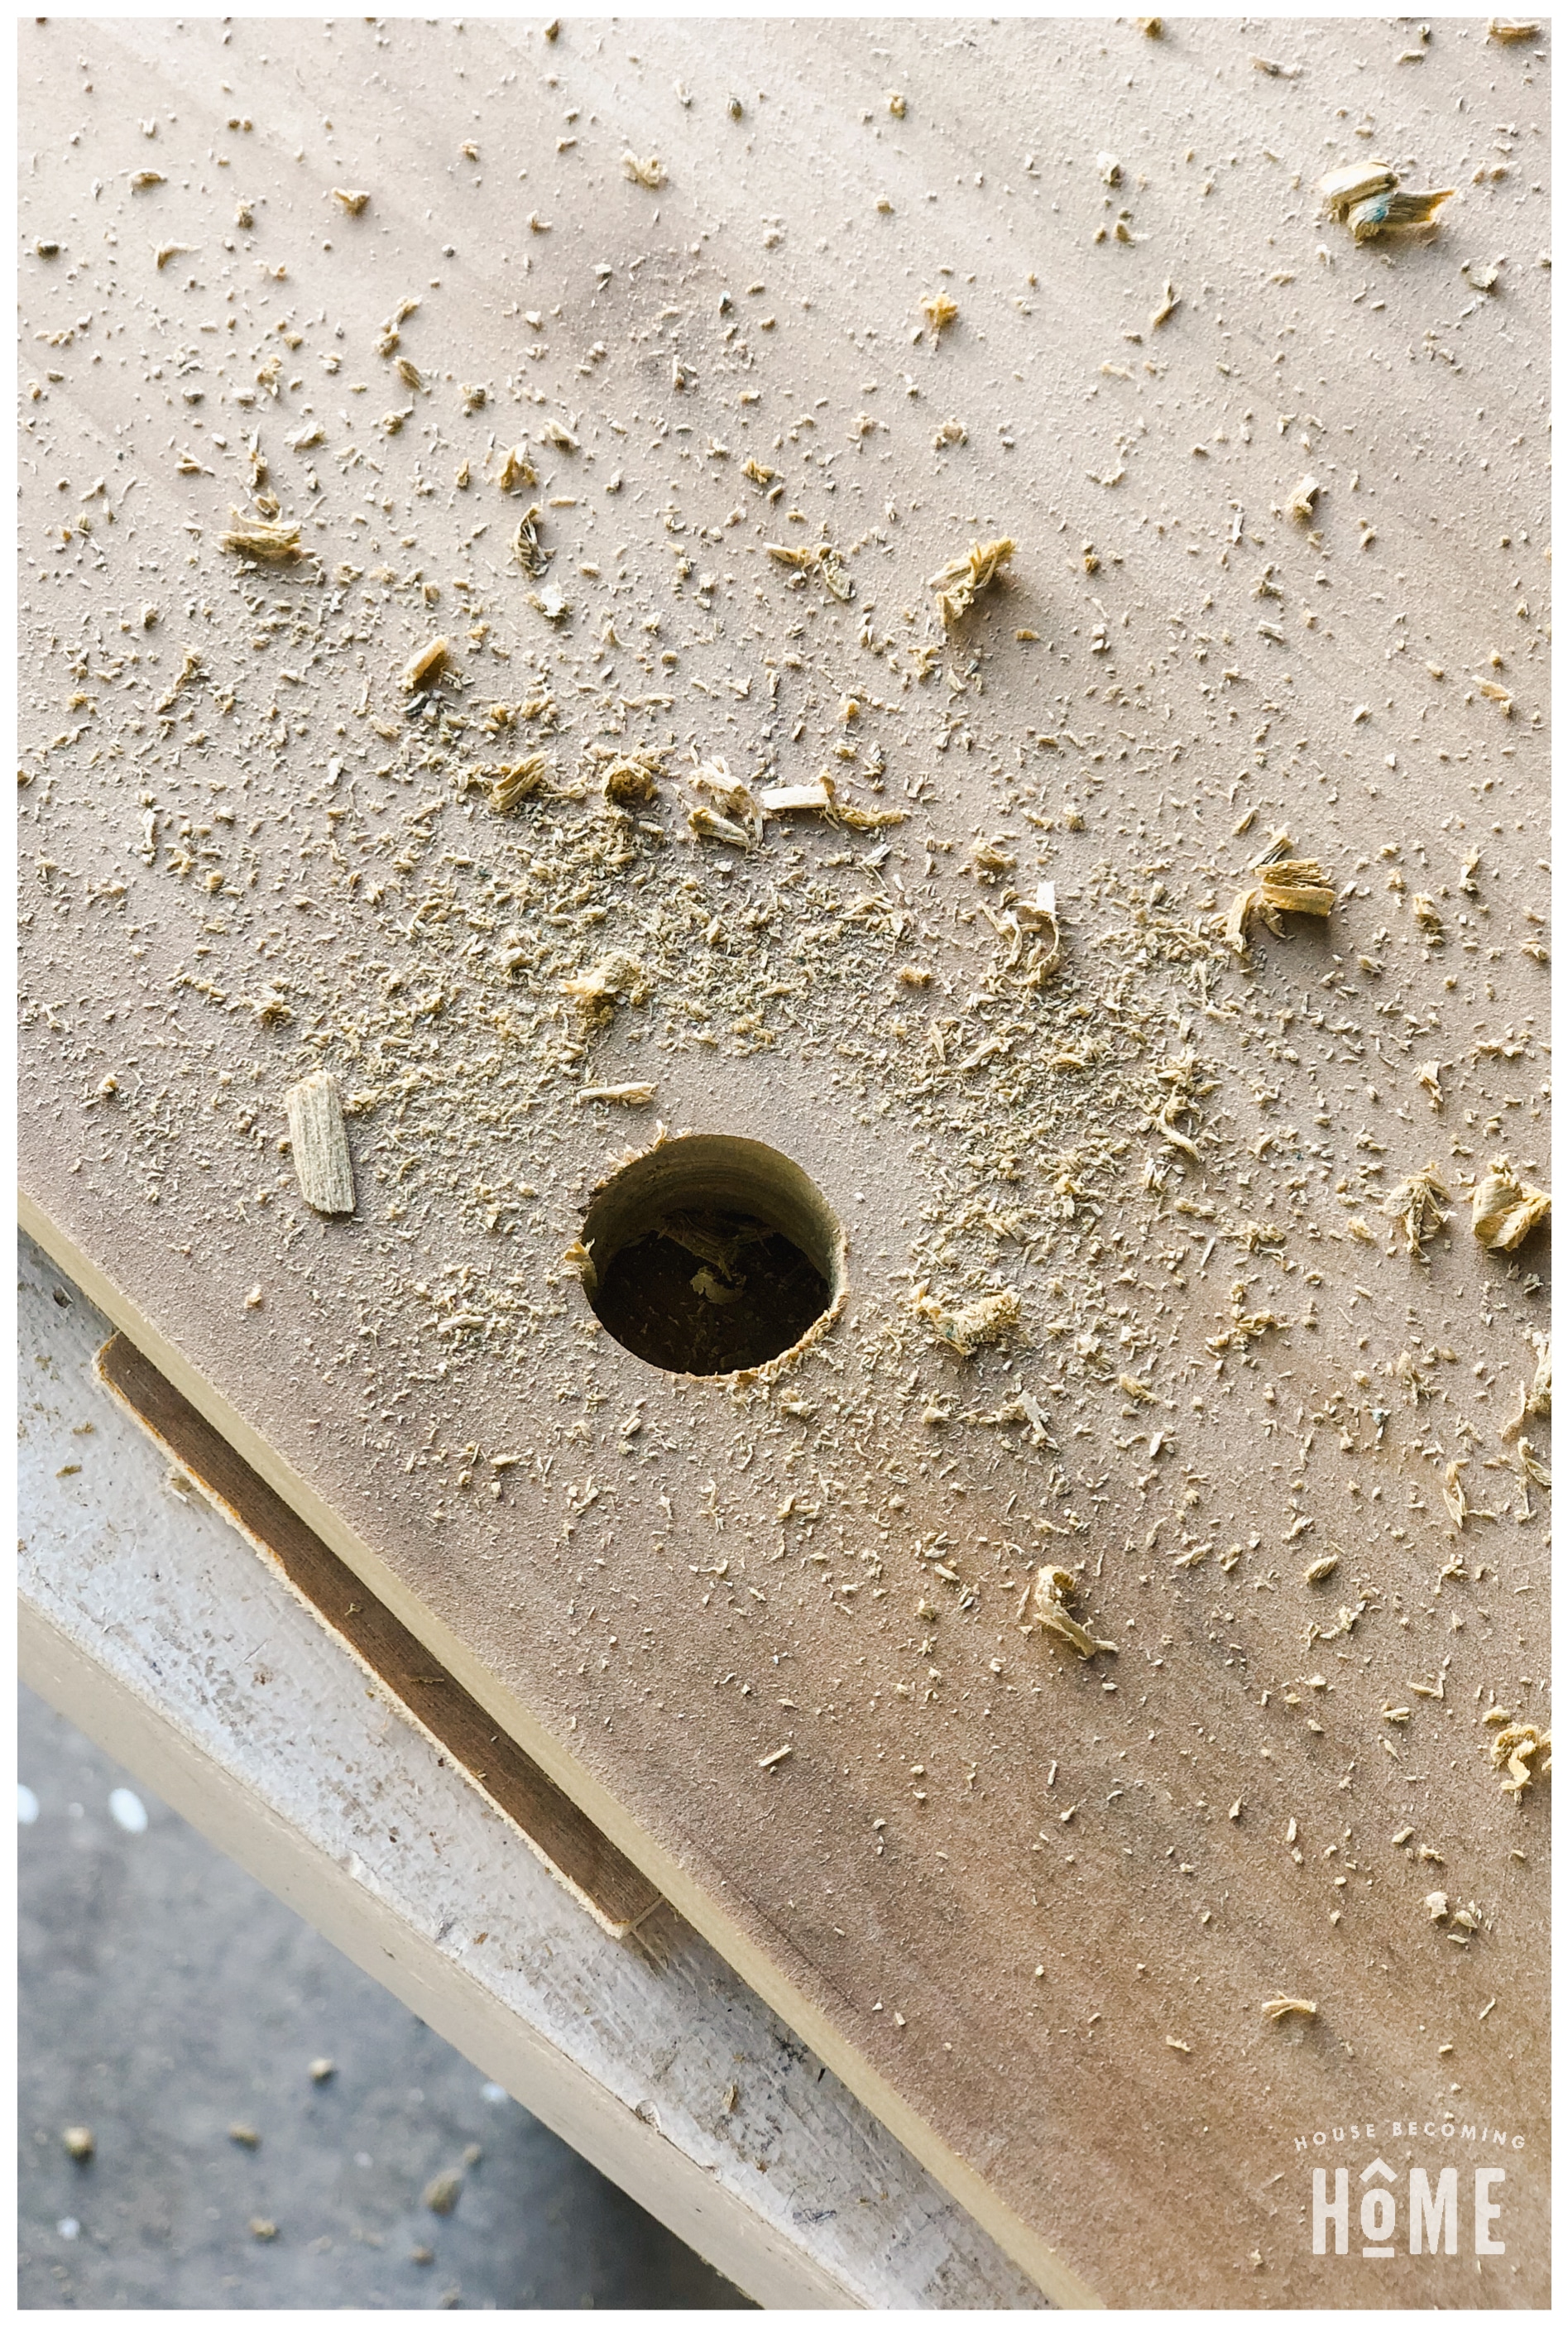
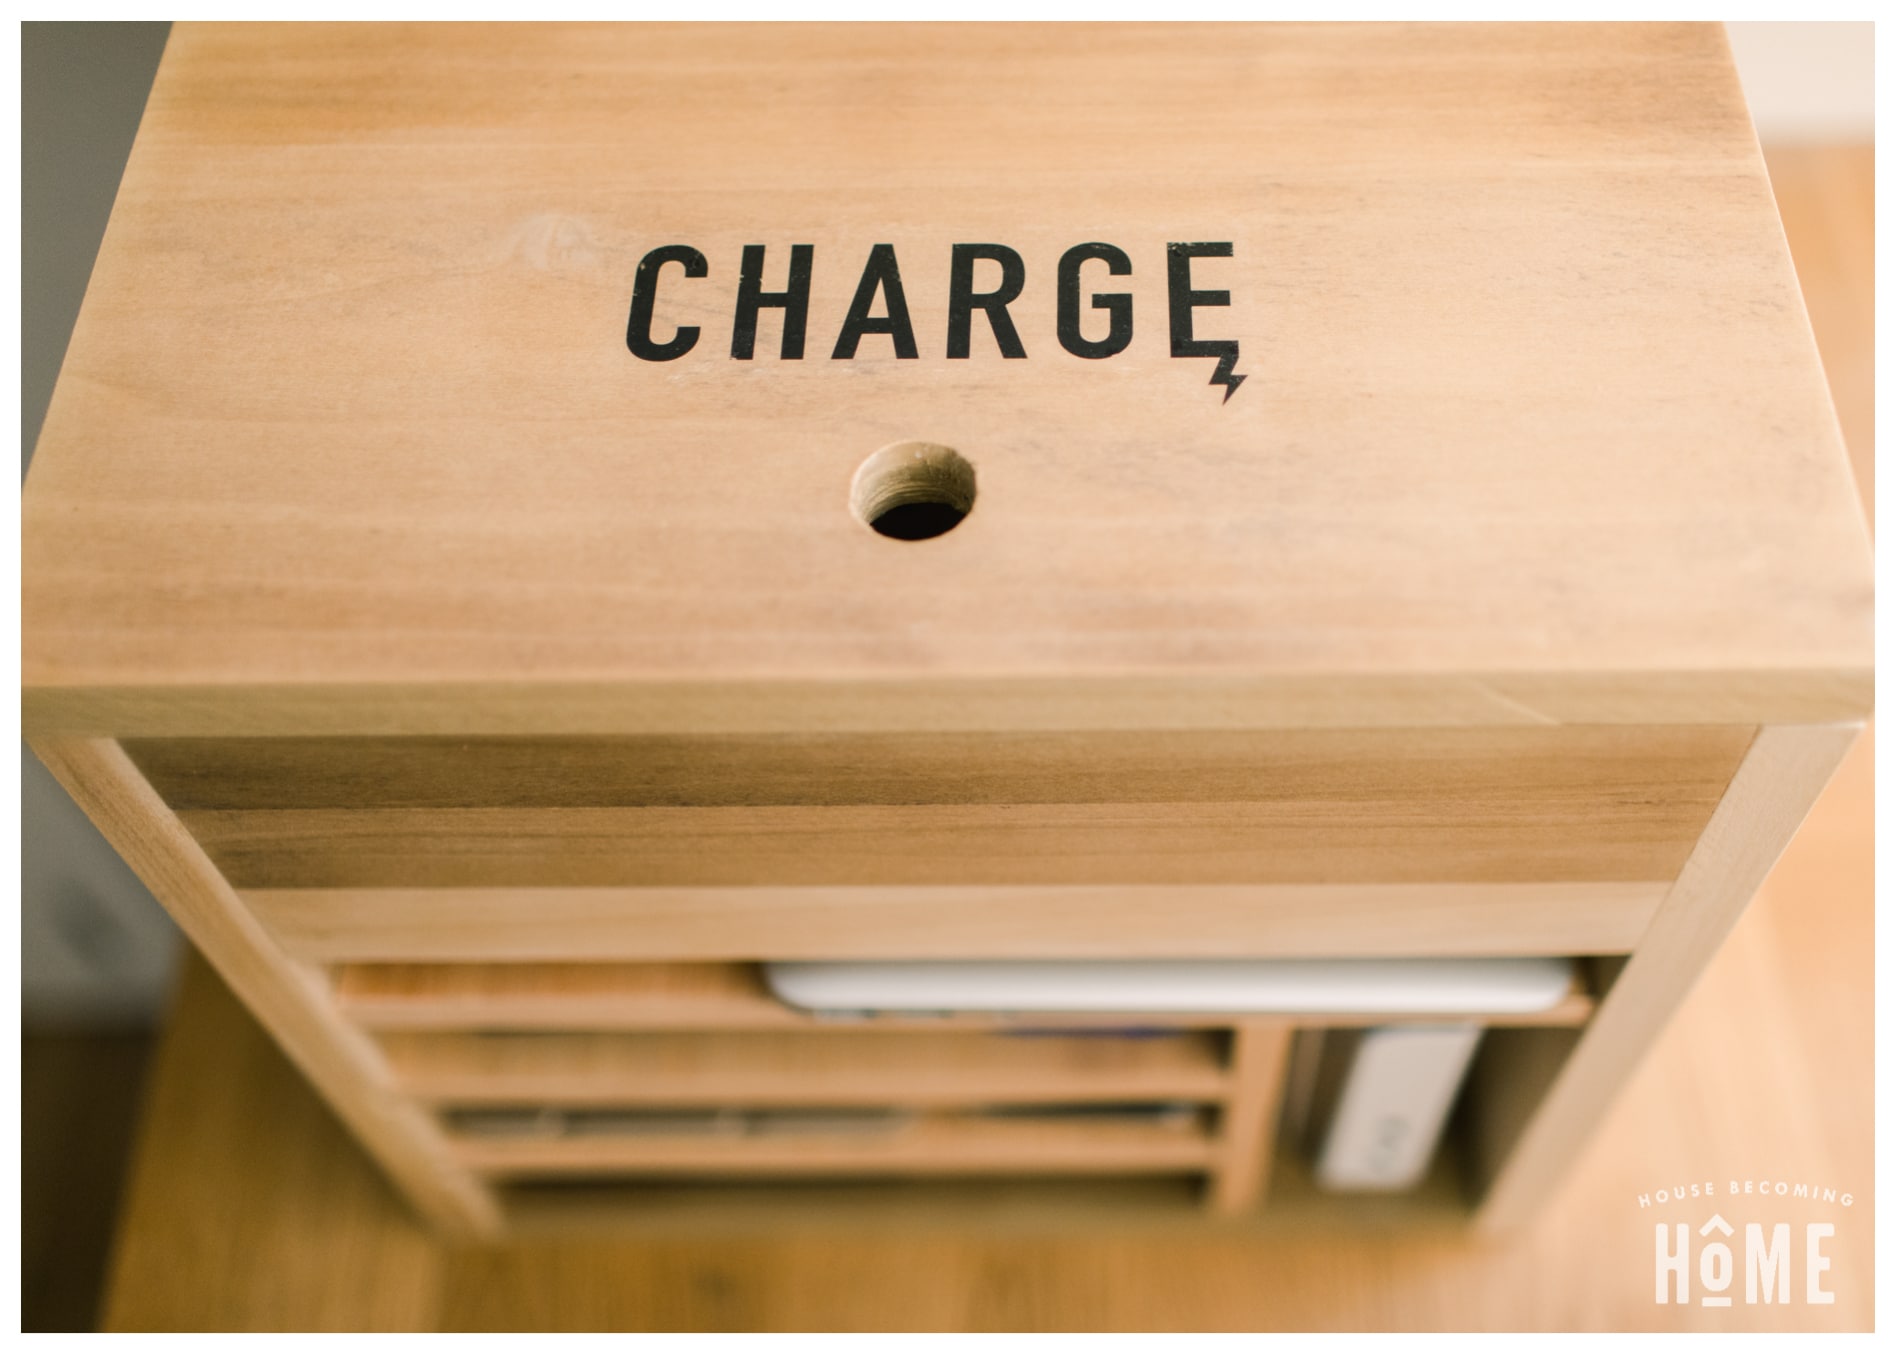
Make a hole in the center of the top piece about ⅞ inches in diameter, about 1-3 inches from the front.

 Step 11:
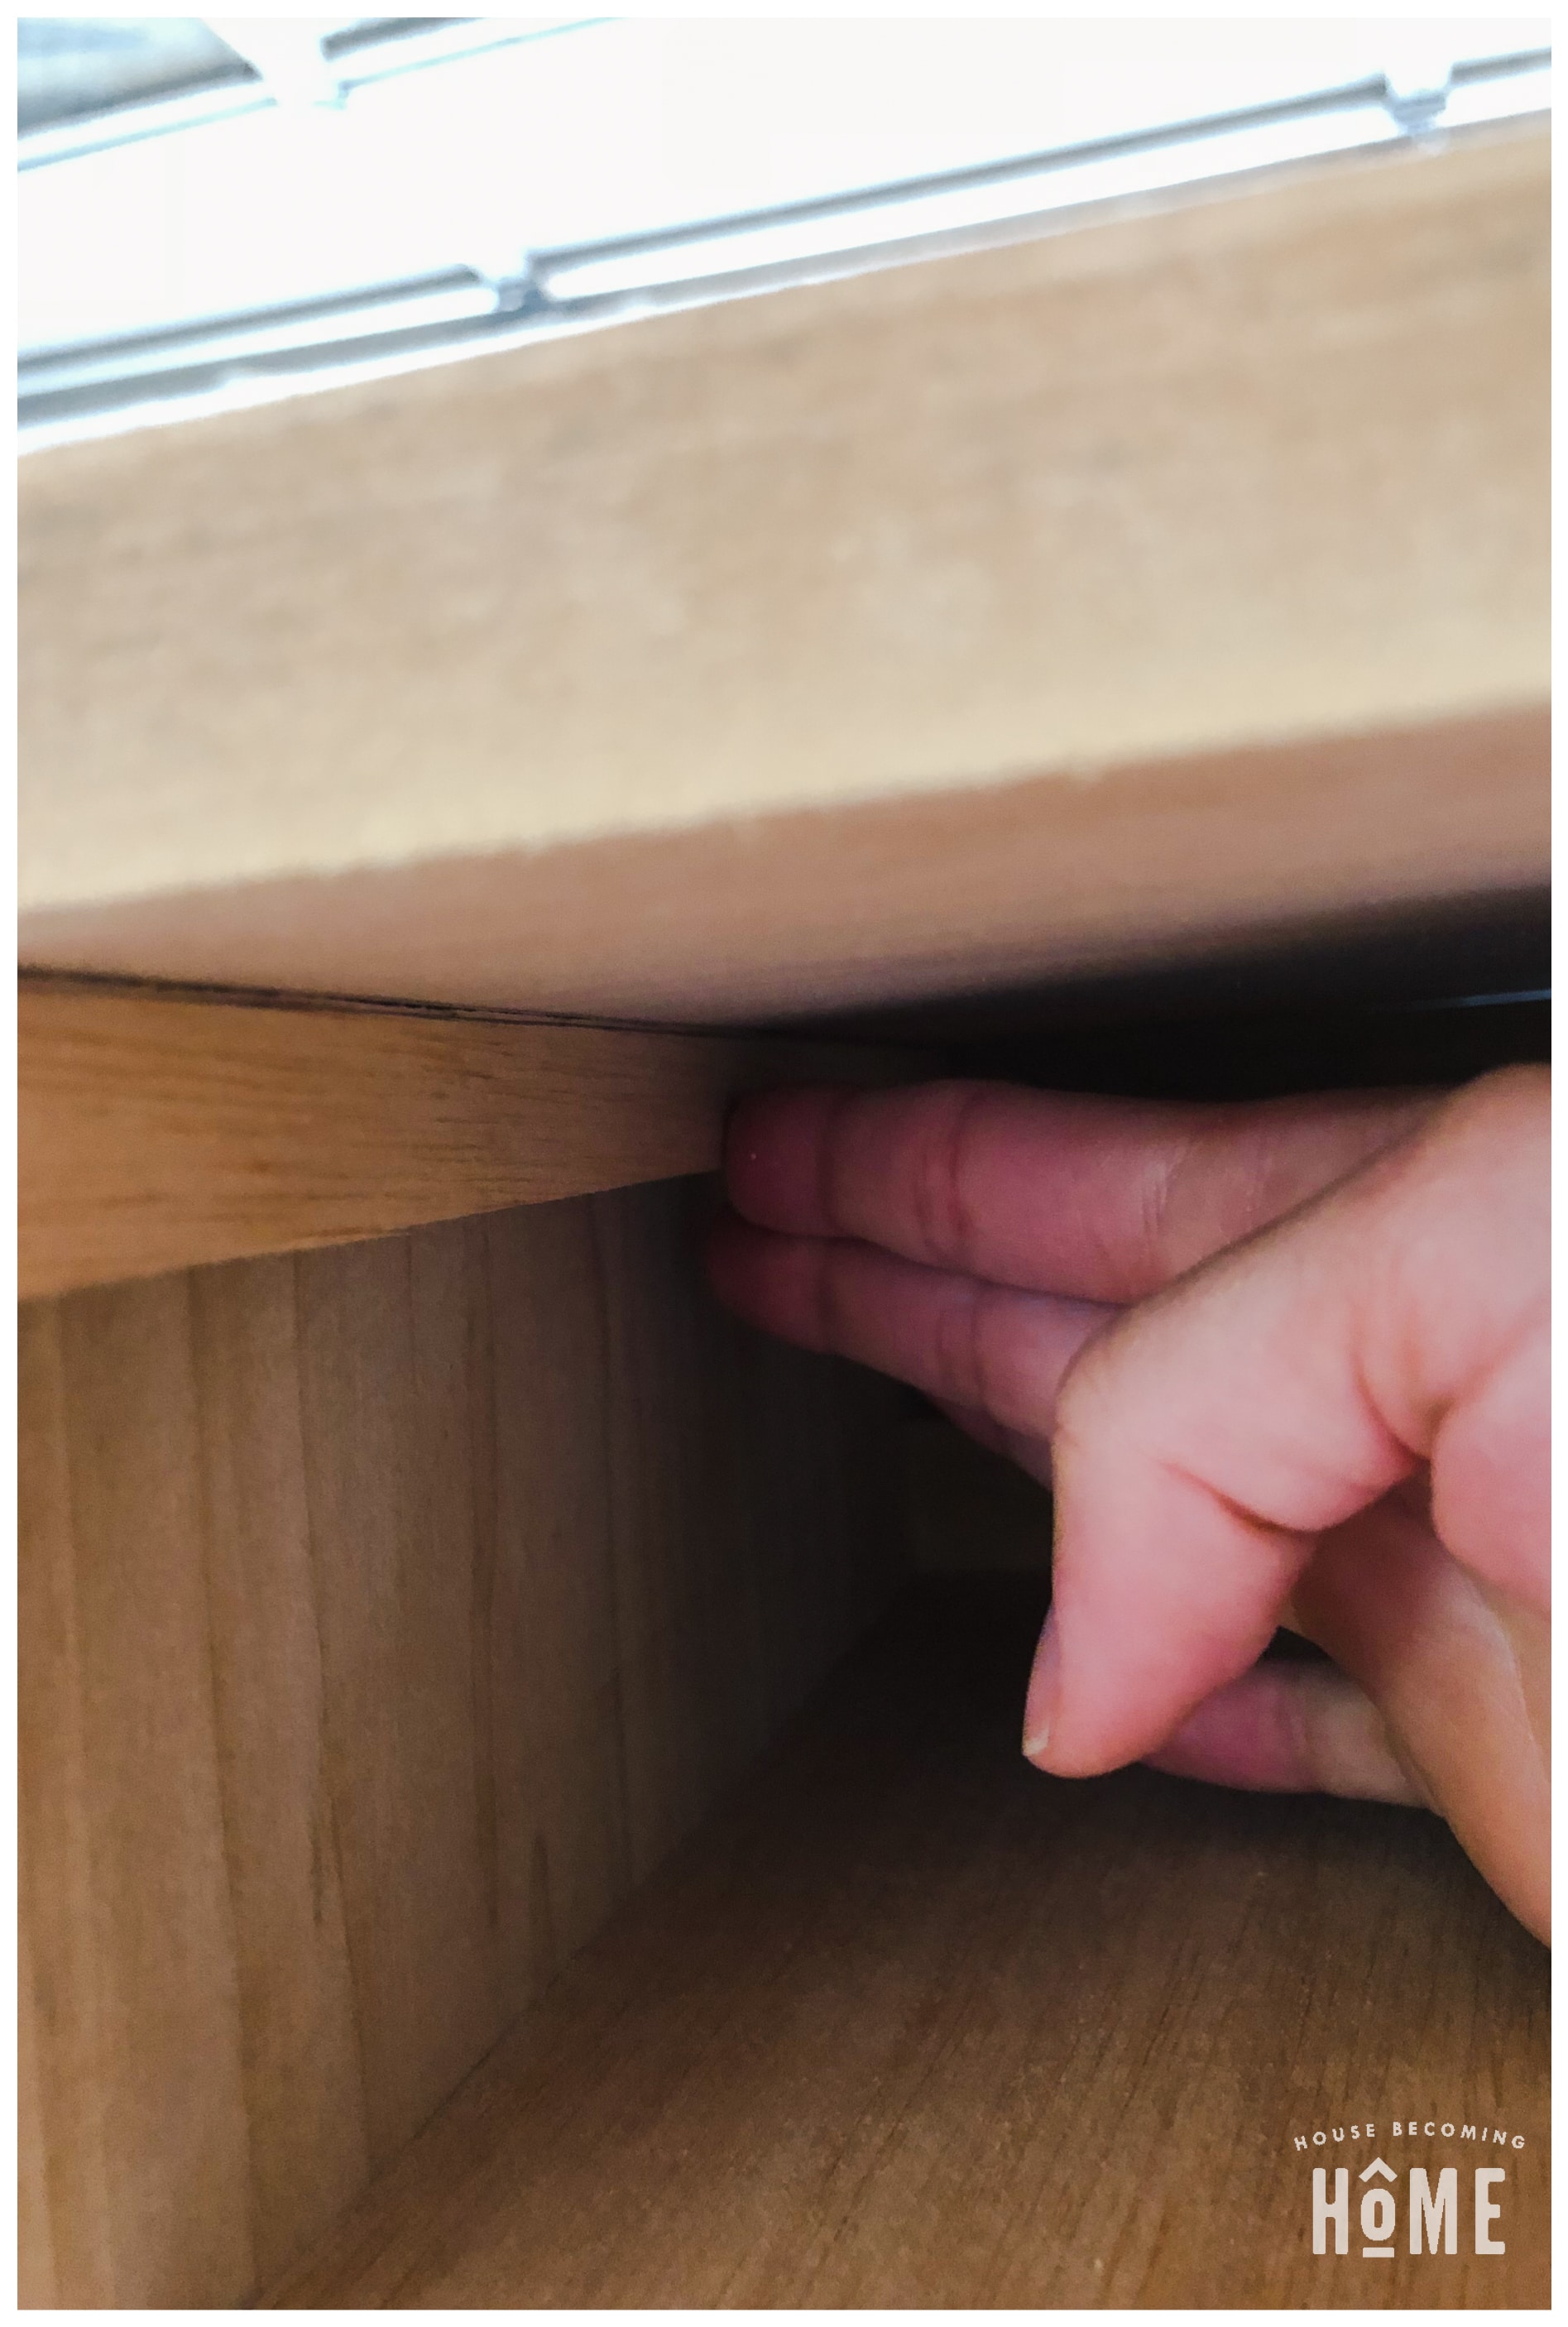
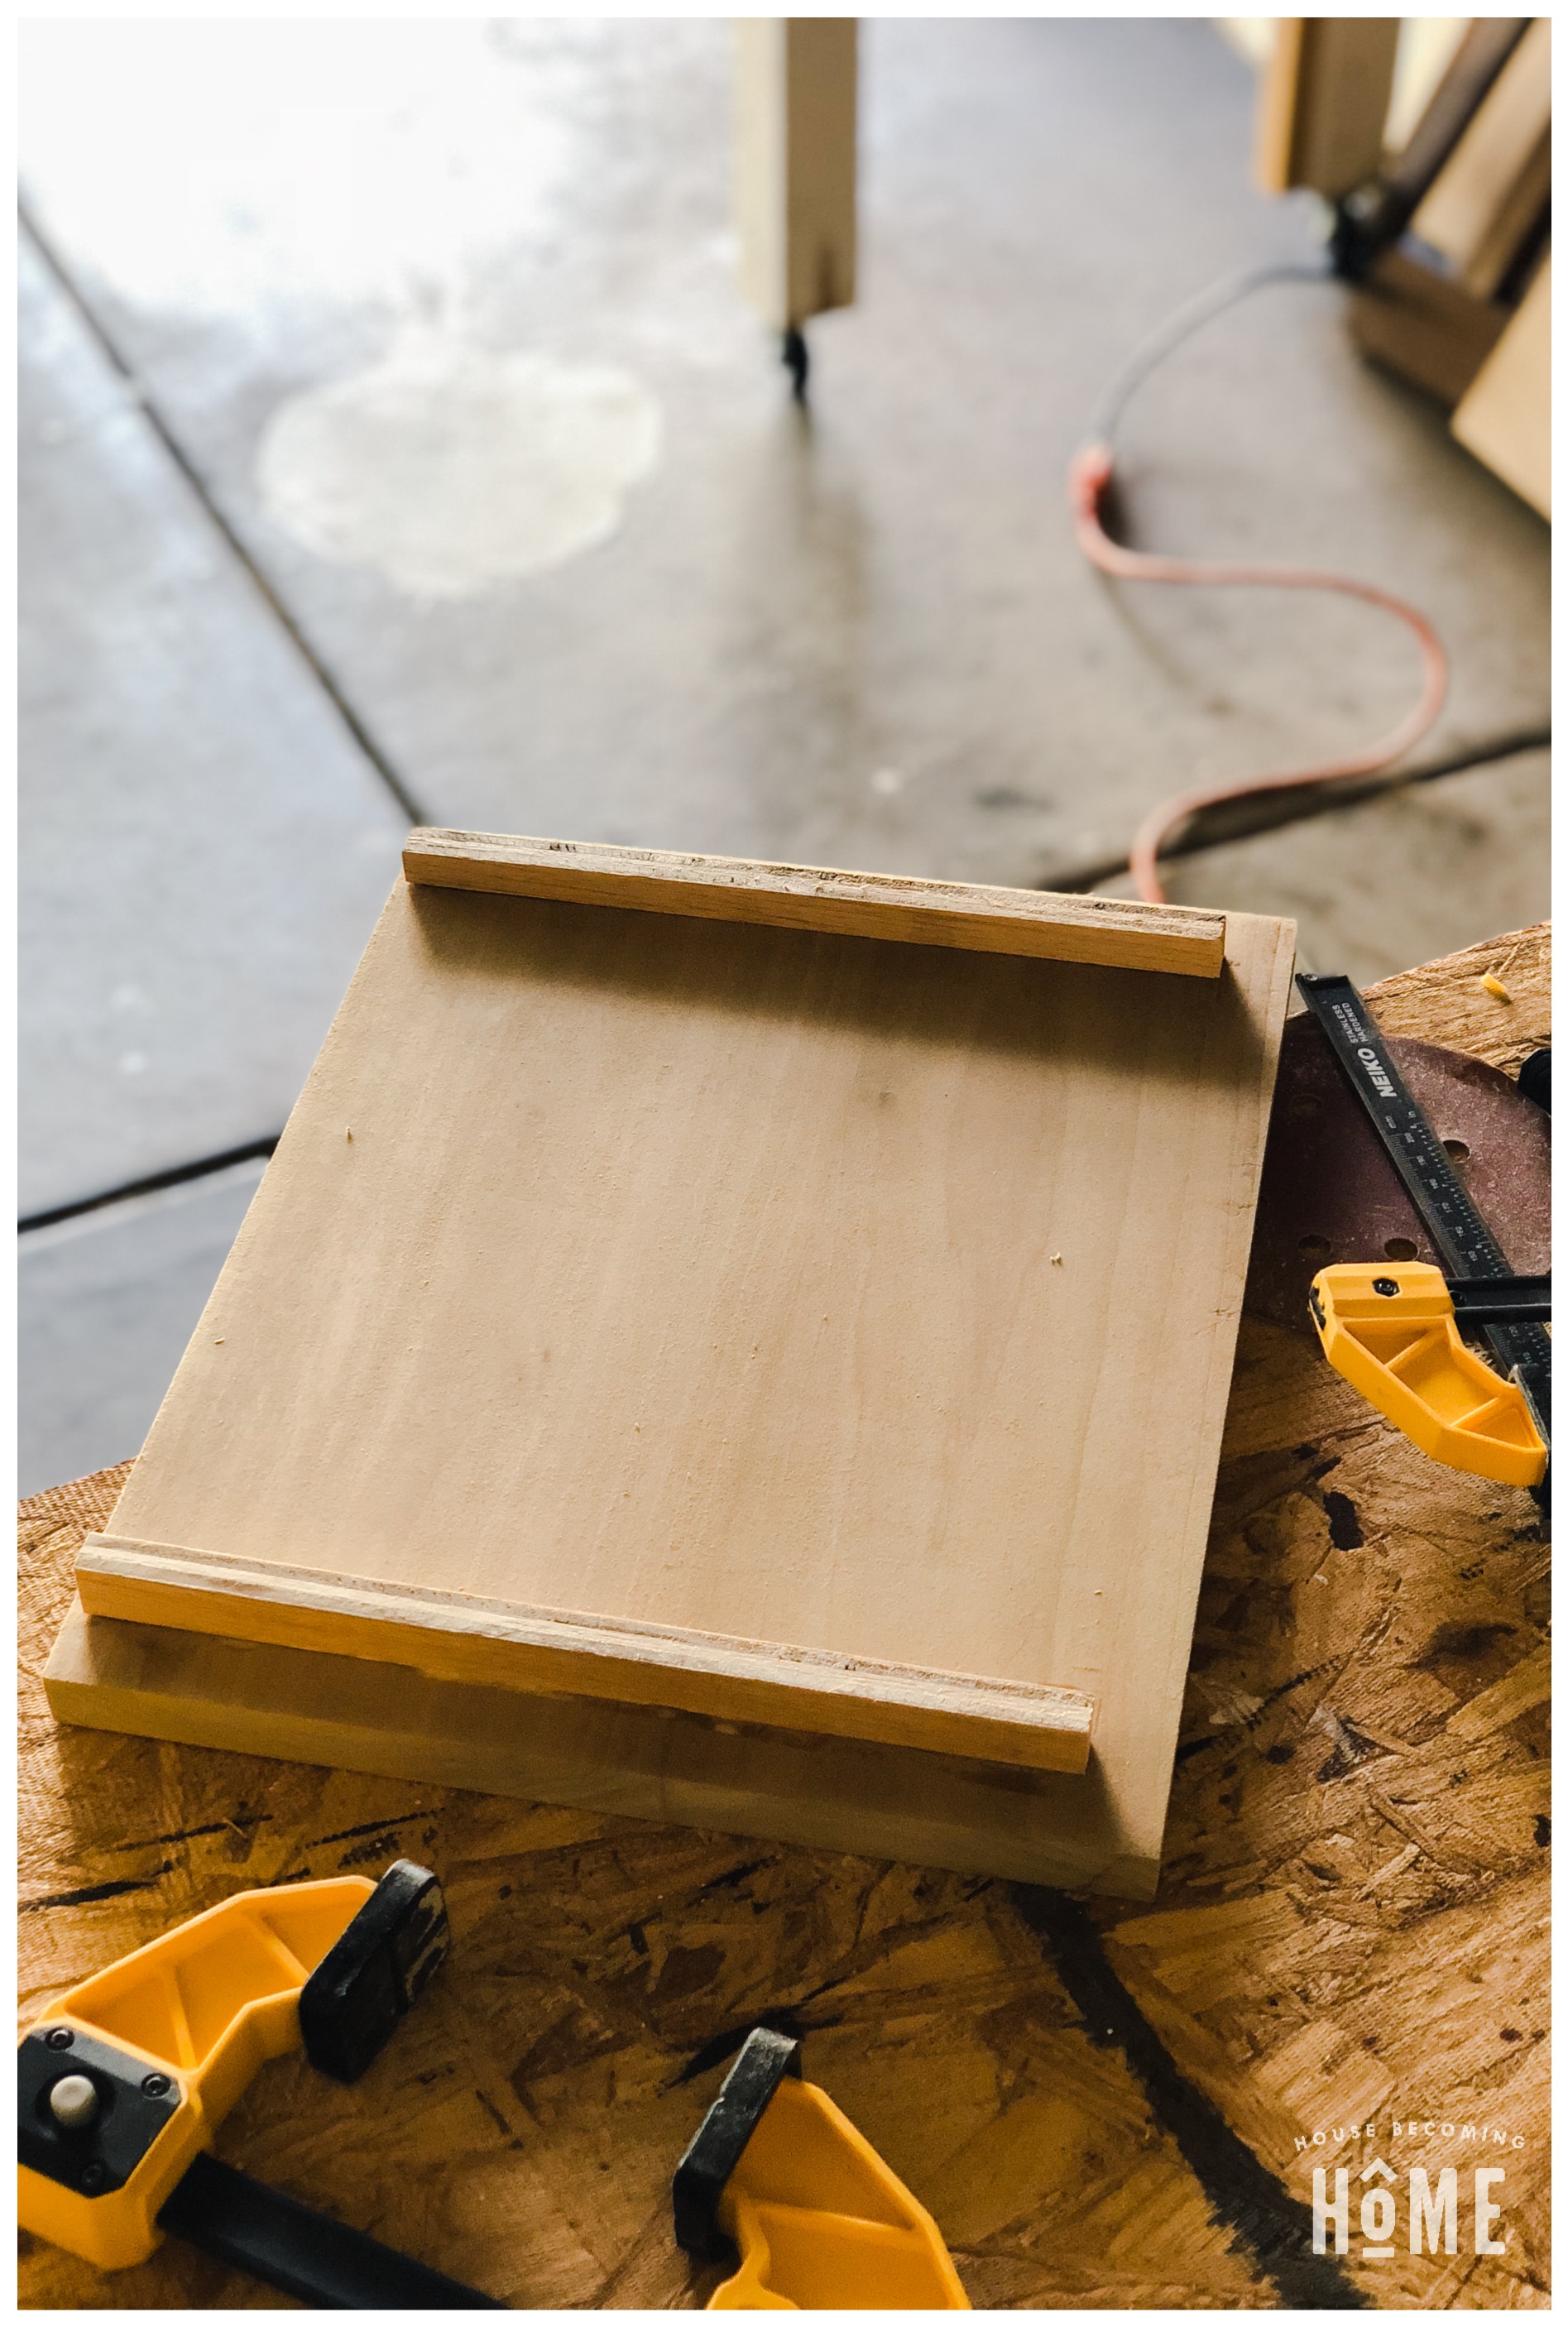
Attach small strips of ½-inch plywood with glue onto the bottom side of top cover, to keep it properly aligned.


 Step 12:
Sand and finish the charging station to your preference, then add several protective coats of polyurethane. I designed a “charge” icon and added that to the top of our charging station. I made a free printable pdf of the file if you’re interested in using it in your own DIY charging station, and I also put together a tutorial on how to print on wood in case you’re new to that.

 How To Build A DIY Charging Station




Nice plan , ant to build for my daughter. Thanks for plan
Thanks for the plans. What is the purpose of the hole at the top under the “Charge” logo?
Looks to me like just a finger hole to lift off the top.
If you choose your power strip carefully, you can turn it on and off through the hole. This feature could save money when no device is charging and minimize fire danger.
This is such a fantastic idea! I love how you made the charging station look stylish while keeping it functional. I can’t wait to try this out for my cluttered cords. Thanks for the detailed instructions!