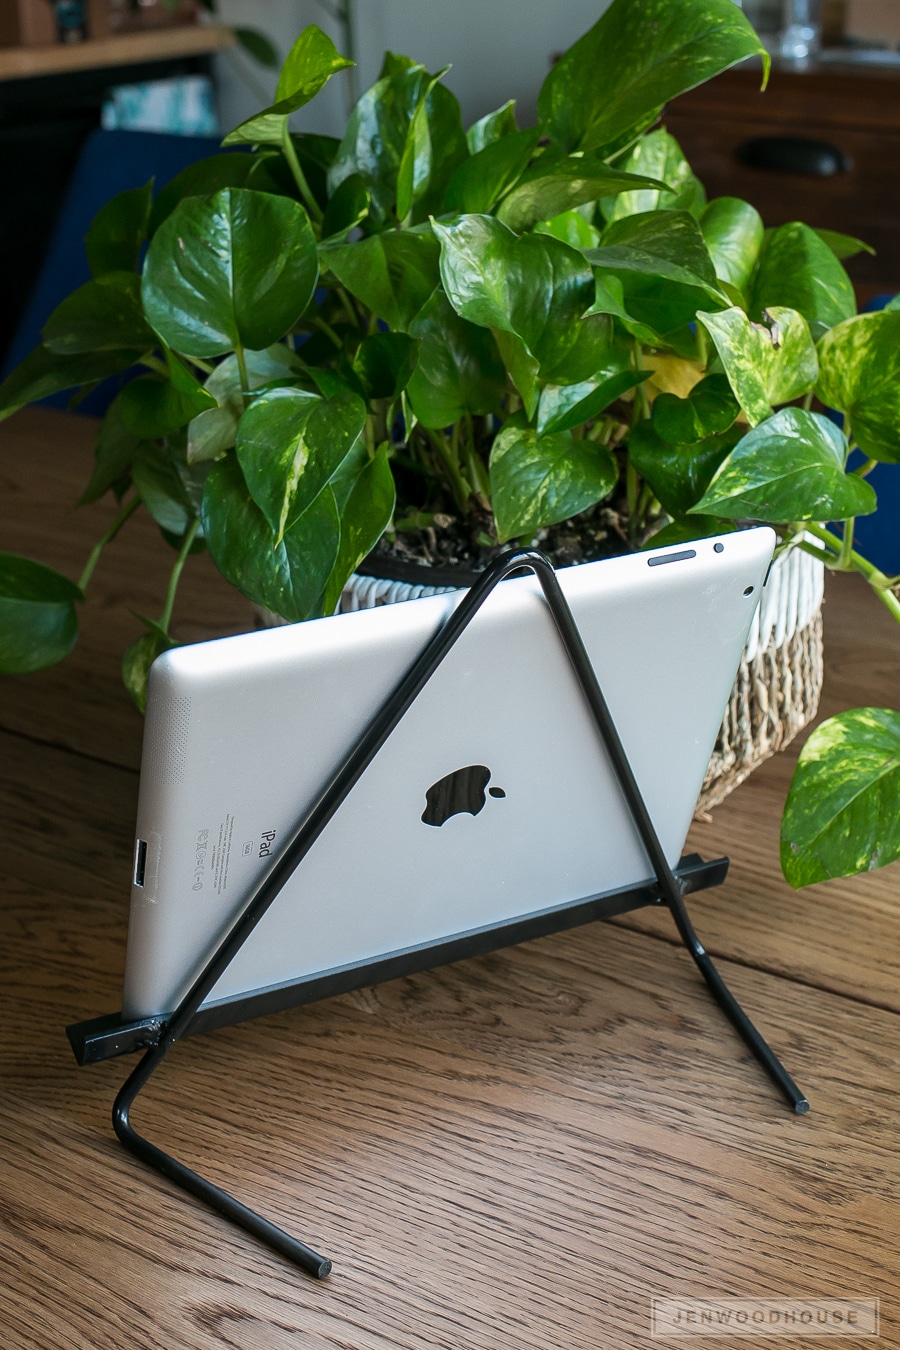
Hi friends! I’m back to share another Bernzomatic project with you: this DIY metal iPad tablet stand! As a Bernzomatic Torch Bearer, I’m sharing projects throughout the year using their blow torches. It’s definitely taken me out of my comfort zone, but I’ve loved not only learning a new skill, but working with a new medium. If you recall, I’ve made a metal candleholder sconce, copper spice rack, wood-burned Easter eggs, and poolside towel rack.
So are you ready to wield a blowtorch to make this DIY iPad stand? It’s easier than you think. Let’s do this.
As always, I encourage you to read these general safety precautions and follow all safety warnings included with Bernzomatic fuel cylinders and hand torches.
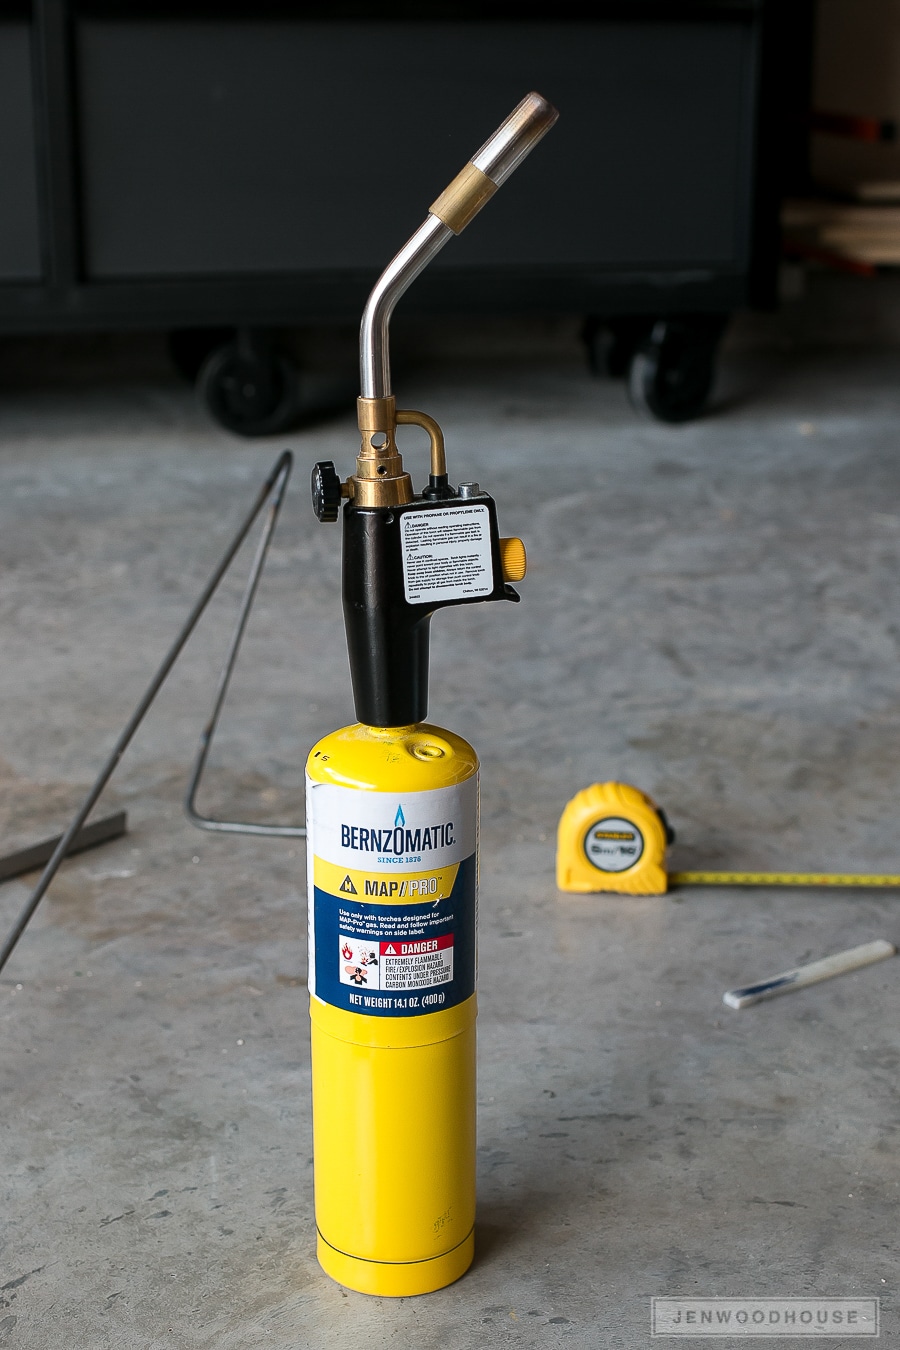
- Bernzomatic WK5500 OX Cutting, Welding, and Brazing Torch Kit
- Jigsaw with Metal Cutting Blade
- Angle grinder with grinding wheel
- Steel Clamps
- Pliers
- Protective Gloves
- Shade 5 Safety Glasses
Materials:
- Bernzomatic plumbing flux and acid brush
- (1) Round Steel Rod
- (1) 3/4-inch x 36-inch Plain Steel Angle
- Brake Cleaner
- Black Spray Paint (optional)
Cut List:
- (1) Round Steel Rod @ 32 inches
- (1) Steel Angle @ 11 inches
Using the cut list above, measure, mark, and cut the steel rod and angle to length. Use a jigsaw fitted with a metal cutting blade. Then use an angle grinder to grind down any sharp edges. Spray brake cleaner to clean the metal.
Before you light the torch, be sure to check the cylinders for leaks. Here’s a great video on how to do this, along with some helpful torch safety tips. We connected the nozzle directly to the MAP/Pro gas cylinder.
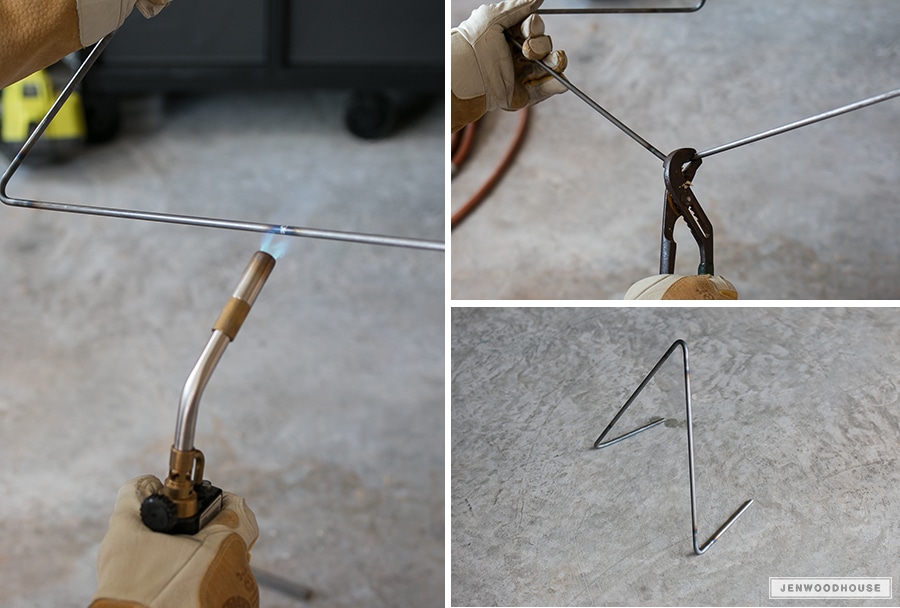
Fire up the torch and start to heat the rod until it starts to glow red. While the rod is still hot, use pliers to bend the metal. It will bend fairly easily because of the heat. Bend it in 3 places, like so:
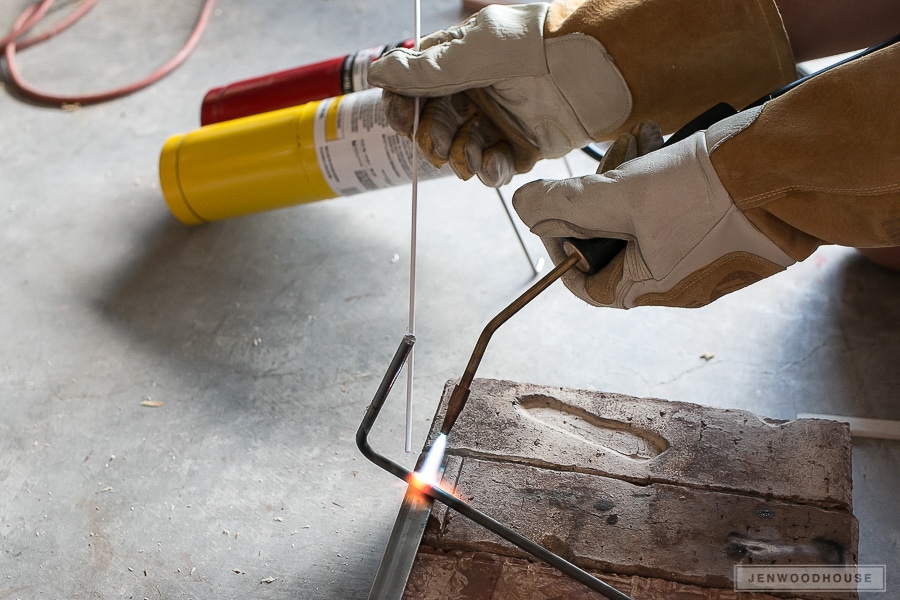
Now it’s time to attach the steel angle to the rod. We used the torch kit for this. After you connect the torch to the MAP/Pro and Oxygen cylinders, open the fuel valve slowly and use the spark lighter to ignite the torch. The flame will appear soft yellow and should be between 4-6 inches long. Slowly increase the flow of the fuel by adjusting the fuel valve so that the yellow portion of the flame touches the tip of the torch. Adjust the fuel valve until the flame is about 7-9 inches long. Then, gradually open up the oxygen valve until there is an inner blue flame about 1/2 inch long at the tip of the torch. The outer blue flame may be longer. This is the welding/brazing flame we’ll need.
Lay the angle and the bent rod on a non-combustible surface (we used bricks). Always use protective gloves and safety goggles when operating the torch. When brazing or welding, it gets pretty darn bright, so I actually recommend Shade 5 Safety Glasses.
Apply a little flux to clean the metal and remove any contaminants. The cleaner you can get your metal, the better the brazed joint will be. Heat up the joint until you achieve an even, rosy glow. Use the brazing rod to braze the pieces together – the brazing rod will act as a ‘glue’ as it melts. Once you join the two pieces together, turn the torch off and allow the metal to cool naturally.
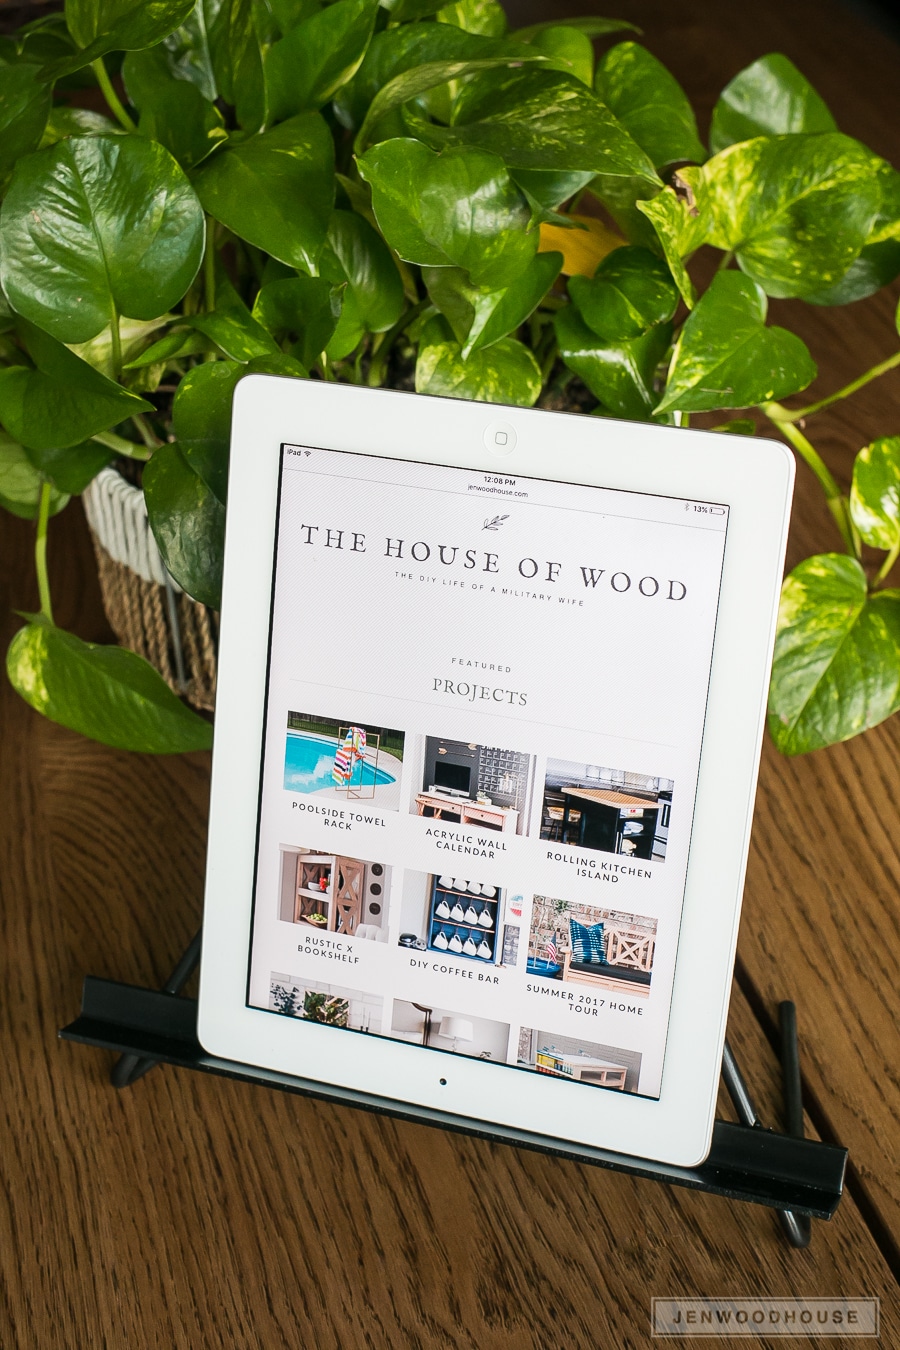
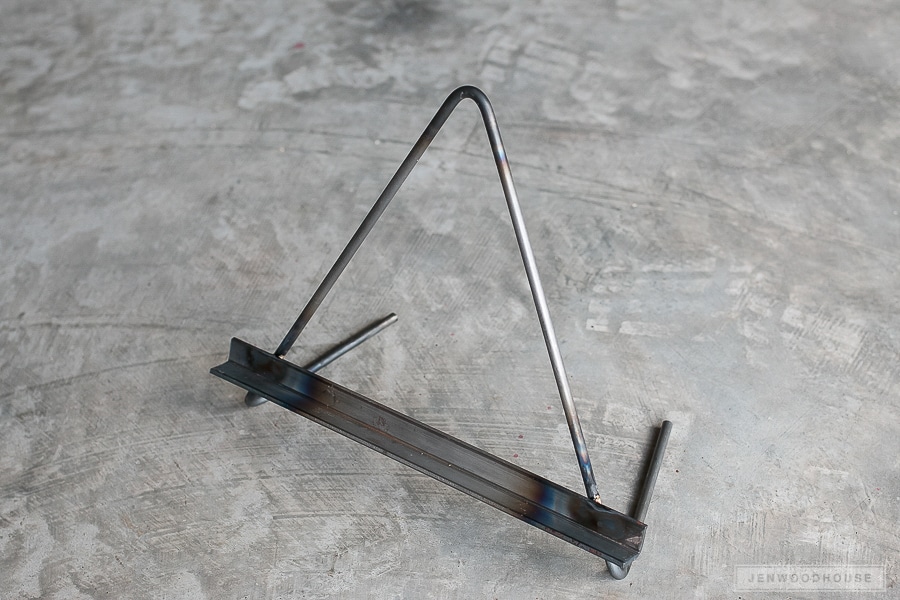
Soon, you’ll have something that looks like this. This project took about 20 minutes, from start to finish and because I had all the tools on-hand, I spent about $7 for the steel angle and rod. Love it!
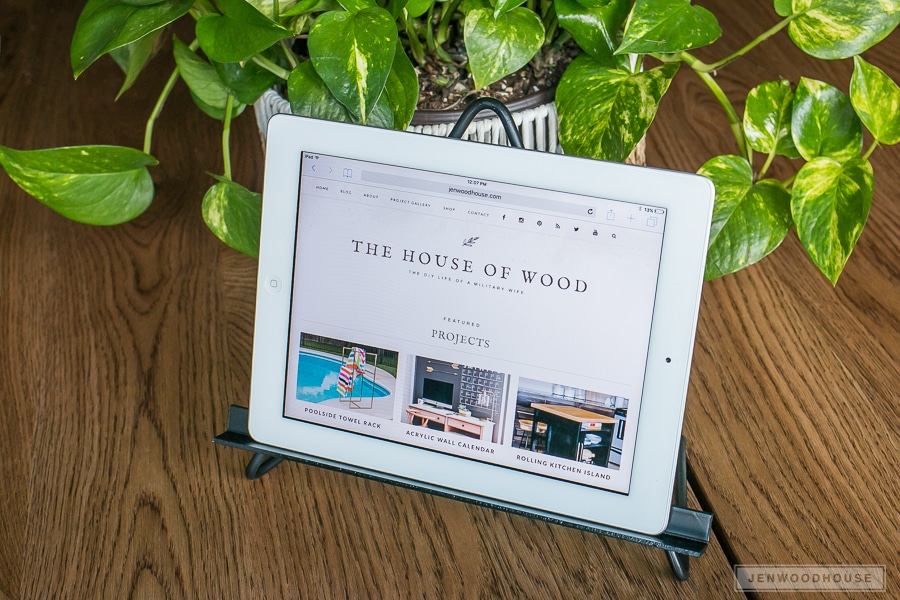
Finally, I sprayed the DIY iPad stand with some black spray paint and let it dry. That’s all there is to it, can you believe it?!
Bernzomatic has an initiative called CylinderSafe™ where you can enter your zip code and find a local disposal site to properly dispose of your empty cylinders.
Thanks so much for stopping by – I hope you try to tackle this project; it’s the perfect beginner project if you want to try your hand at brazing metals. Tag me or send me photos of your handiwork, I’d love to see them!
Love this project? PIN IT so you don’t forget it!
*This post contains affiliate links and is sponsored by Bernzomatic. To read my full disclosure policy, please click here. I am a Bernzomatic Torch Bearer; all opinions and efforts are my own.

Leave a Reply