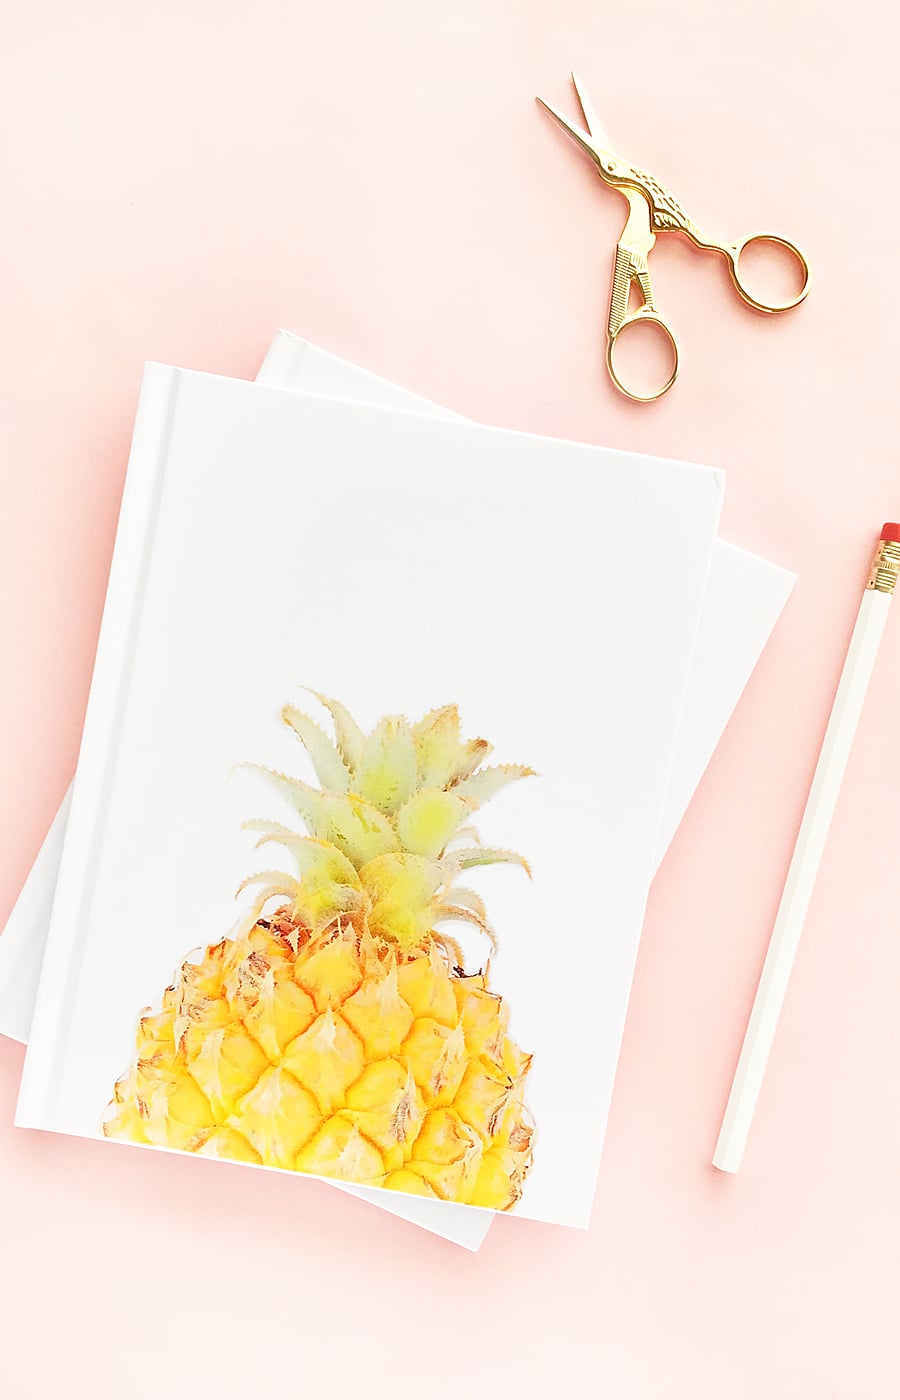
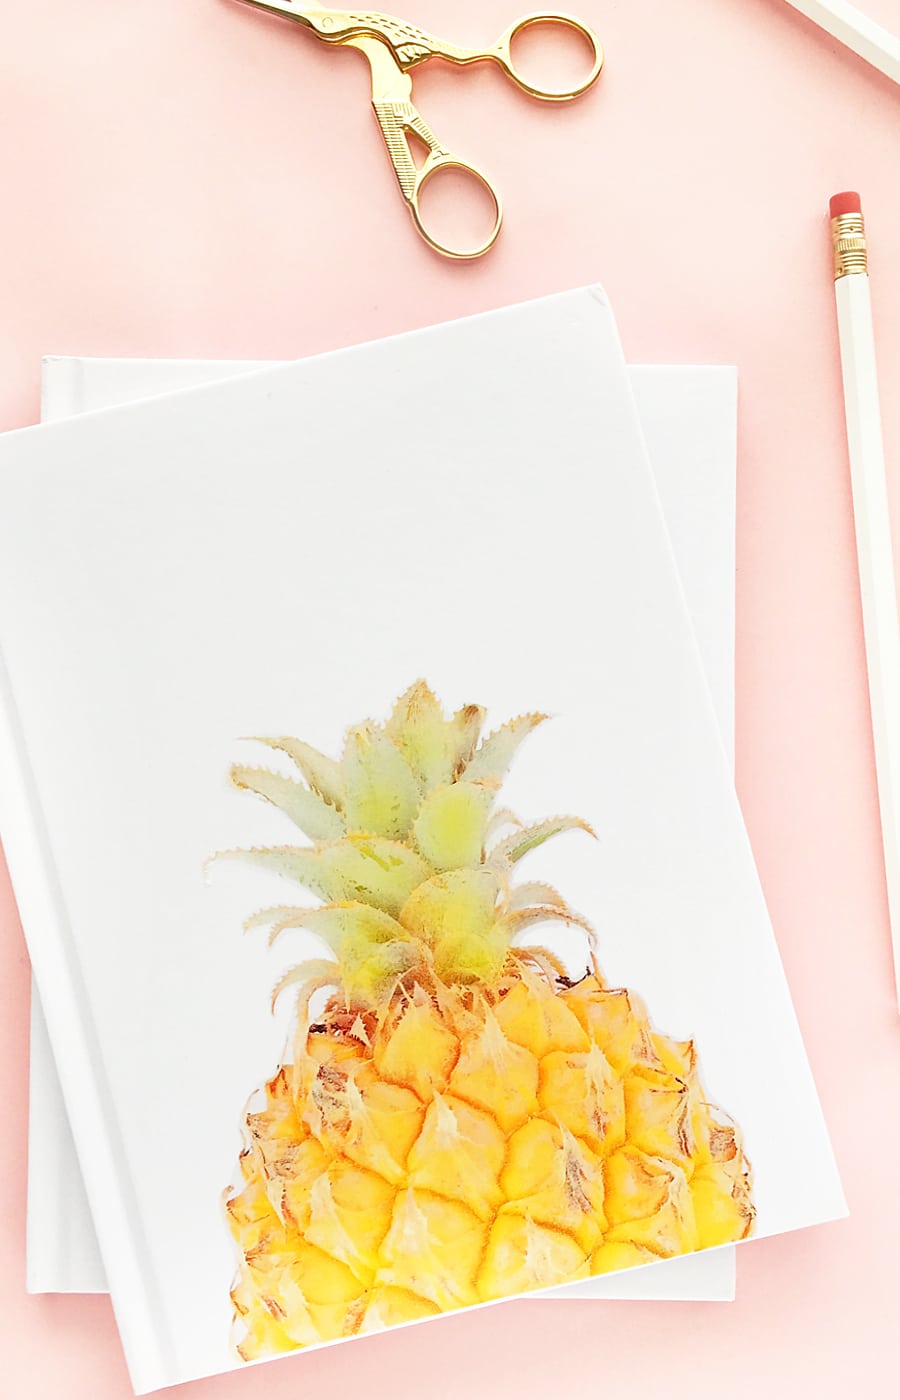
If you are like me and love all things tropical and all things stationery, why not make a DIY with both? Today, let’s make a DIY Pineapple Notebook with printable tattoo paper!
 It’s Maritza from Maritza Lisa and for today’s DIY project, we’re making a DIY Pineapple Notebook with printable tattoo paper. It’s one of my favorite mediums to work with – it’s an easy way to transfer images to hard, smooth surfaces. Such a wonderful and versatile product that’s perfect for today’s tutorial.
Supplies:
- Pineapple
- White poster board
- Camera
- Graphic software
- Printer
- Printable Tattoo Paper (I use the Silhouette brand)
- Scissors
- Wet cloth
- White hardcover notebook
- Scraper (or the edge of a ruler)
Instructions:
- Take a picture of the pineapple against the white poster board
- Open the pineapple image in your graphic software
- Using your graphic software or app, manipulate the image to your liking (brighten, filter, crop, etc)
- Resize your image so that it can fit on the cover of your white notebook
- Mirror the pineapple image
- Send your image to print on your tattoo paper
- Follow the directions on your tattoo paper package, and apply the clear adhesive sheet. Use your scraper or ruler to smooth the bubbles out
- Cut closely around your pineapple image
- Remove the clear adhesive paper, and apply the pineapple tattoo face down to your book cover with a wet towel
- Optional: apply a clear sealant to the tattooed image (this will help make the tattoo last longer)


Leave a Reply