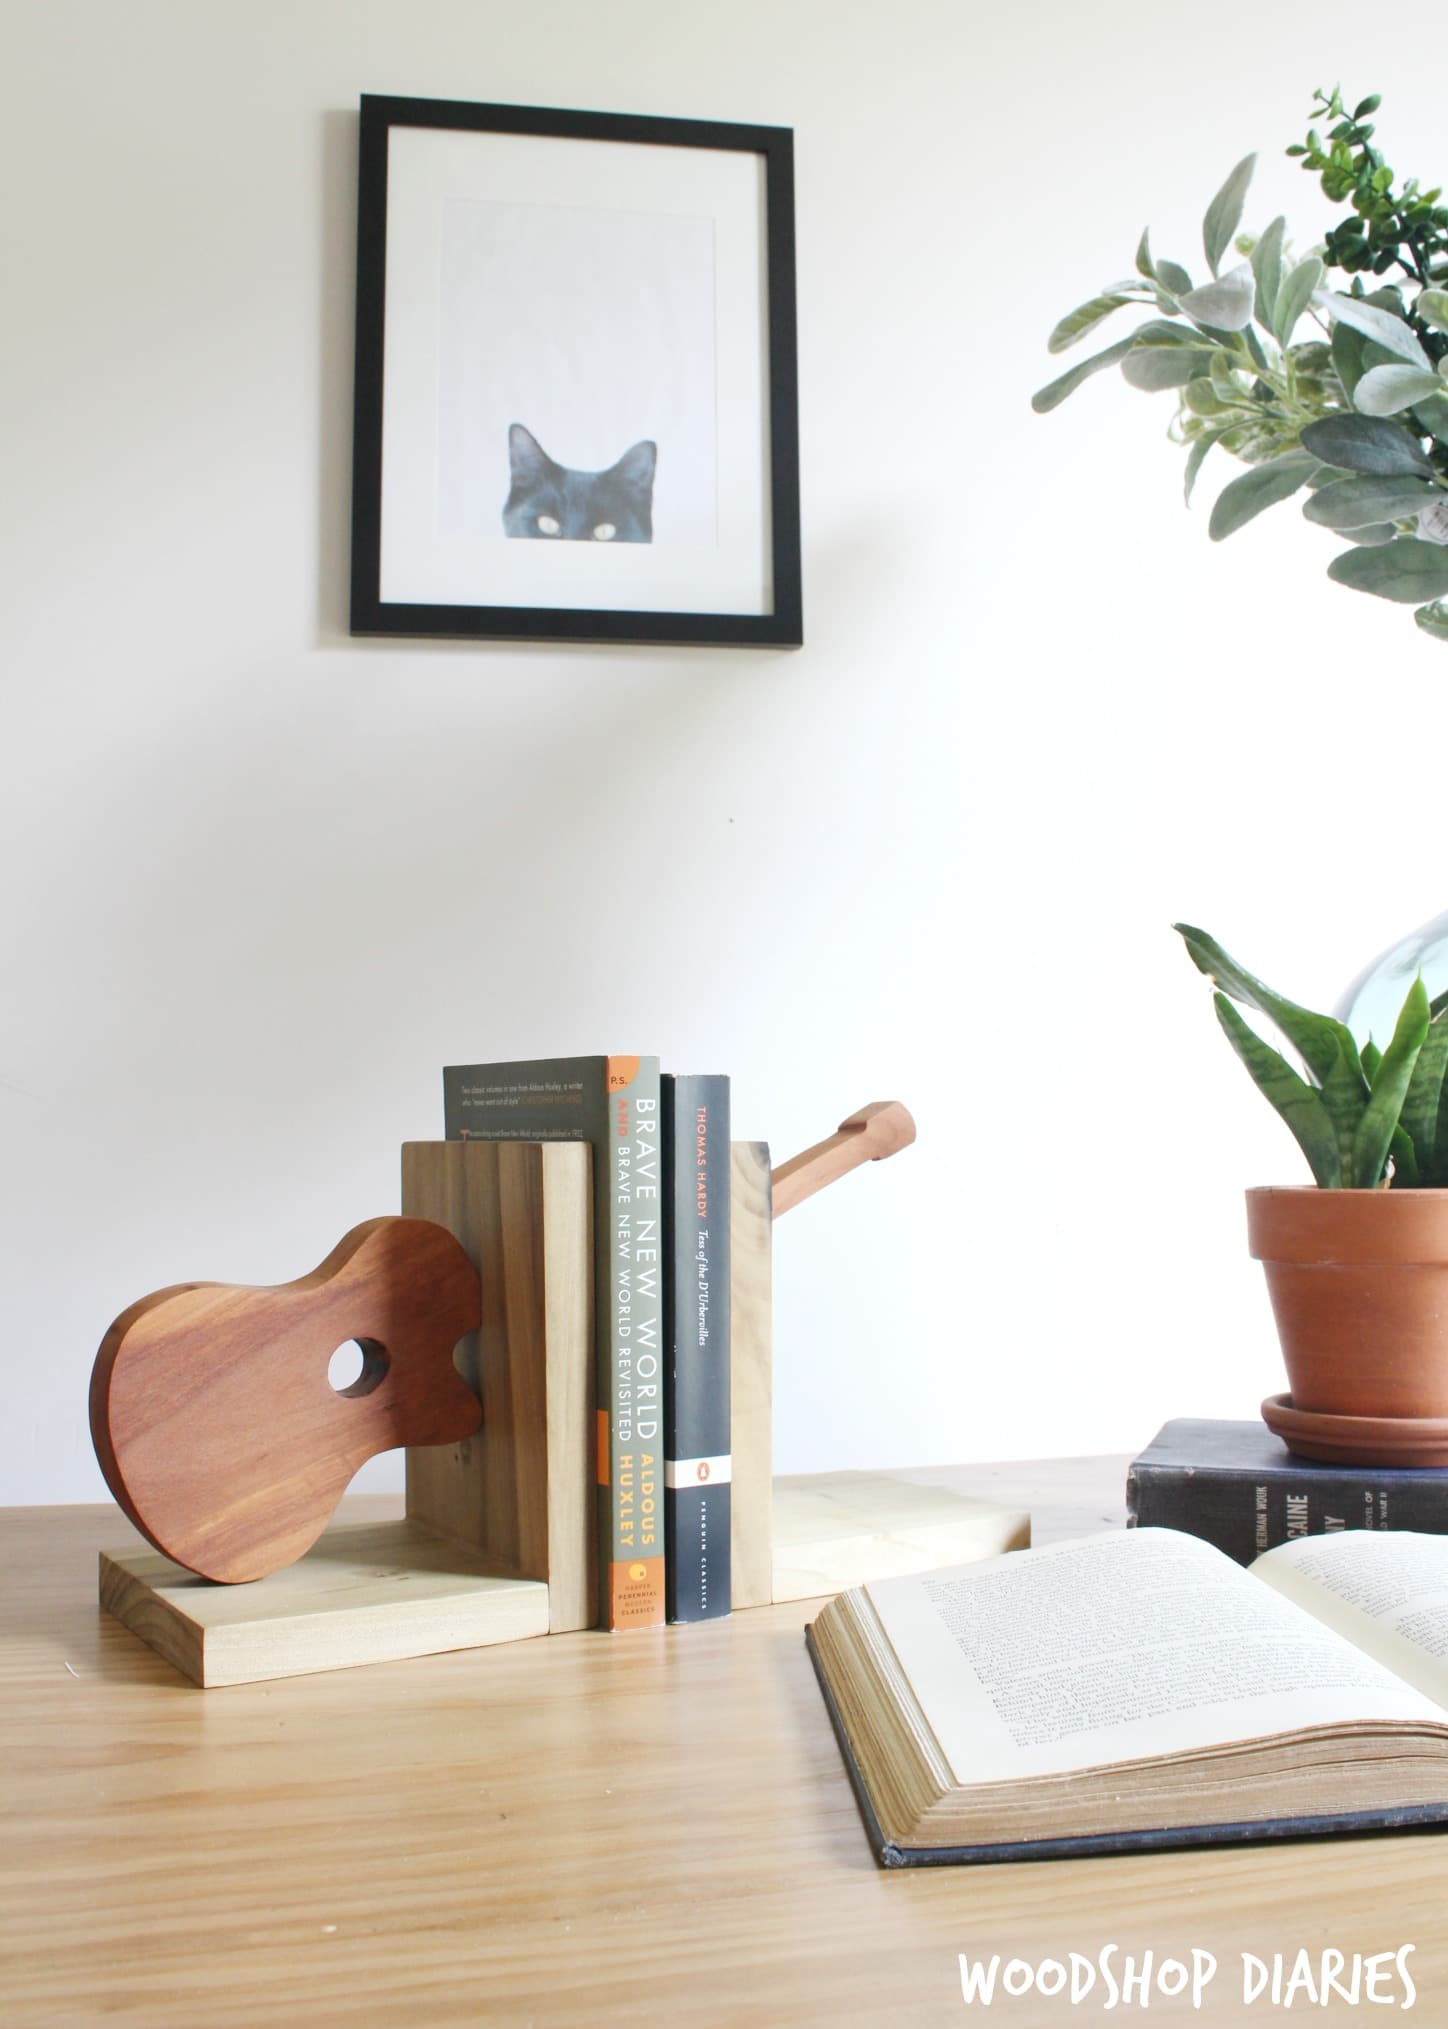
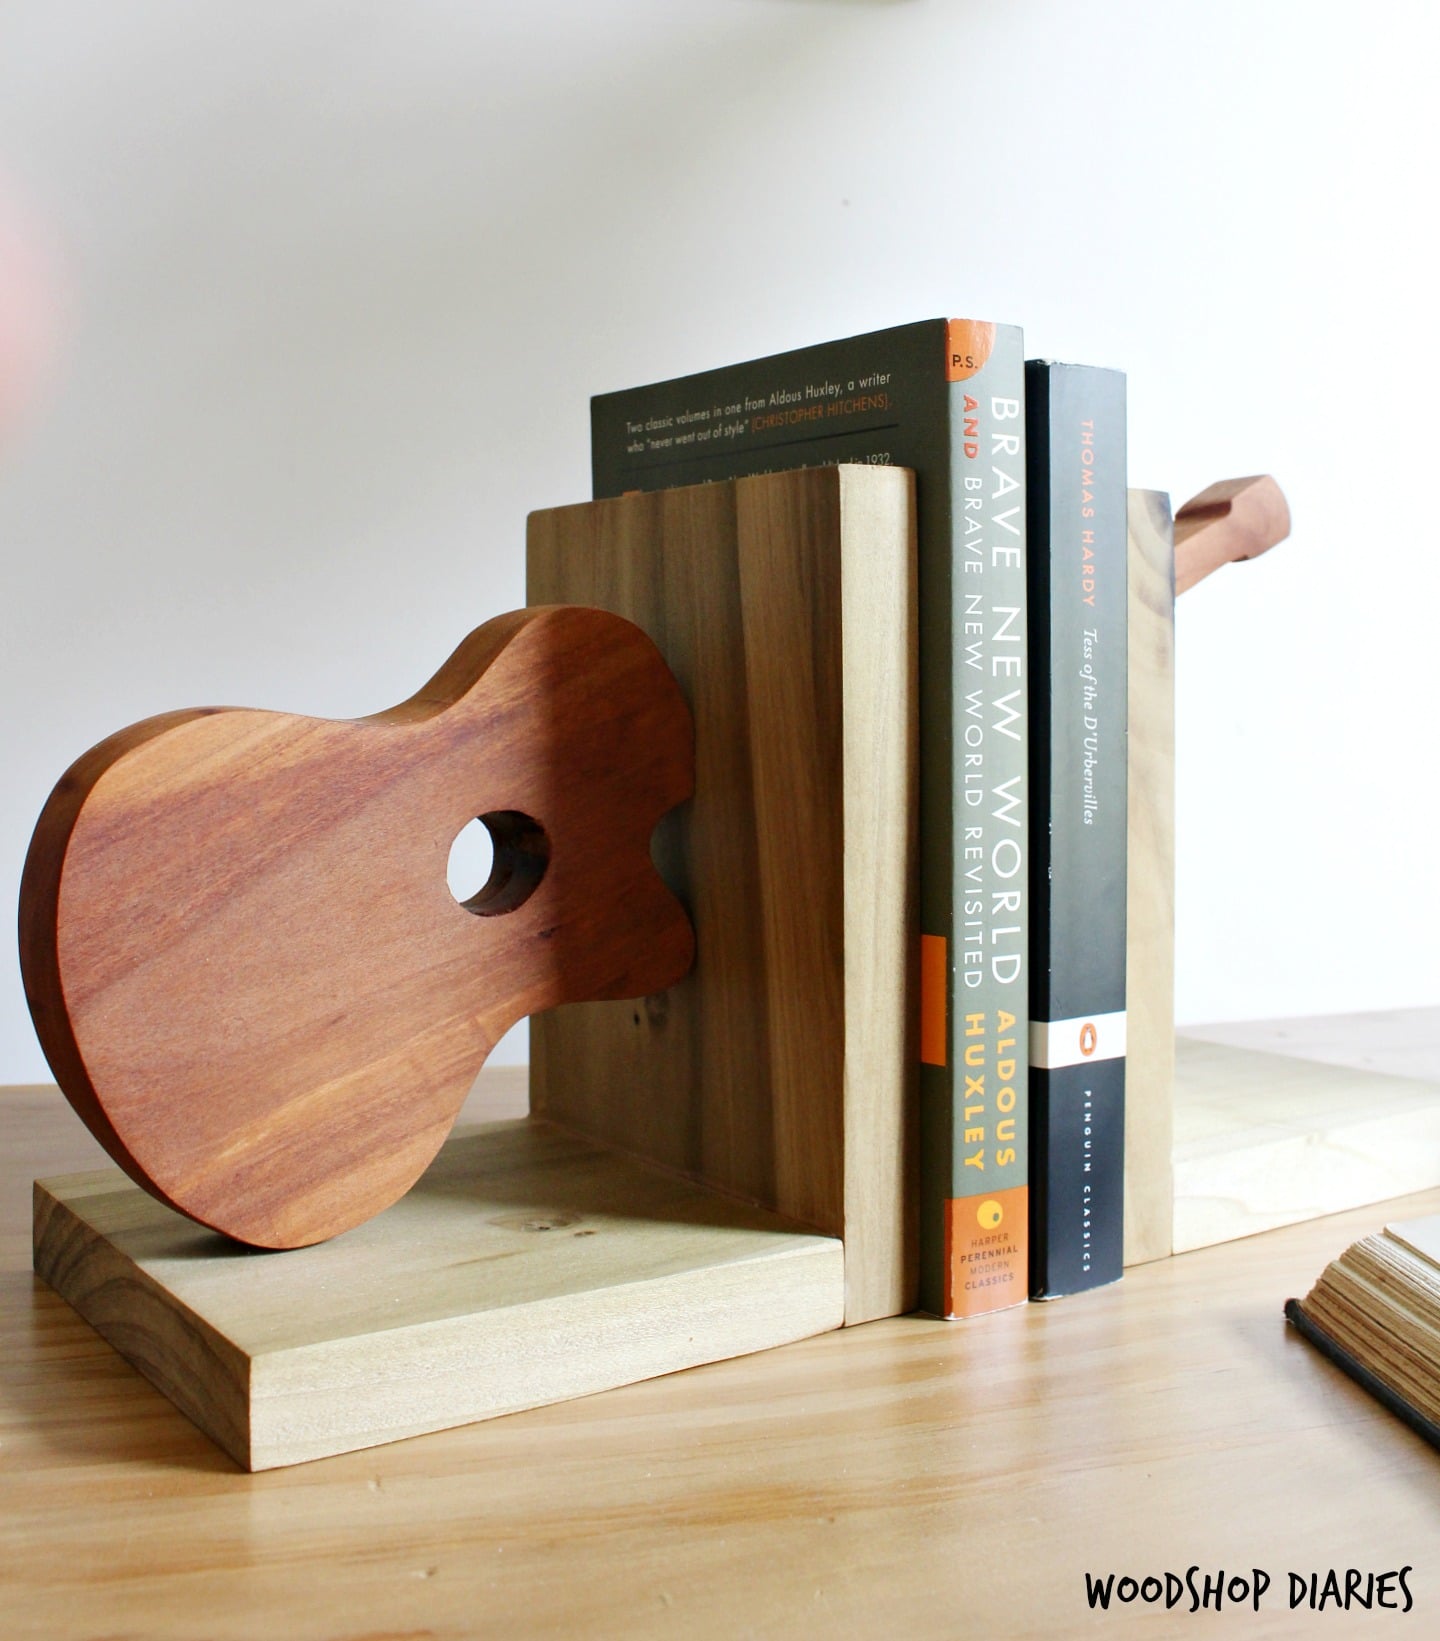
Hey guys! It’s Shara here from Woodshop Diaries and I’m excited to bring you a super quick and easy scrap wood project: DIY Scrap Wood Guitar Bookends!
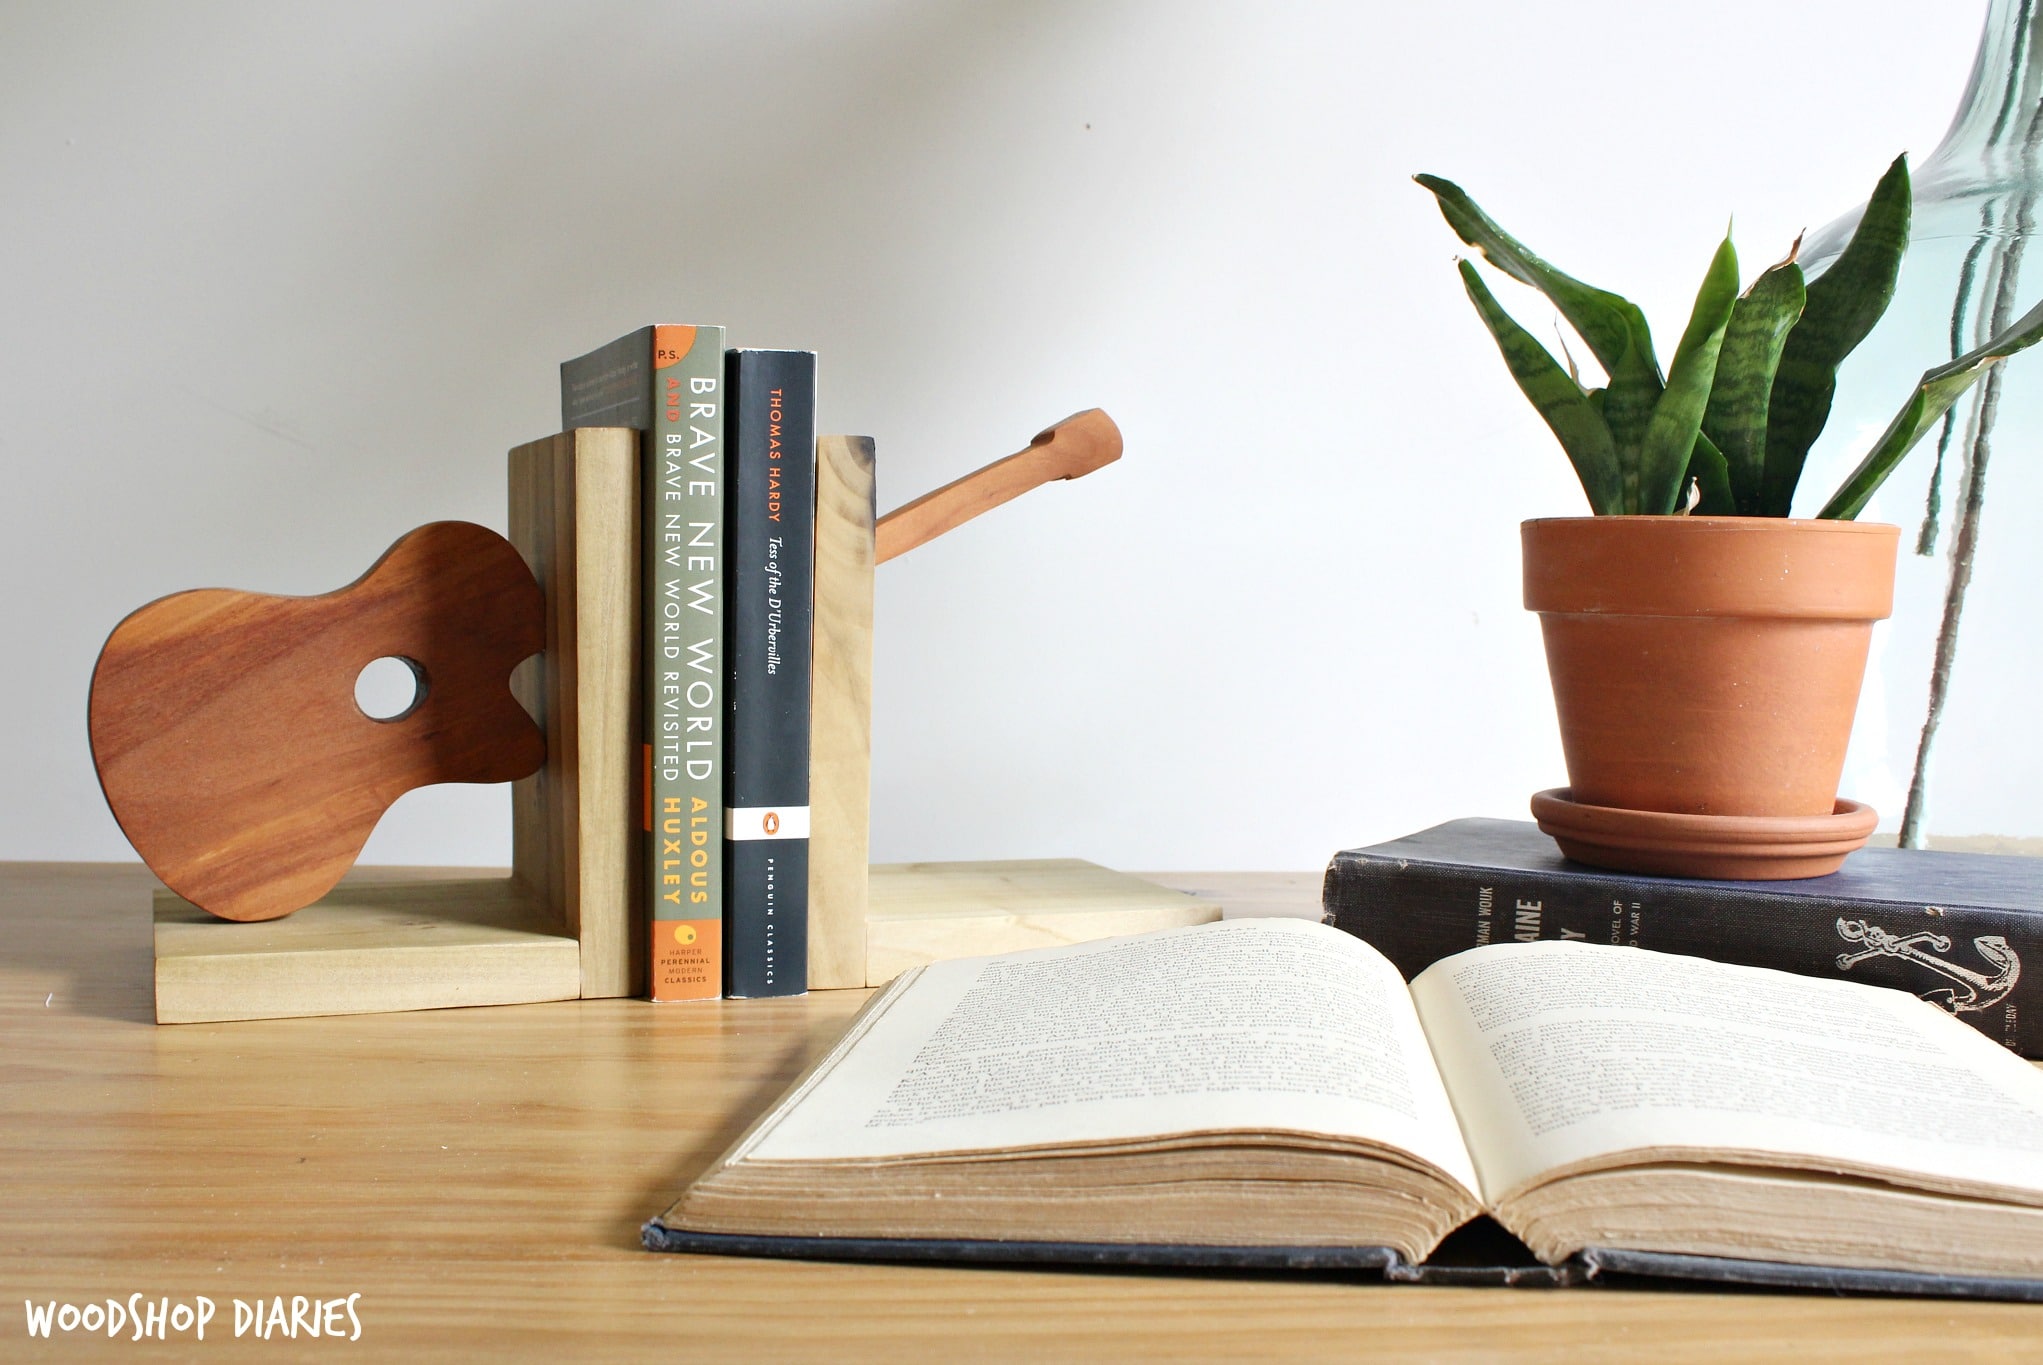 I just love a good scrap wood project, don’t you?? I also love guitars. I also kind of have a strange obsession with bookends, so this seemed like a good project to marry them all together 🙂
What’s cool about this project is that while I used a guitar, it would be SUPER simple to use just about anything else you’re into… like cars, animals, other instruments… whatever you want, really. Then when you get done making one set, grab some more scraps and make something else 😉
Supplies and Tools for a DIY Scrap Wood Guitar Bookends
- Scrap wood (at least 2 ft long and 5″ wide piece for the bookends and at least 11″ long piece for the guitar)
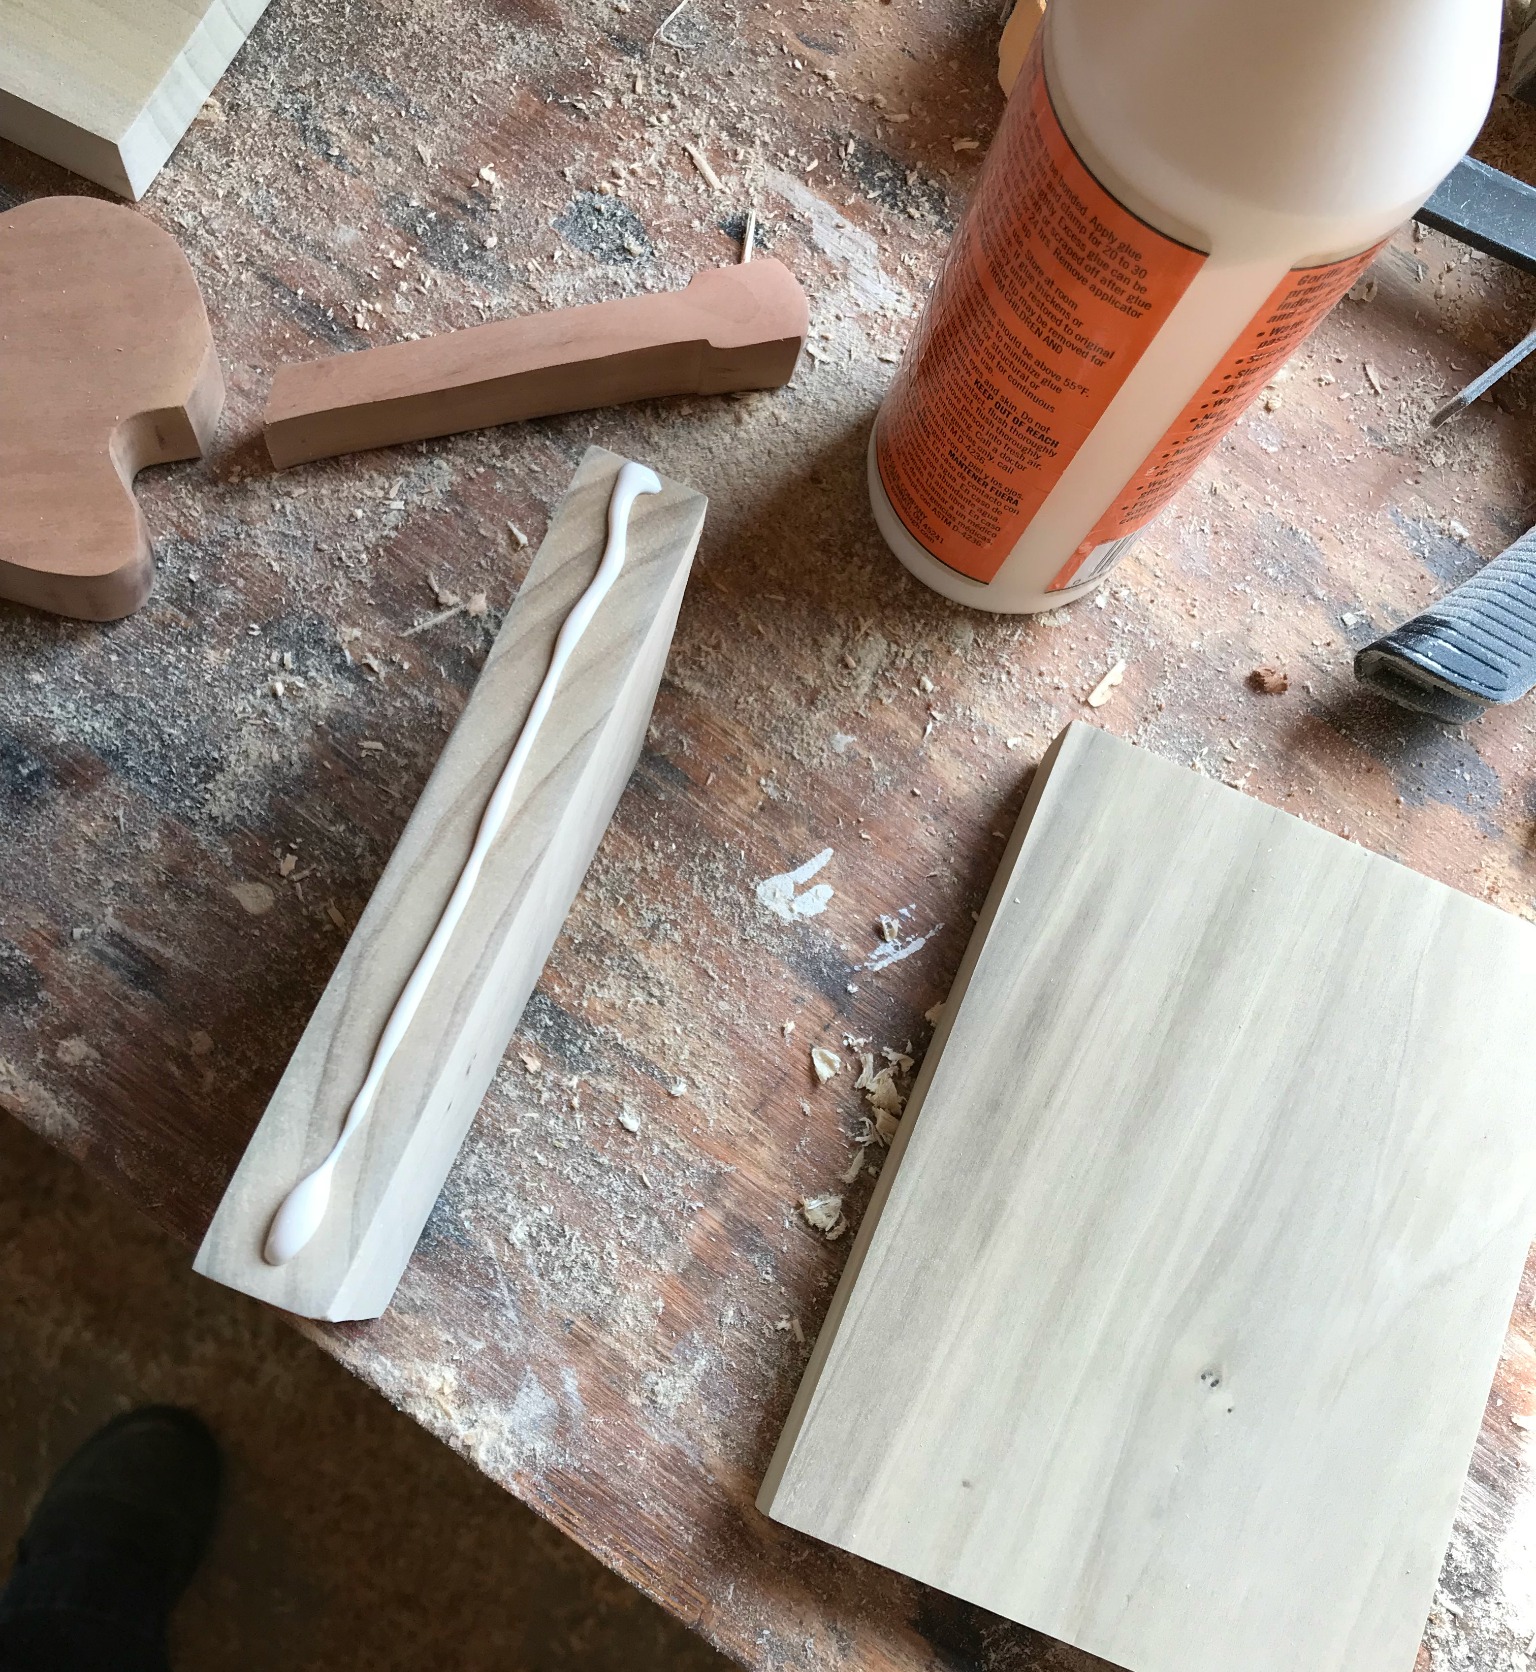
- Wood Glue
- Jig Saw
- Drill (optional)
- Speed Square
- Clamps
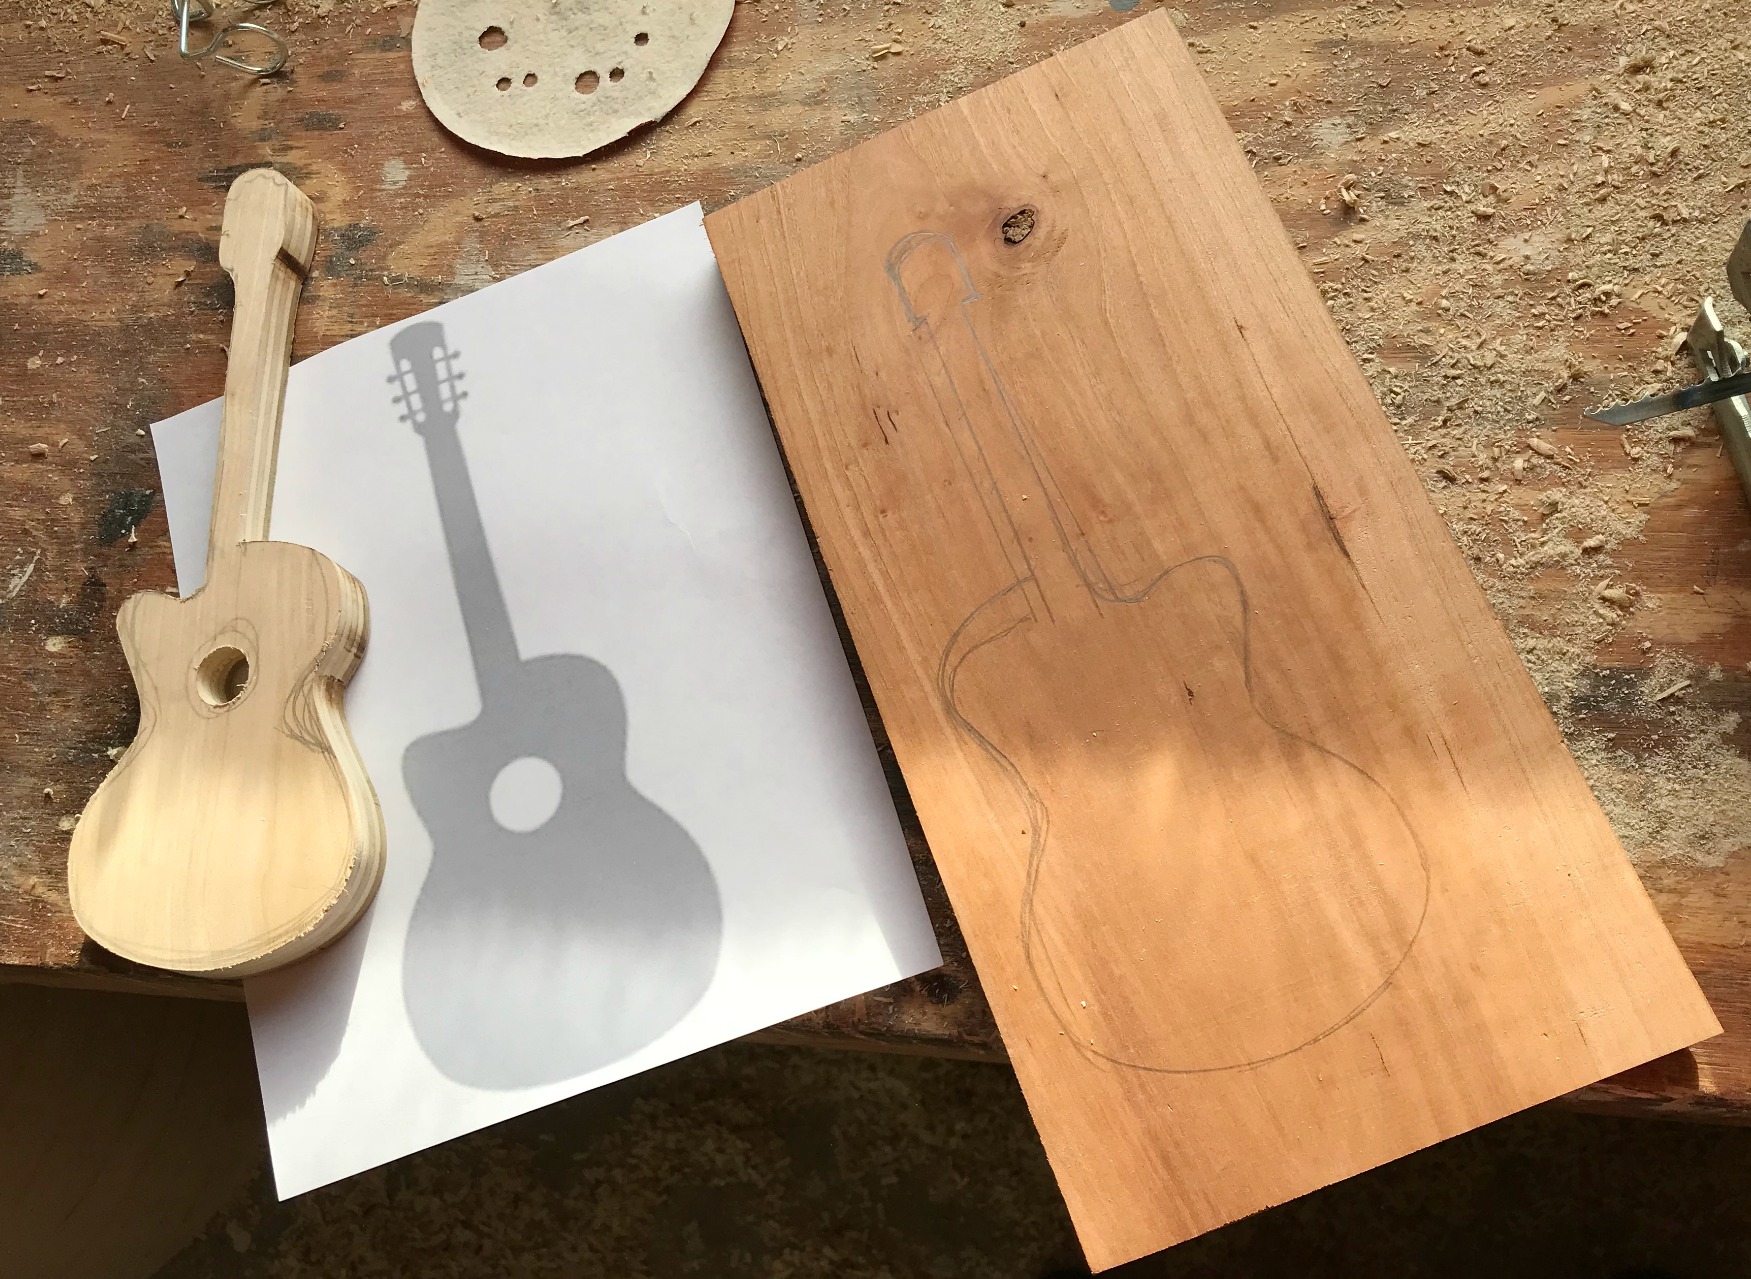
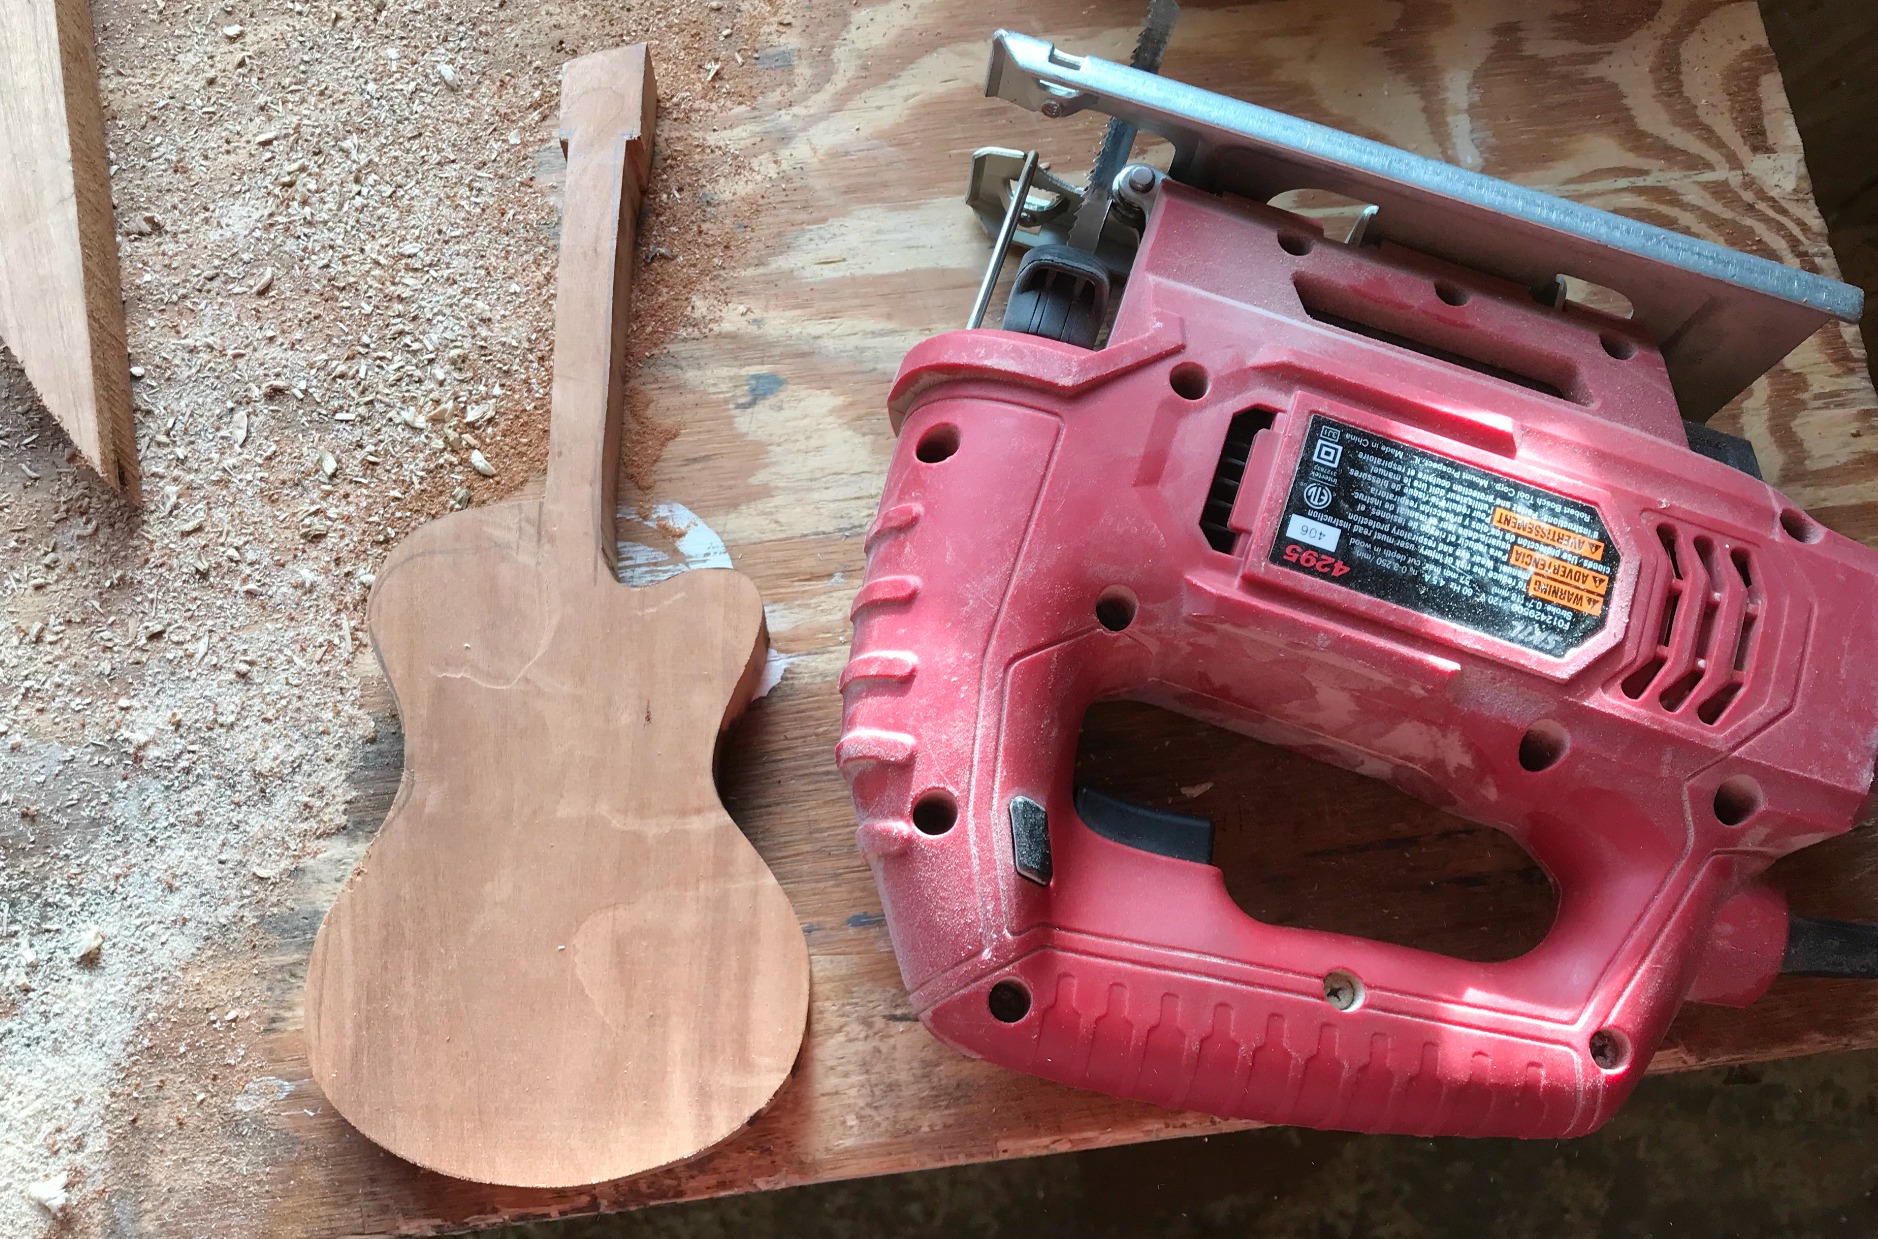
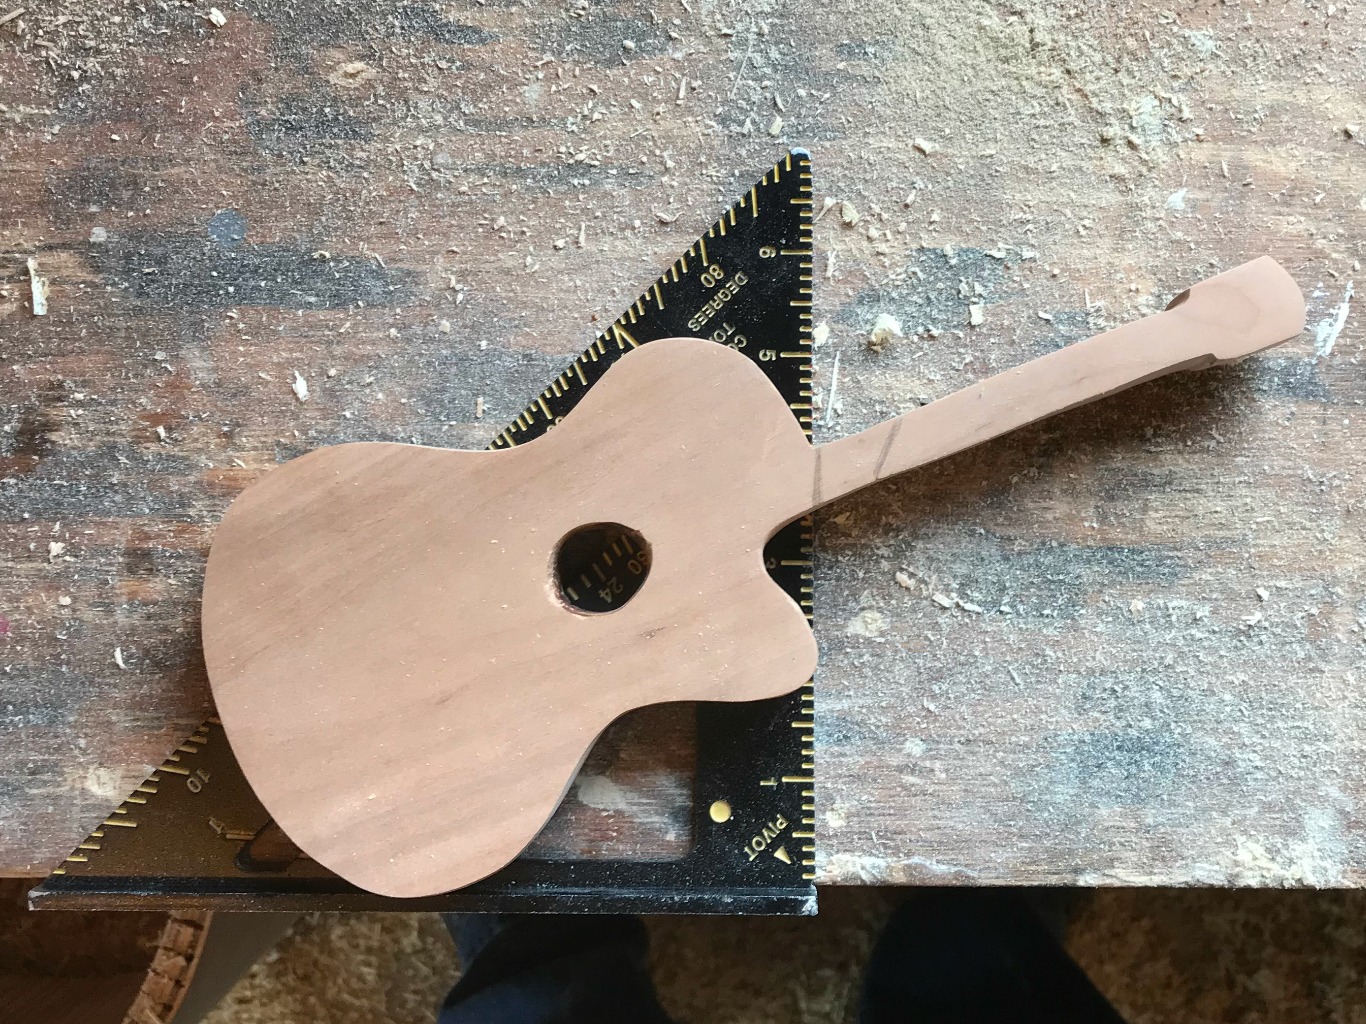
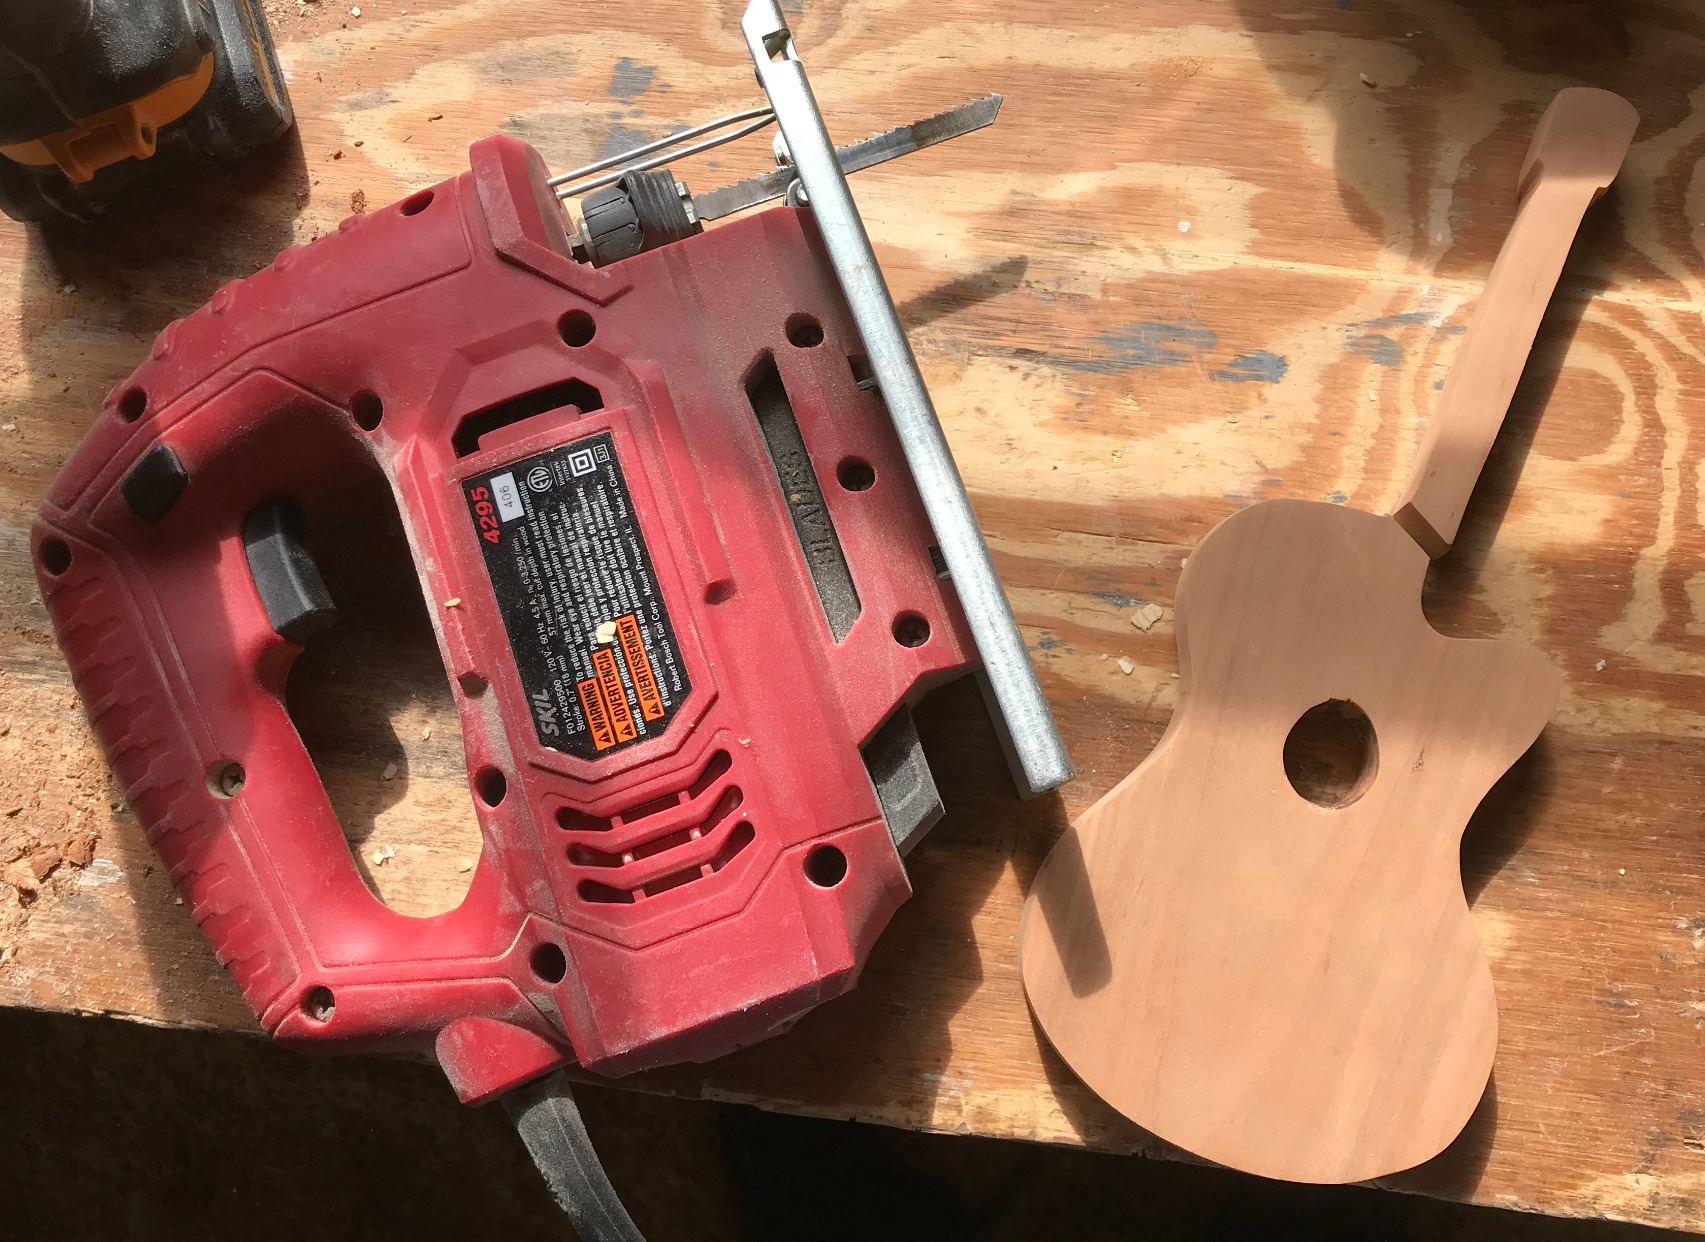
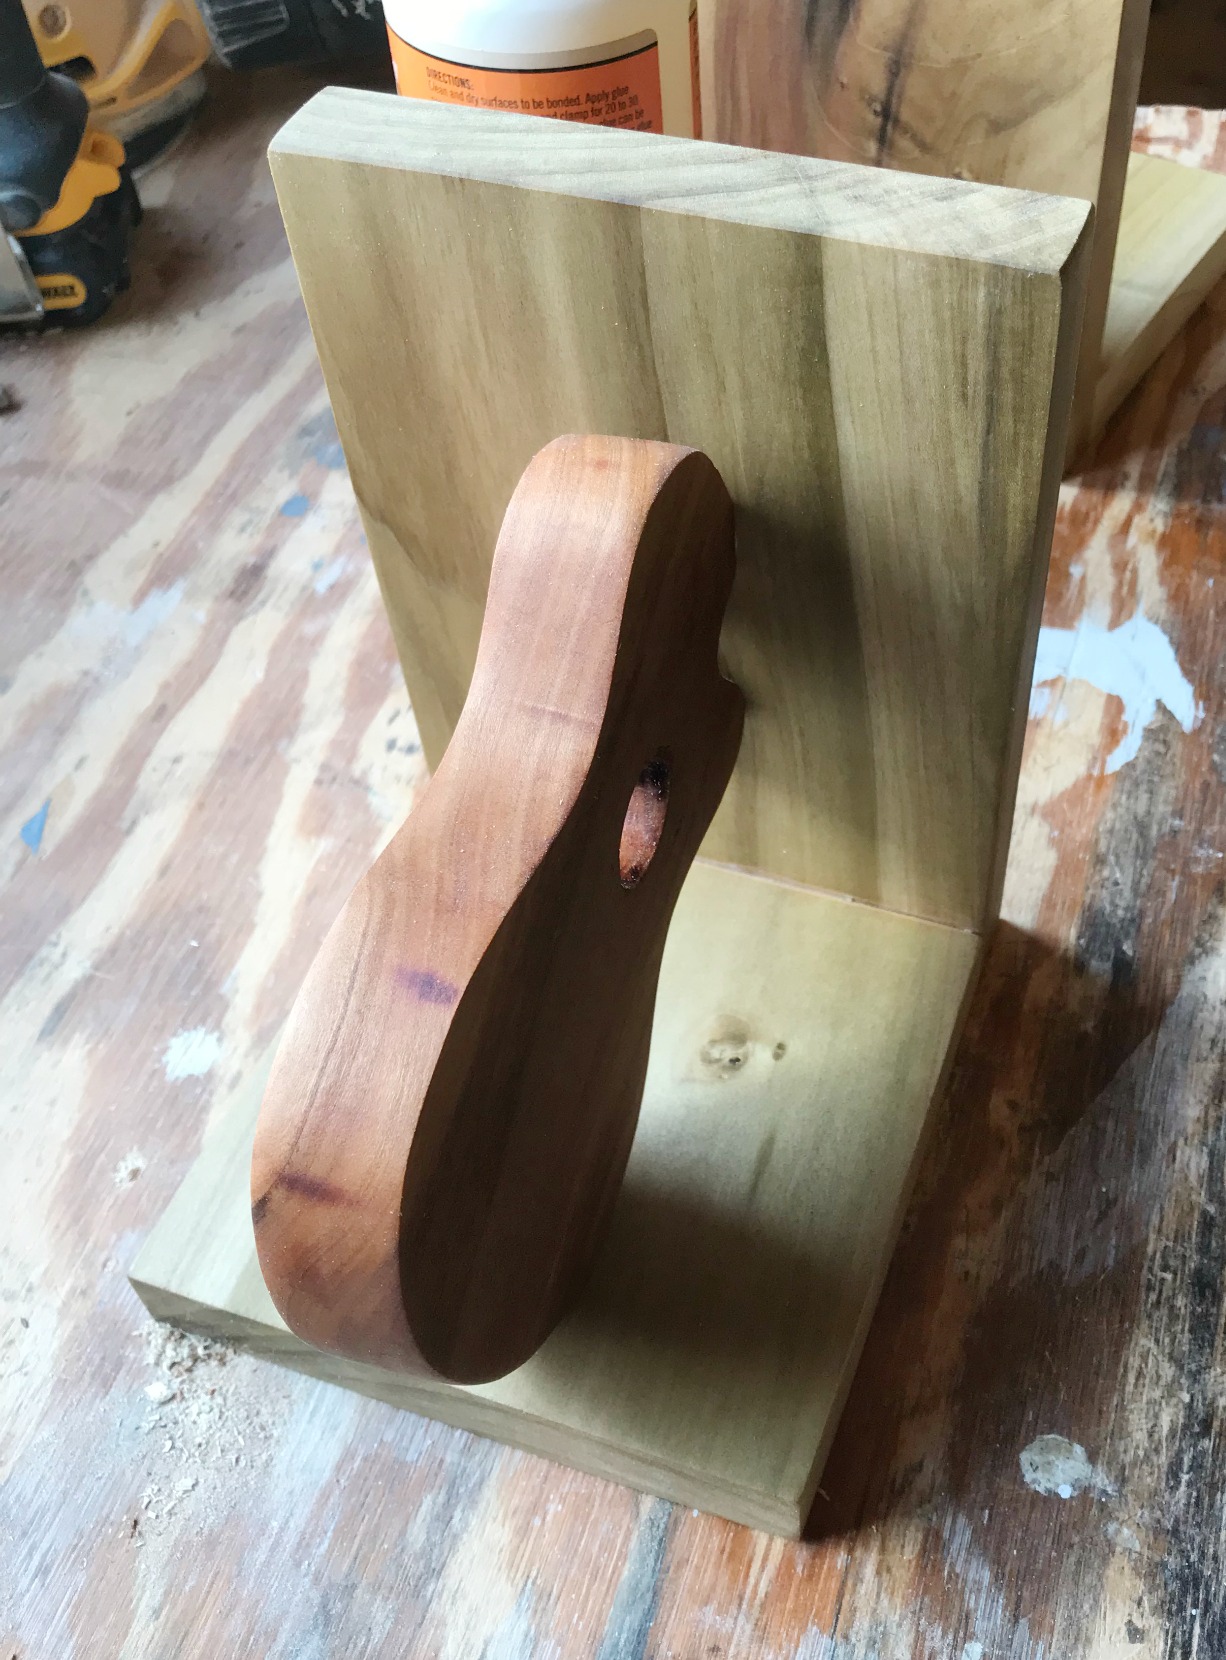
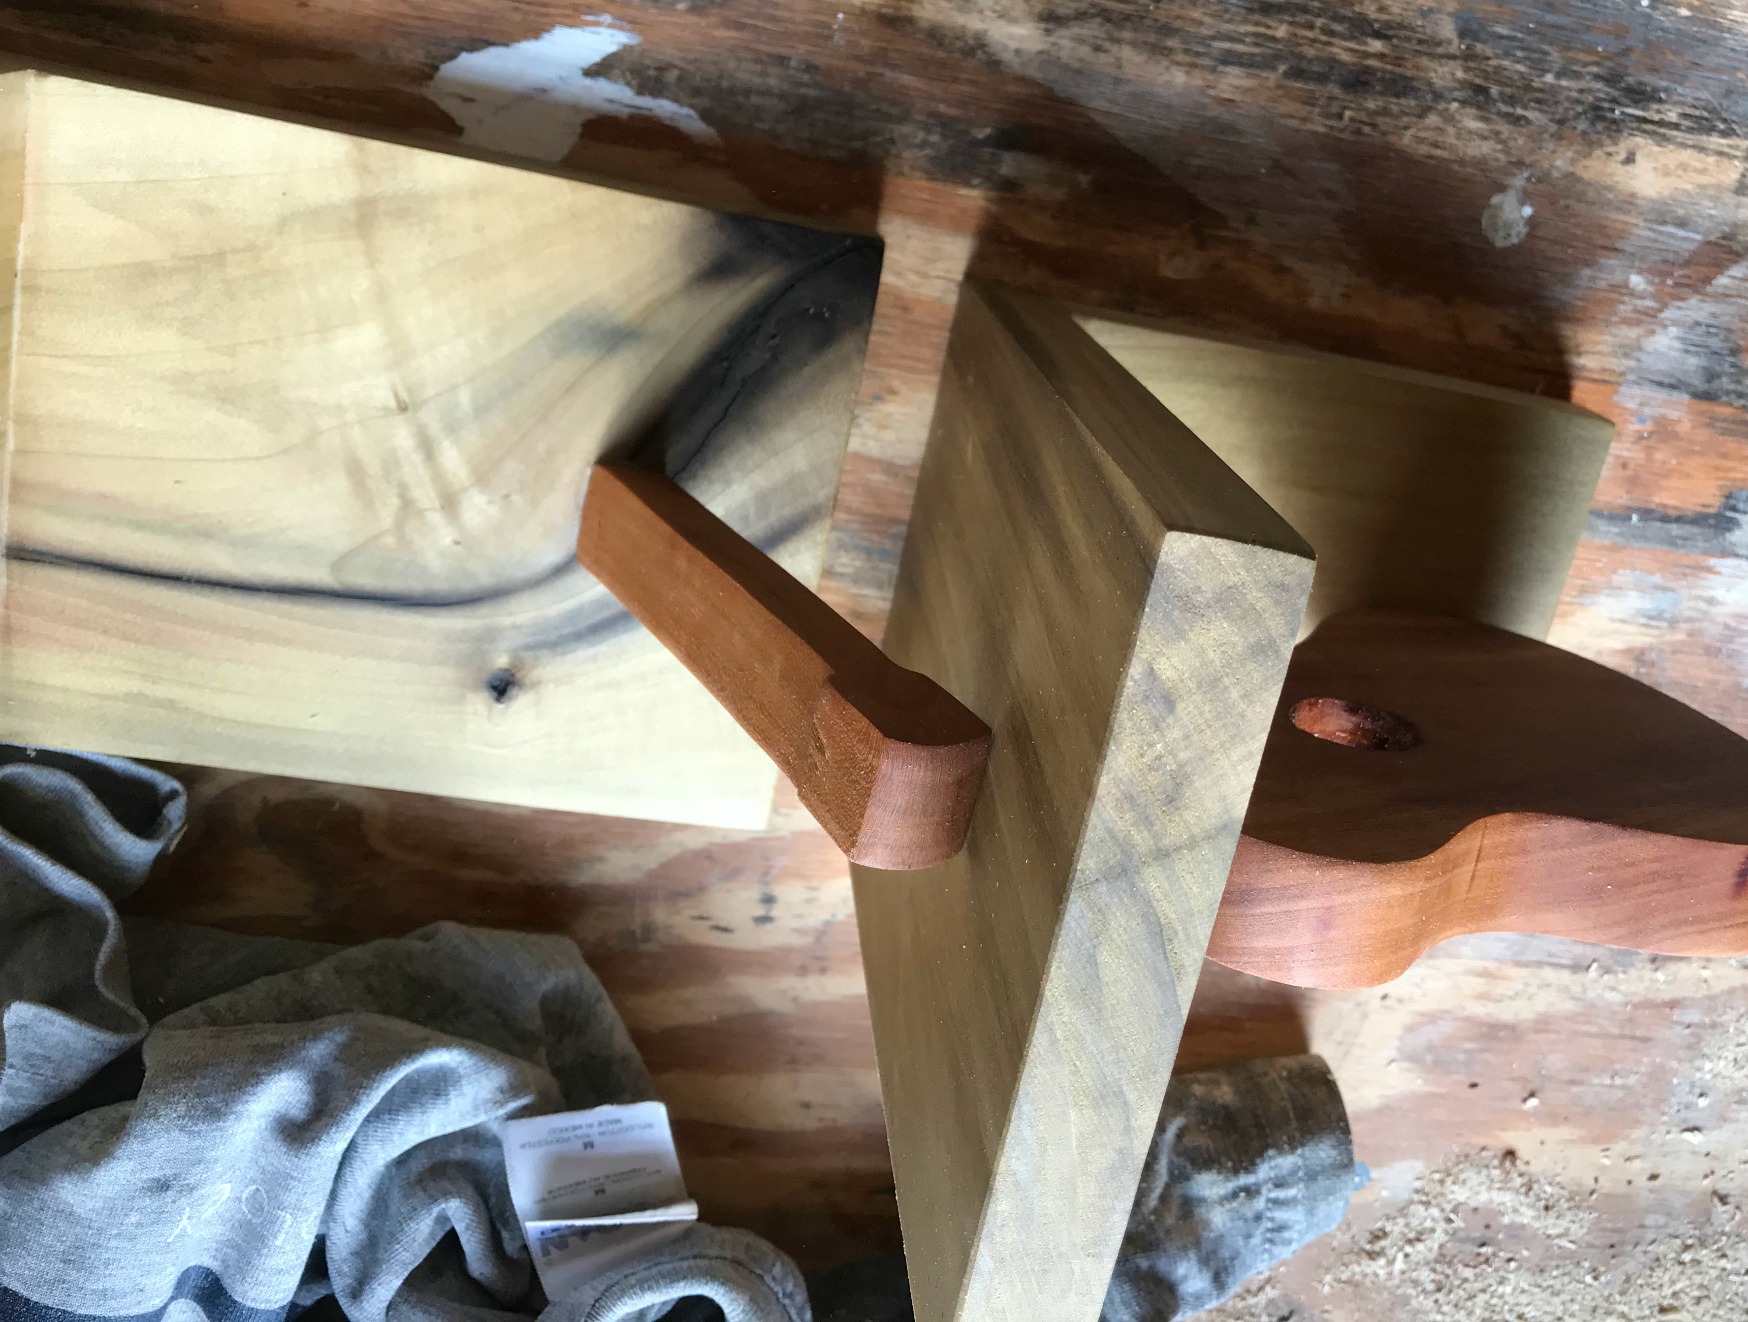
First, grab the piece you want to make your shape out of, in this case, the guitar. If you are good at freehand drawing, that’s awesome! Feel free to freehand your shape onto your piece. But if you are like me and can’t draw to save your life, print off an image of your shape and either use as a guide or cut out and trace around it onto your piece. I made a scrap guitar out of plywood before I cut my real thing, because I was cutting cherry wood and didn’t want to screw it up.
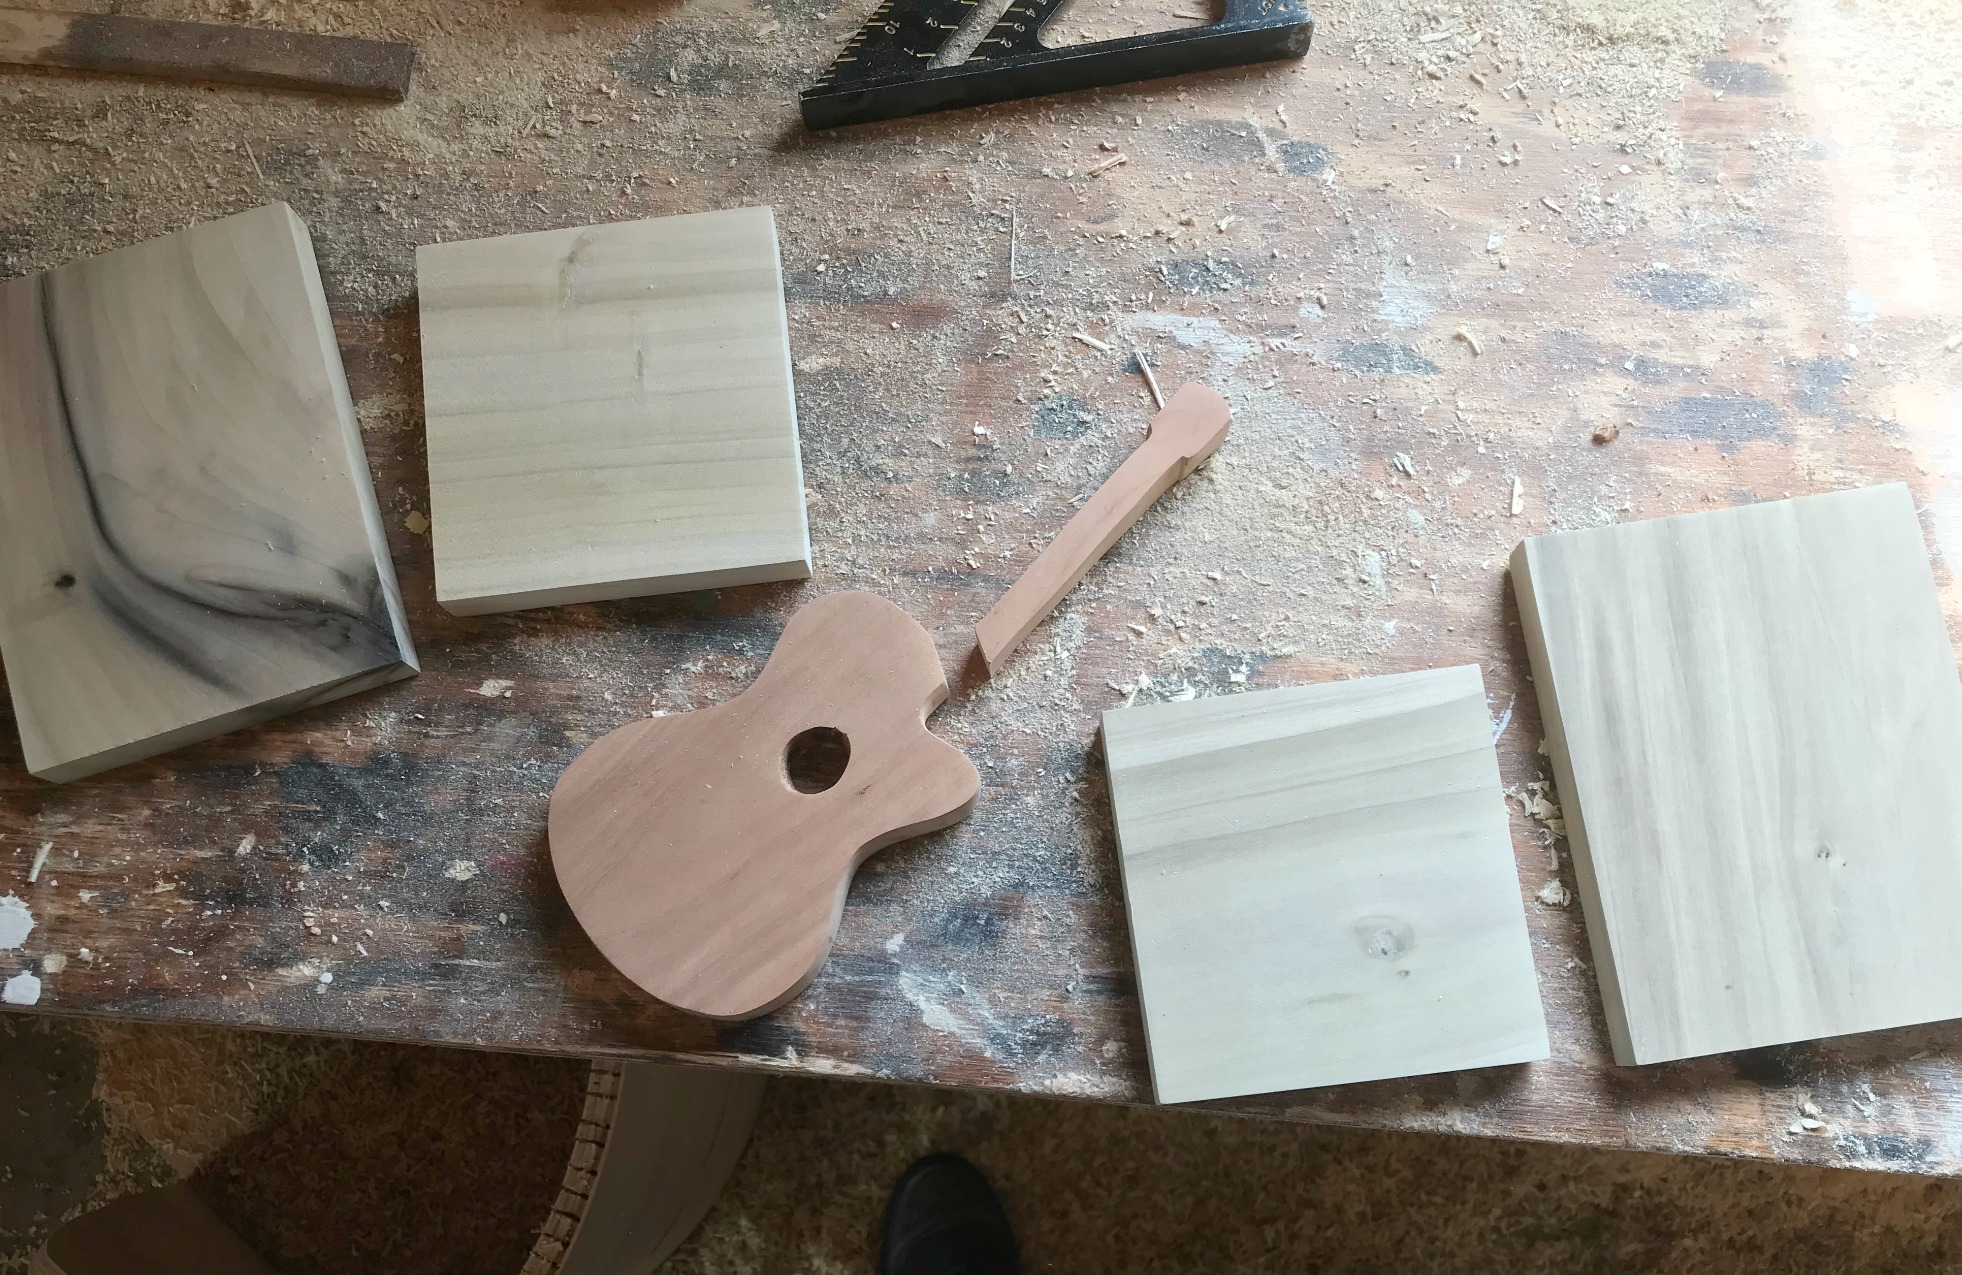
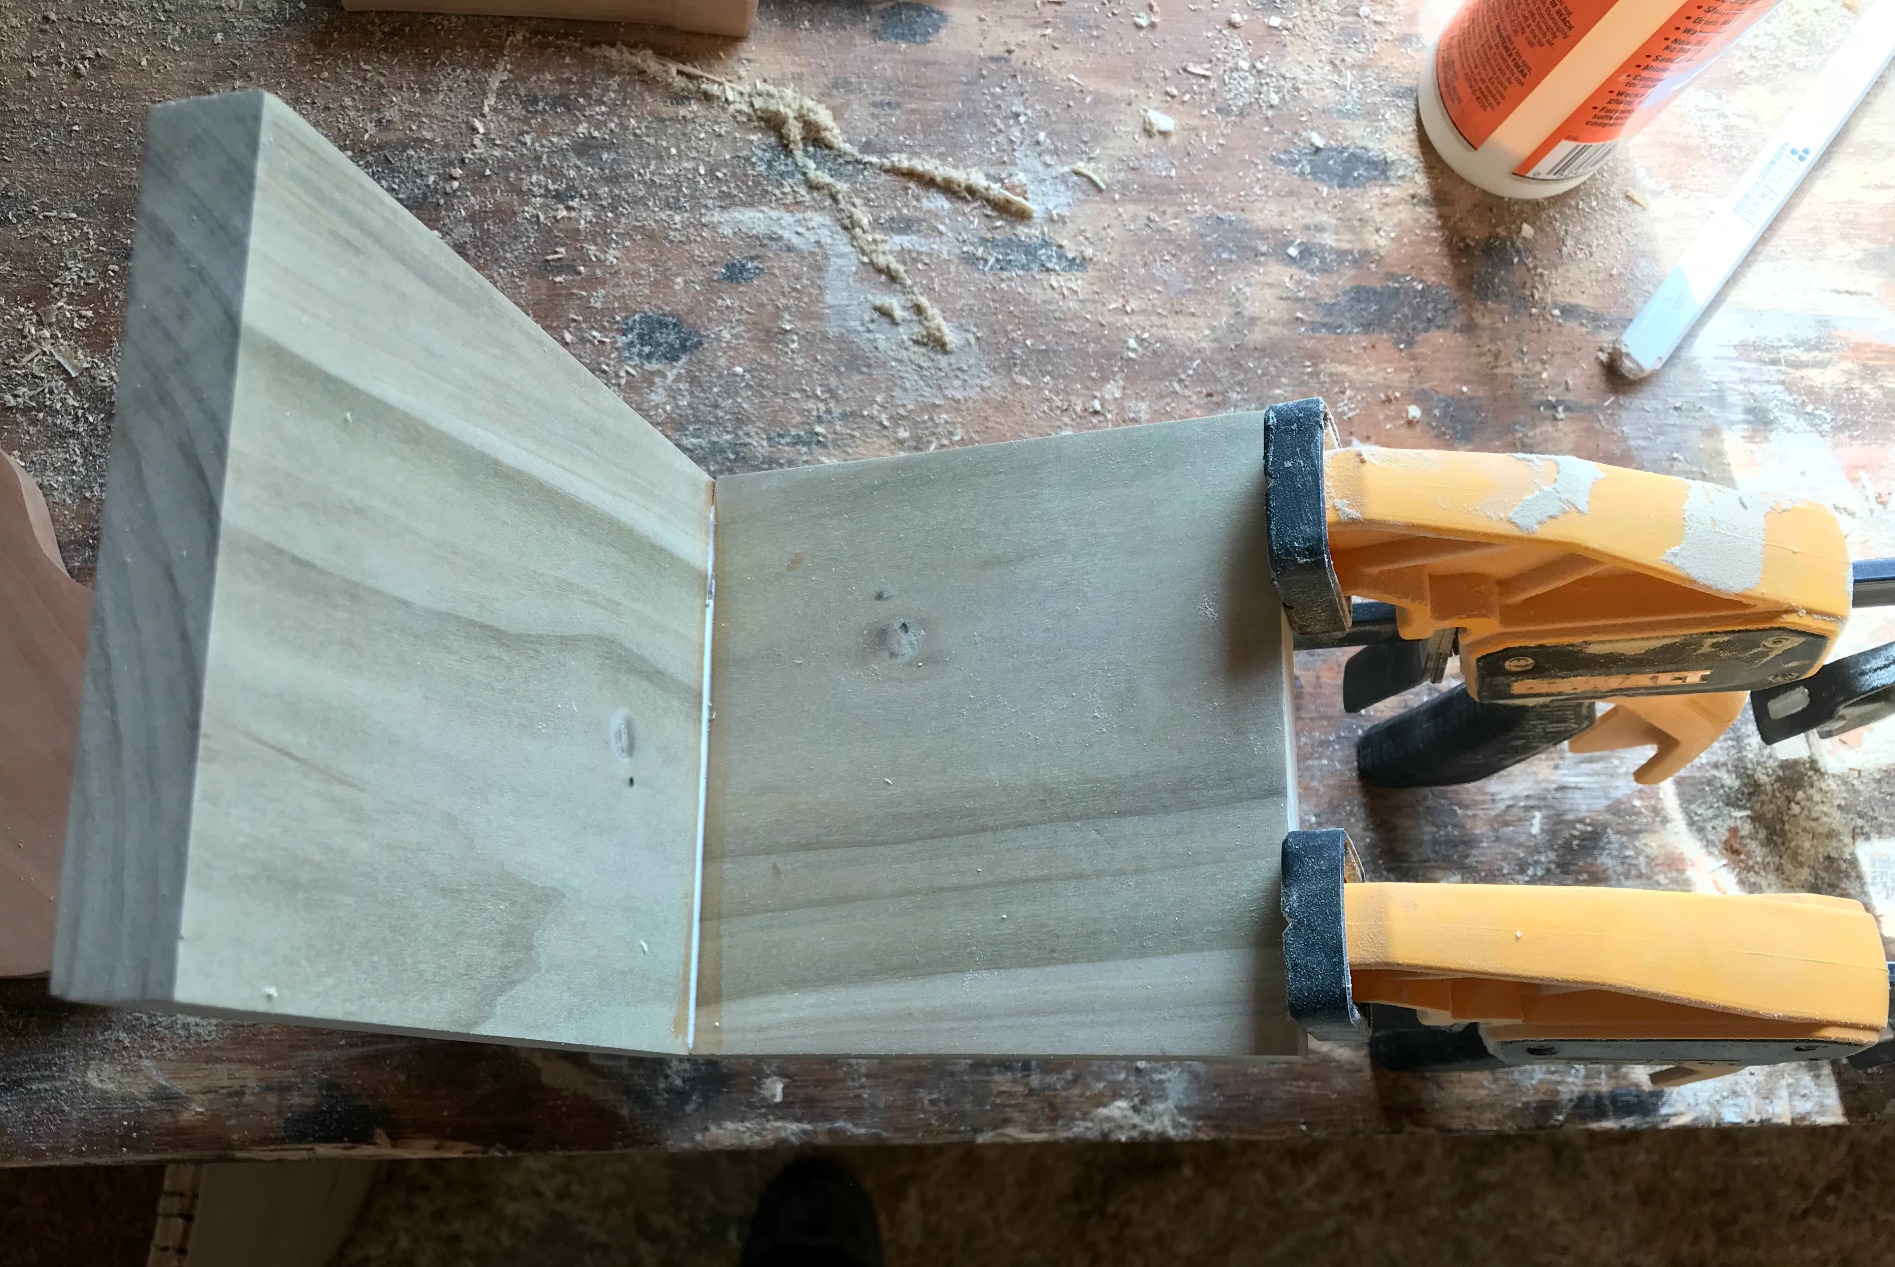
To contrast with the guitar, I used poplar wood for this. But if you don’t have different types of wood scraps, you can always achieve a similar look with different stain colors. By the way, if you like the look of this poplar, you will LOVE how this DIY Keepsake Box made from poplar turned out.

DIY Scrap Wood Retro Bluetooth Speaker Box
DIY Pineapple Shaped Wooden Spoon
DIY Lantern Post From Wood Scraps
And if you need somewhere to store all of your scraps, check out this easy plywood and wood scrap shop cart.
Until next time, happy building! 🙂

Wow awesome bookends! Great tutorial too!
I have never seen a bookend before and I love this project. I’d like to combine wood with ceramic mosaics and I’m going to share the result with you. Thank you!