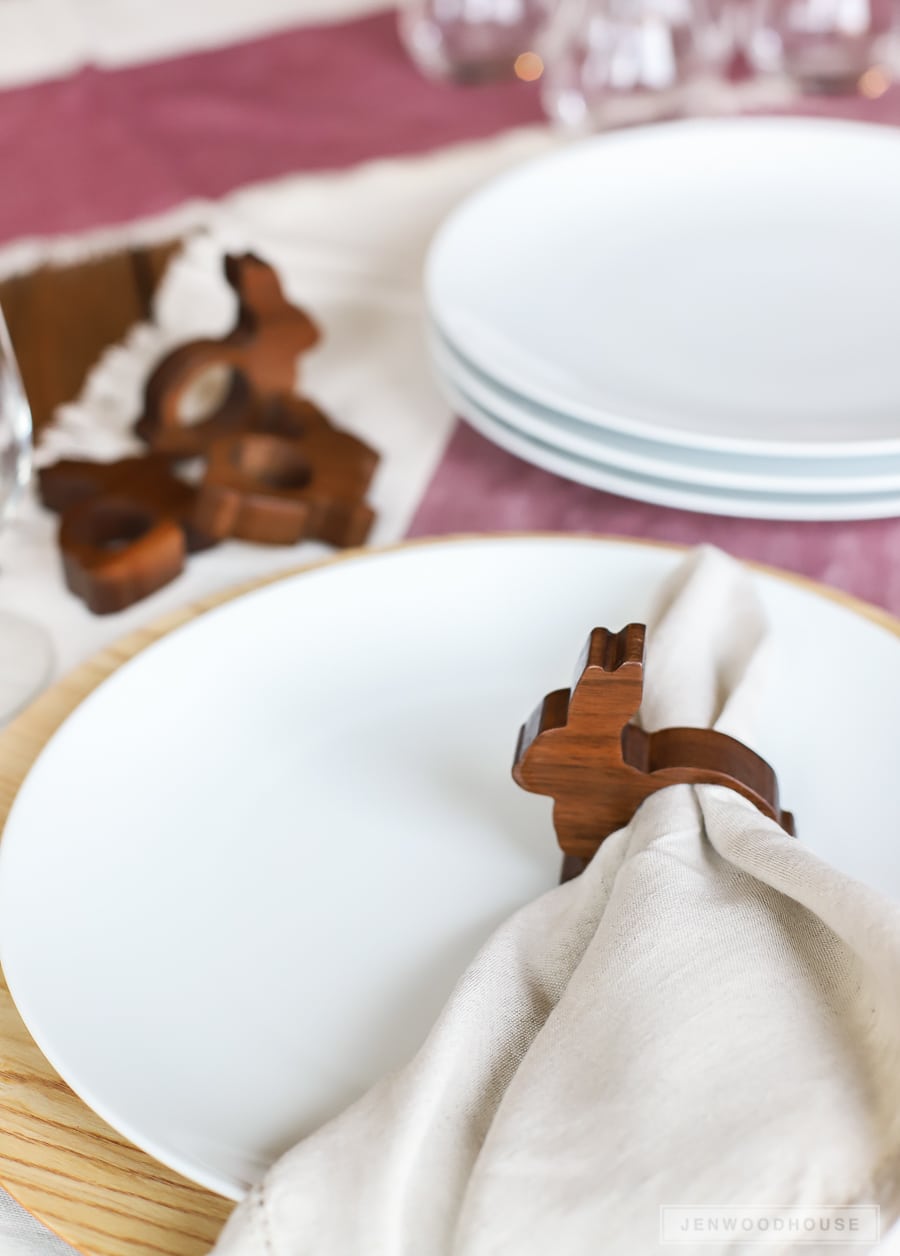
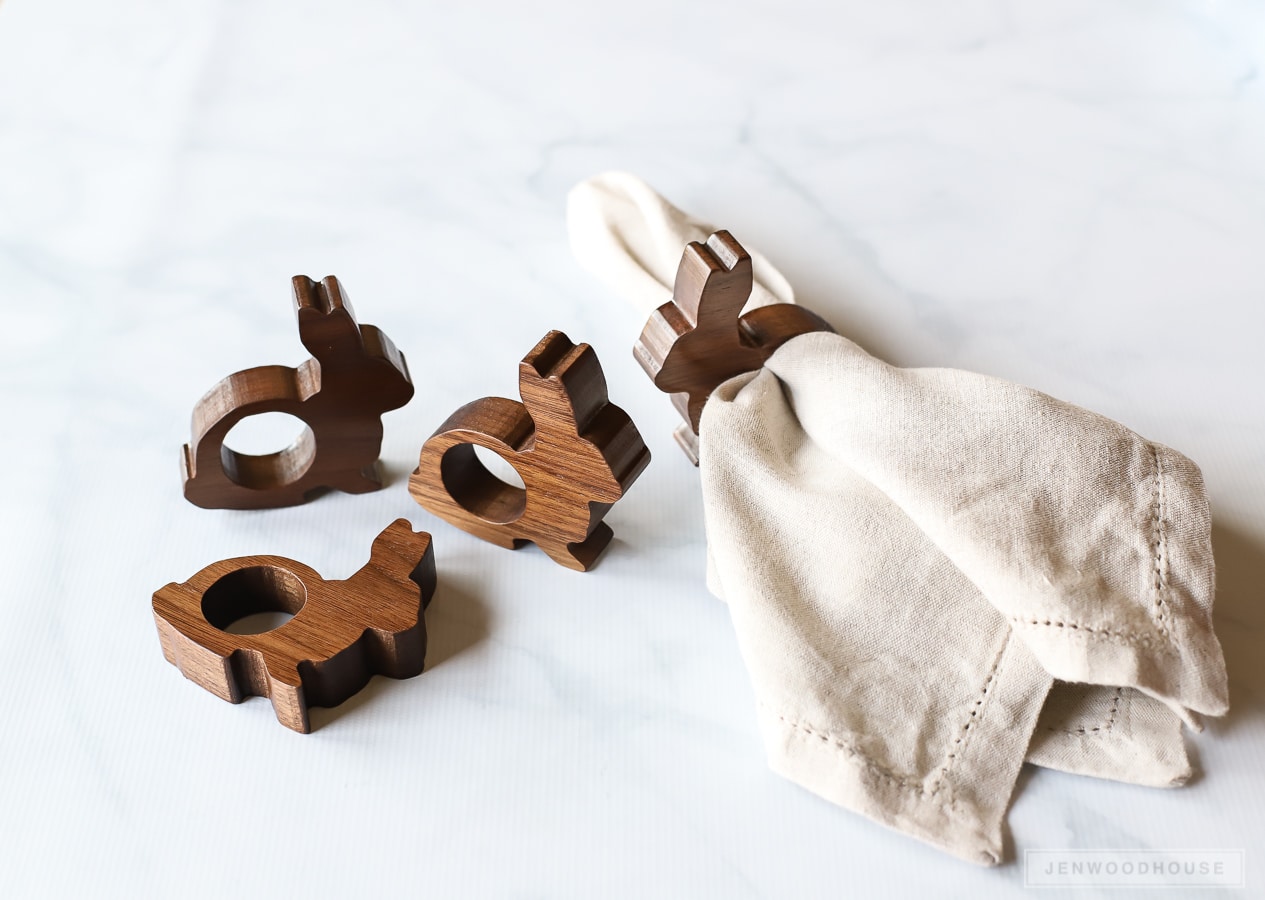
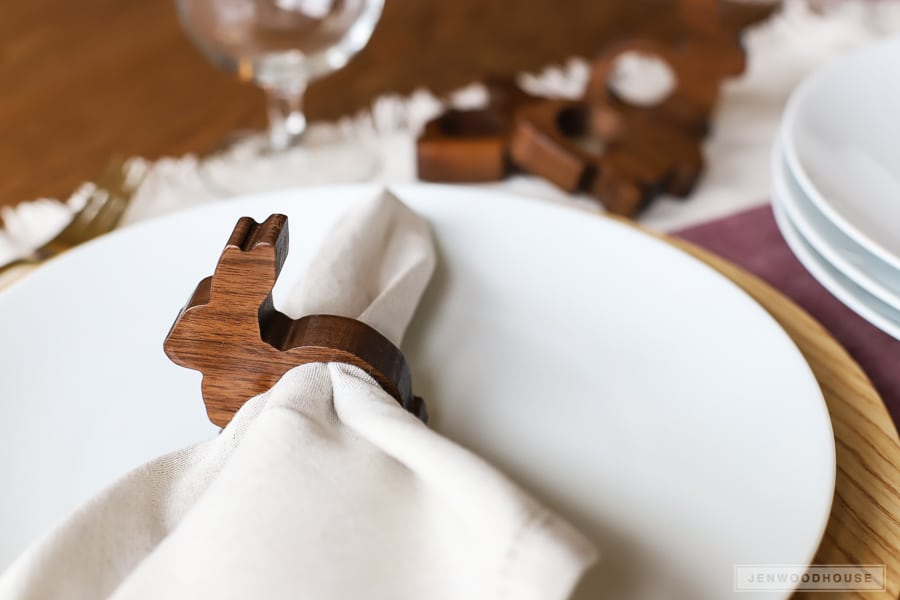
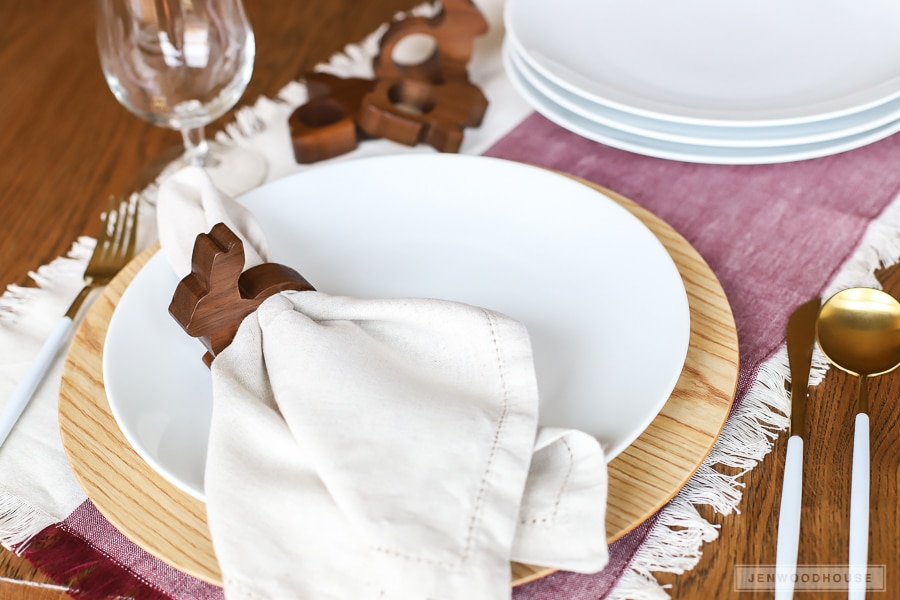
Hi friends! Is it getting warm where you are? Central Texas weather is so unpredictable – one day it’ll be in the 30s (not my fave) and the next day it’ll be in the high 70s (totally my fave). These sporadic warm days have me jonesing for Spring. So in the spirit of Springtime, I made these adorable DIY Wood Bunny Napkin Rings – aren’t they perfect for a Spring or Easter table setting?
Today, I’m joining several of my blogger friends as we share new Spring-inspired DIY crafts – be sure to check out all the Spring loveliness linked at the end of this post. Thanks to Krista at The Happy Housie for organizing this fun blog hop!
Have you seen the Peter Rabbit movie yet? We really enjoyed it – now I want to own a colony/herd/kindle/fluffle of rabbits and dress them up in tiny jackets. Did you know a group of rabbits is called a “fluffle”? (It’s too bad Merriam-Webster doesn’t recognize the word.) If the word “fluffle” doesn’t make you smile, you might be related to the McGregors. Do you happen to like rabbit pie? You might be a McGregor…
Anyhoodle.
Sorry. I don’t ever use that made-up word in real life.
But maybe now I will.
Let’s get on with the tutorial, shall we?
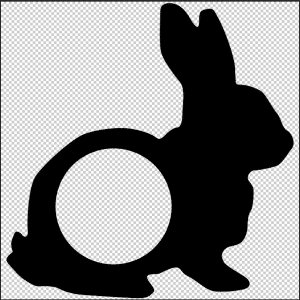
If you want to make your own DIY Wood Bunny Napkin Rings, first download the template, print, and cut it out. Trace the template onto a piece of 3/4-inch thick wood with a pencil. I used a scrap of gorgeous black walnut.
You can cut out the bunny shape in a variety of ways – you can use a scroll saw, jigsaw, band saw, or even a CNC machine, if you have one – basically, any tool that allows you to make curved cuts. I’d recommend using a drill with a Forstner bit to cut the center hole out. You can use a spade bit or even try to do it manually with a jigsaw or scroll saw, but I prefer the precision of a Forstner bit.
Unless there are robots involved. Then I prefer the precision of a robot.
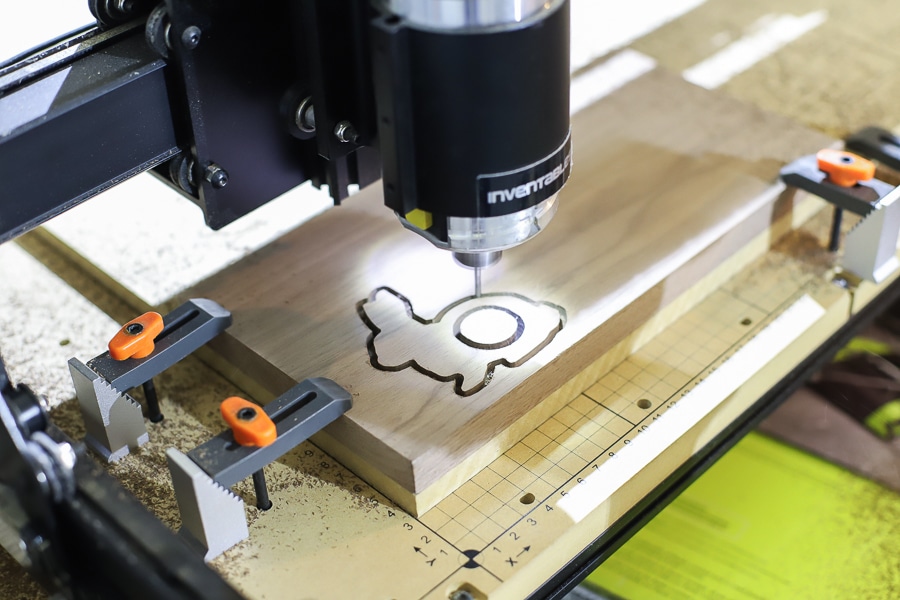
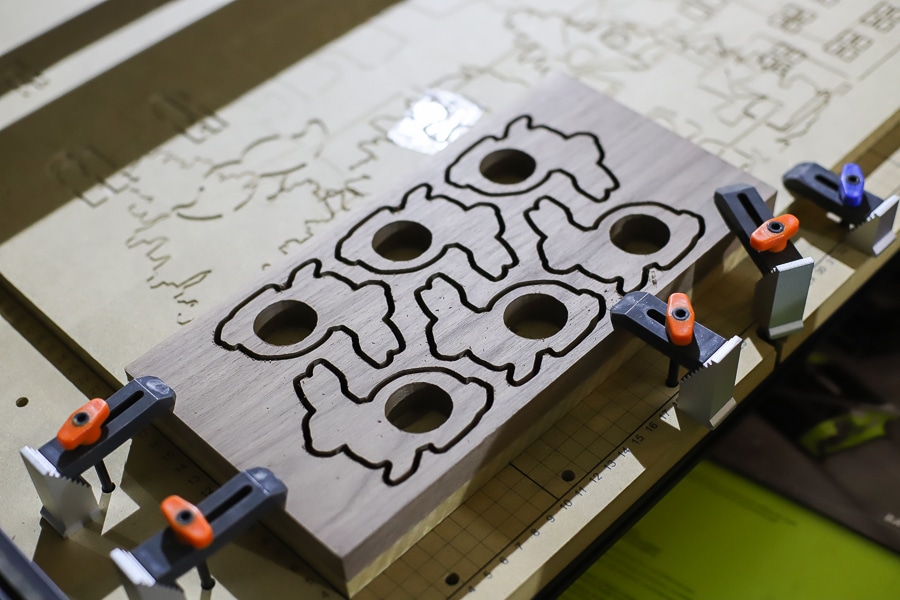
I have an Inventables XCarve 3D carving machine, so I loaded up my design into the program and let the robot do the cutting. I mean, if robots are ever a choice, we choose robots – amiright?
After about 40 minutes, the machine had 6 bunny napkin rings cut out. If you have an X-Carve and want to use my design, you’ll find it here.
Finally, I hand-sanded the DIY Wood Bunny Napkin Rings with a 320-grit flexible sanding sheet, then finished them with a few coats of this food-safe finish.
Would you rather BUY instead of DIY? Hey, no judgement! I’m selling a limited number of these wood bunny napkin rings (set of 4).
So are you ready for Spring yet? My blogger friends are sharing more beautiful and inspiring Spring DIY & Craft ideas! Head over to see what they have in store…
DIY Moss Letters at The Happy Housie
DIY Spring Floral Bird’s Nest Centrepiece at Duke Manor Farm
Spring Botanical Gallery Wall Printabls at Bless’er House
Easy Painted Planters at Place of My Taste
Spring Floral Arrangement at Town & Country Living
DIY Spring Plate Charger and Candle Ring at Zevy Joy
DIY Wood Bunny Napkin Rings at The House of Wood
Crepe Paper Tulip Surprise at Craftberry Bush
5 Minute Simple Spring Ribbon Project at Shabbyfufu
Decorative Tissue Paper Tea Cups at Paint Me Pink
$1 Bandana Easter Basket Liner at Heathered Nest
How to Make Giant Paper Flowers at Newly Woodwards
DIY Thrifted Garland Makeover at Amber Tysl



These are too cute. And the black walnut – ??????. I just love them.
Thanks Kim! I’m in love with black walnut too!
What an adorable idea for Easter and I think that you are the only one I know who could come up with something like this!
Haha – thanks friend! 🙂
Okay, I’m AMAZED. You MADE these!?!? They’re so beautiful and you are SOO talented!!
Aw, thanks so much Amber! The X-carve sure makes me feel fancy.
how super cute are those bunny rings. i love that you have those tools to create such cuteness. Is your machine similar to a circuit but for wood?
Thanks Laura! I suppose it’s similar to a Cricut or Silhouette, except that the X-carve is a 3D carving machine, so it cuts along the X, Y, and Z axis which allows the project to be 3-dimensional. It really is nice to have the robot do the cutting, but you can make these bunny rings with a scroll saw, bandsaw, jigsaw, or any other tool that makes curved cuts on wood.
These are absolutely the cutest thing, Jen! I am so impressed you made them! Gorgeous wood choice. Thanks so much for joining in on this hop!
Hello there!I love these Wooden Bunny Rings. And it is some kind of affordable