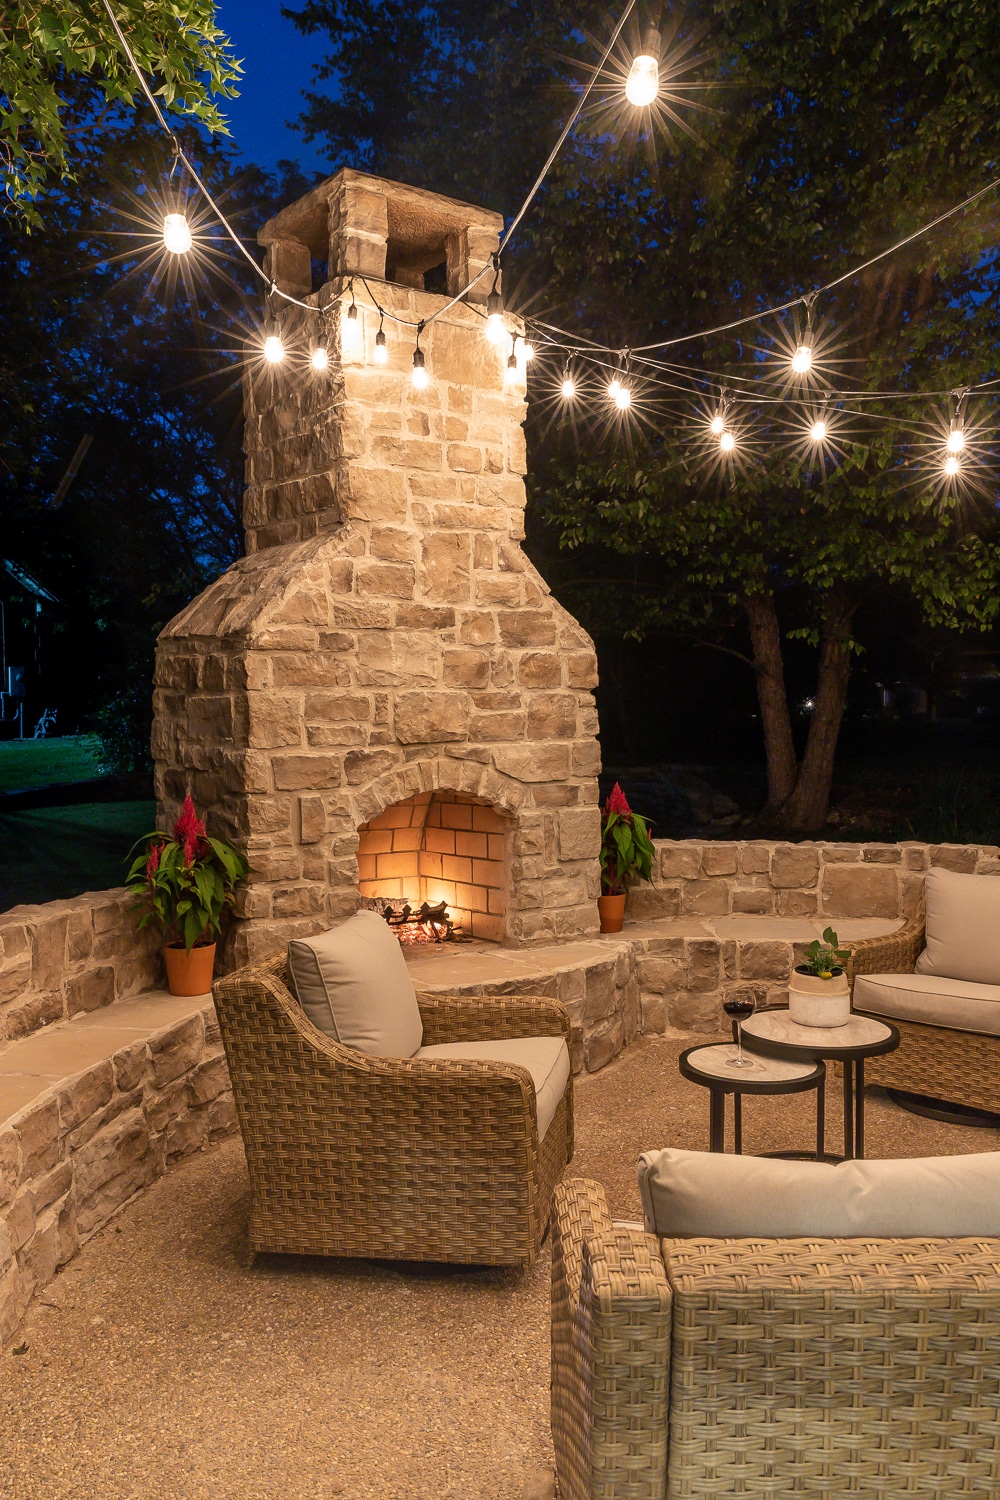
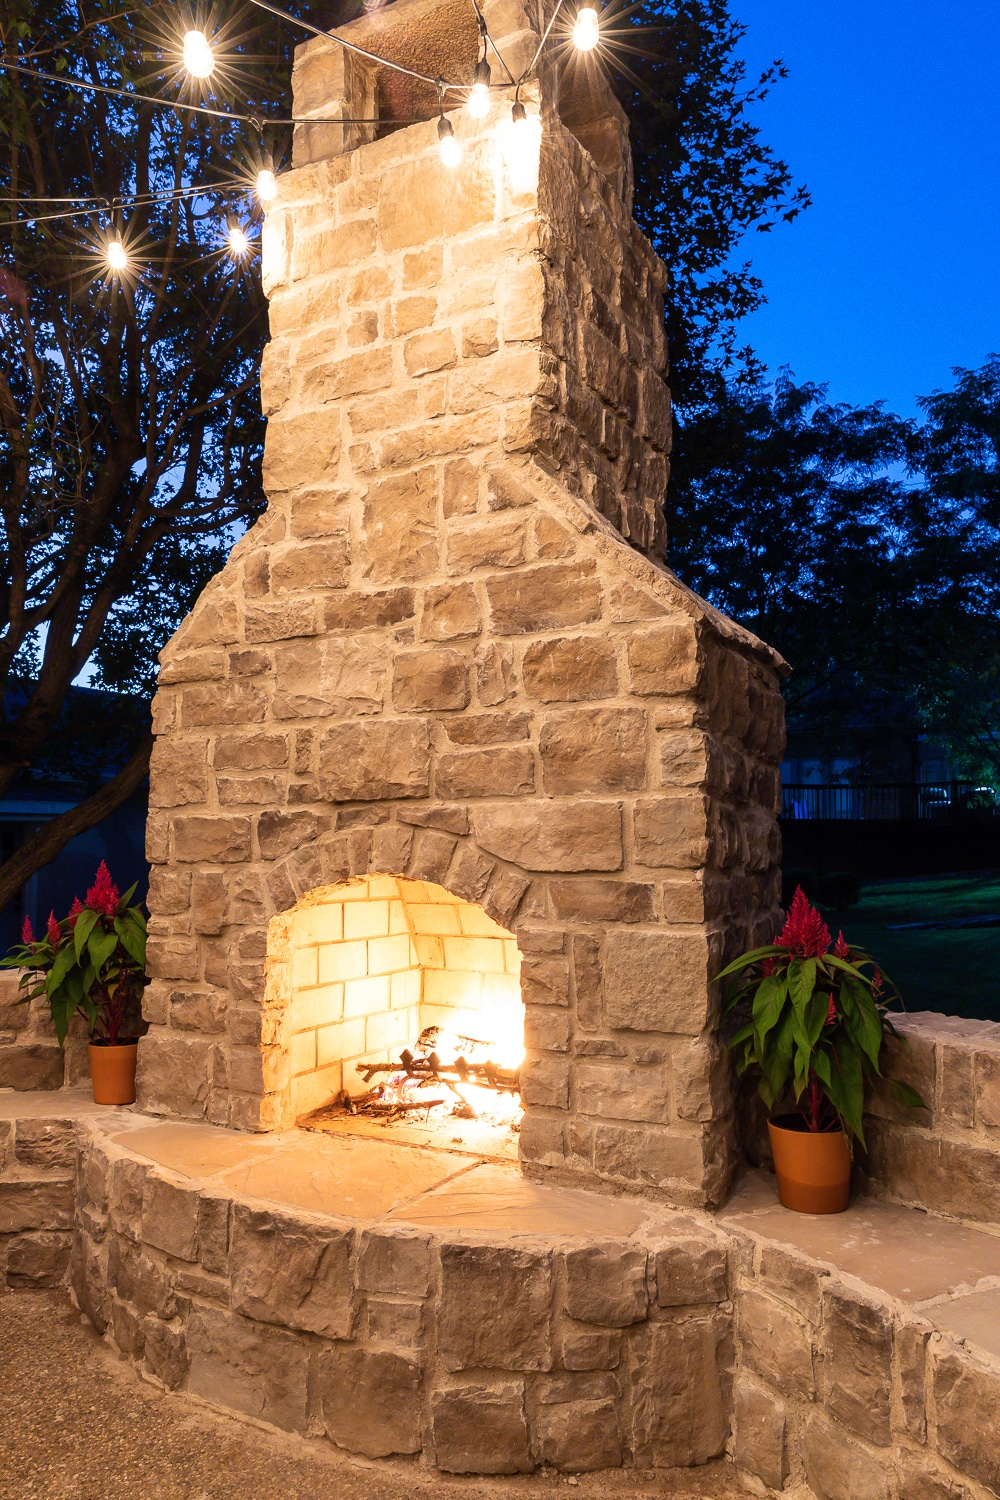
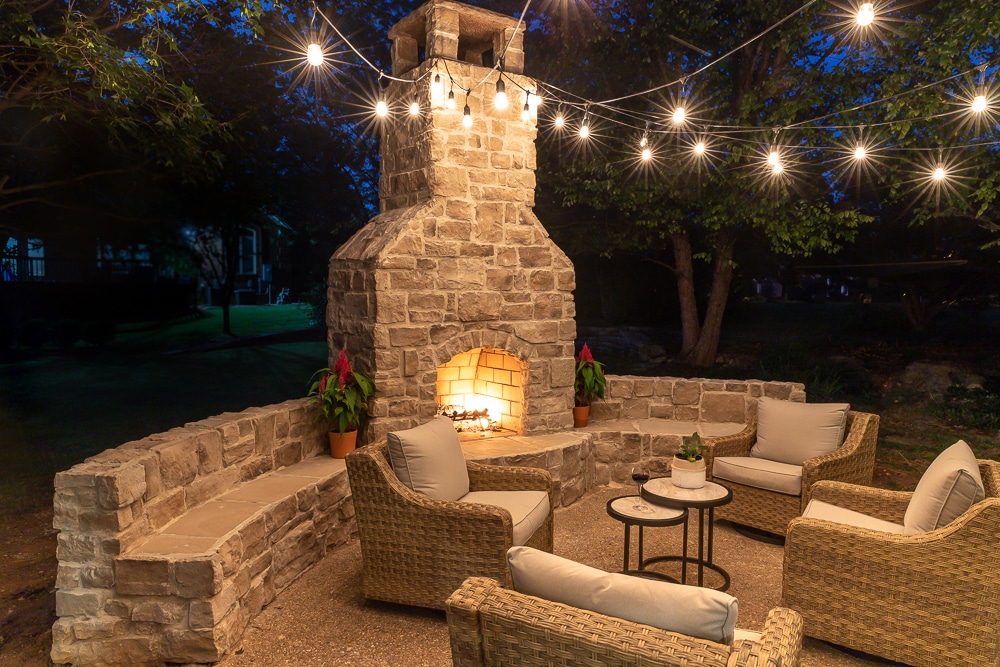
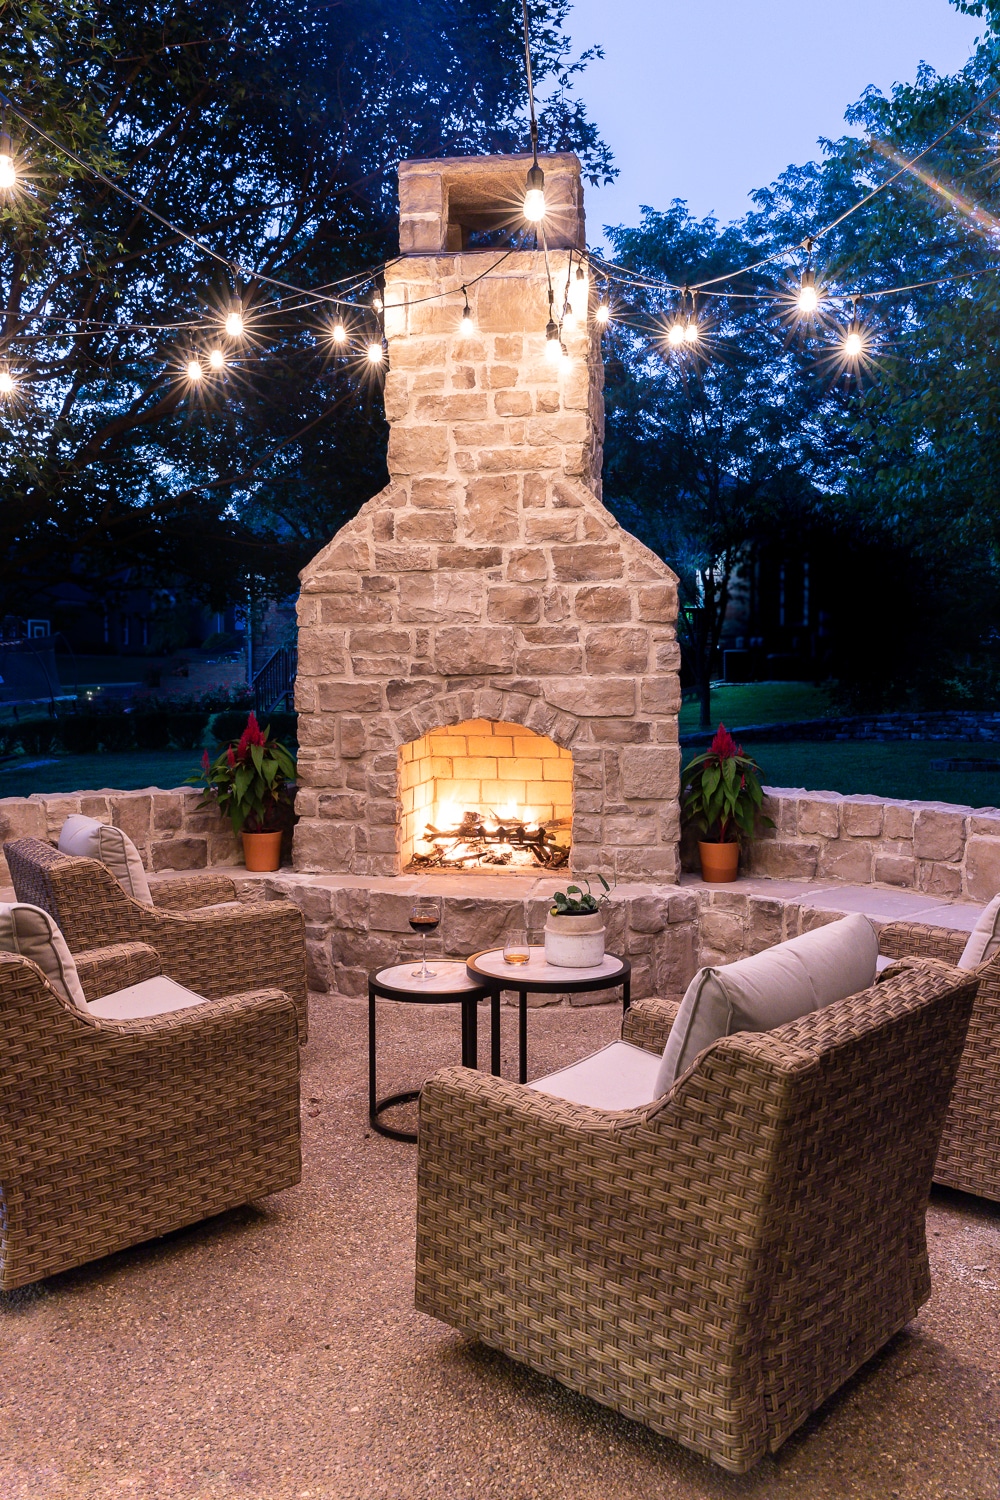
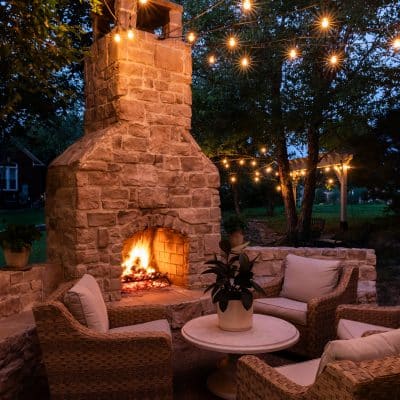
Hiiiii. I cannot even express to you how excited I am to share our latest project! Welcome to our new outdoor fireplace with bench seating!
WATCH THE VIDEO!
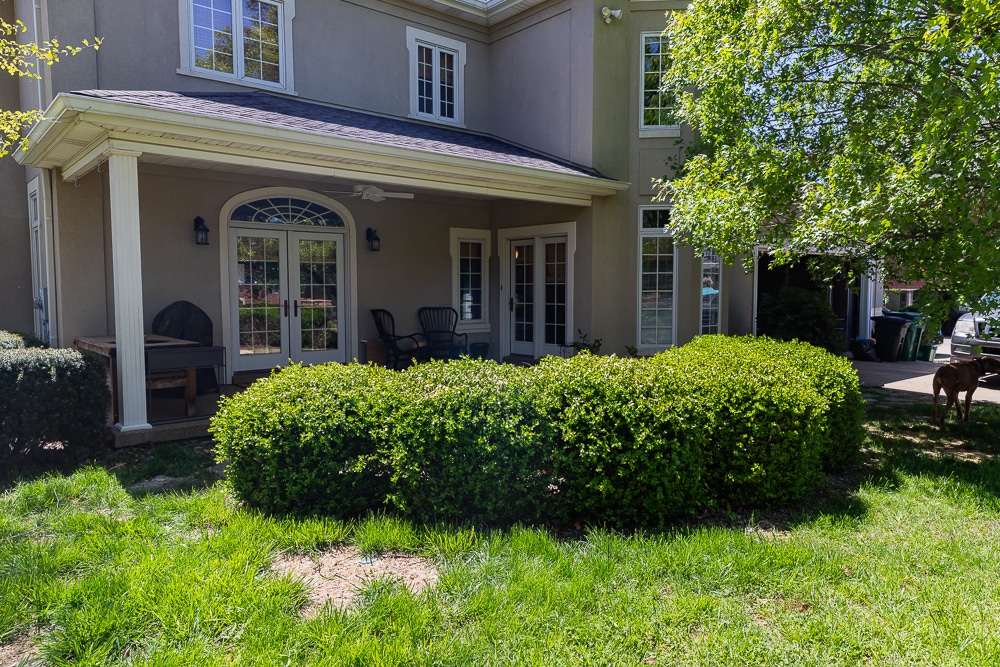
Backyard Patio Before
Our backyard has an arched patio and seven giant boxwood bushes around it. I’m not sure what purpose the bushes served, but they divided the yard in a strange way. During our quarantine, we decided that an outdoor fireplace would make more sense here. Not only would it extend our living space and increase our quality of life, but it would also add value to our home. We talked with local real estate and building experts and the consensus is that outdoor living spaces, like an outdoor fireplace, can bring homeowners a 60%-80% return on investment!
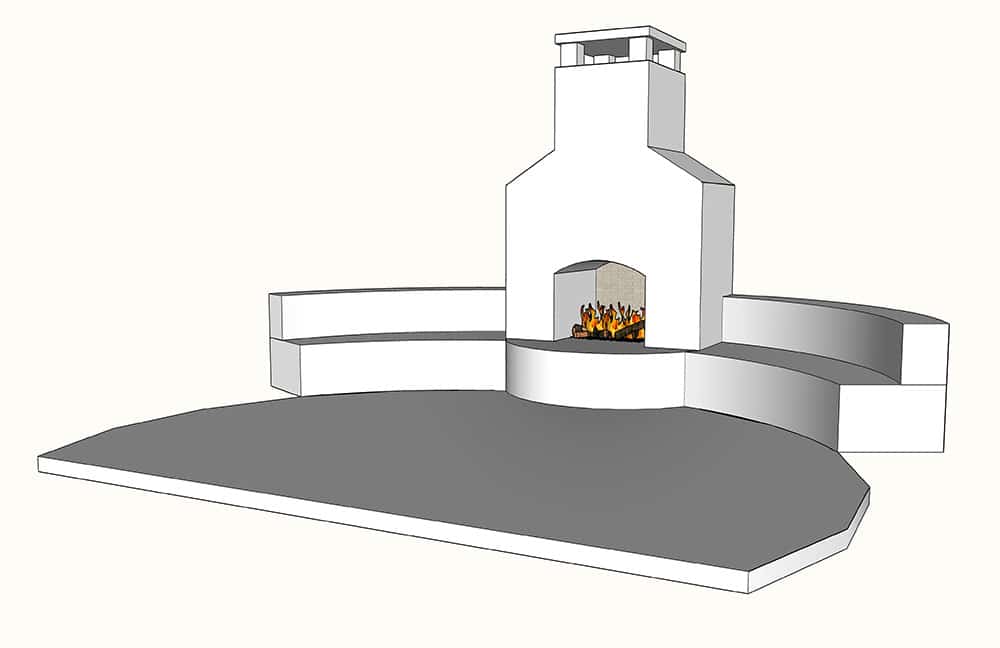
Outdoor Fireplace Design Plans
Comparing Costs and Division of Funds
Even though we did the prep work ourselves, we decided it would be best to hire a professional mason for the masonry and stonework. I’ve never laid brick before in my life and an outdoor fireplace is just too big of a project that I couldn’t afford to mess up. We got 4 different quotes from contractors, which ranged from $8,000 to $18,000! If you decide to tackle this project, I highly recommend that you get a few different quotes so you can make a more informed decision. I won’t disclose our actual costs because they vary so much depending on size, scope, location, and materials. We did find that the labor cost was about as much as our cost for materials, so the division of funds was about 50/50.
Of course, depending on what materials you choose (brick, natural stone, manufactured stone, etc.), this may not be the case for you. The manufactured stone we chose was $6/square foot and I’d say it was about ‘middle of the road’ from the choices we considered. Natural stone can often be double the cost or more, which is why we chose a manufactured stone veneer. I actually love the look of this stone and think it compliments the home so well. We ended up hiring a man named Tony, who’s been a mason all of his life and the experience and skill that he brought to this project was absolutely essential.
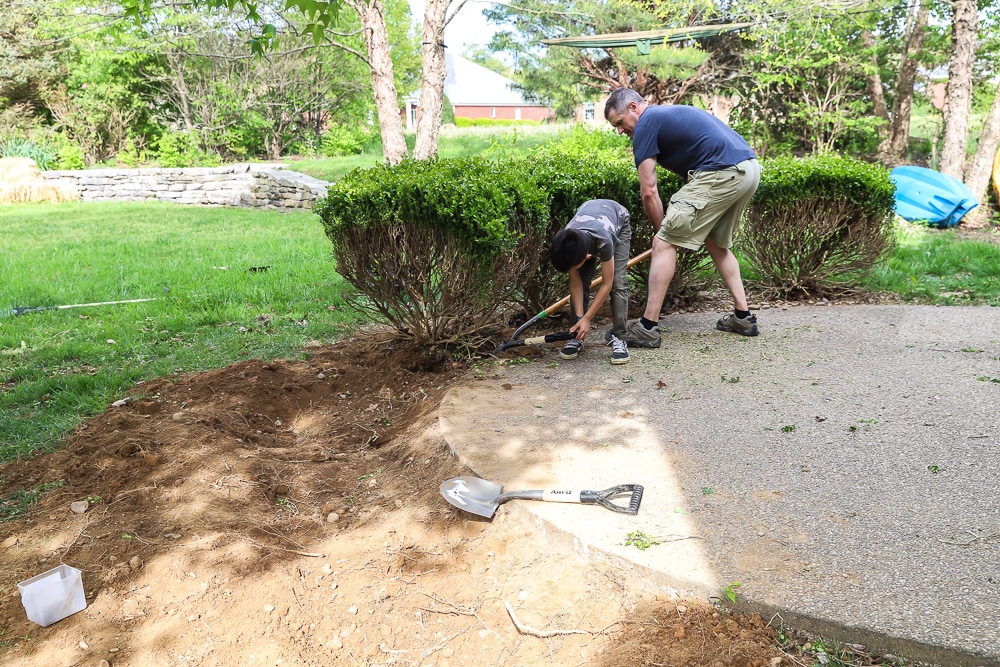
Site Prep
The first thing we did was prep the site. Adam and Liam dug up the boxwood bushes so we could dig for the footing. I tried to salvage the bushes so we could relocate them elsewhere on our property, but sadly, they didn’t survive. We were also told by a landscape design professional that the bushes were at the end of their lifespan anyway. Be sure to check your local codes before starting a project like this. Our city doesn’t require a permit and we also knew there were no utility lines running under the area because I’d had the land surveyed when we built my workshop.
Concrete Footing
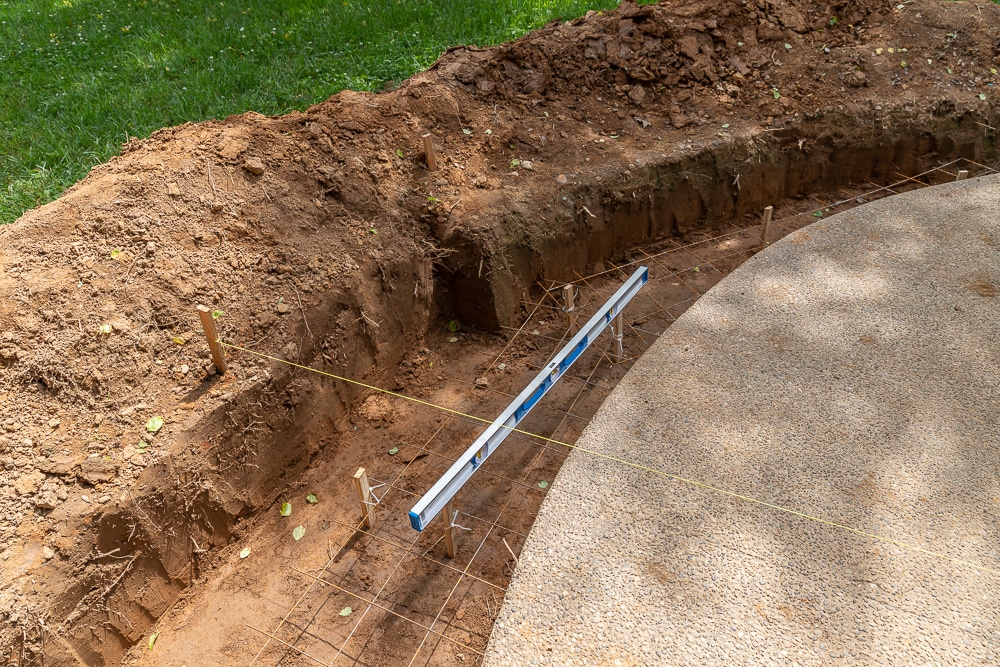
Once the bushes were removed, the boys dug the hole for the footing. It followed the curve of our patio and was 18 inches deep (below our frost line) and 32 inches wide. In the center, which is where the firebox would go, was a little wider, at about 44 inches from front to back. After the hole was dug, we poured the concrete. We used 54 80-lb. bags of concrete mix. For a footing this size and for the weight it would carry, the slab needs to be at least 8 inches thick.
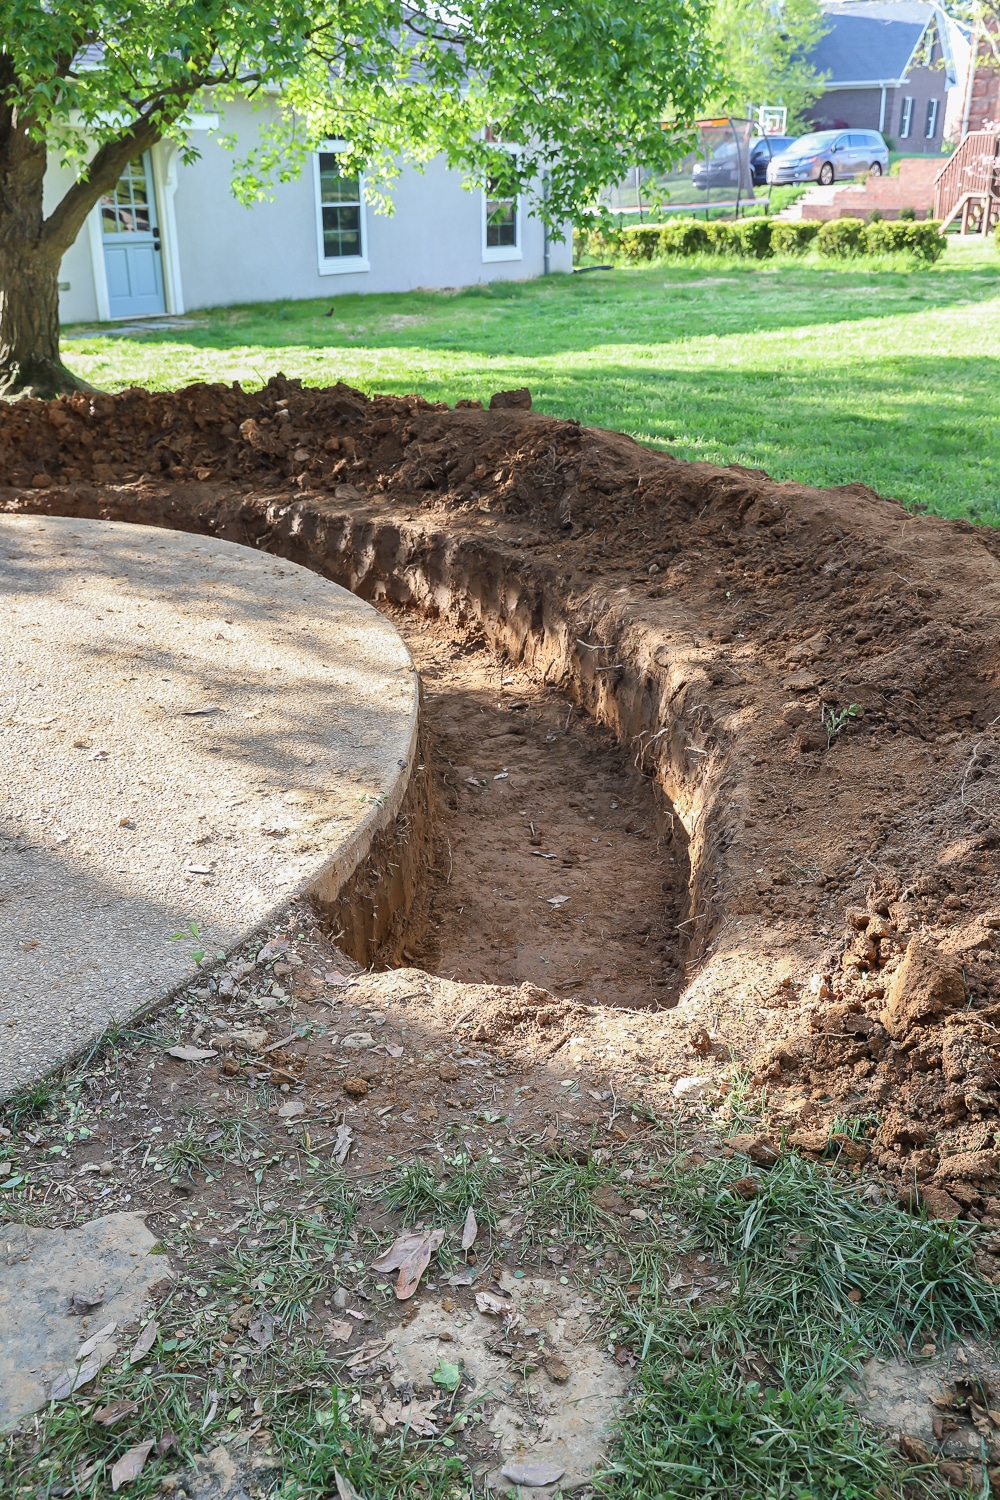
Our local code doesn’t require any steel reinforcements in a footing this size, but we went ahead and laid in some steel mesh because we figured it’s cheap and you can’t put it in afterwards. I’d rather have it and not need it, than need it and not have it.
Building the Firebox
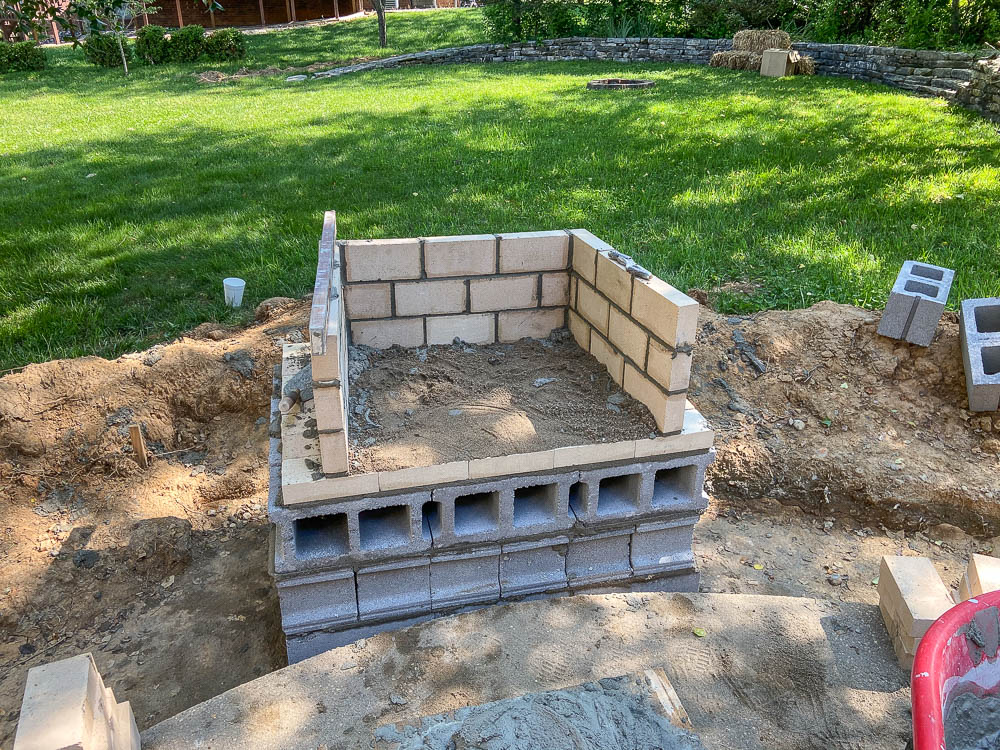
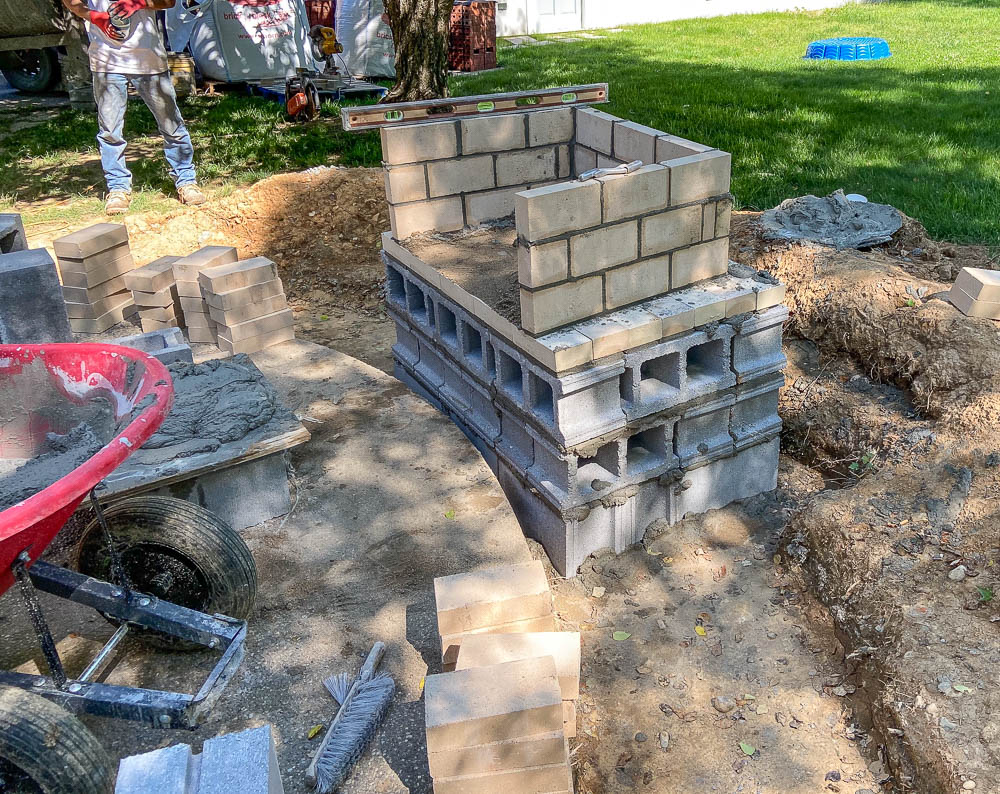
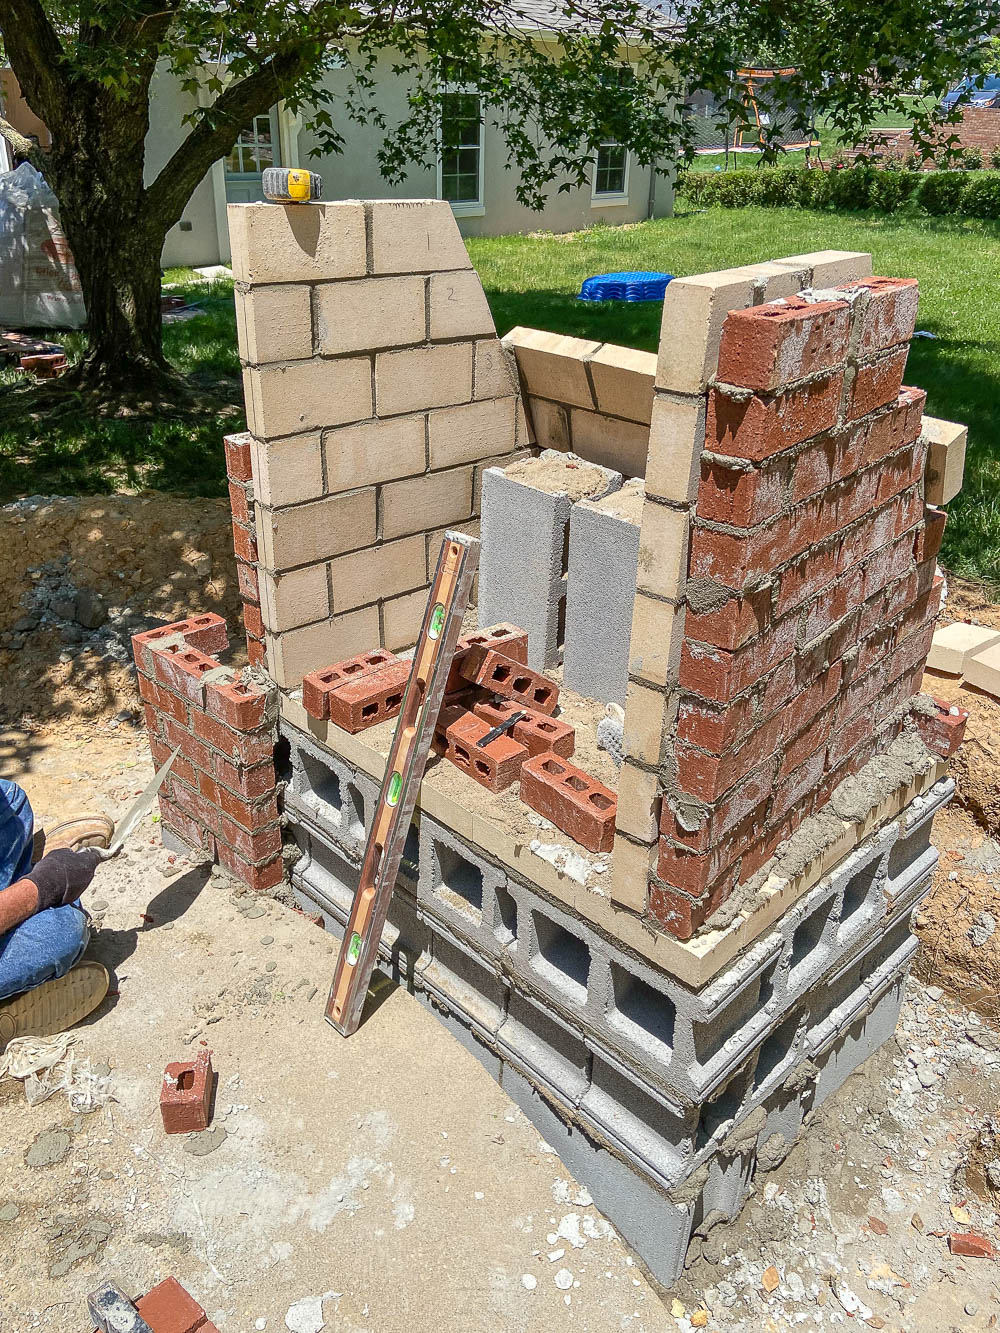
After the footing cured, Tony laid 8” concrete block on top as the foundation for the firebox. The firebox is the most important part of this project. If not done correctly, the fireplace may not function properly. In order for the fireplace to draw properly, the firebox needs to be built correctly. The smoke should draw up through the chimney and not back out the front opening. A face full of smoke is no fun.
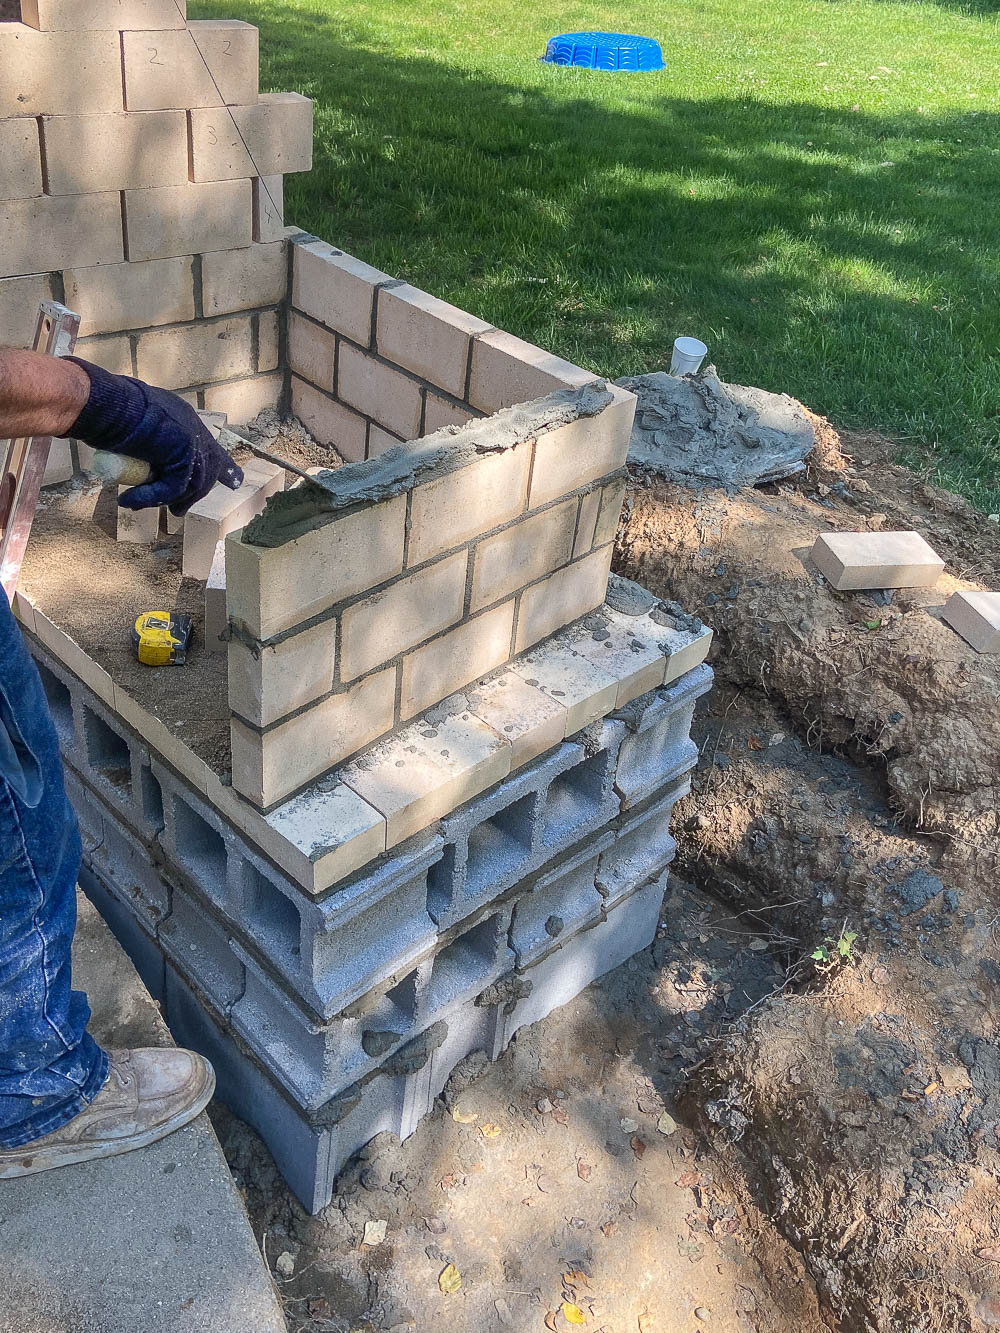
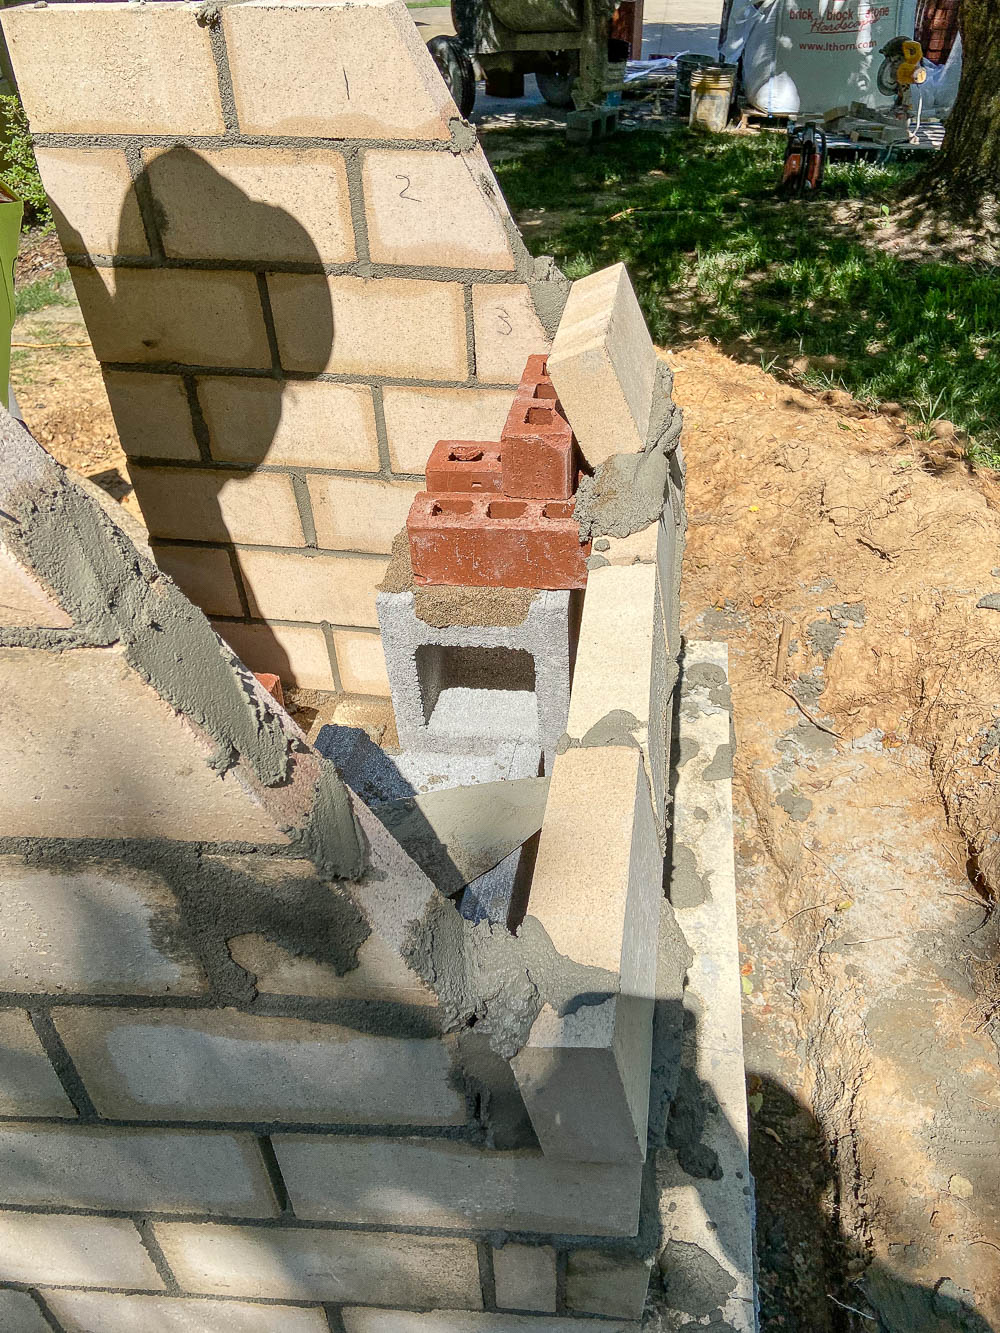
Tony laid the firebrick on top of the concrete block and then built up the side walls. He angled the side walls of the firebox slightly so that it’s wider at the front than at the back. He also angled the back of the firebox so that it slanted forward and used block and brick to temporarily hold those firebricks in place as the mortar set. He spread sand on the bottom of the firebox so that if any mortar fell, it would be easy to clean up and sweep out. Super smart!
Tony also built what’s called a “smoke shelf” – it’s open at the back so that if you get a downdraft, the smoke won’t come back at you, but will fall into and settle into this smoke shelf.
The entire fireplace is a little over 10 feet tall – the height also serves a function in the draw. You need it to be a certain height to draw properly. All of these elements work together and are equally important in ensuring that the fireplace functions as it should, so I was much more comfortable leaving these details to a professional.
Roughing In the Outdoor Fireplace
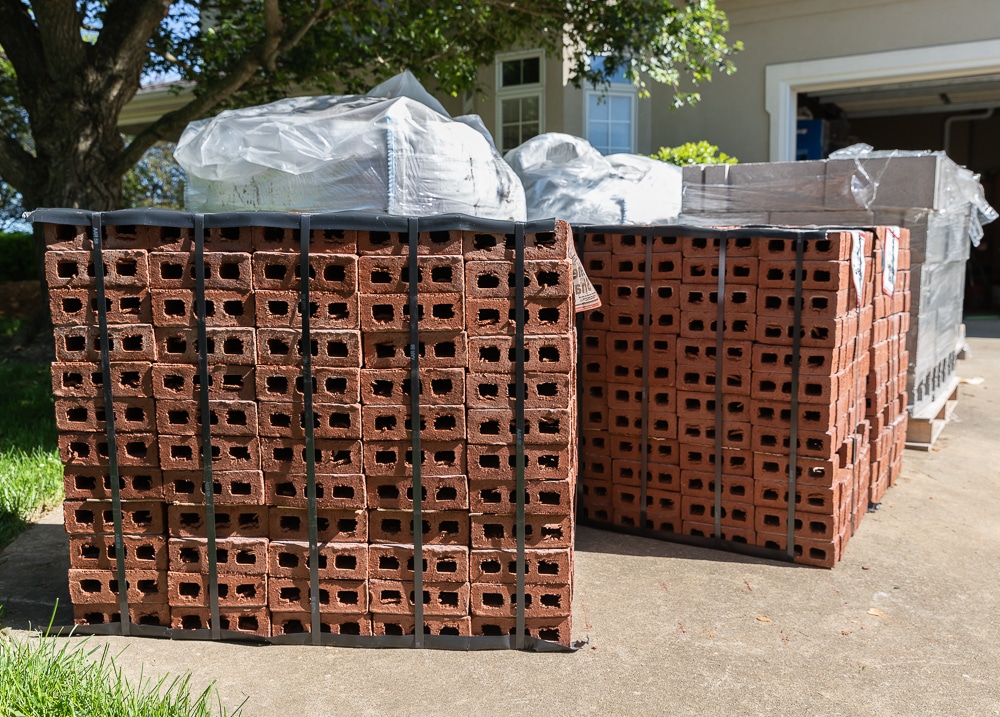
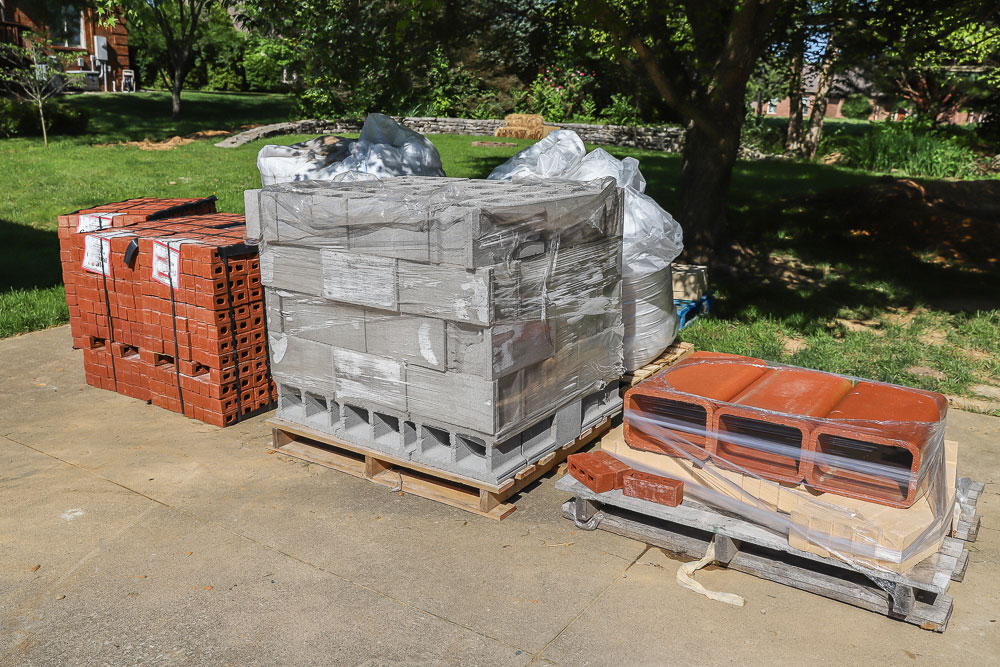
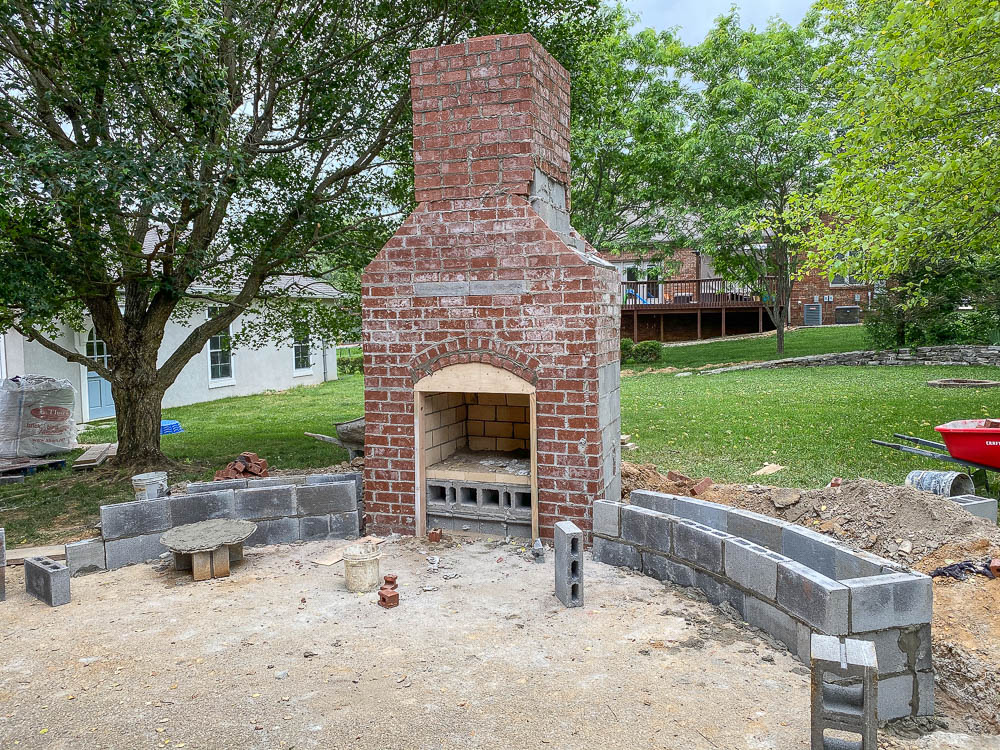
Once the firebox was built, Tony started roughing in the rest of the structure with concrete block and red brick. We used the cheapest red brick available because it would be covered up with a stone veneer. The only brick that would be seen is the firebrick.
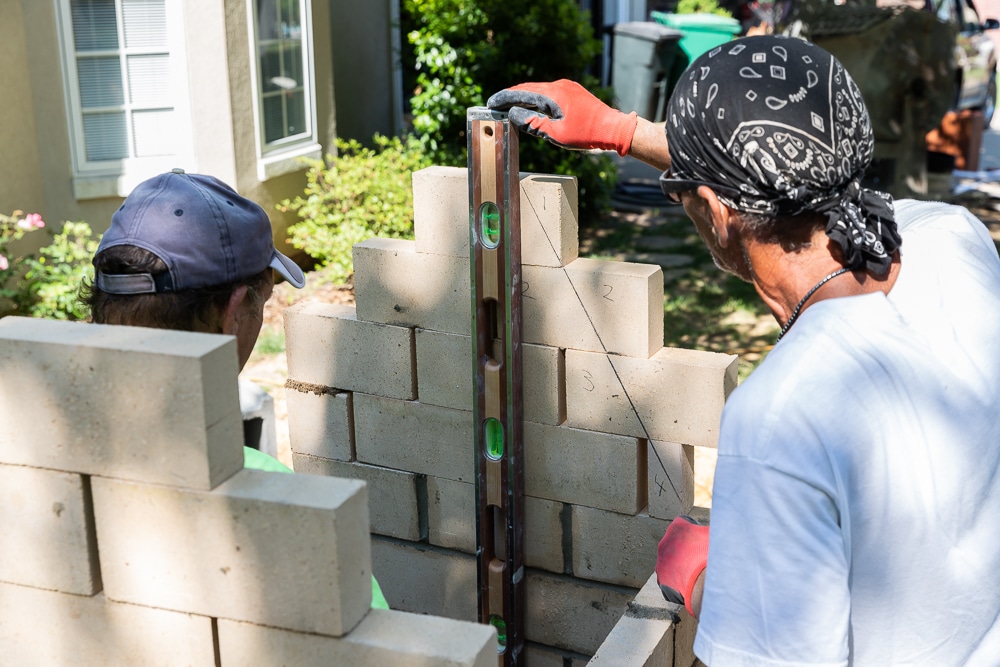
Tony spread the mortar along the edges of the block and then start stacking the block, staggering the seams and checking for level at each run. He’d tap it into place so that it was level and plumb. Then he scraped the excess mortar off with the trowel.
To lay brick, he spread mortar along the edge of the brick, then used his trowel to make a channel that creates suction for a better seal between each brick. Then he kind of shimmed the brick in place, threw a level on there and tapped it until it was level. It was fascinating to watch him work – there was a delicate balance between tapping it enough so that the brick would be level, but not tapping it too hard that the rows underneath were affected. There’s definitely an art to masonry.
Once the sides were built up around the firebox, it was time to bridge the gap. Adam cut an angle iron to length and placed it over the firebox. This provides support for the rest of the chimney until the mortar sets. It stays there, there’s really no need to remove it because once again, all of this will be hidden by a stone veneer.
Creating the Arched Opening
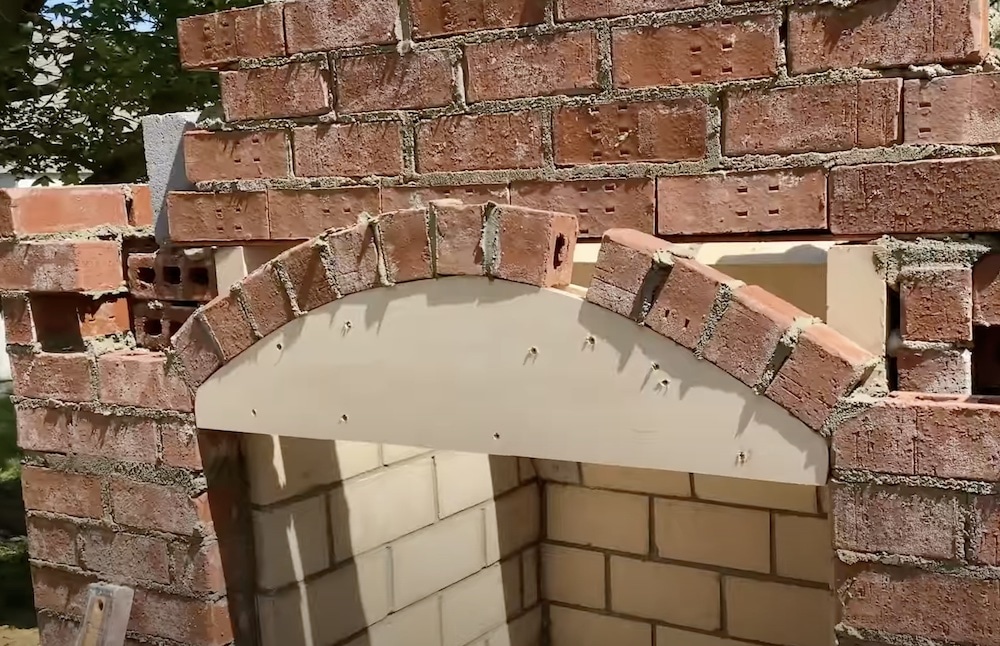
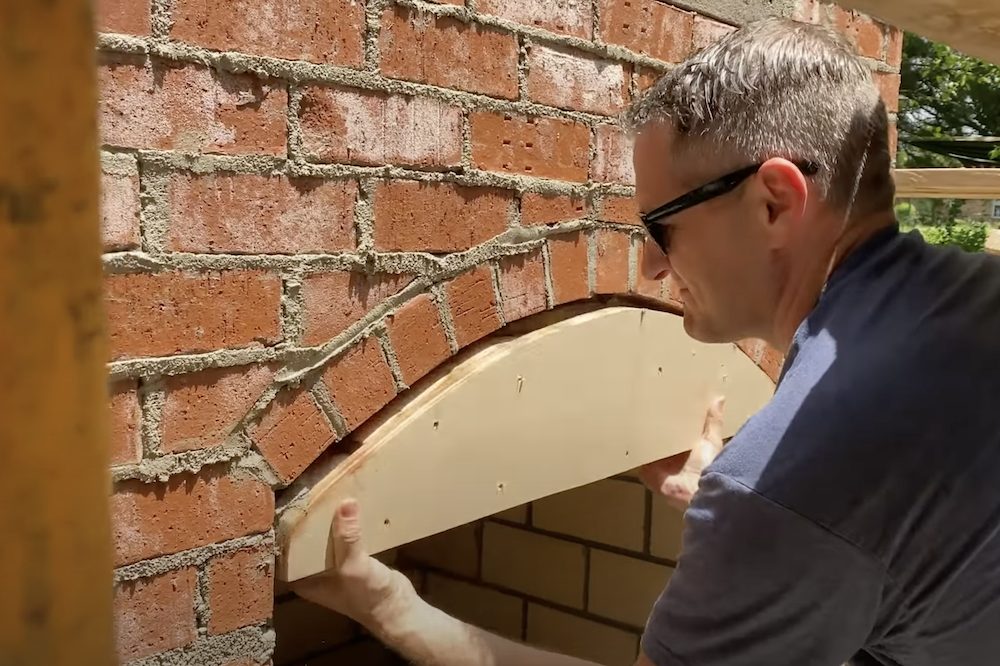
For the arched opening, we created a template out of plywood and 2/4 studs, then nailed it into place temporarily. Then Tony cut the brick and laid it on top of the arch. And then once the mortar set, we removed the wood template. We decided we needed the opening a little lower because you could see the top of the firebox inside, so Tony lowered the template, added another arched row of brick, let the mortar set, then removed the template. Then he placed the flue liner above the firebox, filled the space with block and brick, and continued building up the chimney.
Adding the Curved Bench Seating
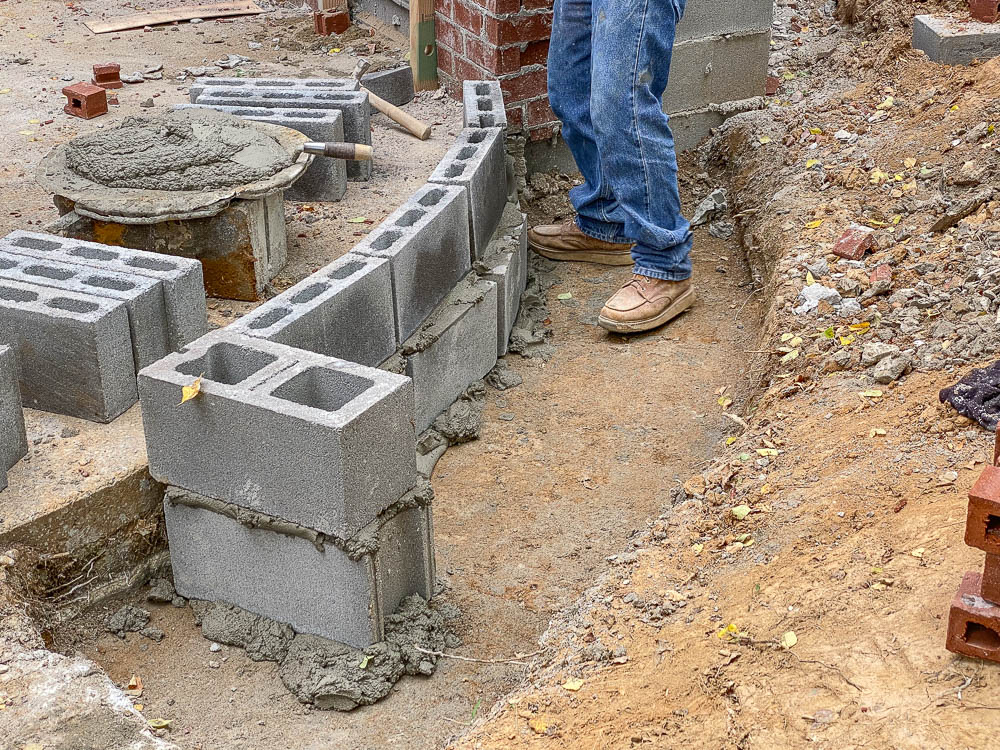
I designed the fireplace so that it angles in as it goes up, so Tony used an angle grinder to cut the angle of the chimney to achieve that profile. He also scored the brick and used a brick hammer when he had to make quick cuts. Now that the fireplace is roughed in, we moved onto the bench seating. We used 4” lightweight block for the benches. Tony dropped mortar onto the footing, then laid the block and leveled it. He stacked the seat 3 blocks high, then added the back rest behind it.
Manufactured Stone Veneer
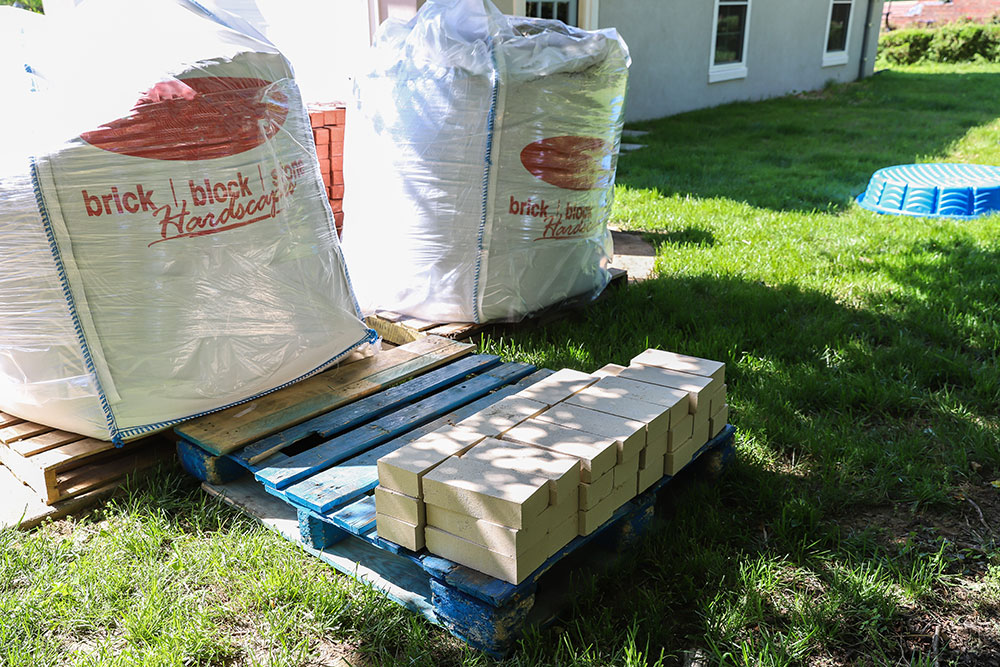
We chose a manufactured stone (natural stone is much more expensive) and it cost about $6/square foot. Our house is a French colonial, so I really wanted an old world look, as if this fireplace has been sitting in the French countryside for a hundred years. I think this stone was the perfect choice – it has a casual European elegance and is true to the 19th century colonial architectural era. And I love how well the color complements the house.
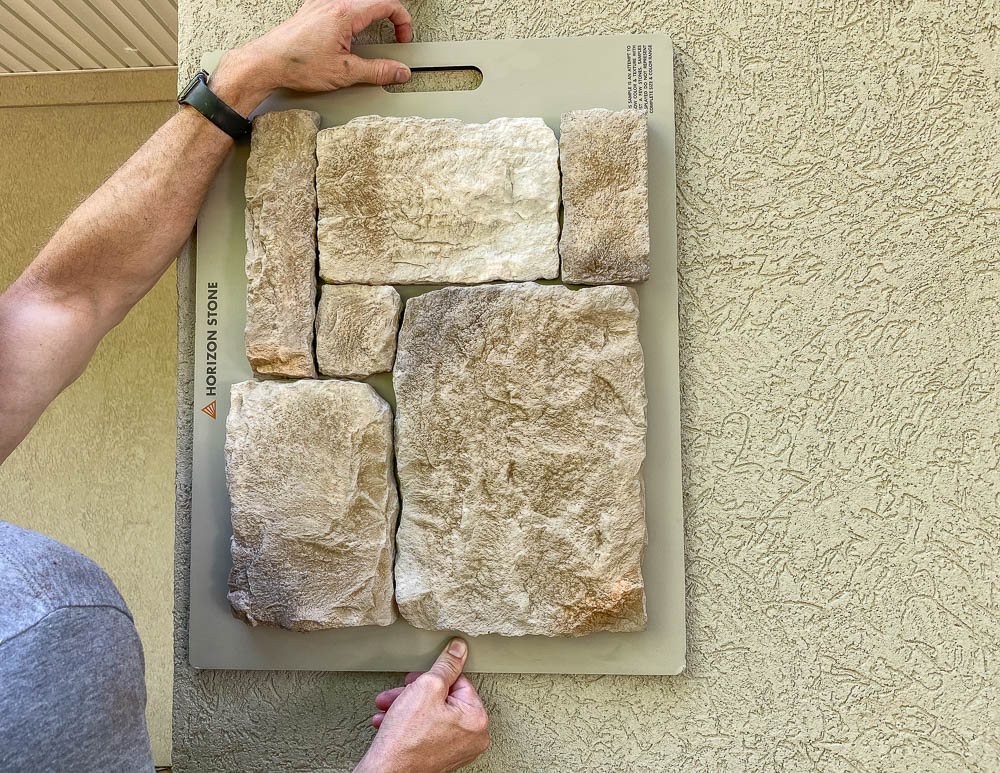
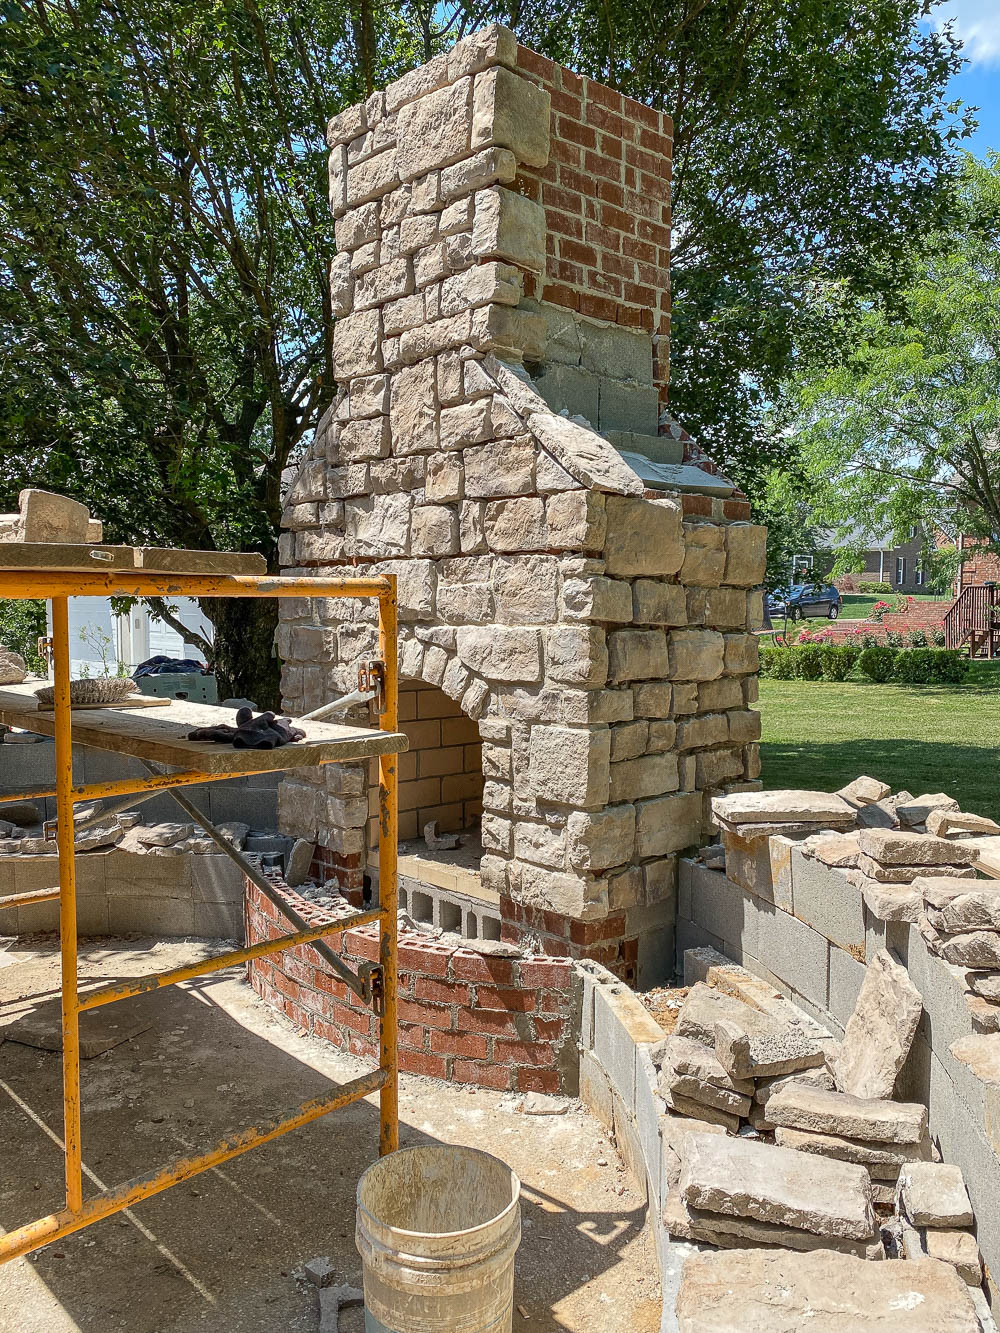
Tony started laying the stone at the opening of the firebox. He spread mortar on the brick, then back buttered the stone and pressed the stone into the brick. He varied the placement, size, and color of the stone to make it look more natural. We had corner pieces that wrapped around the corners and he’d also cut stones to fit. We placed the stone so that it had thick joints for an “over-grouted” look. Together with a little whitewashing haze on some of the stone faces just adds to that casually imperfect, yet elegant look.
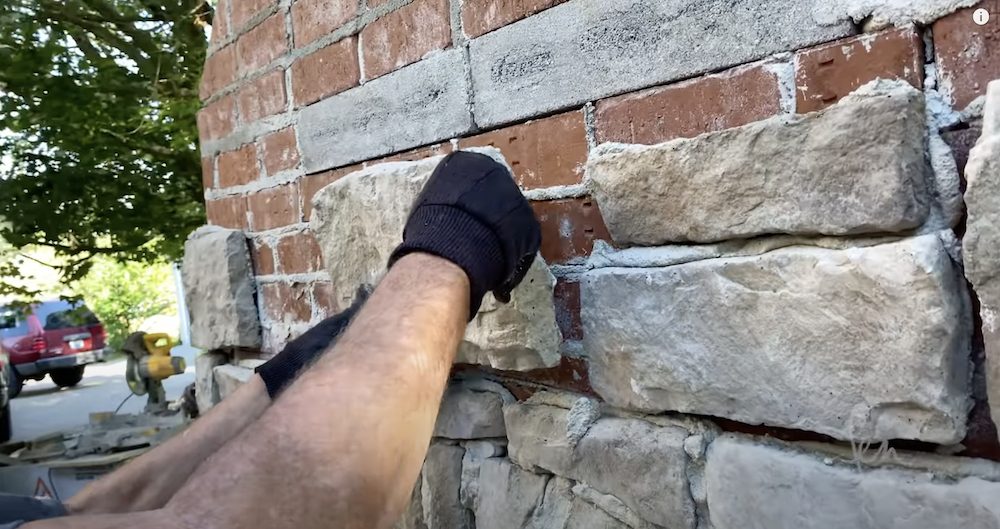
Over-grouted Joints on the Fireplace
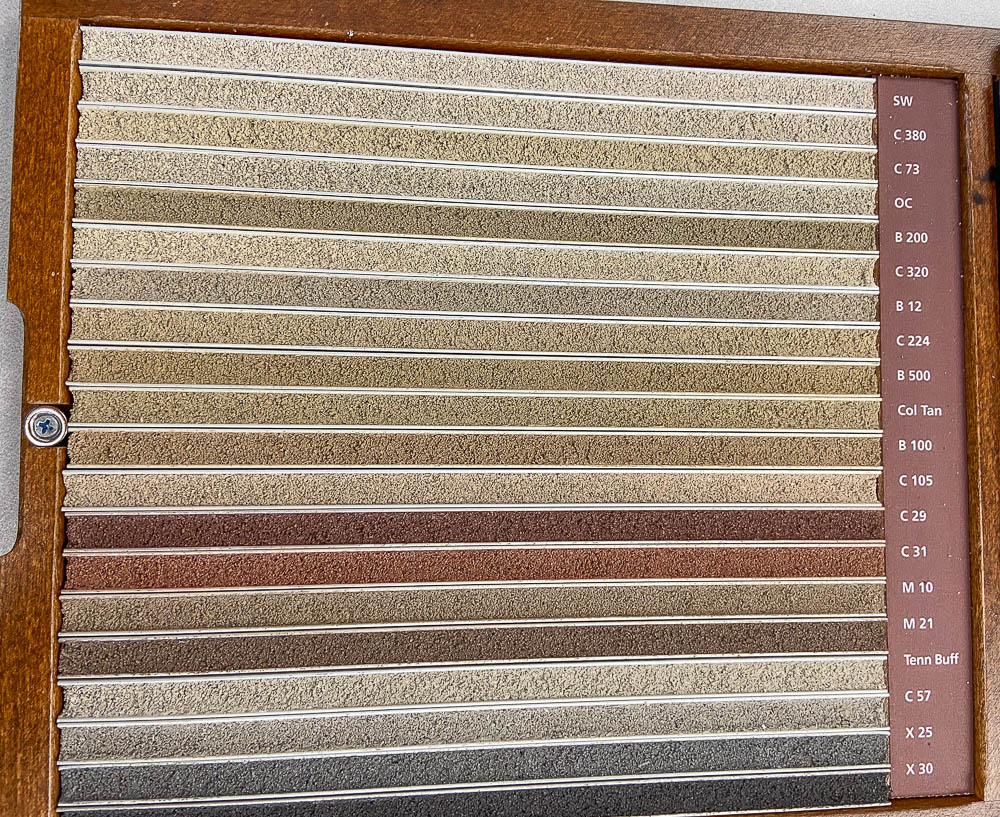
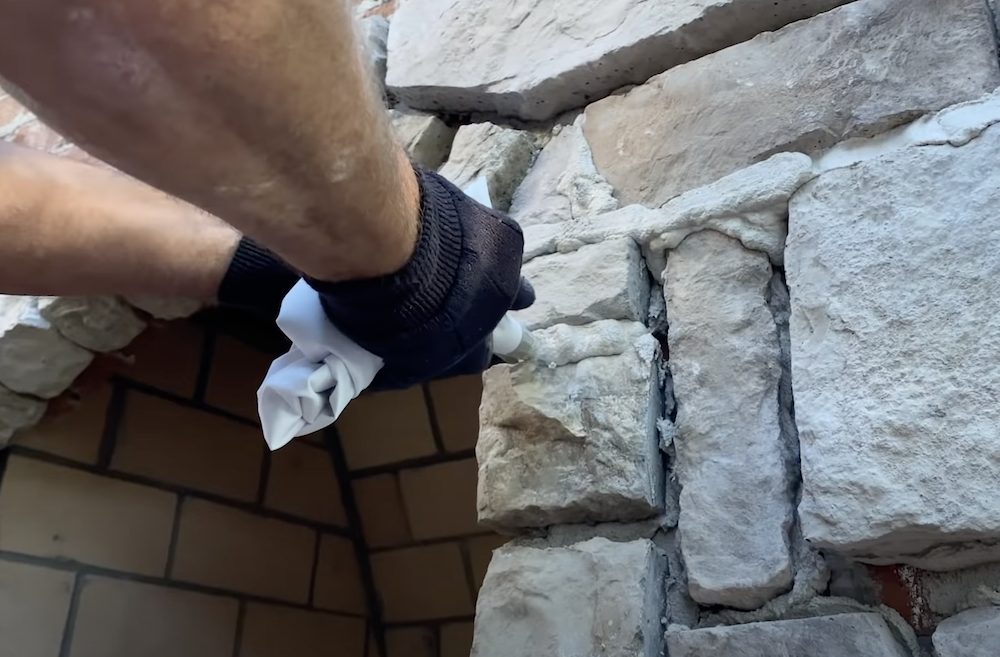
Once the stone was on, it was time to grout the joints. We used the same mortar, I chose the lightest color (soft white) by the way, and we mixed it a little wetter and dropped it into a piping bag. Then you just squeeze the mortar into the joints and overfill it a bit, just like you’re icing a cake. Allow the mortar to set before smoothing it out with a wire brush.
Tony continued laying the stone until the entire fireplace was covered. Then he moved onto the hearthstones for the bench seating. We used 20” square hearthstones for the bench and the hearth.
The Capstone
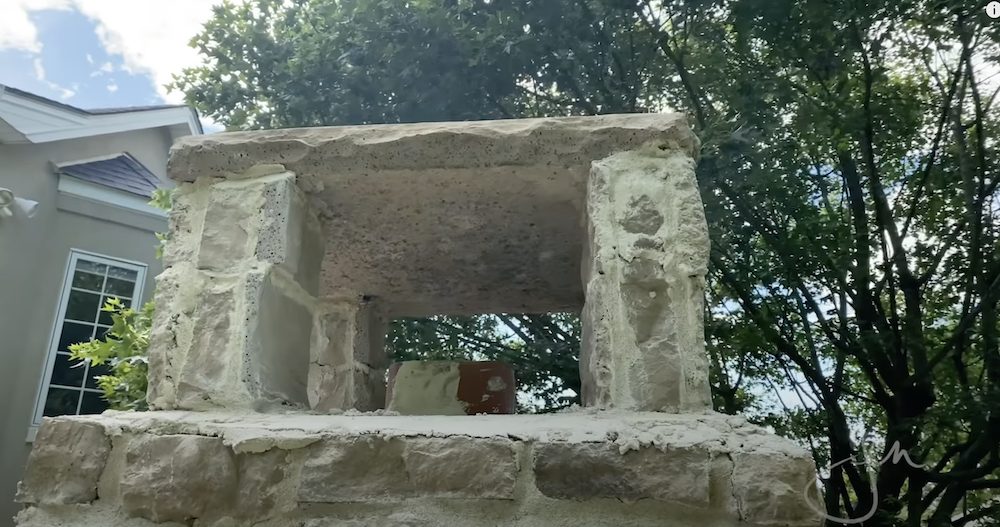
For the very top, Tony built posts out of red brick at each corner, then wrapped them in stone. This supports the 32” square, 3-inch-thick capstone. The capstone acts as a spark arrestor – as heat and smoke travel upwards, any embers or sparks are deflected on the stone cap.
Moment of Truth
Finally, we gave the fireplace a test run. Moment of truth! Sure enough, the flames roared straight up into the chimney and the fireplace functioned exactly as we’d hoped and as it was designed. Success!

When we first started this outdoor fireplace project, I didn’t anticipate just how much it would improve our quality of life. We absolutely love it and use it almost every night. If you’re considering adding an outdoor fireplace to your backyard space, I can’t recommend it enough. It’s so relaxing and cozy, we love hanging out here with friends, enjoying good bourbon and great conversation. This outdoor fireplace has truly been a huge blessing in our lives – a place to wind down, relax, and recharge – it’s our own little piece of paradise that adds so much value to our home in tangible and intangible ways.
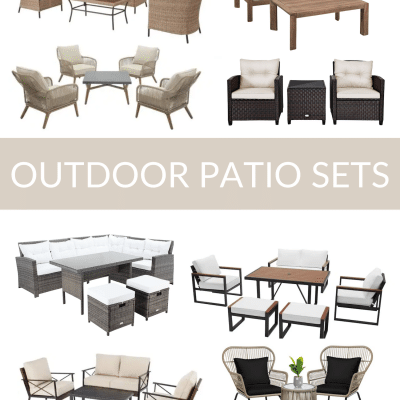
Product Sources:

Very informative. Keep up the good efforts.
This is the best fireplace I’ve seen and I’ve been looking a lot! Is it possible to get the dimensions or at least the rough dimensions? Thanks!
Looks amazing! So impressive. One question that I am curious about and I have not seen asked here or on YouTube. What was the reasoning behind covering the concrete block with brick? Could you not have just skipped the brick exterior and covered the block with the stone veneers instead?
Fantastic information and great video too! What a beautiful setting. Can I ask, what is a “white wash haze” and how do you it?
Hi Jen
Id love to know about the white wash haze any info greatly appreciated thank you
Beautiful fireplace, is it possible to get the plans for this?
Thanks, Stacie! Sadly, I didn’t draw up complete plans, I just sketched out a rough design.
can you tell me the name of the stone, i know it is a horizon stone product, thanks
what is the color of the horizon stone you used please
Thank you so much Zoe
Hi Zoe,
I can’t remember off the top of my head, but I believe I linked it in the YouTube video!
I really enjoyed the fireplace and bench project. I would also like to get the dimensions if possible. Especially the size of the firebox…. Thanks, John
[email protected]
Looks really good, I love the curve and seating, thanks for sharing.
How did you attach the lights to the fireplace?
Hi Tracey,
We used this string light cable kit: https://amzn.to/3C6yOvy
Hope that helps!
How long are your benches on the sides of the fireplace
I love the combination of the outdoor fireplace with built-in bench seating—it creates such a cozy gathering spot! The design blends functionality and style so well, and I can imagine spending countless evenings here. Thanks for sharing this wonderful project!