Hello everyone! My name is Shelly and I blog over at 100Things2Do.ca where I share DIY, building, crafts and ways to make your house a home within a real-world budget. Creativity is my groove – whether it be repurposing, refinishing, building or decorating and each day I strive to share wins (and fails) with candor, humor and a whole lotta love. I’ve been a long-time fan of Jen’s and I will fully admit to squealing like a teenager and happy-dancing around my house when she offered me this opportunity to guest post. Thank you so much Jen – and I apologize to my family for the Mom-butt twerking.
I should start this post with the reason why:
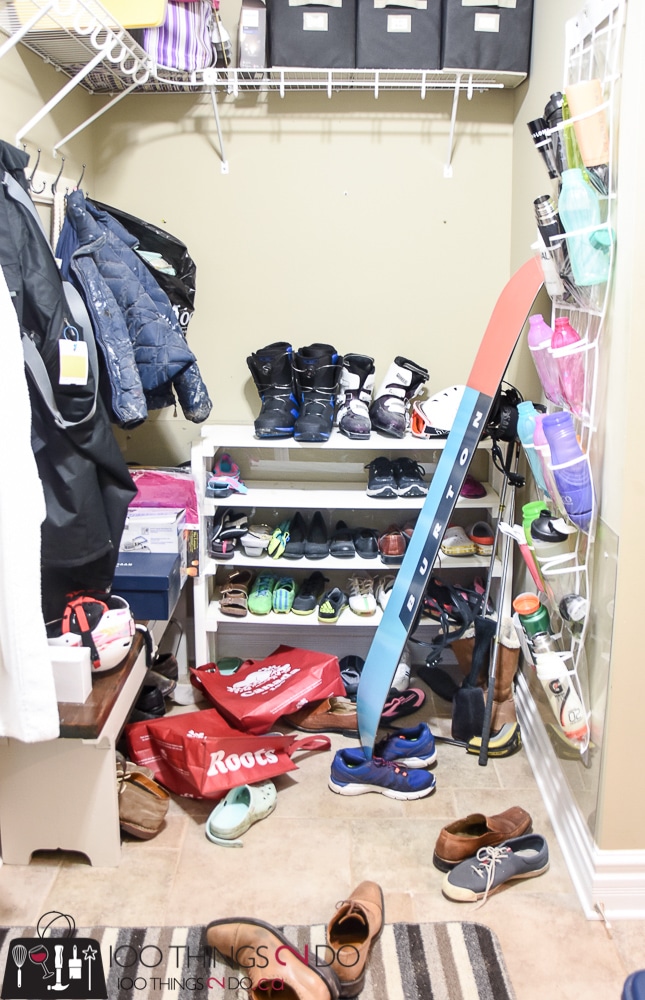
This is my 6′ by 10′ mudroom, and it looks like this 95% of the time.
I know! I’ve just admitted that to millions of House of Wood readers – and I’m totally embarrassed – but I’m guessing there are more of you out there dealing with this situation than there are revelling in a perfectly styled and organized mudroom.
When did putting your shoes away become rocket science? You’re killing me family! One dropped pair at a time – you’re killing me!
I made that white shoe rack a couple of years ago thinking it would be enough for my family of 4 (jocks). Each year, the cleats got larger, the girls wanted/needed more pairs and we increased the number of extra-curricular sports – as happens as your kids get a bit older.
Clearly this little guy wasn’t cutting it.
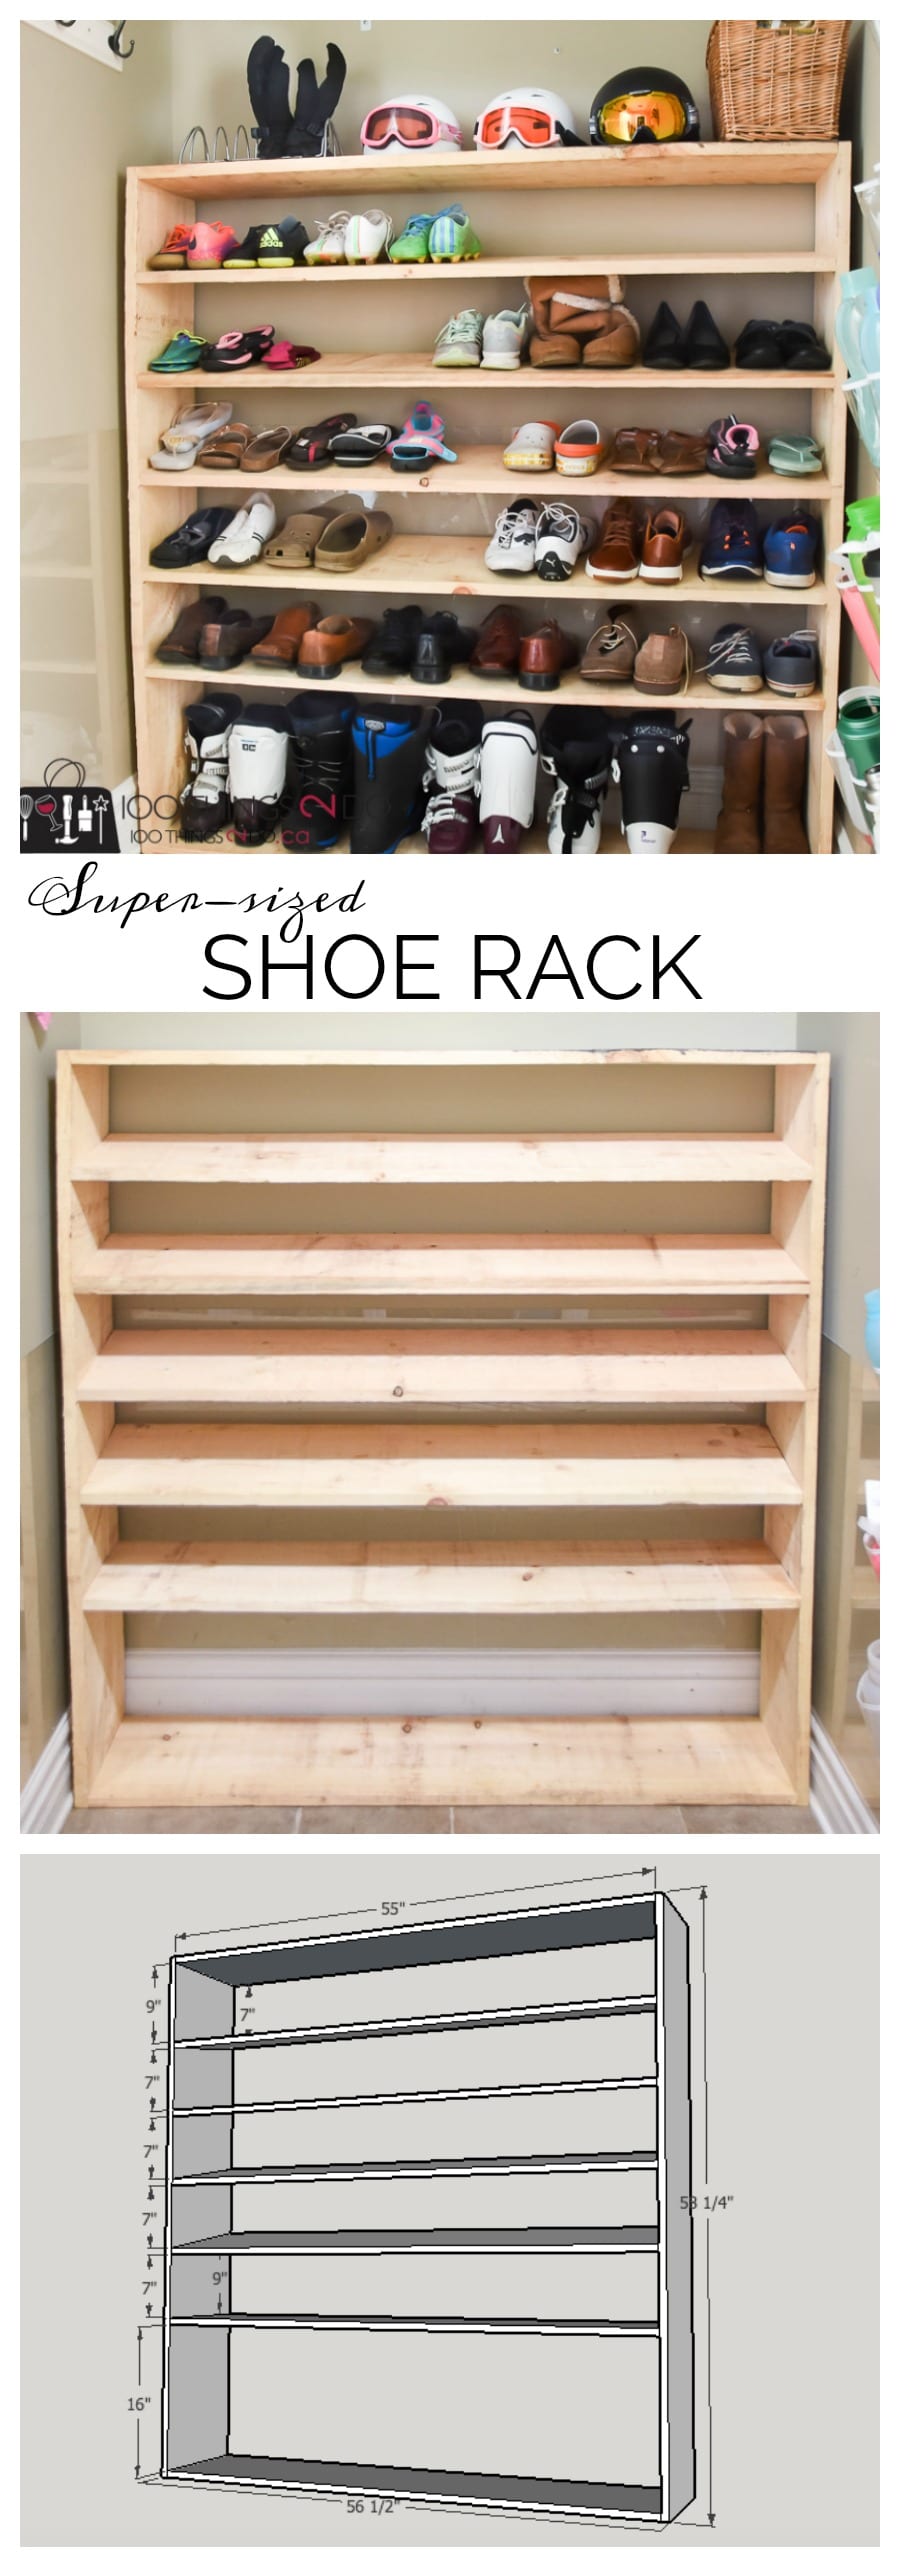
Time for an upgrade, so I designed this simple, super-sized shoe rack to better fit our needs and the space.
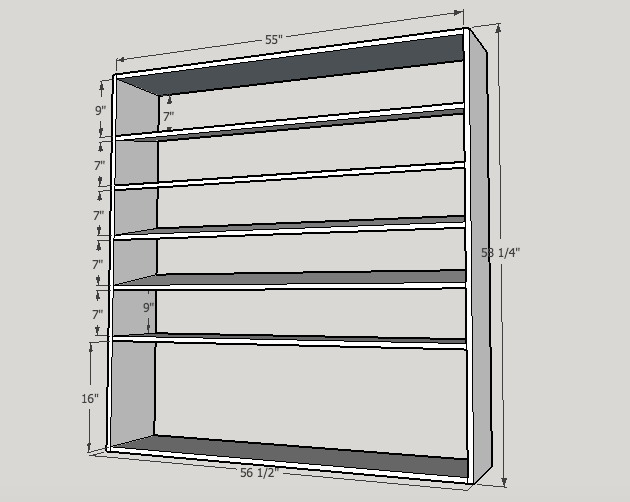
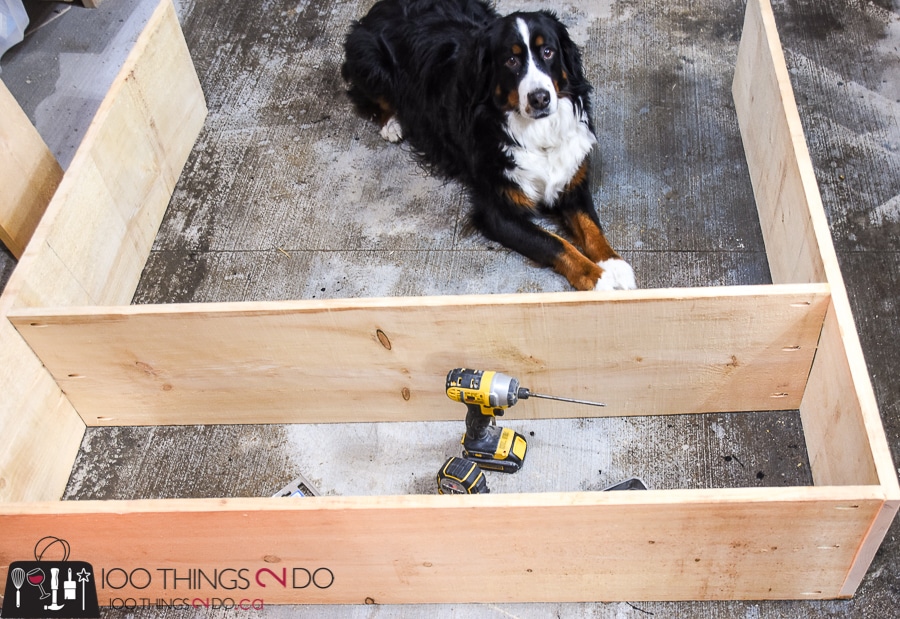
I purchased nine 1″x 12″ rough pine boards that were 6′ long and made my cuts:
- 2 boards cut to 58 ¼”
- 7 boards cut to 55″
You will need:
- tape measure
- miter saw
- pocket hole jig
- approximately 45 1 ¼” pocket hole screws
- speed square
- level
- drill
- pencil
I used my pocket hole jig to drill pocket holes (3) on either end of the 55″ boards, which were then attached one-by-one using 1 ¼” pocket screws, beginning with the base of your super-sized shoe rack.
The base board and the first board up from the base are attached at a 90° angle to the sides (use a speed square). I spaced mine 16″ apart to make room for ski boots, Sorels and or skates/rollerblades using Hubby’s as the largest size needed to fit.
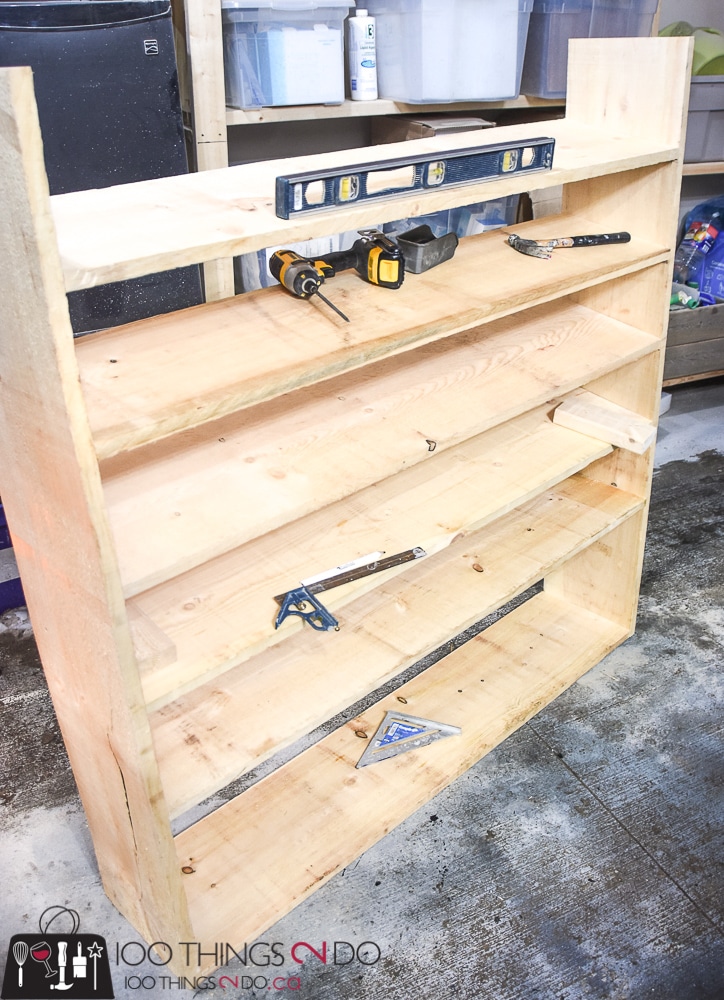
Once the base and bottom shelf were in place, I marked the side boards up 7″ from the front and 9″ from the back; this will create a slight slope to your shelves so you can have a bit of a display. No need to measure angles or use a protractor – just draw a straight line from the 7″ back to the 9″ mark and line your shelf up with that line.
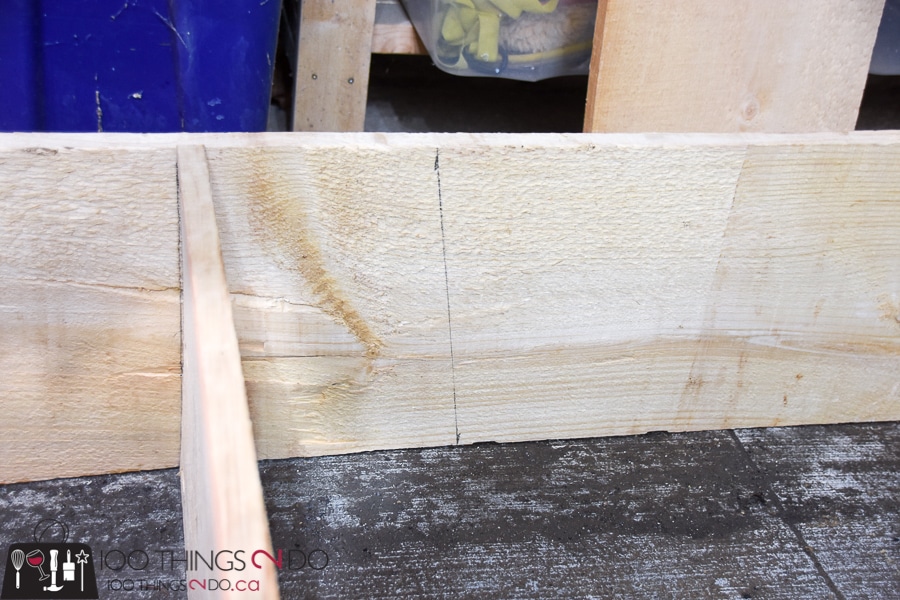
Attach your first angled shelf and check for level.
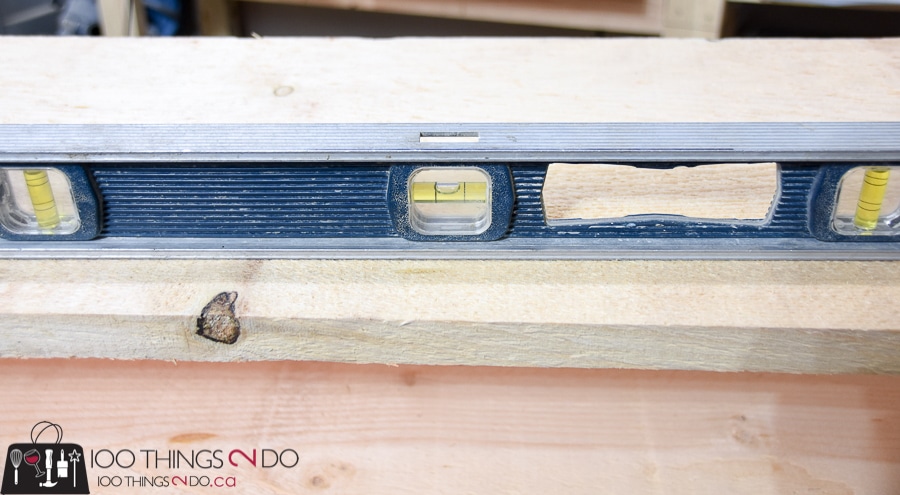
The rest of the shelves for your shoe rack will be placed 7″ above the previous – front and back – which will mimic the angle of the first board. Repeat with the rest of your 55″ boards until you reach the top. Your top board will be 90° to the sides to allow for storage on the top.
I went with the rough pine boards because they were less expensive than finished 1 x 12 boards. You could ask your home improvement store associate to cut your pieces from ¾” plywood if you want a less ‘rustic’ look, but please don’t build this with MDF (medium density fiberboard) as it absorbs moisture and the fibers will expand and warp unless coated thoroughly with an oil-based primer.
You’ll find that this DIY shoe rack is pretty rigid with the ¾” boards and pocket-hole screws, but if you want a little extra strength you can add reinforcing angles (small metal brackets) to the inside corners – top and bottom.
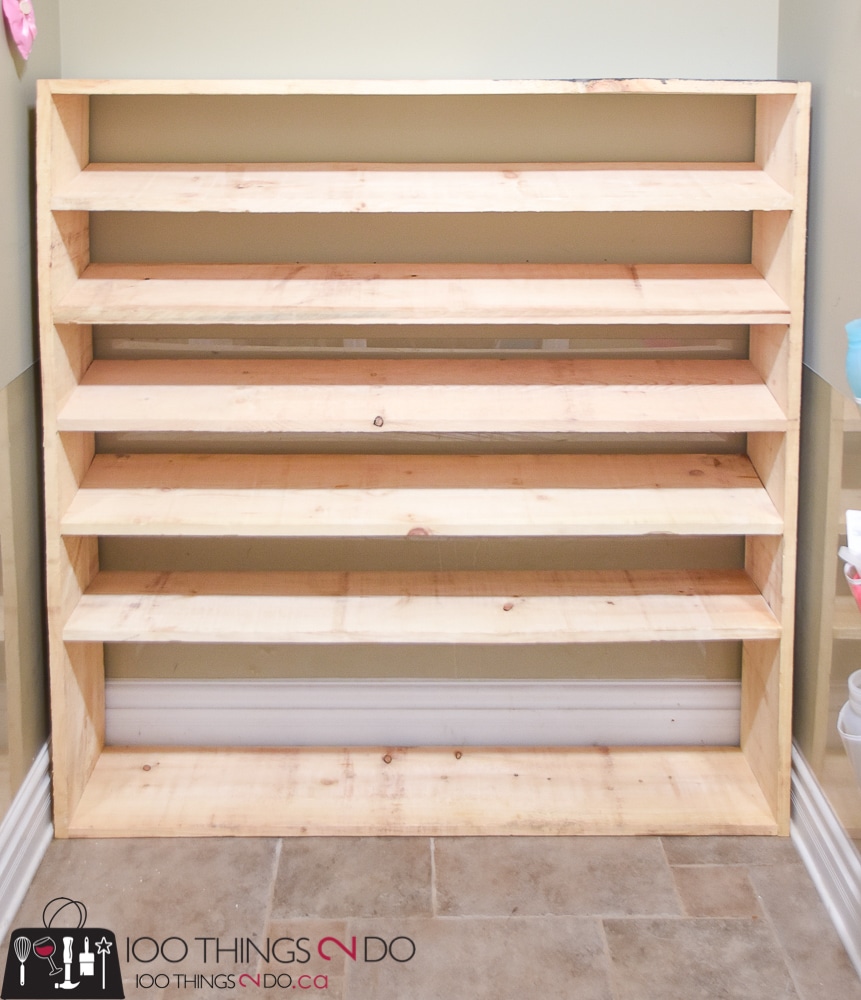
No one likes prickly wood. (I’d take that a lot further if this wasn’t Jen’s blog.)
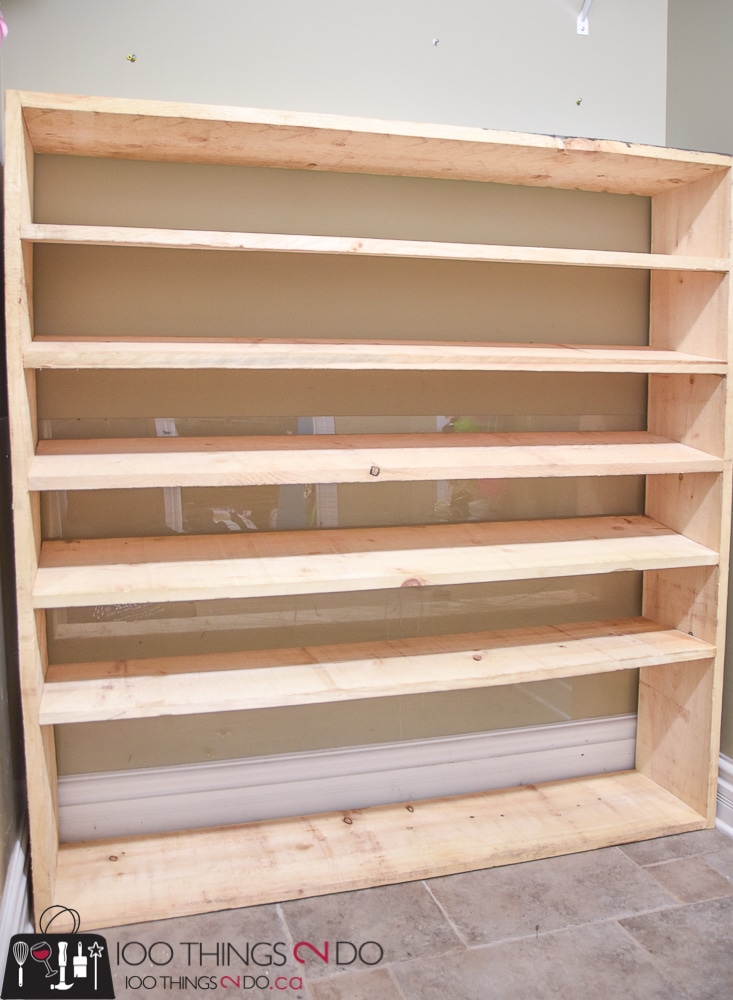
I could stop right here and be happy; look at all of that gorgeous space (and cleanliness)!
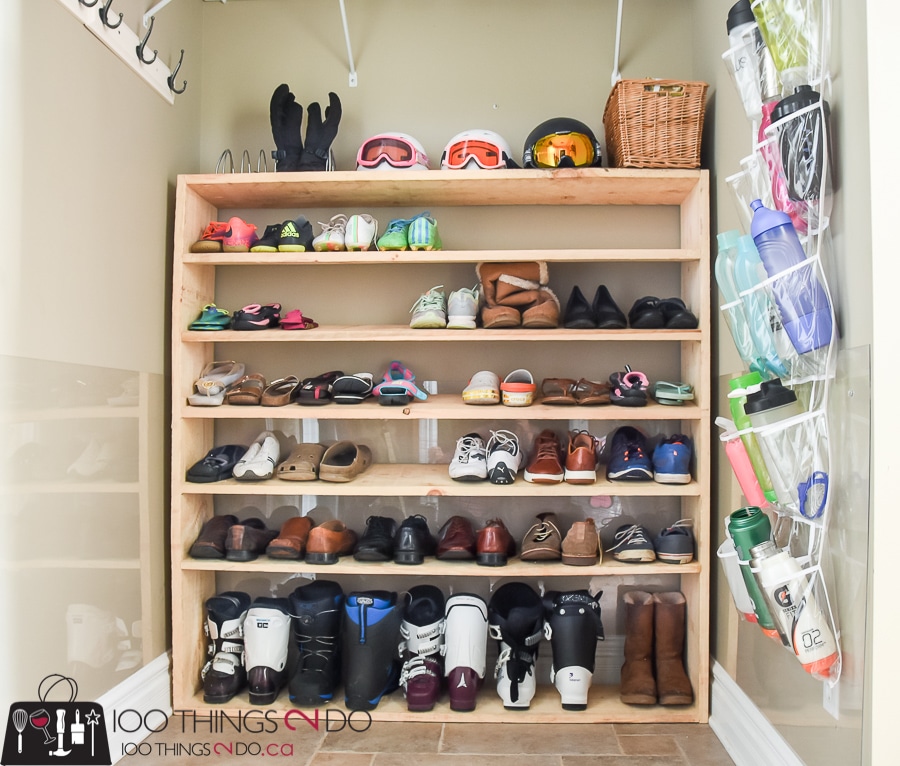
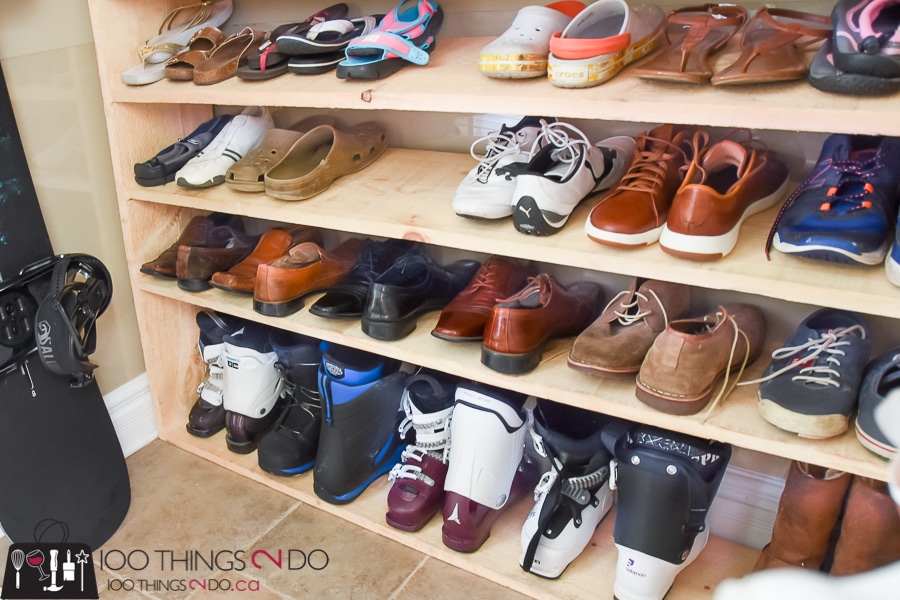
We’ve got indoor soccer cleats, outdoor soccer cleats, water shoes and more flip flops than Fort Lauderdale at Spring break.
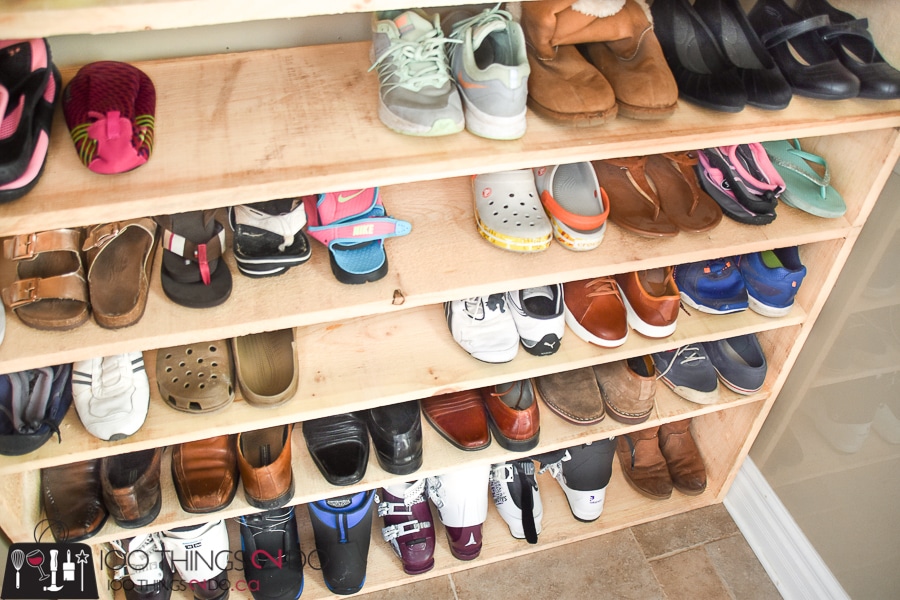

Hey, did you know that alternating your shoes heel to toe will buy you an extra few inches of space on each shelf?
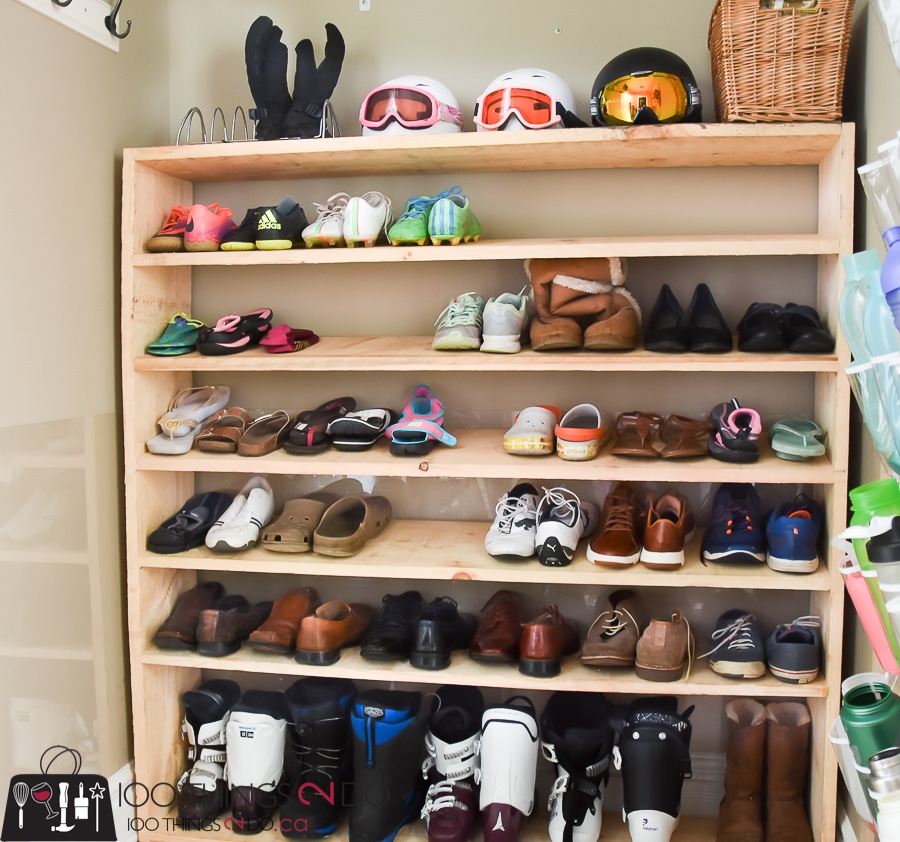
You may have noticed that I don’t have any shoes on the new shoe rack? I have a little section in our closet that I hoard use, and no one really needs to see my vast collection of couture Crocs right?
Here’s a keeper for your Pinterest boards:
Thank you Jen for the opportunity of writing on House of Wood, and thank you readers for letting me babble on.
Have a great one!


Thank you so much for sharing these great plans! I am new to woodwork and would like to make this my next project. I will be putting this in the garage though and would like to make the first shelf be up off the floor. Any suggestions on how to adapt this to make sure it stays stable without that bottom piece being flush with the floor? Thanks!
I made a shoe shelf that was very similar to this design (6’ tall x 4’ wide). I added a French cleat to the top so I could hang it on the wall.
Thank for your post, I have an interesting in designing shoe shelf. But I have not ideas. Please give me some advices
Very good project, I built one with my son. Let’s remember that with small children this product could be a tipping hazard and should be attached to a stud in the wall for extra safety.
After having had this built for awhile, have you noticed any sagging of the shelves? At nearly 6′ wide with no middle support for the shelves it seems like they may sag some over time, or if your family is anything like mine, because of being overloaded. I have my wife, my two young daughters, and my wife’s parents at my house. I think my mother-in-law alone could probably fill one of these up.
Thanks in advance!
This is great…and anyone with a Berner gets my vote! They make everything look great!!
How did you manage to avoid using a table saw to cut a beveled edge on shelf pieces? In order to get a neat fit against a wall, you must do so.
if have open space, can just use 9 60 inch boards? Any special reason to do 55 & 58.25, other than to fit in your unique space?
Shelves look good but I dont understand why you would build it outside of the base trim. Why not remove the base trim at the back wall and 11″ or so on each side. Then build the shelves about 2″ wider and viola, you have built in shelves that are wall-to-wall and you can trim up the sides for a fully built in look.
What size screws did you use? #8’s?
It would cost me over $150 to build this shoe rack, my home depot wants $15 per board….🥴
Can nine sixty-inch boards be used if there is vacant space? Is there a specific reason you chose to do 55 & 58.25 other making your unique space work?
Did you finish the bookcase with stain or any protective coat? If not, how has it held up?
I like this shoe rack because it is so big and have huge space for shoes.
Her instructions are clear and approachable, making it a great project for woodwork beginners. She thoughtfully shares her personal experience, adds humor, and includes handy tips like alternating shoes to save space. Overall, her creativity shines through, and this project looks like a great solution for busy, active families needing more organization. Traci’s comment highlights how adaptable the design is, even for newcomers to woodworking.