*This post is sponsored by The Home Depot.
A few weeks ago, I recently reconnected with my friend Tara via Instagram. Tara and I attended college together in Philadelphia and we discovered we lived only about an hour away from each other! Her husband has a massive vinyl record collection and they’d been searching high and low for an affordable storage solution that would allow for them to flip through the records from the top. Tara reached out to me in hopes that we could create a DIY vinyl record storage unit for her husband for Christmas. After a bit of brainstorming, here’s what we came up with:
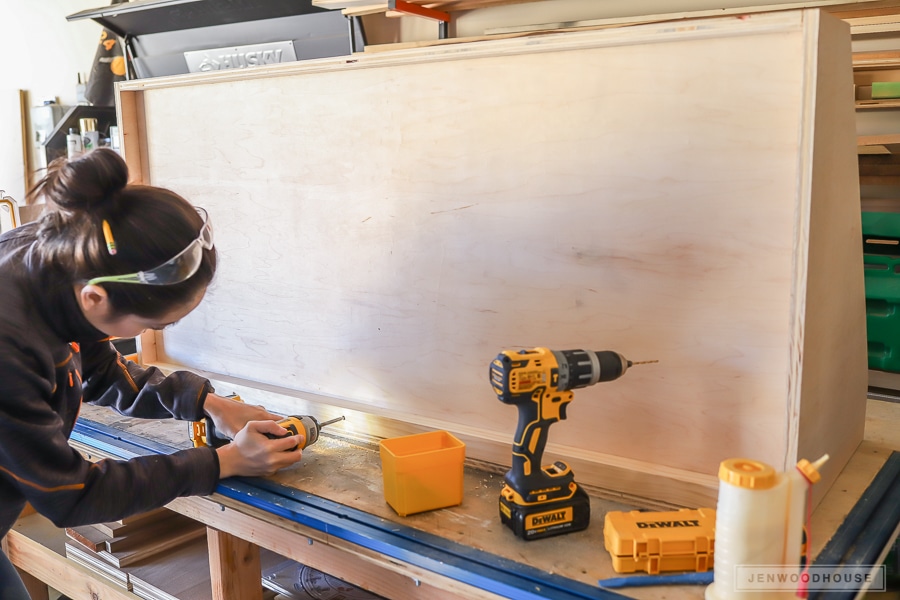
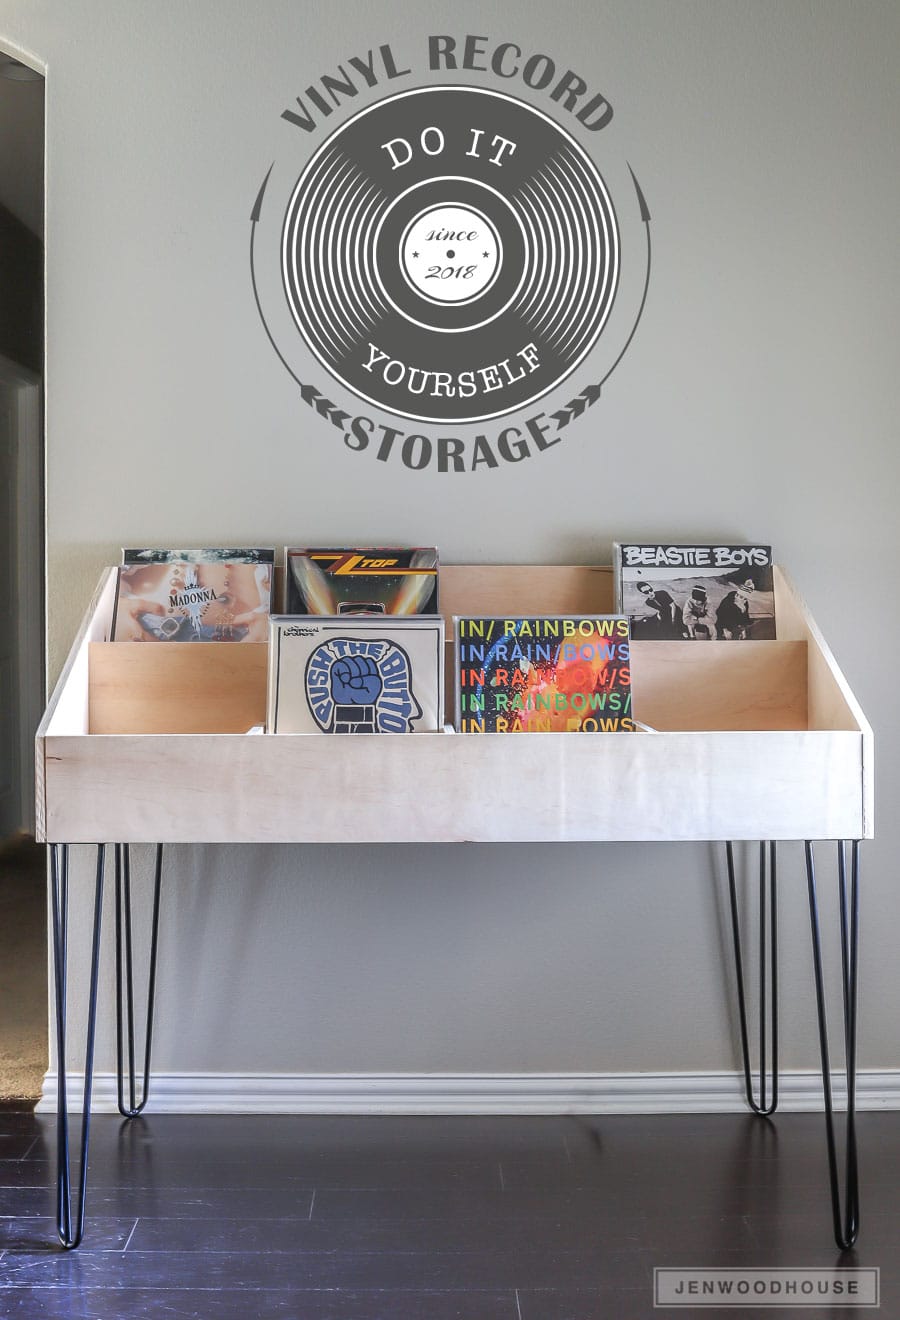
 You guys. This was Tara’s FIRST build!!! She did an an incredible job – I drew up some plans and she came over one afternoon and built this DIY vinyl record storage unit in about 5 hours! She made all of the cuts and did most of the assembly. The total cost of materials (lumber + legs) was a little over $200. Don’t you just love DIY?!
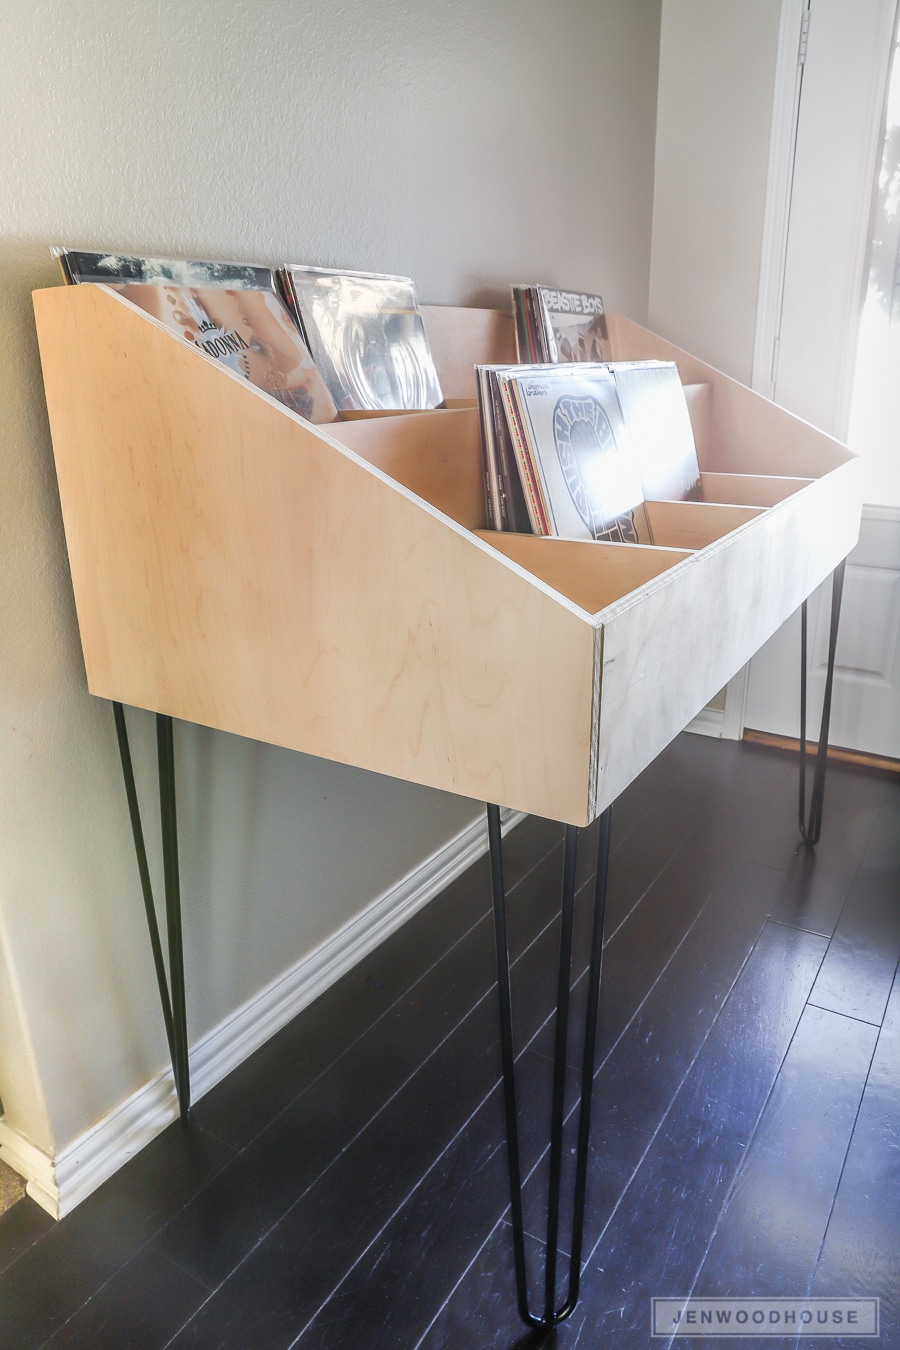
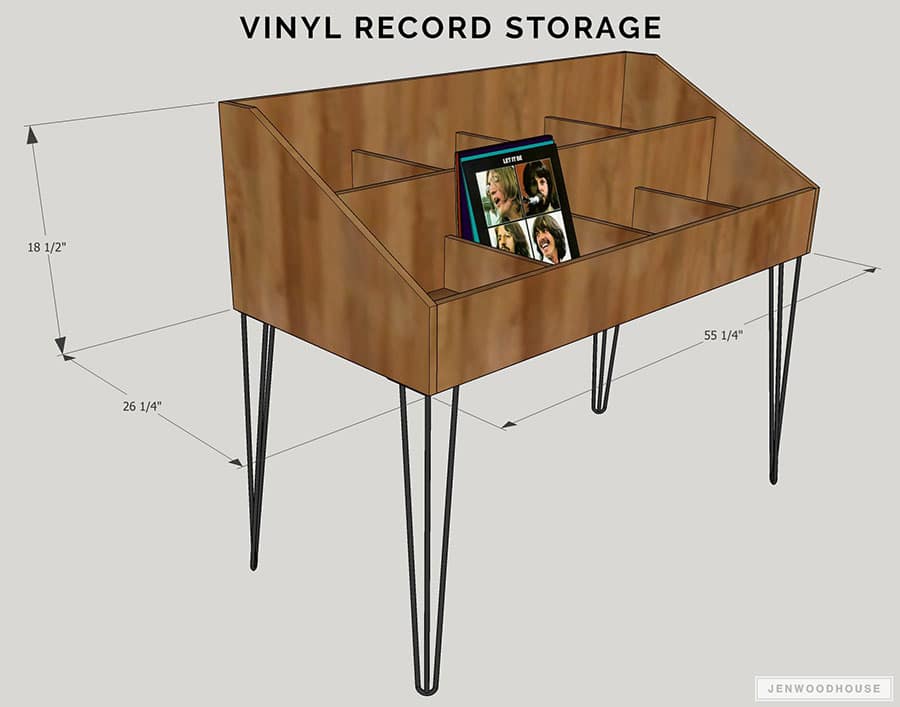
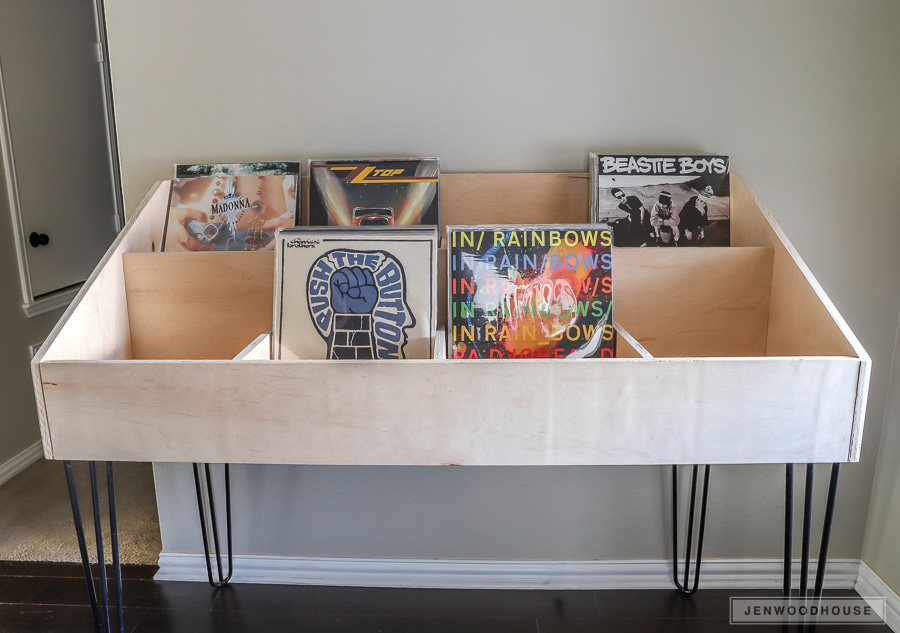
This DIY vinyl record storage display features 8 separate cubbies that will hold about 350 records total. You can download the plans by clicking the image below.
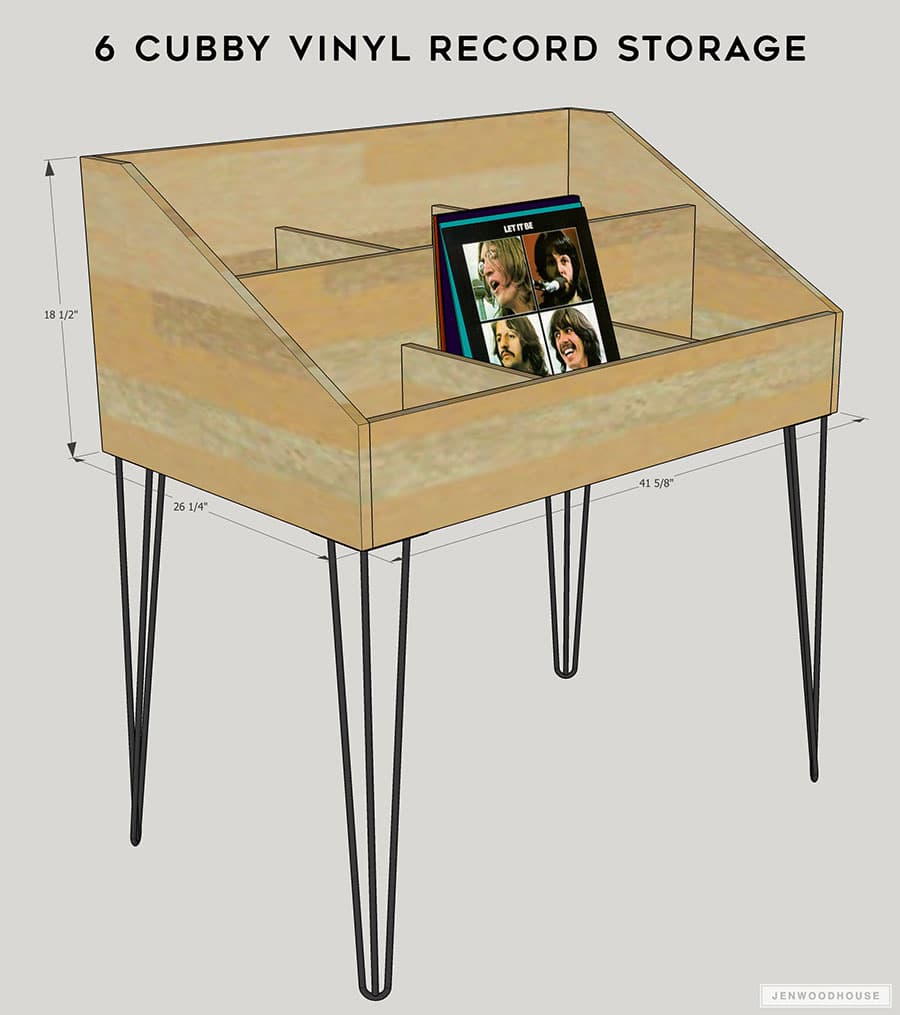
If you’re looking for something smaller, I’ve also drawn up the plans for a 6-Cubby version, which will hold about 250 records total.
We put the storage cabinet on 28-inch black 3-rod steel hairpin legs. They’re heavy duty steel legs that can support up to 350 pounds and they come in varying heights.
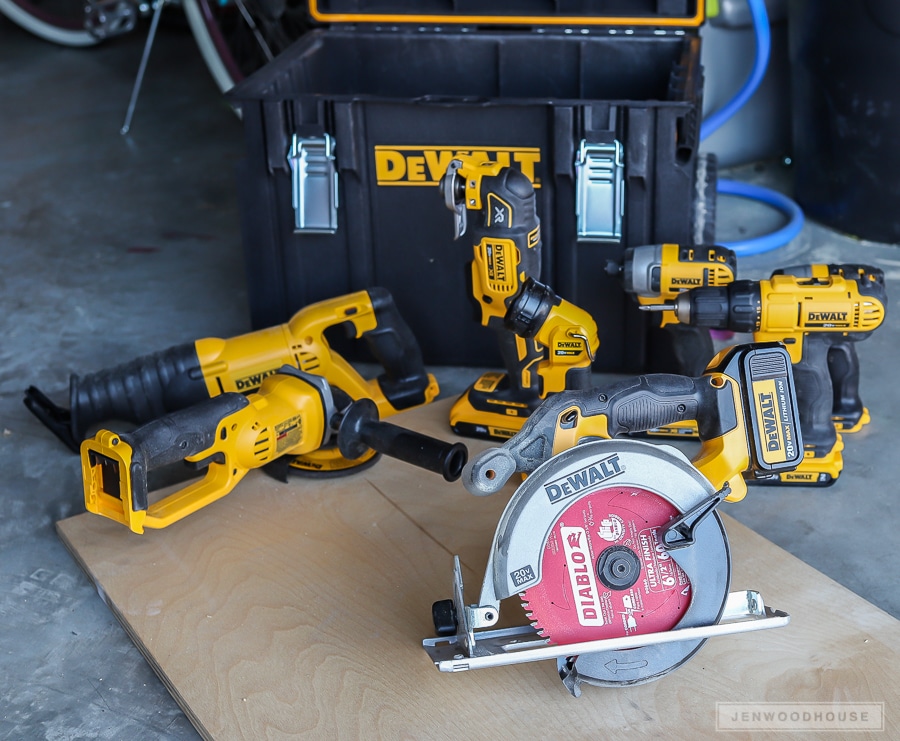
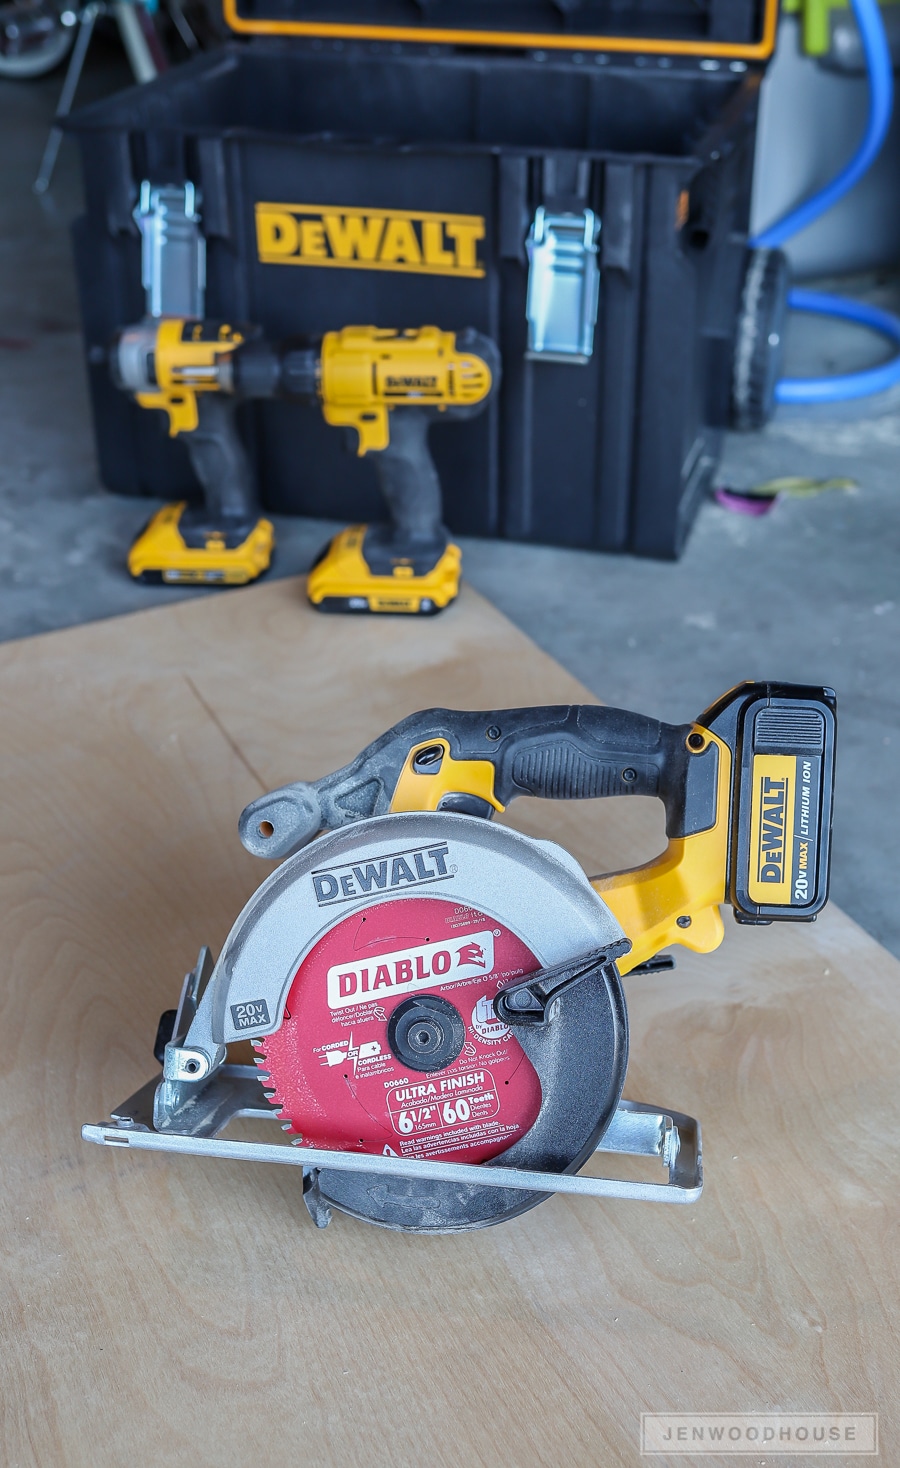
 Having the right tools for the job really does make a world of difference. We used some of the tools that came in the new Dewalt Cordless 8-Tool Combo Kit and I truly believe it set Tara up for success. Ringing in at just $499 for the entire kit, this Dewalt 20-Volt Max Lithium-Ion Cordless Combo Kit with ToughSystem Box is an unbelievable deal. You get 8 tools, 3 batteries, 1 charger, and the tough system box! This is an exclusive product to The Home Depot.
DEWALT 20-VOLT MAX LITHIUM-ION CORDLESS COMBO KIT (8-TOOL) WITH TOUGHSYSTEM BOX
The tool kit includes:
- Circular saw with a 6-1/2 inch carbide blade
- Reciprocating saw with keyless blade clamp that allows for quick blade change
- Grinder with an 8,000 RPM motor, quick-change release, trigger switch with lock-off button
- Compact Drill that is lightweight and compact for working in tight spaces
- Impact Driver with 1-handed loading for its 1/4 in. hex chuck that accepts 1 in. bit tips
- Impact Wrench that has a hog ring to easily change sockets
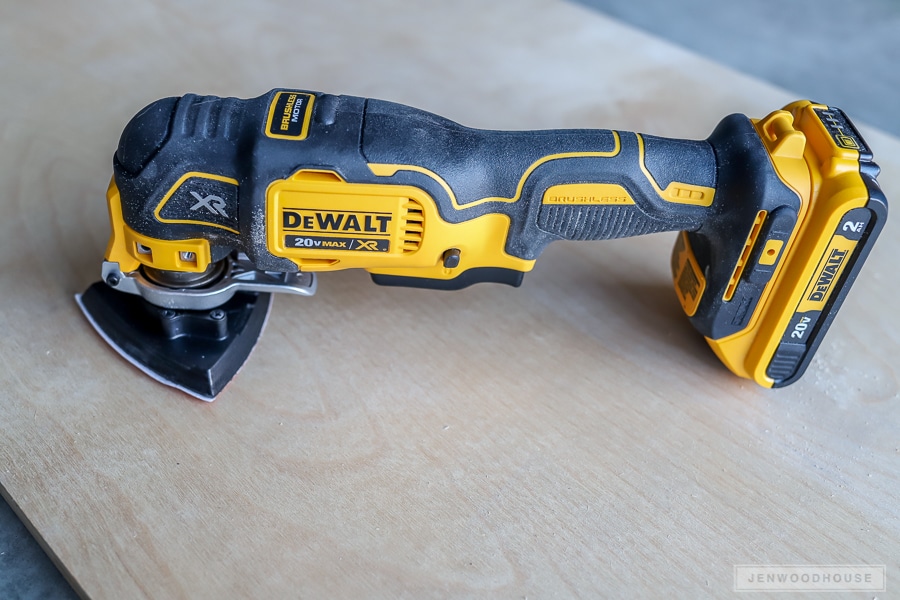
- Oscillating Multi-Tool with a powerful brushless motor, providing up to 57% more run time
- Flashlight with LED output of 110 Lumen
- ToughSystem Box with thick structural foam walls, heavy duty wheels, telescoping handle, integrated water seal and rust-resistant metal latches
I highly recommend this kit if you’re in the market for a solid, contractor-grade starter tool set – this Dewalt Combo Kit is hard to beat. We used the circular saw, drill, impact driver, and oscillating multi-tool for this build. We also used a pocket hole jig (not included in the kit) as our joinery method, but this additional tool isn’t necessary for this project.
DIABLO 6-1/2 X 60T ULTRA FINISH SAW BLADE
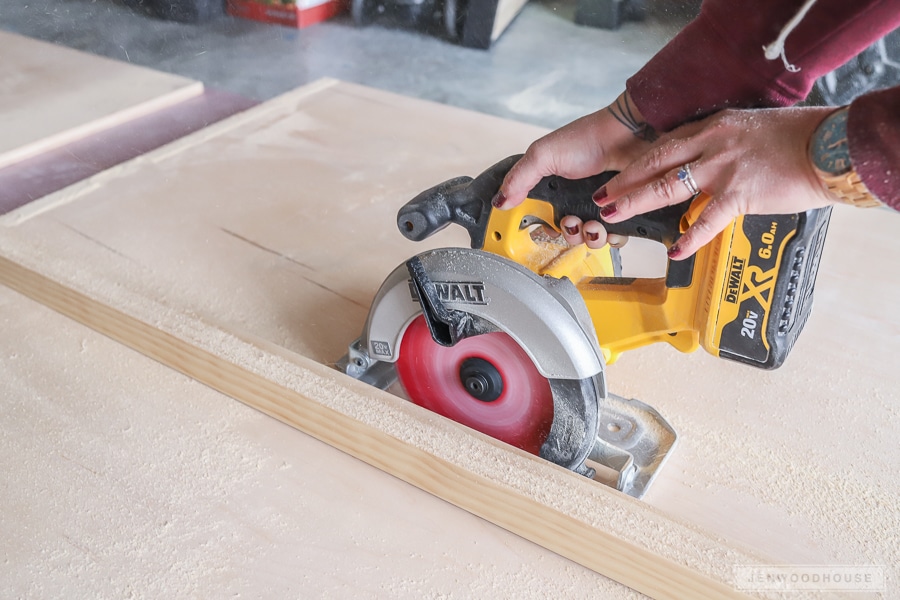
I was incredibly impressed by the Dewalt cordless circular saw and the Diablo ultra finish saw blade – the saw itself was easy to maneuver and accurate, and paired with the Diablo 6-1/2 inch 60-Tooth Ultra Finish Saw Blade, every cut was fast, clean, and precise. There was absolutely zero splintering on the plywood, which means it required little to no sanding later on! Anything that cuts down on a tedious sanding job is my favorite.
This Diablo Ultra Finish Blade is ideal for cross-cutting oak, pine, melamine, plywood, and delicate molding. The tri-metal shock-resistant brazing is extremely durable – it allows the carbide tips to withstand extreme impact and the high density carbide is specifically designed for each application to increase performance.
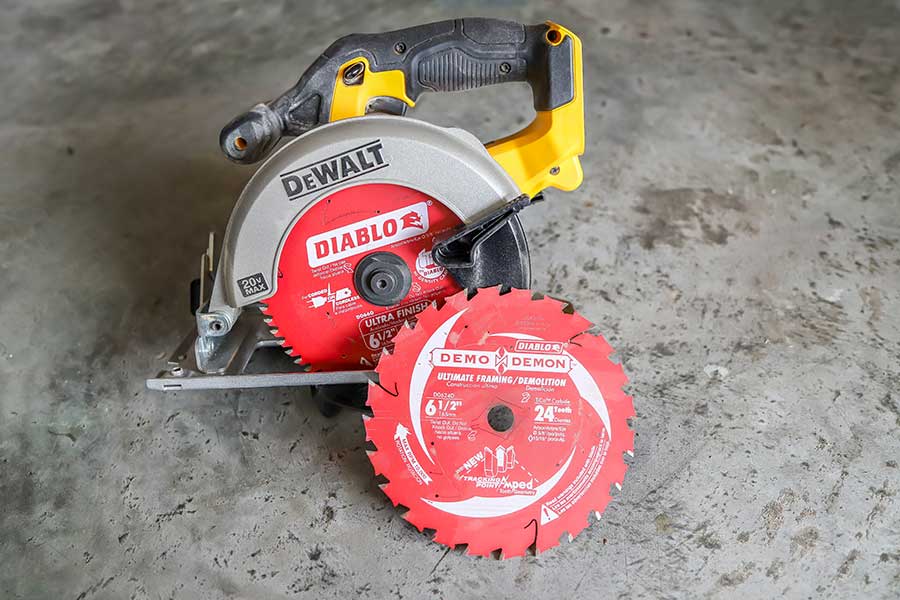
Another favorite blade of mine is the DIABLO 6-1/2 X 24T DEMO DEMON SAW BLADE. It has lock-tooth technology for a strong bond between the carbide tooth and the blade for deep impact resistance and longer life. The pyramid tooth geometry for superior tracking control and smooth, effortless cuts. We use Diablo blades all over the shop because they are simply superior.
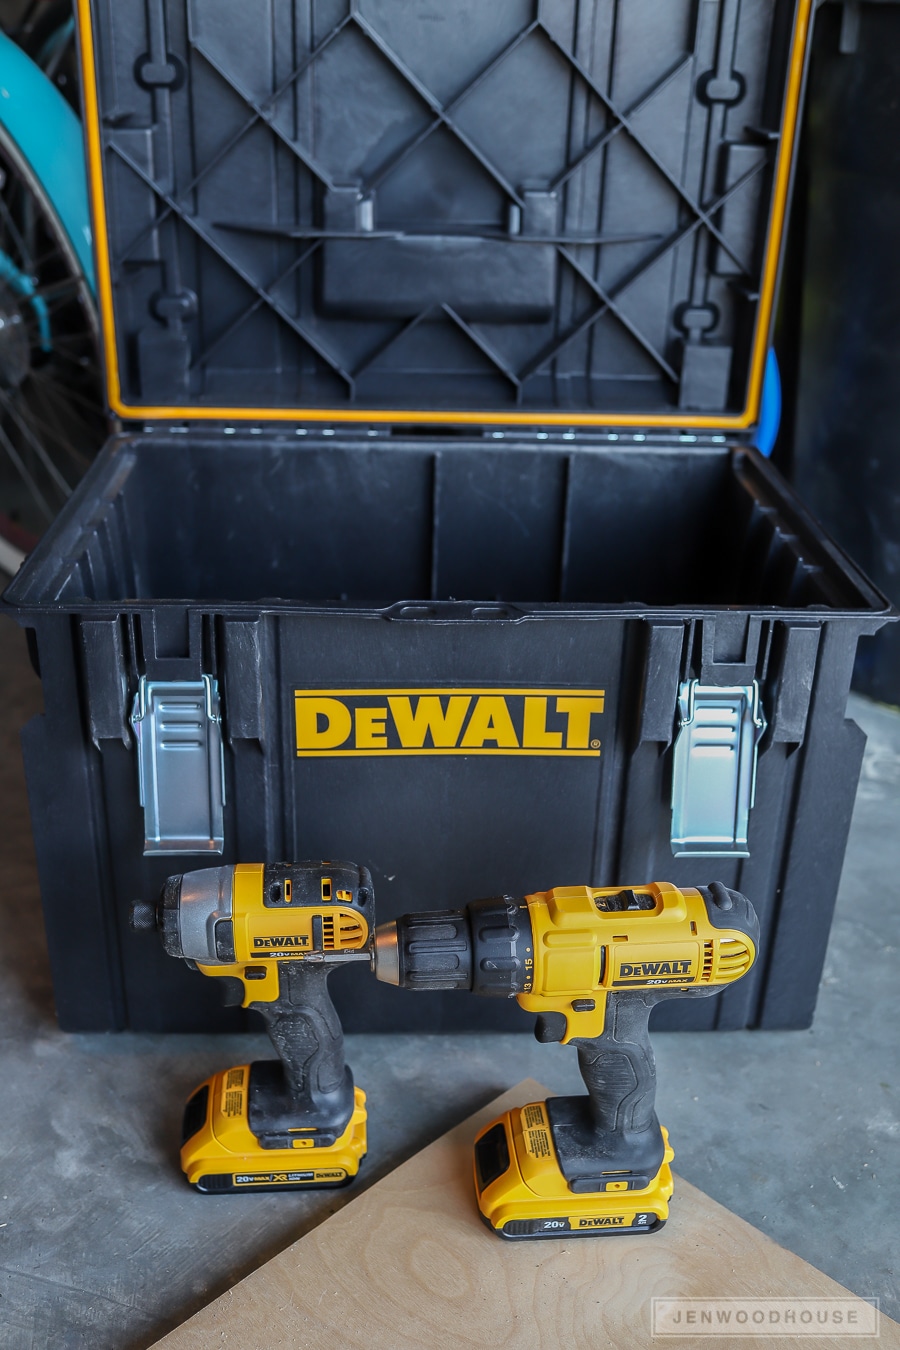
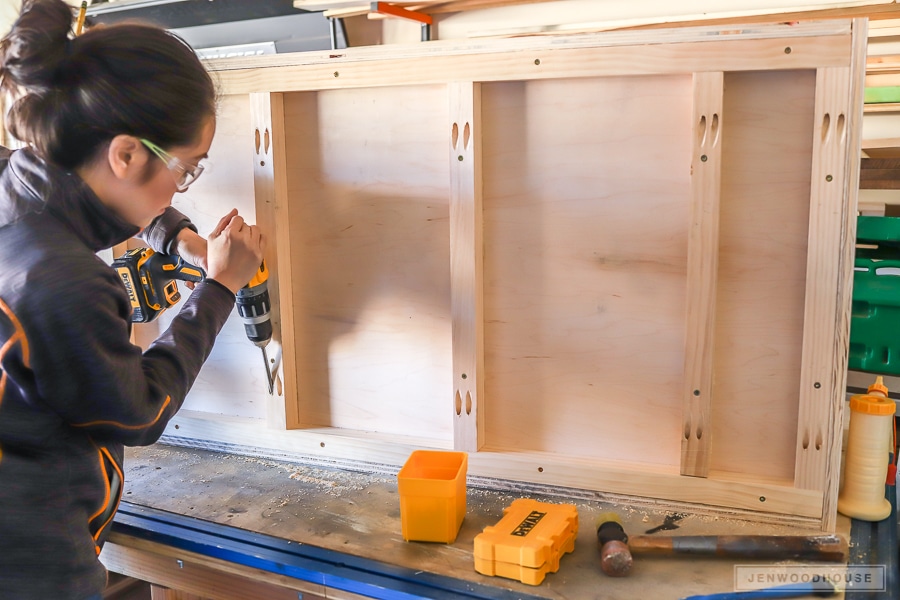
To add the 2×2 support frame underneath, I pre-drilled pilot holes with the cordless drill, then drove the 2-inch wood screws into the bottom with the impact driver. Having two separate drills made this task fast and easy – no need to switch out drill bits between jobs.
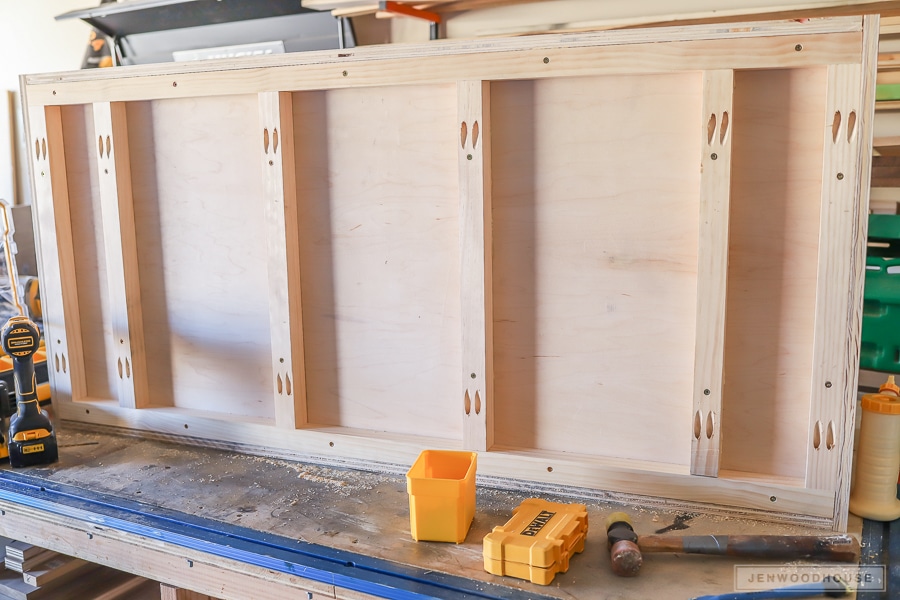
For the cross supports, I chose to drill pocket holes on each end to attach them to the frame and also drove the wood screws into the bottom of the cabinet. This is probably overkill, but I wanted to make sure that the plywood doesn’t sag over time, under the weight of 350 vinyl records.
It’s like I always say…. Why build when you can overbuild?
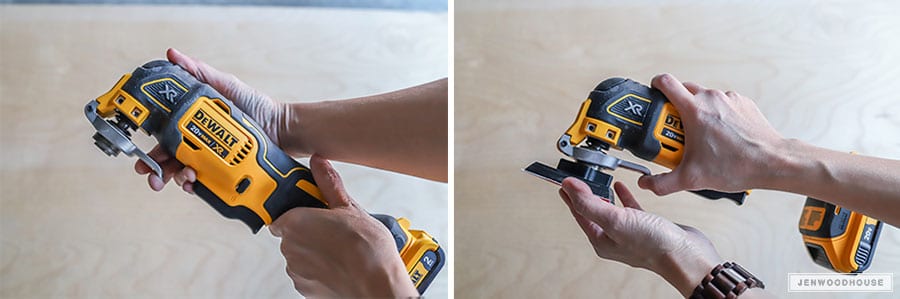
 Once the storage unit was constructed, it was time to sand. To get into the nooks and crannies of each cubby, this Dewalt oscillating multi-tool was a huge help. It has a quick-change accessory system that allows blades and attachments to be changed quickly without wrenches. We purchased the coordinating Oscillating Sanding Pad separately and was able to sand the hard-to-reach places with ease.
 We applied a couple of coats of semi-gloss finish, screwed the hairpin legs on, and called it a day. We’re so pleased with how it turned out and I just know Tara’s husband is going to love his Christmas present! Pretty sure Tara wins Wife of the Year!
 Thanks for reading, friends! If you build this DIY vinyl record storage unit, I’d love to see it! Be sure to tag me (@jenwoodhouse) on social media so I can see your projects!
Love this project? PIN IT for later!
*I acknowledge that The Home Depot is partnering with me to participate in the ProSpective 2018 Campaign. As a part of the Program, I am receiving compensation in the form of products and services, for the purpose of promoting The Home Depot. All expressed opinions and experiences are my own words. My post complies with the Word Of Mouth Marketing Association (WOMMA) Ethics Code and applicable Federal Trade Commission guidelines. This post contains affiliate links. To read my full disclosure policy, please click here.


")

This is awesome. Do you have plans for a tabletop model?
How many records does this hold?
Hi Elizabeth,
The 8-cubby will hold about 350 records, and the 6-cubby about 250. Hope that helps!
Do you know anyone that would be willing to build and ship to me?
Would you be able to post instructions for a four (2×2) version?? Would love that! Thank you, and love your work.
I would also like plans for a 4 cubby version.
Also also would love 4 cubby blueprints
I was wondering if you could post plans for a version of this where there is top and bottom storage? No legs.
The sides would be the same width but sides & back would be 46.5 inches tall. Where you would have the same 2 tier storage on top as well as the bottom.
Thanks
Ryan B.
Good day, This is awesome and what I really need for my collection. Do you have plans for this.
Dear America, please use the metric system. Other than that, marvellous. Thank you, Australia.
My 6-cubby is coming along thanks to your super plans. However, you didn’t indicate where to screw in the legs. The obvious answer seems to be the frame but one screw hole lines up with the pocket screws. Screwing into the side/front/back pieces seems to ask for a problem.
My brother and I are going to build the 6-cubby version next week. Rather than the legs we are going to build a box/pedestal for storage under the cubby. We are also going to add some trim to hide the laminate on the edges. I’ll send you a few pictures of the project.
Jen:
The measurements on the 6-cubby record bin add up to 96 inches. Your plans do not allow for the kerf.
We had to make some adjustments to the record divider height, so all was not lost.
I’ll send you some pictures of the finished product.
Has the plan been updated with this new information?
A console is a perfect option if you want to have your record player and your favorite vinyl records in the same place. This one you can make yourself using a Besta shelf from Ikea. You can find out more about how to build this unit on Ikeahackers .
Awesome! Exactly what I am looking for. Do you have plans for the 4, 6 & 8 bin cabinets?
Great! Yes, the plans for the 6 and 8 cubby cabinets are linked in the post.
This is great did you happen to make a video of this project build?
Could you adapt this into something for CD’s?
I’d love to make something to hold CD’s similar to how record shops used to store them. Spine up, with A-Z letter tabs.
Well built , I love it. Could you tell me the best programs I could use for my lazar engraver to lay out patterns?
Thank you, Lynn
Hi Lynn,
I use Easel, which is a free web-based program by Inventables. Hope that helps!
Thank you for the plans! We made the smaller version to fit in our daughters room – she was super excited.
I really love this design. It is like looking at your vinyl at a record store.
Has anyone tried to build this this with MDF? It is much cheaper and if I am going to just paint the unit, why spend the money on a nice plywood?
Thank you
Great post! I love the step-by-step instructions and the tips on finishing touches. Can’t wait to try this out for my vinyl collection. Thanks for sharing!
what length of the legs were used? Thanks!