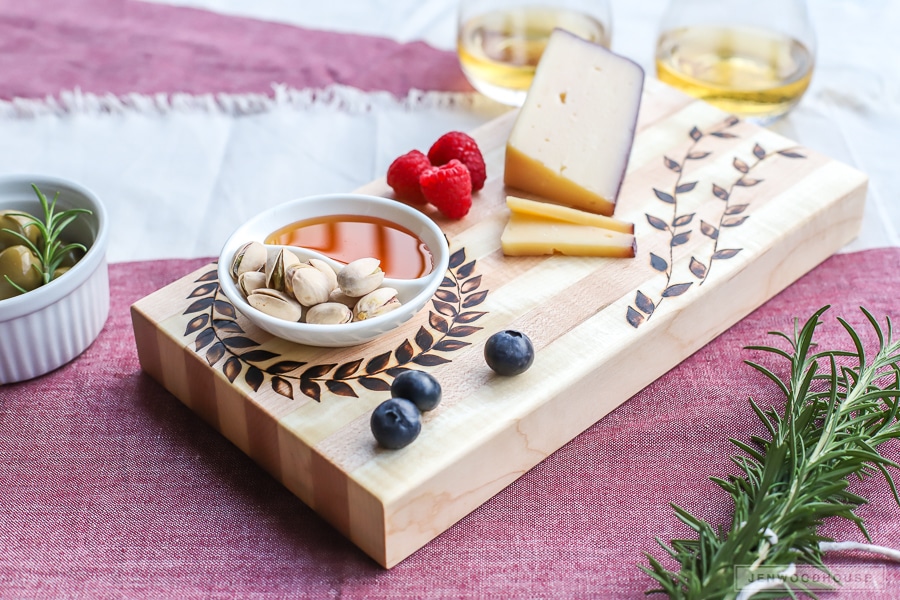
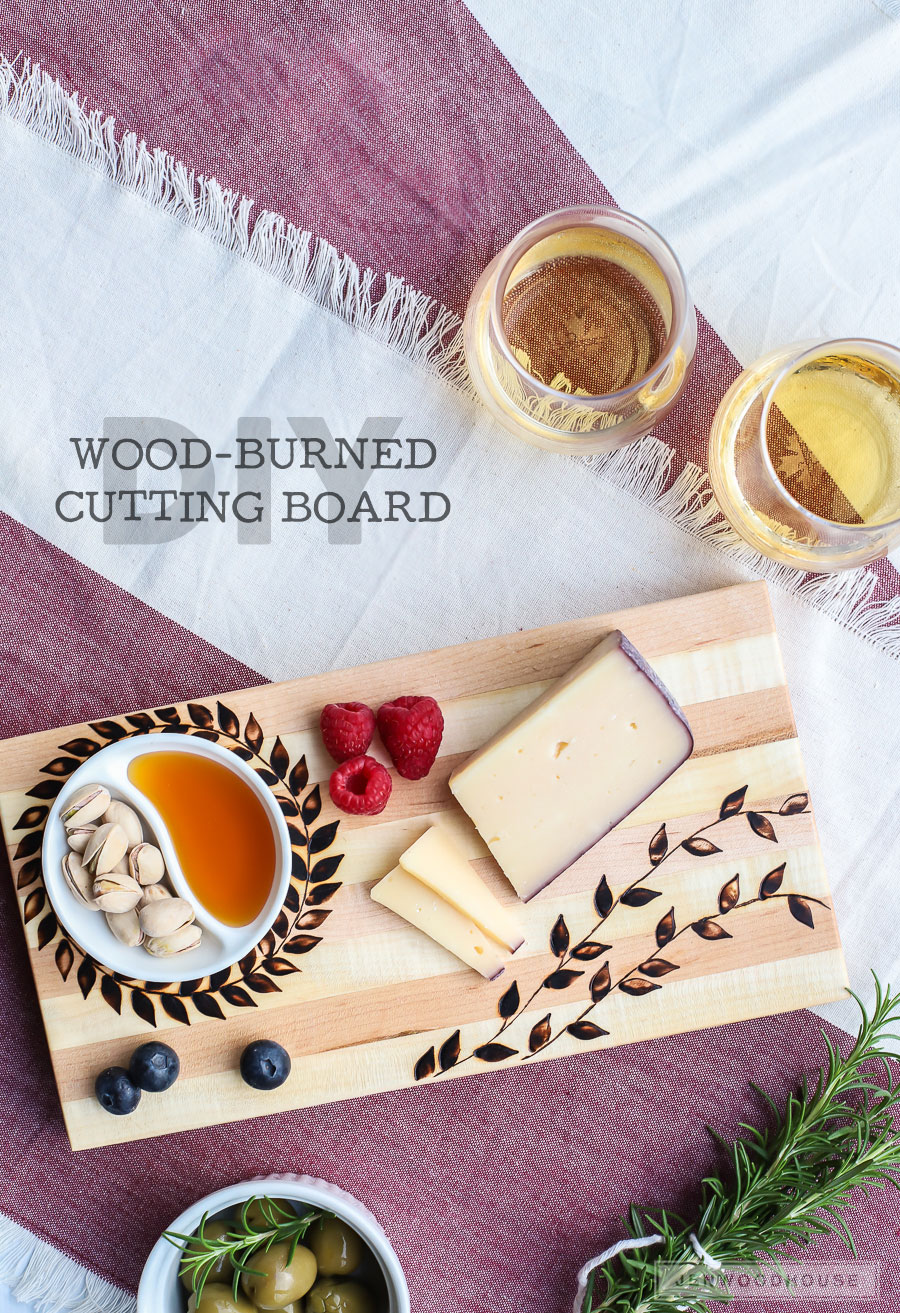
May has been an exciting month already with the official launch of Spruc’d and now, I have more good news to share: I’ve signed on as a Brand Ambassador for JOANN this year! Lots of fun and crafty projects to come! Speaking of projects, I have a simple but beautiful DIY to share with you today. Mother’s Day is fast approaching, so let’s make a DIY wood-burned cutting board for your favorite lady!
This DIY wood-burned cutting board is not only great for Mother’s Day, but it’s the perfect gift for the hostess, new homeowner, or foodie in your life. And it’s so simple to make too. Are you ready? Let’s do this!
Supplies
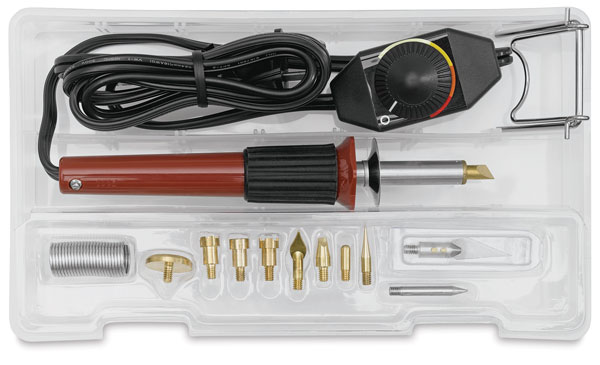
- Woodburning Set
- Special woodburning tips (optional)
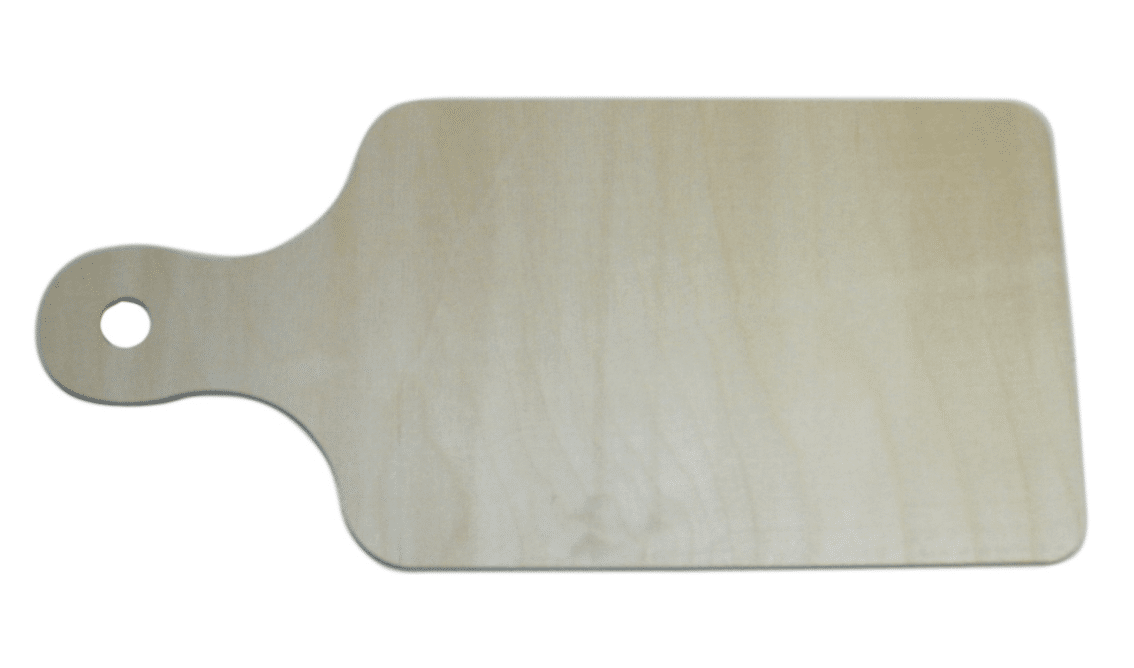
- Unfinished cutting board (or you can make your own, like I did)
- Mineral oil
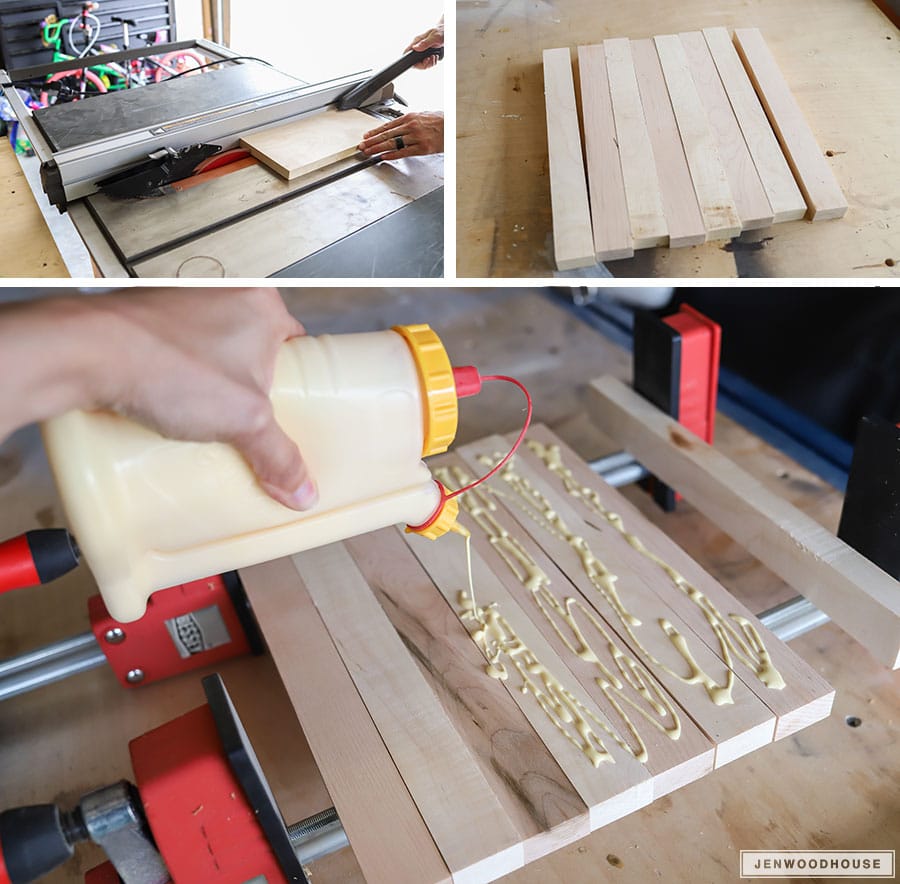
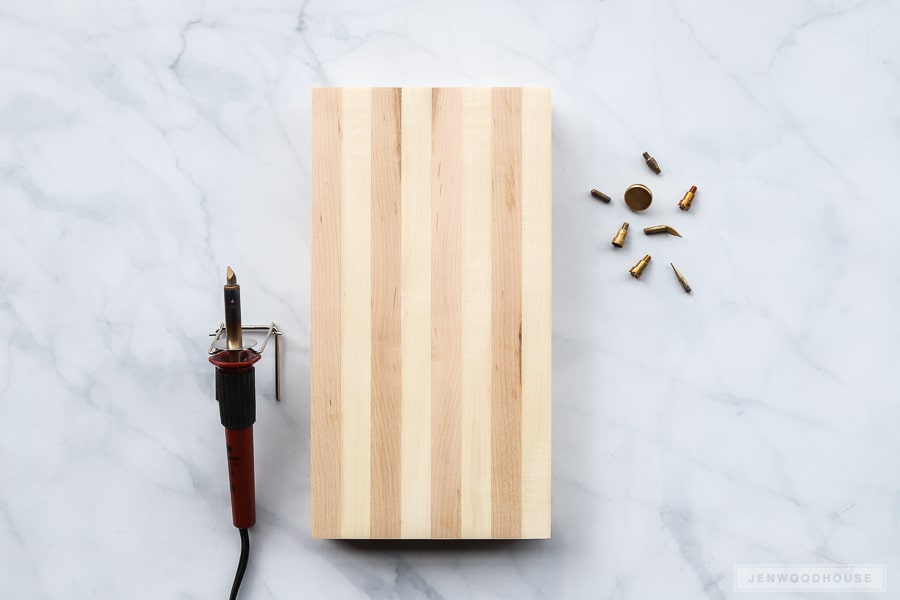
You can either buy or make a cutting board. (You know which route I chose.) I picked up a Walnut Hollow Creative Versa-Tool Kit from JOANN. I had some scrap wood laying around (isn’t that always the case around here? I mean, it is The House of Wood after all!), so I whipped up a quick cutting board out of some hard and curly maple cutoffs.

Directions
First, use a table saw to rip the boards to the same width (about an inch and a half), then lay them out in a pattern. I alternated the hard and curly maple wood and turned them on edge for a thicker board. Tight-grained, dense hardwood species like maple, walnut, or bamboo are superb choices for making cutting boards. Wood with a more open grain, like red oak, are not ideal because the open grain can harbor bacteria and other yucky stuff.
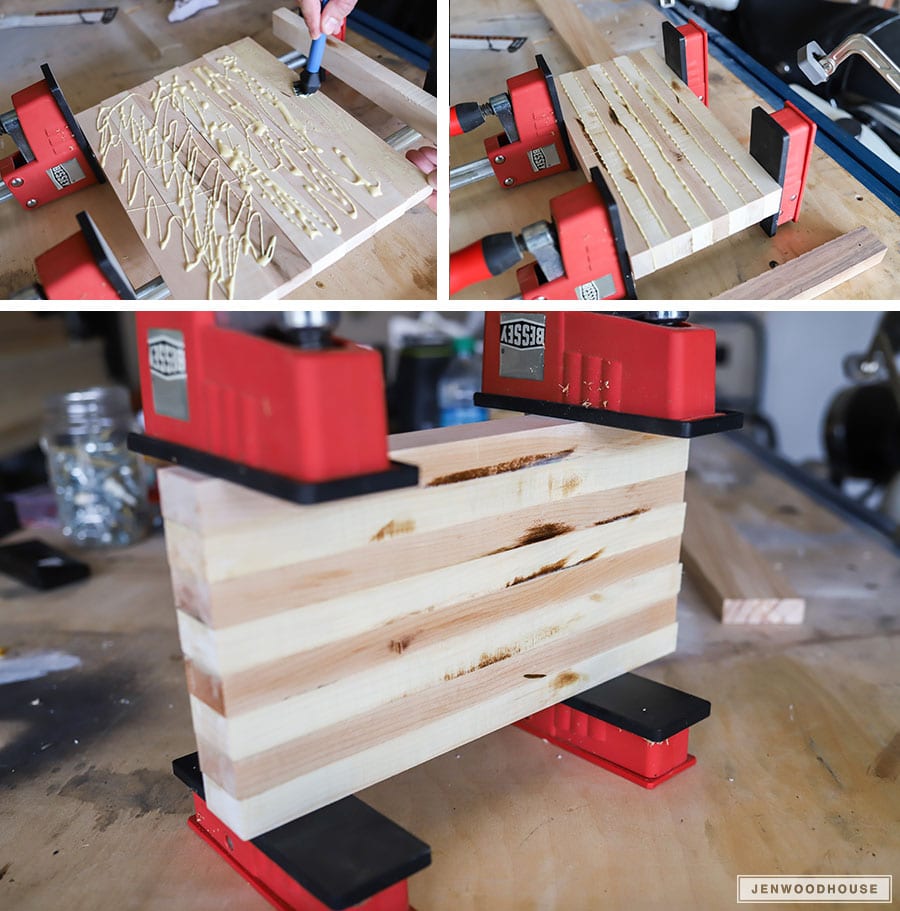
Glue, clamp, and let the glue dry for at least a couple of hours. Try to line up the boards as best you can and make sure it’s as flat as you can get it. The flatter it is now, the less you’ll have to sand later. And believe me, if I can cut down on any task, that task would be sanding. It truly is the bane of my existence.
I left the board in the clamps to dry overnight, just for kicks.
Okay. It was actually because a new episode of The Handmaid’s Tale was on.
I mean, priorities.
The next day, I took the cutting board out of the clamps, then squared off the edges with a miter saw. A bit of sanding on all sides and this cutting board is ready for burning!

Step 1
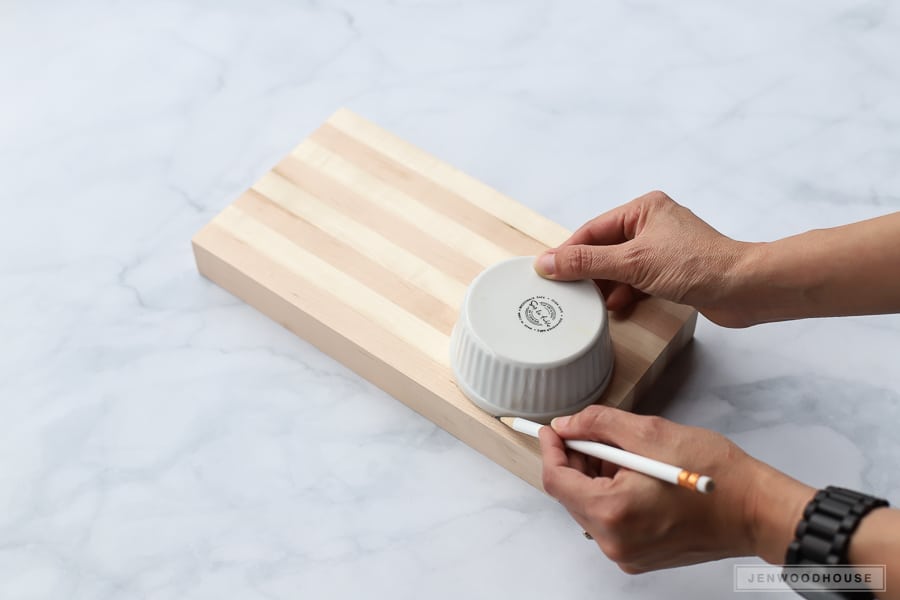
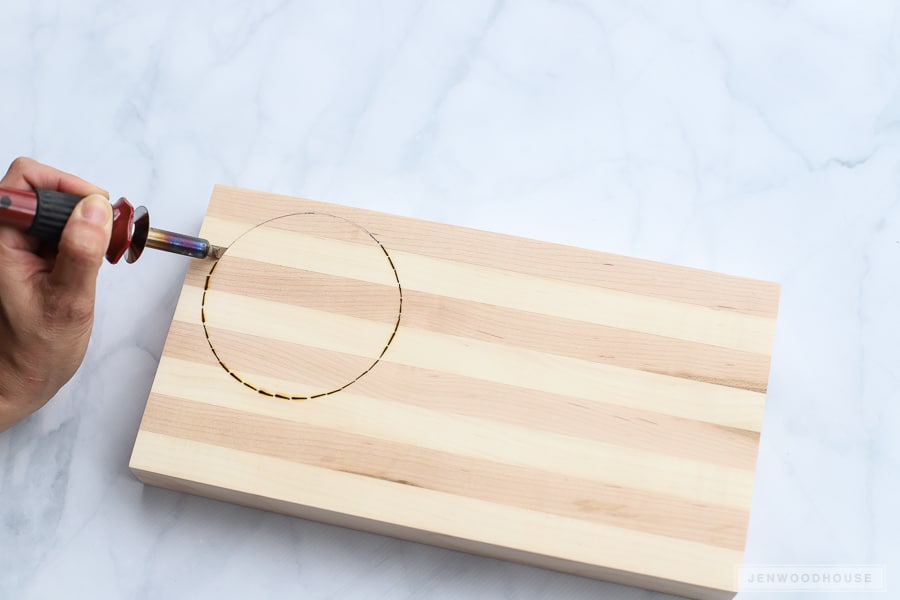
Screw on the wood-burning tip of your choice onto the wood-burning tool, plug it in, and let it heat up for at least 5 minutes. Sketch out a design with a pencil. I decided to use a ramekin to trace a circle on one side of the board.

Step 2
Carefully touch the wood-burning tool to the board, using your pencil marks as your guide. You may want to practice on a scrap piece of wood before going in for the real thing. I used the slanted tip and followed the outline of the circle.

Step 3
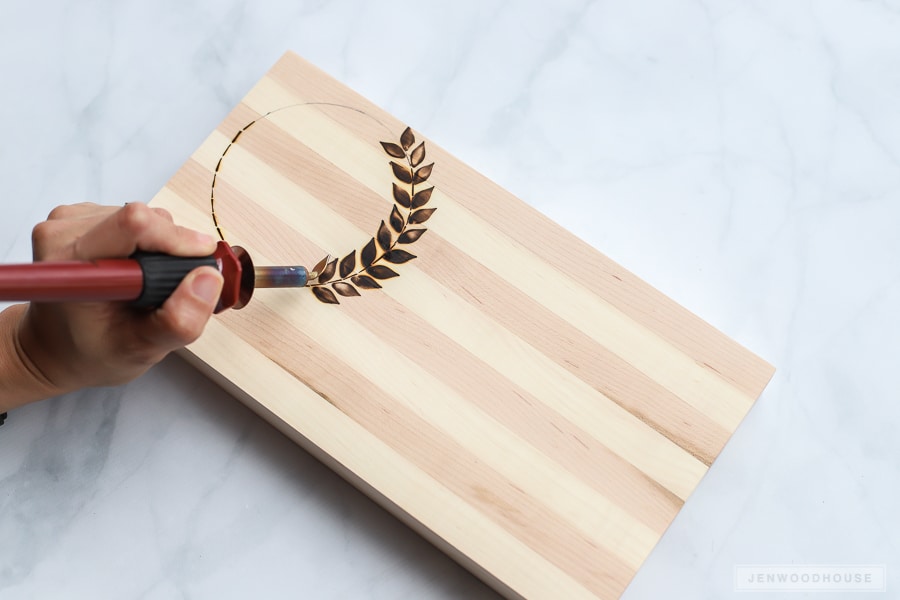
If you want to change out the tips, use pliers to remove the hot tip and replace it with another. Caution: the tool will be very hot – you can either use pliers to switch out the tips or wait for the tool to cool down completely. I wanted to use the leaf tip here, to mimic a wreath. I laid the leaf tip down on the board, pressing firmly to make the burnt leaf shape. Experiment with different pressures – the longer you keep the tip on the board, the darker the mark will be. I varied the pressure, just to give the leaves a little more interest.
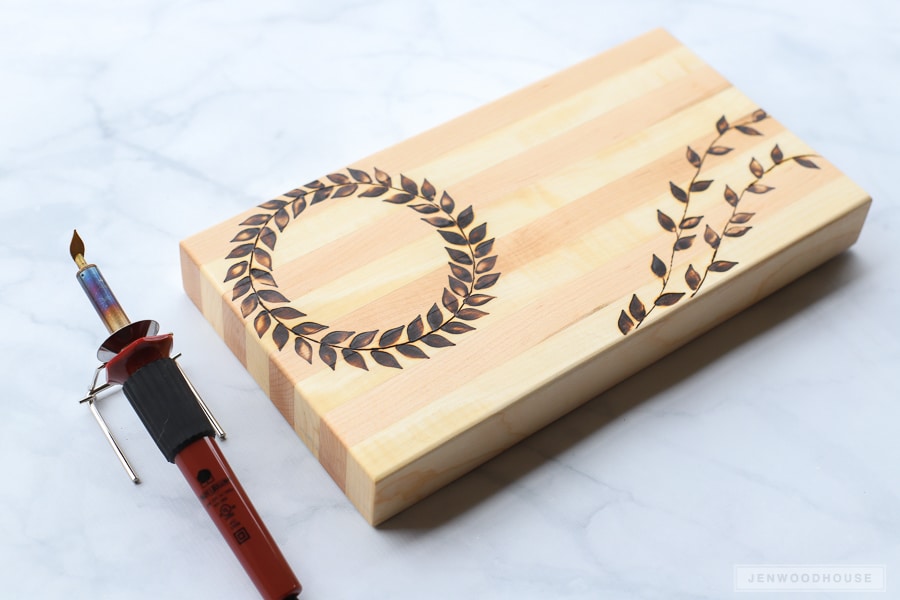
Repeat these steps as desired. Even though I used only the slanted and leaf tips for this project, feel free to get creative with your designs. The possibilities really are endless!
Unplug the wood-burning tool and allow it to cool down completely before storing it away.

Step 4
Apply a few coats of mineral oil to the board to seal it. Mineral oil will bring out the beautiful wood grain, protect it from moisture, and it’s food safe. It’s a win-win-win!
Finally, wrap a pretty ribbon around your DIY wood-burned cutting board and give it to your Mom for Mother’s Day or load it up with some of your favorite treats and enjoy!



Beautiful. What a great project. Doesn’t look too difficult either. Congratulations as well.
Will any mineral oil work?
Yep, just regular mineral oil that you get from the grocery store!
That is a cool looking wood cutting board. I would have never thought about getting a design burned into a cutting board. It seems like that could make a really nice wedding gift. It could be nice to get the couples last name engraved into a wood cutting board.
Out of Curiosity: The mineral oil will not wipe the black off the wood?
Hi Melissa,
Nope! The mineral oil is just a food-safe oil. You might be thinking of mineral spirits maybe?
Thanks for sharing this great gift idea!
I am working on a cutting board and used graphite paper to trace my design on it. Any suggestions on how I can remove graphite from the cutting board after burning?
Carla you can lightly sand the board. You may want to take your wood burner and touch up the design, but the graphite should come off with a light sanding of a high grit sand paper leaving the wood burned area intact.
Is this dishwasher protected when using the mineral oil, or should it be treated regularly?
Nice article
Jen you have rightly and beautifully explained it step by step. i just want to ensure about one simple things. how you have done cutting of wood pieces in so fine way.
Is this safe to use as a cutting board ( for meat or vegetables instead if just as a serving platter)
That’s really nice. I appreciate your skills. Thanks for sharing.
I read that bamboo should not be burned because it has lead and other bad stuff in it that will create toxic gasses. Here I see bamboo listed as a good choice. What’s true?