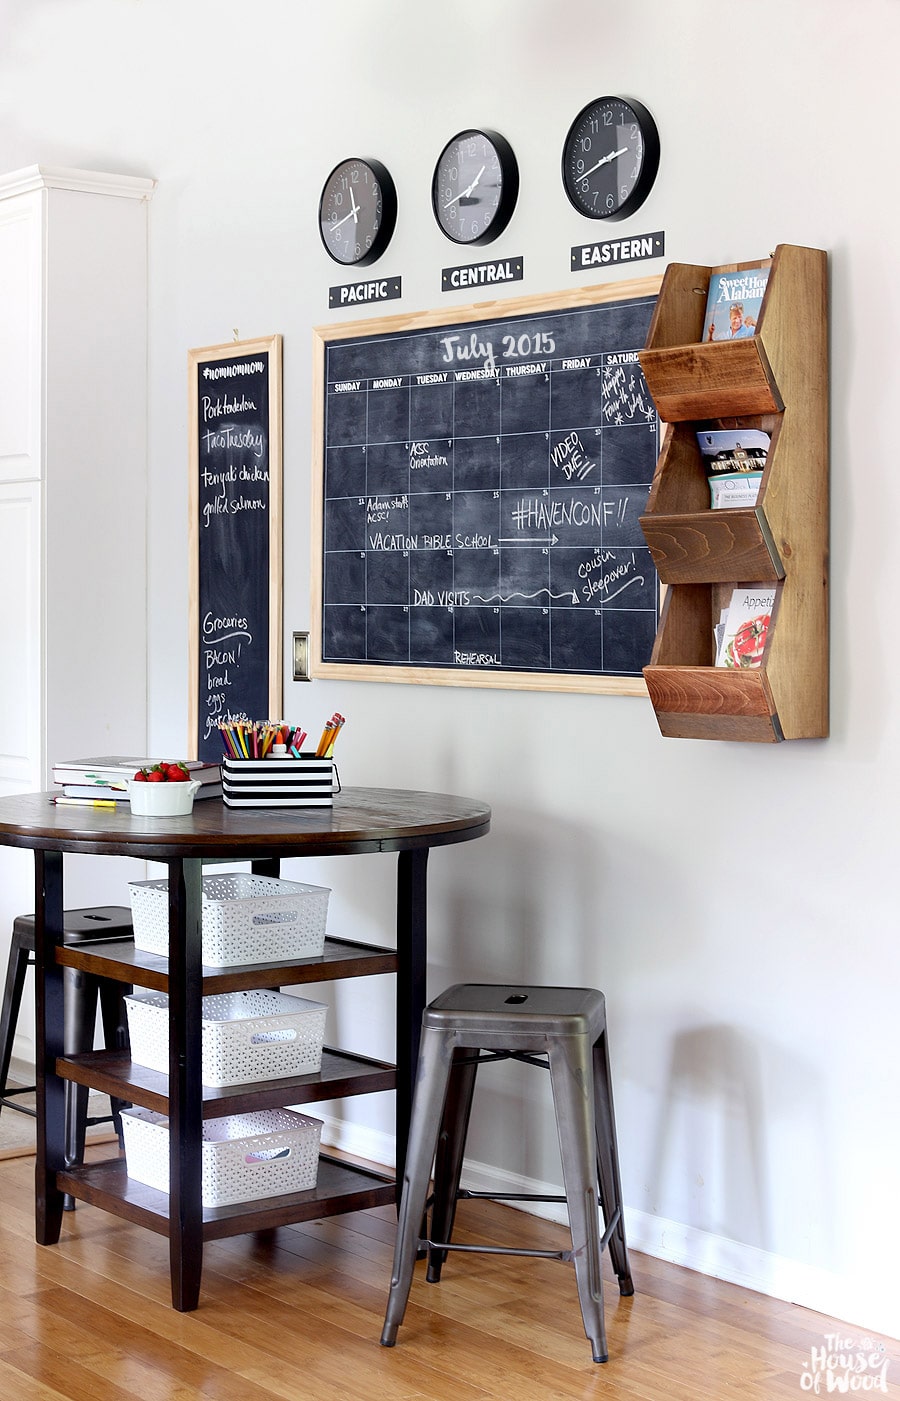
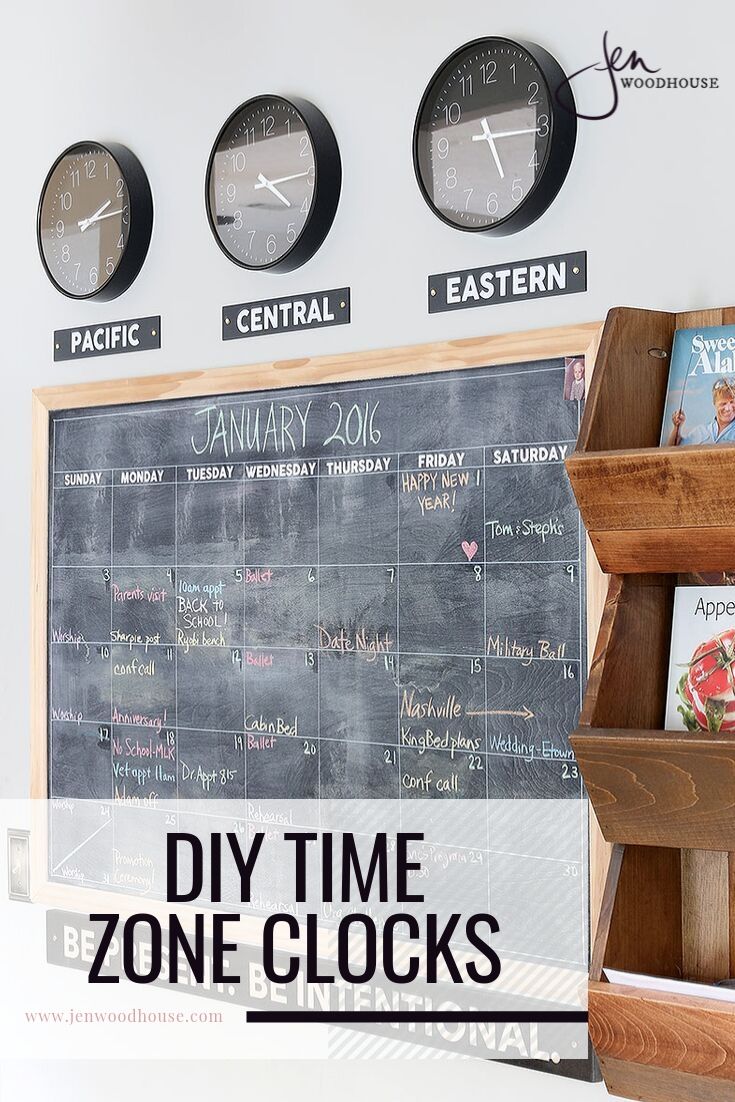
Hi friends! You’ll be getting a sneak peek of some upcoming projects at the end of this post. Are you excited? I am. But you’ll have to be patient, because all I’m sharing for today are these sweet time zone clocks. Aren’t they adorable?
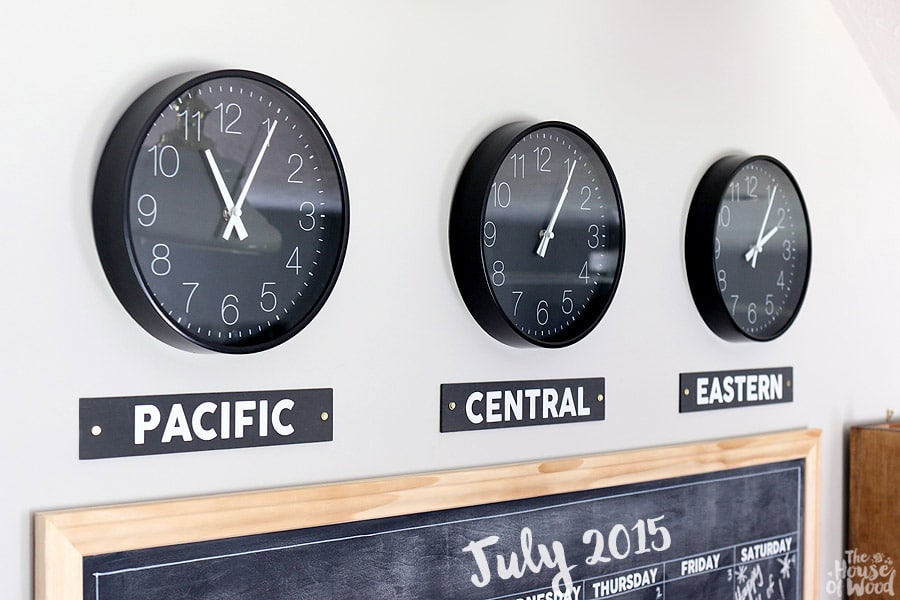 You may notice that Mountain Standard Time is missing from my time zones. Pfft. Who cares about those jokers? Only kidding, MST folks. I just didn’t have room for you this time, but you’re all good because you guys get to live in the most beautiful place, frolicking in the wilderness with all your outdoorsy goodness, wearing Patagonia gear and sporting the most epic of beards. Totally not fair.
Alright, so let’s get started with this quick and easy tutorial, shall we?
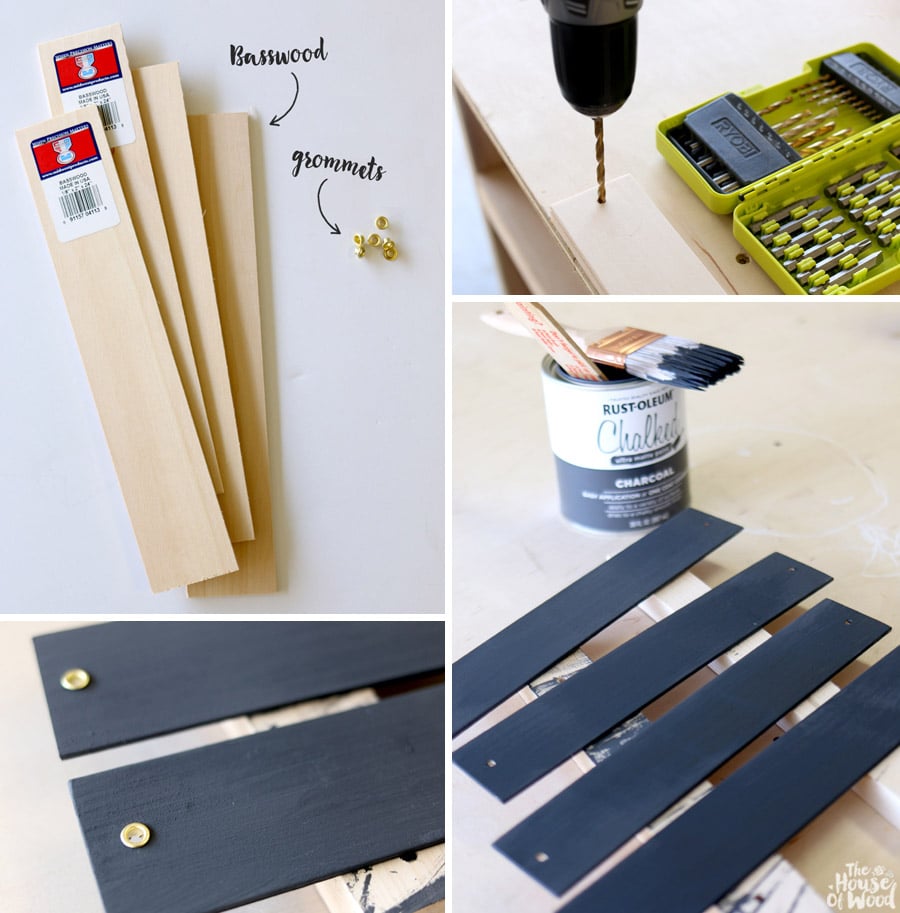
I picked up a couple of these 1/8″ thick basswood boards and a pack of brass grommets from the craft store. The basswood is 24″ long, so I cut them down to 11″ so that they’d fit nicely under the clocks. I gave the rough cut edges a quick sanding then clamped them all together to drill a couple holes into them. I used a 3/16″ drill bit. The basswood is super soft, so these steps went quickly and easily.
Then I painted the boards with charcoal-colored chalk paint (it was what was within reach) and let them dry. Then I pressed the grommets into the pre-drilled holes.
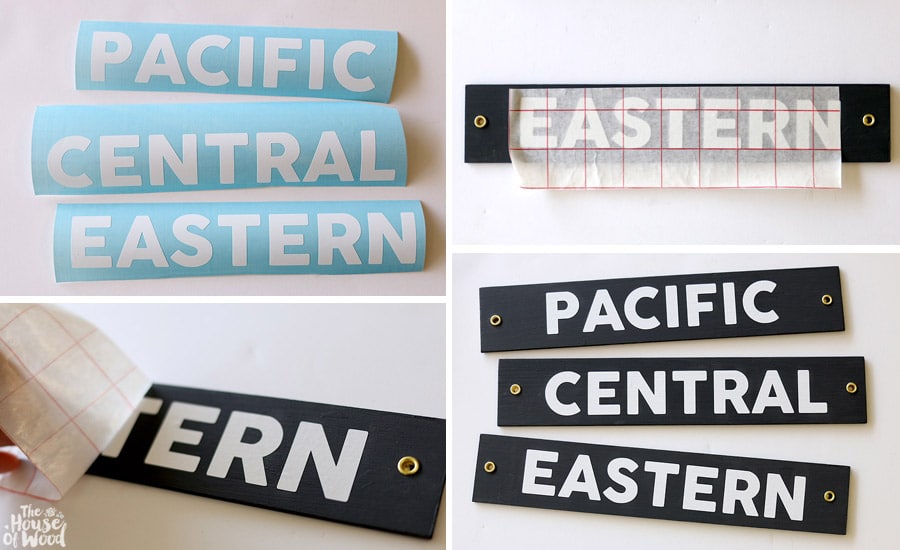
Next, it was time to create the text for the signs. If you use chalkboard paint, you could just write the time zones in with chalk, but I hate my handwriting, so I chose to use my Silhouette Cameo to create vinyl decals for the signs.
I designed the signs in Silhouette Studio and fed the adhesive vinyl into the electronic cutting machine. The font is called “Cocogoose.” After the words were cut, I peeled away the unnecessary vinyl (this is called ‘weeding’) and stuck some transfer paper on top. Then I lined up the decal onto the signs and pressed them on, burnishing the letters with my debit card. Then I peeled the transfer paper off and voila!
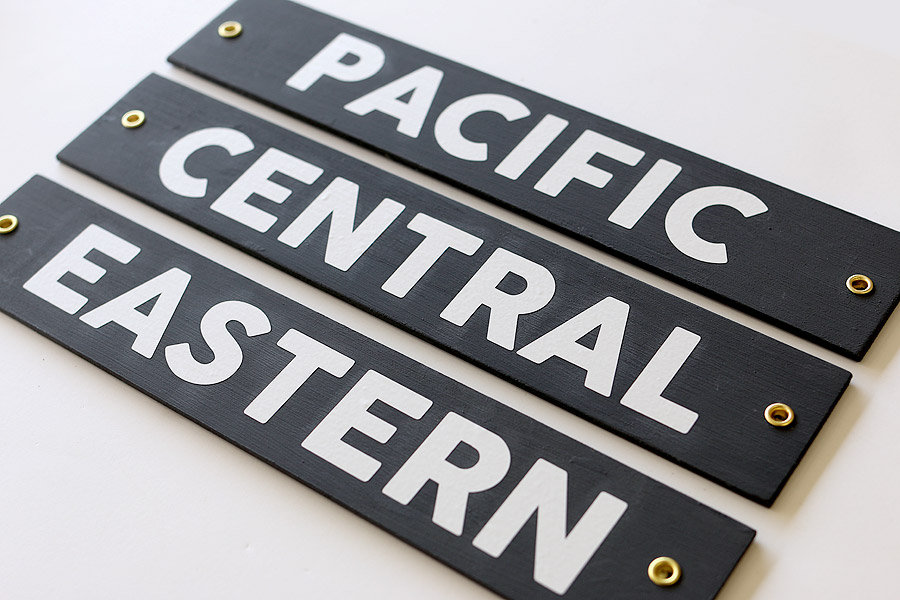
 Let’s zoom out a bit and I’ll show you the whole shebang. I’ll be sharing the tutorial on those DIY chalkboards shortly so stay tuned! #sneakpeek
Here’s the tutorial on how to build that cute West Elm-inspired Cubby Shelf.
What do you think? Are you ready to do the Back-To-School scramble?



I love the time zone clocks. I think I have just the spot on the wall for something like this 🙂
Did you by chance make that table? It is exactly what I have been looking for.
No, we bought the table from Ashley furniture.
Is chalked paint available for purchase already? Or was it sent out to hype(?) is that a good word for it? I can’t find it anywhere in my town.
Yes, I believe Rustoleum’s Chalked paint line is available for sale now. I did a quick Google search and several places came up that sell online. Good luck!
LOVE LOVE LOVE this idea! My famiily lives overseas and therefore in a different time zone so this is a perfect. Now to find the wall to put my clocks 🙂
Absolutely in love with your time zone clocks, brilliant! Was wondering how you went about hanging the labels under the clocks? Planning to go about the same route 🙂 TIA!
Paris…. New York… Los Angeles… Topeka…
Hi, what brand or where can I find those clocks? Thank you.