*This post is in partnership with Scotch Painter’s Tape.
We just finished installing beautiful built-in bookcases and cabinets at the end of our upstairs hallway, so now it’s time for the finishing touches. The walls and trim need to be painted and I’m excited to be teaming up with Scotch Painter’s Tape to get this job done! Read on for a few tips on how to prep and paint like a pro.
Tip #1: Surface Prep
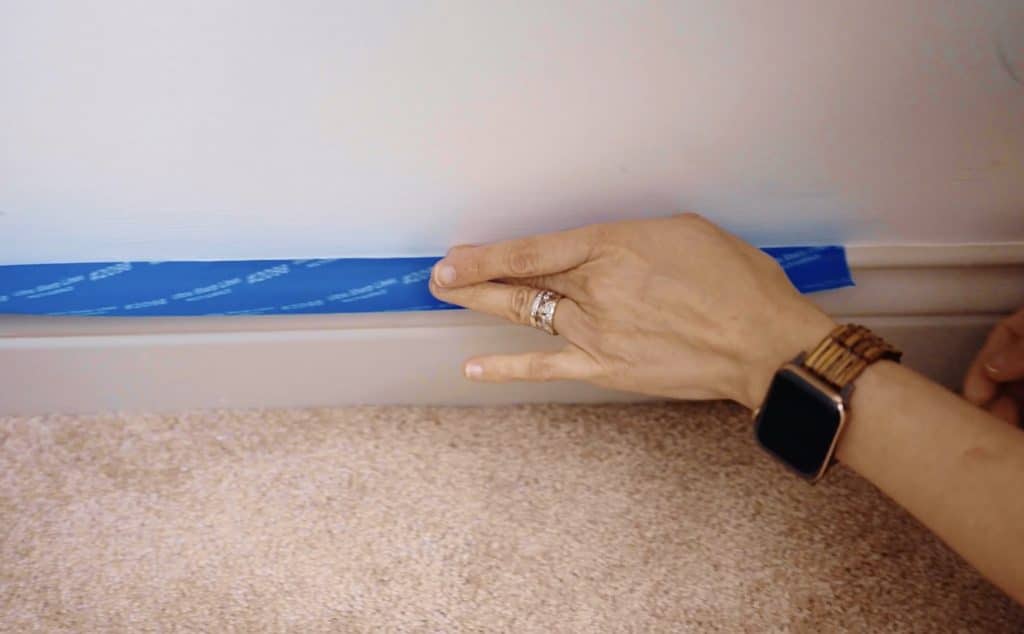
For the best tape adhesion, make sure the surface is clean and dry before applying Scotch Painter’s Tape. Pay attention to places where dust can settle, like on baseboards and on the tops of door frames.
Tip #2: Use the Right Tape For The Job
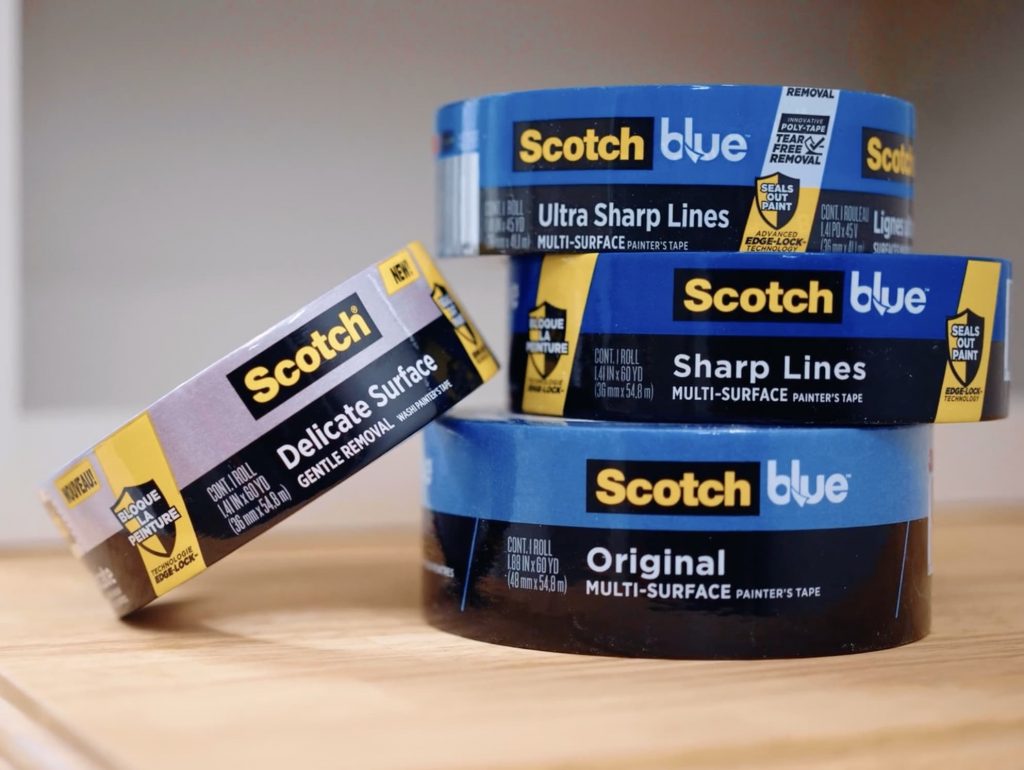
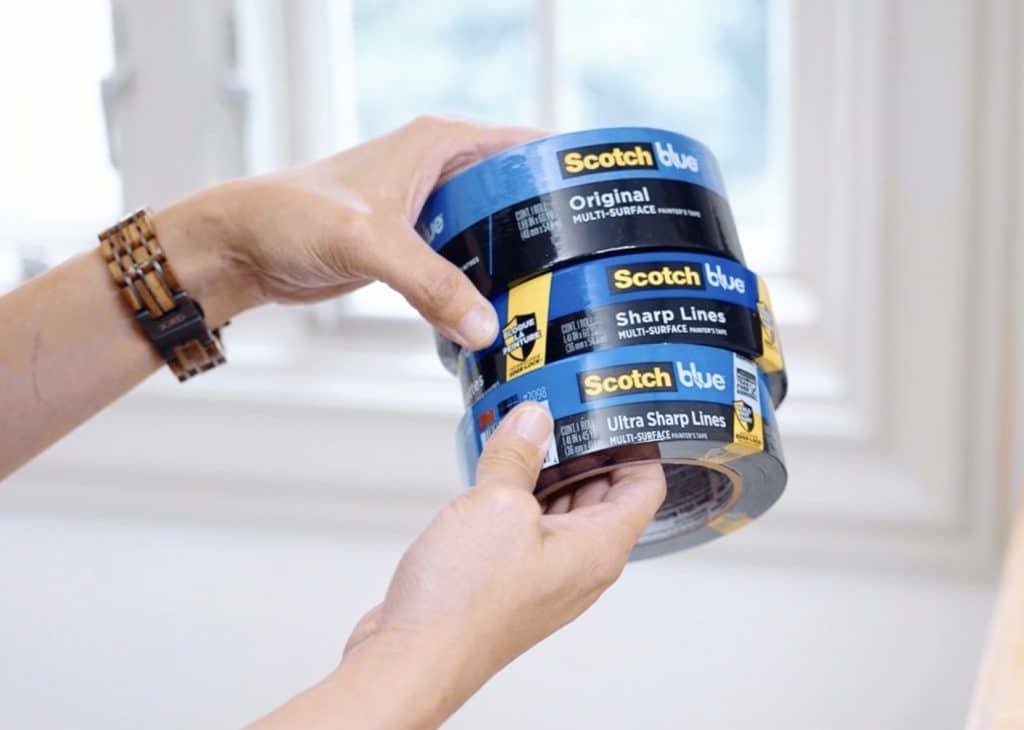
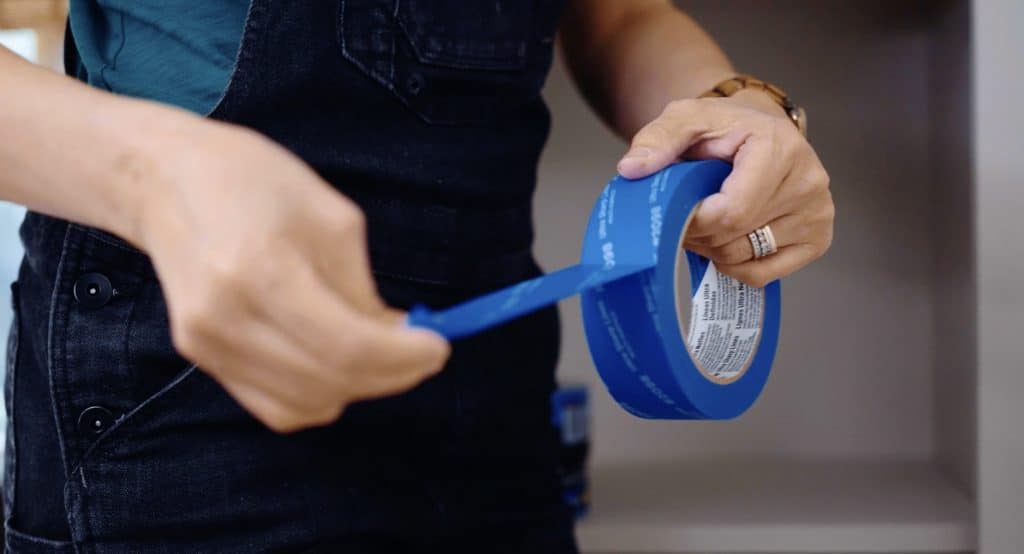
Did you know Scotch Painter’s Tape has different products for different jobs? Their most common tapes are the ScotchBlue tapes, but there are 3 different blue tapes: the Original, the Sharp Lines, and the Ultra Sharp Lines. Scotch Painter’s Tape has developed an “Edge-Lock technology” for the Sharp Lines tape that seals out paint and keeps it from bleeding under the tape, which will give you the sharpest, cleanest paint line. The Ultra Sharp Lines tape even has Advanced Edge-Lock Technology. All 3 blue tapes have a medium adhesive and work great on multi-surfaces like walls, trim, baseboards, tile, and glass but here’s the main difference. With the Original multi-surface tape, you can leave it up for 14 days and still get a clean removal and the Sharp Lines is up to 21 days and the Ultra Sharp Lines is 28 days! The Ultra Sharp Lines tape also has a cool technology that allows you to snap and tear the tape at a 90º angle every time so you have a straight edge!
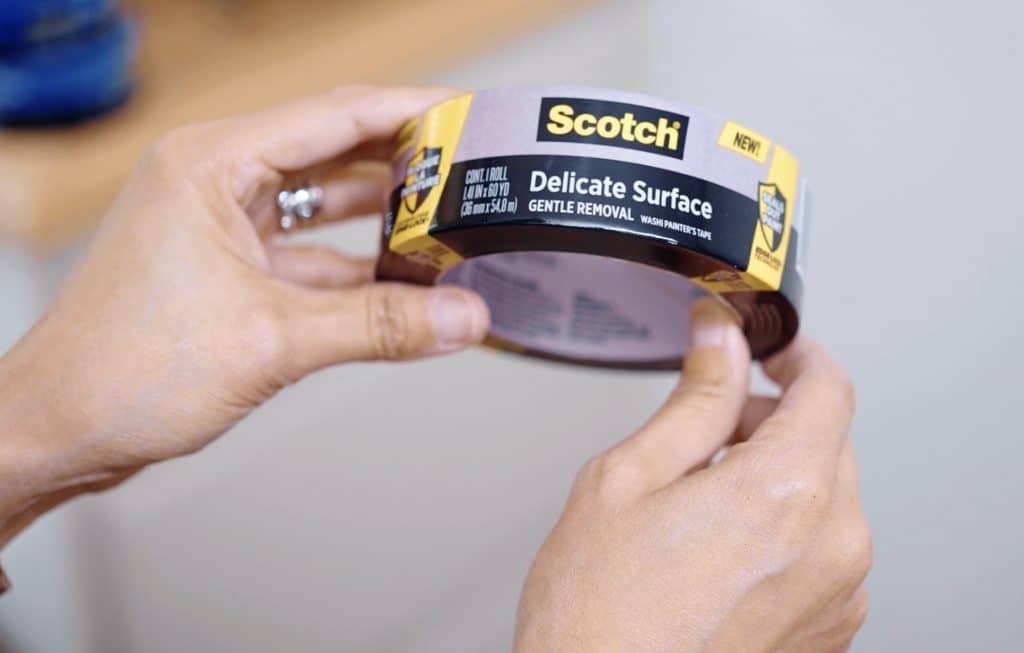
Scotch Painter’s Tape Delicate Surface has a gentler adhesive and is designed specifically for delicate surfaces, like freshly-painted drywall, wallpaper, wood floors, cabinetry, and veneers. It has the same Edge-Lock technology as the Sharp Lines tape, so it’ll still give me those beautiful, sharp paint lines.
Tip #3: Choose the Right Brush and Roller
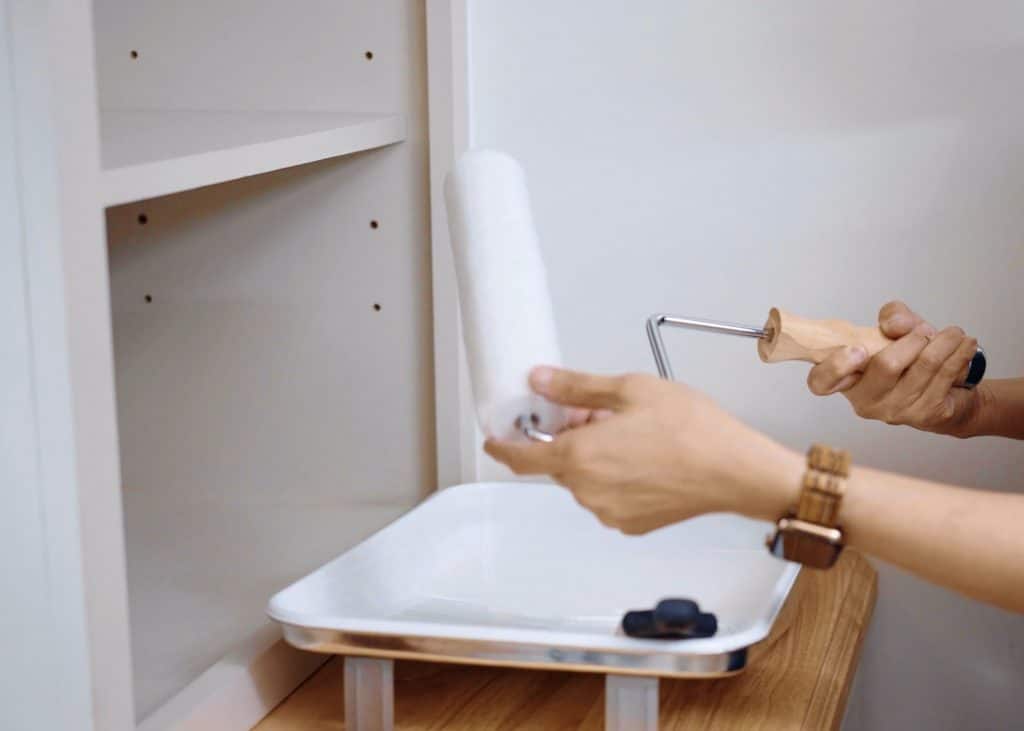
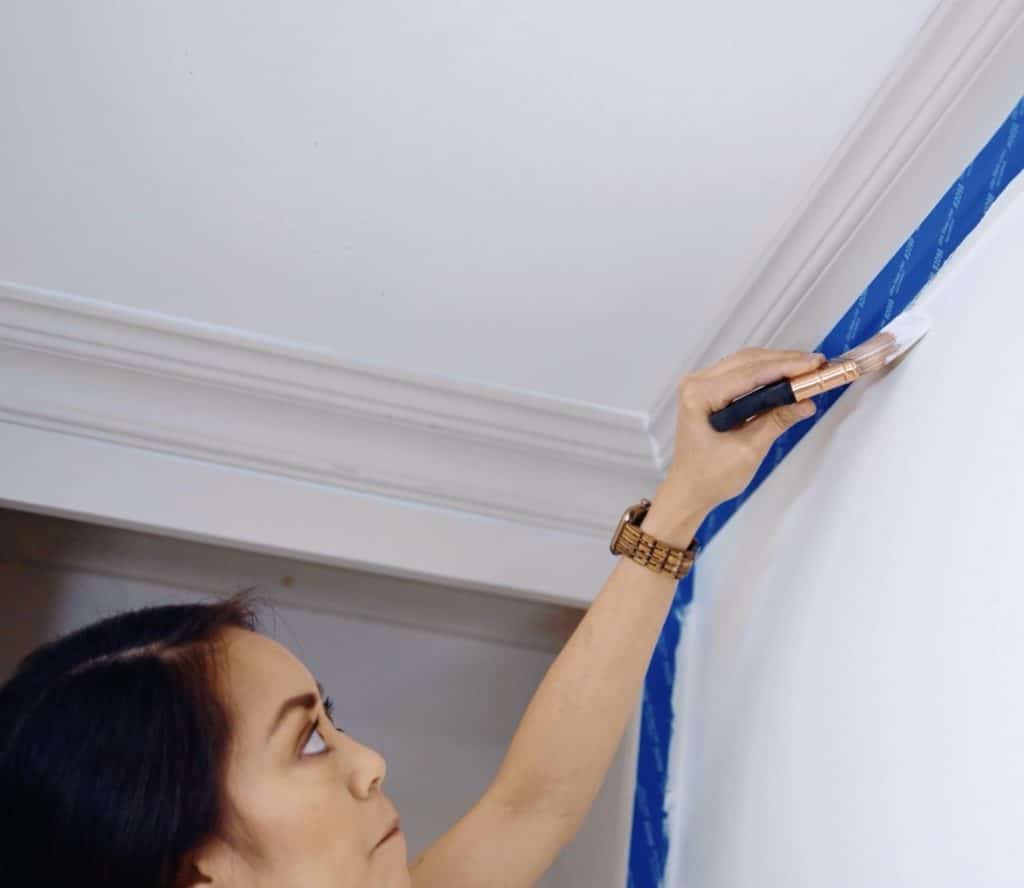
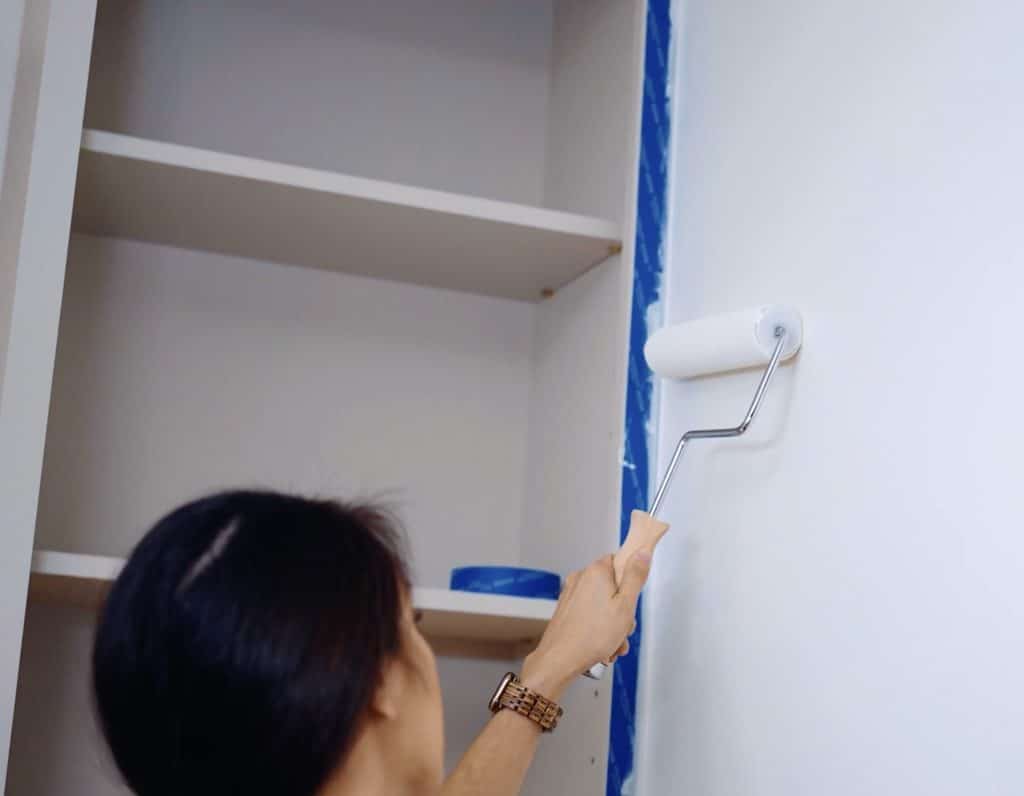
Use a high-quality brush to cut in – I like using a short-handled 2-inch brush because it gives me the most control. Choose the right nap on the roller depending on the surface you’re painting. If you have textured or smooth walls, you’ll want to choose the right nap on the roller (it’ll say right on the package). My walls are smooth, so I’m using a roller with a 3/8-inch nap, which is designed for smooth surfaces.
Tip #4: Work On One Wall At A Time
Cut in, then roll, then move onto the next wall because you want to keep that wet edge after you’ve cut in, to get the most seamless finish. Work from the top down so you catch any drips that might occur.
Tip #5: Apply A Base Layer First
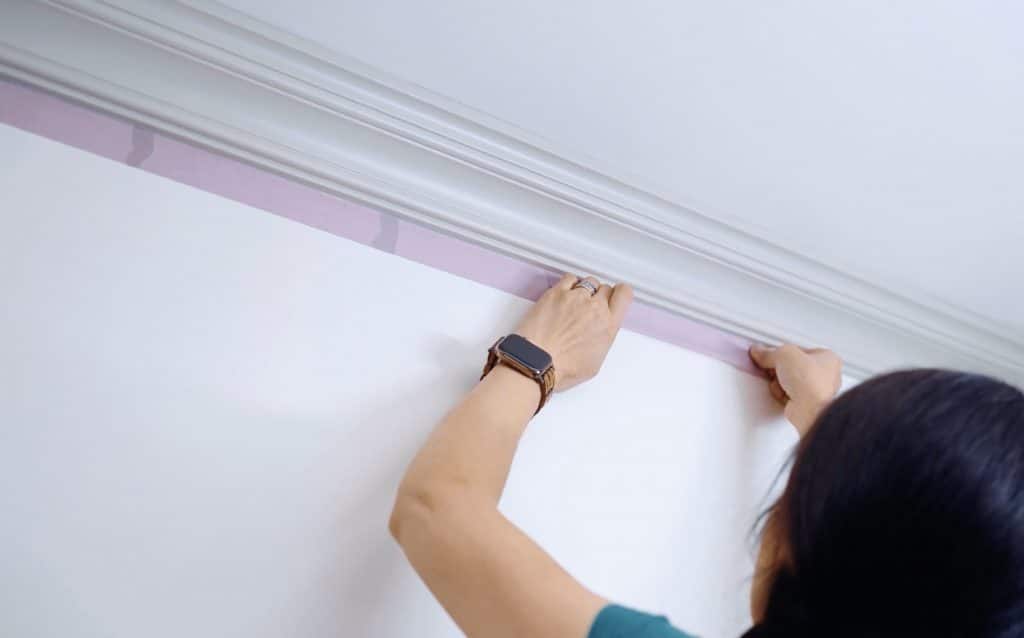
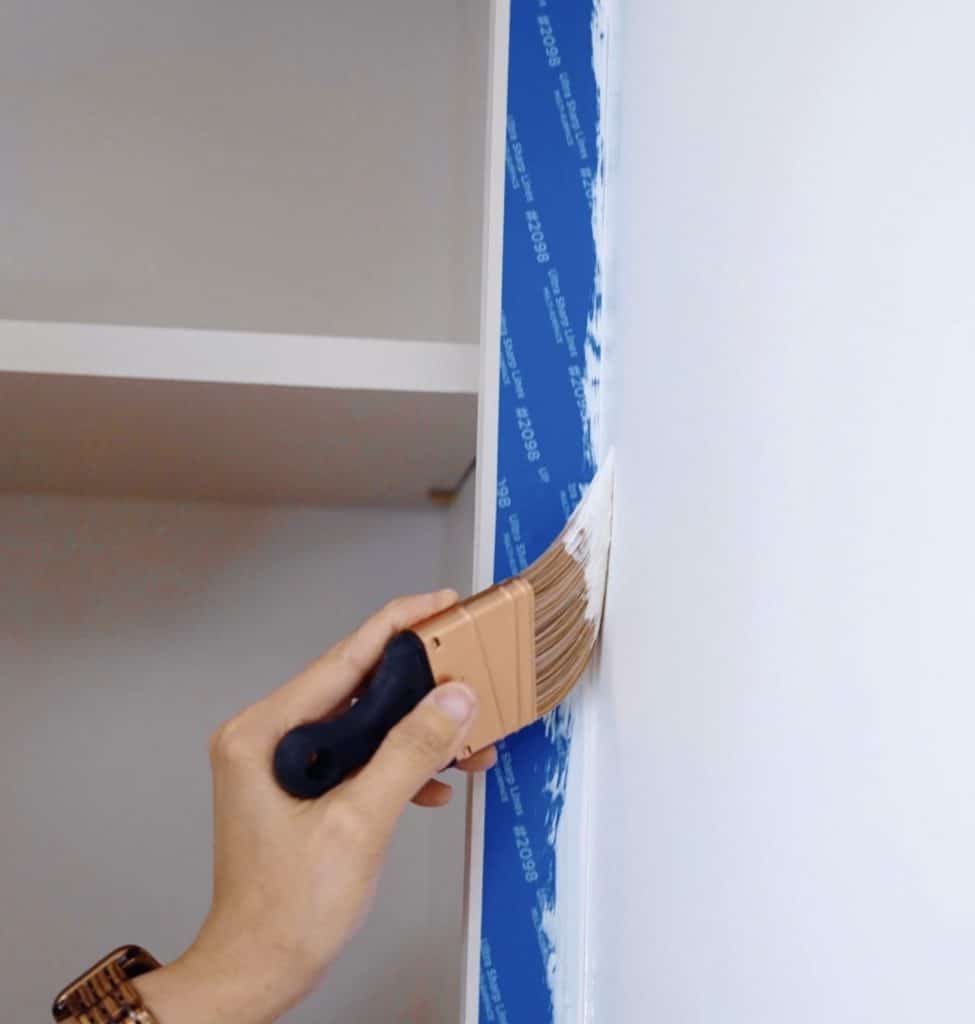
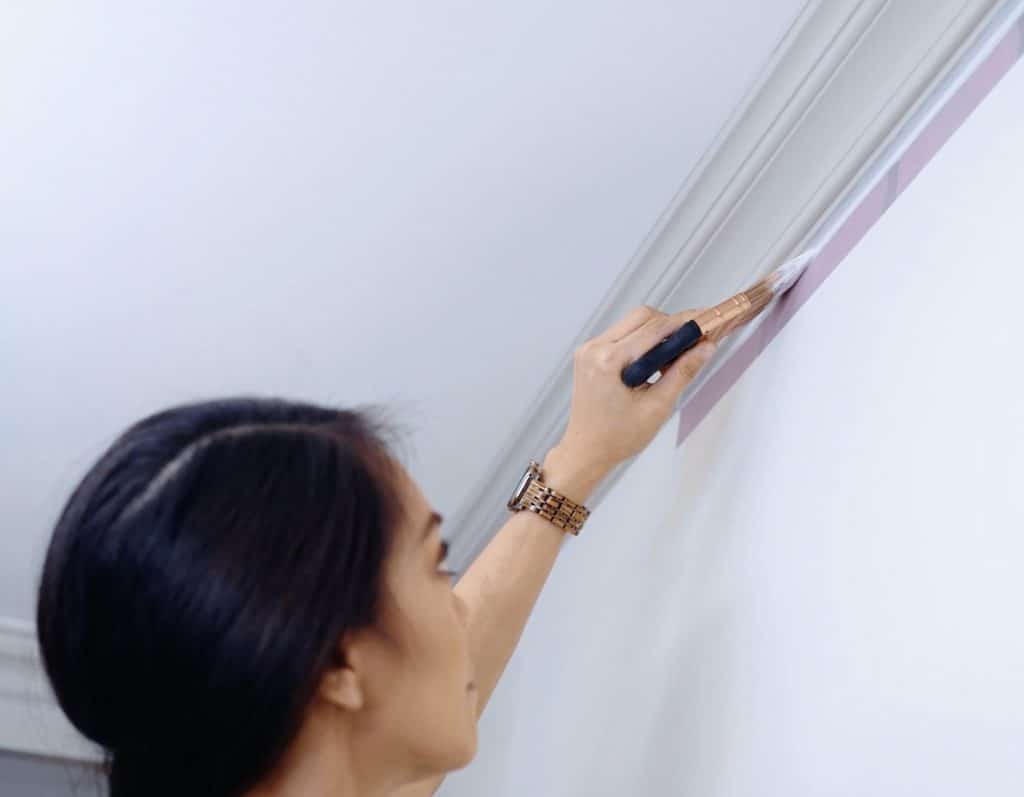
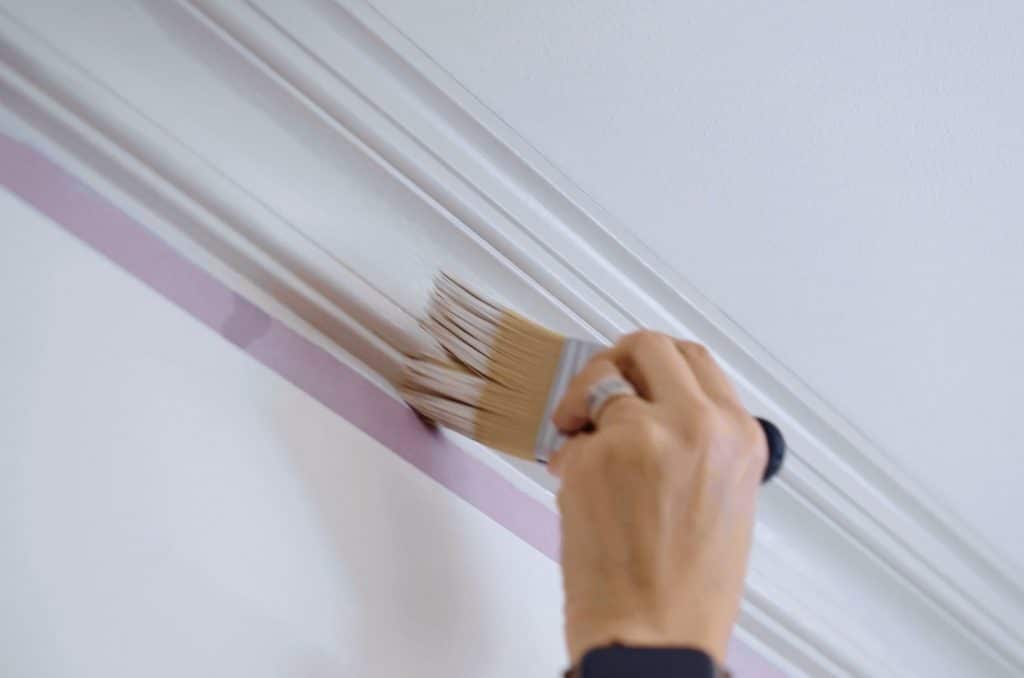
Before painting the crown molding in a contrast color, I’m brushing on a layer of the wall color first, just up to the edge of the tape. After the base layer dries, then I can paint the contrast color on the trim. This ensures I get the crispest, cleanest line.
Bonus Tip!
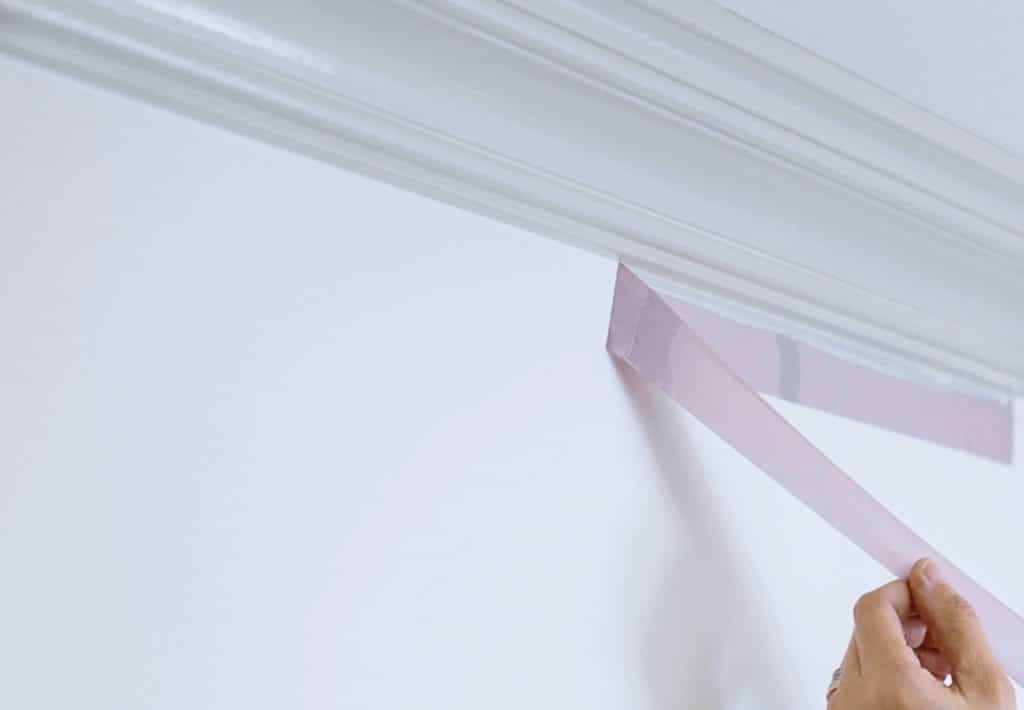
When removing the tape, pull it off at a 45º angle and watch those crisp paint lines appear!


Leave a Reply