Hello and happy Wednesday, y’all! If you’ve been following along with this series, welcome back! If you’re just joining us, let me introduce you to Linn, the woodworking master behind Darbin Orvar, a popular woodworking/DIY channel on YouTube. We’re excited that she’s hanging out with us today to share Part Four of her office built-in bookshelf and cabinets! Woohoo! If you’d like to get caught up, here’s Part One, Two, and Three. Here’s Linn:
Hi guys,
I’m happy to be here again, sharing the process of building my built-in cabinet. In this post, I’m going to go over the steps for building drawers. Knowing how to make drawers can be useful for so many difference projects, no matter whether you’re building a dresser, desk, or a built-in cabinet like I am!
When you think about it, a drawer is simply a box and there are lots of different ways to build a box. I’m going to use my box join jig for my table saw which I built a few weeks back (if you’re interested in building one too, here is a very detailed how-to video on the project). However, you don’t have to make box joints to make drawers – you can simply butt joint the pieces together, cut rabbets (which I do in the back), or get fancy with dovetails or something like that. The principle is the same: we need to connect four pieces of wood together to create a box.
I started with cutting up all of the plywood for the drawers – I’m using 3/4-inch plywood. Sizes will obviously vary depending on your project.
Next, I got working on cutting the box joints and even though I decided to simply box joint the front of the drawers together, there were still a lot of box joints to cut!
Then I finalized some of the sizes and cut a few of the drawers a little shorter so they will fit in the structure well. It’s a good idea to remain flexible on size when you build a built-in since you might need to make certain drawers a slightly different size to account for molding or other things in the way.
Now to connect the backs on, I decided to cut rabbets using the router and that basically means I cut a groove in the back on each side so the back piece can sit flush in the sides. And of course, there were quite a few of those to do as well – especially when you’re building nine drawers!
So when all the pieces were cut, it was time to think about how to connect the bottoms. I decided to cut a groove in all the pieces which the hardboard can slip into and I used the table saw to create the grooves.
To assemble the boxes, I simply glued in the box joints, and I made sure to get good glue contact everywhere. Then I slipped in the hardboard into the groove for the bottom, making sure everything was lining up right, and then I put on the backs which I drilled in from the sides.
Time for sanding! I sanded each and every box all around to get them nice and smooth. In terms of finish, I decided to clear coat the boxes instead of painting them. I’m going to be adding a face frame to the fronts, and those will be painted, but the drawers themselves will be protected with a clear finish.
I decided to use drawer sliders to slide the drawers in and out of the base. I used a jig to help me align the sliders to get everything straight. I used full extension drawer sliders and you can connect one piece of the drawer and the other part on the base.
I was so happy once I got all nine drawers in the base! My next post will be my last one, and in that post, I will finish the whole project up! I will put on the face frames on the drawers, install the units to the wall, paint, and finish and more.
If you’re interested in building a similar project, please make sure to check out the video below for a much more detailed look! Thanks guys!
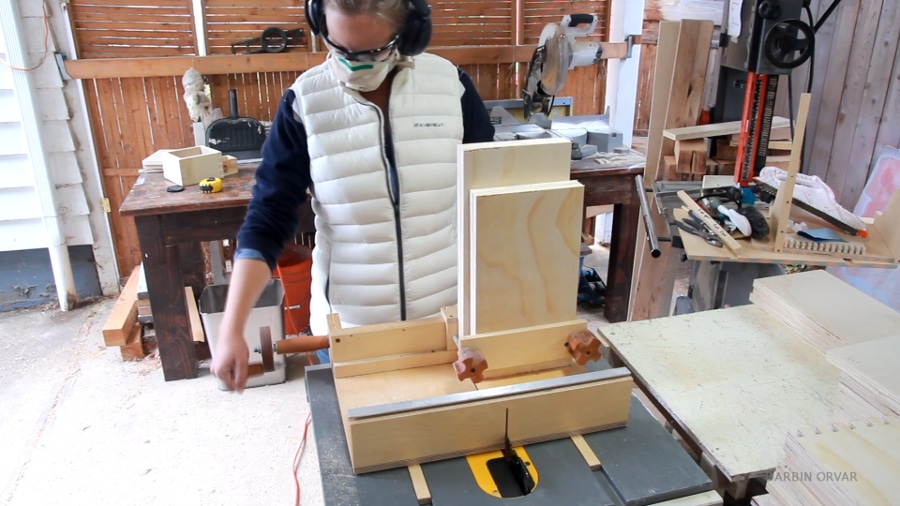 Next, I got working on cutting the box joints and even though I decided to simply box joint the front of the drawers together, there were still a lot of box joints to cut!
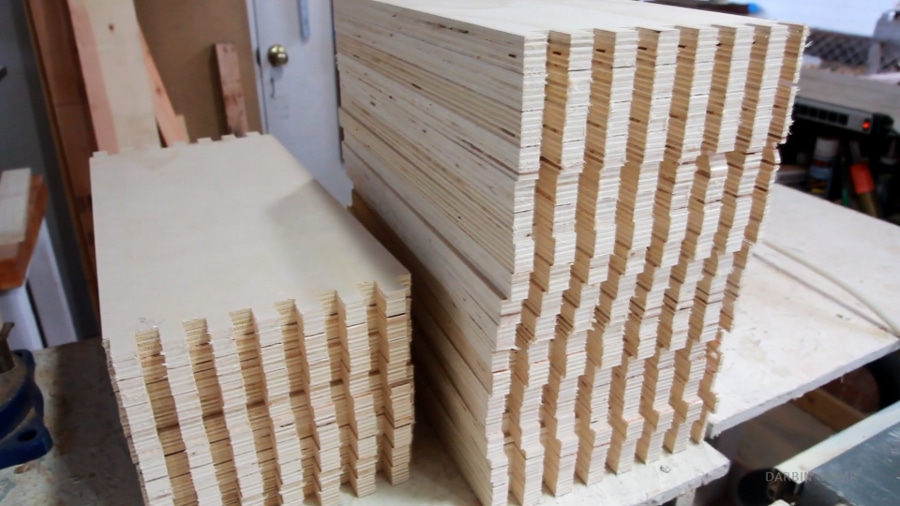 Now to connect the backs on, I decided to cut rabbets using the router and that basically means I cut a groove in the back on each side so the back piece can sit flush in the sides. And of course, there were quite a few of those to do as well – especially when you’re building nine drawers!
 To assemble the boxes, I simply glued in the box joints, and I made sure to get good glue contact everywhere. Then I slipped in the hardboard into the groove for the bottom, making sure everything was lining up right, and then I put on the backs which I drilled in from the sides.
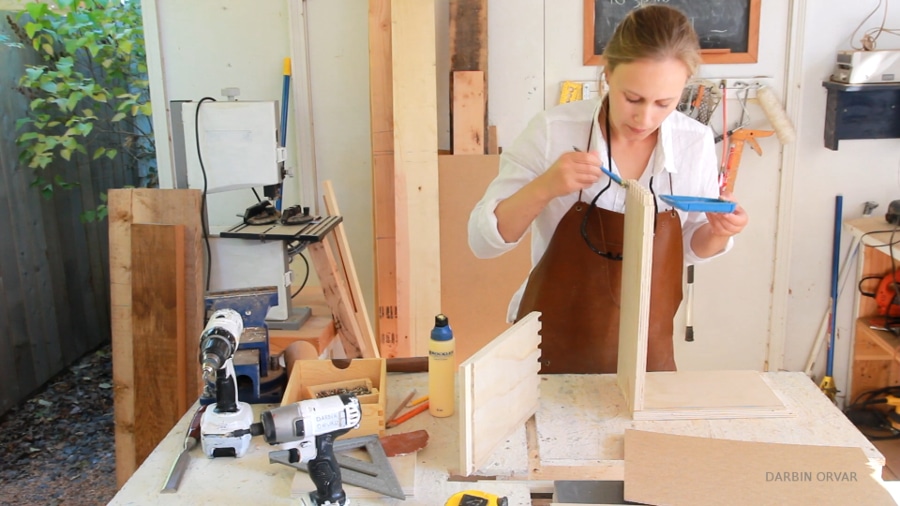 Time for sanding! I sanded each and every box all around to get them nice and smooth. In terms of finish, I decided to clear coat the boxes instead of painting them. I’m going to be adding a face frame to the fronts, and those will be painted, but the drawers themselves will be protected with a clear finish.
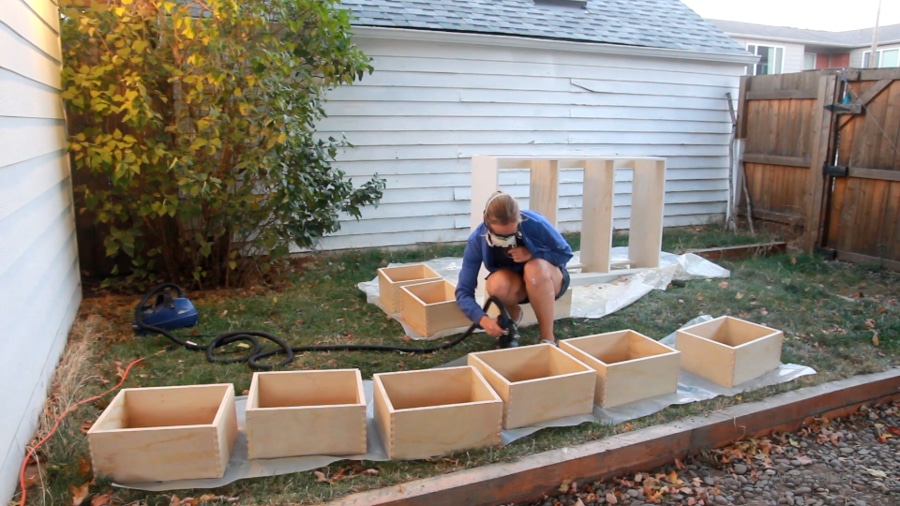 I decided to use drawer sliders to slide the drawers in and out of the base. I used a jig to help me align the sliders to get everything straight. I used full extension drawer sliders and you can connect one piece of the drawer and the other part on the base.
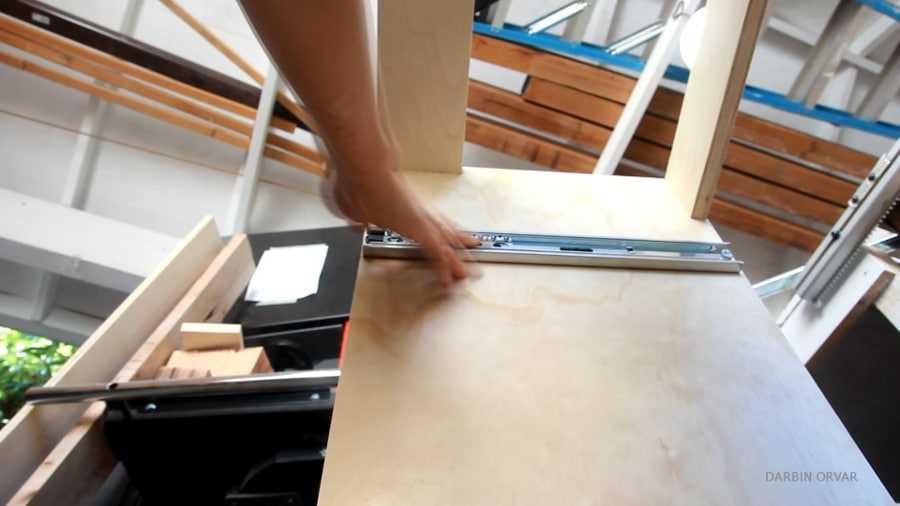 I was so happy once I got all nine drawers in the base! My next post will be my last one, and in that post, I will finish the whole project up! I will put on the face frames on the drawers, install the units to the wall, paint, and finish and more.
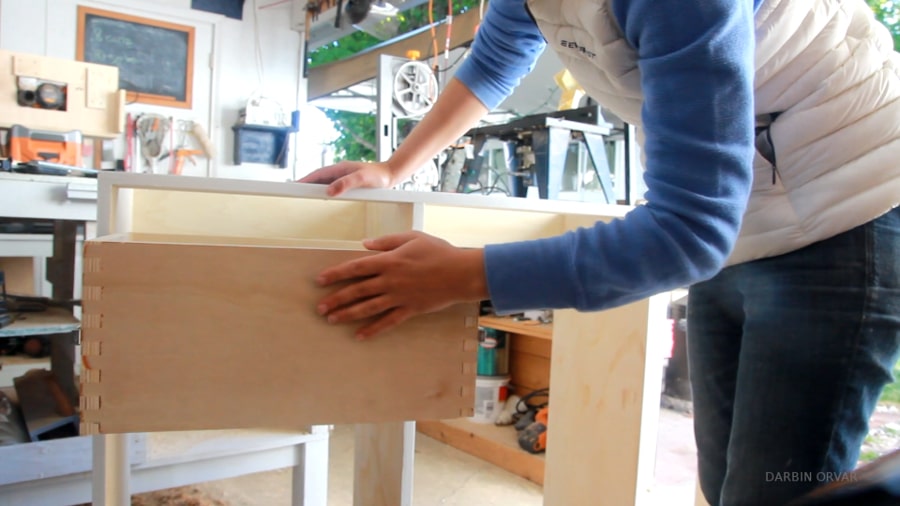 If you’re interested in building a similar project, please make sure to check out the video below for a much more detailed look! Thanks guys!


Leave a Reply