*Hi Friends, hello and happy Friday! Our friend Linn from Darbin Orvar is back to share Part Three of her Built-In Bookcase project with us! If you’re just joining us for this series, be sure to catch up on Part One and Part Two. Here’s Linn:
Hi guys,
Today I’m happy to bring you the next step in my built-in cabinet process – the countertop! I decided to make my countertop with some rough-sawn lumber I had on-hand, however you could certainly skip these steps and pick up some pre-milled lumber, which would save you a lot of work! However, nothing makes it yours quite like milling up boards from scratch.
I had some gorgeous rough-sawn maple and I figured it would make for a perfect countertop in the built-in cabinet/bookcase unit I’m building for my office. The wood was full of knots and twists and turns, which makes it very beautiful, but also extremely difficult to work with.
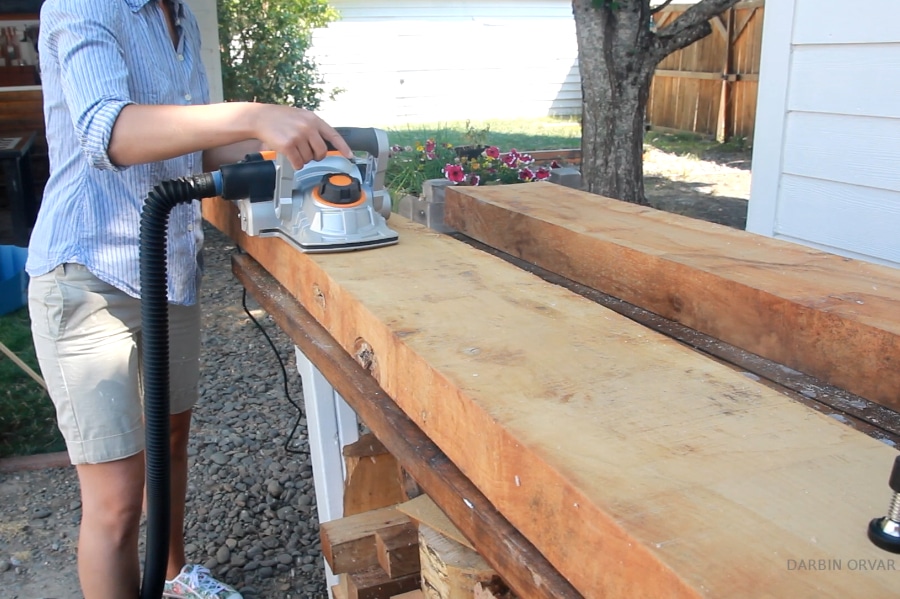
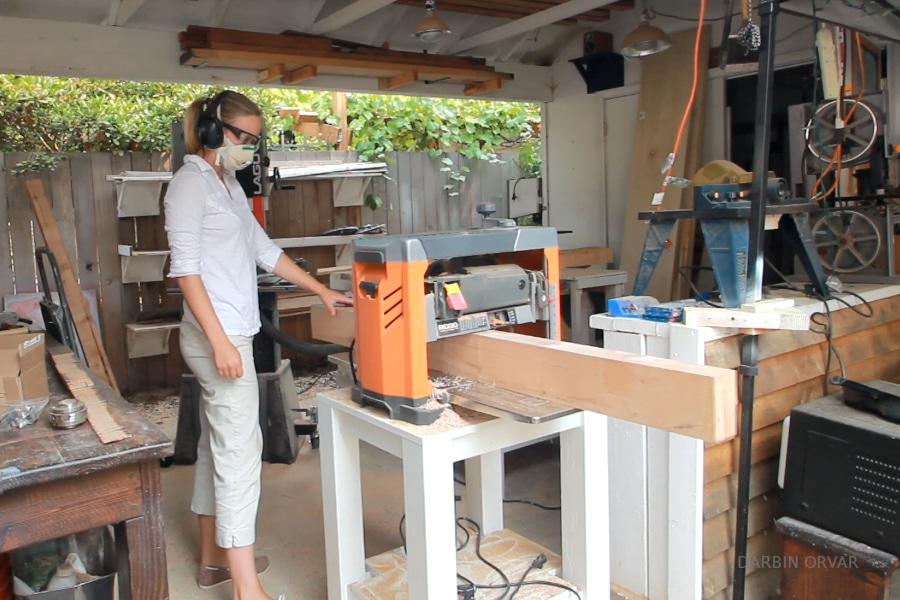
When working with rough-sawn lumber, the first step is to get one side straight. To do that, I start out with a power hand planer. The wood was quite large, measuring about 4 inches thick, 10 inches wide, and 6 feet tall! I ran the planer on both the top and bottom of the wood and once I had a relatively straight side, I cut the wood in half on the table saw to make it a little more manageable to handle – but it was still very big and heavy!
To straighten the wood further, I ran it through my stationary planer on all sides. To re-saw the wood, I decided to use the table saw again because it provided me with the most support, and these pieces were quite large and cumbersome to move around!
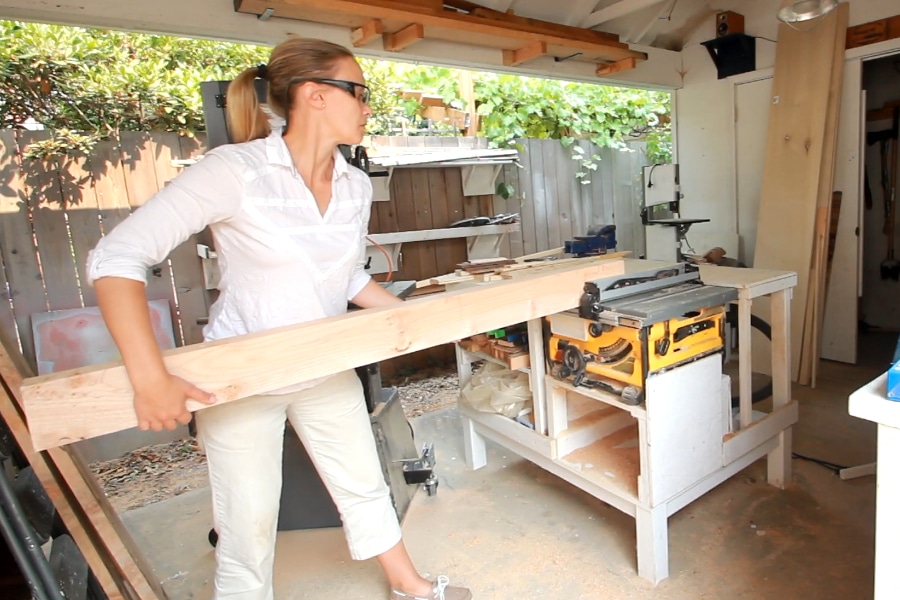
Once I had four pieces of wood re-sawed, it started to look like something. Now I needed to flatten them out further; I used my DIY jointer (basically, I created a holder for my power planer which I turned upside down). The jointer did a pretty good job of straightening out the wood and once all the pieces were relatively straight, I brought them into the shop.
For some finishing touches, I used my hand plane – now it was all about getting the wood to line up, like when you do a butcher block. The wood was absolutely beautiful at this point, with lots of variation in the grain, so I arranged them the way I wanted them and got ready to assemble.
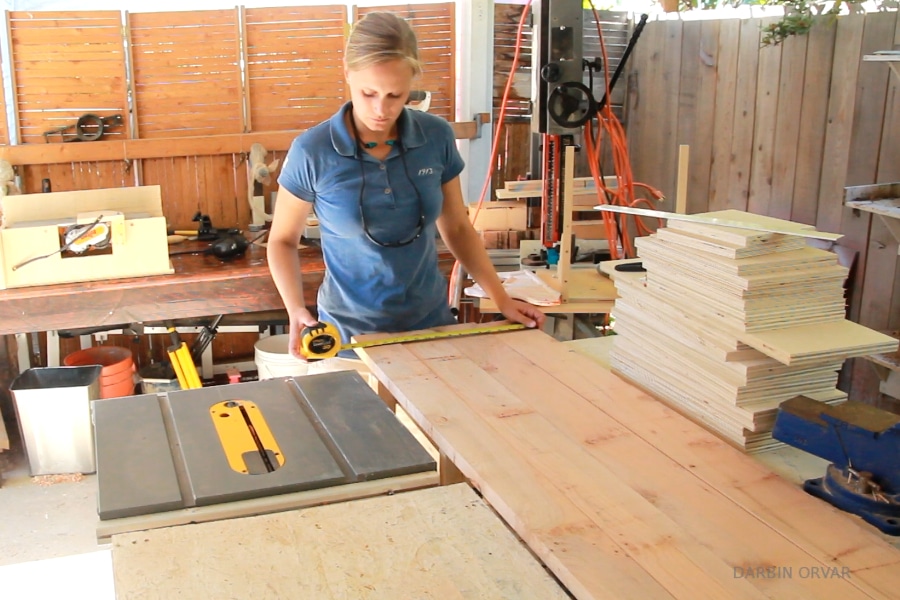
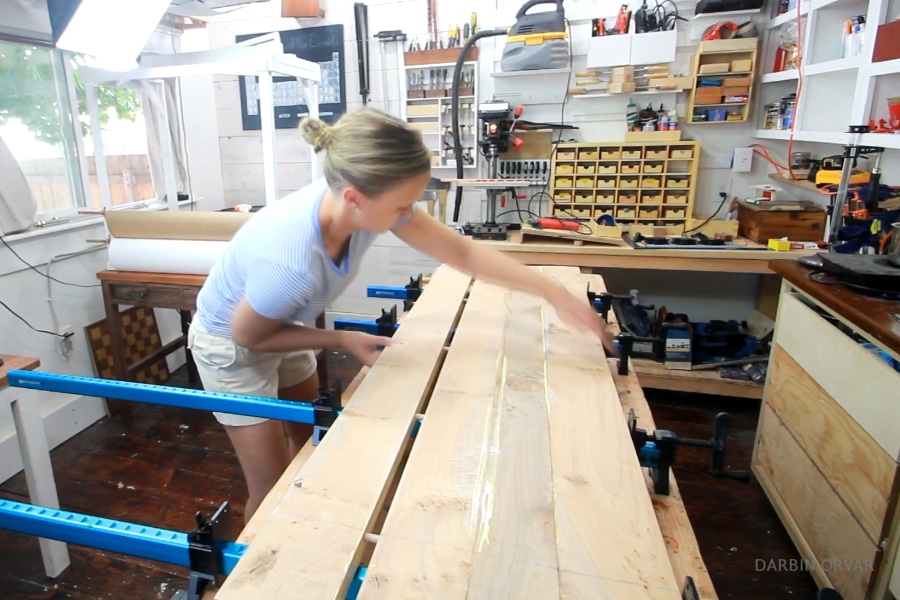
I used a doweling jig to line up the boards properly, then I glued, inserted the dowels, and clamped the whole counter together.
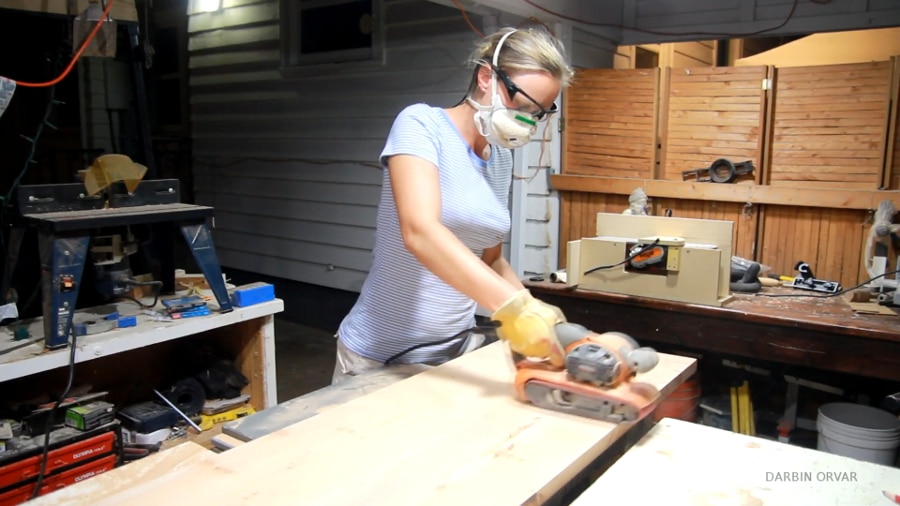
Once the glue was dry, I started the thorough process of sanding. First, I started out with the belt sander to remove a lot of material, then later moved onto the random orbital sander with a finer grit sandpaper. This counter required a lot of sanding! First, I had to sand all the pieces to the same level, then sand to remove any scratches.
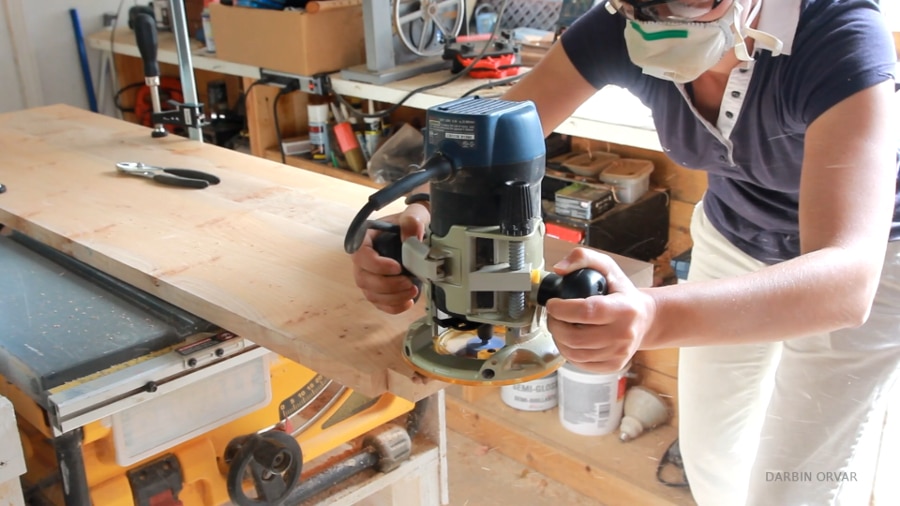
I also cut off the back corners of the counter with a jigsaw to make it fit in between the window trim in the office on each side. Now I wanted a smooth round feel on the edges, so I used a round-over bit on the router to create that nice profile.
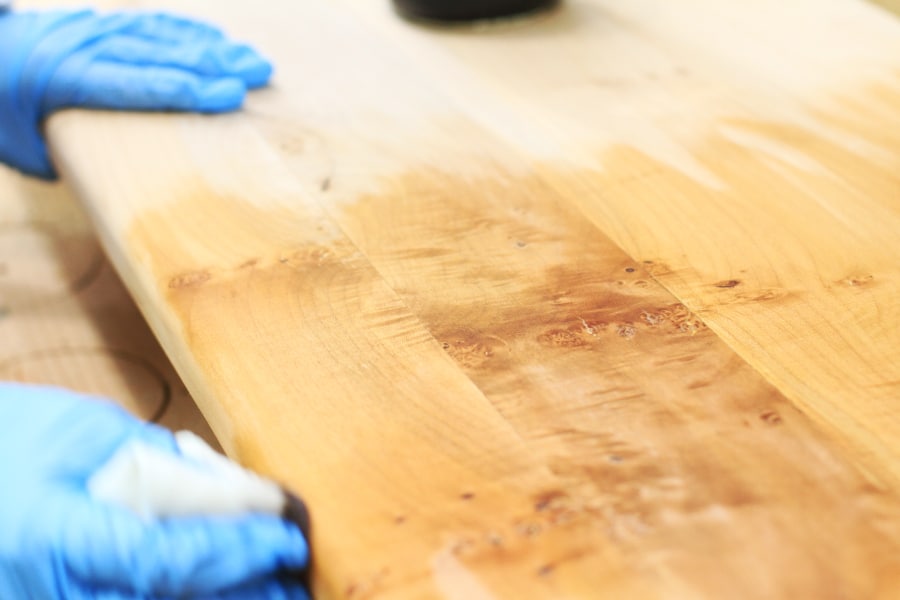
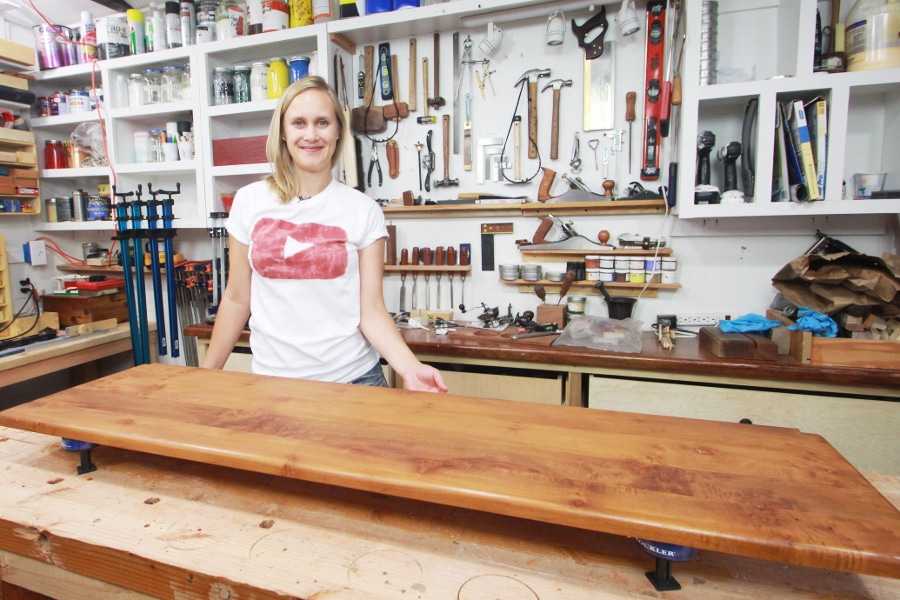
And after additional sanding, I was finally ready to do some finishing. Now, I had ordered both cherry dye and stain, and I had done some tests on similar board, which is always a good idea. After these tests, I actually decided to simply go with the dye because I think that looked really awesome on the maple. What’s great with both dye and stain is that you can play with the proportions and add more mineral spirits in the case of oil-based stain, or more water to your dye solution. I ended up using a slightly diluted version of the dye. I applied two coats.
Once the dye had dried, I put on a wash-coat of polyurethane on both the top and the bottom of the counter to seal everything in. Now, I’m planning on putting on several more coats of polyurethane to create a nice protective finish. I’m so very happy with the way the counter came out. The wood is just beautiful and I really love the color too; I can’t wait to see it all set up when the built-in unit is ready.
If you’re interested in making your own countertop, I recommend watching the video below, which goes over the steps in more detail. Next time, I’ll be going over constructing drawers for the cabinets!
Casey says
Looks amazing!
Linn @ Darbin Orvar says
Thank you Casey!