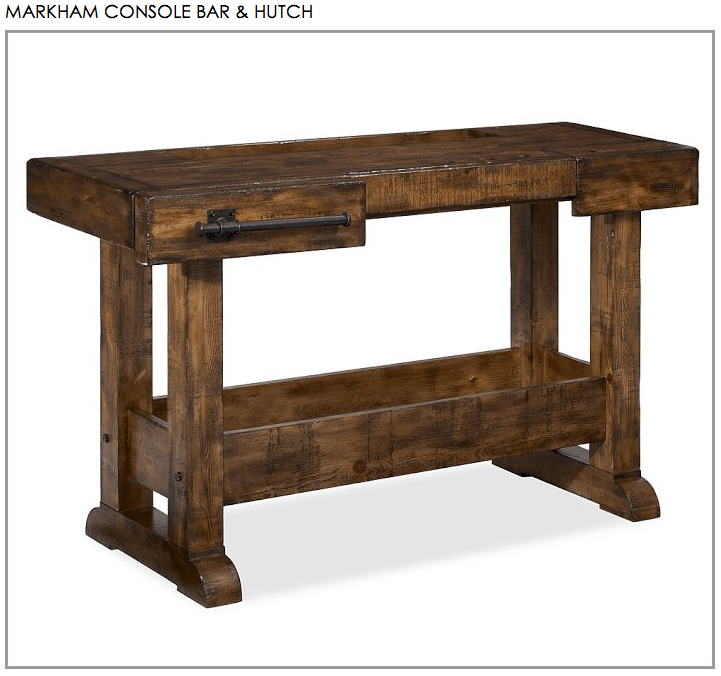
Adam and I are super excited that our good friends, Matt & Anya, just bought their first house together and we wanted to give them a sweet housewarming gift. I’m still (8 months!) pregnant and smack dab in my nesting phase, so naturally, my first thought went to building them something. Anya is a pastry chef and spends most of her time in the kitchen, so when I asked her what piece of furniture I could build for her new home, she chose this Pottery Barn console table for her breakfast nook. It’s no longer available, but I hear they used to sell it for a smidge under $2,000. Ouch!
Once again, Ana White to the rescue! Her step-by-step plans were so easy to follow and cost-effective too! I built Anya’s table for about $65! What!
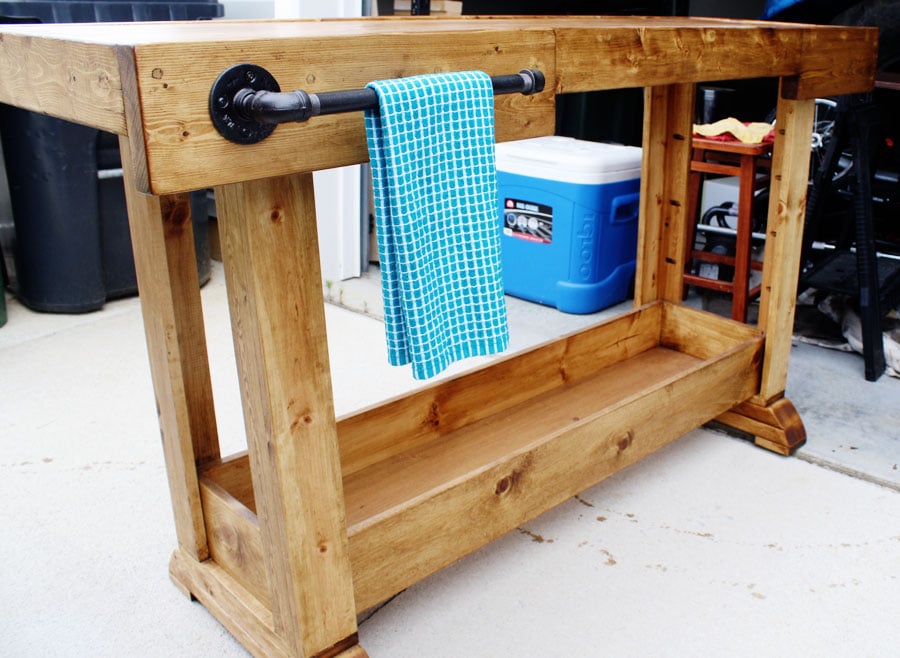
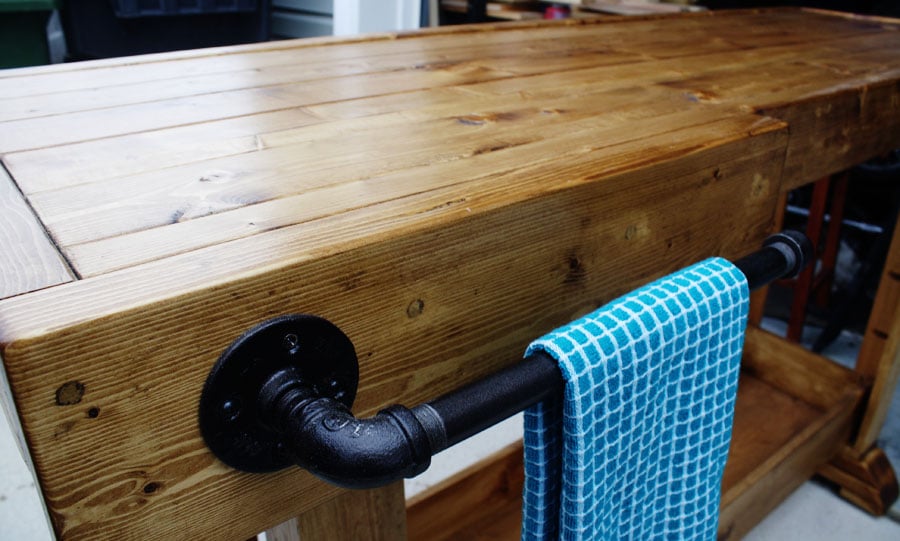
I love how rustic and hefty it looks. I especially love the curved detail of the feet and the industrial towel bar. And I’m psyched that I finally get to use the mitering feature on my compound miter saw! Is it just me, or does anyone else get this giddy over power tools?
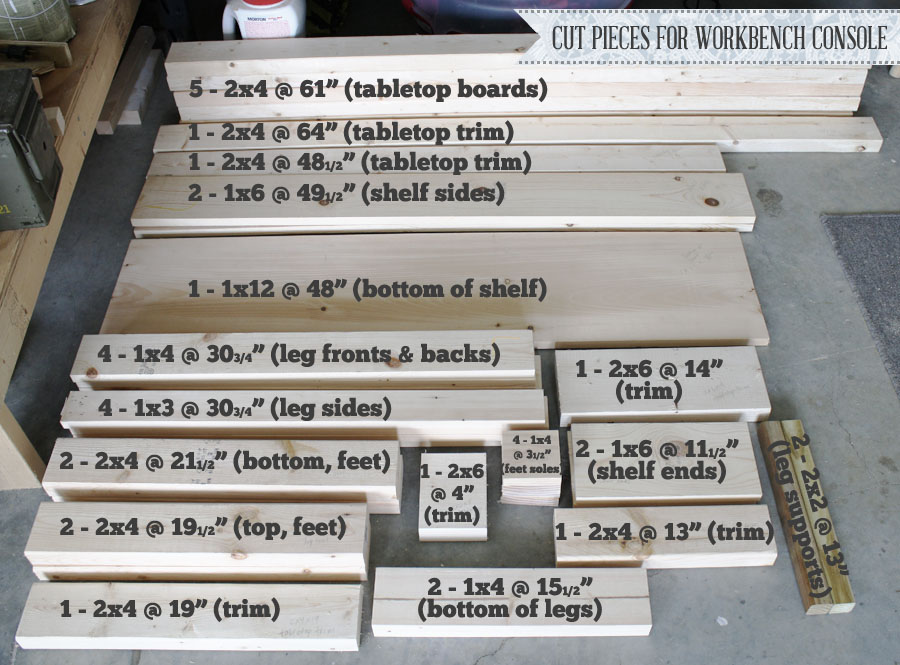
Here are my cut pieces (that’s a lot of pieces, y’all!):
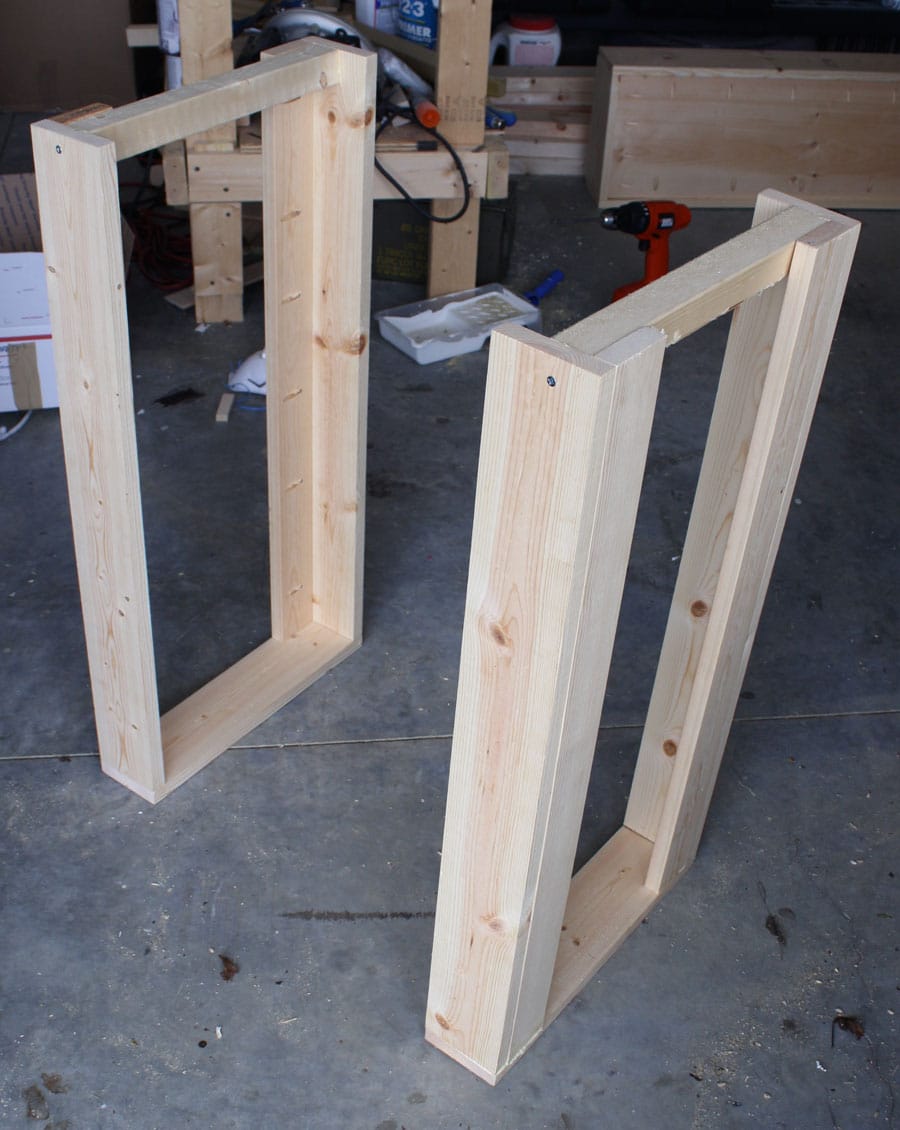
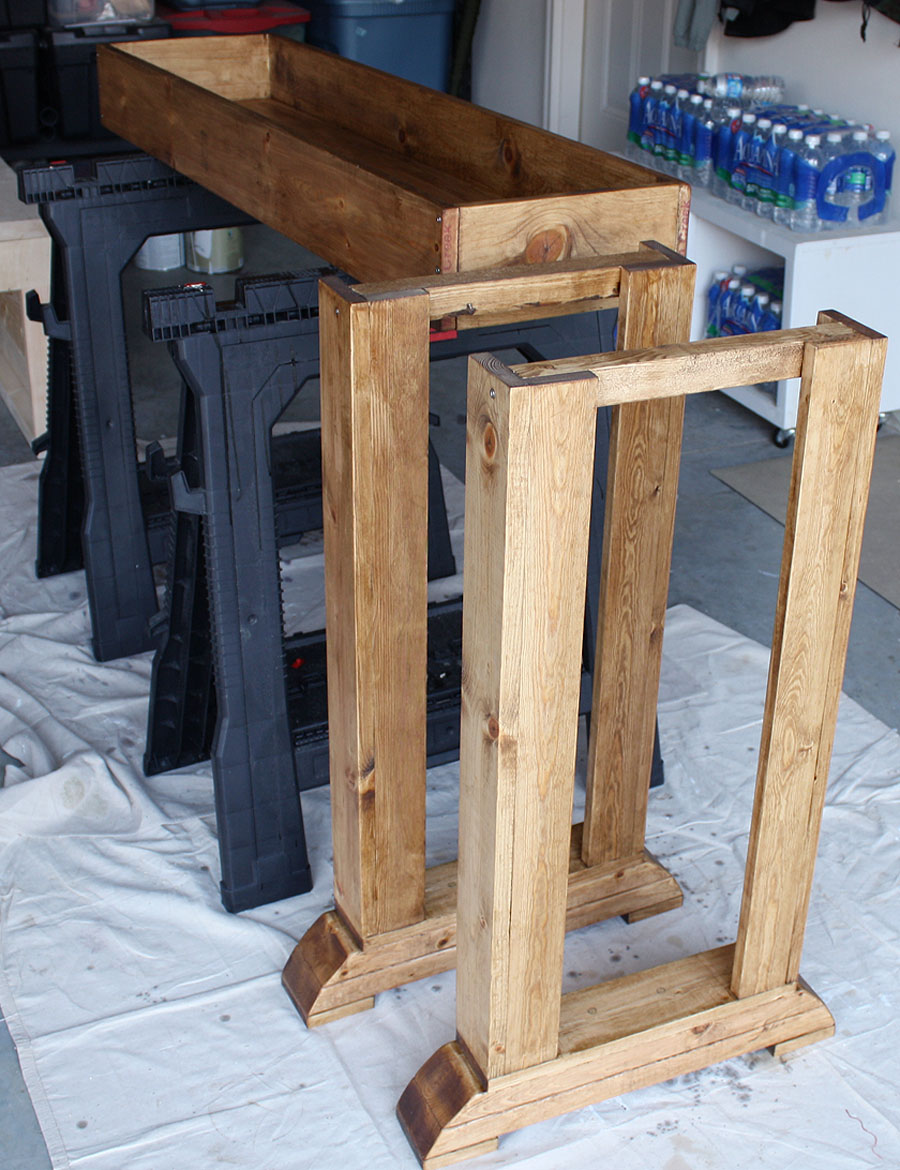
First, I built the legs:
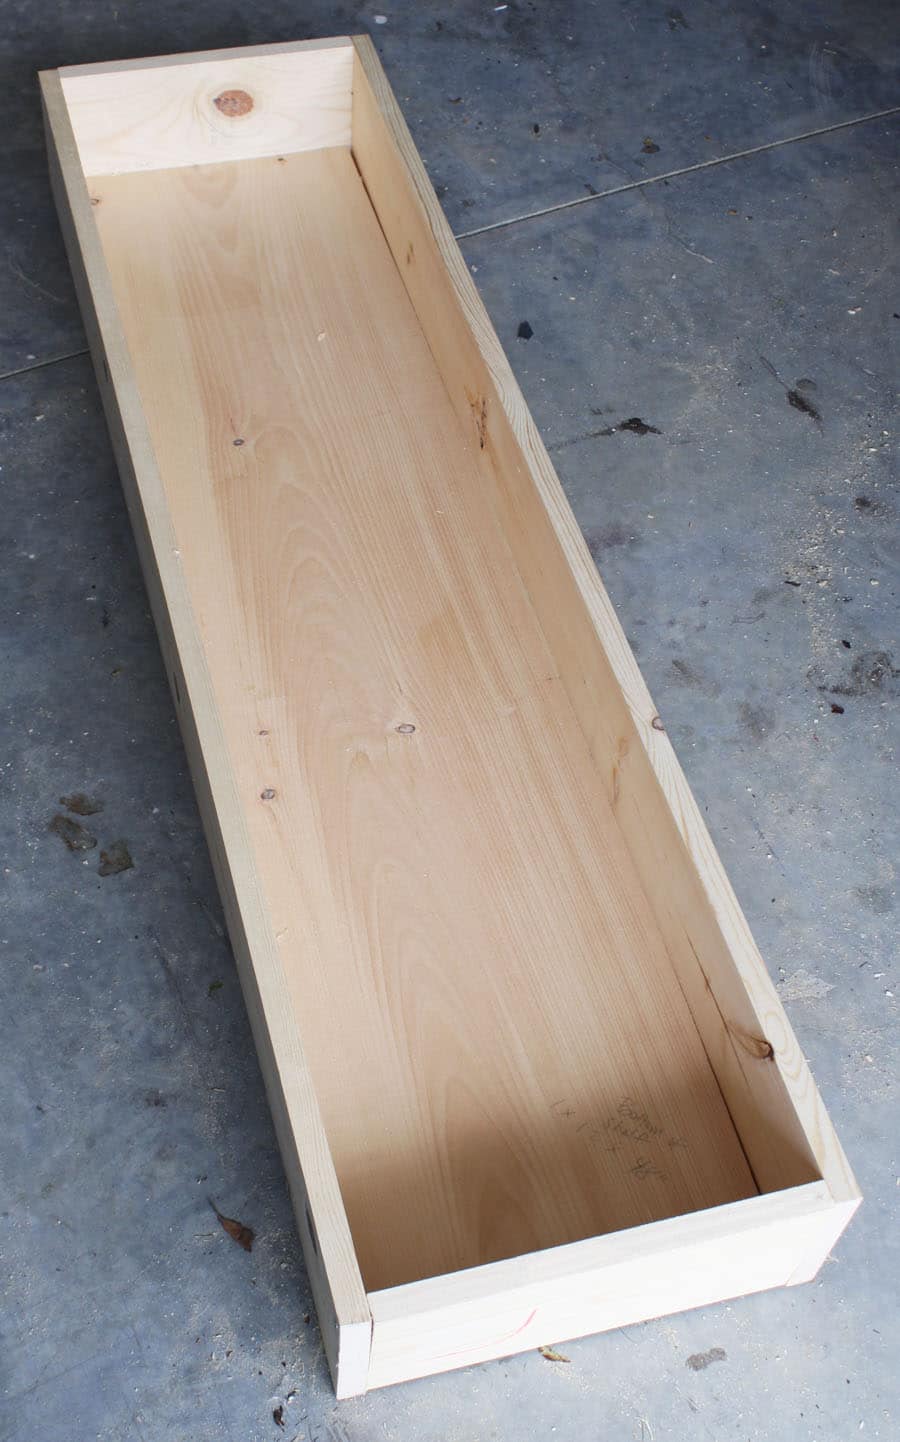
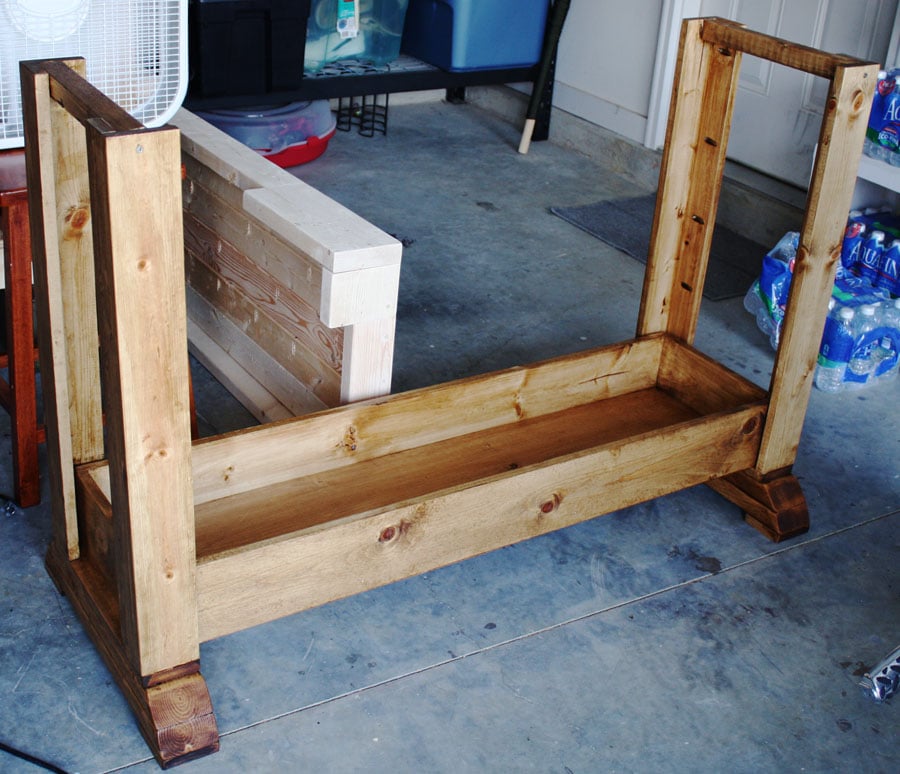
Then I built the bottom shelf:
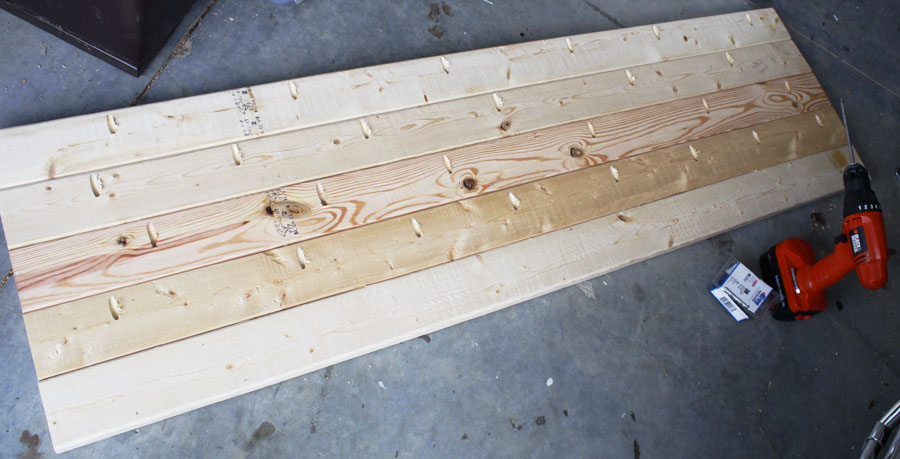
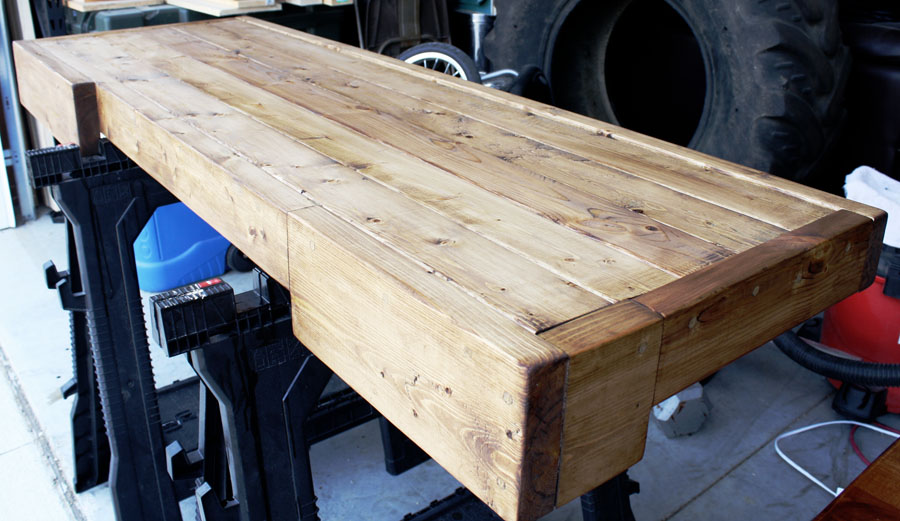
Then I joined five 2x4s together with pocket hole joints underneath for the table top:
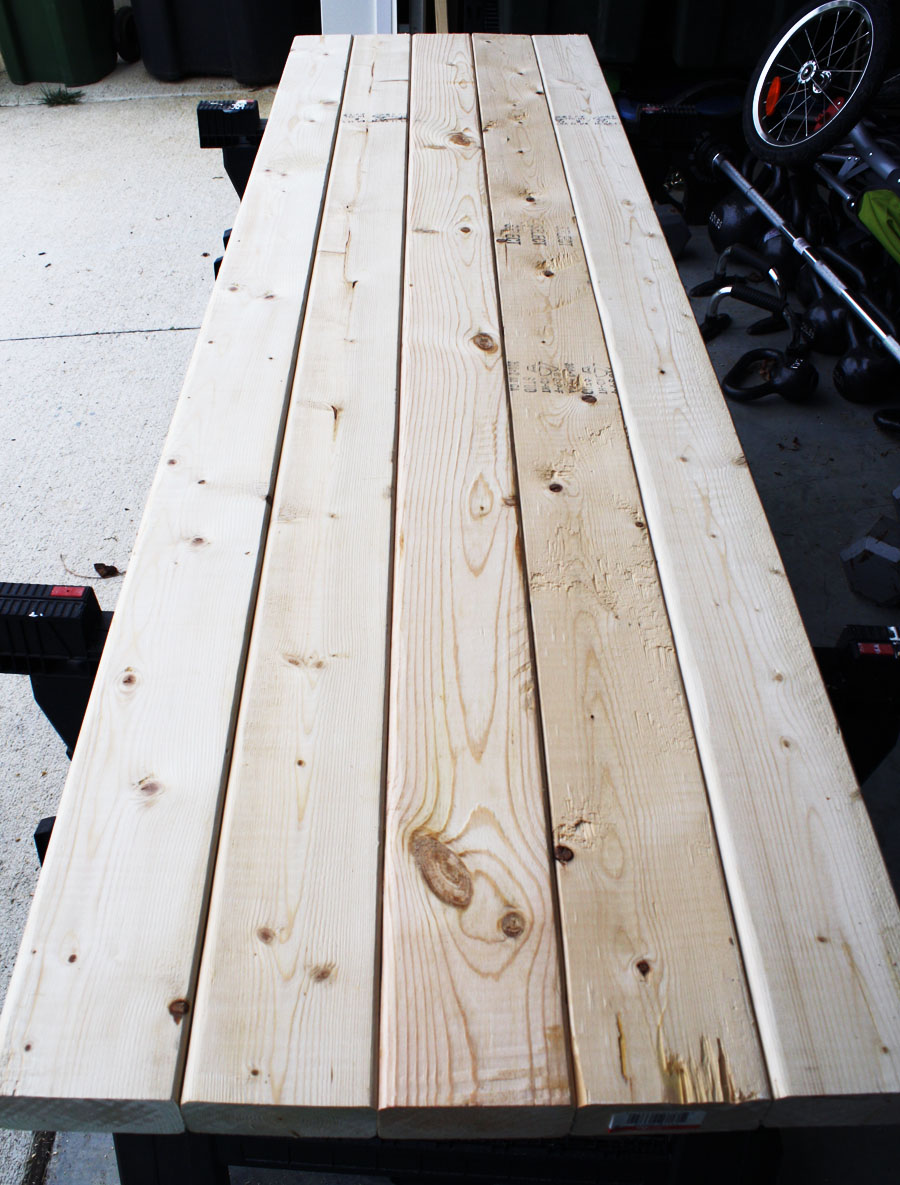
This is what it looks like on top:
I added all the trim pieces and started giving everything an initial sanding. Here I am working in the garage after the Eggroll is asleep and apparently, this is how the Hubs’ says, “It’s late. Wrap it up already.” God bless him for letting me to take over his ‘man room.’ He’s a keeper. (And yes, it’s Saturday night and I’m lame, but this is my idea of fun.)
This table is pretty heavy, so I thought it would be wiser to handle each piece separately, instead of building it completely and then trying to manage such a heavy weight. I don’t want to send myself into early labor; I still have 5 weeks left! I also thought it would be easier to stain each piece separately and then put it together, instead of trying to bend, twist, and crouch to get every nook and cranny stained, so that’s what I ended up doing. I’m so glad I did, too, because there’s no way I would’ve gotten all the corners and sides stained successfully. Anya chose this warm golden oak color. Ooh, ahh… purrrrty, isn’t it? And look at the curved feet on this piece: pretty cool, right? Solid!
Next, I assembled the bottom shelf by zipping in some screws through to the legs and feet:
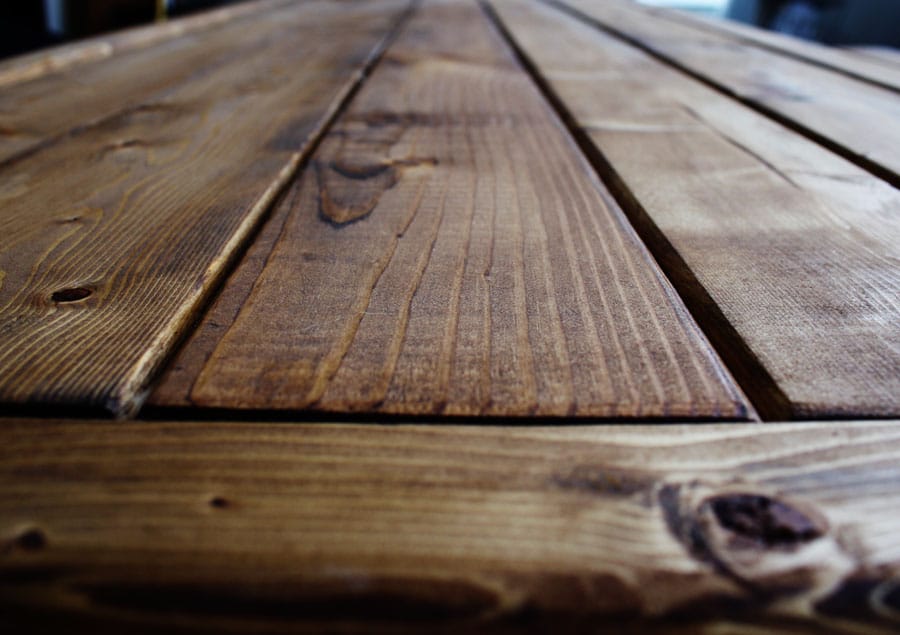
Then, after sanding and staining the table top,
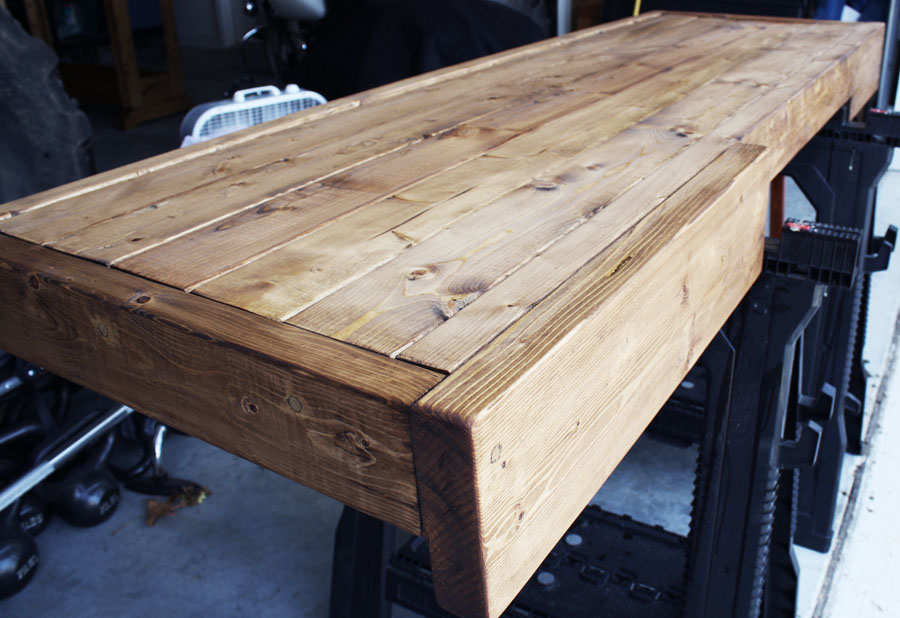
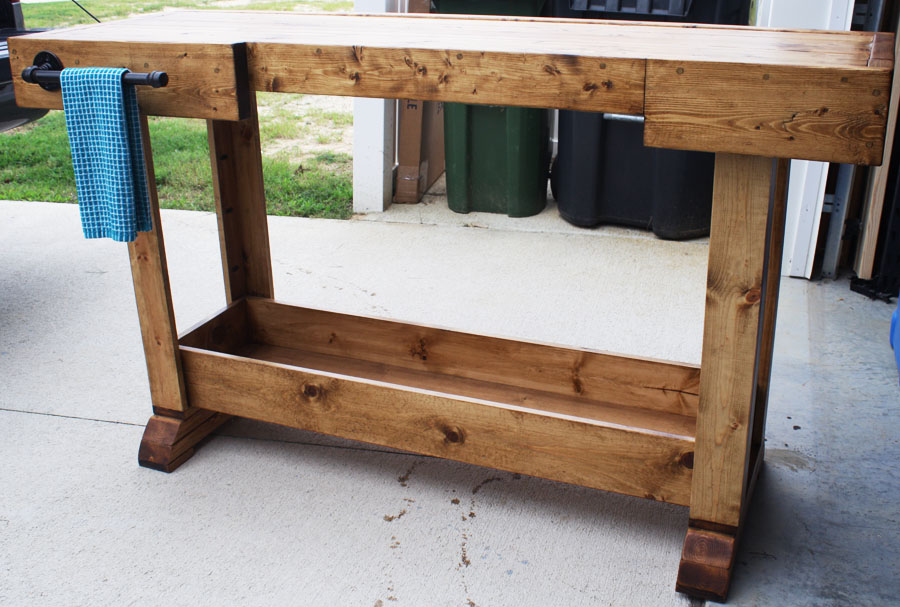
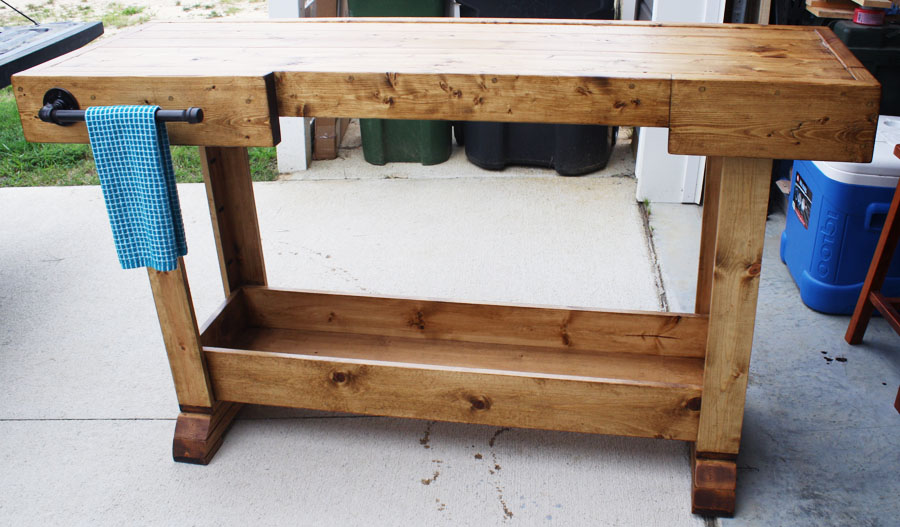
I attached it to the base of the table, put 3 coats of satin polyurethane on it, and finally, installed the towel bar (my favorite part – I love that it’s galvanized pipe pieces – btw, I spray painted them oil-rubbed bronze). And here she is… all dressed up and ready to be loaded into the truck, on her way to her new home!
I can’t wait to see this workbench console in their new breakfast nook! Oh, and Anya, no need to thank me… just keep those amazing pastries coming, pleaseandthankyou. I might share with Adam for so generously relinquishing his man room (maybe).
Congratulations, Matt & Anya! We love you!
Cost Breakdown:
- Lumber: $47.76
- Screws, nails, and wood glue: already owned
- Rustoleum Ultimate Wood Stain in Golden Oak: $7.17
- Rustoleum Ultimate Polyurethane (Satin): already owned
- Oil-rubbed bronze spray paint: already owned
- Towel bar: $9.97
Total cost: $64.90


So pretty! We were thinking of buying one of those…but now I think we will follow your lead and make one. Nice Job!
Definitely! It’s certainly the more satisfying option to be able to say, “I made that!” And more cost-effective too! Would love to see it when you’re done. Good luck!
Love, LOVE this!!! I would’ve been thrilled to get something like this for a gift, it’s so pretty!!
Beautiful as always, Jen!
I might have called you the Bomb Diggity on Facebook.
Ha! I saw that! I was wondering if you’d had one too many margaritas.
I absolutely love this. I’m a little confused though could you please give me the total measurements. I would love to have a island like this but I’m very limited on space. I would love it if you could send me some more information.
Thanks
Pam
Hi Pam,
Check out the plans for exact measurements: http://ana-white.com/2010/09/workbench-console.html
Good luck!
Quite a project! And I love seeing exactly what you used as far as sizes of wood. There’s nothing lame about doing something productive like creating a lasting, practical and beautiful gift out of love and from your own hands (on any night). Looks like you are demonstrating the kind of cool things Saturday nights are really for! I’m jealous of your compound mitre saw. Good work. It’s beautiful!
Liz
I like yours better! Fantastic job. I’d love one of these myself.
Lisa
Hi. Where did you find the towel bar?
Beautiful work!!!
Thanks! I made it out of galvanized pipe pieces! You can find them on the cheap in the plumbing section of Lowes or HD.
I just like the helpful info you provide on your articles.
I’ll bookmark your blog and take a look at again here frequently.
I am somewhat certain I will be told plenty of new stuff proper here!
Best of luck for the following!
LOVE this piece, Jen!
I just stumbled across your website and LOVE what you’ve got going on here! I’ve had a Kreg Jig (K4) burning a hole in my workshop for way longer than I would care to admit, but you girls (Ana White, the Shanty 2 Chic girls, you, etc.) are inspiring me to break it out of the box! In fact, I’ve already got the lumber, hardware and stain for my first few projects. Keep up the great (wood)work!
BTW – I have a very good friend who’s also and amazing musician that moved down to Nashville with his family a little over a year ago. His name is Johnny Juarez. Just wondering if you guys have crossed paths, and if not, be on the lookout… Johnny is an awesome guy to know!
Hope you’re having an incredible day! ヅ
— Scott
Hi Scott! Thanks for reaching out! So glad you’re inspired to get started! Happy building!
Thanks so much Larry! I d love for you to email me pictures of your finished table. I m always excited to see what my readers come up with! Hi, great post. I built this for my wife this weekend, turned out great. Not sure how to upload a picture, but she is very happy with it. Thanks for the idea!