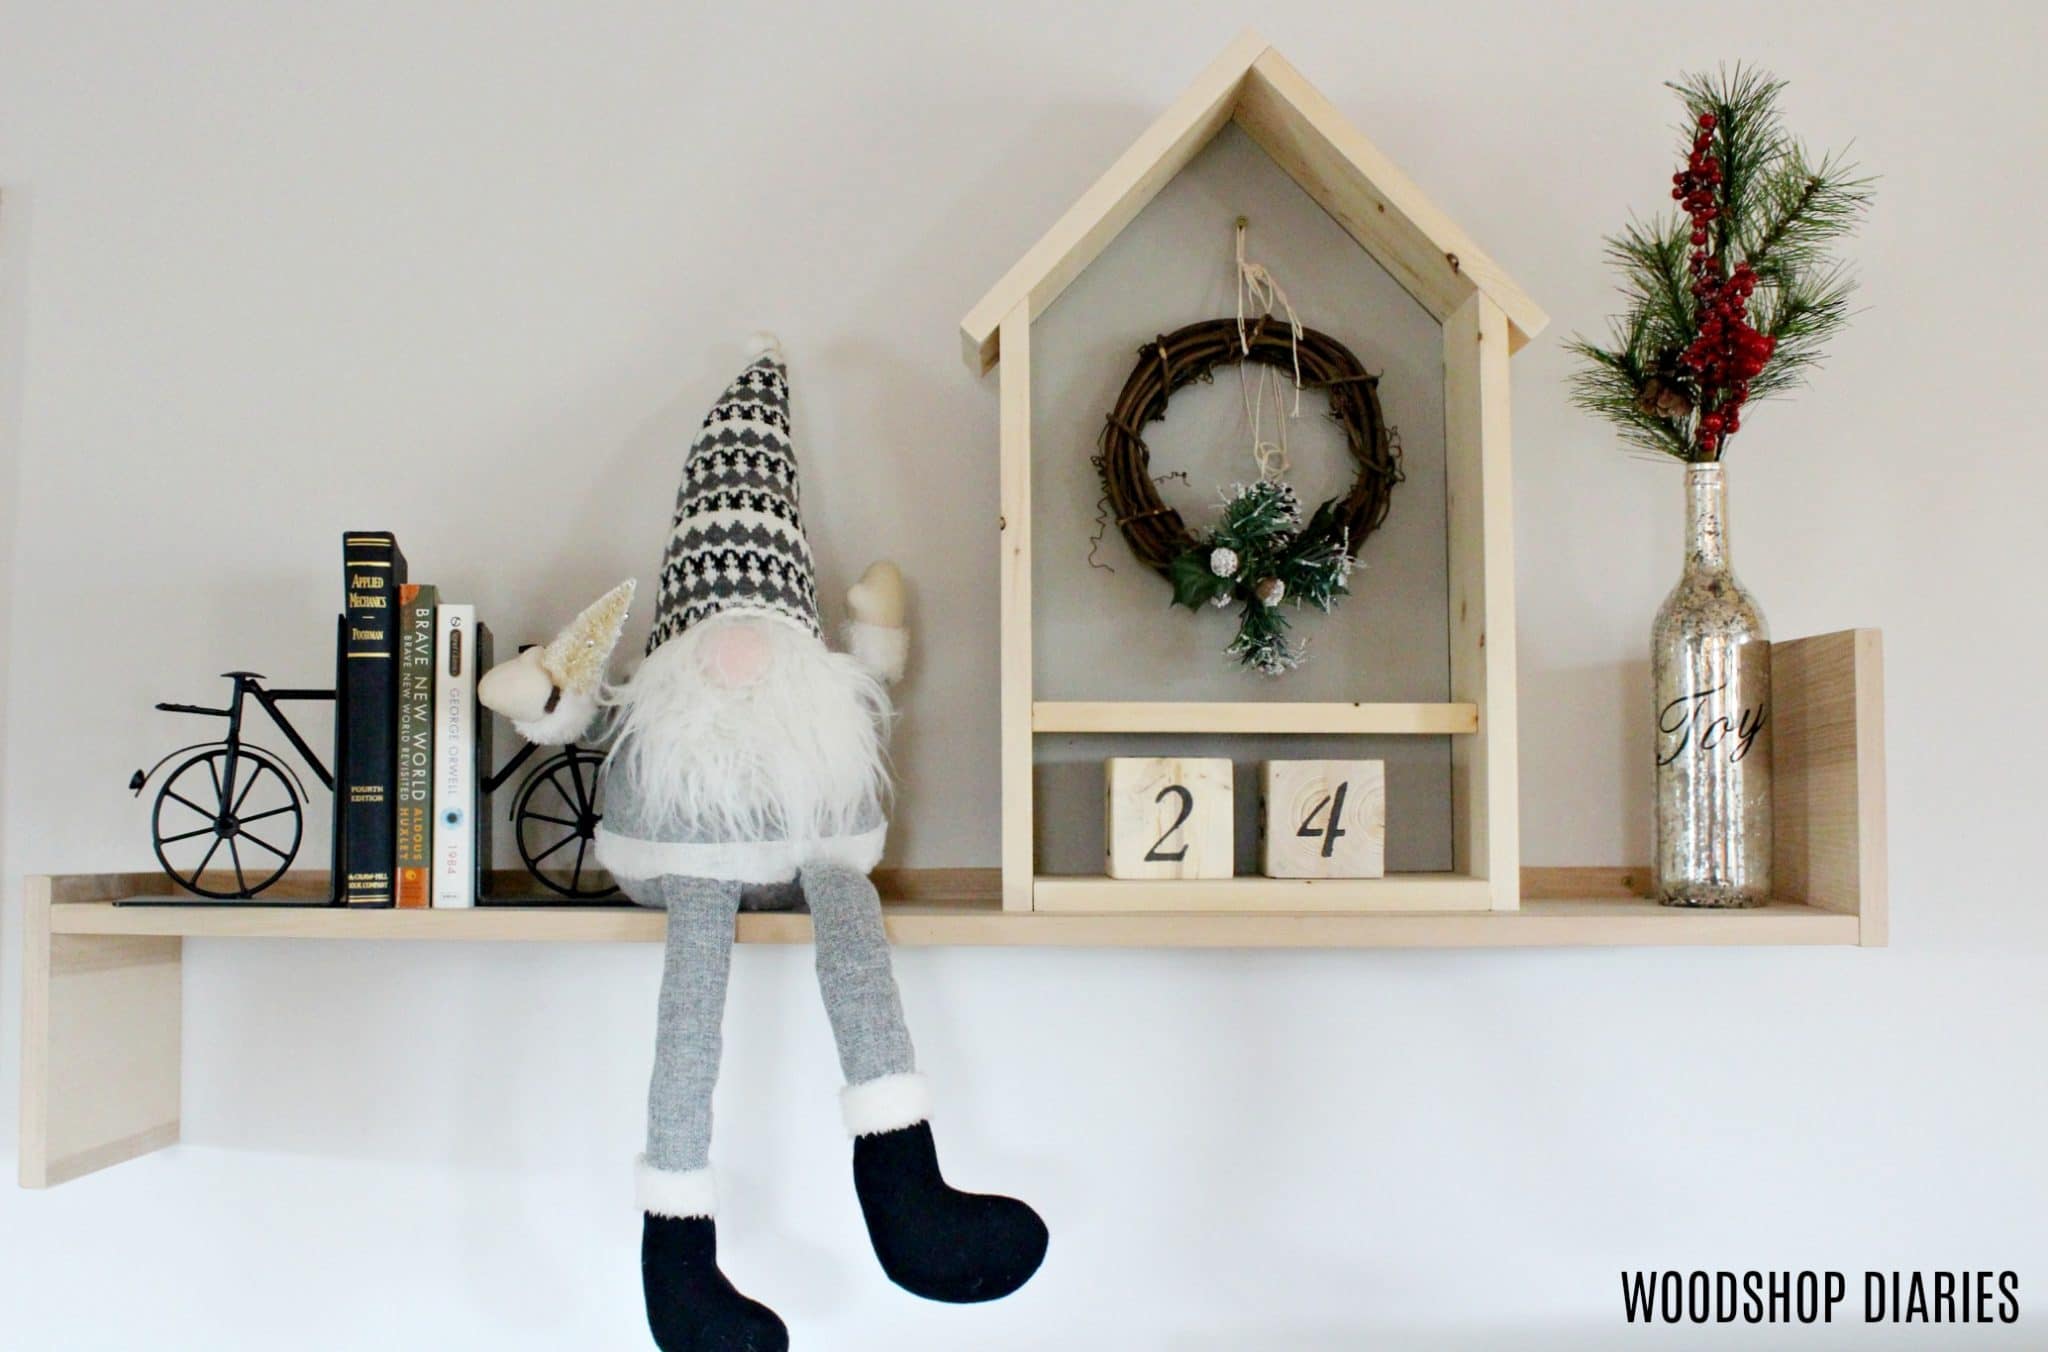
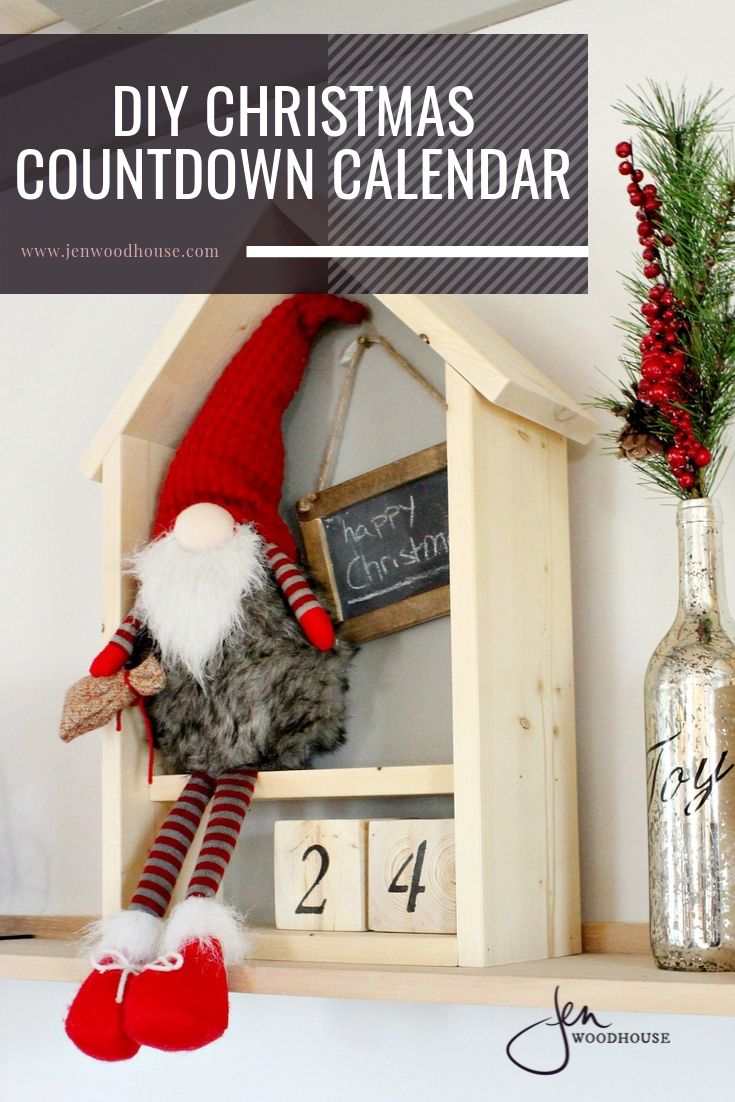
Hey again! It’s Shara from Woodshop Diaries and I’m so excited to be sharing a fun new DIY Christmas project with you today! I’ve always LOVED Christmas countdowns and advent calendars, so I made this super cute, simple DIY Christmas Countdown Calendar.
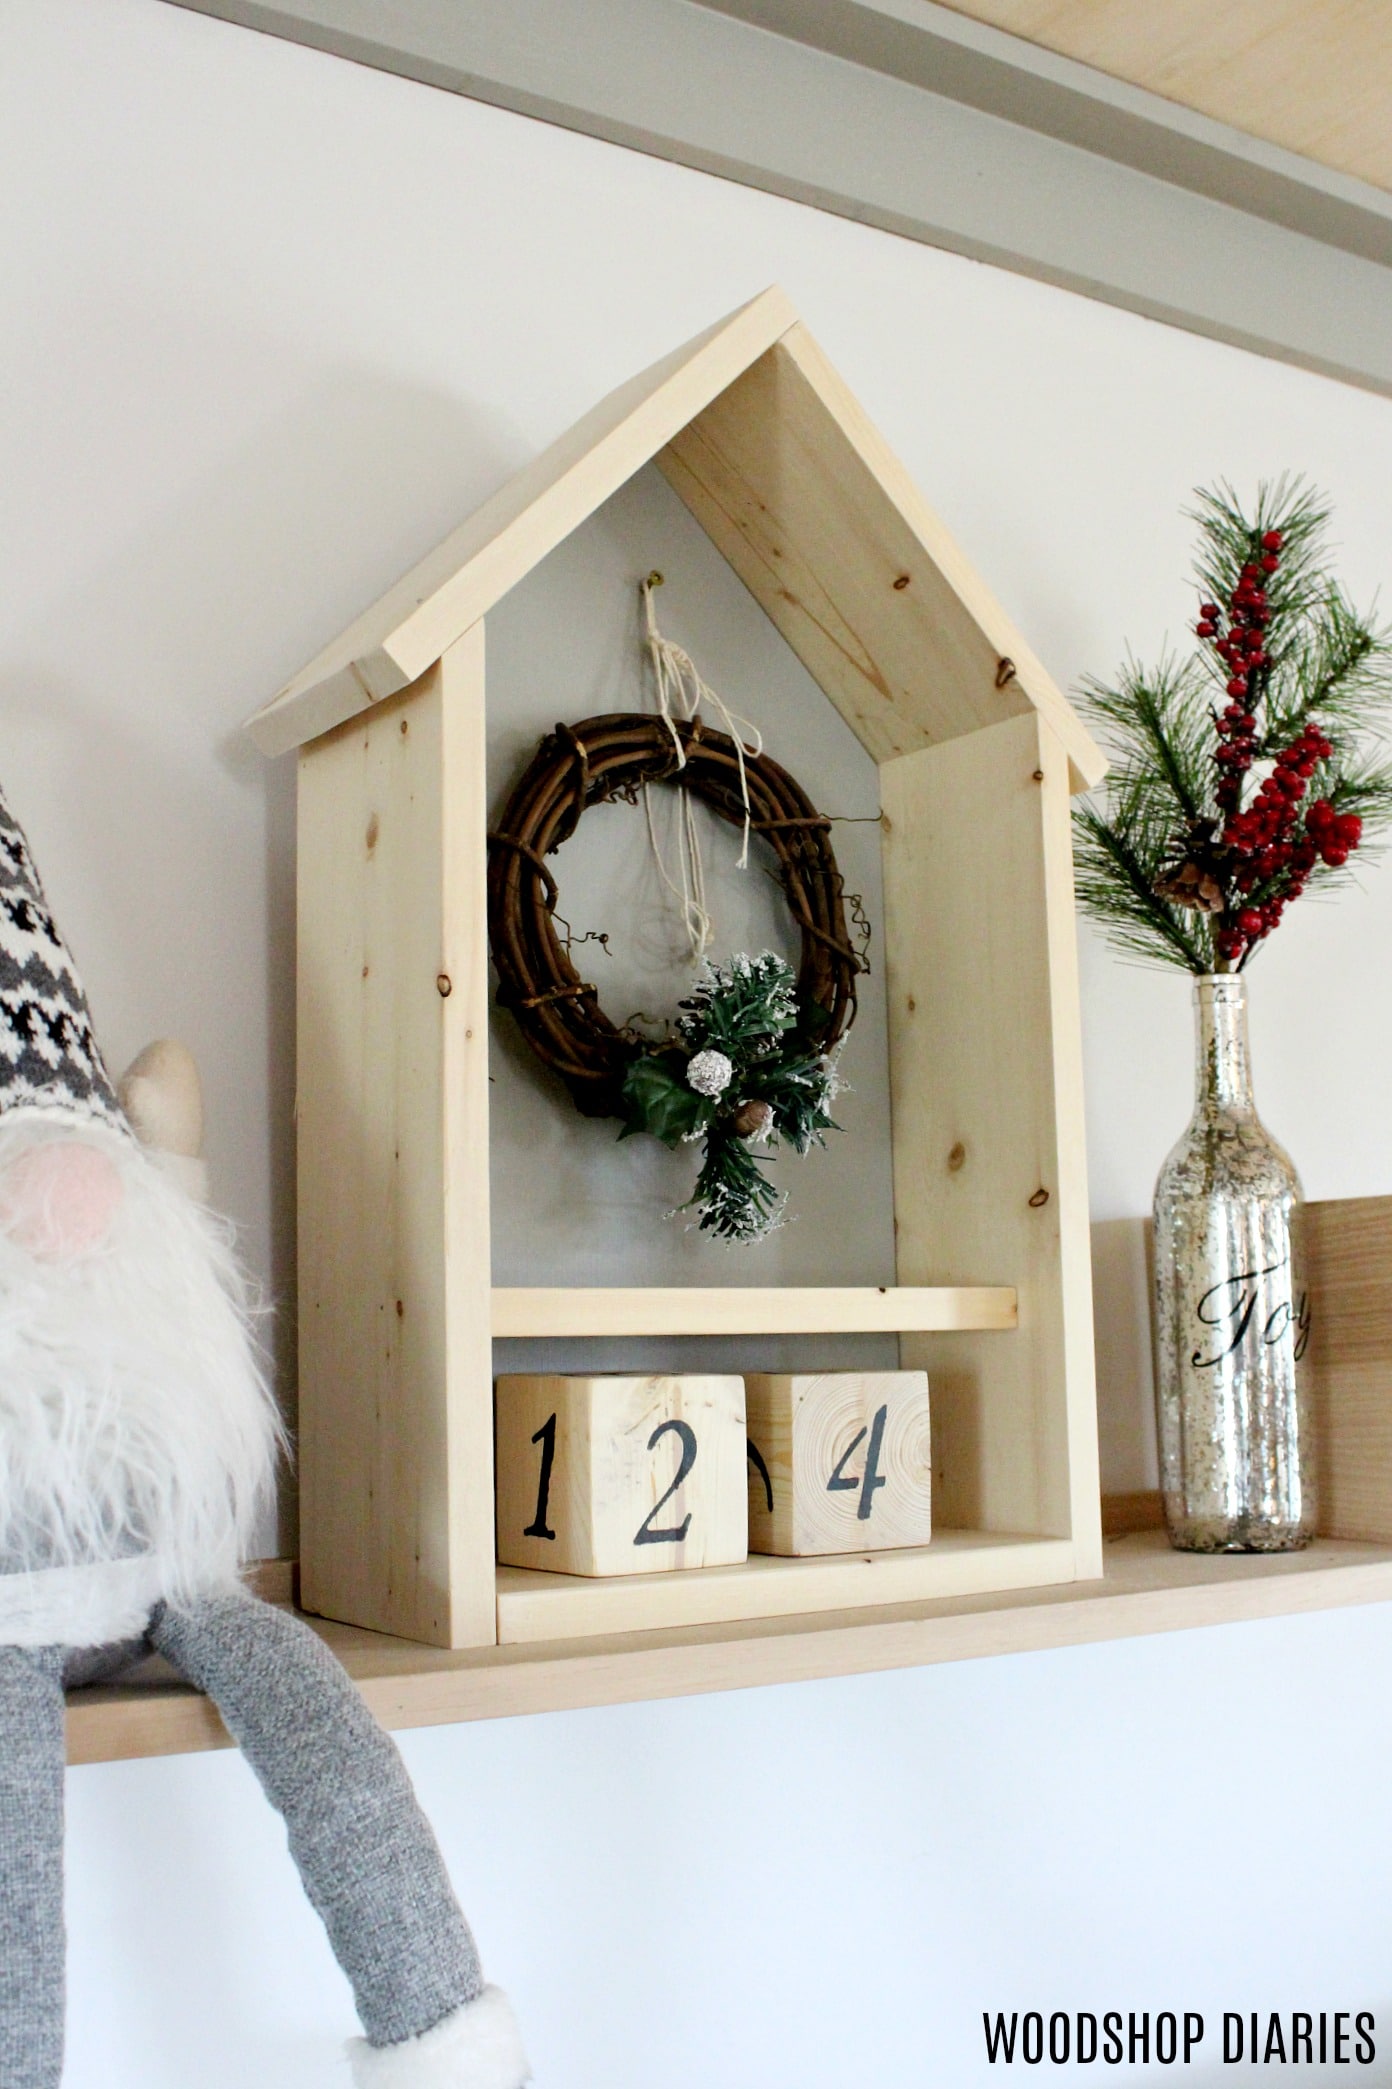 I would LOVE to have a HUGE advent calendar hanging on a big blank wall in my house one day, but we recently built a garage apartment to live in until we build our forever house in a few years, so we’re keeping things simple this year. What I love about this is that after the holidays are over, you could make a nice little printable or something for each month, hang it above the middle shelf and use it as an every day calendar if you wanted! Cute idea, right?
 How To Make A DIY Christmas Countdown Calendar
Tools & Supplies:
- Scrap 3/4-inch thick plywood
- 1x6x8 ft. board
- 1×4 scrap board (optional)
- 2×4 scrap boards
- Wood glue
- Clamps
- Miter saw
- Brad nailer or hammer
- Tape measure
- Straight edge
- Paint and number stencils
Step 1: Make Number Cubes
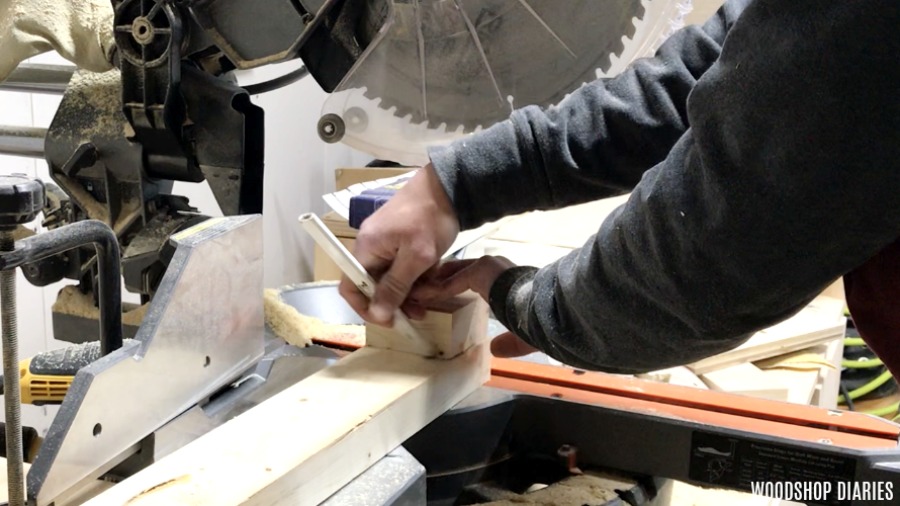
For this project, I made two number cubes the same size using 2x4s. First, cut 4 pieces of 2×4 about 3 1/2 inches long. Since a 2×4 is only 1 1/2 inches thick, your “cubes” will not actually be cubes, but will be 3″ x 3 1/2″ x 3 1/2″. If you want an actual cube (where all sides are the same length), trim the edges off the 2×4 pieces and make it 3 inches wide and cut them 3 inches long instead of 3 1/2 inches. Then you will have a 3-inch cube.
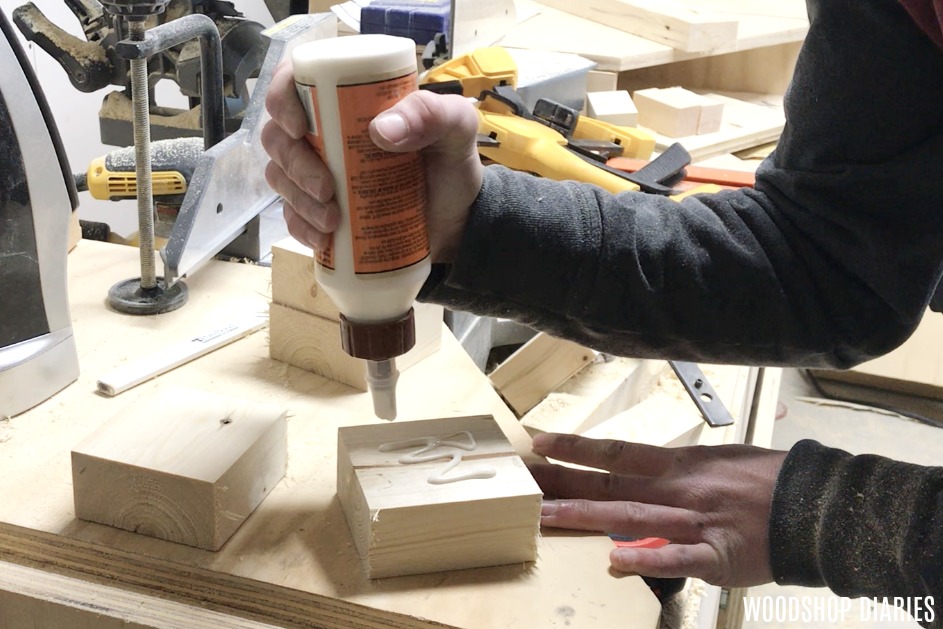
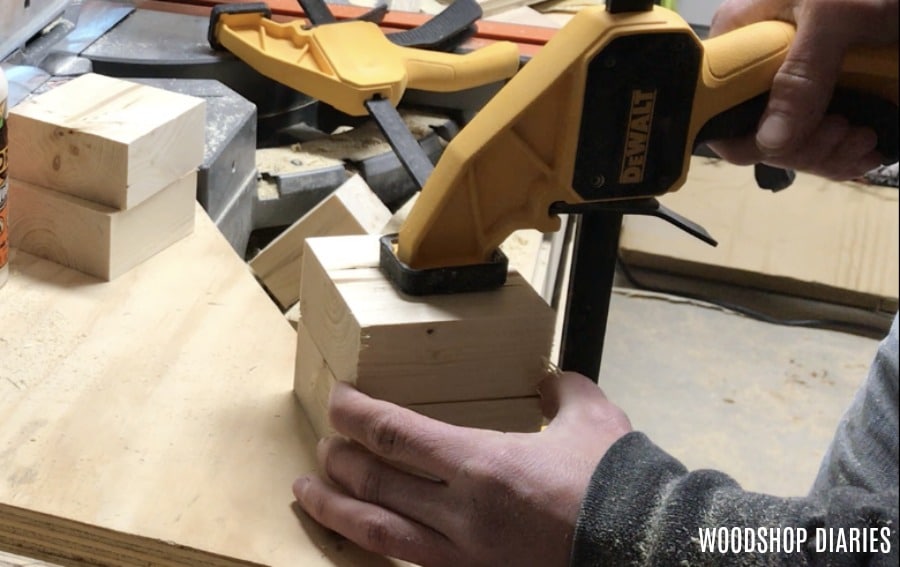
Once you’ve cut these pieces, glue them together to make two cubes.
Set these aside to dry. While the glue is drying, move on to step 2.
Step 2: Cut House Shape for Shelf Back
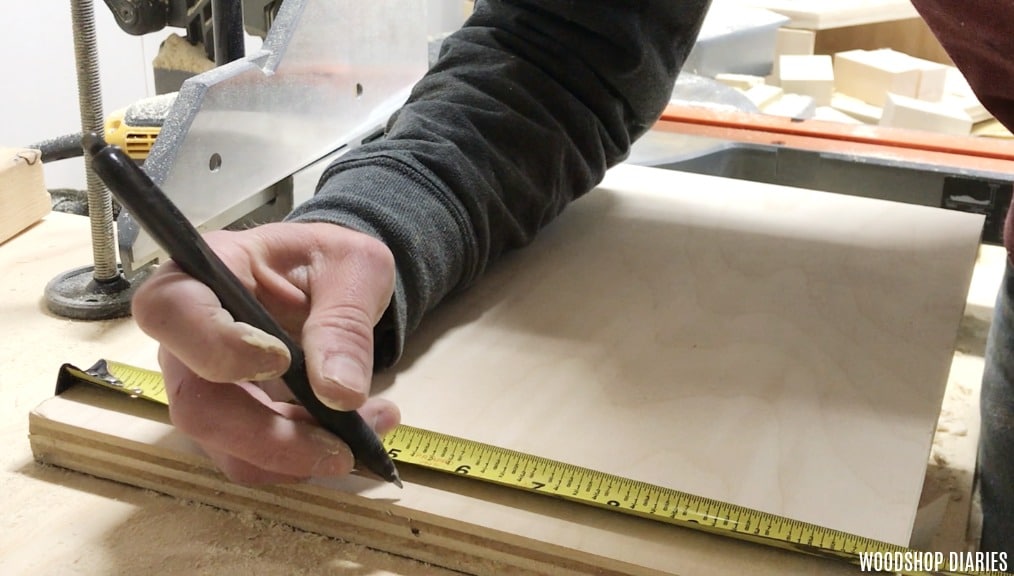
Grab your piece of scrap 3/4-inch thick plywood. It can be whatever size you want, but I kept mine about 12 inches x 18 inches. Measure and mark the center of the top of the plywood piece.
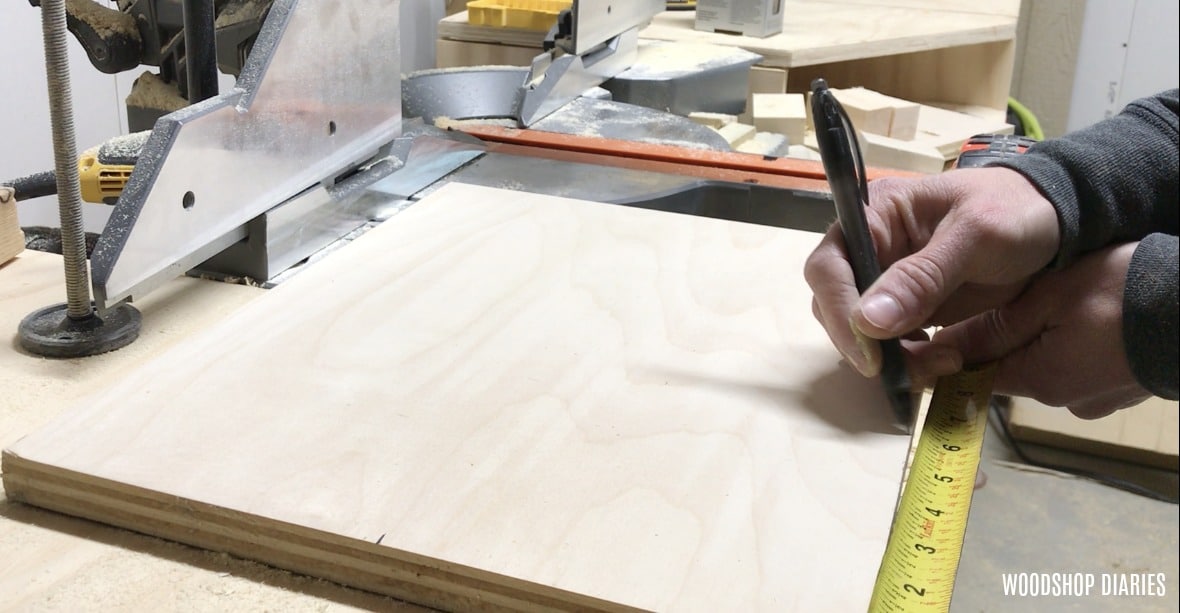
Measure down on each side whatever your center measurement is. For example, if your board is 12 inches wide, the center is 6 inches from each edge. So you would measure down 6 inches on each side from the top.
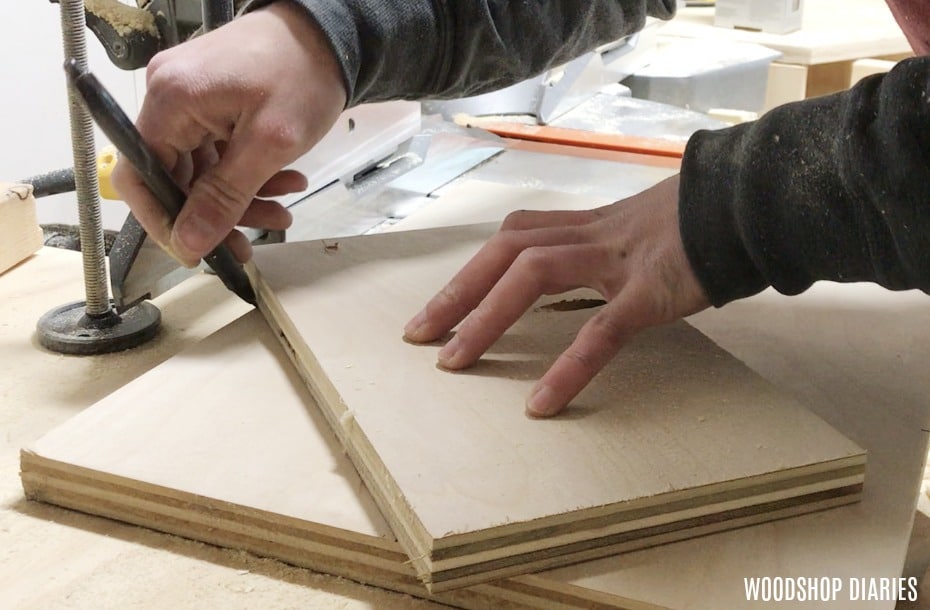
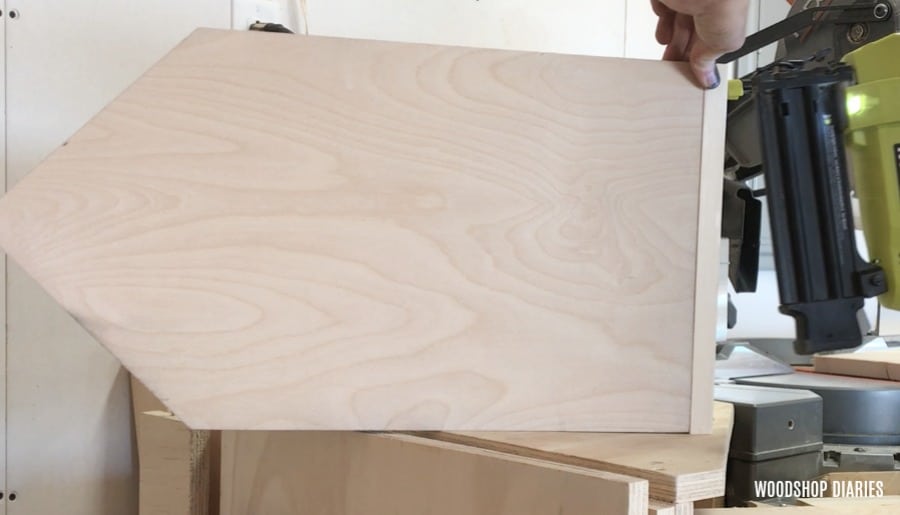
Next, use a straightedge to draw lines between the marks like shown.
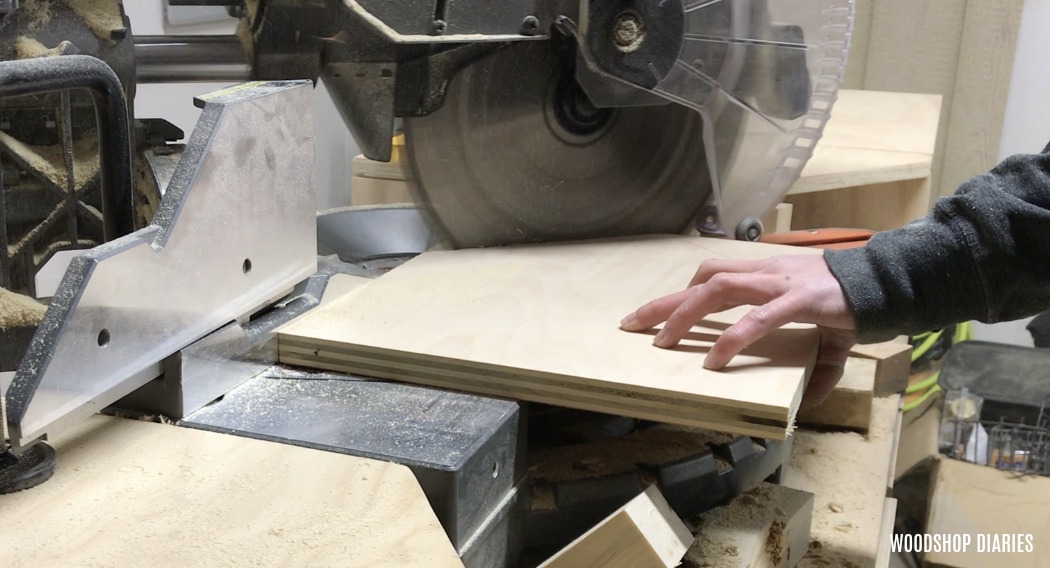
Once you have your marks, set your miter saw to 45º and cut along these lines.
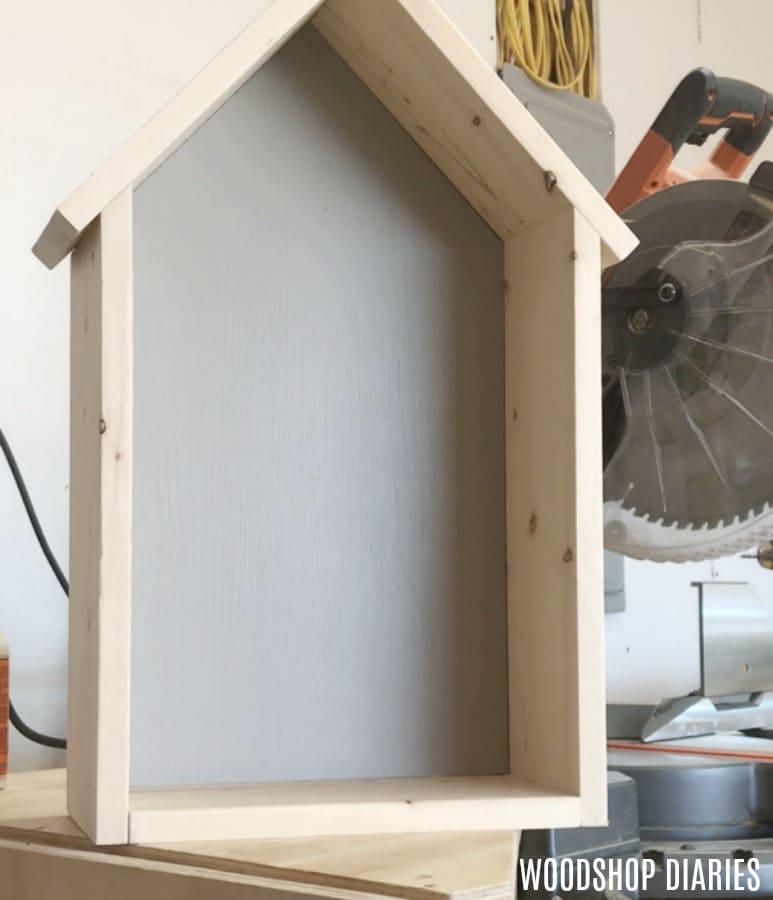
Before attaching the sides, you will need to paint or stain or finish however you choose your house shape if you want to do a two tone look like I did. I painted the back grey and left the sides unfinished. You can do this however you wish.
Step 3: Attach Shelf Sides
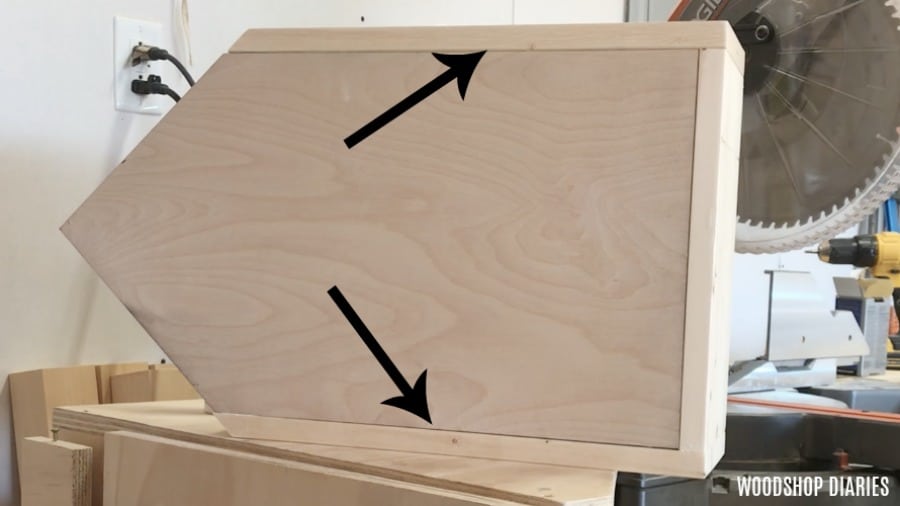
Once the finish has dried, add the sides. These will be made from 1×6 boards. Cut the 1×6 pieces to fit around the edge of the house shape. I started at the bottom, then did the sides, then the tops. Measure and cut a piece of 1×6 the same length as the bottom of the house shape. Glue and nail in place.
Then, cut two side pieces to fit, mitering one edge 45º for the roof. Glue and nail in place.
Finally, cut two more pieces slightly longer than the length of the top (so that you have some overhang). Cut one piece 3/4 inches longer than the other, then glue and nail in place as shown with the 3/4-inch longer piece overlapping the edge of the shorter piece. They should both have equal overhang. Alternately, you can cut them identical lengths and miter one end of each at 45º.

Step 4: Paint Numbers on Cubes
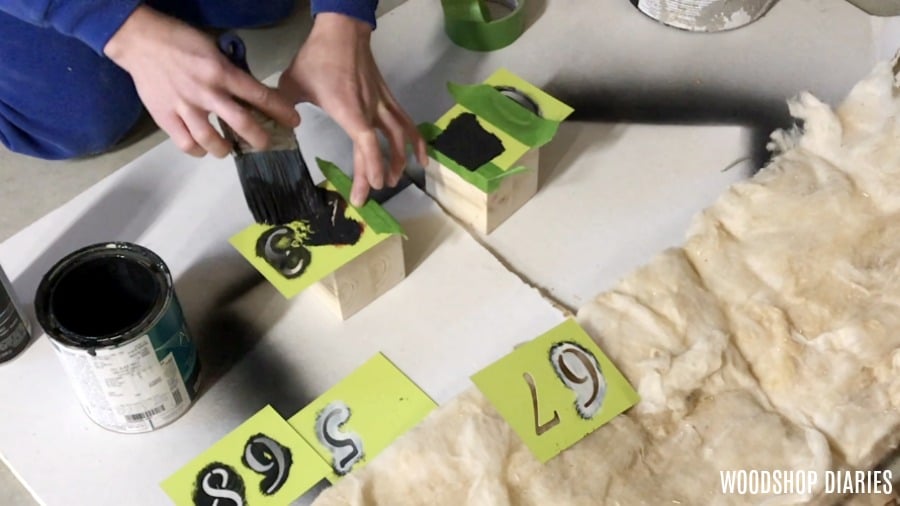
Now that your shelf is complete, it’s time to get back to those cubes. Remove the clamps and sand all sides smooth. Grab some paint and some stencils and paint the numbers on the cubes. You have to do this strategically so that you can make all the number combinations you will need. One cube will need a: 0, 1, 2, 3, 4, 5 and the other cube will need a 0, 1, 2, 6, 7, 8. You will have to use the 6 as both a 6 and a 9.

Step 5: Optional Add Decor Shelf
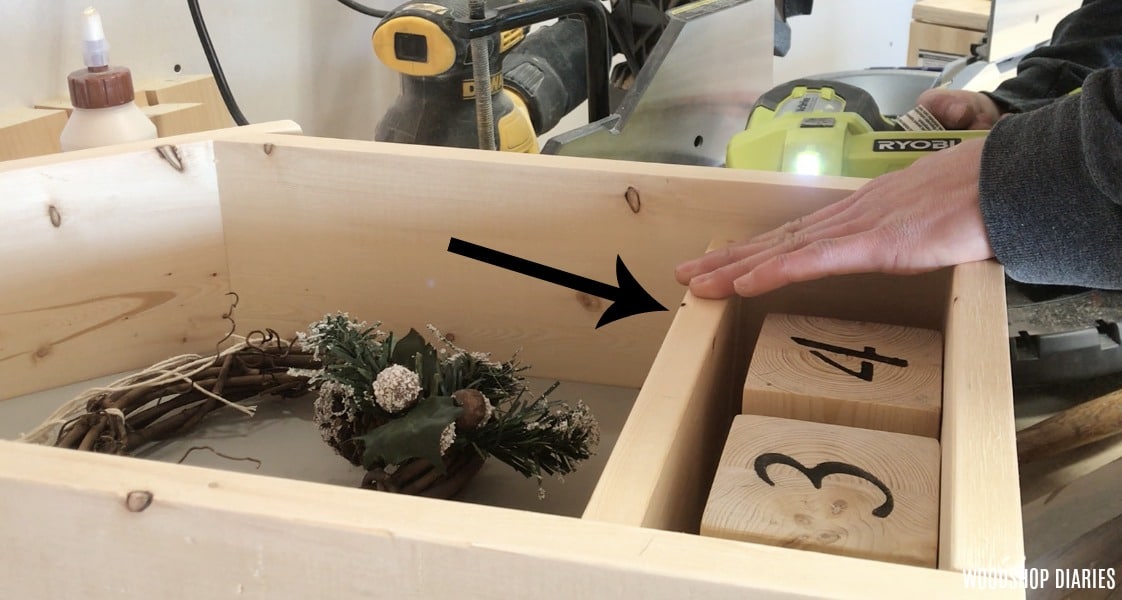
Once everything dried and I was ready to decorate and hang my shelf, I realized that with the blocks on the shelf like this, you could see all the numbers on the top of the blocks and the sides and it was distracting.
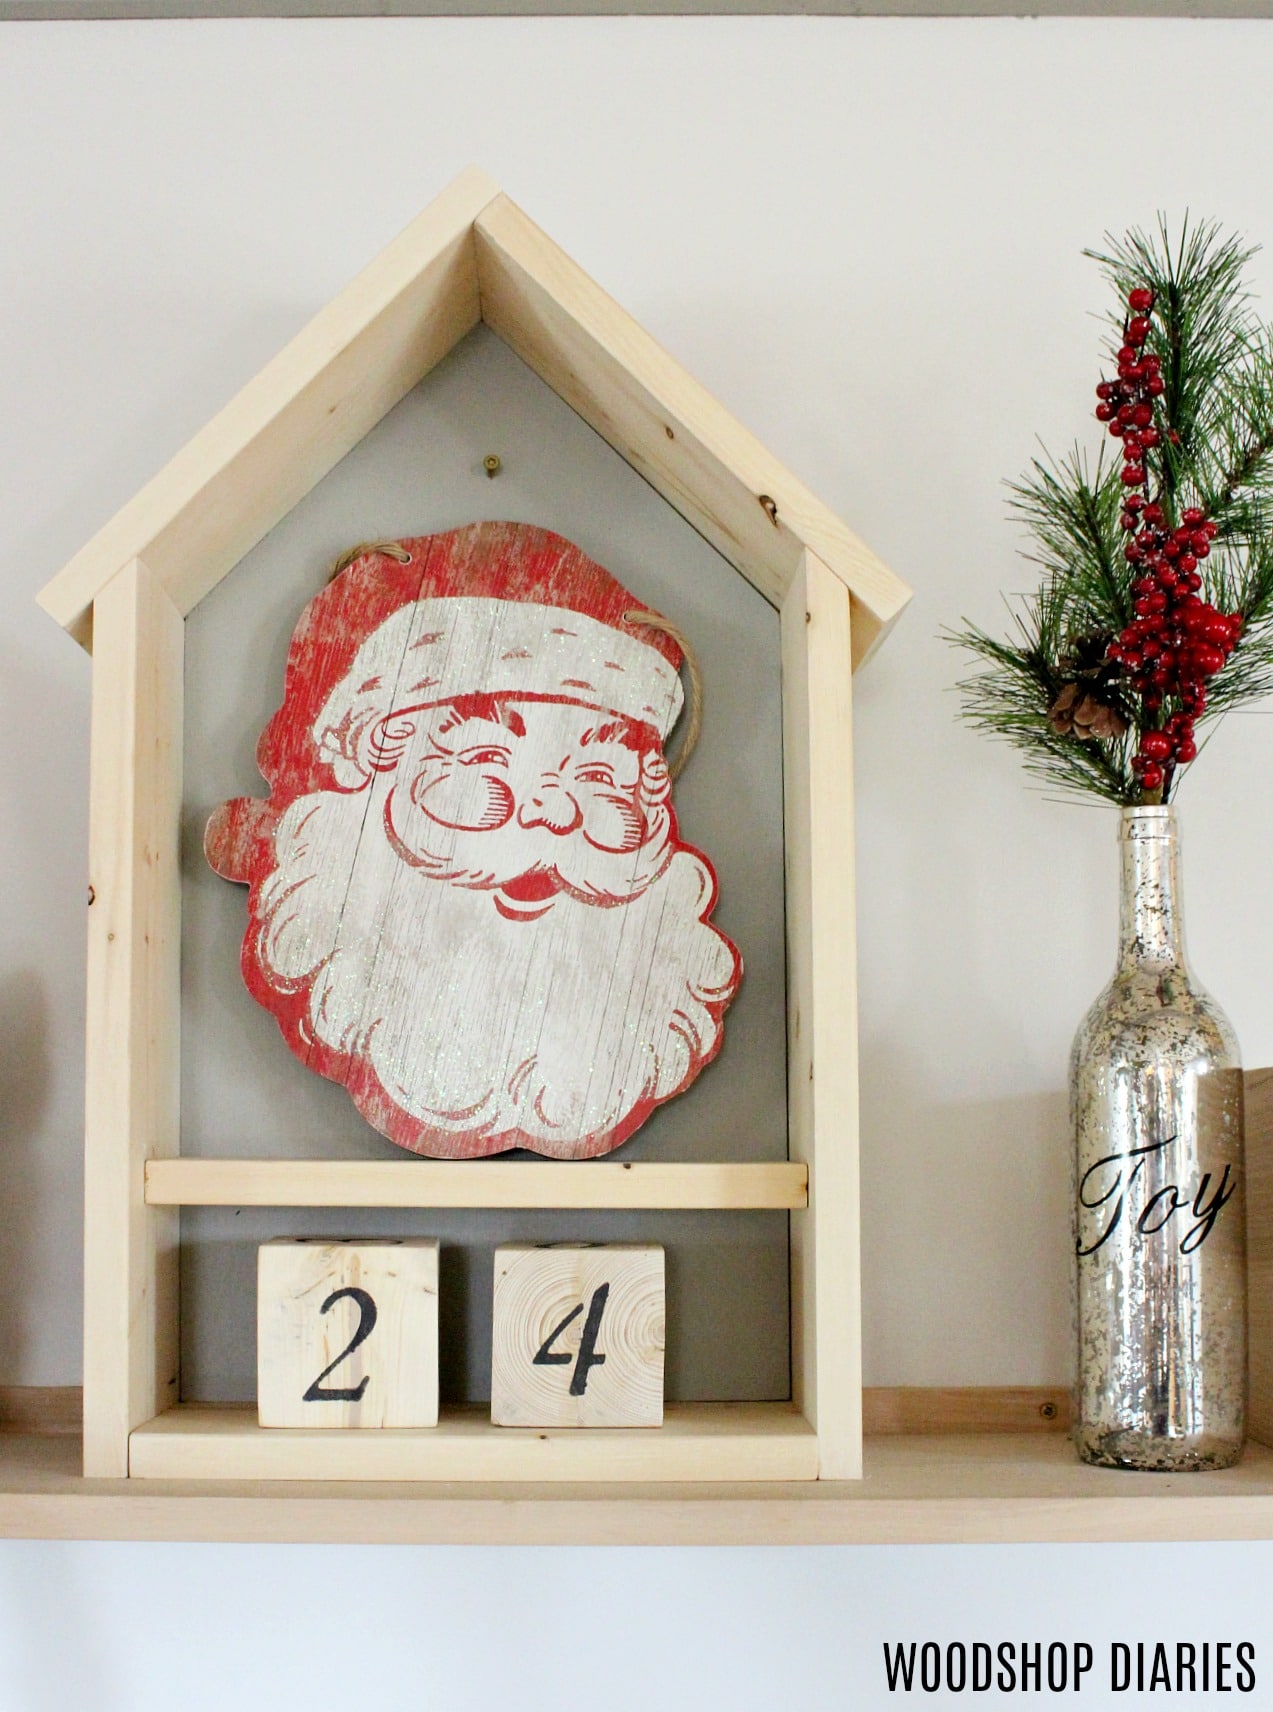
To help “shield” the cubes, I added another small shelf above the cubes using a scrap 1×4. I just nailed into place like shown. This is totally optional. Then, I screwed a tiny screw into the stop section of my shelf to hang a wreath or a stocking or whatever. You can do the same or just use the 1×4 shelf to set your favorite things.
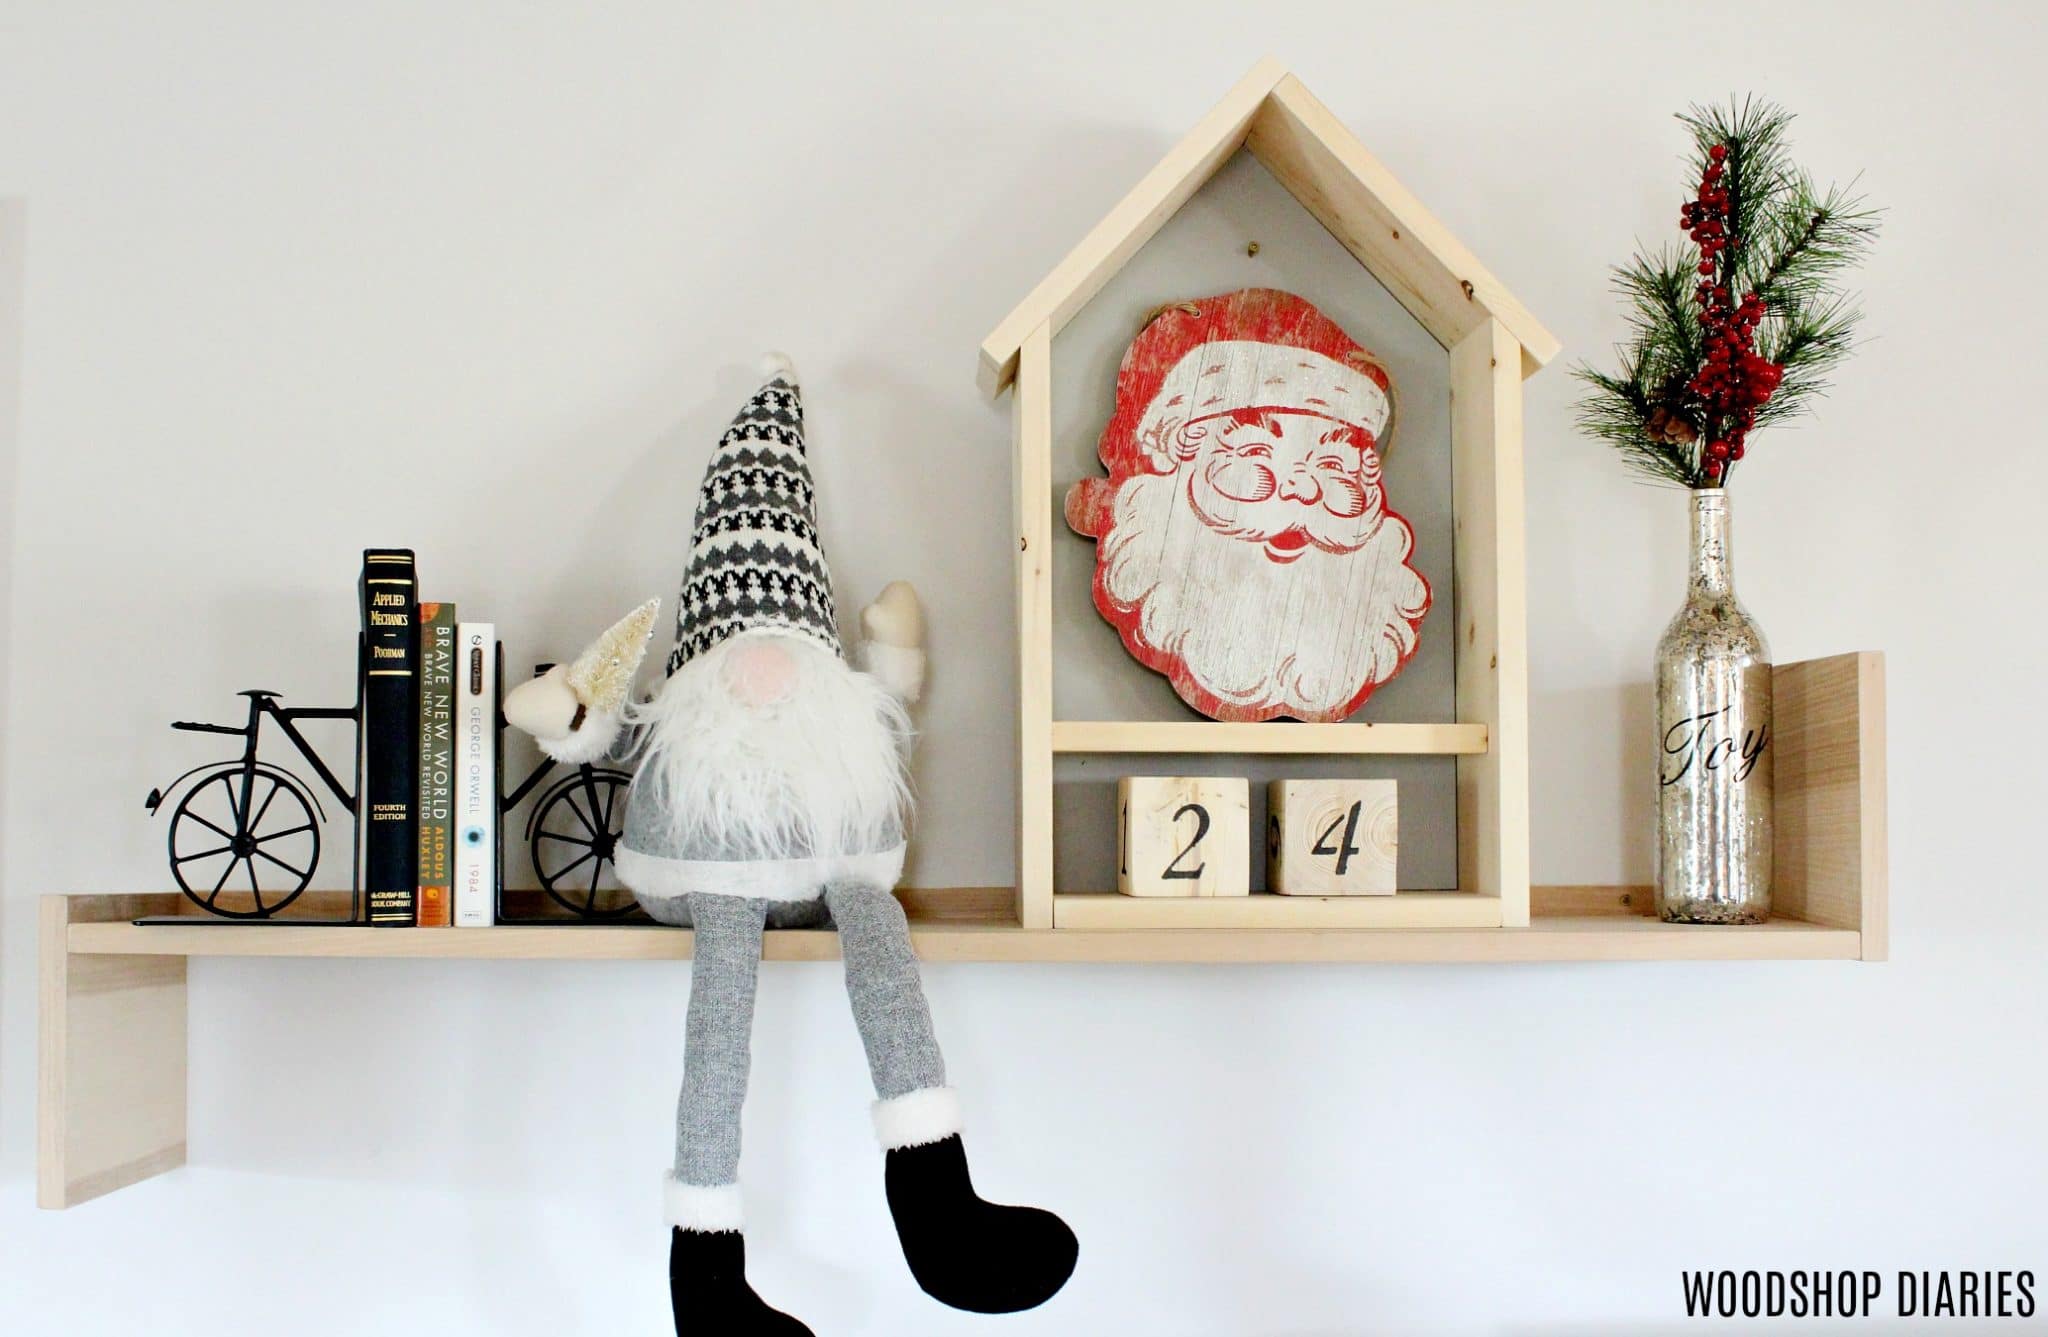
Finally, I set it on my DIY modern wall shelf for the holidays. You could add a little hanger on the back to hang it or screw through the back of the shelf into a wall stud for a more permanent hanging option.
I’m still working on how to decorate and situate my new garage apartment house, but I think after the holidays, I will hang this DIY Christmas countdown calendar by my front door so I always know what the date is when I leave the house.
For now, I’ve enjoyed switching up my holiday decor on it and counting down to the big day with my number blocks. 🙂
Pin it for later!
If you are looking for more fun Christmas projects, be sure to check out these Scandinavian wooden village houses, these scrap wood ornament signs, and this cute snowflake pillow. Until next time, happy building and Merry Christmas!
 How To Make A DIY Christmas Countdown Calendar
![EPIC Woodhouse Christmas Vacation! [2023] EPIC Woodhouse Christmas Vacation! [2023]](https://jenwoodhouse.com/wp-content/uploads/2024/07/image-11-400x400.png)



Very nice idea. Great for making and giving to grandchildren.
Neil
Where did you get the Santa face?