A basic basement is transformed into a 1920s Art Deco-inspired home theater.
Hey, hey! It’s my favorite day! It’s REVEAL DAY! Welcome to our Basement Home Theater! Come in, come in!
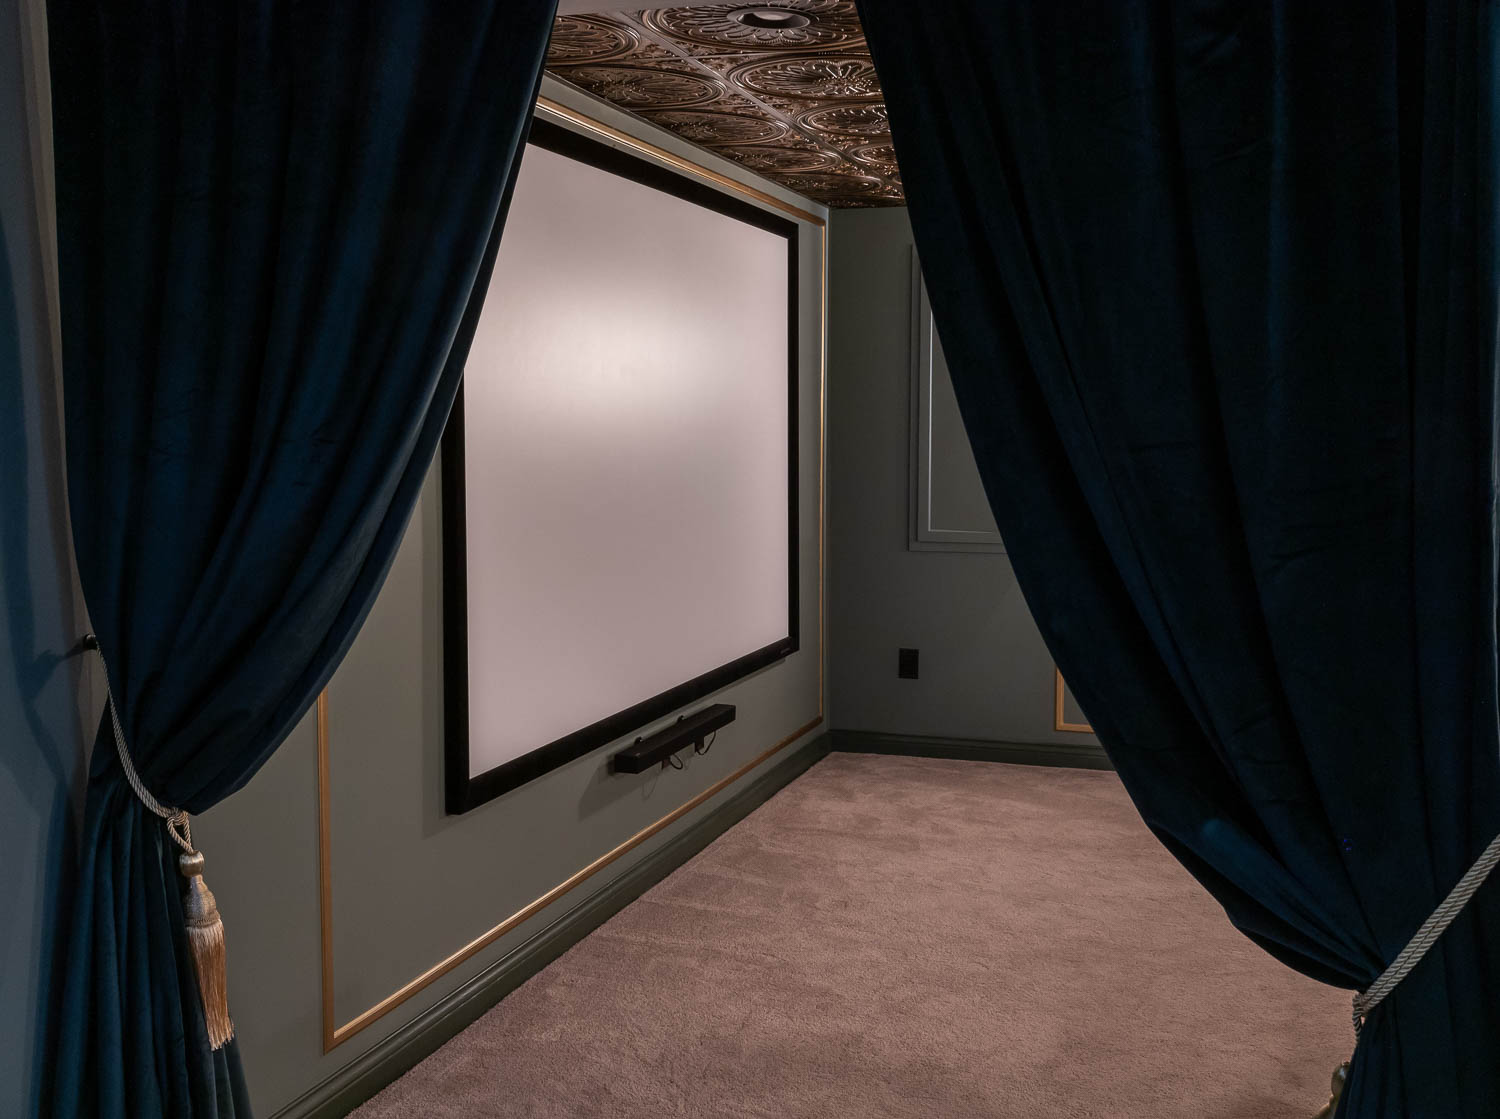
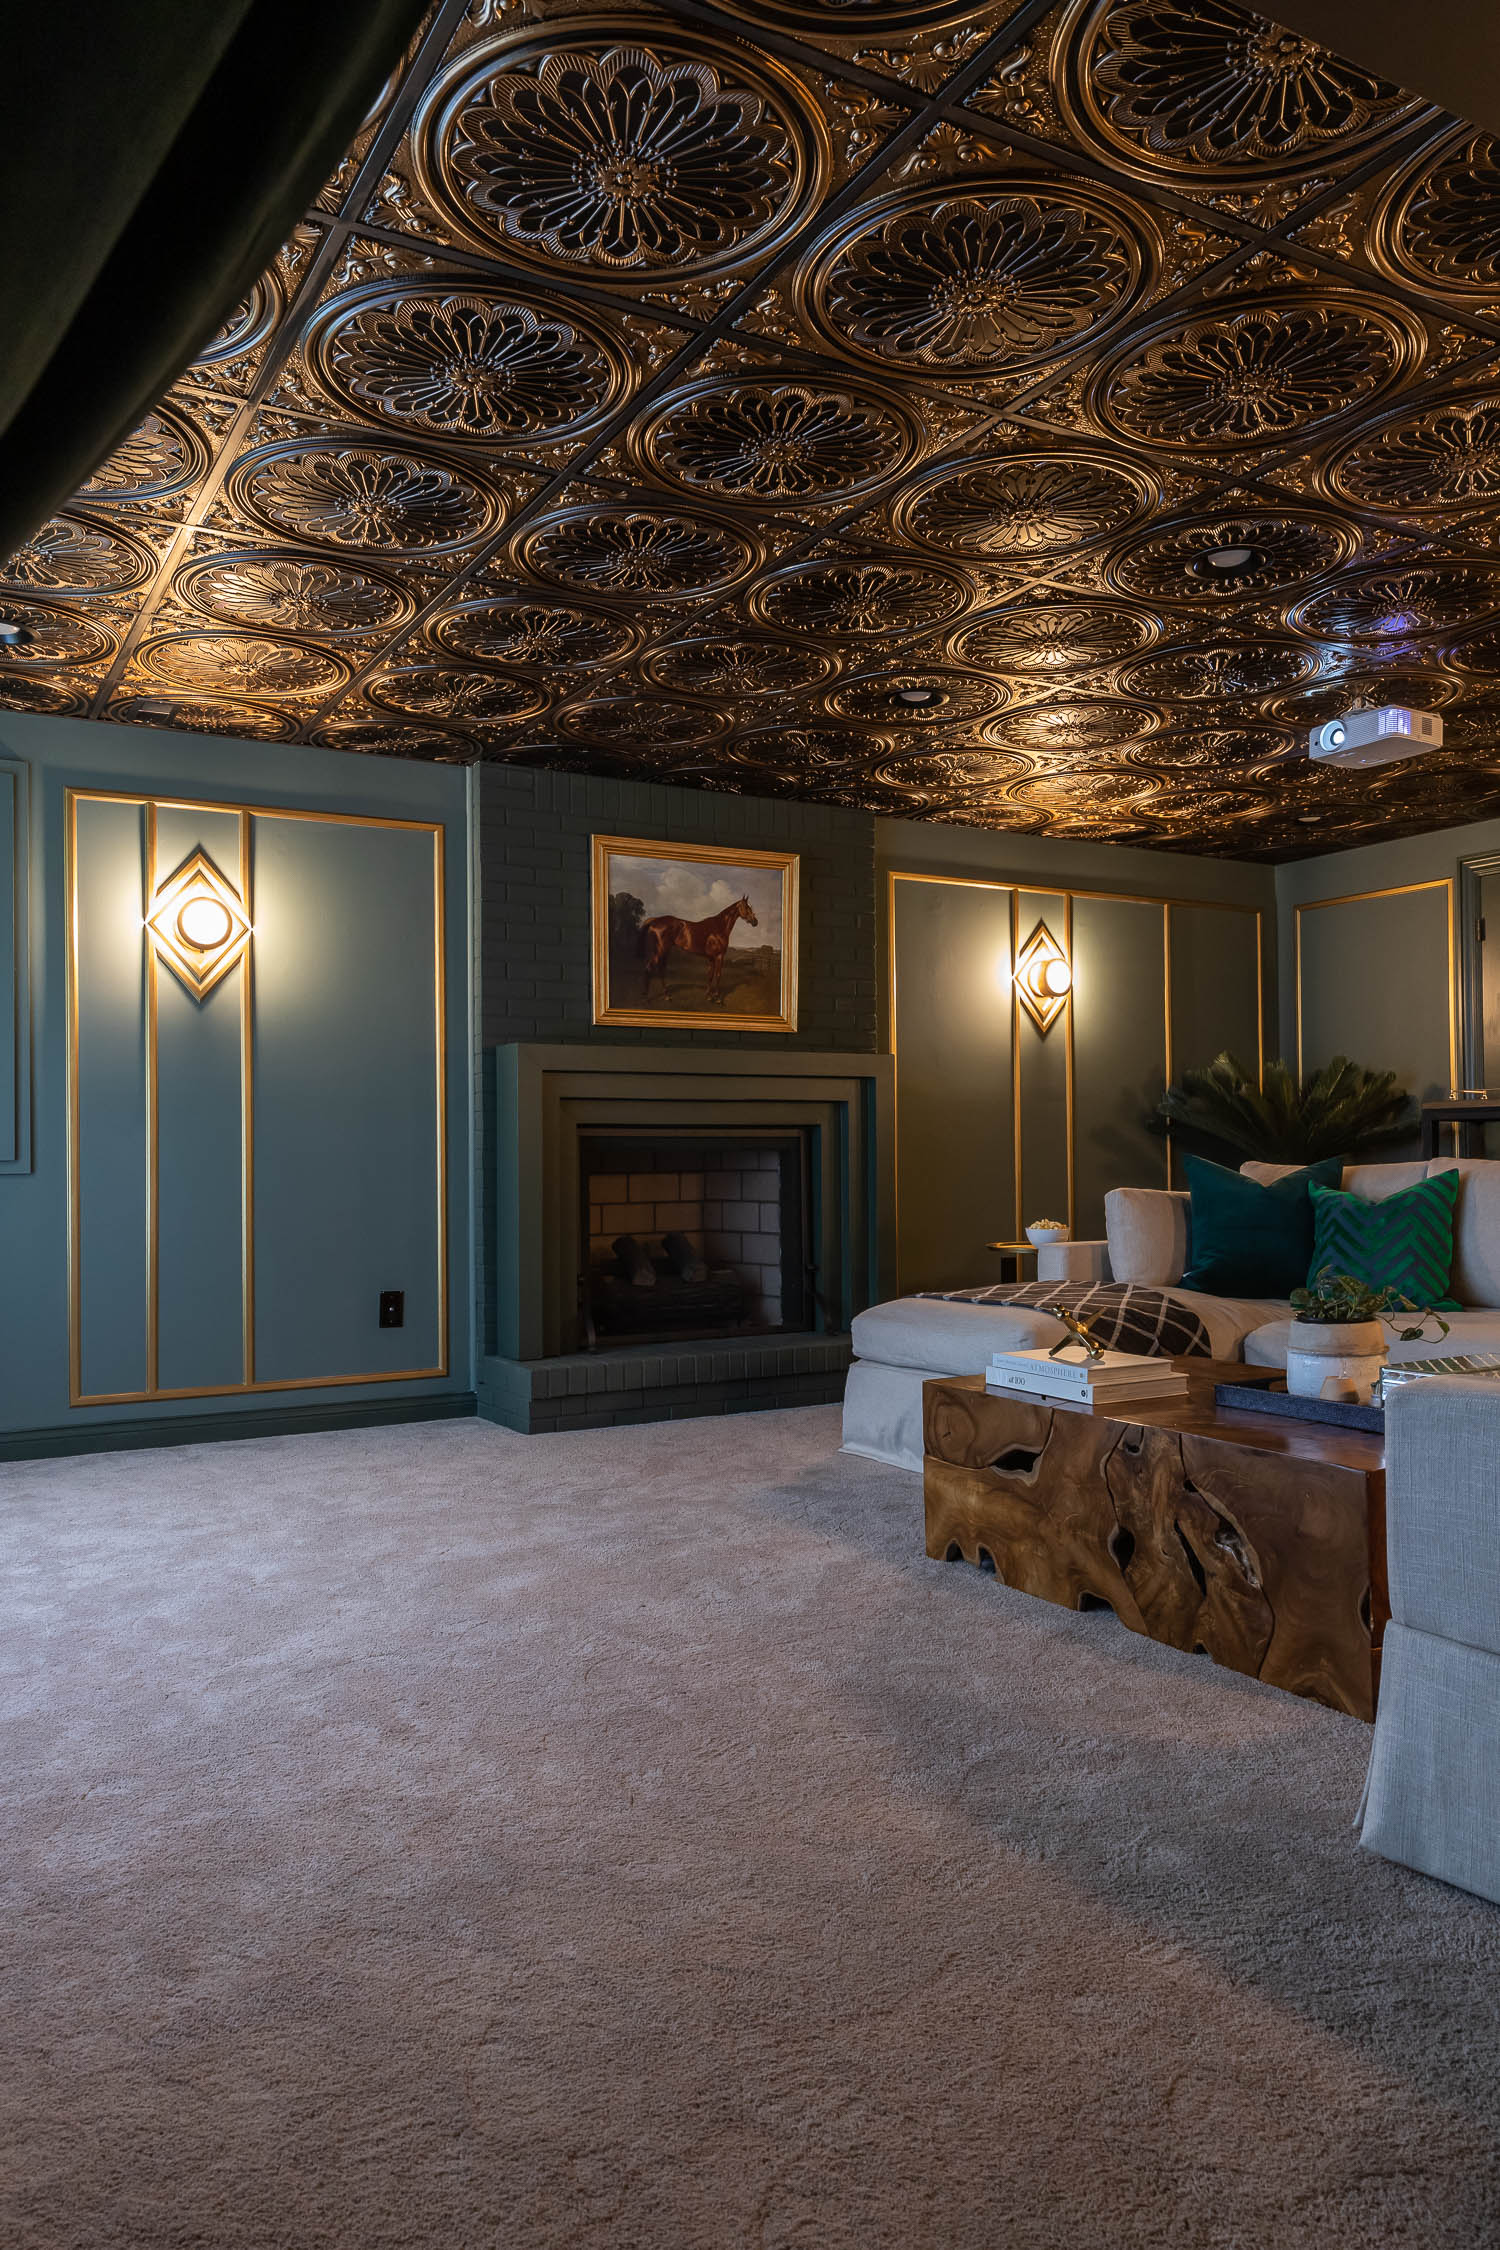
Have you been following along on Instagram and Facebook as we turned our boring, unused basement into an Art Deco-inspired home theater? If you missed it, here’s my design board. After binge-watching all five seasons of Peaky Blinders, I was inspired to create a 1920s Art Deco space and I have loved every second of this project! From dreaming up the initial design and sharing my process along the way to seeing it come to fruition right before my eyes, this basement theater room has been such a passion project for me! I’m thrilled to be teaming up with The Home Depot for this basement renovation. I’m so thankful to work with brands that believe in me and my many (many) insomnia-induced ideas.
Watch the Video!
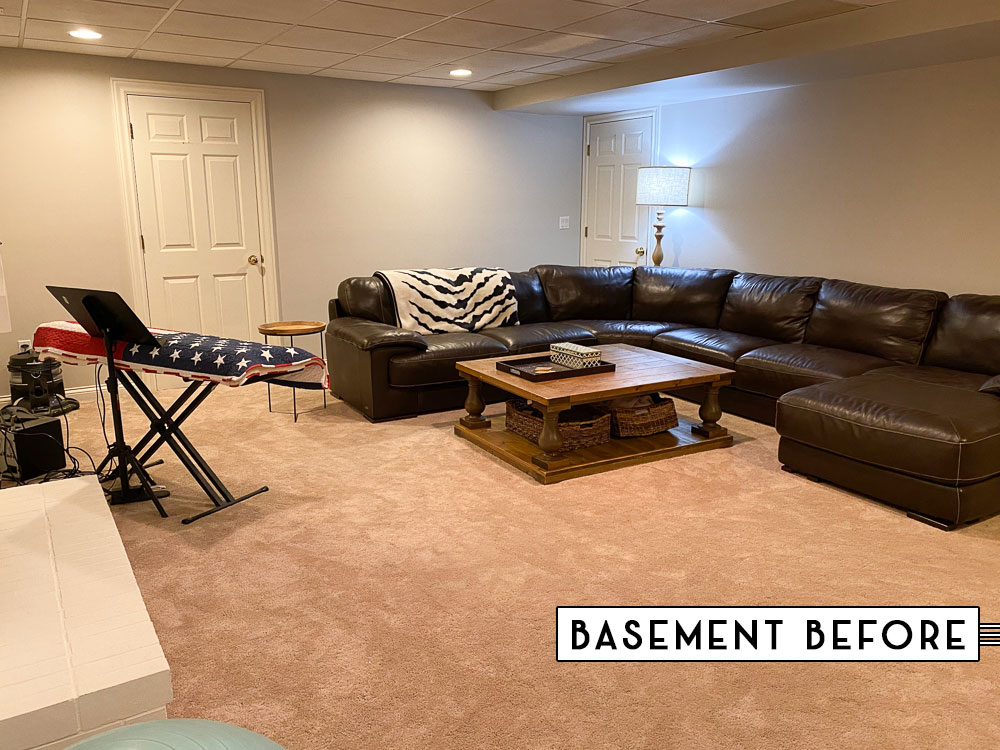
Basic Basement Before
When we first moved in, I envisioned our basement as a place for us all to hang out and relax, but in the months that followed, it primarily served as a storage area for forgotten furniture and moving boxes we never bothered to unpack (don’t judge!). What a shame that such a great space wasn’t used more!
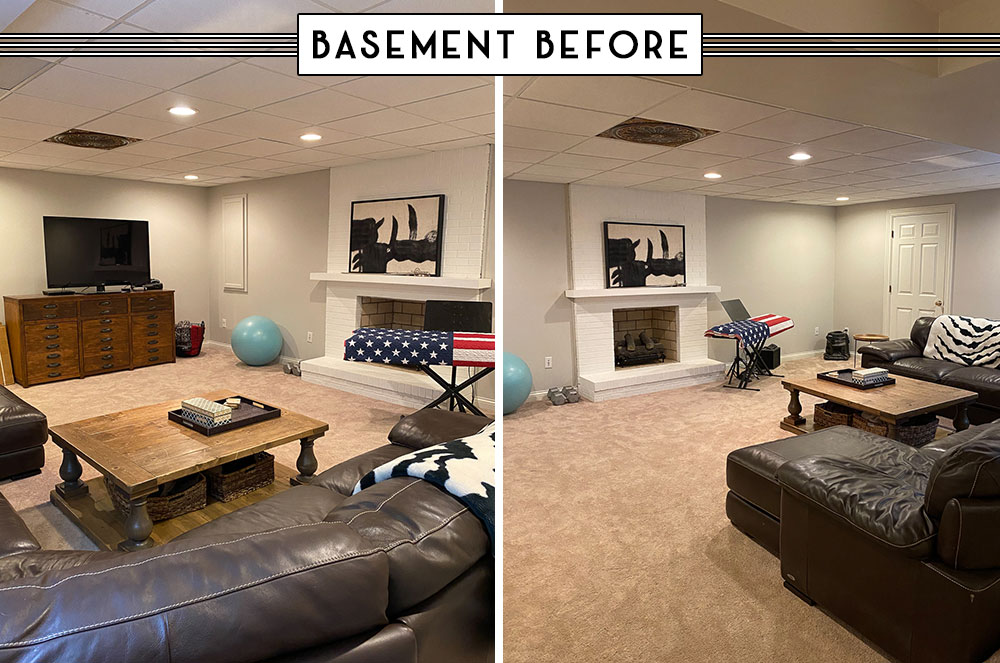
By the way, I’ve gotten a few messages inquiring about this: no, that’s not a real American flag on the keyboard. It’s a quilt. I grew up as an Air Force kid and am now an Army wife; I’m well-versed in proper American flag etiquette. 🙂
Basement Home Theater After
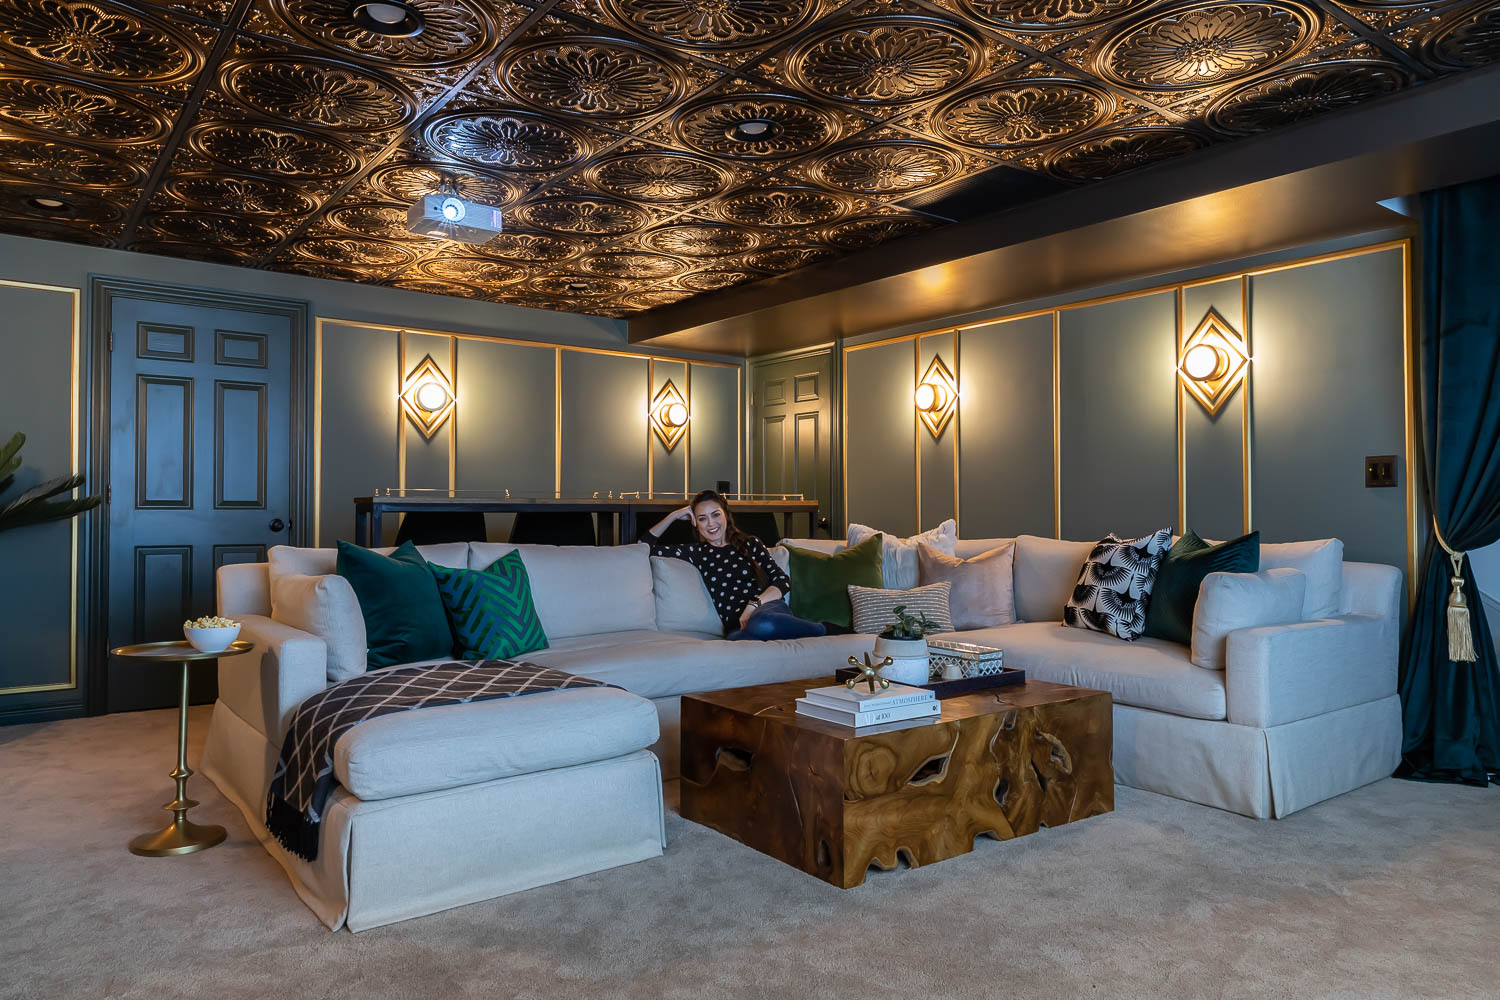
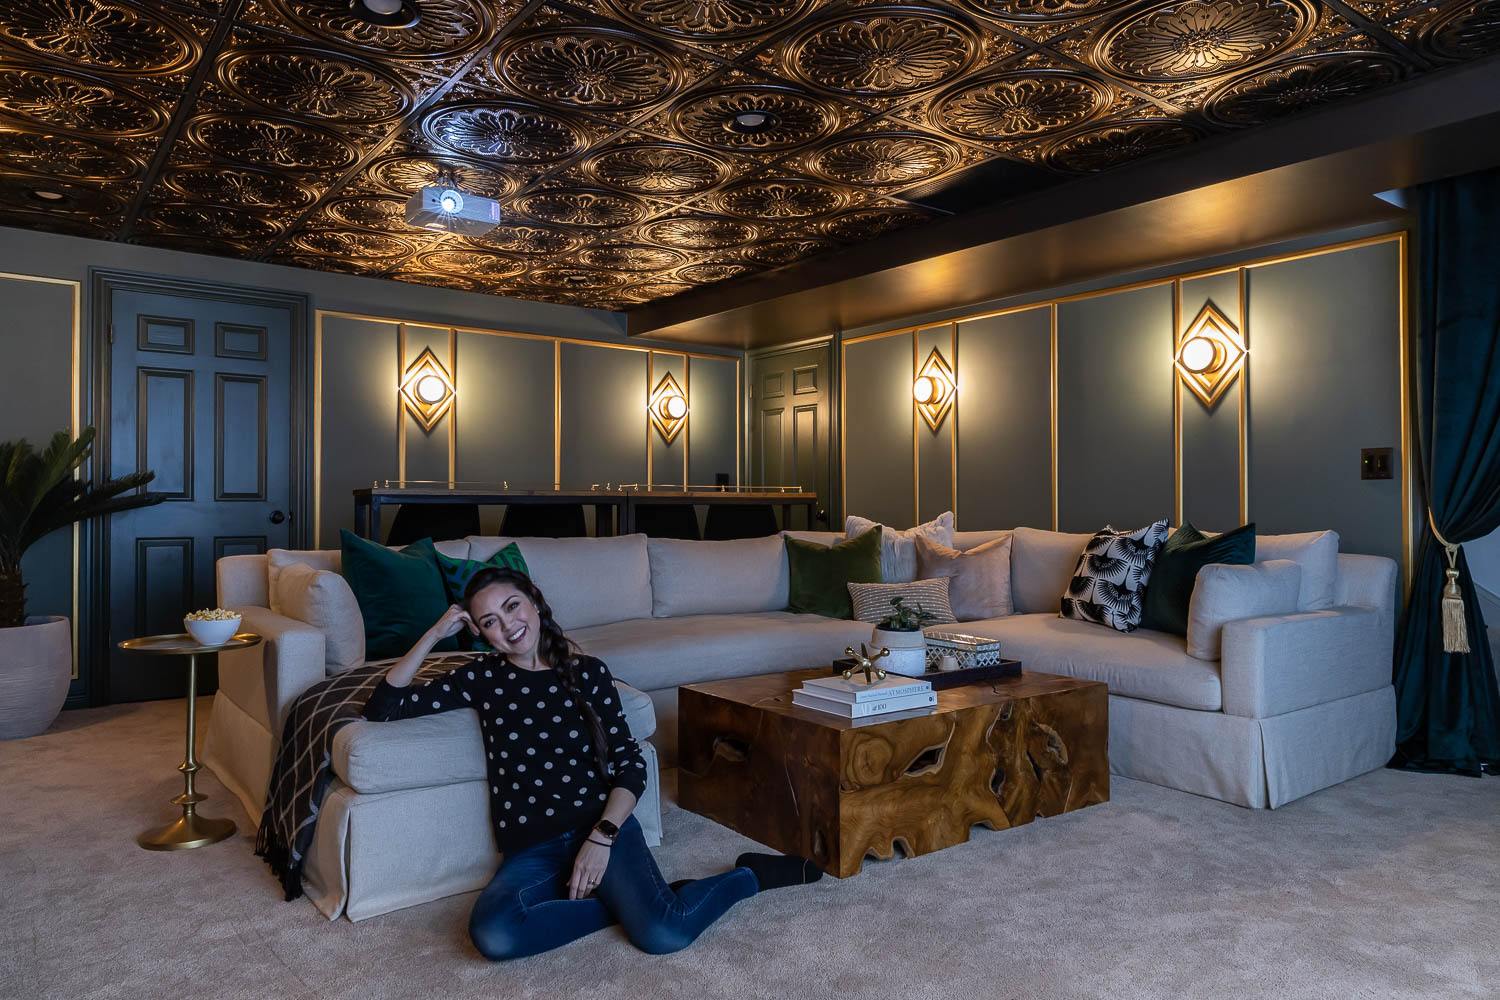
I’m happy to report that our basement is now one of our favorite rooms in our house! We’ve been able to enjoy epic movie marathons and family game nights. It’s such a cozy, ridiculously comfortable room, we lose all track of time when we’re down here.
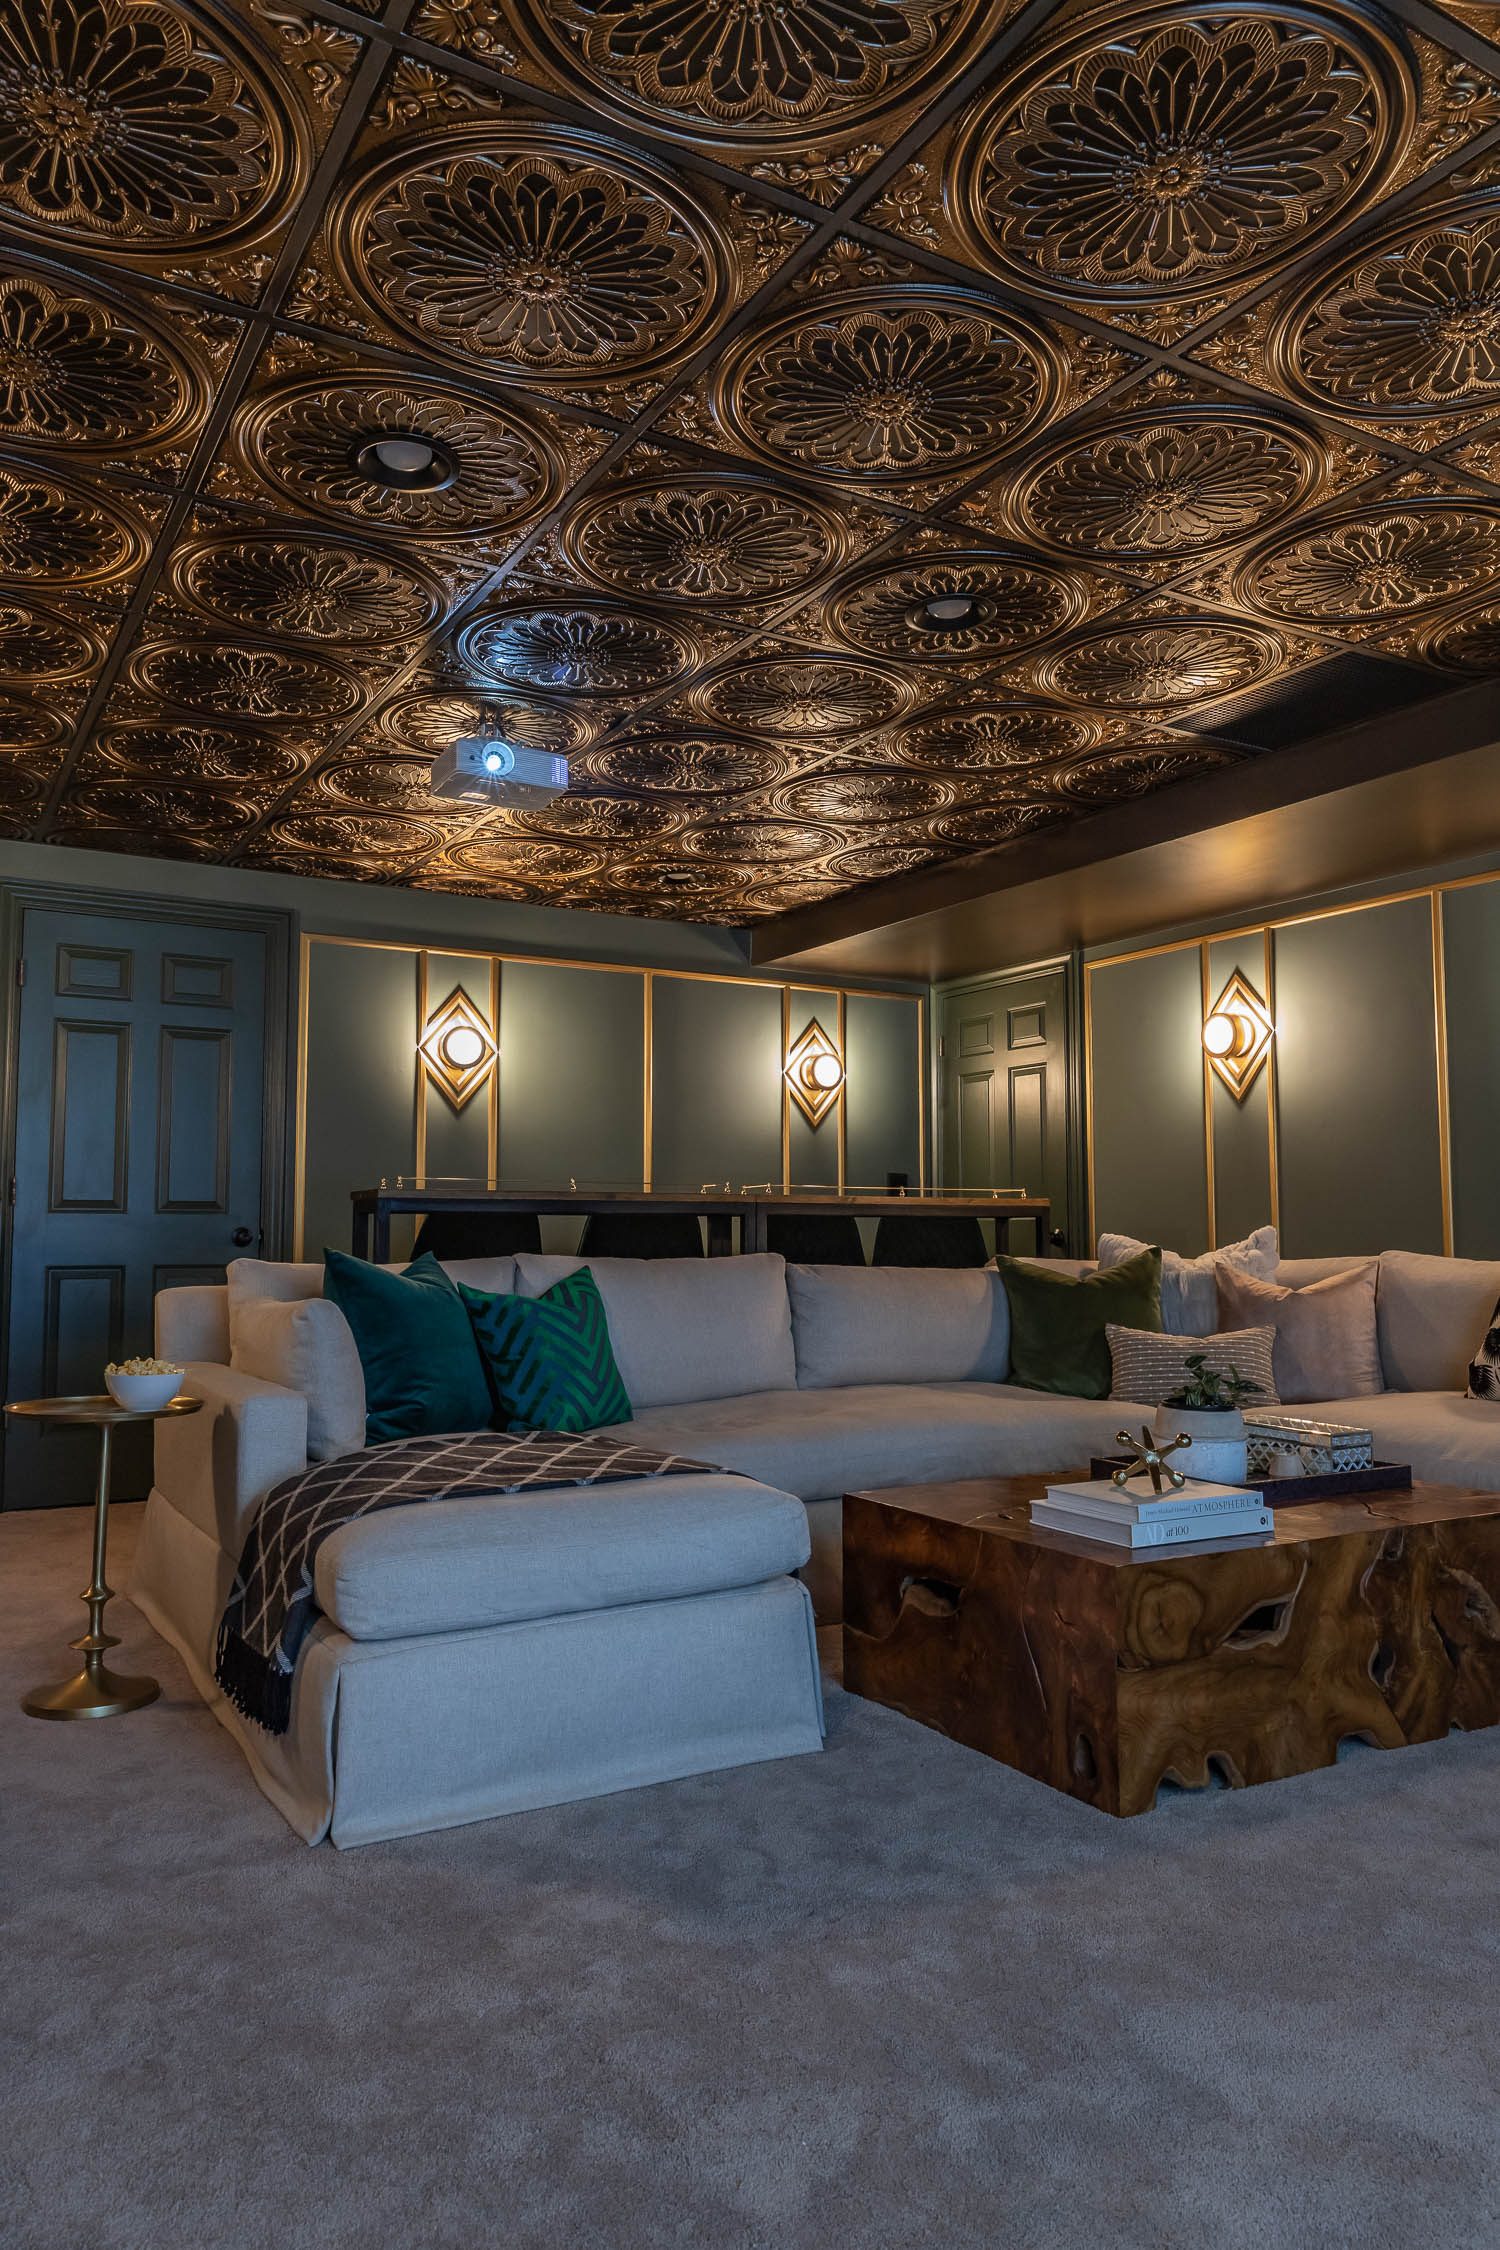
This is literally our life now:
There are two sides to our basement space – the larger side, which is where the home theater is, measures about 20 feet by 16 feet, with 8-foot drop ceilings. The other side is smaller (not pictured), complete with a powder room. Since it’s already plumbed, we want to turn that area into a wet bar/concessions/game room, but that’ll be phase 2 of this renovation. To go with our Art Deco home theater, I’m dreaming up a 1920s Speakeasy with exposed brick and plush textiles… hopefully we can tackle that project later this year.
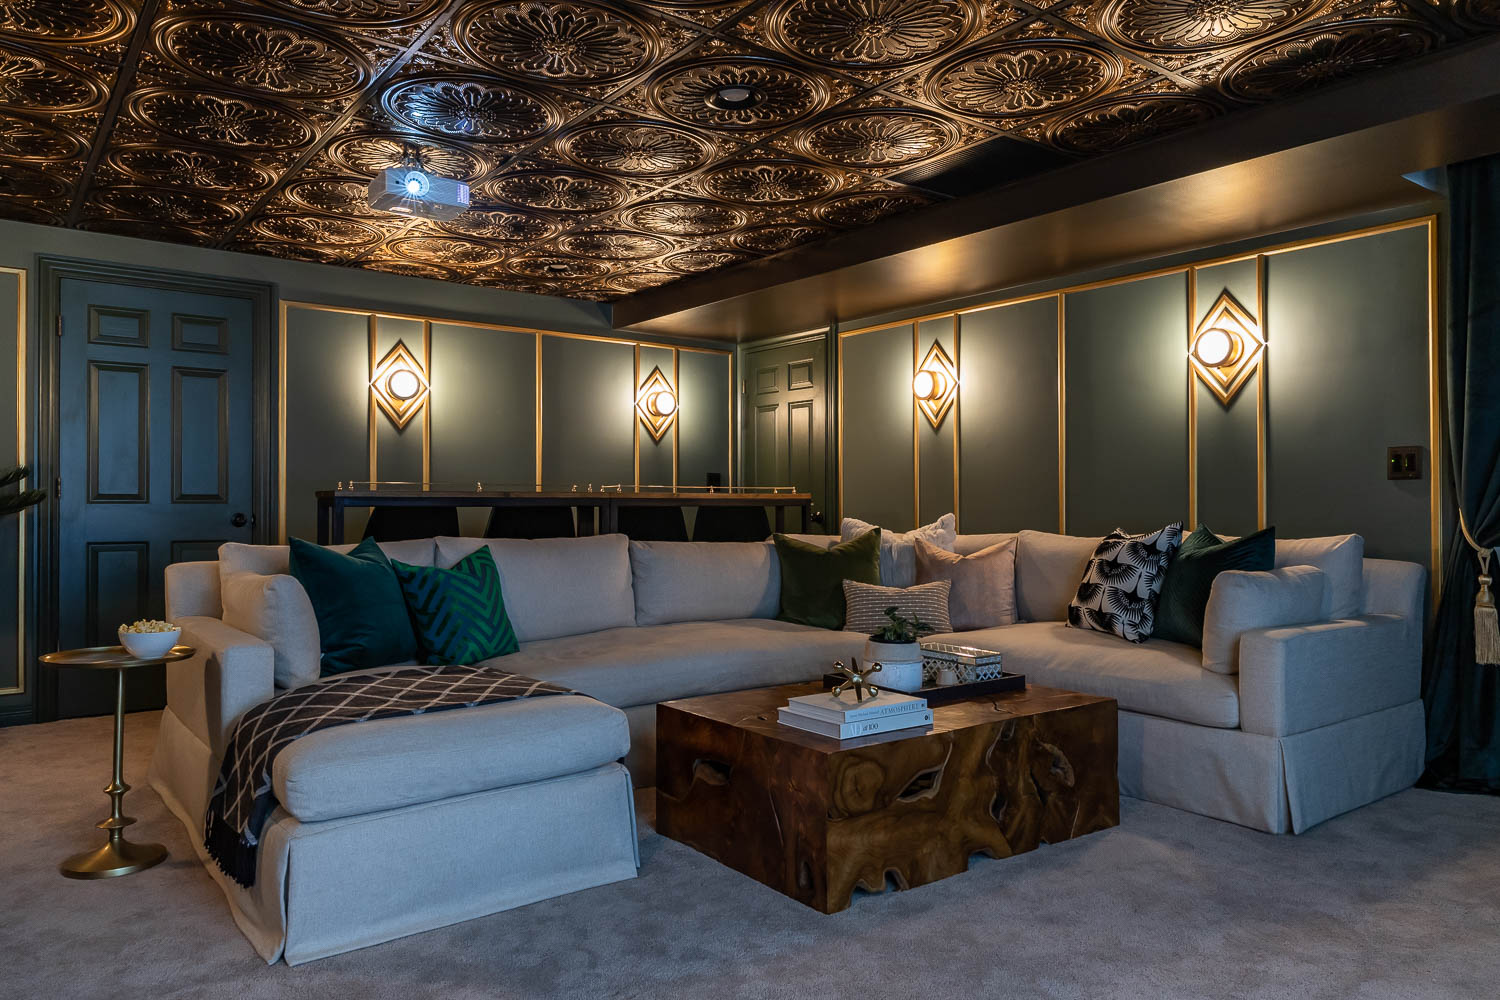
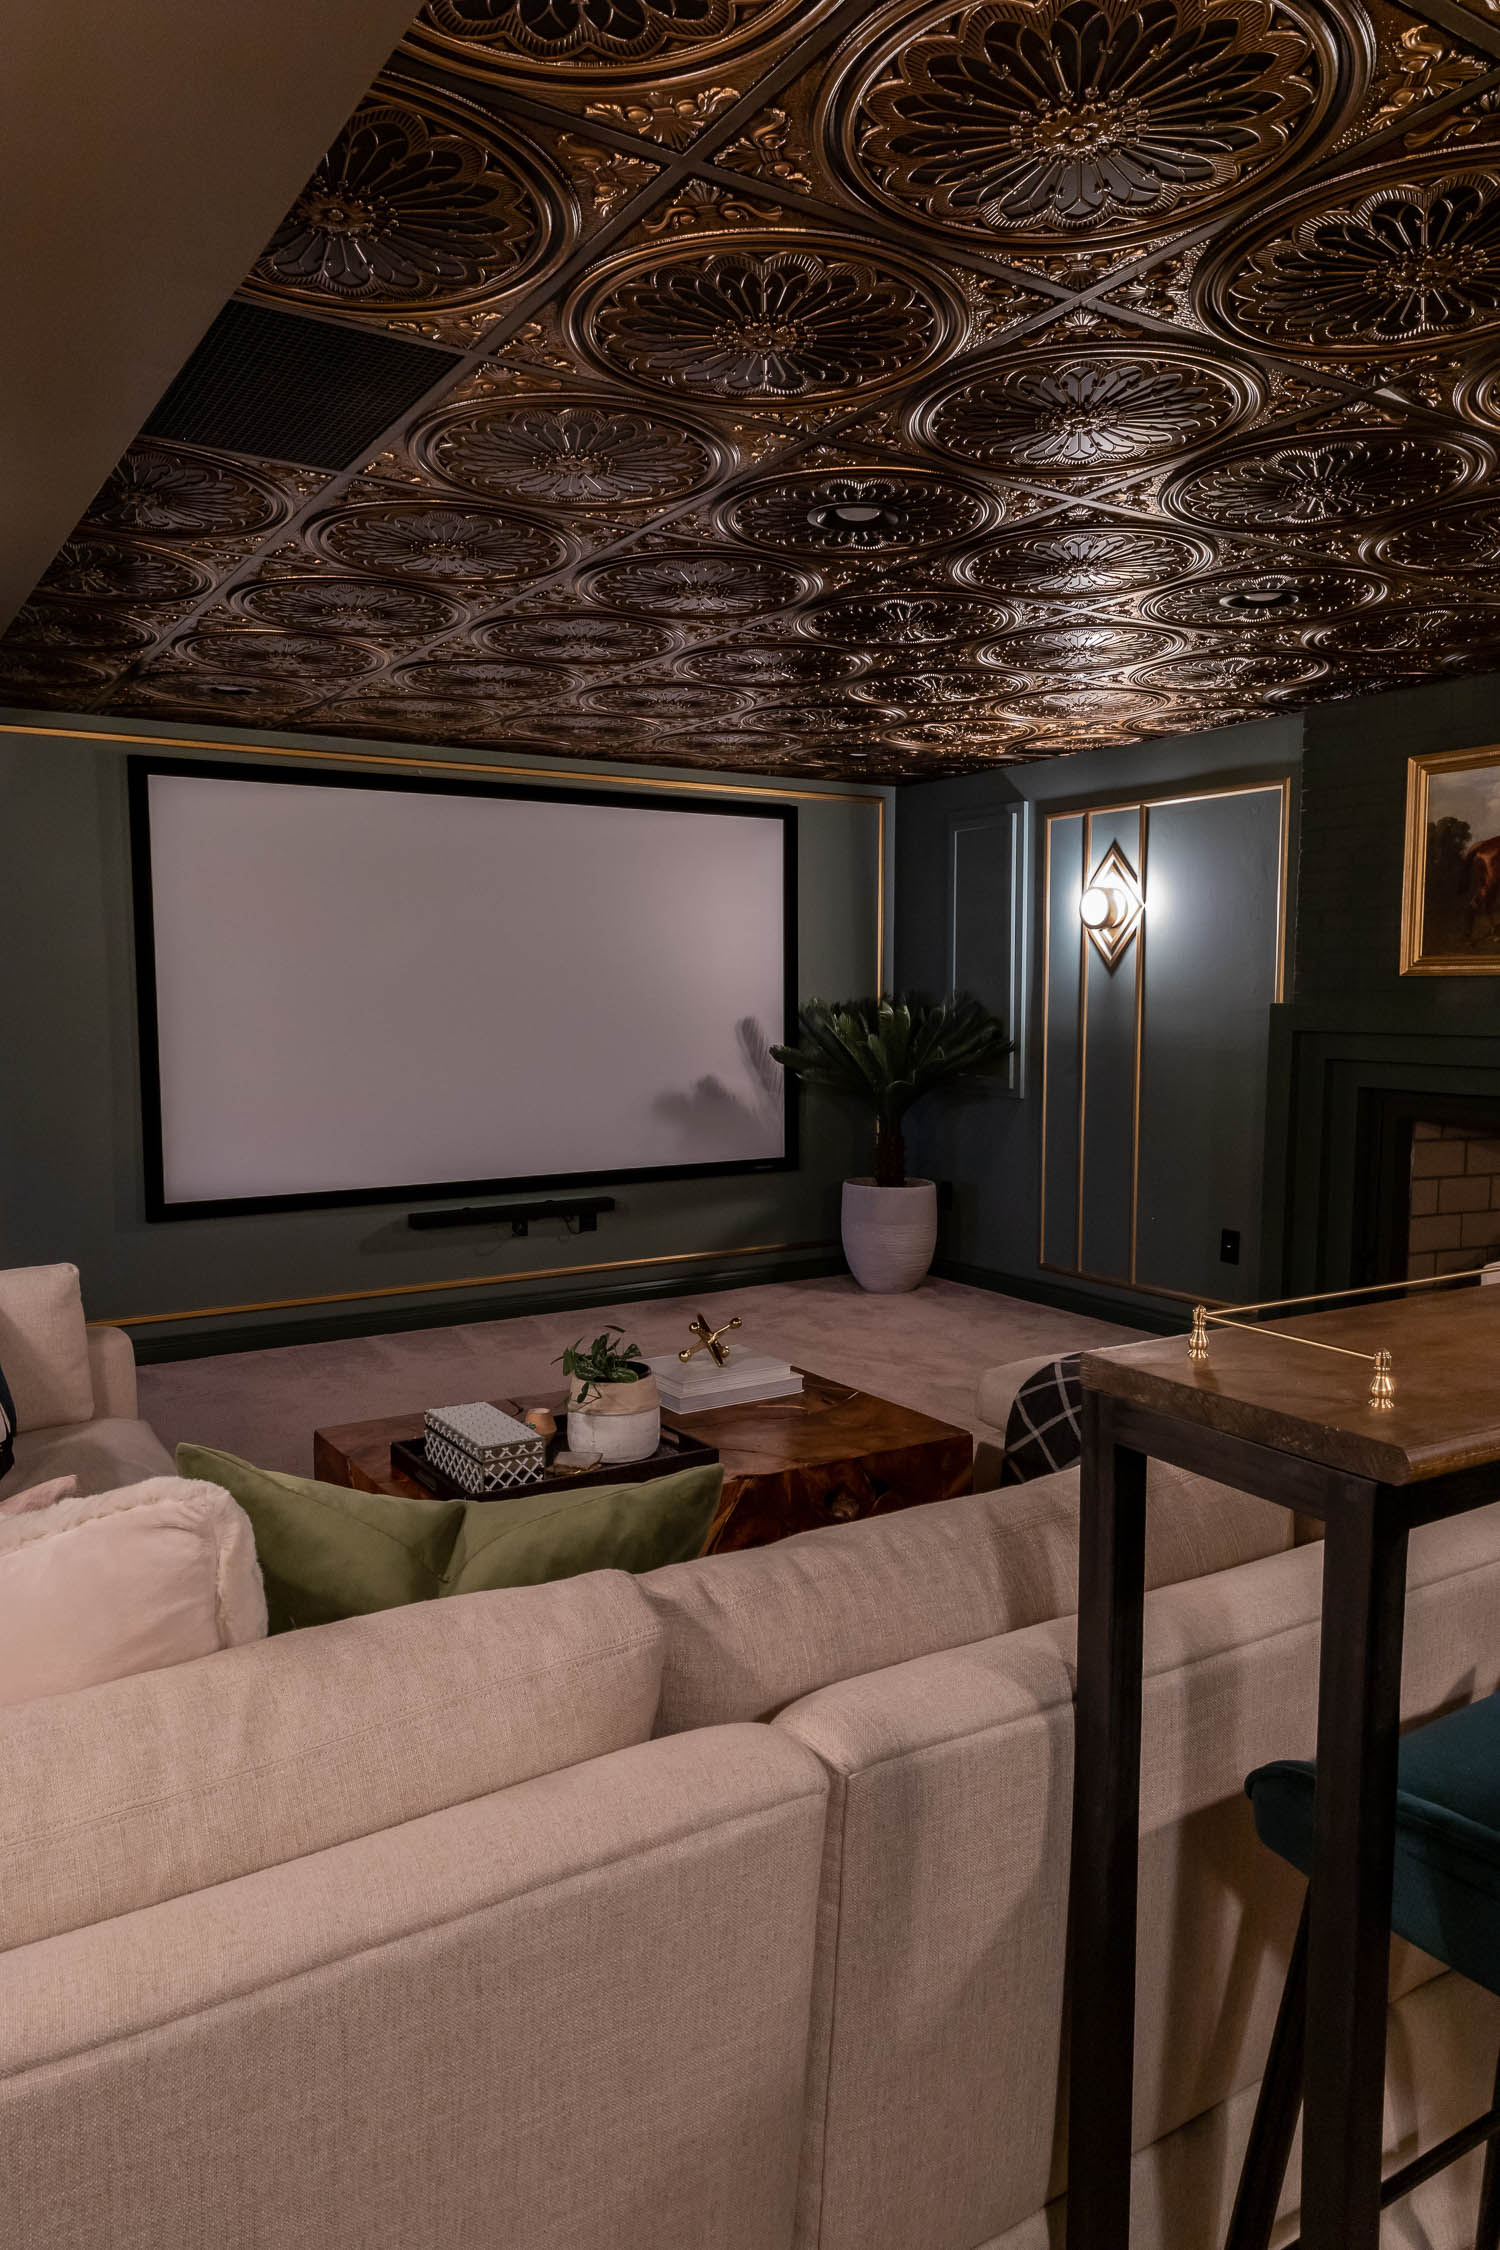
Are you getting the whole moody vibe of this home theater? Could you not just hunker down in here and lose all sense of time and space?! I totally can. And do. And this is coming from a gal who can’t sit still long enough to watch anything! But in here, yes… this is our happy, snuggly place. This theater room just wraps you up like a warm cocoon.
The Home Depot Mobile App
Product Inventory and Locator
As with most of my projects, The Home Depot mobile app helps me get things done. I use it multiple times a day – from curating shopping lists to searching for inventory – this mobile app is powerful, intuitive, and functional.
Search The Home Depot’s massive online and in-store inventory through their product inventory and locator feature. This is especially useful for an insomniac like myself when I’m awake at ungodly hours scrolling on my phone. When I tell you the design of this basement theater kept me up at night, I literally mean I couldn’t sleep because I was so excited to see these ideas come to life! I’m also able to create separate shopping lists within the app so I can curate specific items for each project and stay organized.
I spent an absurd amount of time searching through products on the mobile app until I found exactly what I was looking for for this basement renovation. I can’t tell you how many ceiling tile designs I looked through (I lost count!) before settling on this one.

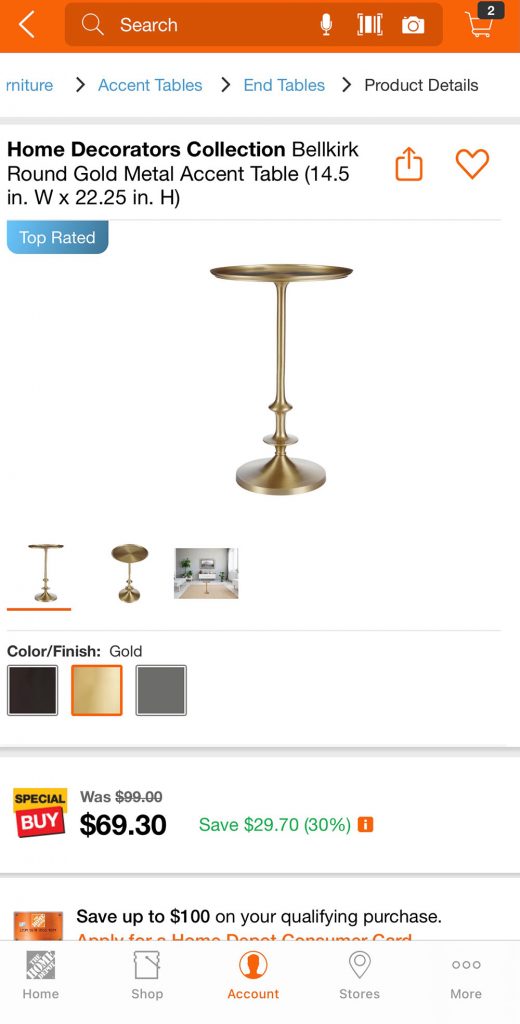
Image Search
The image search function is also super helpful. If you need to replace an item but you don’t know exactly what it’s called (ex: electrical or plumbing parts), you can click on the camera icon at the top of the app, snap a photo, and matching products will populate. If you have the location capability set up on your phone, the app will even tell you what’s in stock at your local store! Isn’t technology grand?


Tool Rental
Did you know that you can also rent tools and trucks from The Home Depot? They have trucks and trailers that can help transport large items safely, as well as heavy duty equipment to help with the big jobs. You can even rent power tools if you need to! The Home Depot has a well-stocked Rental Center that will help you tackle your next home improvement project.

Home Theater Renovation
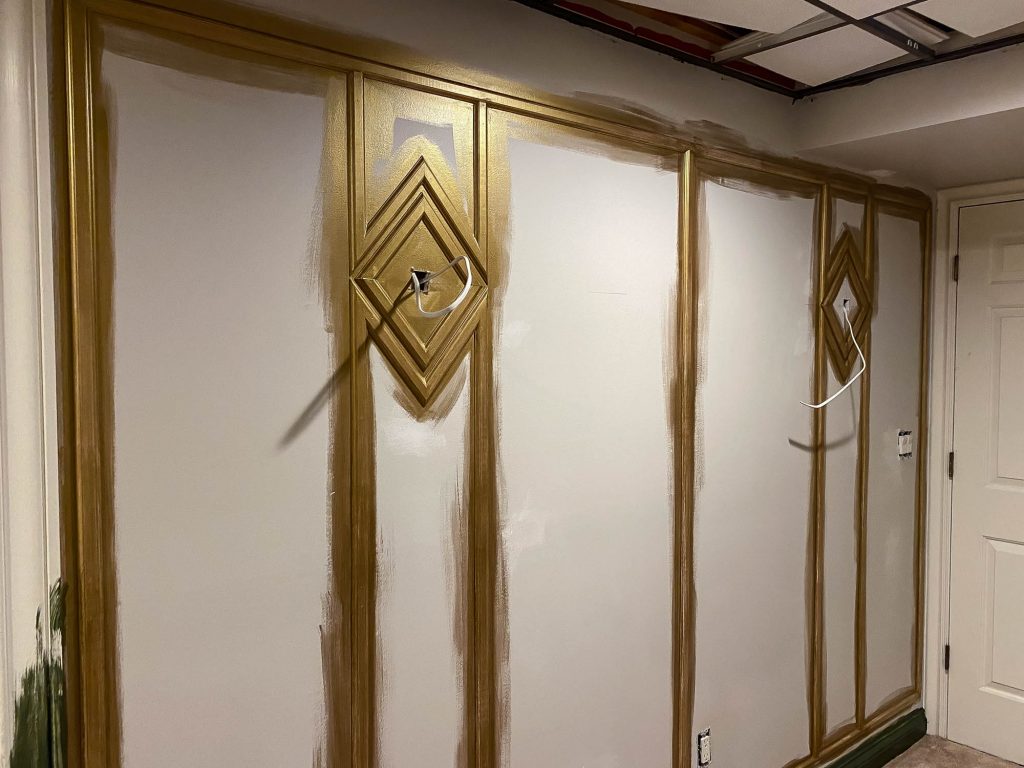
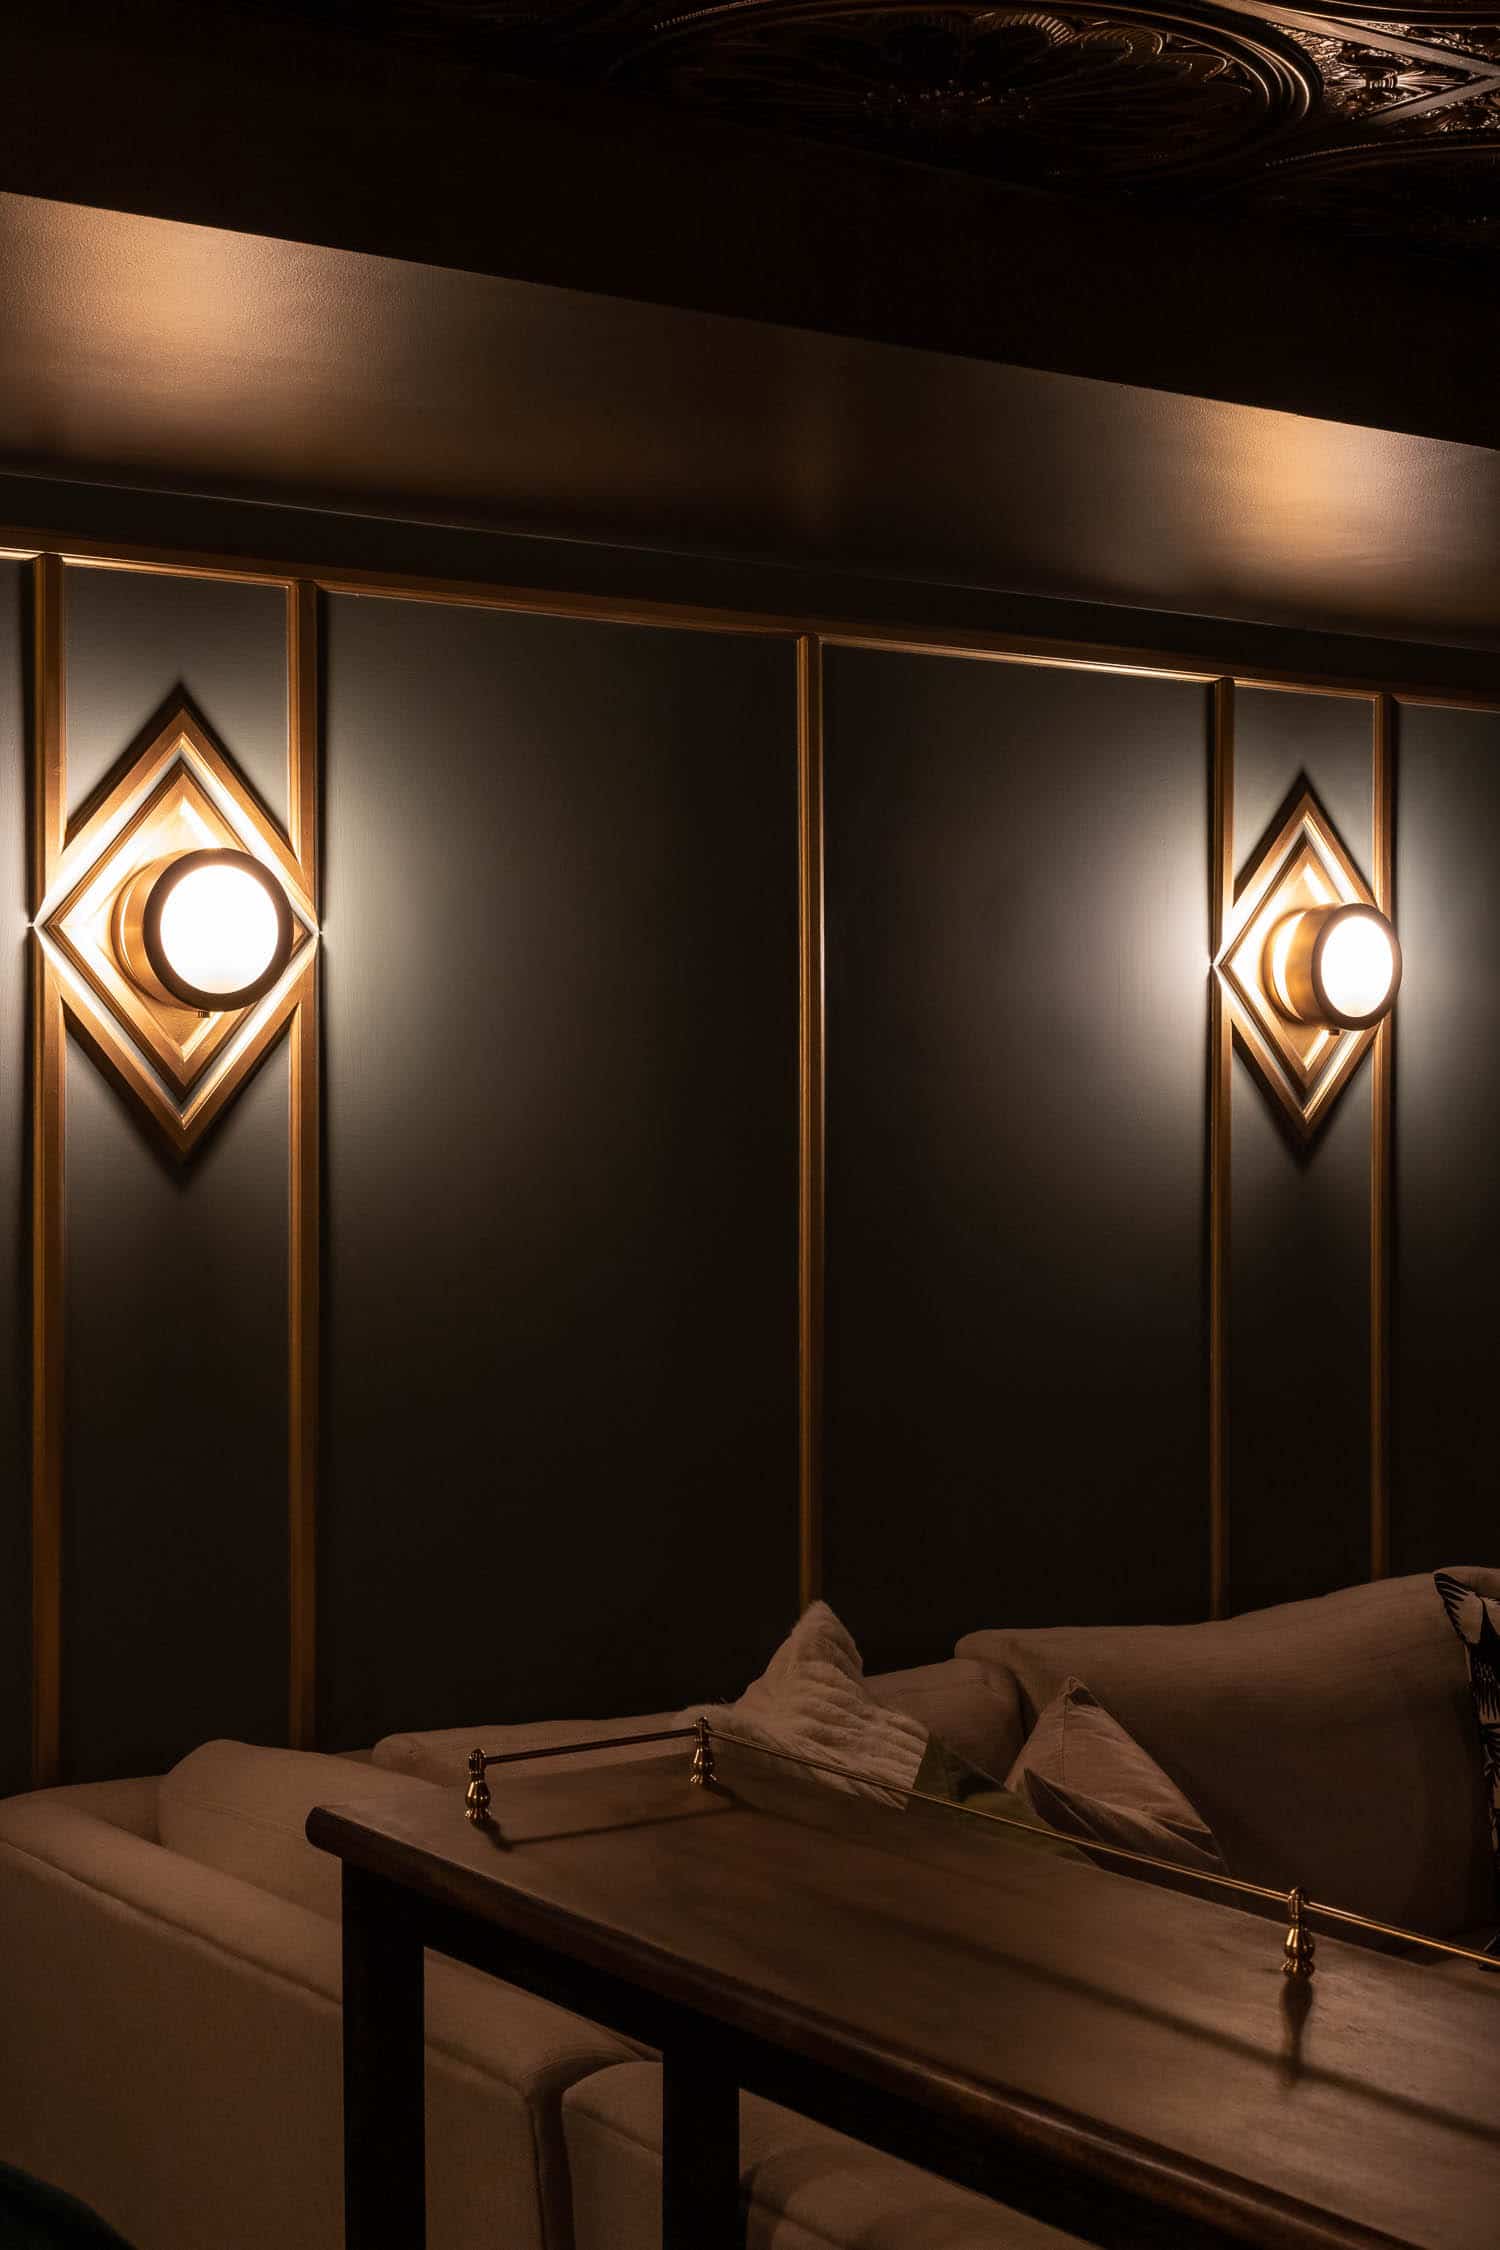
After we cleared out the space, our electricians wired the room for the wall sconces. As soon as the sconce placement was decided, the trim could be installed. We actually used window mullions for this trim! Are you in love with this design as much as I am?! If this molding doesn’t scream ‘Art Deco,’ I don’t know what does.
I wrote a blog post on how to install picture frame molding on the wall here and we even filmed a video that you can check out if you’re interested. It’s an easy DIY project that gives you a lot of bang for your buck!
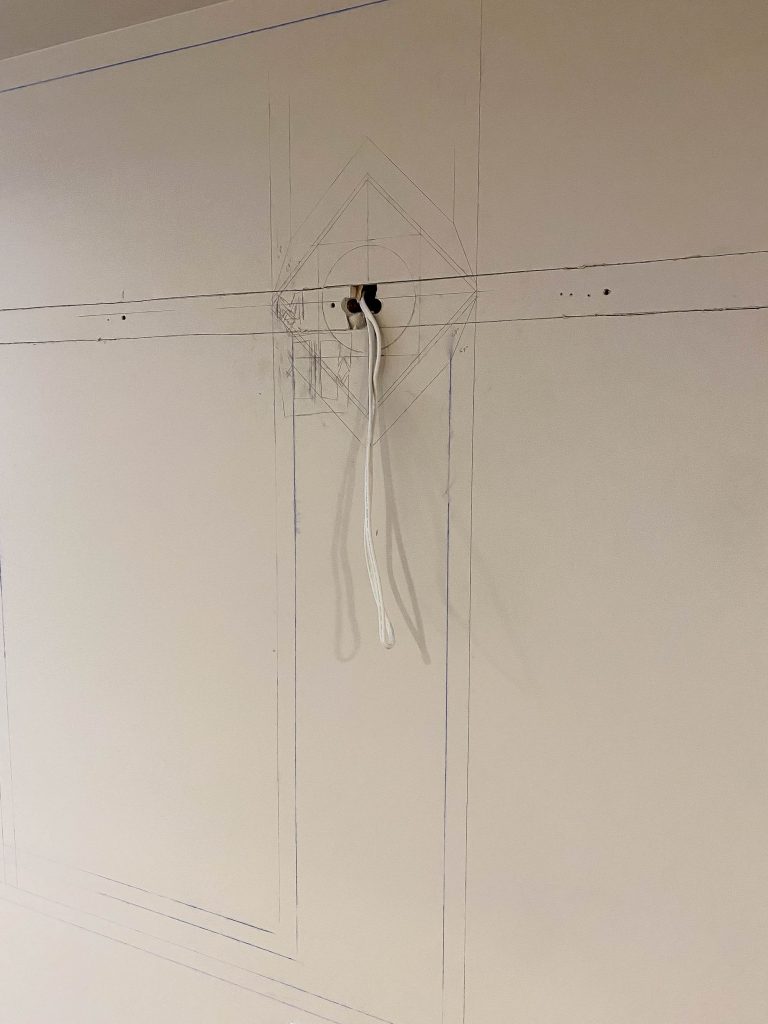
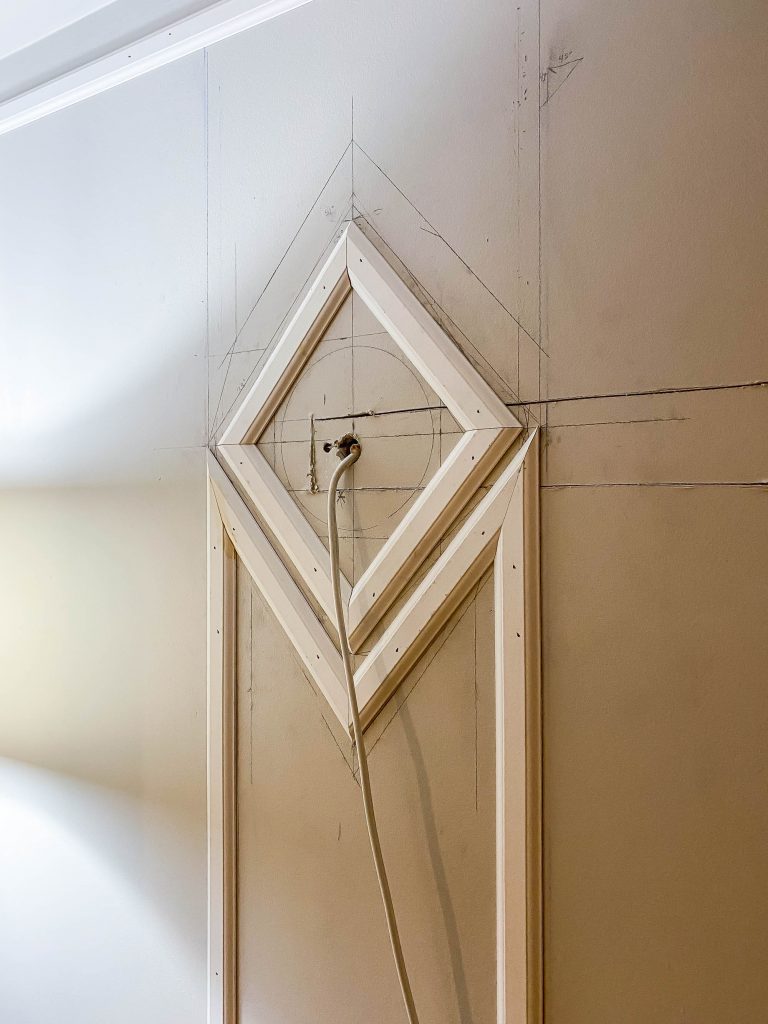
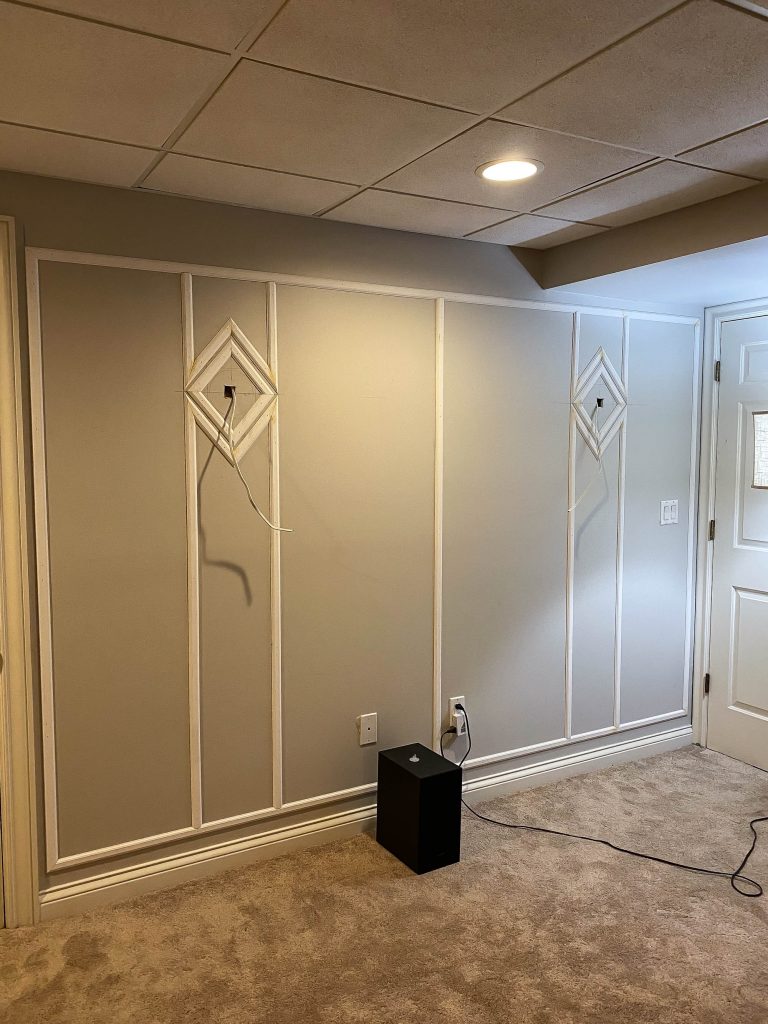
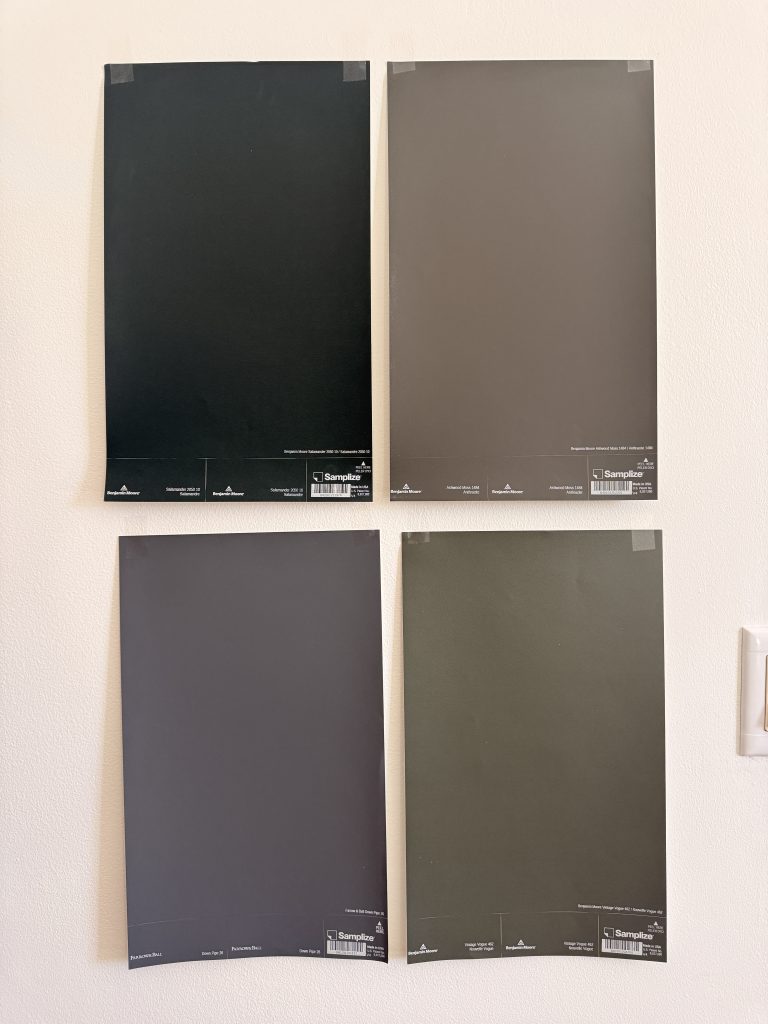
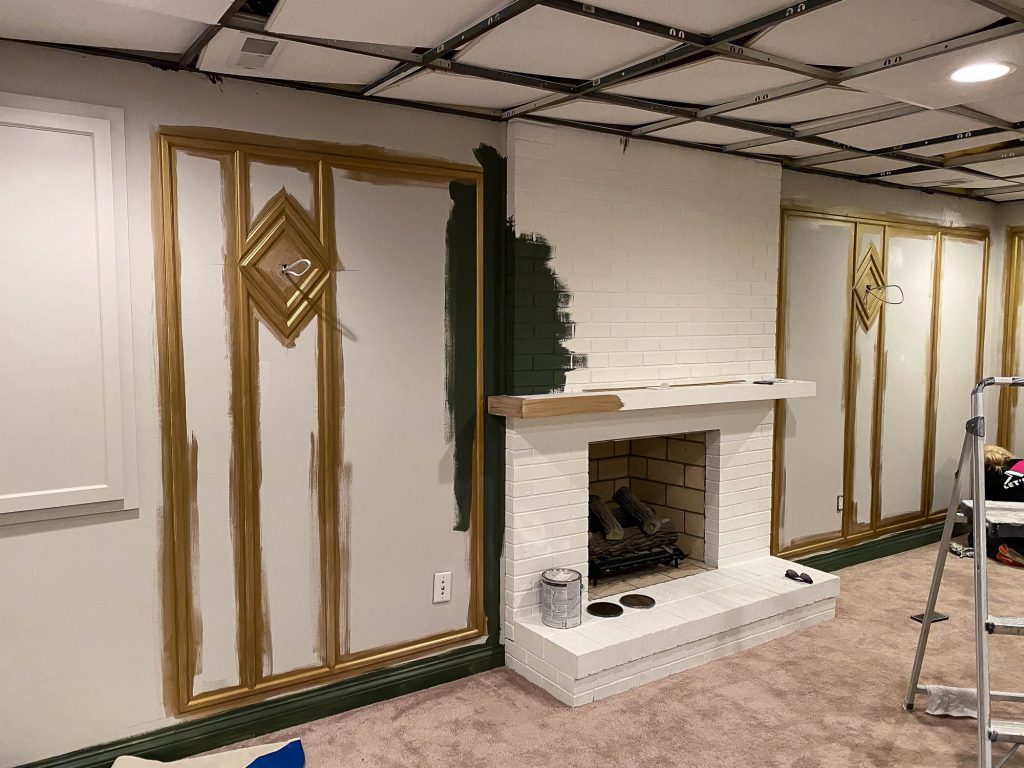
Once the trim was done, I agonized over the color choices (what else is new?). I knew I wanted the trim to be gold, but I was unsure about the wall color. Home theater enthusiasts often recommend a dark, flat wall paint to avoid distractions from the ‘movie theater’ experience. As usual, I considered many different paint colors for the room, and called on my favorite painters to make all of my crazy paint dreams come true. And boy, did they have their work cut out for them! This was quite an intense project! (But I am nothing, if not “extra,” and they are well aware.) First, they painted the trim, then went back and cut into the walls. The steady hands and attention to detail that these ladies have are nothing short of incredible.
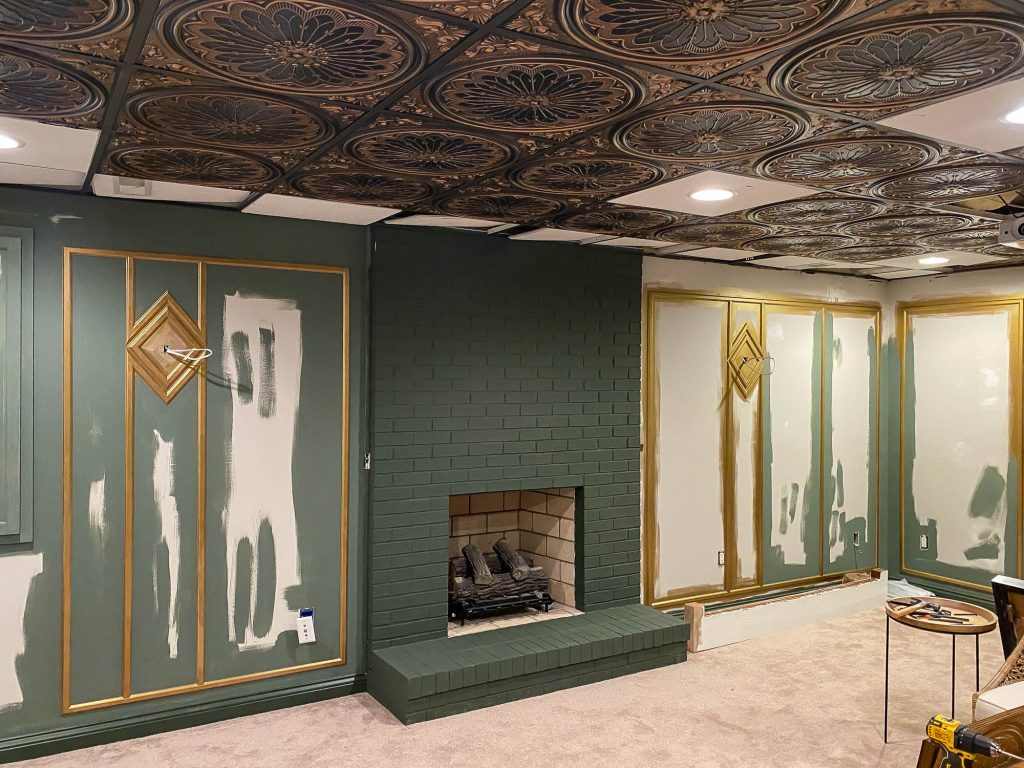
We finally landed on “Vintage Vogue” for the wall color, but once I saw it on both the walls and the fireplace brick, it just didn’t feel right. I realized I wanted a little more contrast between the fireplace and the wall, so we had the paint store associate mix up the wall paint at varying strengths. We used 100% strength for the brick and 75% for the walls. It turned out to be the perfect solution! I love how this color is muted and masculine – it has a vintage, nostalgic charm to it, while still feeling relevant and modern.
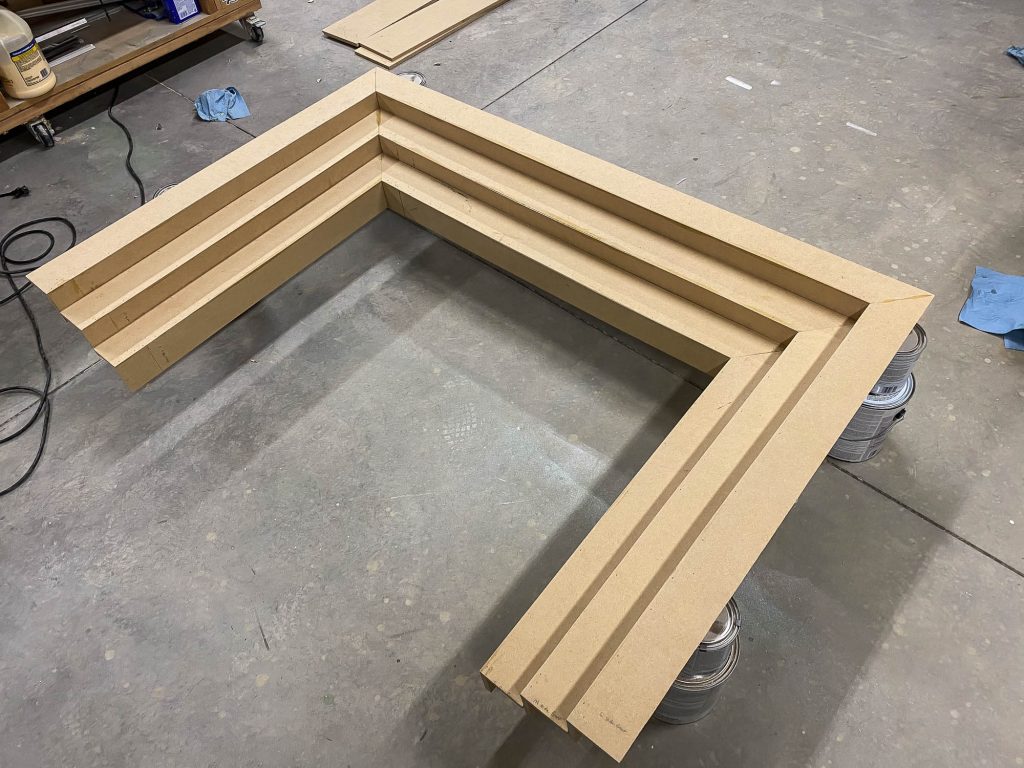
$30 DIY Art Deco Fireplace Surround
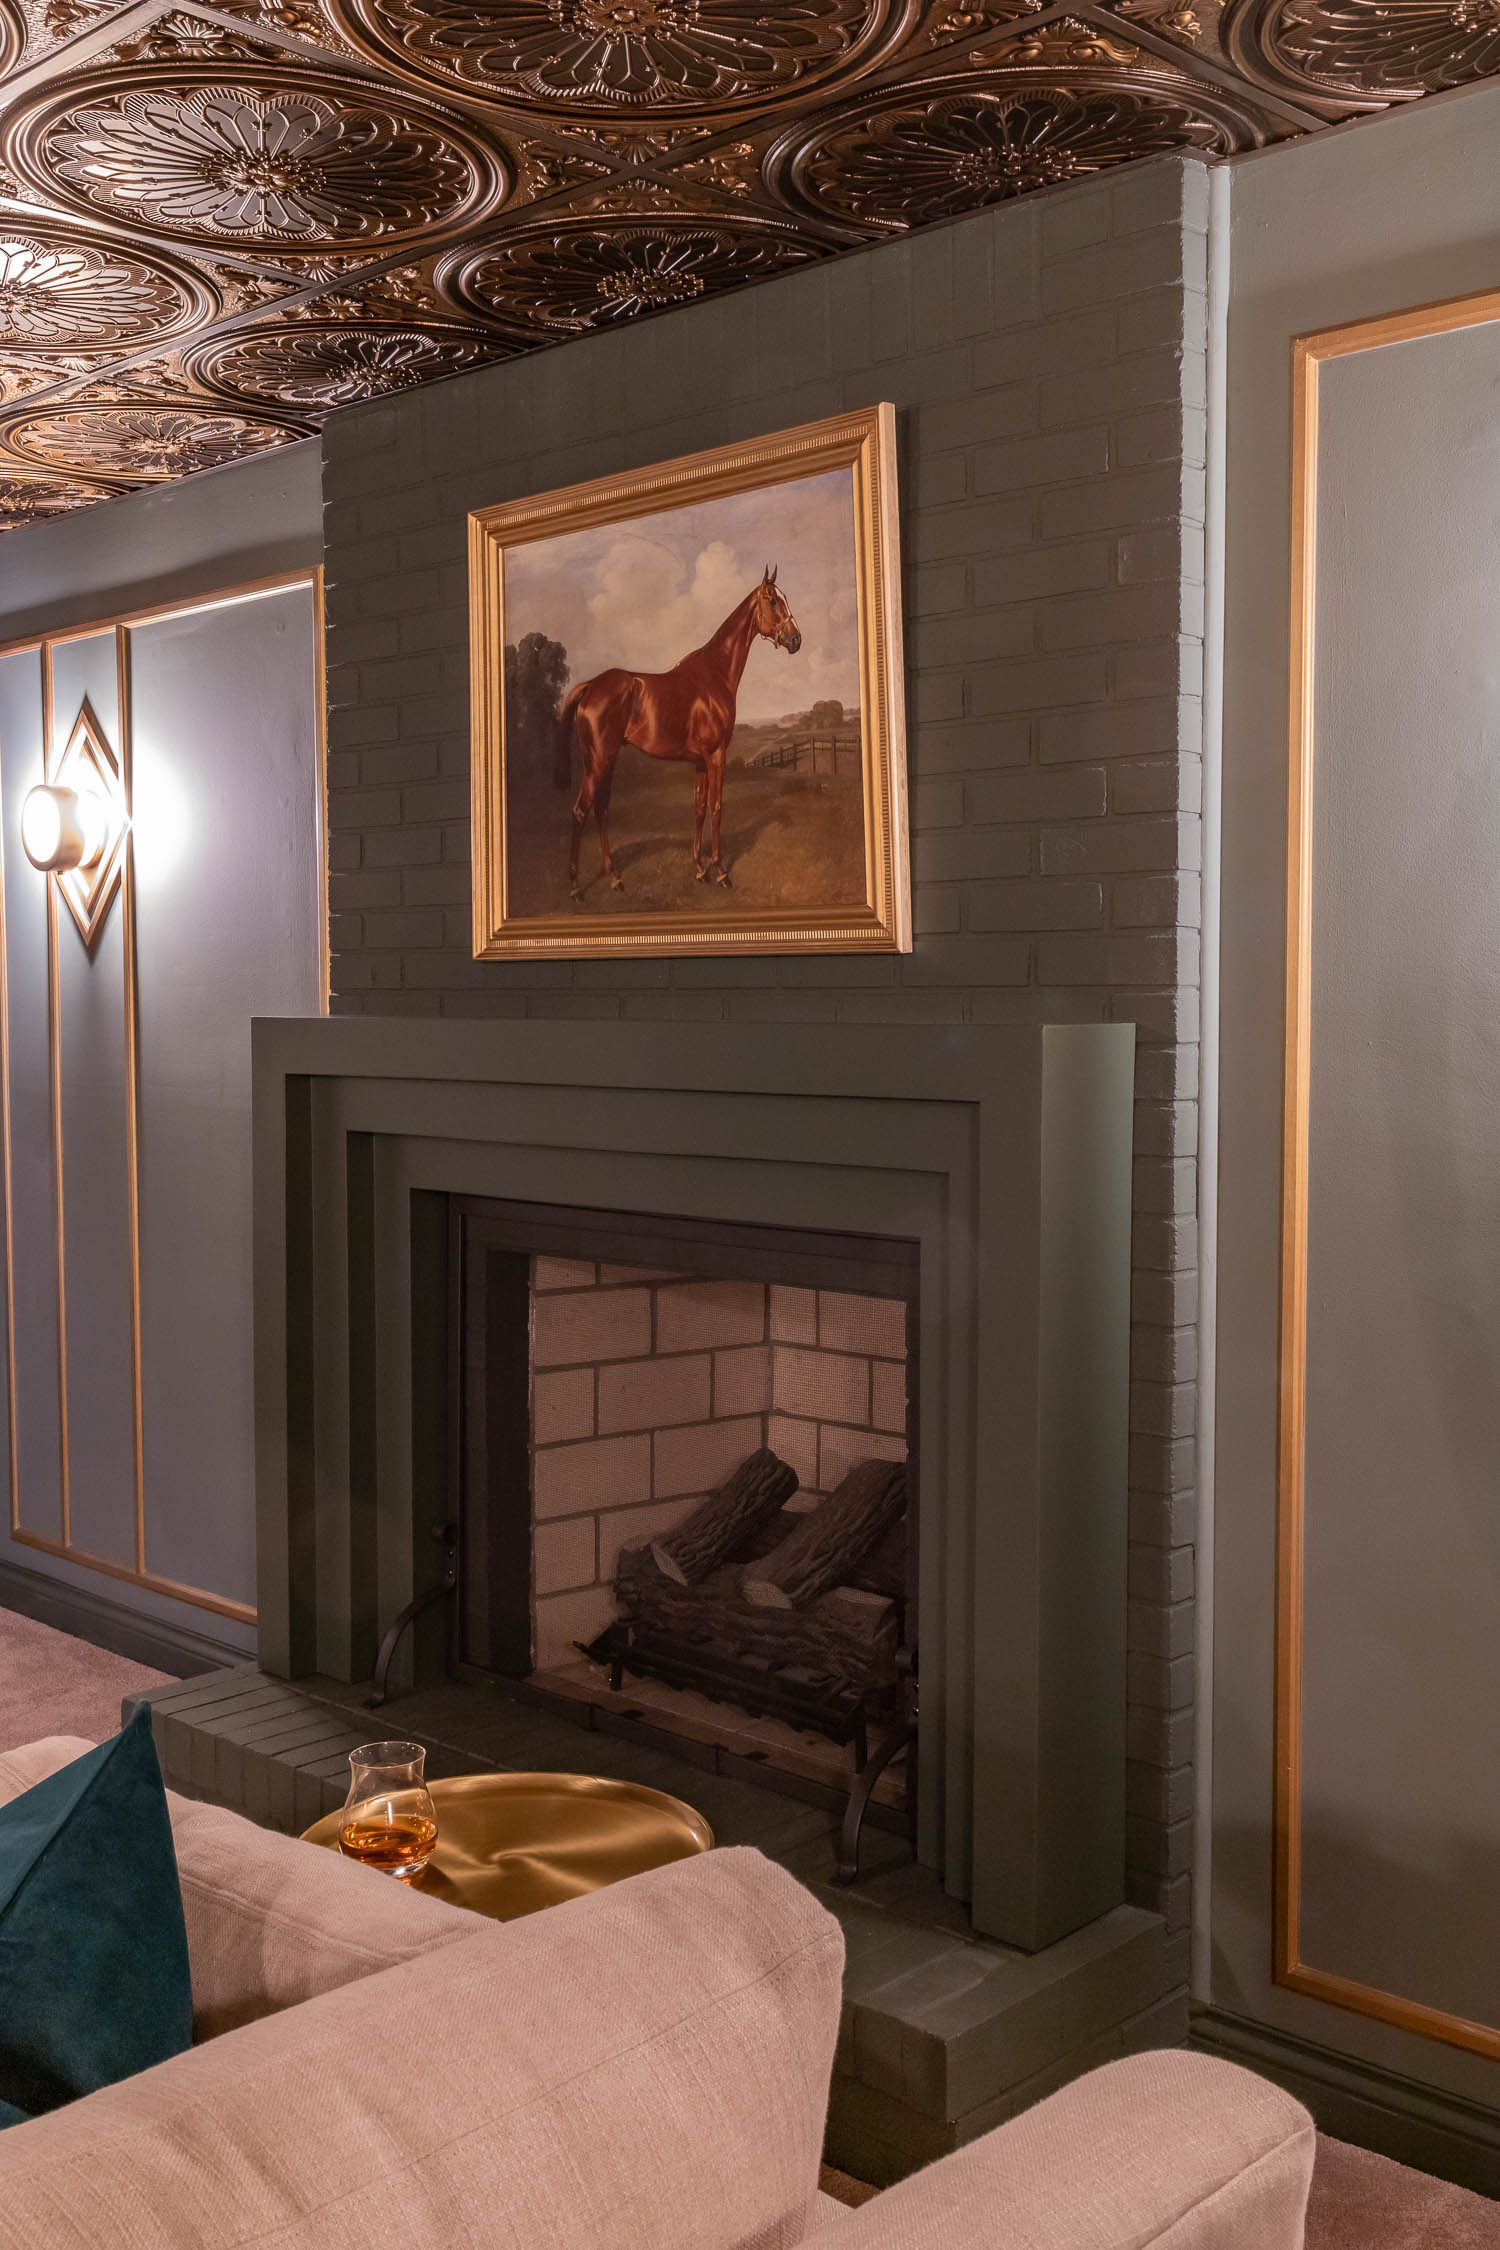
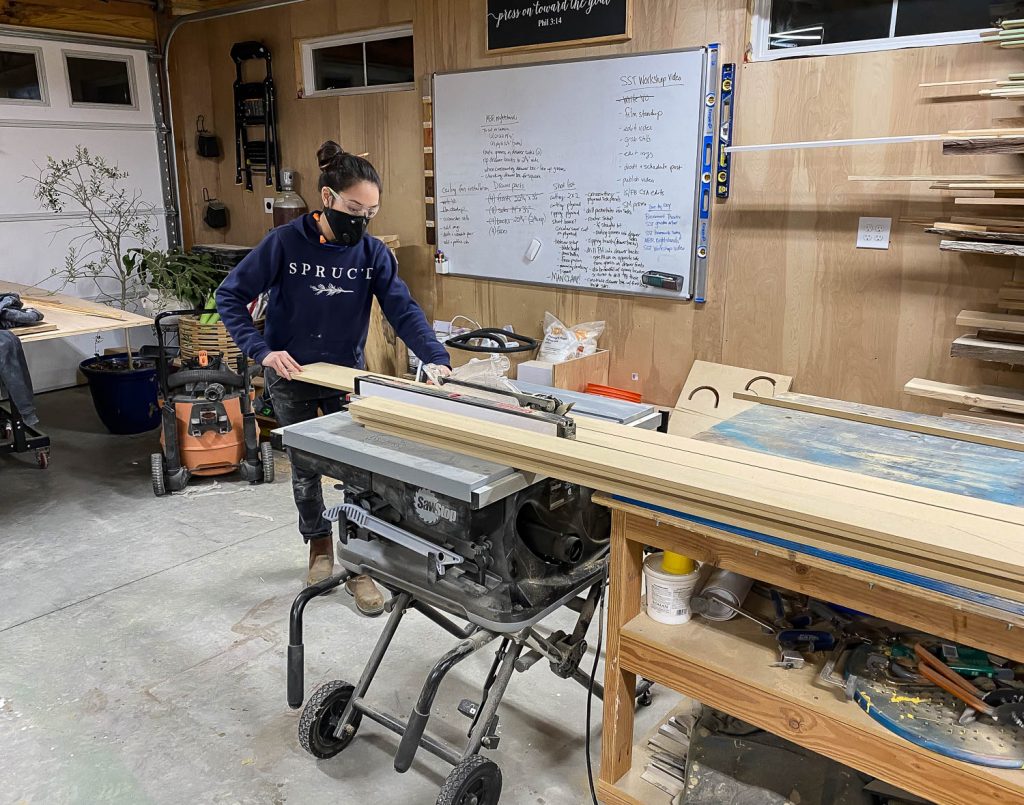
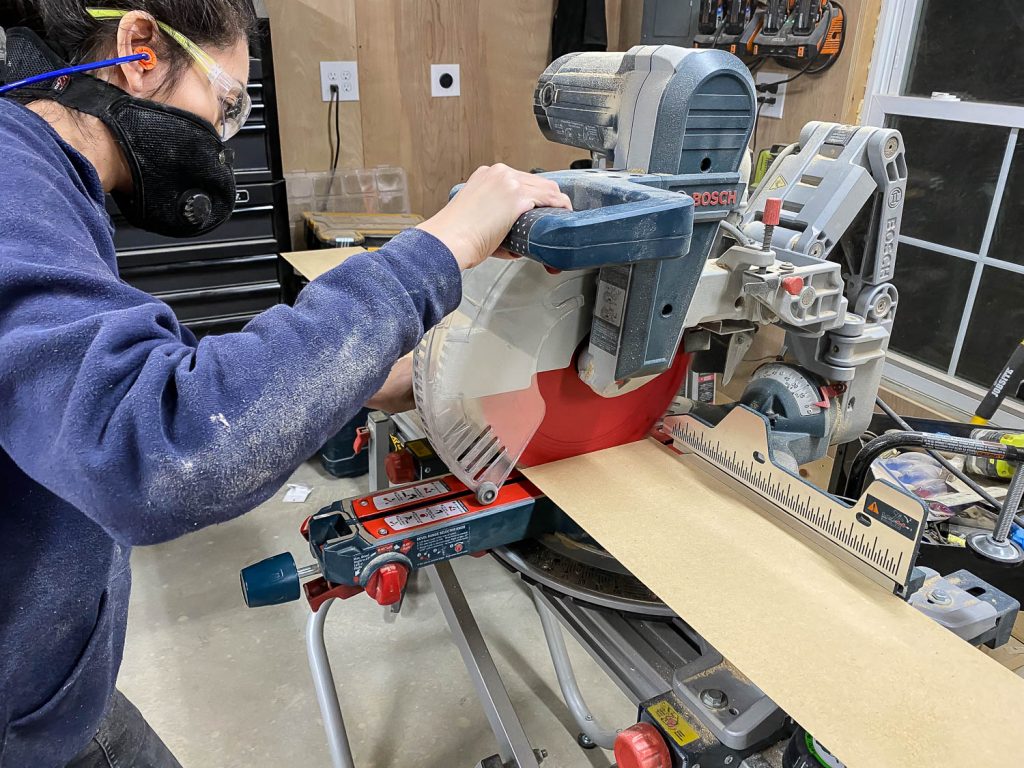
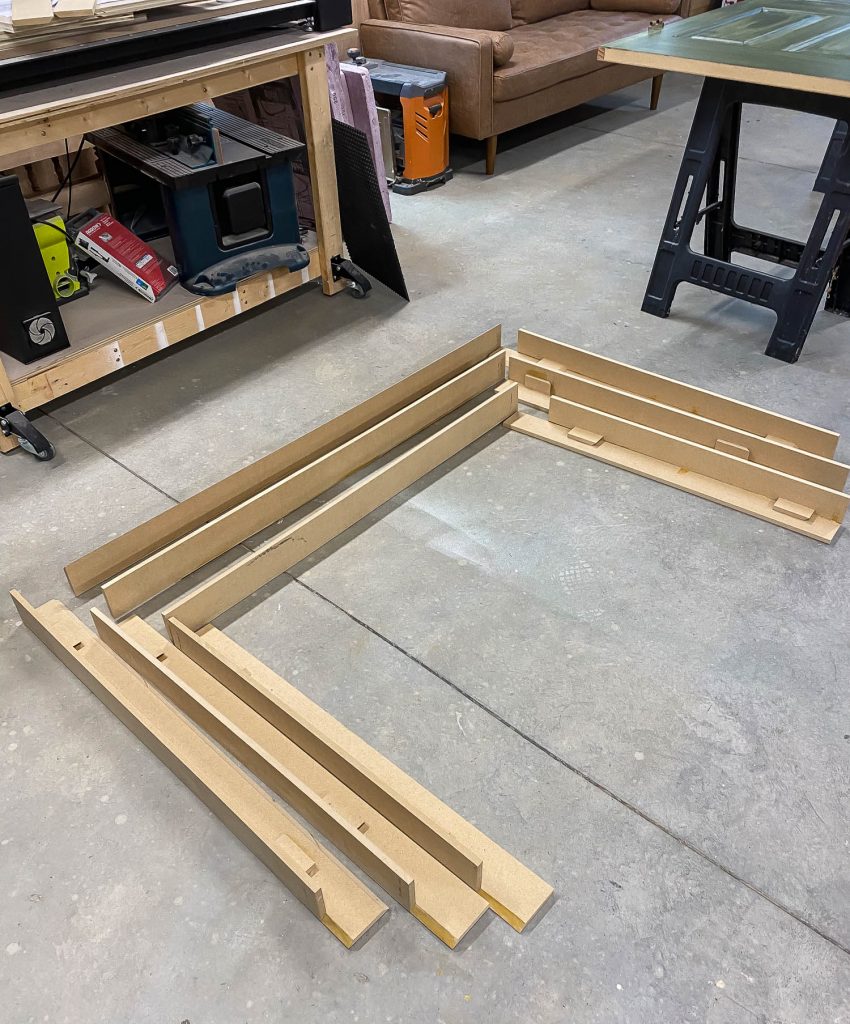
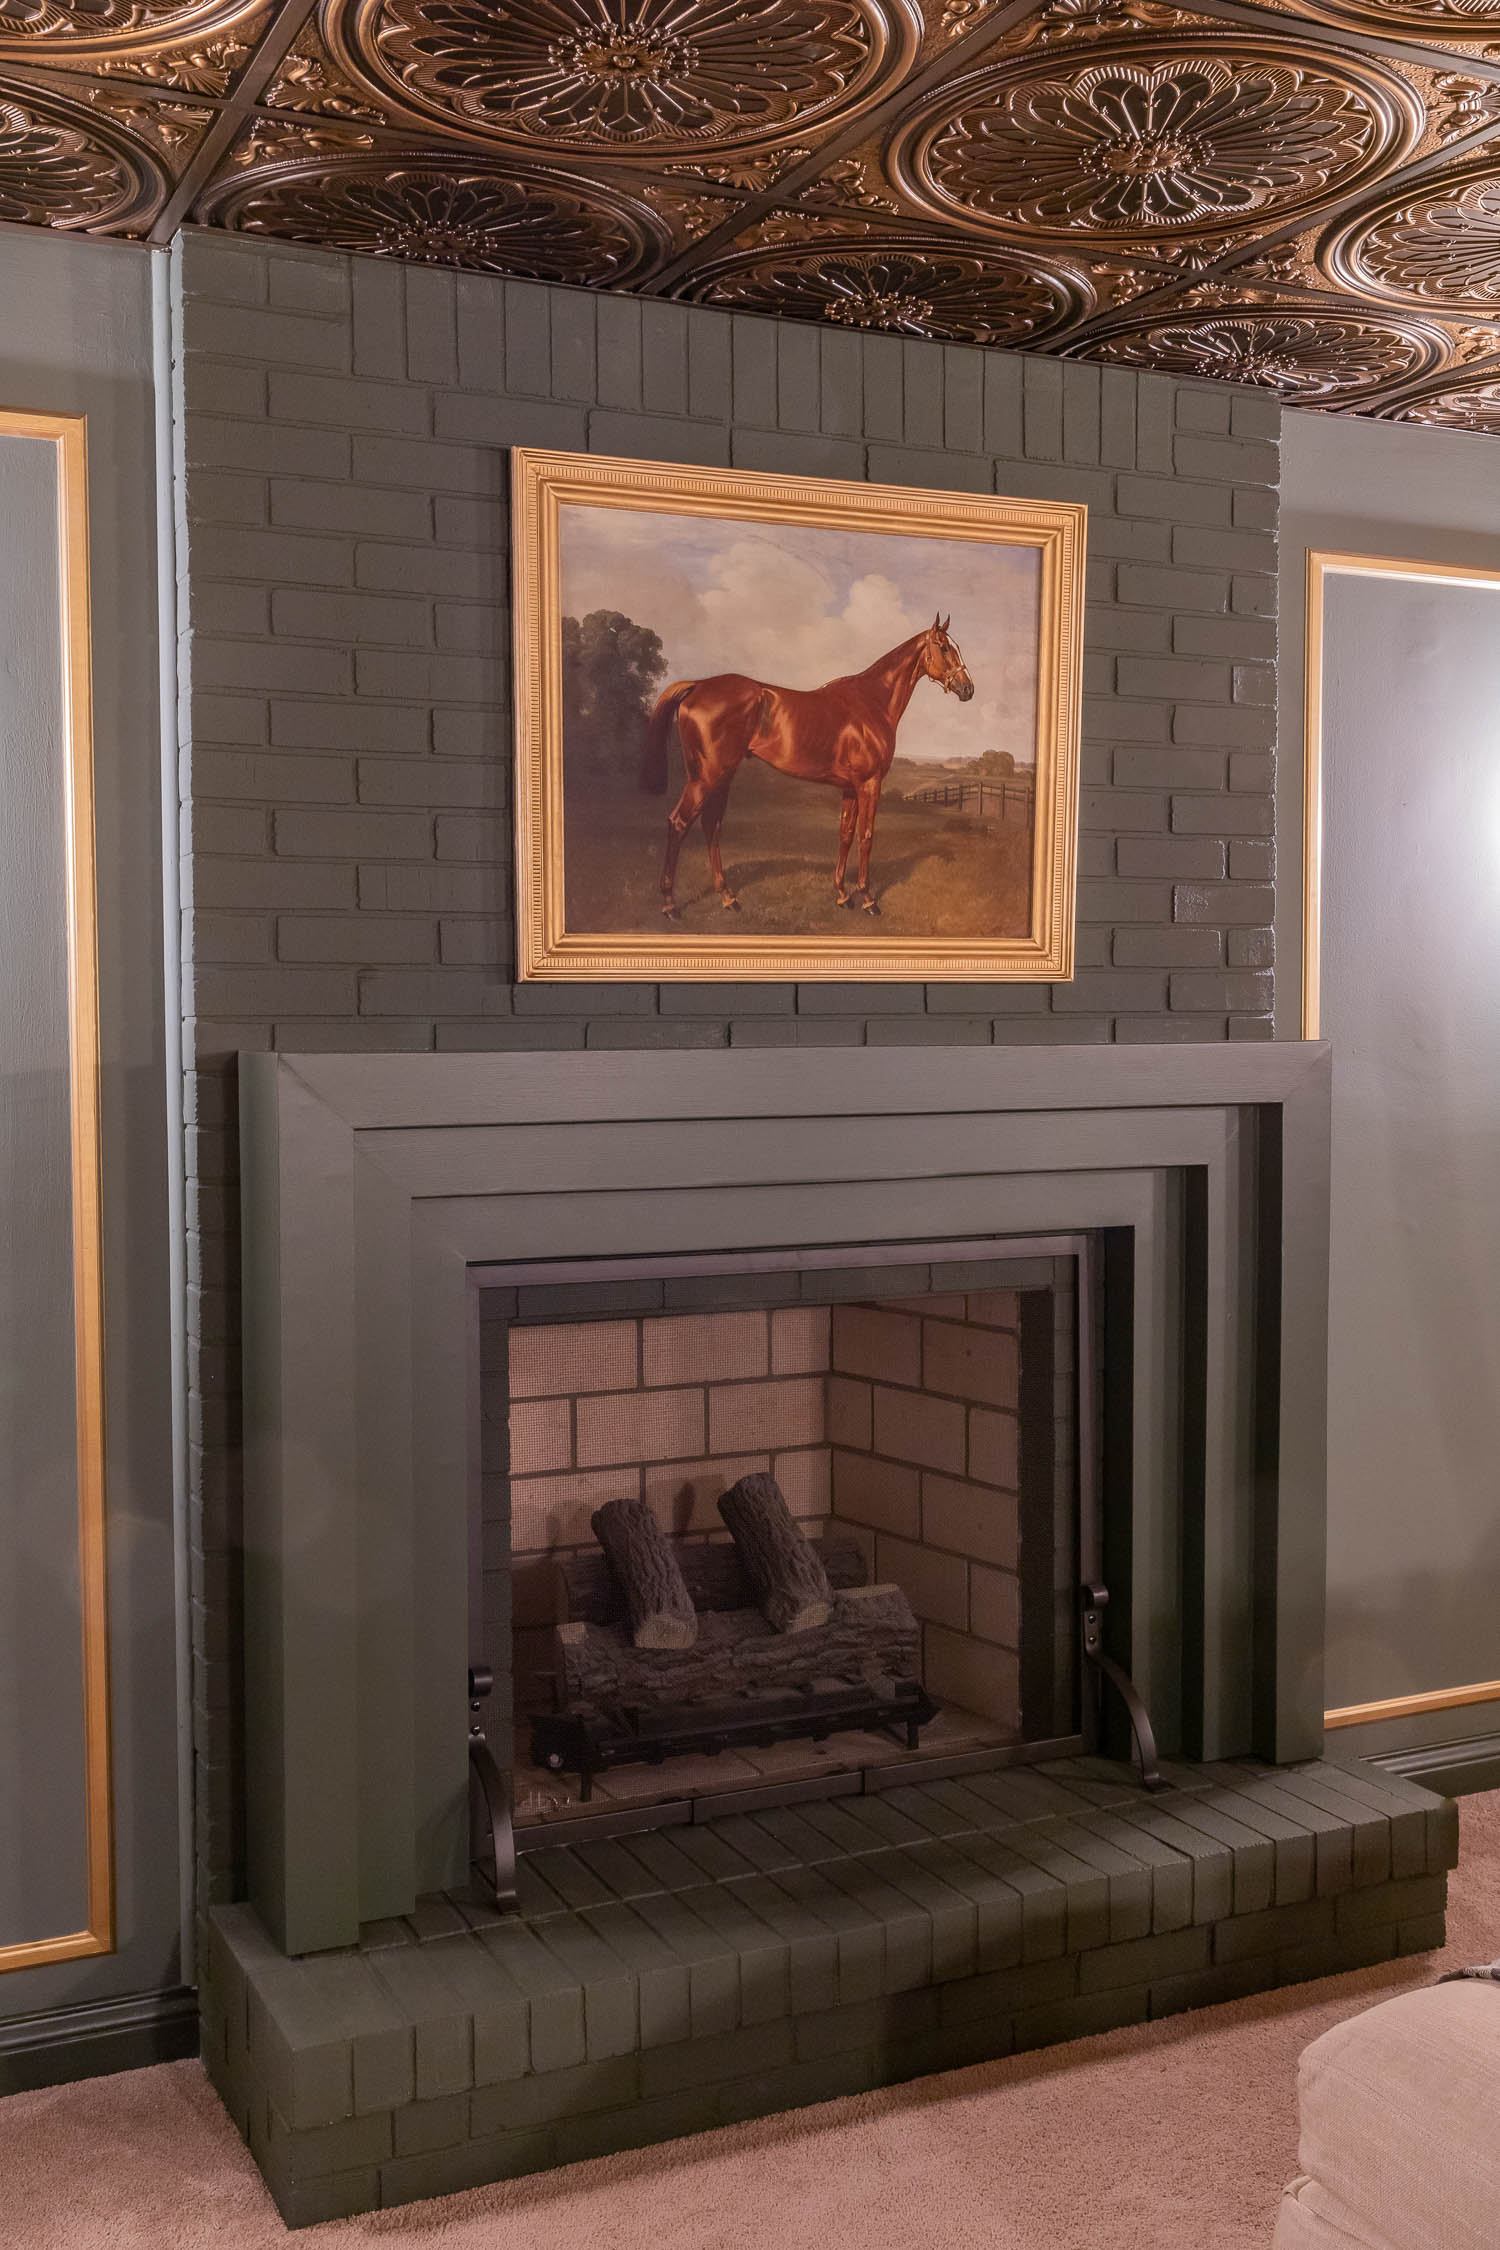
We removed the small mantel from the fireplace and built a new Art Deco-style fireplace surround. Building this tiered surround proved to be a surprisingly difficult project! Most of the edges are beveled, so the joints are seamless, but keeping track of which needed to be beveled, mitered, or squared off was really tricky! I followed this tutorial closely and adjusted the measurements to fit our space. I also labeled all of my parts so I didn’t get confused. This Art Deco fireplace was made out of a single sheet of 1/2-inch thick MDF – not half bad for a $30 solution, right?!
$20 DIY Large Art Frame
Large, antique gold art frames can be quite pricey, so I picked up a few feet of this decorative dentil molding for about $20 and made my own! It was an easy and cost-effective DIY project that I was able to completely customize. The horse artwork is a nod to the Kentucky Derby as well as to the Peaky Blinders (the Shelby family are horse-racing gamblers).
$60 DIY Bar Pub Table
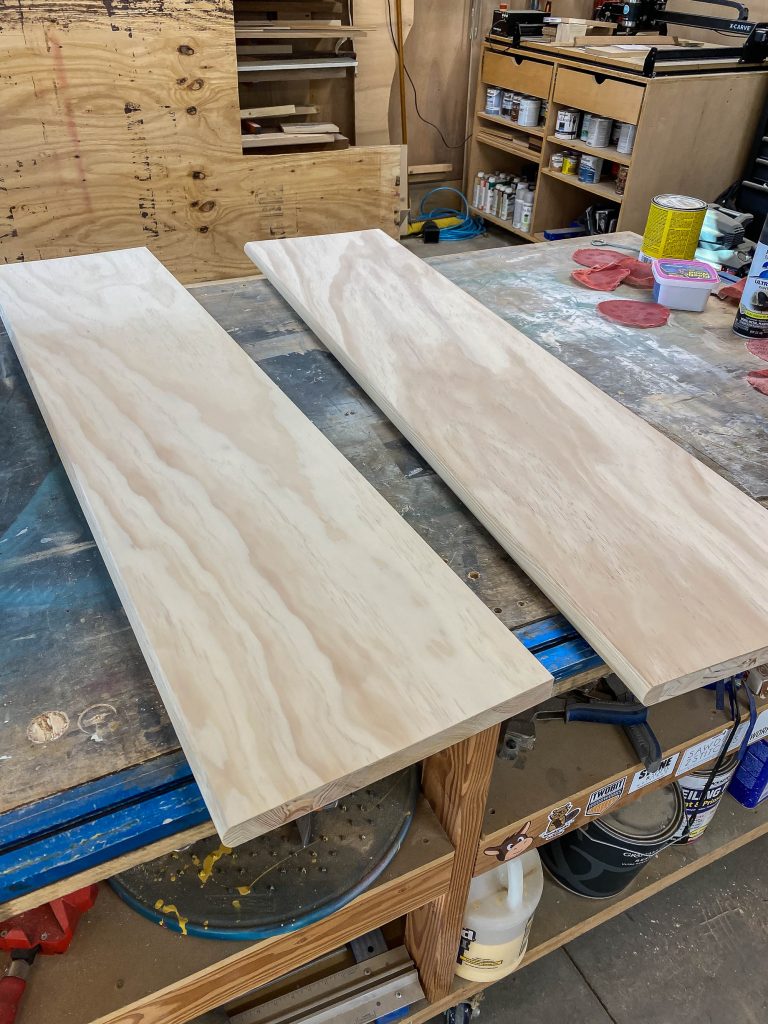
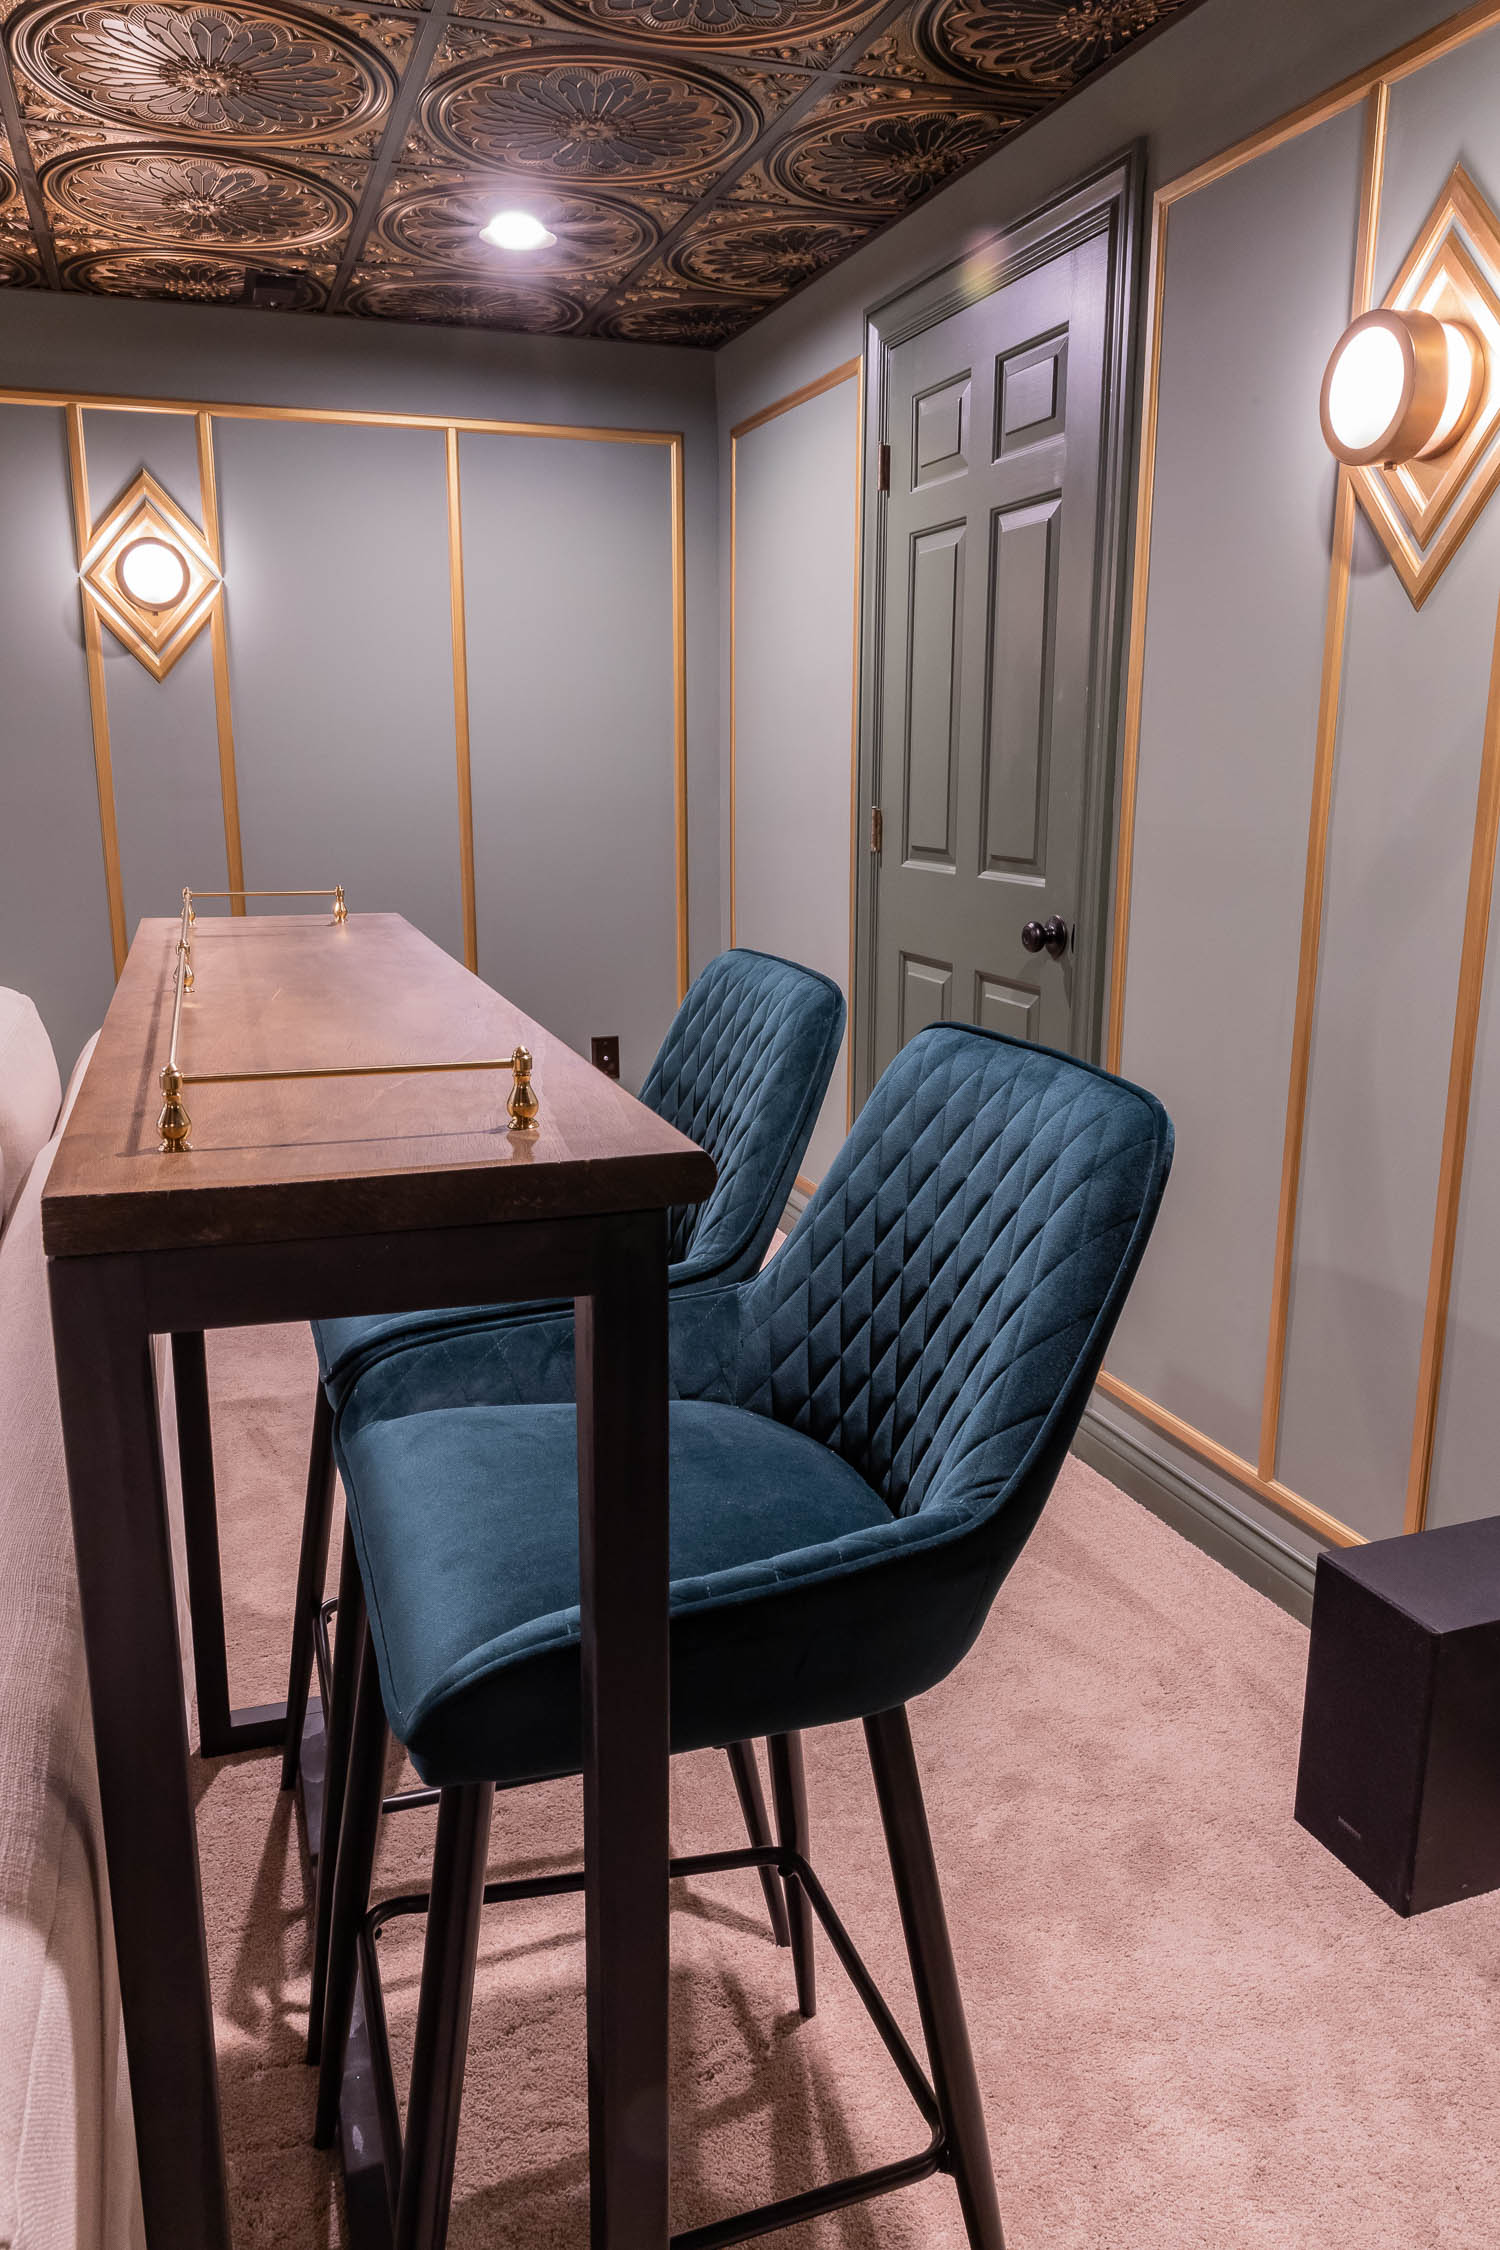
My kids love to snack while they’re watching movies, but like most kids their age, they’re really great at making messes. Because I don’t want them to get chocolate ice cream all over my light-colored sectional, I built two bar tables for the back of the room. All of the options I considered for the bar top were either too expensive or not readily available (natural stone, butcher block, something else?), so I racked my brain to find a smarter solution. Wandering up and down the aisles of Home Depot helps get my creative juices flowing, which is how I stumbled upon these pine stair treads! They were the perfect size and thickness, and at $11/piece, they were just the right price, too! It cost about $120 to build both bar tables.
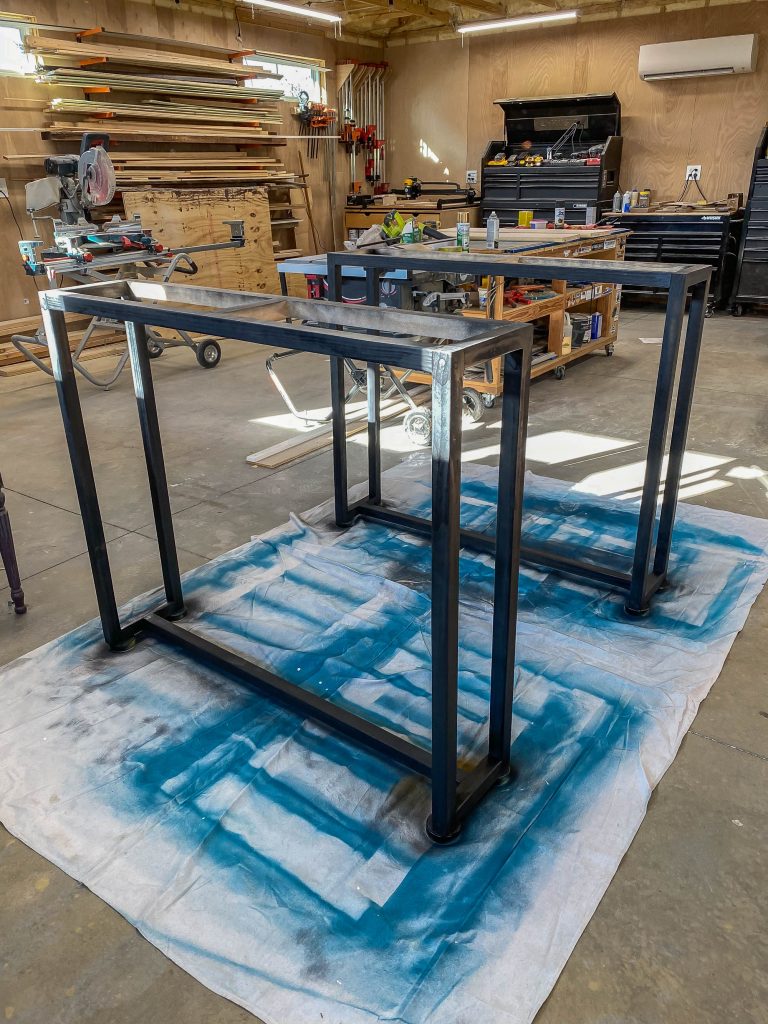
The carpet in our basement is very thick and plush, so the bar tables are a bit tippy (that’s a technical term). I think I’ll have to add reinforcements to the bottom later, but I was too impatient – I wanted to see the tables in the room as soon as possible.
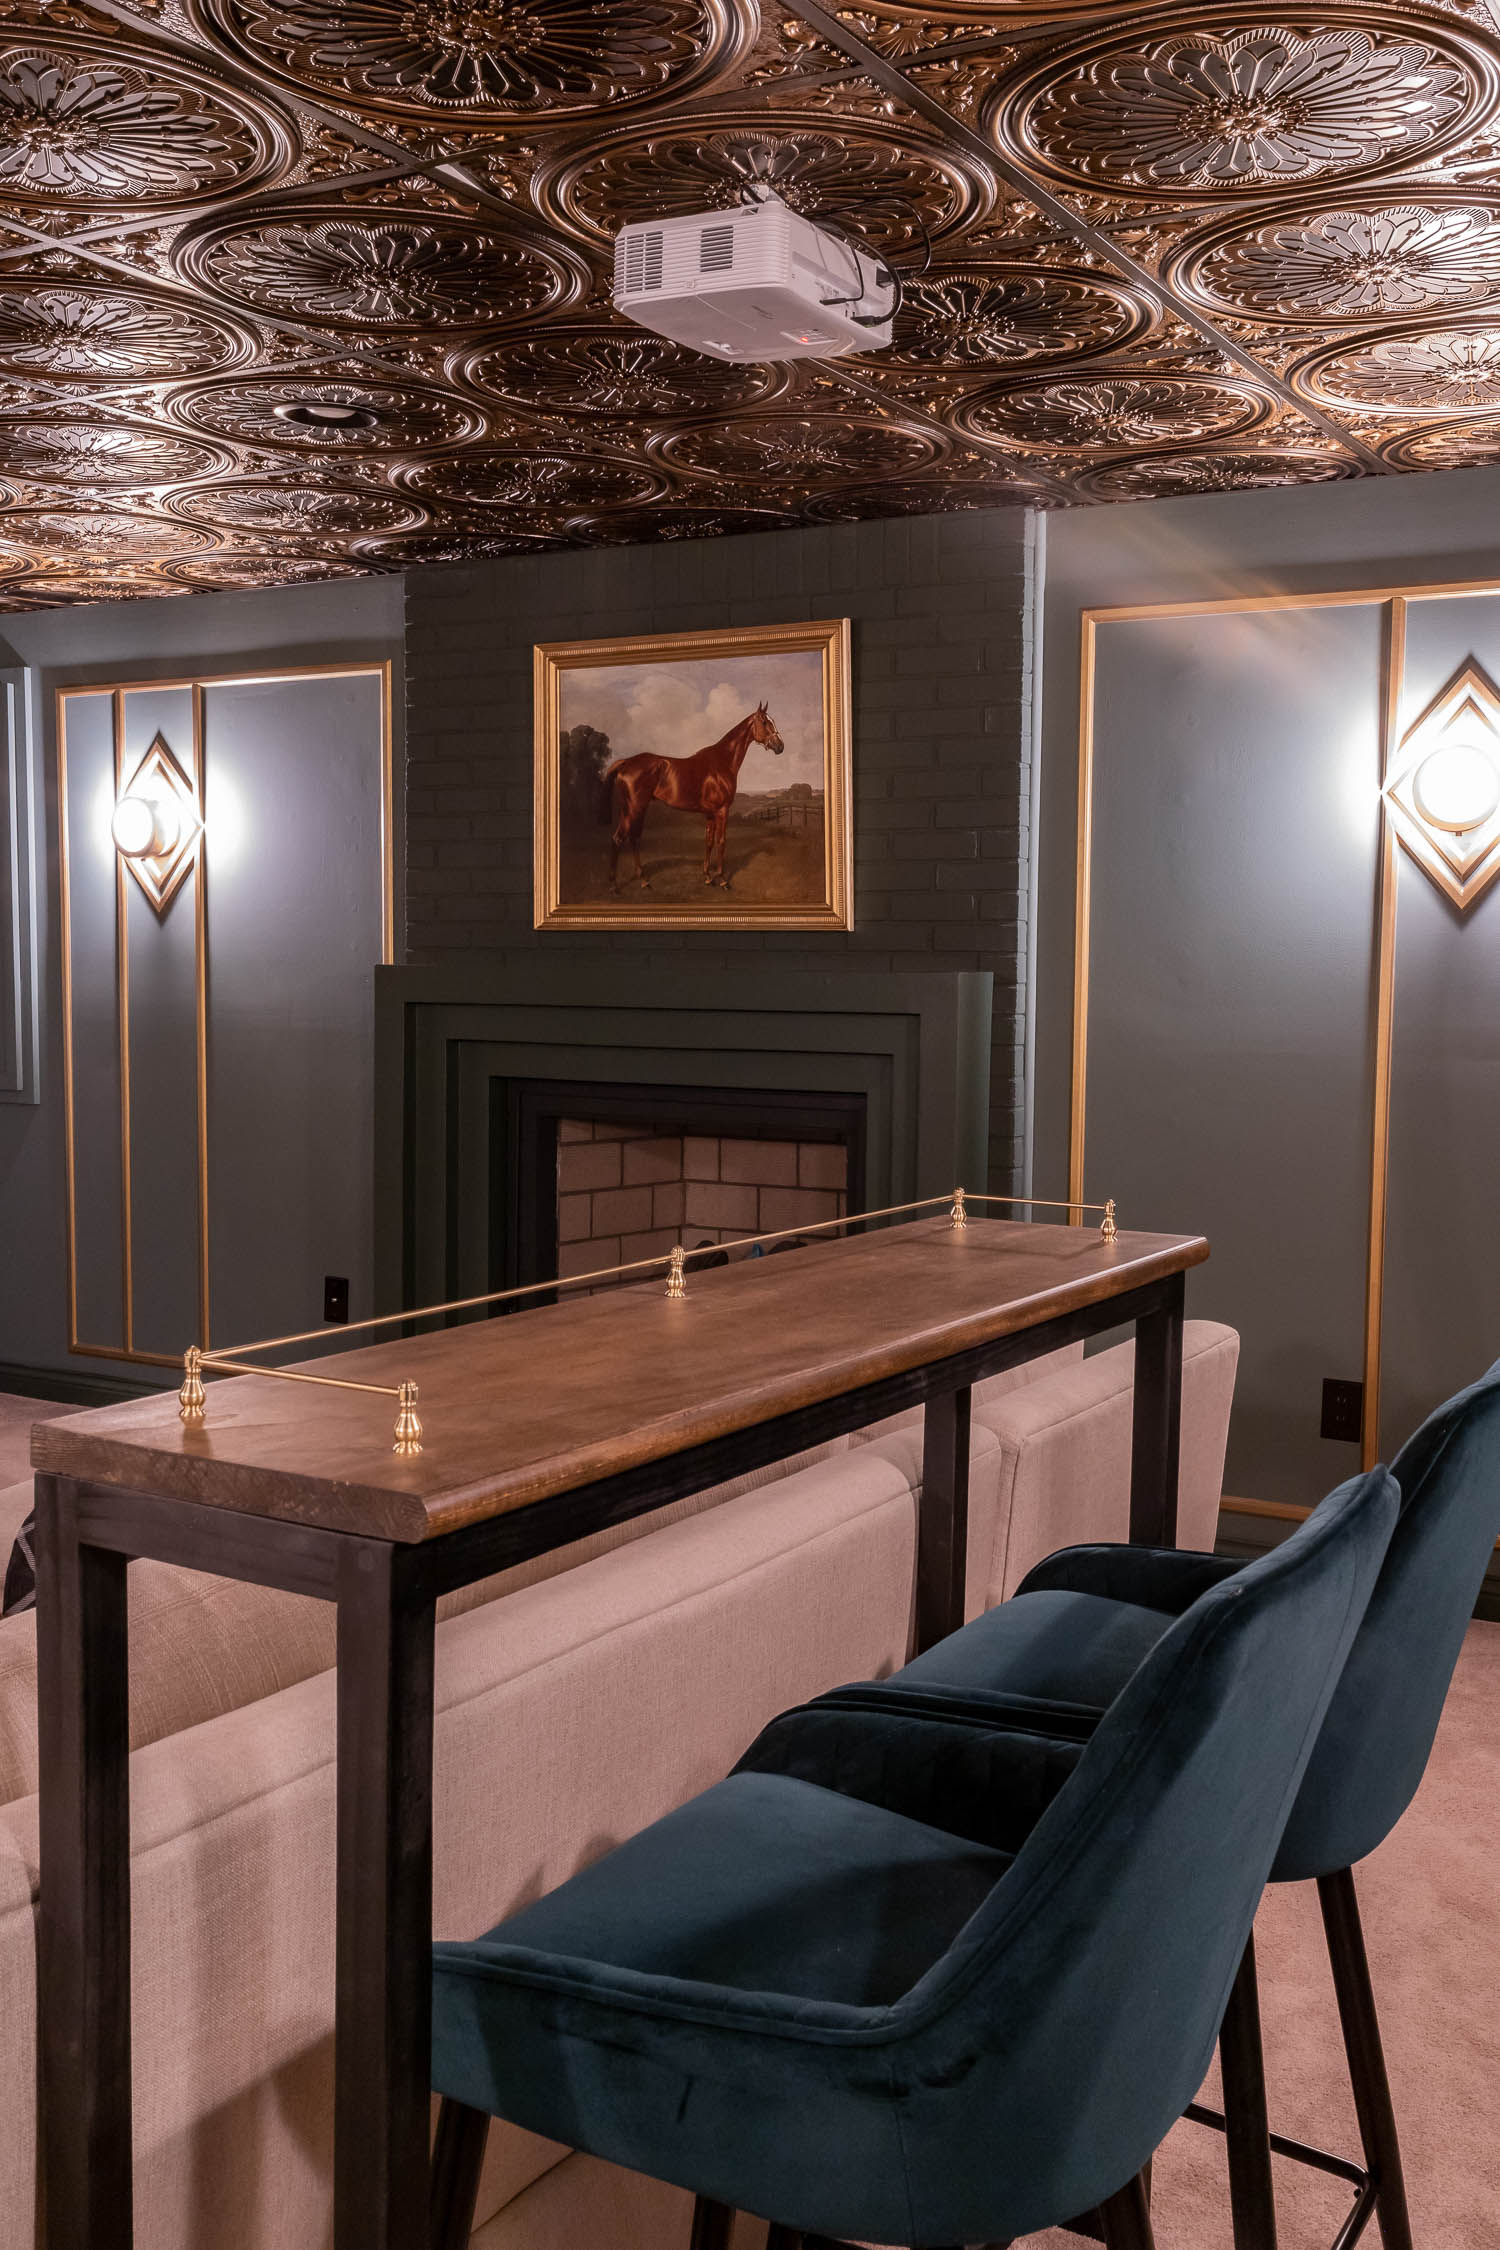
Aren’t these green velvet barstools drool-worthy?! They’re absolutely perfect for this space!
Decorative Ceiling Tiles
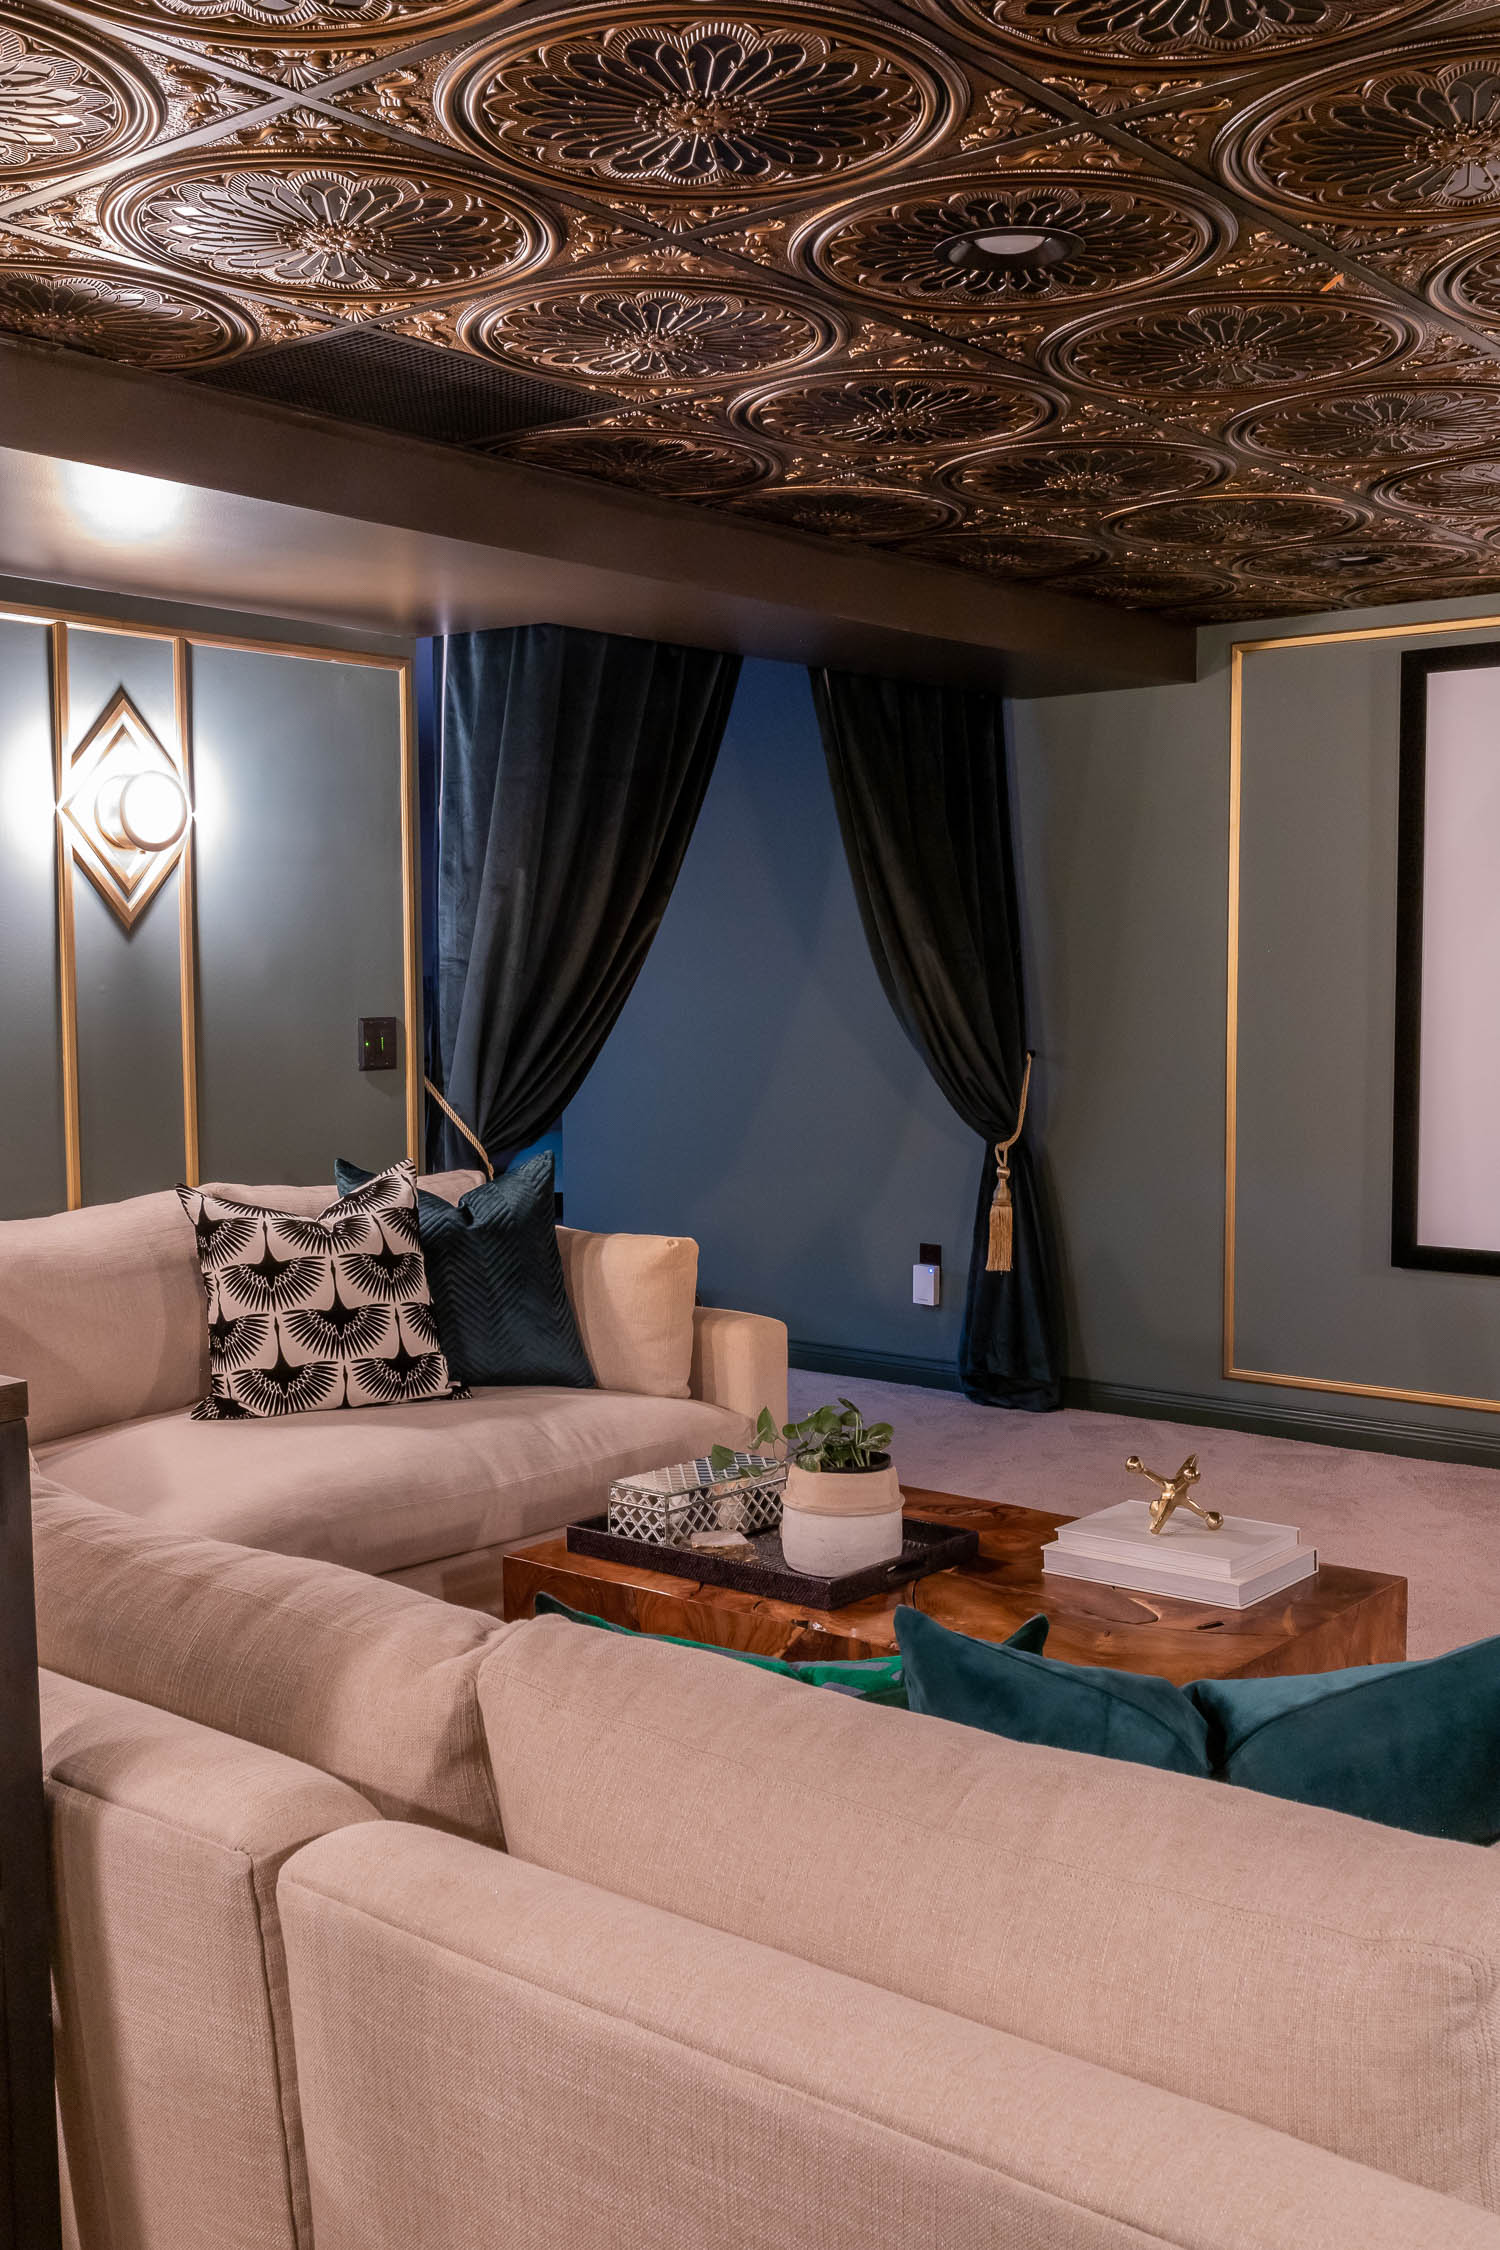
Can you even handle how stunning these ceiling tiles are?! I must have tested out over a dozen different designs before finally landing on this one. Even after seeing almost every tile design The Home Depot had to offer, I was still unsure whether to keep them.
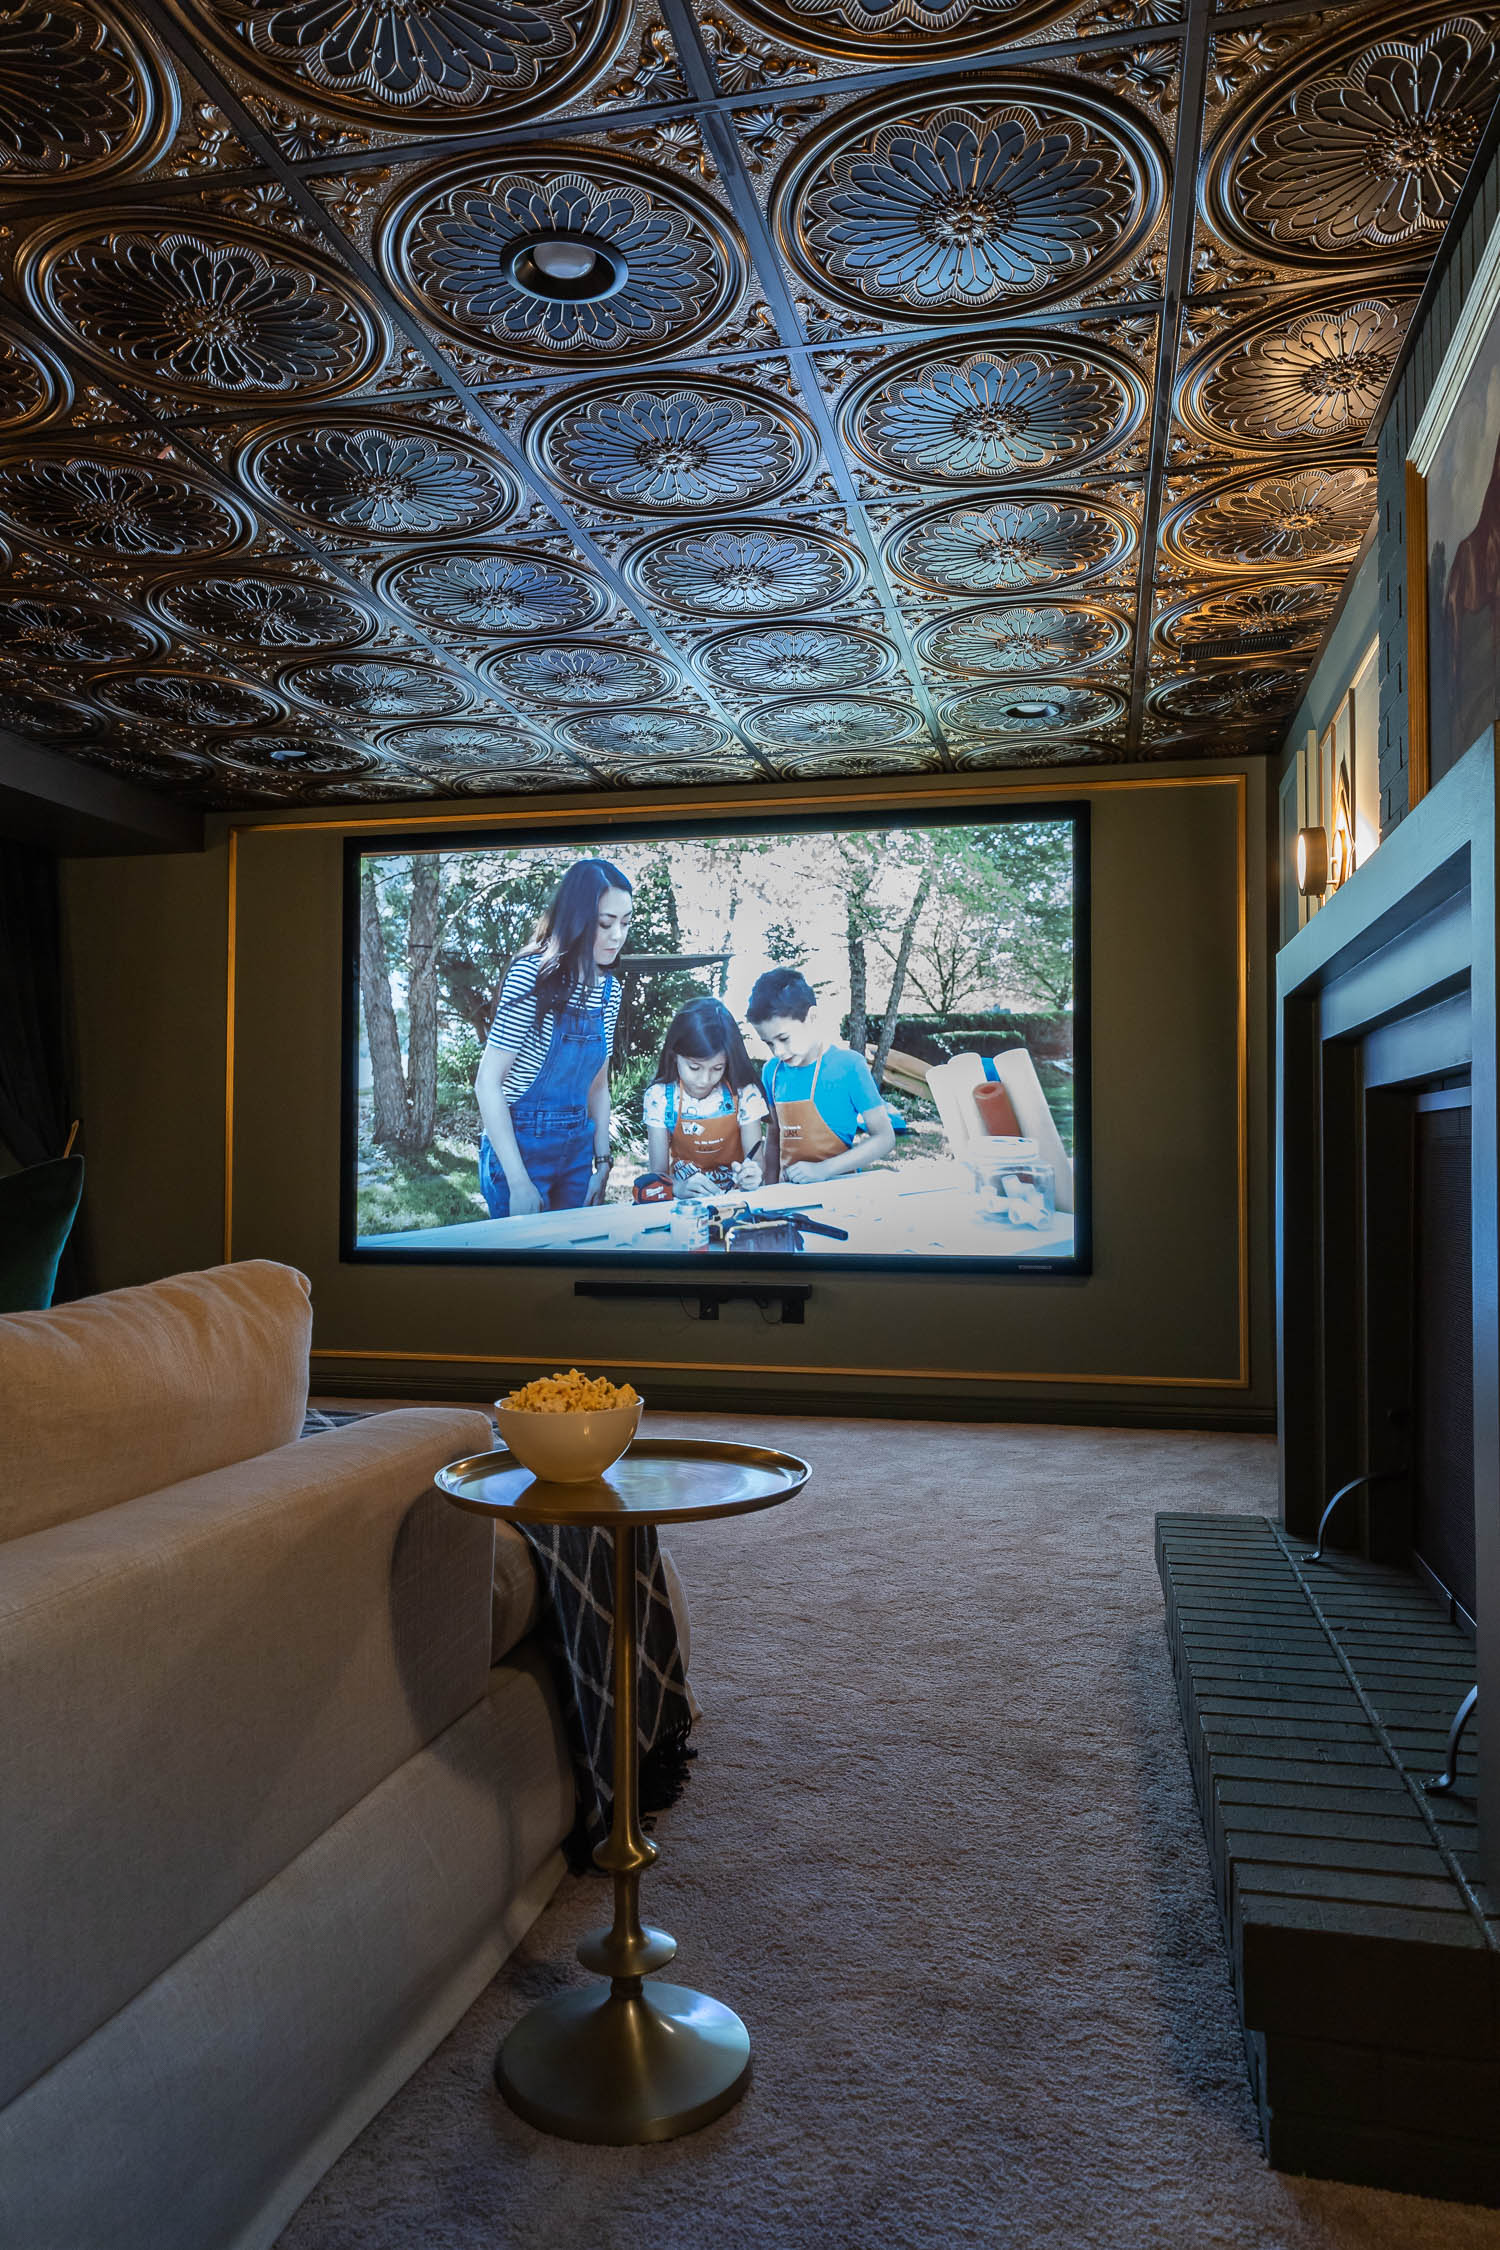
It was only after the walls were painted, the sconces were installed, and the room was put back together that I realized that these ceiling tiles truly belong in this theater room. They’re a real show-stopper, aren’t they?! And installation was super easy. We used kitchen shears to cut holes for the recessed lights and just dropped the tiles in place over the existing white ceiling tiles. Easiest DIY installation ever!
Home Theater Equipment
After a bit of research, we were surprised to discover that home theater gear isn’t as costly as we’d expected. Of course, there is a ton of crazy-expensive, state-of-the-art equipment on the market, but we were on a mission to build a home theater on a budget. Our projector, 120-inch screen, and sound gear were about $1,000 total. Even though we don’t have a true 5.1 surround sound system, our sound bar and subwoofer sound great in this space and deliver an immersive ‘movie theater’ experience. I also don’t like the cluttered look of a bunch of speakers sitting around the room, so a sound bar and subwoofer were a great solution for us. When we build our forever home, we’ll consider placing the speakers in the walls, but until then, this little setup does a superb job!
Thanks for taking a tour of our new home theater! If you have any questions, leave them in the comment section below.
Product SOURCE LIST:
- Antique Gold Ceiling Tiles
- Wood Primed Finger-Jointed Mullion Moulding
- Emerald Green Quilted Bar Stools
- Round Gold Metal Accent Table
- Single-Panel Fireplace Screen
- Cycas Faux Palm Tree
- Tall Fiberglass Planter
- Forest Green Plush Velvet Curtains
- Gold Tassel Curtain Tiebacks
- Sectional (custom-made), similar ones here and here
- Art Deco Fireplace Surround – DIY
- Bar Height Table – DIY
- Large Art Frame – DIY
- Wall Color: Benjamin Moore Vintage Vogue at 75% strength


Wow this is amazing! Would you mind sharing where the rug is from? Thank you!
I’m a huge fan of art deco, so when I first saw your post, I fell in love with your home theater. I have since tried to do something similar in my own basement. I can’t thank you enough for giving me the inspiration. One thing I did was buy an old set of art deco theater seats and fixed them up. Now I’m just waiting to bring an upholstery cleaner to get them nice and fresh before I add them in. I’m so excited to see how it all turns out.
Wow. Stunning. I normally don’t like dark rooms but I love this. Where did you get the decorative little posts and metal railing on your bar top? I want to build a sofa table and use it for seating and and I’d like to do this.
Hello!
We’re doing something very similar in our basement; leaning into an English Tavern kind of vibe. Can you please tell me the color you painted your soffit? Thank you! Your space is very well done!
Wow, the transformation of your basement is incredible! It’s amazing to see how it went from a regular space to a stunning home theater. I love the cozy seating and that projector setup looks top-notch. Can’t wait to see what movies you’ll watch there!
Wow, the transformation is incredible! I love how you maximized the space and incorporated those cozy seating options. Can’t wait to replicate some of these ideas in my own basement. Thanks for sharing your journey!