You guyyyyyys! I cannot tell you how excited I am to share my latest project with you! It has definitely been the most challenging (but favorite!) build yet!
Okay, so let me give you a quick rundown before we jump with both feet in: in case you missed it, here’s part 1 and part 2 of the Bar Cabinet Brainstorm.
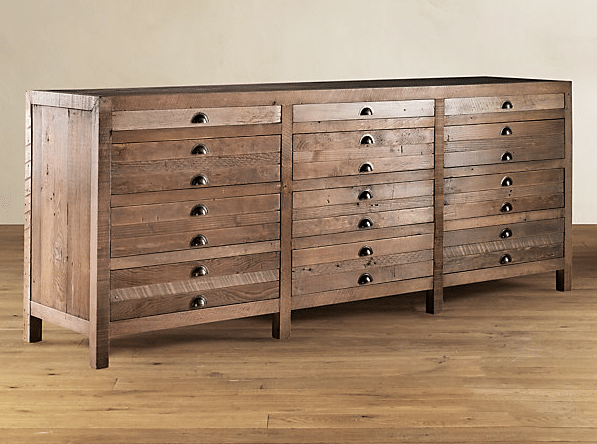
So, where we left off last, the Hubs asked me to build him a place for his scotch decanters and I was lusting over this Restoration Hardware Printmaker’s Sideboard:
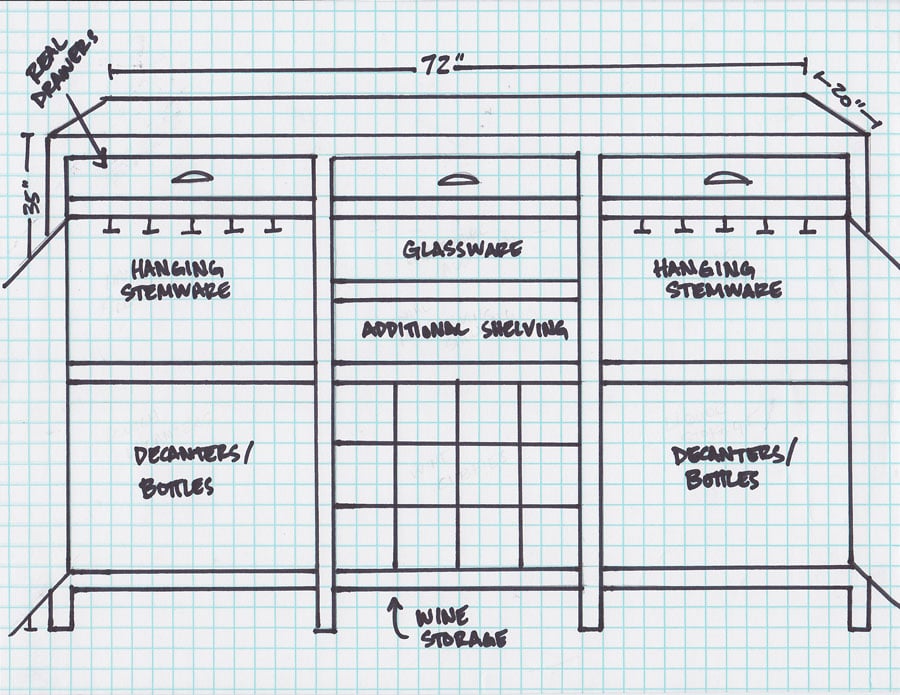
But instead of a bunch of shallow drawers, I wanted it to work as a bar by having some faux-front drawer face cabinet space (hey, that rhymed!) included, like this:
*This post contains affiliate links. To read my full disclosure policy, click here.
But sadly, I am not a plan-maker. I’m just an idea girl in desperate need of Ana White’s expertise and guidance. So I called on my sweet friend and she came to my rescue with these amazing plans! Be sure to pop over to Ana’s site – you can get the free plans to make your own Restoration Hardware knockoff Printmakers Sideboard! Pretty awesome, right?!
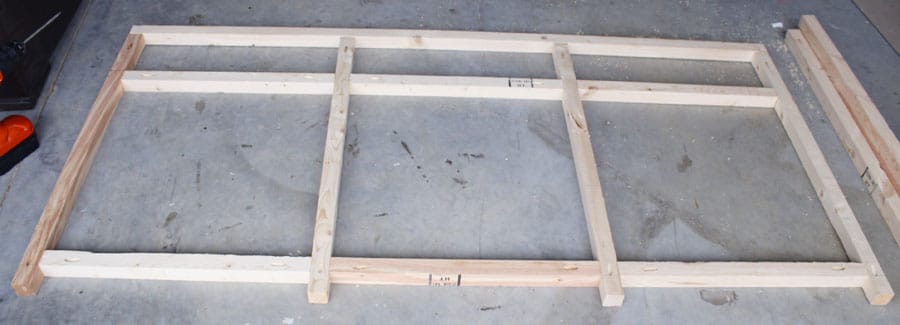
Okay, so I know I’ve been talking up the Kreg Jig with each build I do, but I really couldn’t have built this without it. It’s definitely been one of the best tool investments I’ve made. I used wood glue on all my joints and hid all the screws with the pocket holes. First, I built the front and back frames out of inexpensive 2×2 furring strips. I was at the lumber store for several hours (yes, hours!) sorting through the pile because it’s imperative to use the straightest boards possible.
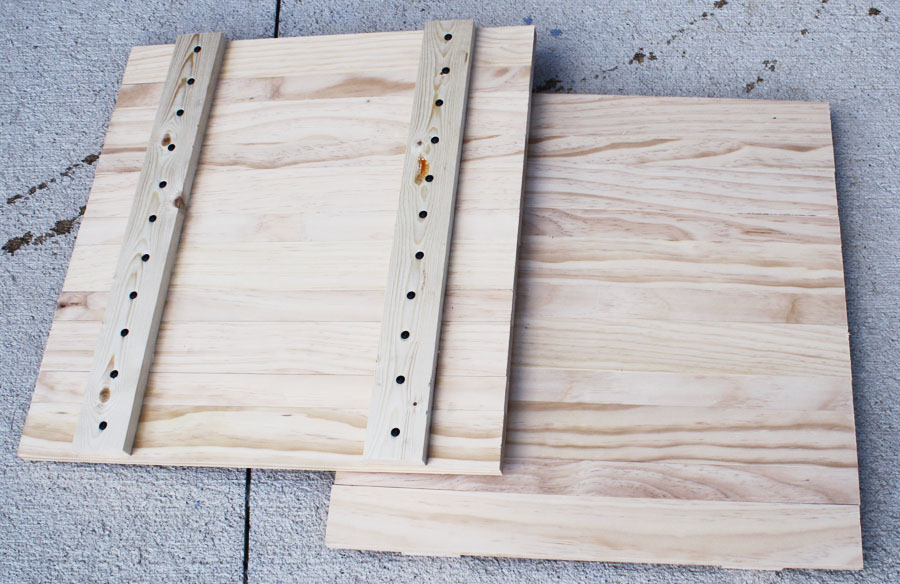
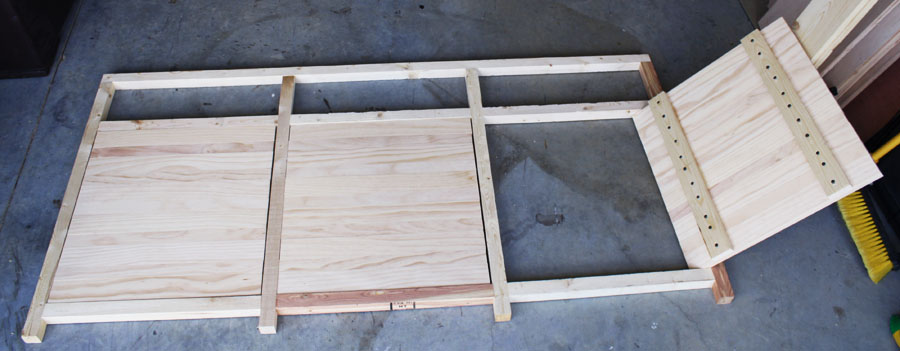
Then I built the doors out of alternating 1x2s and 1x3s:
Then I quickly did a dry fit just to see how things would come together:
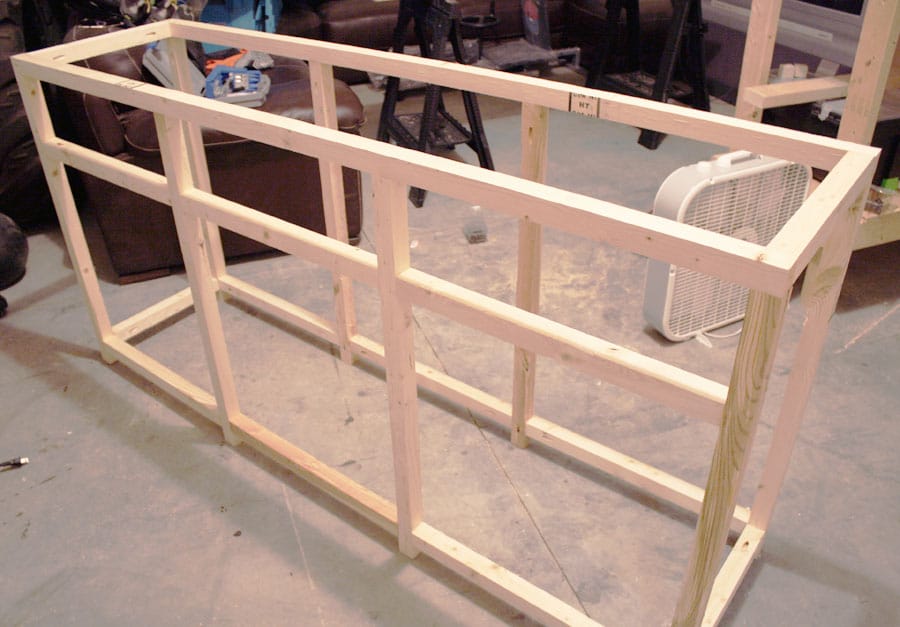
Then I joined the front and back frames with more 2x2s:
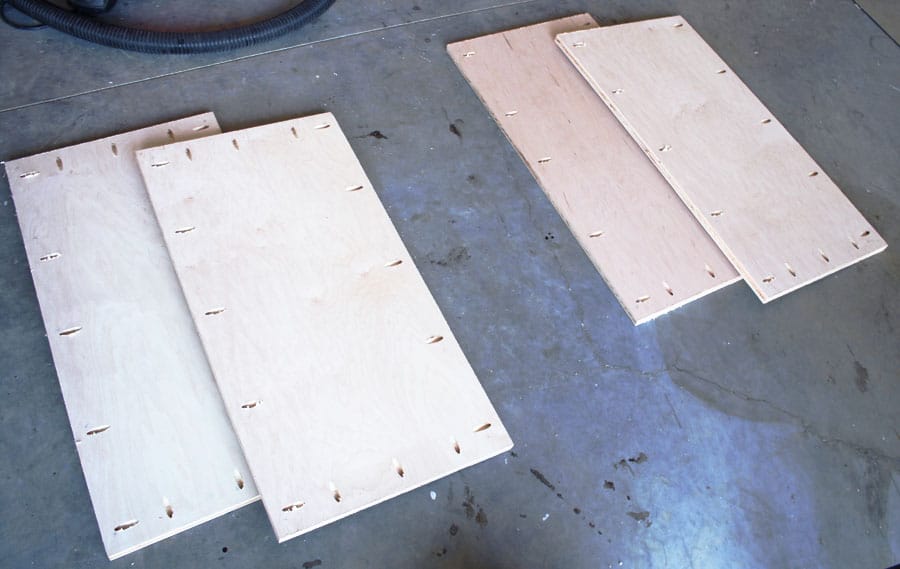
I used PureBond birch plywood for the bottom and side panels. Home Depot sells the PureBond brand. I was really excited about this product because unlike most plywood, PureBond plywood is environmentally friendly in that they use a soy-based, non-toxic adhesive to bind the real-wood layers together, whereas other plywood products, like particleboard or MDF, contain urea-formaldehyde in the glue which off-gas toxic carcinogens. Yikes! Since this piece will be living in our home for many years to come, I want to limit those hazardous materials as much as possible and provide the healthiest options for my family.
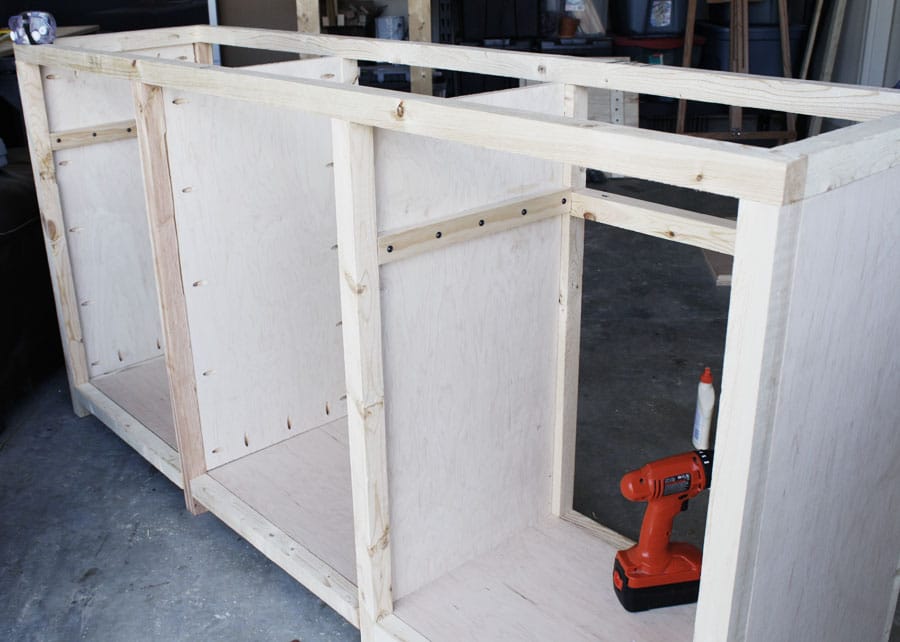
I installed the bottom panel by turning the whole piece on its side and zipping in the screws into the pre-drilled pocket holes. I’ve discovered it’s easiest to drill downwards and use gravity to my advantage.
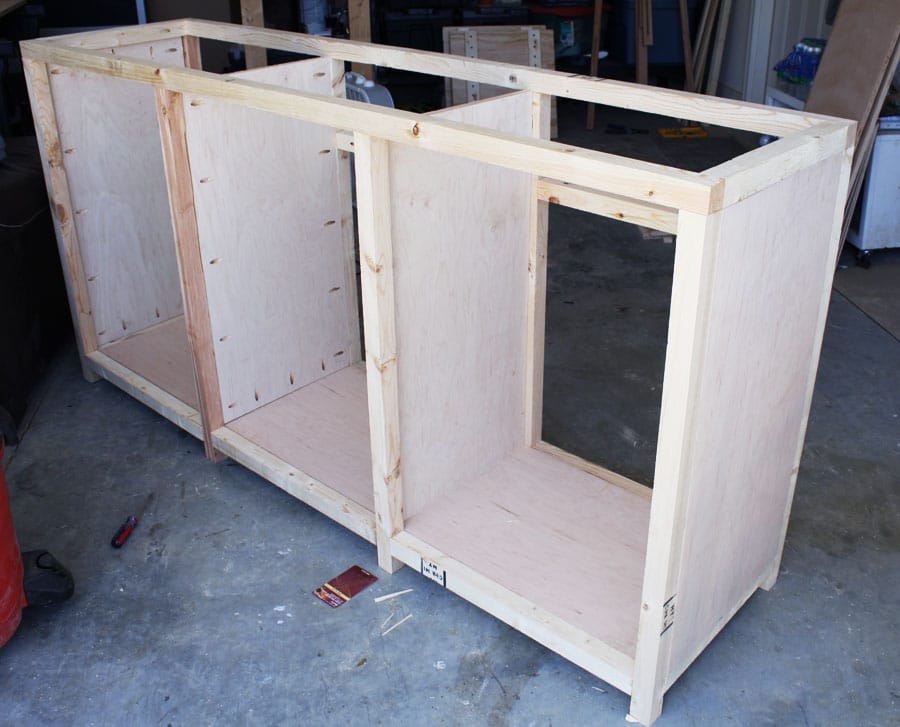
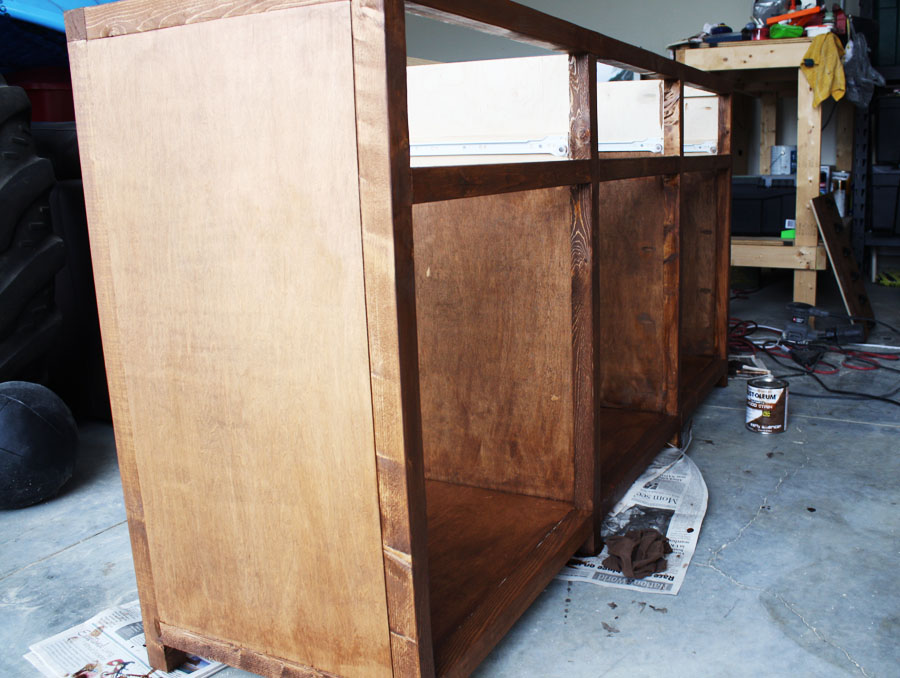
Here are the bottom and side panels attached to the frame:
The top 3 drawers are real drawers, so I attached some 1×2 boards to support the drawer slides:
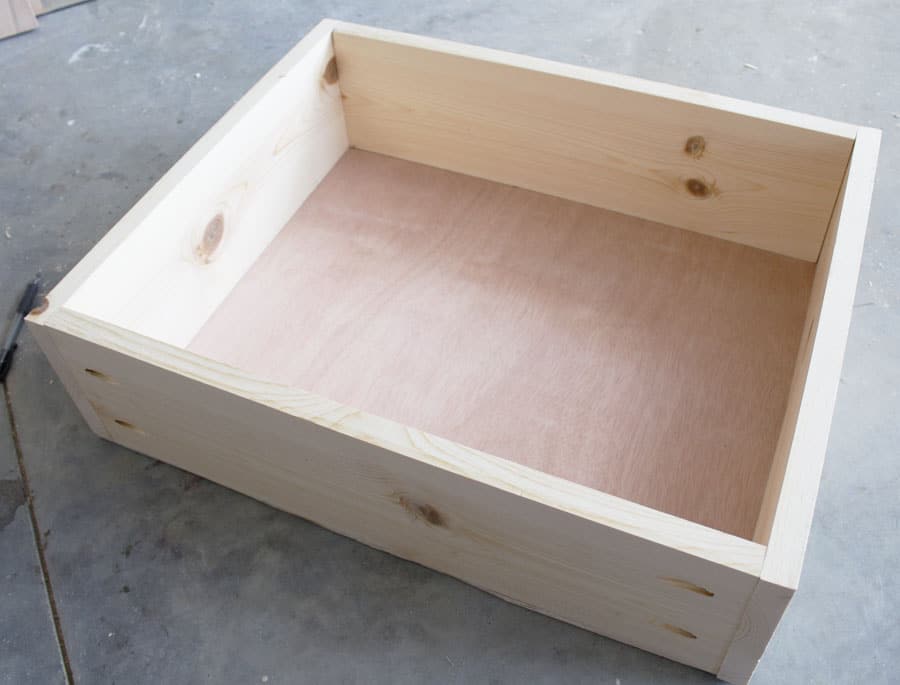
Then I built the drawers, putting the pocket holes on the outside because they would be hidden by the drawer faces.
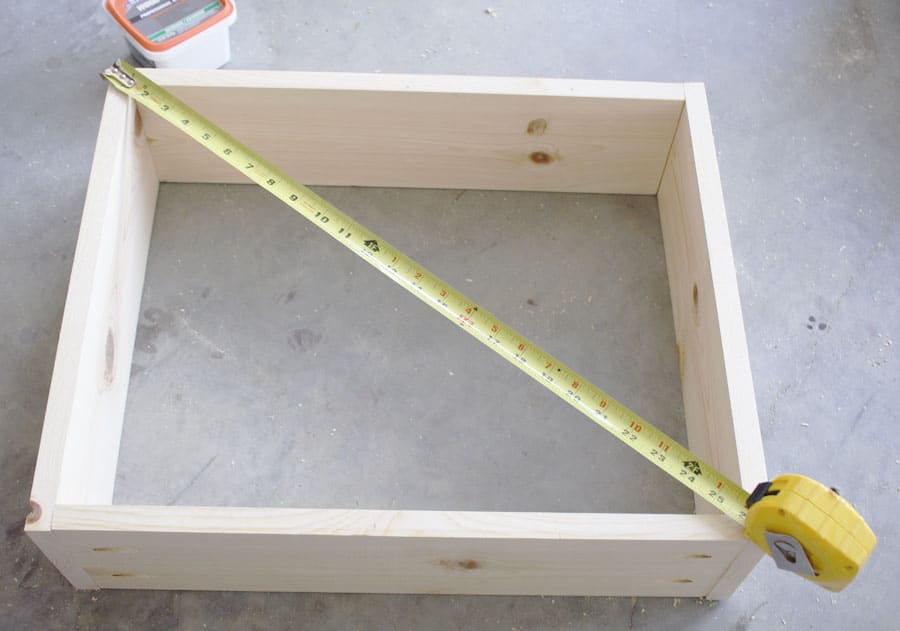
Building a piece with drawers was challenging, to say the least. This was my first rodeo working with drawers and drawer slides and there were more than a few foot-stomping moments, I’ll admit. Here’s the most important thing about building drawers: make sure you check that they are SQUARE! If they’re not square, you’ll run into problems later (wonky drawers that don’t fit, align onto the drawer slides, or slide in and out smoothly). And even if your drawers are square, you still may have problems if the space you’re putting them in isn’t square. Needless to say, even after my meticulous measuring, cutting, and building, my drawers were still a little frustrating to deal with. Also, you may want to deviate from the plan and measure the drawer space and build accordingly, just to be sure they’ll fit. Each of my drawers fits a specific space, as in, I can only put the middle drawer in the middle space. One more thing worth mentioning: SHIMS! Pick up a package of shims (they’re really inexpensive) because they are the stuff of carpentry magic! I used shims on 2 of my 3 drawers to square them up and make them slide smoothly.
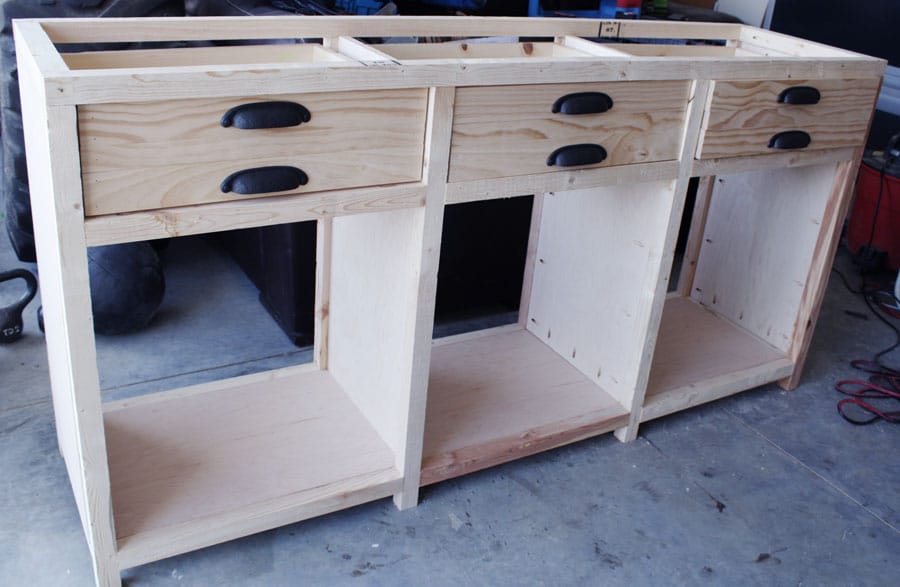
Holy moly, the drawers are in! And they actually work! Hallelujah!
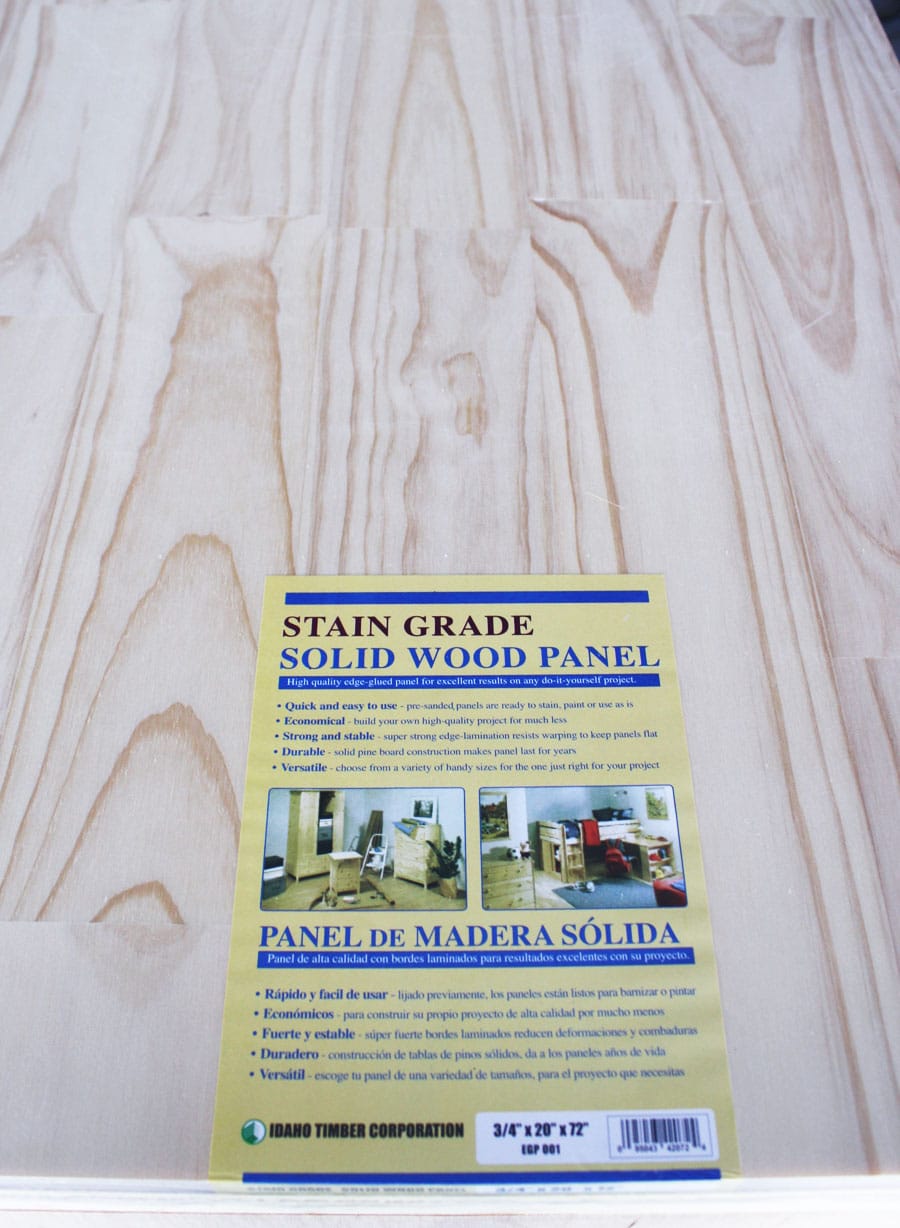
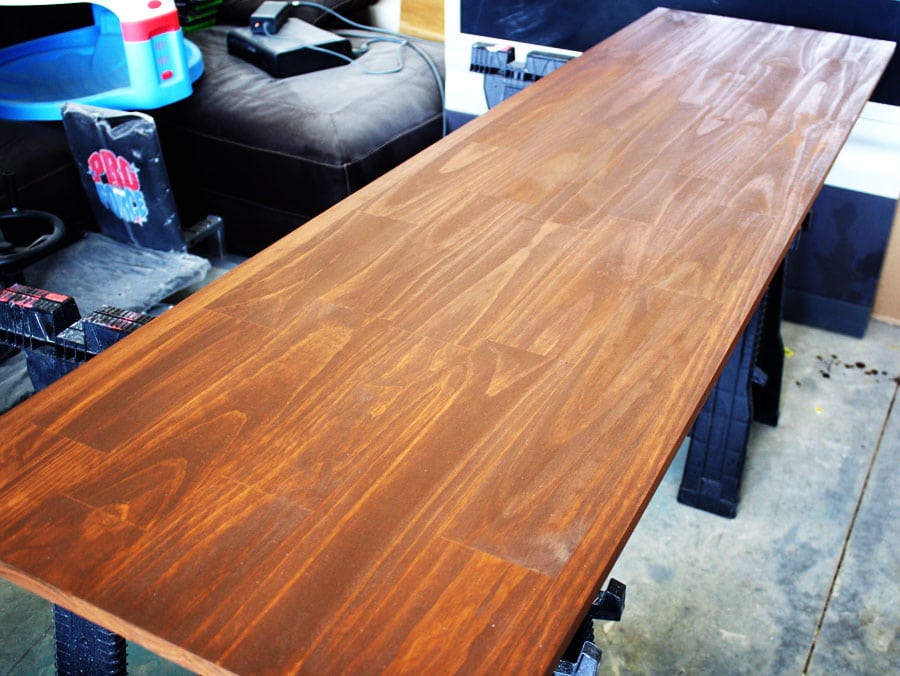
I had the lumber guys rip my plywood for me, but their measurements weren’t exactly accurate, so I was left with a board that didn’t fit on the top correctly. So, instead of purchasing another piece of plywood and making the same mistake, I bought this ready-cut solid wood panel:
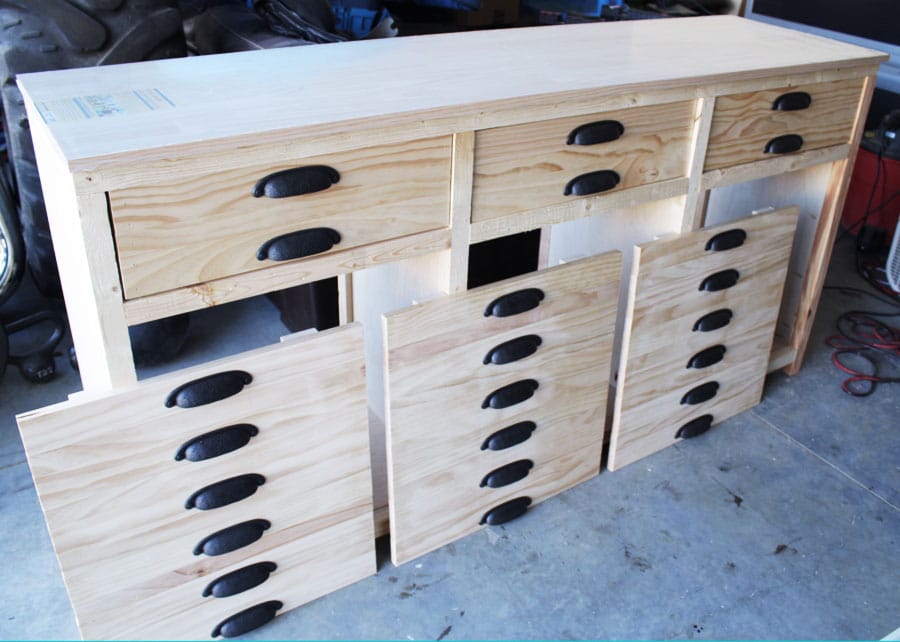
Here she is: ready to be sanded and stained! By the way, I just laid the top on for the photo op (it’s not screwed in yet). I won’t attach it to the rest of the piece until the doors are on and everything is stained. It just makes for easier access (that’s what she said).
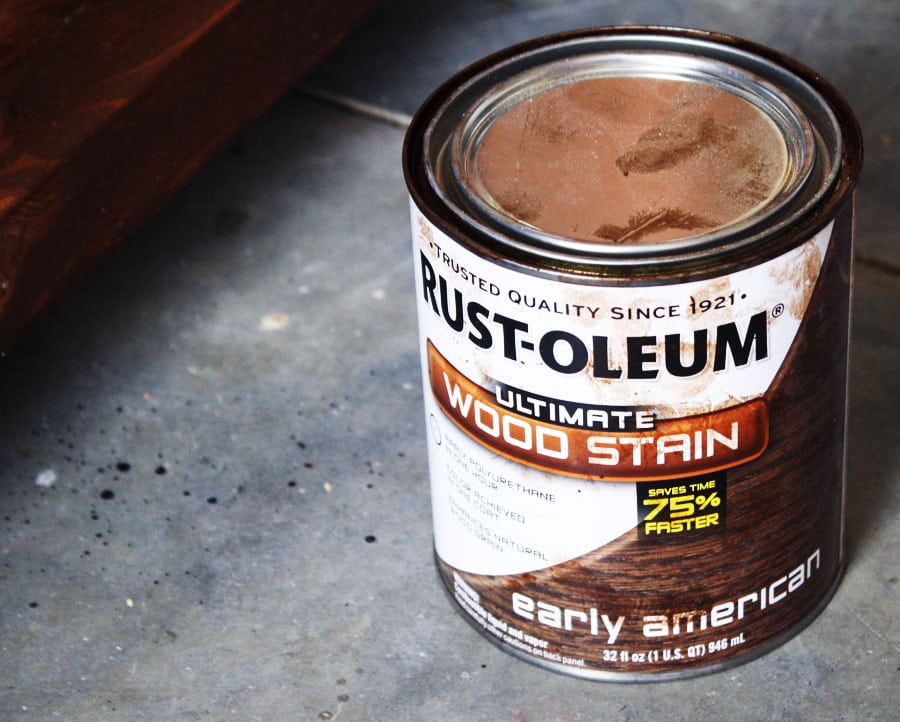
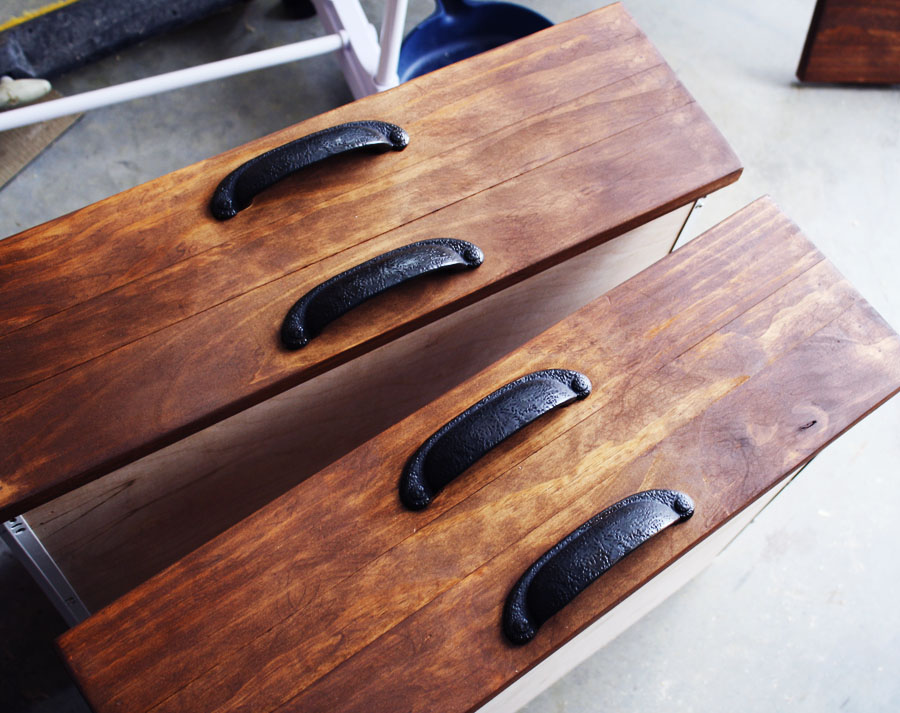
After filling the visible pocket holes with wood filler, I sanded the entire piece with 60 grit sandpaper, then followed up with a finer, 320 grit sandpaper. I vacuumed up the sawdust then wiped everything down with a damp rag. I chose Rustoleum Ultimate Wood Stain in Early American because it dries in an hour! I applied the stain with a foam brush, working in sections, wiping off the excess with a clean rag after about 2-3 minutes.
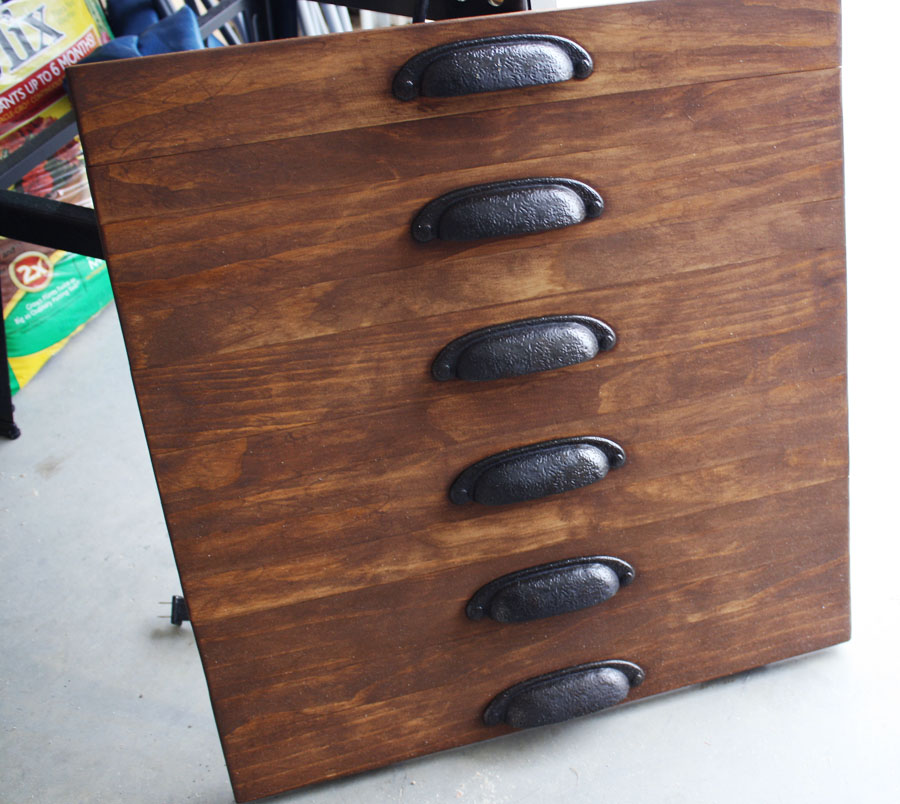
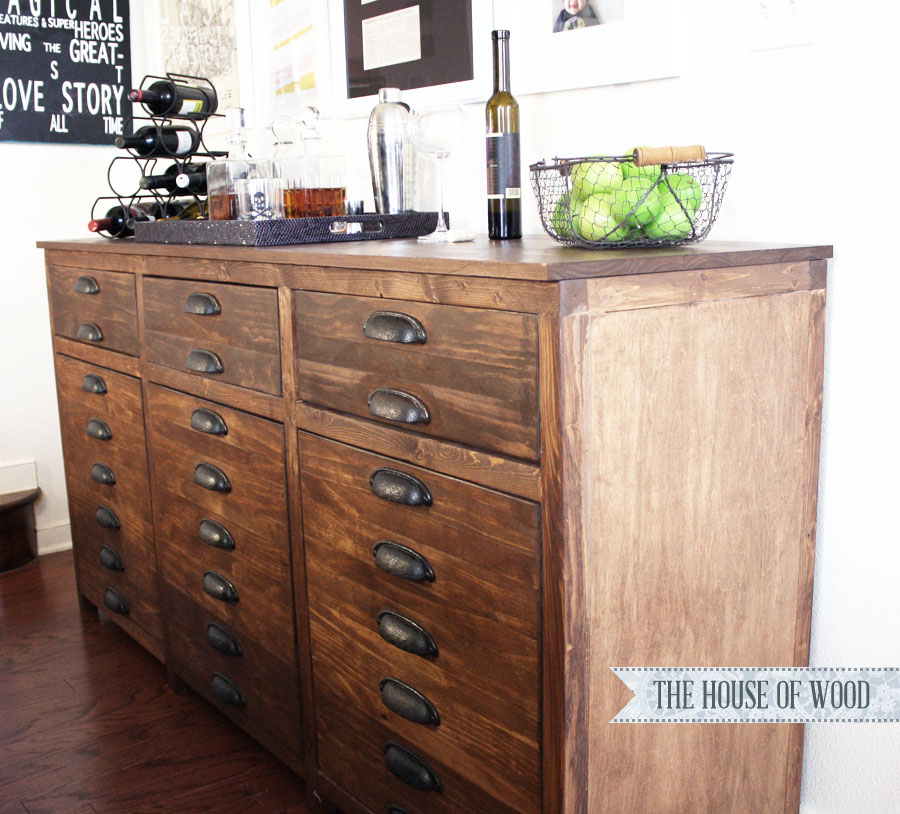
Aren’t these drawer pulls cool? I love their rustic, industrial look. I got them from this seller on Amazon for $2.25 each! I’ve seen them sold elsewhere for much more, so I was psyched to have snagged such a deal! I lined up each drawer pull perfectly using a chalk line reel.
It was much easier to stain each piece separately, before I assembled everything because that meant I wouldn’t have to contort my body in unnatural ways to get every nook and cranny stained evenly. Good thing, too, because you do not want to see a 9-month pregnant lady in such compromising positions. Take my word for it: it ain’t pretty.
After the stain was dry and I applied 3 coats of satin polyurethane, it was finally time to put it all together! The Hubs helped me attach the doors because it takes 2 sets of hands to hold the door and drill the hinges in place. Then, we screwed the tabletop onto the frame. So fun! It’s all coming together!
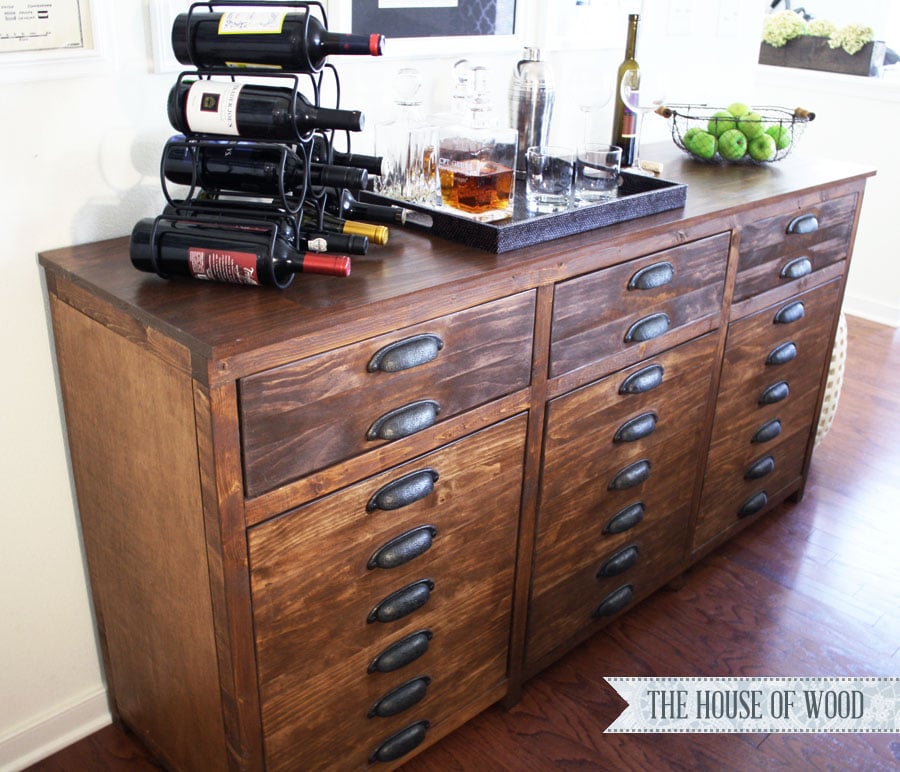
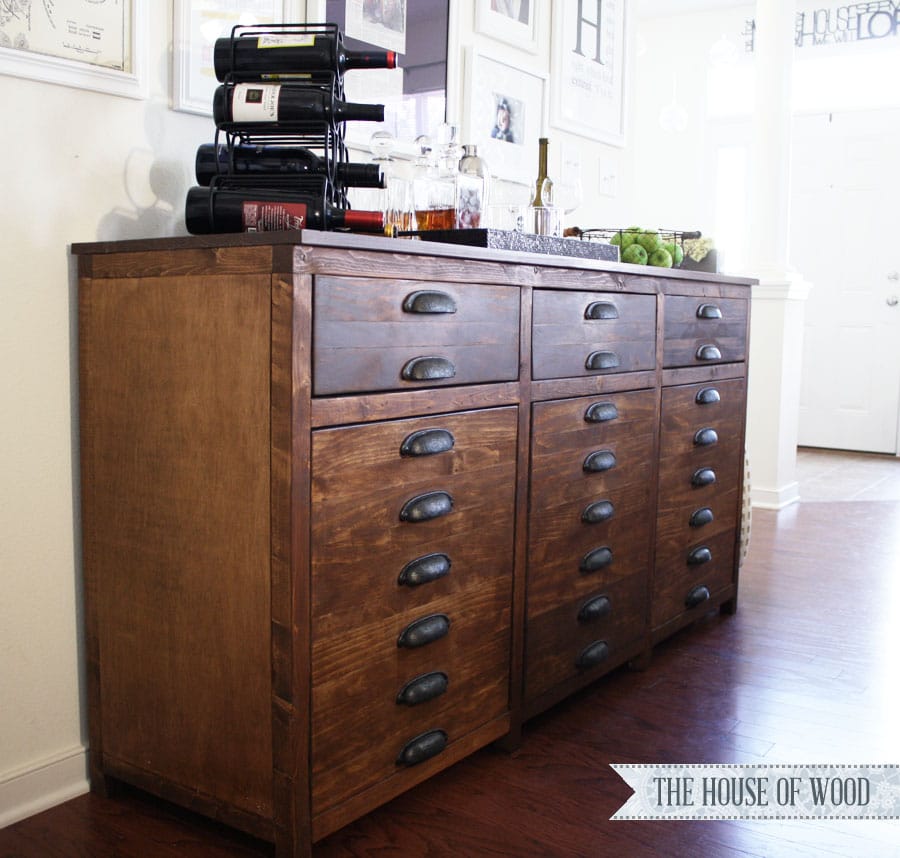
After letting it air out in the garage for about a week, we brought her inside. And here she is: all finished and ready to serve!
I’m in la-la-la-love (oh, yeah, and the Hubs is happy too)!
I also installed some shelving, a hanging stemware rack, and built a wine grid for the insides, so I’ll be back to share those details with you soon. Until then, you can download the free plans for this knockoff Restoration Hardware sideboard at Ana’s site. Thank you so much, Ana!





I am taking advantage of your comments section. I just have no one else to ask 🙁 I am sorry and will have pics soon…but ran into another problem…Okay, in which way did you use shims for two of your drawers? I had to shim one of my slide supports to bump out in order for one of the wheels to stay on track. However, I’m having the opposite problem for the opposite side of the piece. Somehow, the space gradually gets closer together as I roll the drawer back. My drawer is already made based on the plan. Should I just keep ripping one of the supports down at the point it gets stuck? Also, the inset top, would you have turned the piece upside down to screw in or have extra sets of hands and screw it in right side up? Thanks again,
I used the shims wherever I needed to… as in, if the drawer was getting off track in the back left corner, then I inserted a shim there, so that it would square up the drawer and make everything run on the drawer slide. It depends on your drawers and where it’s getting off track. The shim is just meant to ‘cheat’ and fill in spaces that need filling in. However, if your drawer is too tight, then you don’t need a shim. Hope that makes sense.
For the tabletop, I didn’t use the inset top. I bought a ready-to-stain panel and laid it on top, then screwed it to the frame from underneath.
This is not a beginner project, so don’t get too frustrated. Hang in there!
Annnnnd I’m gonna send you a gift package….
Did you use any kind of template when installing all those pulls? If not, what was your method to getting them all straight?
I used a chalk line reel to line up all the pulls. Those things are quite handy!
What an amazing piece! Your tutorial is so fantastic!! Thank you so much for sharing it with us. I found your blog at House of Hepworth’s and I’m so happy that I did. Megan
WOW…I am in awe! This is amazing…you did a beautiful job on this~
THIS IS AWESOME! I looks so much better than that overpriced restoration hardware one!
oh no you didn’t!! it’s fabulous. we have been lusting over this cabinet at RH and even found one at a local outlet but waited too long and it’s gone!
bravo on this replica.
hope you’ll stop by and follow if you aren’t already!
smiles.
michele
Wow! That is really awesome looking! Thanks for sharing it with us!
This piece is completely fabulous. I love it!!! It’s much better than the Restoration Hardware piece. What an amazing job!!
Ruth
This is amazing! I love it! I also just made the Perfect End Table you also made and LOVE it! Well done as usual!
Awesome! I’d love to see pics!
Megan, that’s awesome! I’d love to see pics!
Wow. This is absolutely gorgeous! What a great tutorial, too.
Wow, so cool! Me and the hubby (mainly the hubby) have just begun dabbling in woodworking over the last year and its so rewarding! Great job!
We just started back up our link parties and we would love if you came and linked up at The Humble Brag. Each week, one lucky featured blogger will get one free week of advertising, which mean thousands of ad views a day! Hope to see you there.
http://www.oneprojectcloser.com/the-humble-brag-link-party-3/
Did anyone mention you might try auto pinstriping tape to simulate the many drawers of the original? Just a thought. (a smart man calculated only 20% of good ideas work out, especially at my house!)
This is very impressive!!
I am SO impressed! It’s beautiful.
Wow, this is a great Bar Cabinet. For no bigger than you look how did you move this thing around?
The husband does all the heavy lifting around here. 🙂