Have you seen those crafty paint pouring videos popping up all over social media? I’ve been seeing them everywhere and there’s a good reason, acrylic pouring art is just plain fun!
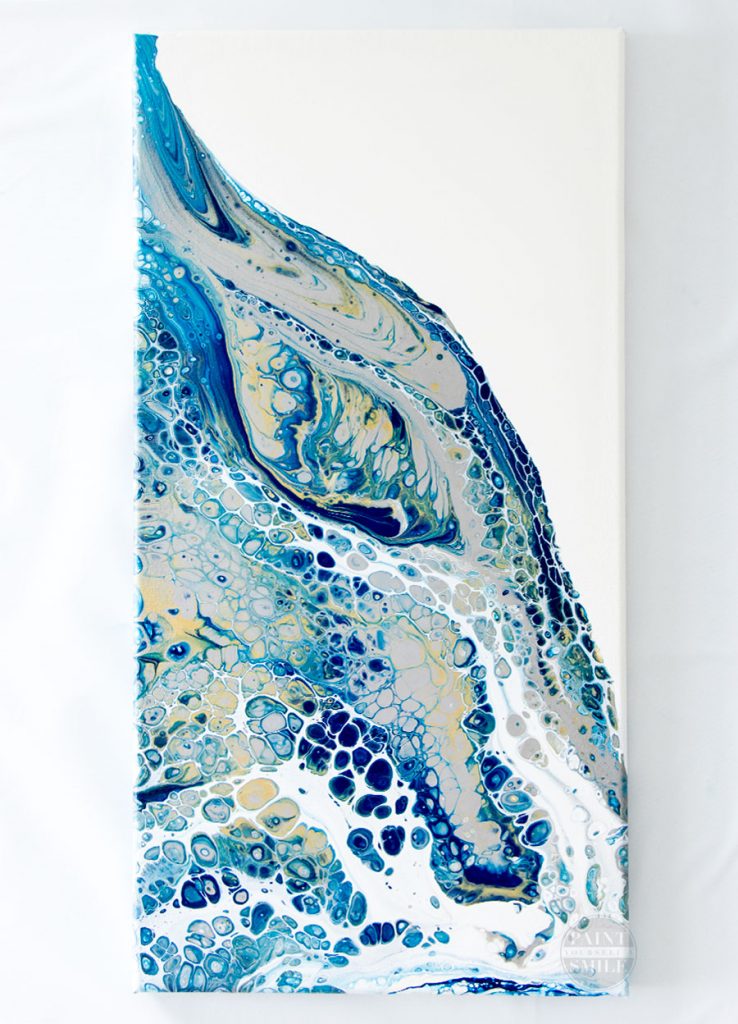
If you have yet to try it, you are in for a treat! Hi friends, it’s Jenny from Paint Yourself A Smile, back to show you how to create easy art using basic acrylic paint pouring techniques! Let’s get started, shall we? First, you’ll need to gather the supplies and prepare your workspace.
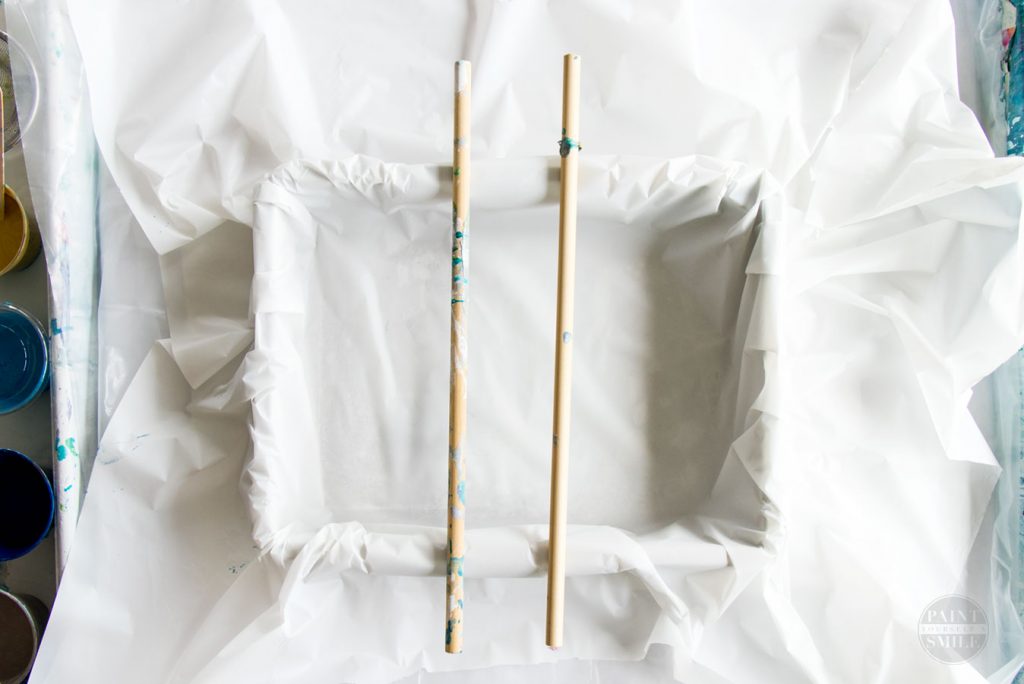
Acrylic pouring can be a messy process and paint WILL run off the canvas so take precaution to protect your work surface and floor. I use a plastic drop cloth over my work table. I also use a rectangular pan to catch the bulk of the paint run off. The two dowel rods in the photo above are helpful to lift my canvas.
Here are some basic supplies that are helpful…
Workspace Supplies
- Paper towels, rags and a trash can nearby
- Plastic drop cloth
- Gloves (I don’t use gloves but most rationally minded people do)
- Box or pan to catch excess paint drippings
- Level surface to set the finished painting on to dry
Painting Supplies
- Canvas or Wood
- Acrylic Paint
- Pouring Medium or Paint Additive such as Floetrol
- Silicone oil or Dimethicone
- Plastic Cups and Stir Sticks
- Strainer
- Scale (optional)
Now that you have some supplies, let’s mix our paint!
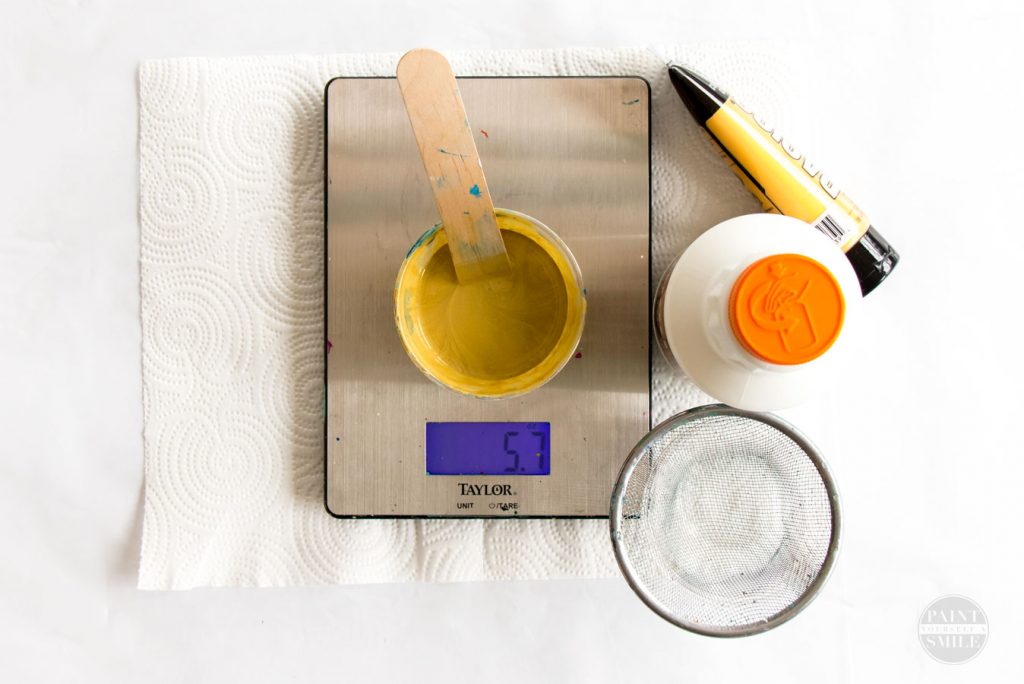
Successful fluid art is all about paint consistency. The pouring recipe I prefer is 1 part paint to 2 parts Floetrol. Floetrol is a paint additive found at your local Home Depot. I like it because it’s reasonably priced and easy to come by. As far as what kind of acrylic paint, craft paint, house paint and artist acrylic all work. The difference between craft paint and artist acrylic is, artist acrylic is heavily pigmented and may provide more vibrant color. Also, because heavy body artist acrylics are thicker than craft and house paint, the mix may need to be thinned with up to one-part distilled water.
You can eyeball your ratios, but I prefer to use a scale and measure everything out so the paint mix is consistent. It doesn’t matter whether you add the paint first or the medium first, but it does matter how well you mix it. Floetrol can be lumpy so pour it through a strainer before mixing. It’s also important when you mix your paint to stir and not whip. Whipping creates air bubbles. Air bubbles in the paint can create unwanted craters and speckles on the surface of the painting. To avoid these issues, I let my mix sit for at least 30 minutes (often much longer) to let air bubbles rise to the surface.
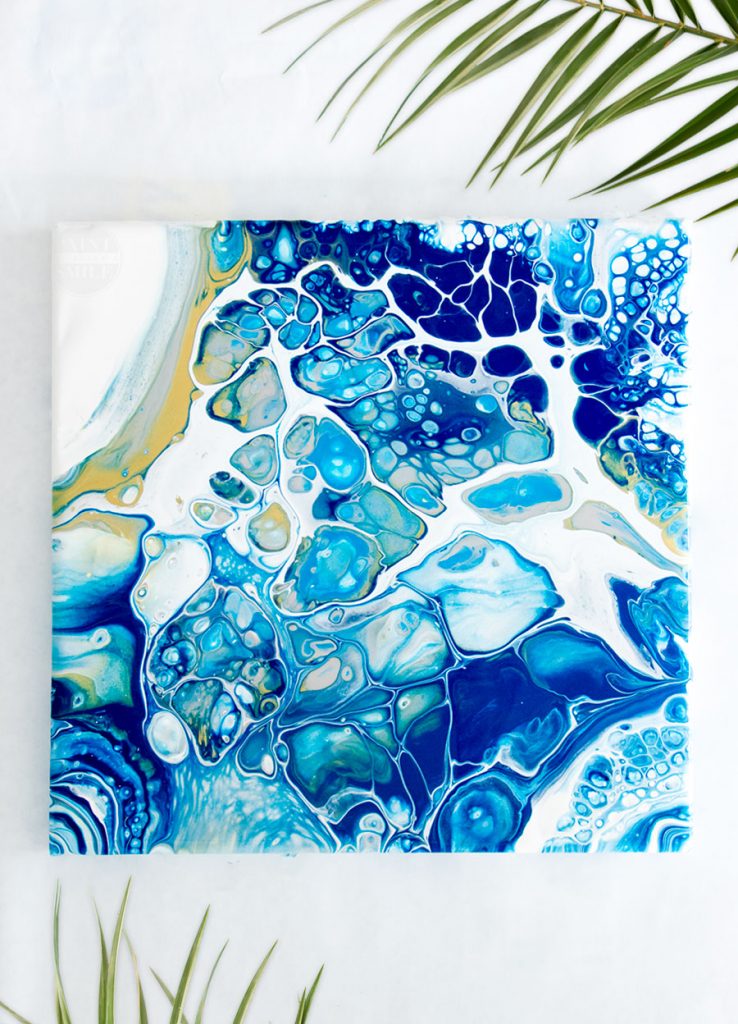
After the paint is mixed, 2 to 3 drops of 100% silicone oil may be added to aid in cell creation. Cells are the pretty round shapes formed naturally in fluid artwork. Since cell creation is a natural result of the different color densities reacting to each other, silicone oil is not necessary for this effect. That said, it does help but a word of caution, more oil doesn’t mean more cells. Too much oil will cause drying issues and other problems. Less is more when it comes to silicone.
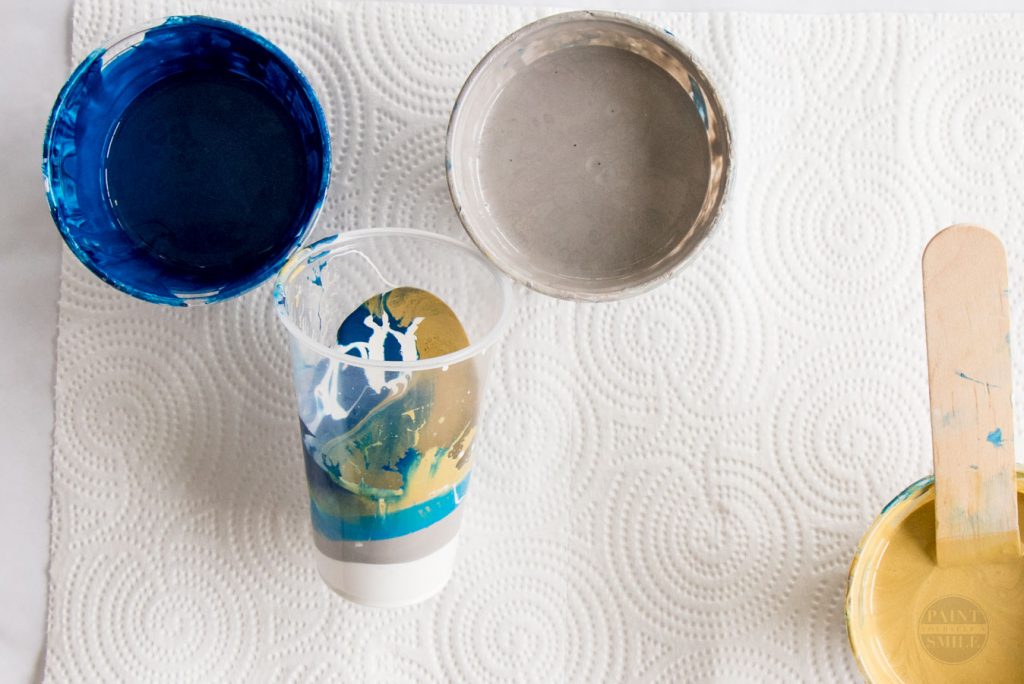
Now that the paint is mixed and it’s free of air bubbles, it’s time to load the cup. Today’s painting will be a flip cup. There are no rules when layering your colors in the cup but typically white goes in first since it is the heaviest color and when the cup is flipped, the white pulls down through the other colors. I recommend starting with only a 2 or 3 colors to get the hang of it.
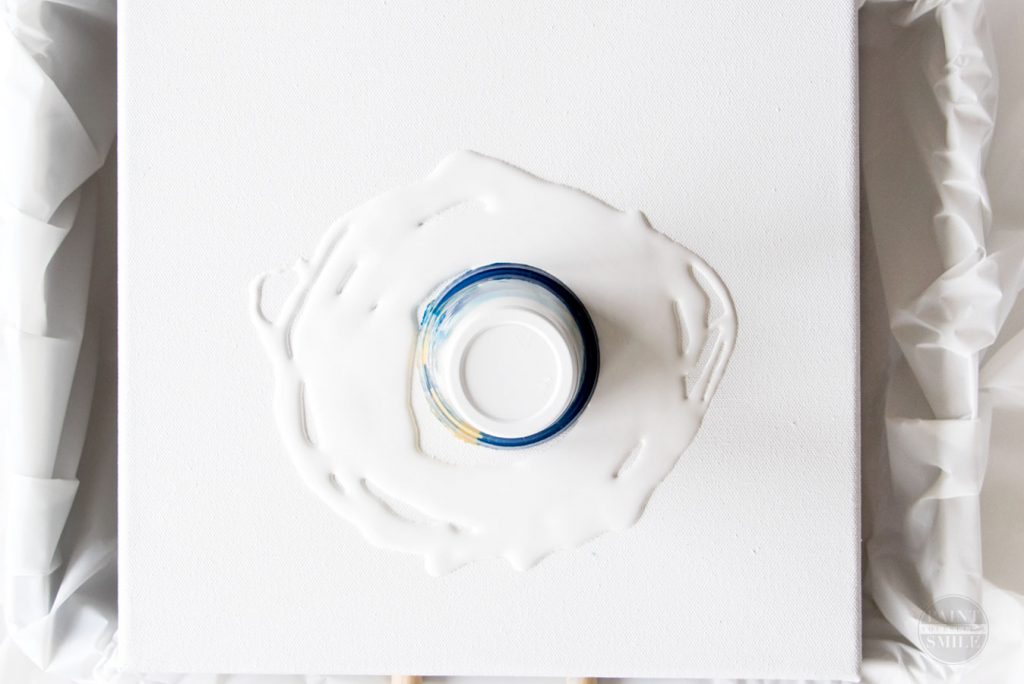
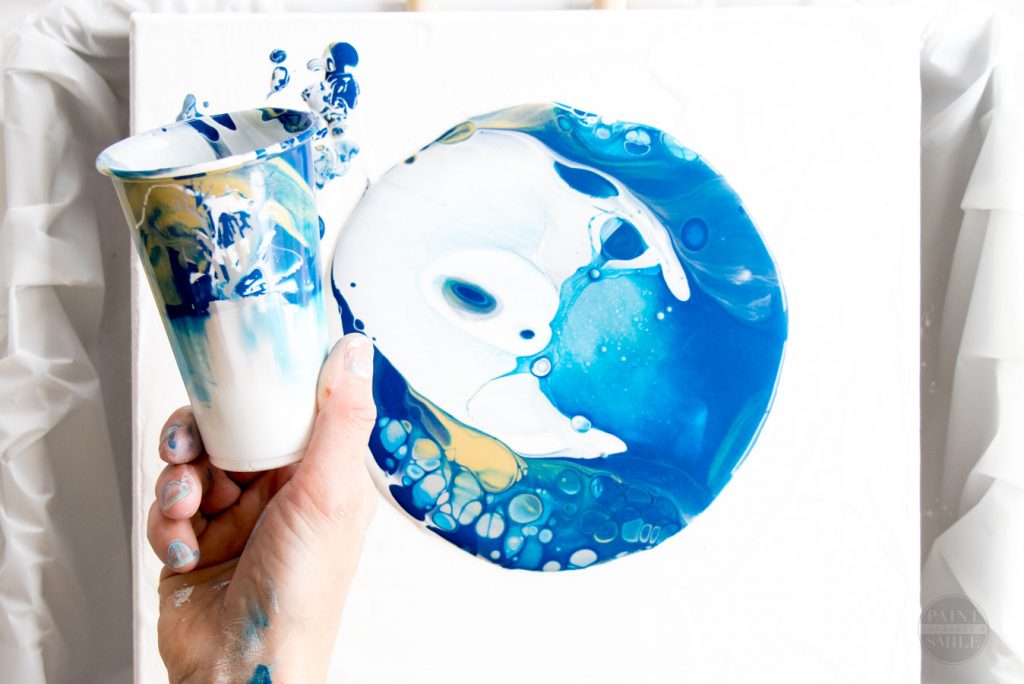
It’s always a surprise to see what pattern is going to form when the cup is pulled away and the paint begins to spread.
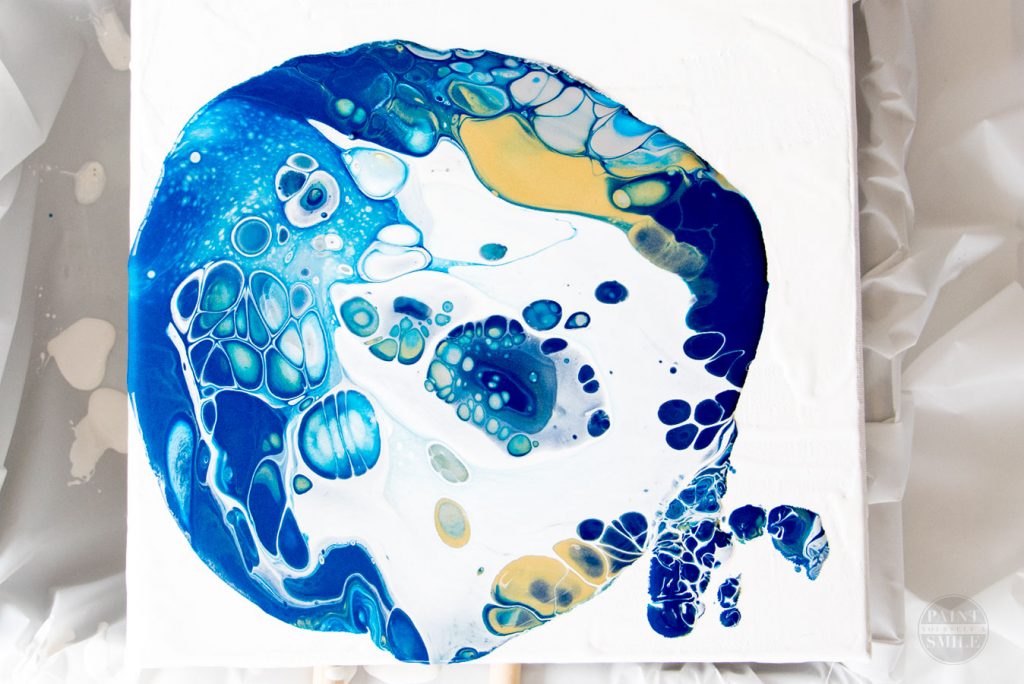
At this point, you can pick up the canvas and gently tilt the canvas to help the paint spread. Be careful though, if you tilt it too fast, the cells may fall apart.
Once the paint has covered the canvas to your liking, set the painting on a level surface to dry. If the surface isn’t level, the paint will continue to move and slide right off the canvas.
It takes between 1 and 3 days for a painting to be dry to the touch and up to 4 weeks to be fully cured. When the painting is fully cured, a water-based gloss spray or resin is often used to bring the colors out and give the painting a beautiful glossy finish.
I really do hope you’ll give fluid art a try, it’s crazy fun. For more acrylic pouring projects, check out my youtube channel
Happy creating,
Jenny


This looks amazing! It’s like having a wave crashing on your wall. Can’t wait to give it a try!
Wow really loved this and really want to try it. Watched the whole video too!
WOW, this is so amazing! The colours you’ve used work so perfectly with this design, I love it.
– Mike, www.thecraftygentleman.net
Beautiful! Q: did u spread your white paint mix all over the canvas or just around your cup? Thanks
Hey big J, what’s flowing? Ha ha. We are neighbors, I love your fluid design! Did you sketch it out first? I mean how do you come up with these things. You must be into yoga and pinacoladas. Well anyway, thanks for the inspiration and keep on truckin’
Can this be done on glass? What would the reverse side of the glass look like? I’m thinking glass splashback for the kitchen.
I use ceramic tiles to pour on and it works great, and they are cheap to use. Like the tiles you would use for a backsplash in on a kitchen counter
I love your pours. I’m still trying to figure out my ratios….I know this is kinda “duh” but do you mind sharing yours? Is it 1 oz paint 2 oz flortrol?
Thanks!
Thanks for the great tutorial. I have one question – where do you buy the silicone oil? I found this at Lowe’s – is it the right stuff – “3-IN-ONE All-Temp 4-oz Silicone Drip Oil Lubricant”?
lovely item thank you – want to try this. ‘kind of you to share it.
Hi this painting is beyond gorgeous and I would love to copy the colors .. can you give me the name and brand of the colors you used with this project?
Nancy
This is gorgeous!! Would you mind sharing the colors you used please?