*This post is sponsored by The Home Depot.
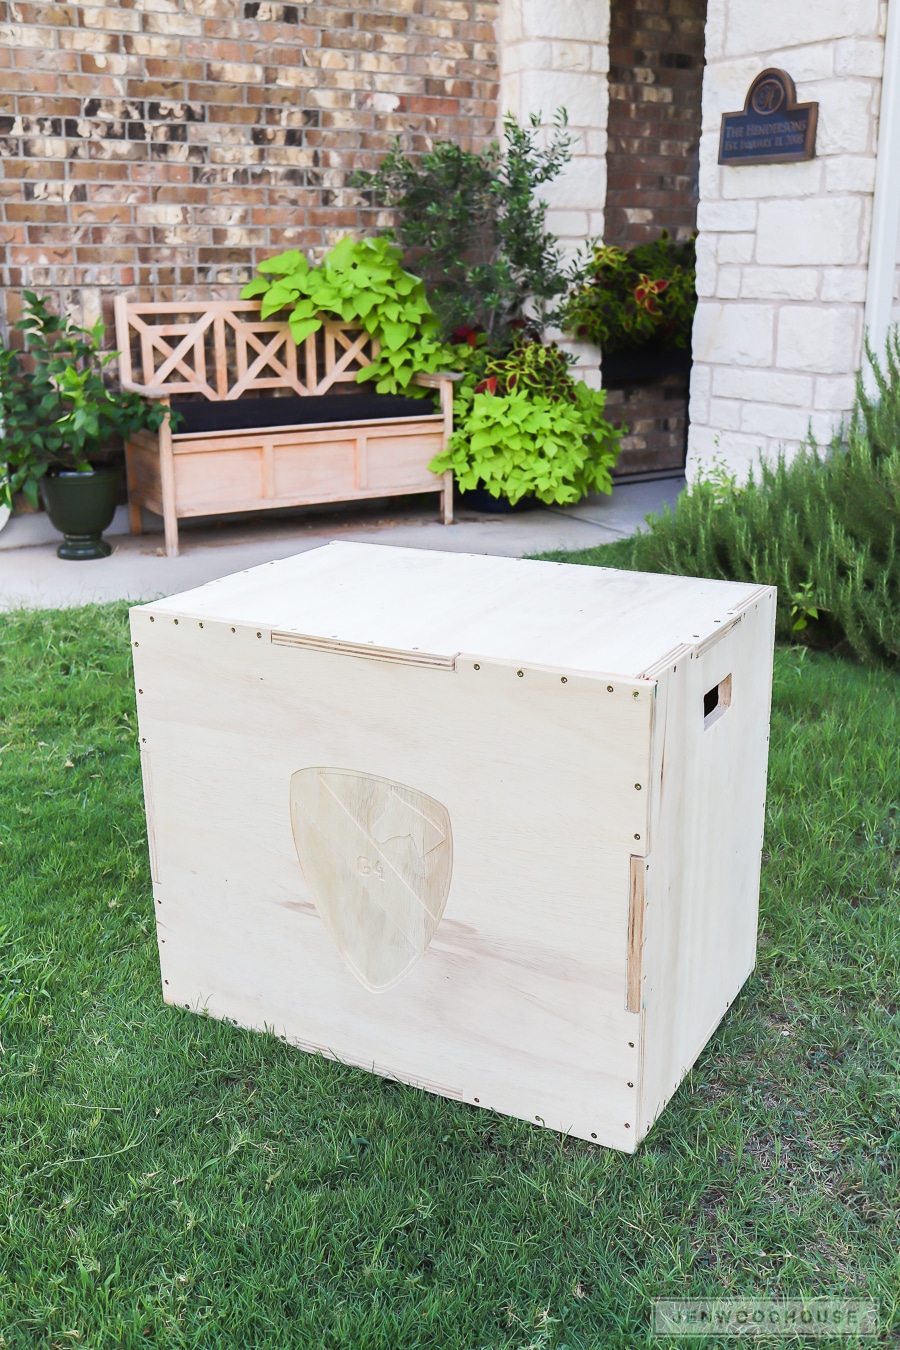
Guess what, everybody! Adam built a box! More specifically, a DIY 3-in-1 Plyometric Box! I’m told folks enjoy jumping on these boxes repeatedly for “exercise” or “fitness” (or is it ‘finesse’? I think the ‘t’ might be silent.) Anyhoo, I wouldn’t know anything about that because I try to expend the least amount of energy possible, but I can identify a gym on sight! We also used some new tools in this build, so we’ll be talking about those in this post too, in addition to the tutorial and plans for this torture workout box.
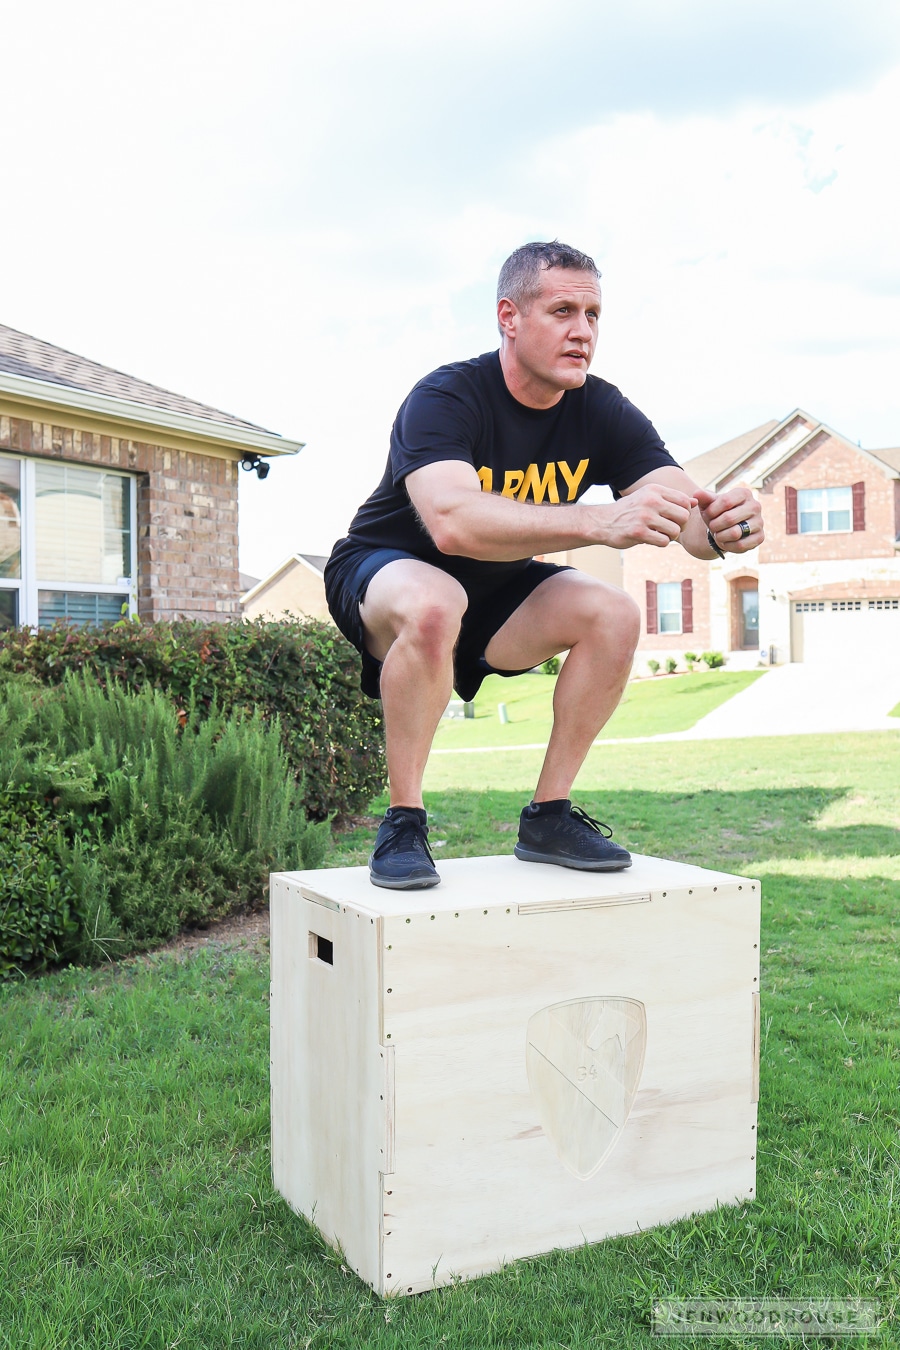
You can download the plans for this DIY 3-in-1 Plyometric Box below. I designed this plyo box so that all of the pieces will fit on a single sheet of 3/4-inch plywood because I care deeply for you, your health, and your wallet. You’re welcome.
Speaking of cost, did you know you can purchase a plyometric box for over a hundred American dollars?! That is absolutely insane. So let’s build one for about forty bucks instead and keep the extra cash in your pockets for protein shakes, or whatever it is you health nuts spend your money on. Who’s with me?!
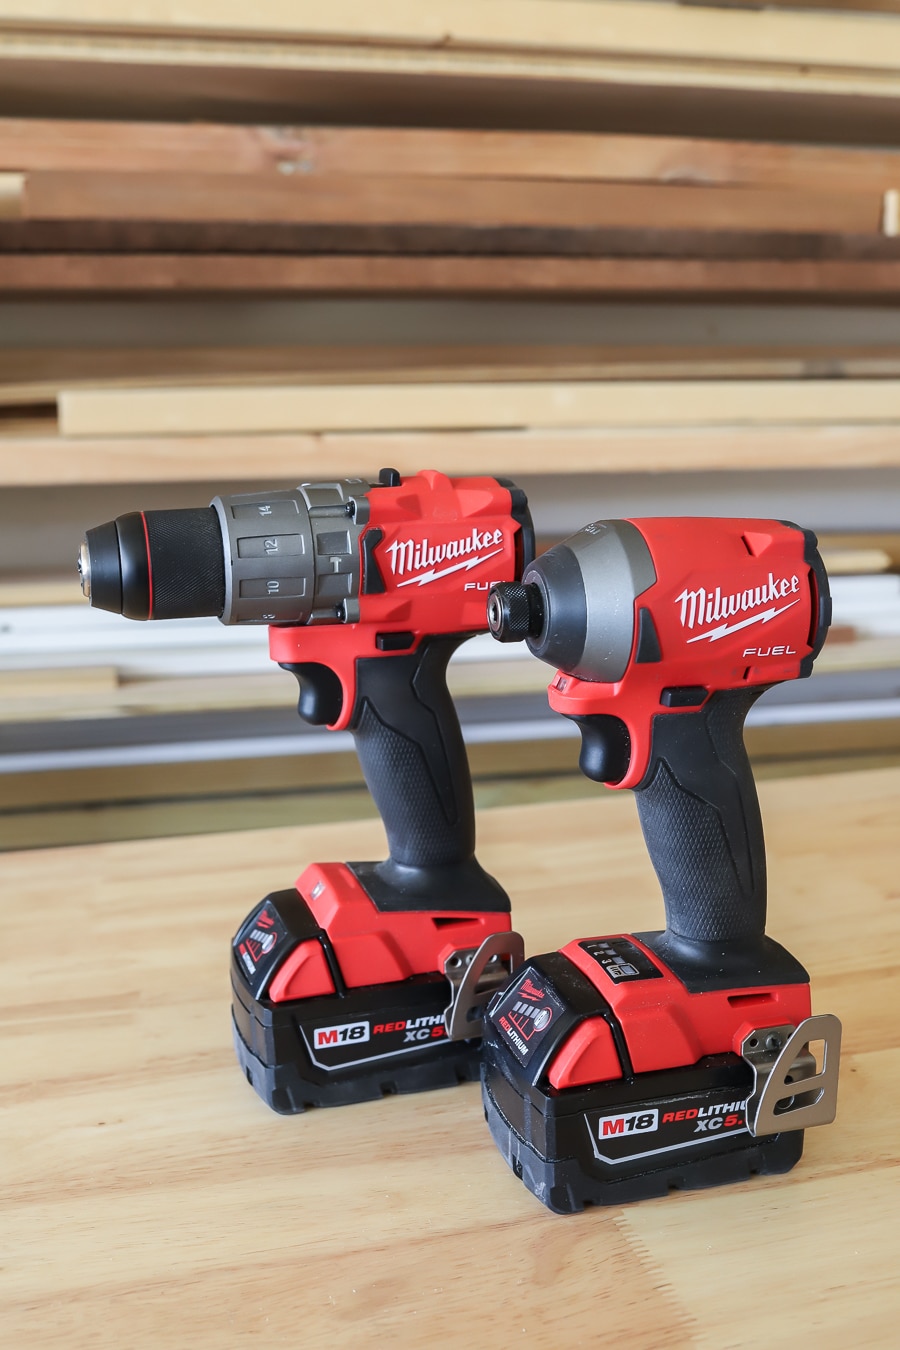
Before we jump into the tutorial, let’s talk tools. We were excited to get our hands on the new Milwaukee M18 FUEL brushless cordless hammer drill and impact driver combo kit. It came with two 5Ah batteries and is fully compatible with the M18 system, featuring 150+ tools. These drills are touted to be the most powerful tools in its class and Adam was very pleased with their performance.
We were also able to use the new Bosch Daredevil 12-Piece Spade Bit Set. Man, were these spade bits impressive! They chewed right through the wood with no problem at all. The full-cone, self-feeding tip drilled through our material so fast and effortlessly, it took us by surprise. It ate up this plywood for breakfast 10 times faster than any other spade bit we’ve tried. Nice work, Bosch!
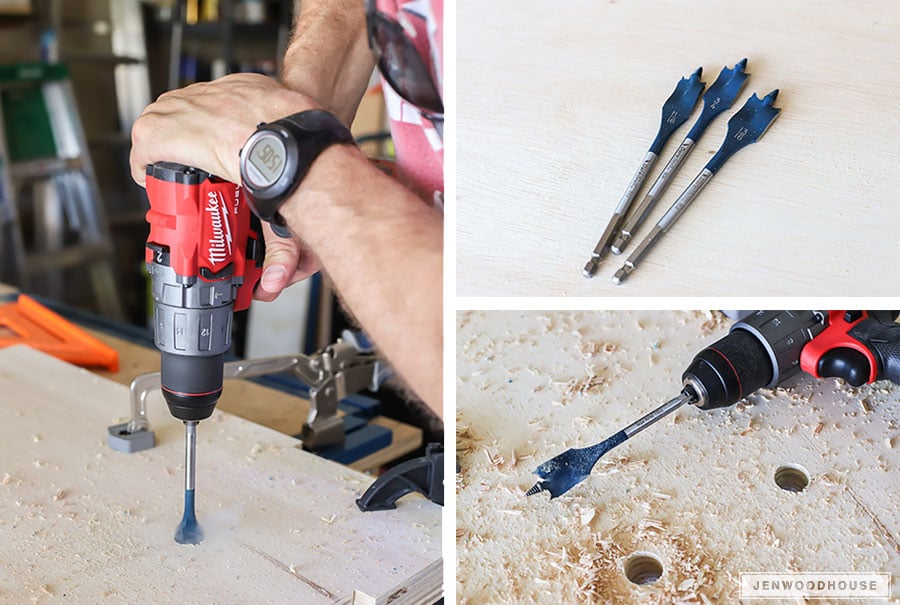
We love how compact these drills are. It’s easy to use in tight spaces, but its compact size doesn’t affect its power – the hammer drill delivers 1,200 in-lbs of torque. The brushless motor and REDLINK PLUS Intelligence battery ensures optimal performance and provides overload protection to prevent damage to the tools. This technology results in longer motor life, run times, and more power.
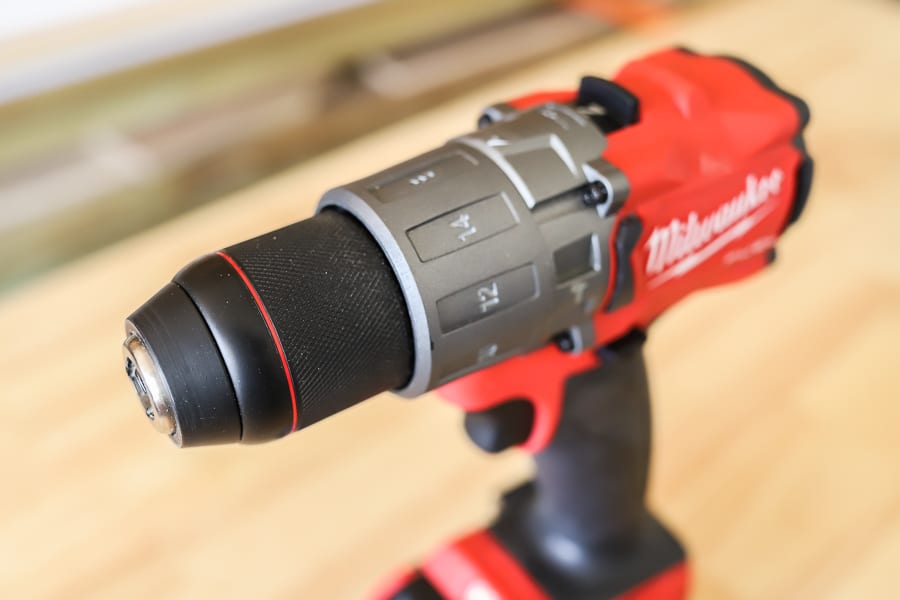
Another thing we really liked about the Milwaukee hammer drill was the chuck – as you tighten down on a drill or driver bit it ratchets down on the bit. We didn’t have any issues with the chuck letting go of the bit. This thing locks down tighter with every click of the chuck, which made changing bits hassle-free. We didn’t have a single instance of the chuck coming loose, despite switching between a pilot hole drill bit to the Bosch Daredevil spade bits.
 A plywood cut layout is included in the plans, so after I drew up the plans, Adam cut out the pieces. He first used the table saw to break down the plywood into manageable pieces, then he used a jigsaw make the rest of the cuts. The blade on the jigsaw would bend as it moved through the plywood, so unfortunately, the cuts weren’t perfectly perpendicular. A bandsaw would have been a better choice here, but we don’t own a bandsaw, so we used what we had.
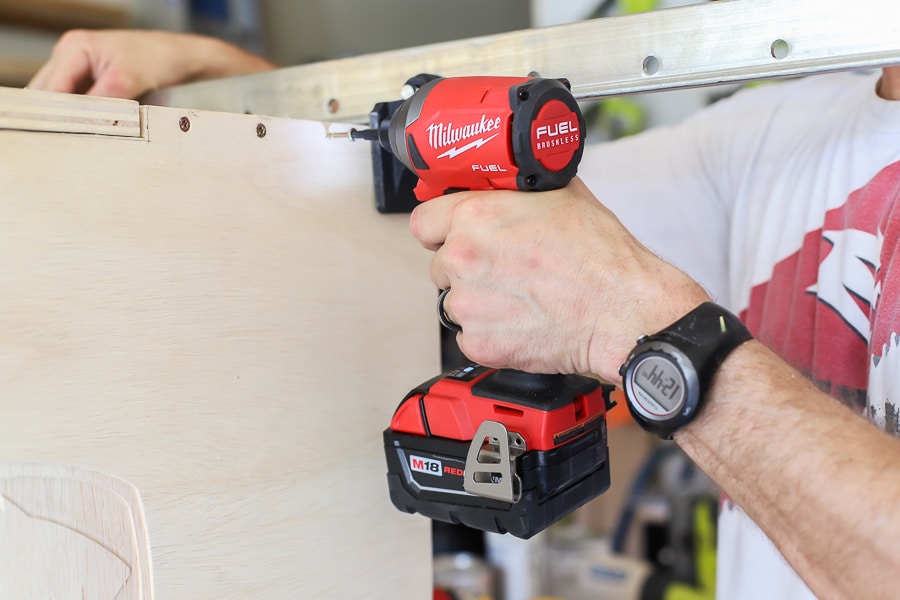
Adam pre-drilled the pilot holes with the hammer drill, applied wood glue to the edges, and drove the wood screws in with the impact driver.
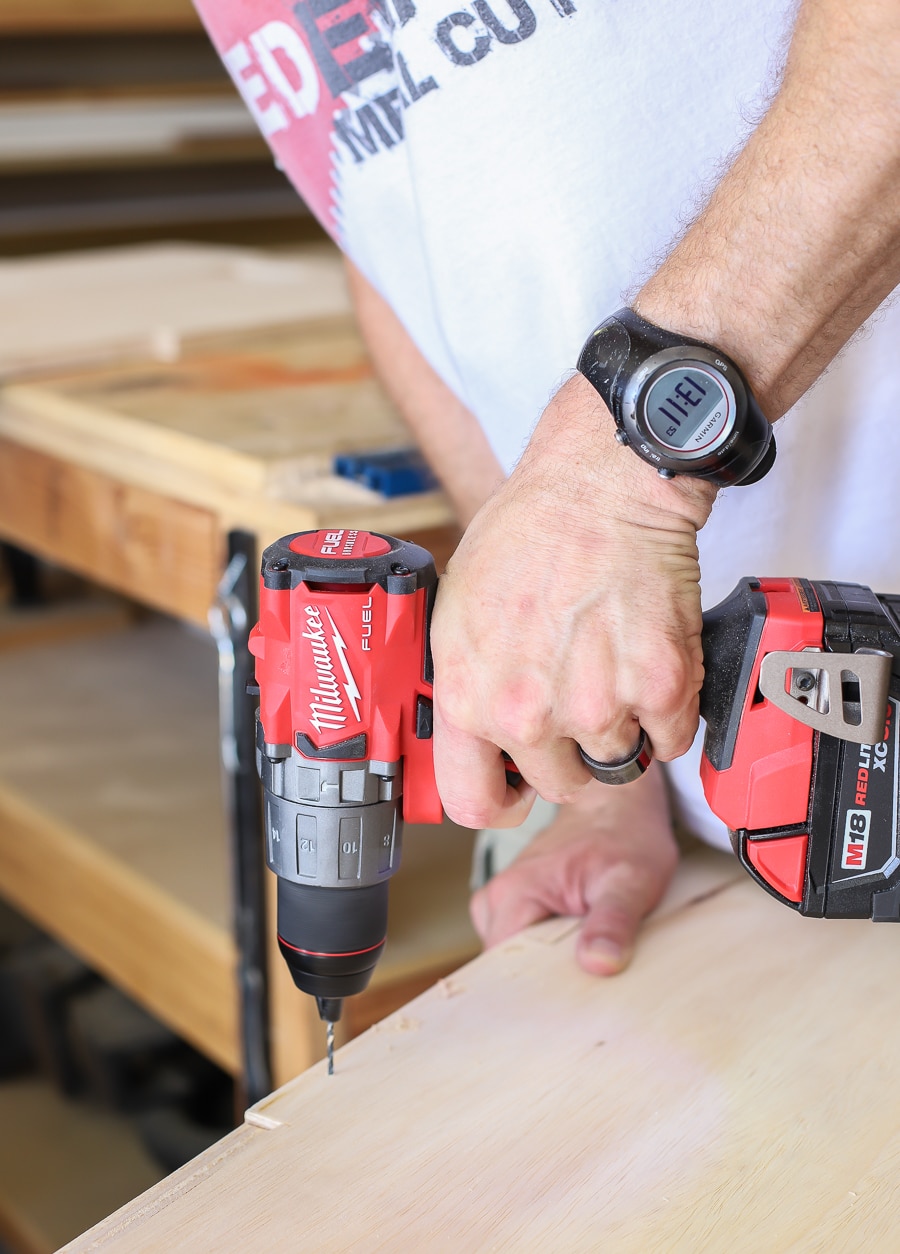
The impact driver was Adam’s favorite, it delivers up to 25% more torque with up to 2,000 in-lbs to complete more demanding applications, yet it’s the most compact tool in its class. Small but mighty… like me. 🙂 Both of these drills are backed by 5-year warranty and a 3-year warranty on the batteries.
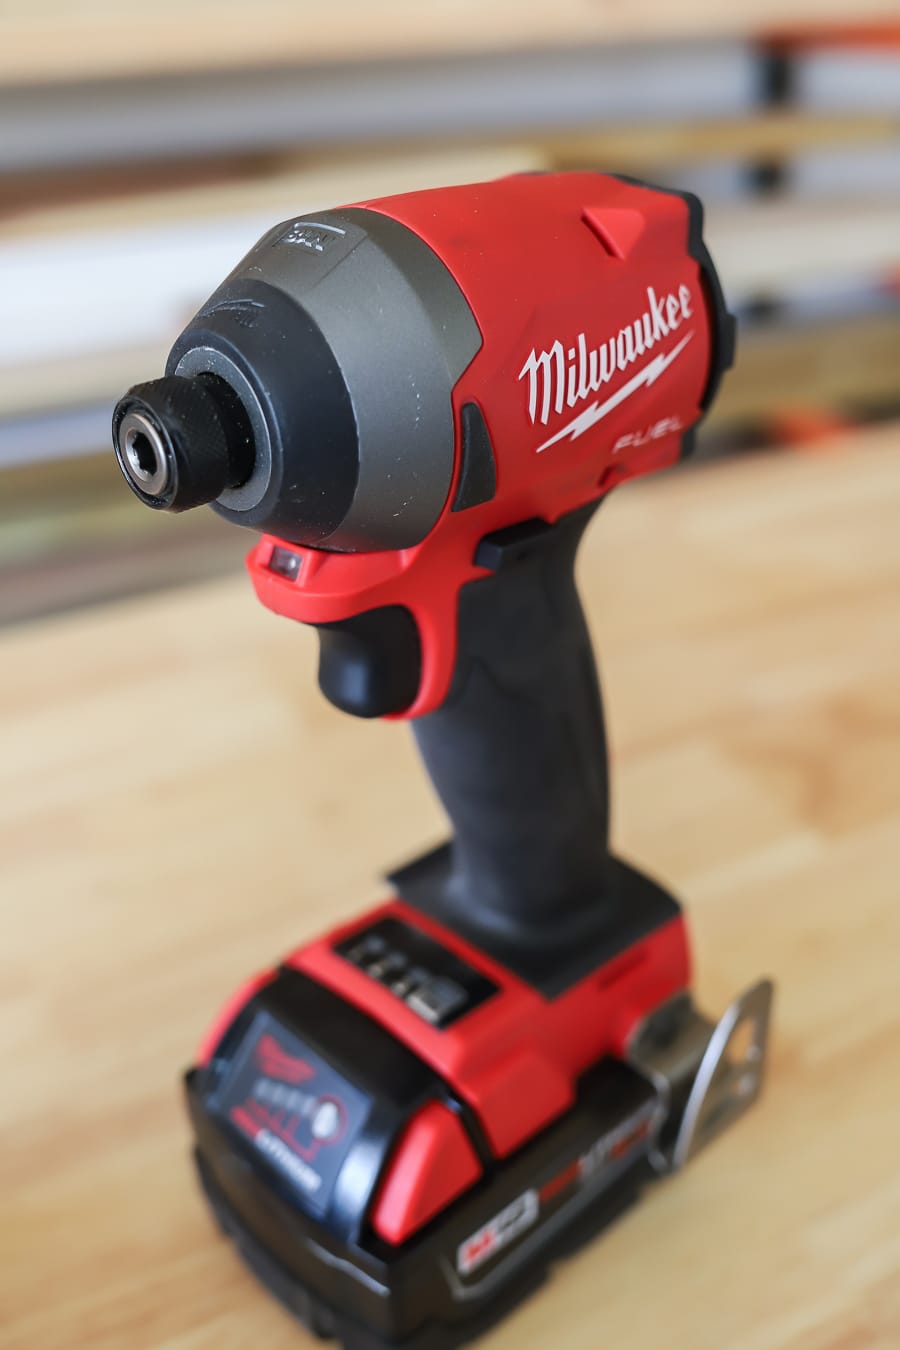
Look how cute it is! Like a little baby unicorn!
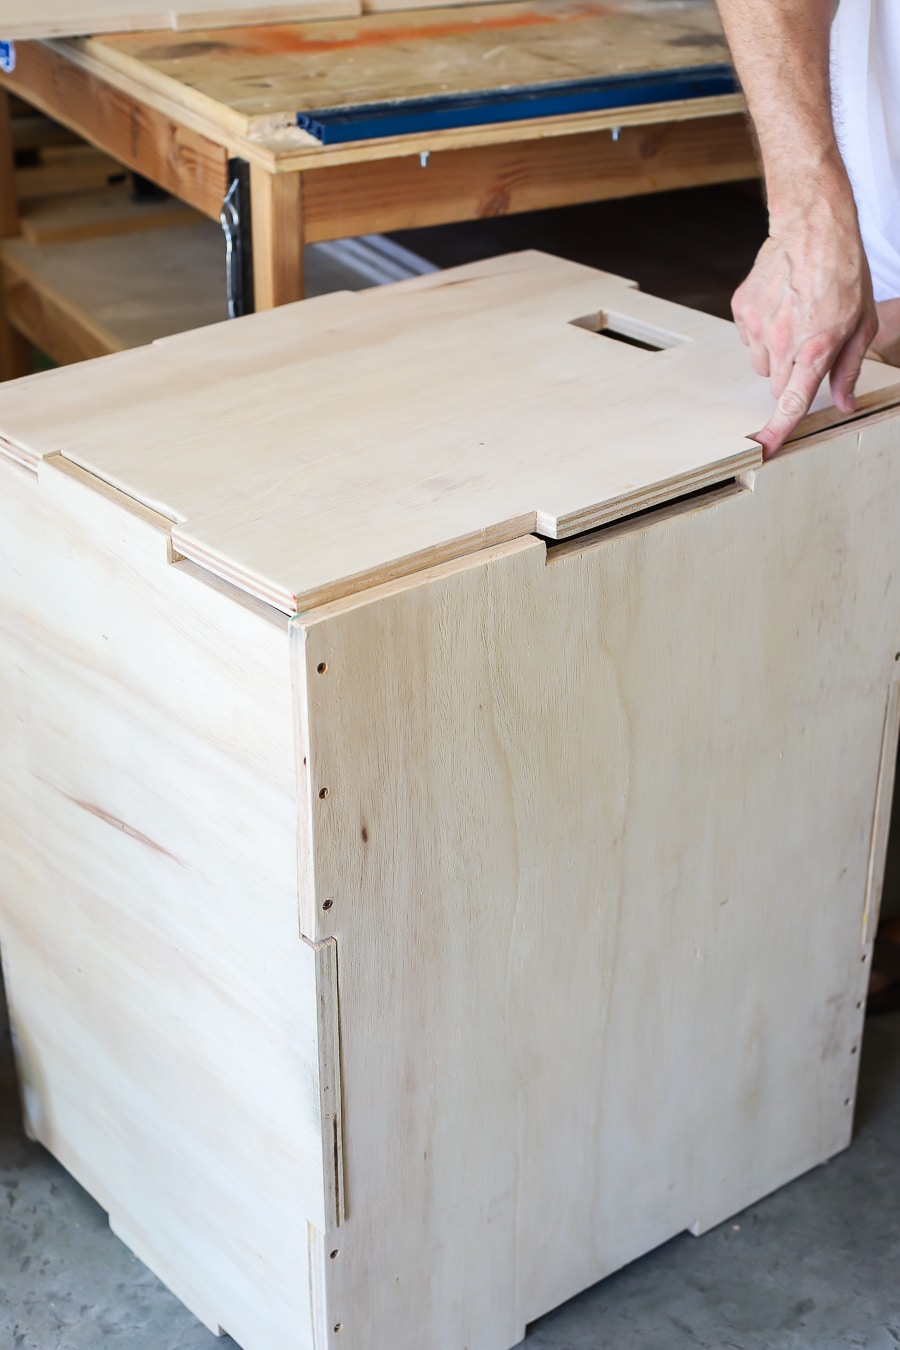
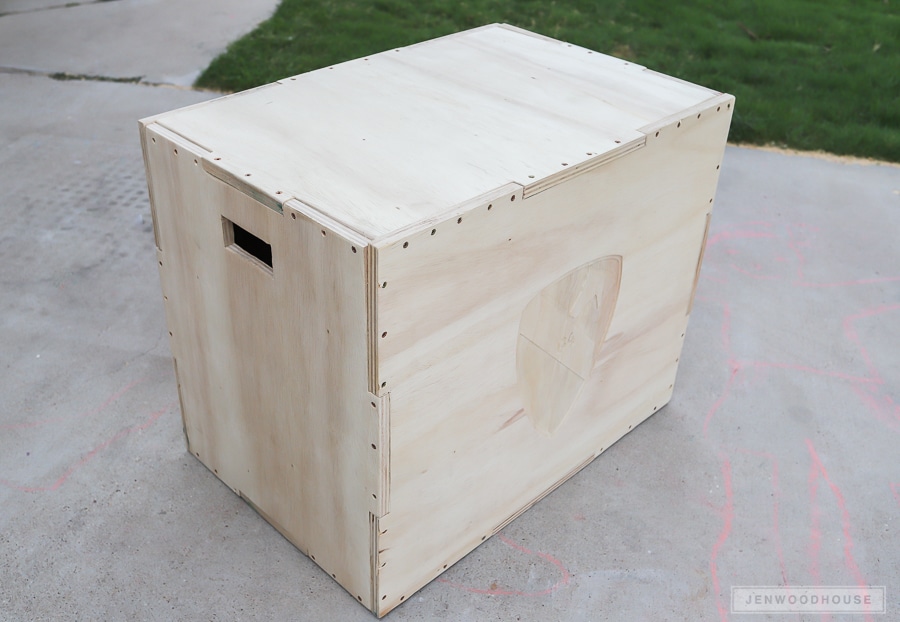
As you can see in the photo below, this plyo box is sort of ‘puzzle-pieced’ together with the tabs on all of the sides – this makes it much stronger, which is super important since big tough Army dudes would be jumping up and down on it.
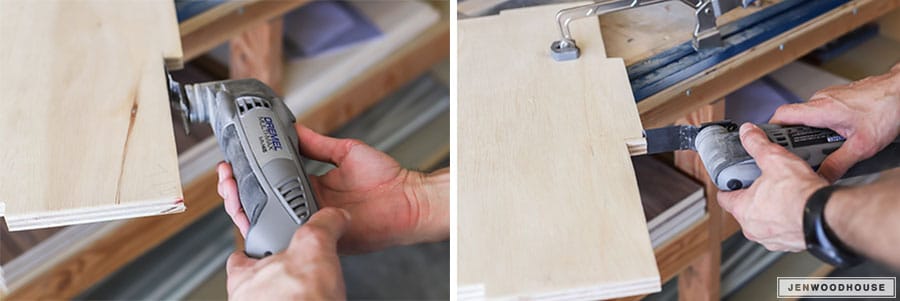
Despite measuring twice and cutting once, Adam still came up with joints that didn’t quite fit properly, so he unboxed the new Dremel Multi-Max 5 Amp Variable Speed Corded Oscillating Multi-Tool to cut his discrepancies down. This tool is ideal for doing detail work or accessing tight spaces.
The Dremel Multi-Max comes with 5 blades, various sanding sheets, and a carrying bag. The universal dual interface directly fits all tools, including Rockwell®, Fein, Makita®, Ridgid®, Milwaukee®, Bosch®, including the DeWALT® and Porter Cable®. It has a handy quick-change feature which makes switching out the accessories fast and easy.
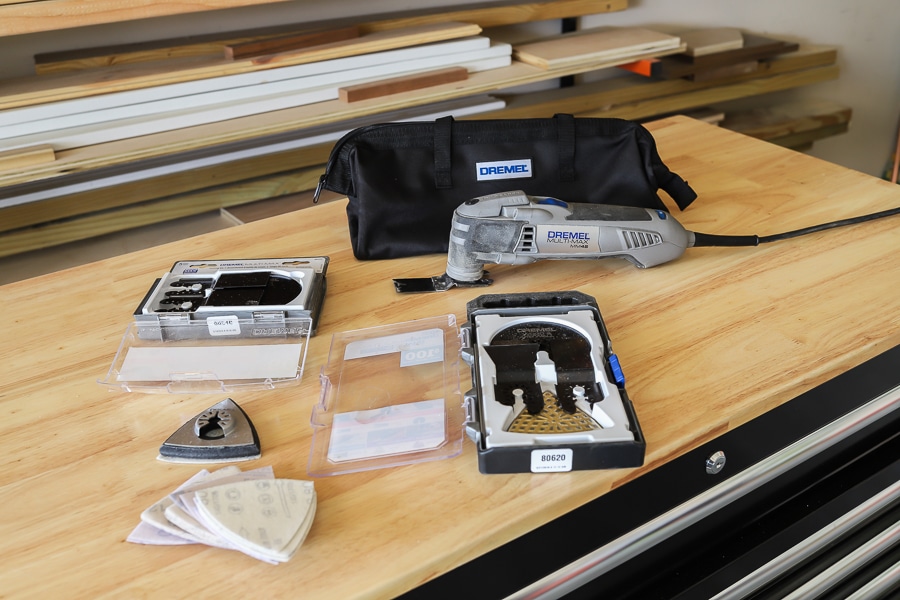
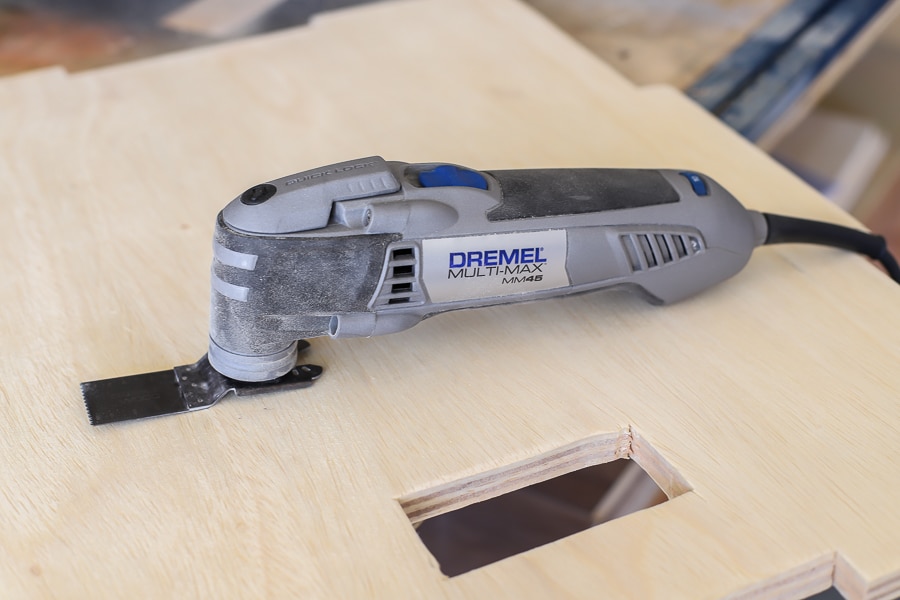
Adam used the Multi-Max to shave off a bit of the tabs on the box so the pieces would fit snugly. It worked like a charm.
After everything was glued and screwed, this DIY 3-in-1 plyometric box is ready for PT! (Army-speak for ‘Physical Training’)! Hooah!
 *I acknowledge that The Home Depot is partnering with me to participate in the ProSpective 2018 Campaign. As a part of the Program, I am receiving compensation in the form of products and services, for the purpose of promoting The Home Depot. All expressed opinions and experiences are my own words. My post complies with the Word Of Mouth Marketing Association (WOMMA) Ethics Code and applicable Federal Trade Commission guidelines. This post contains affiliate links. To read my full disclosure policy, please click here.


was the inlay work for the cavalry logo done with a CNC? if outsourced, what would the approx cost be?
Hi Gregg,
I carved the logo with my Inventables X-Carve.
Hey Jen…I already voted. Hope you win and congrats!
Thanks so much, Bruce!
Good evening. I am having trouble receiving the email for the 3 in 1 plyo box plans. I checked my junk folder and it was not in there as well. Can you help? Thank you so much.
Thanks Matthew! The plans should have been automatically emailed to you. Sorry they weren’t! I just emailed them. Good luck and happy building!
Hey there! Great work. I just did some cuts on our work panel saw (Home D****) using 3/4 maple veneer. This think will be a beauty. I’m hoping you can send the plans. Thank you.
Hi G. Reso! You should be getting the plans for the plyometric box coming to you via email. Thanks!
Where do I get the plans for the plyometric box?
Can I aslo get some of the plans sent to me?
Thank you
Hi there,
This looks great. Do you mind sharing your plans?
Thank you!
What a beautiful well made piece of 3-1 plyobox. This Will fit perfect into my vision on training for Finesse. Good job! I too would like to receive the plans on E-mail.
Awesome build and write up! Would you mind sharing your build plans
How do I get the plans?
Hello Jen,
Is it possible to get the plans sent to me?
Hey Jen! Can I get your plans for this? Thanks
Hi! Would like the plans but the signup isn’t working. How can I get your plans sent? Thank You!
Can I get plans for this please
Sure thing Dave! Just click the grey “download plans” button. Thanks!
I clicked download but nothing came.
Would love to see the plans myself too… Thanks
Could I get the plans?
[email protected]
Dont see the download grey button. Can I get the plans sent to me?
Can you email me your plans as well? Thanks! These look awesome!
Of course, Andrew! Emailed.
I would love a cut sheet and plans too. Planning on doing this tomorrow.
Love it. Could I please get the plans?
I would also like the plans for this box as well please. I’d like to get mine done tomorrow.
I would the like a copy of you don’t mind. Thank you
Can I please get the plans. This is great. Thank you
I can not find the drawing. Can you please send me on my e-mail?
Could I also get the blueprints for this plyo box?
Can I get the plans please? Subscribed but they didn’t come! 🙂
I’d also love the plans
may I get the plans as well please?
Hi Joel,
Of course! I’m showing that the plans were emailed to you – were you able to download them? Thanks!
Looks great! Could I get the plans?
Looking for the plyo box planos
Hi,
I don’t see the download button. Any chance you could send plans?
Thanks!
What type of plywood did you get at Home Depot for this plyo box project?
Don’t see plans – can I get?
May i have the plans to build for my wife?
Hello,
Great plyobox! Can you please send the plans? I would love to build one for my daughter.
Thanks!
[email protected]. I would love the plans
Hi, I would love to get a copy of the plans. This is perfect for what I’m looking for! Great design!
Hi Jen,
Great project, could you please send me on the plans?
Thanks
Sean
I’d like the plans. Thanks!
Request for plans!
May I get a copy of the plans for the this plyo box? This box is perfect for my wife!
Can you please send me the plans?
Can I get the plans also?
May I get the plans emailed to me please? I’ve been saving this link for when I had room enough to build it and we finally moved and I got the room in the garage for it!!
Subscribed to get the plans but no email came through.
Is this site legit?
Help! My DIY box just died lol. Tried to DL the plans without luck. Could you possibly send them to me?
Can I get the plans?
Hi ,
love your site and your creativity.
Would love to build the Plyometric Box but I can’t see the Download link for the plans. I’ve probably got TMB ( Typical Male Blindness! ) ?
Could you please email them?
Many Thanks.
looking for plans – please email
This is a great way to lose my Covid-20. Would you mind sending me a copy of the blueprints too?
I would appreciate the plans to build this!
Hi!! Can you send me the plan? Pliz!!
Can I get box plans please?
Hey I was wondering if I could get the plans?
Hi Jen…I would love the plans for this box. I don’t see a button. Can you please send? Thank you!
No problem! Keep an eye on your inbox. 🙂
Could you please send the plans and cut sheet, this looks like fantastic design!
Hi Jen, great design. Would love to hear how it’s holding up after a couple of years. Would you please email me the cut sheet? Thanks!
Thank you for the plans! I don’t see on them how deep you cut the insets to make the sides piece together. Are they an inch inset?
Hi Kea, the cuts are 3/4″ deep to accommodate the 3/4-inch thick plywood. Hope that helps!
May I also have the plans. I would love to make this.
Hi Jen, I didn’t even think that these boxes can be made at home and bought my son one online a while back. Yours looks just as good as ours, for which I paid a lot of money 🙂 The only downside to wood, is bruised and bloody shins, which is exactly what happened over the weekend. To me, this is the only reason I would have considered a more expensive foam or padded box online. Would you have any suggestions how to add padding afterwards? I have seen a thin rubber outdoor mat sold as a mat for under your BBQ and thought perhaps to cut this to size and glue it to each side? Any advice or recommendations? Thanks!
Good morning, Yolande!
An easy (cheap) fix is to just round the edges over with some sandpaper so that they’re no longer 90*. It will take the bite off if the shins make contact. If you or your son have some tools around, a small round over bit on a router and light sanding after is ideal also.
Sometimes a little blood is just part of the workout routine!
Adding padding to the box sounds like a good idea. Using a rubber outdoor mat could provide the cushioning you’re looking for.
This is a great idea for a plyometric box! I’m going to make one for my home gym!
This guide is fantastic! I’ve been looking for a way to incorporate more plyometric exercises into my routine without breaking the bank. Your step-by-step instructions are clear and easy to follow. I can’t wait to get started on building my own 3-in-1 box. Thanks for sharing!
Thank you for the straightforward instructions! Looking forward to building this for my family.
This DIY 3-in-1 plyometric box is exactly what I needed for my home workouts! The step-by-step instructions are super clear, and I love that I can adjust the height for different exercises. Can’t wait to give it a try—thanks for sharing!
Thanks for these plans. Finally got around to making it and it turned out great! (I also had some fit issues with the last piece due to a trim error somewhere but I used a hammer – vs an oscillating tool – to deal with it.
Thanks Jen, nice box! Tell your husband his socks don’t comply with DA PAM 670-1. No matter how cool Nike is, no logos allowed unfortunately! Once again, thank you for sharing your box with us!