Hi friends! I’m back to share a brand new project with you – a DIY Carved Entryway Cabinet! Once again, I partnered with my friends at Inventables to bring you the free plans and step-by-step tutorial for this piece.
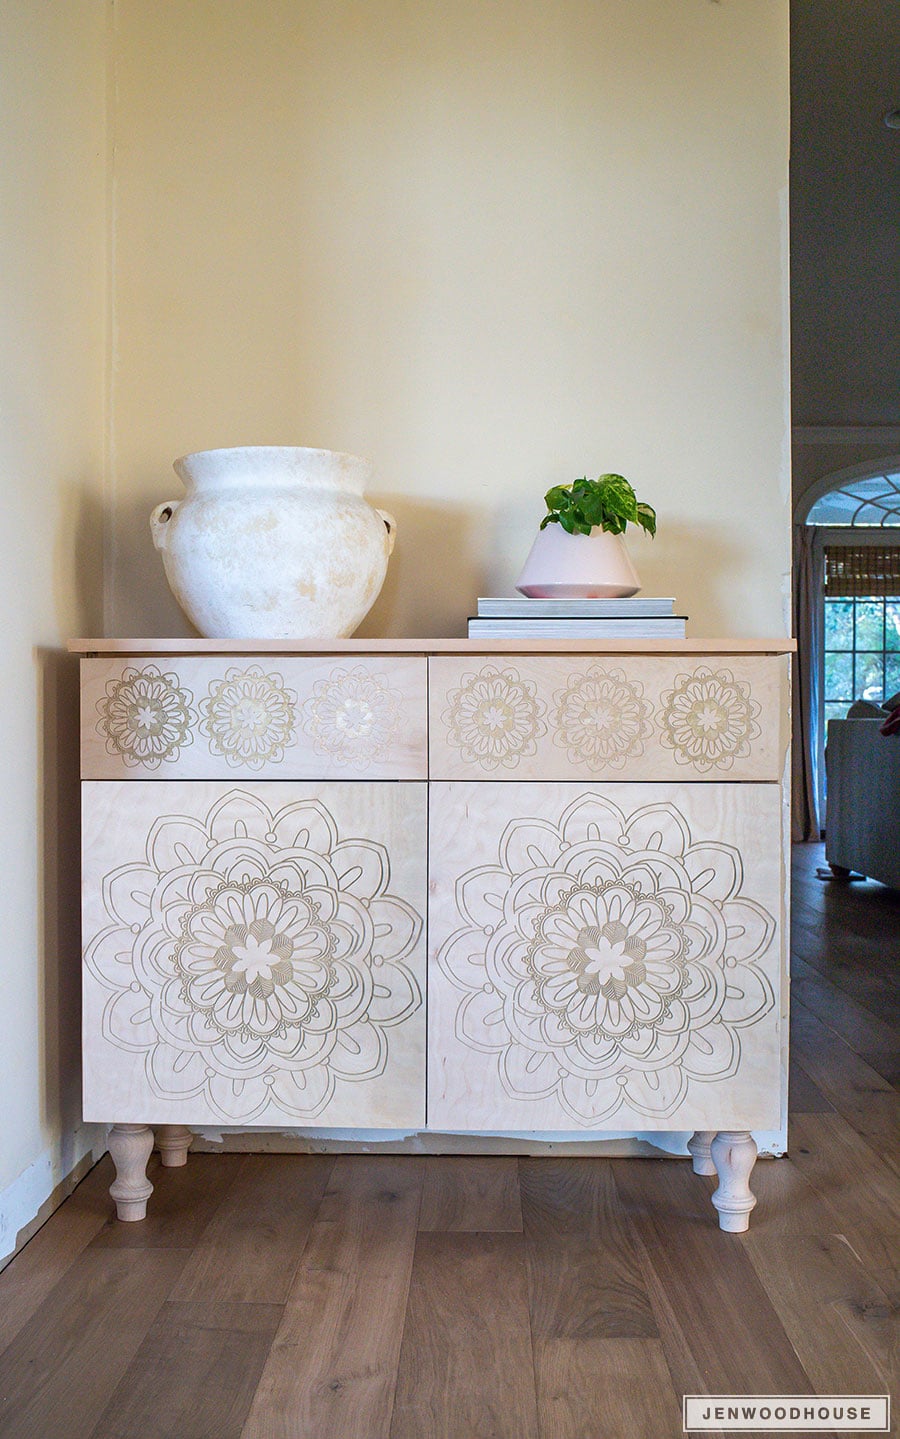
Please forgive the missing baseboards and trim. We just finished installing our brand new hardwood floors and are waiting for the special-ordered baseboards to arrive. Just move along, folks. Nothing to see here. I can’t wait to get this house back to right – my deadline is Thanksgiving because we’re hosting this year! #nopressure
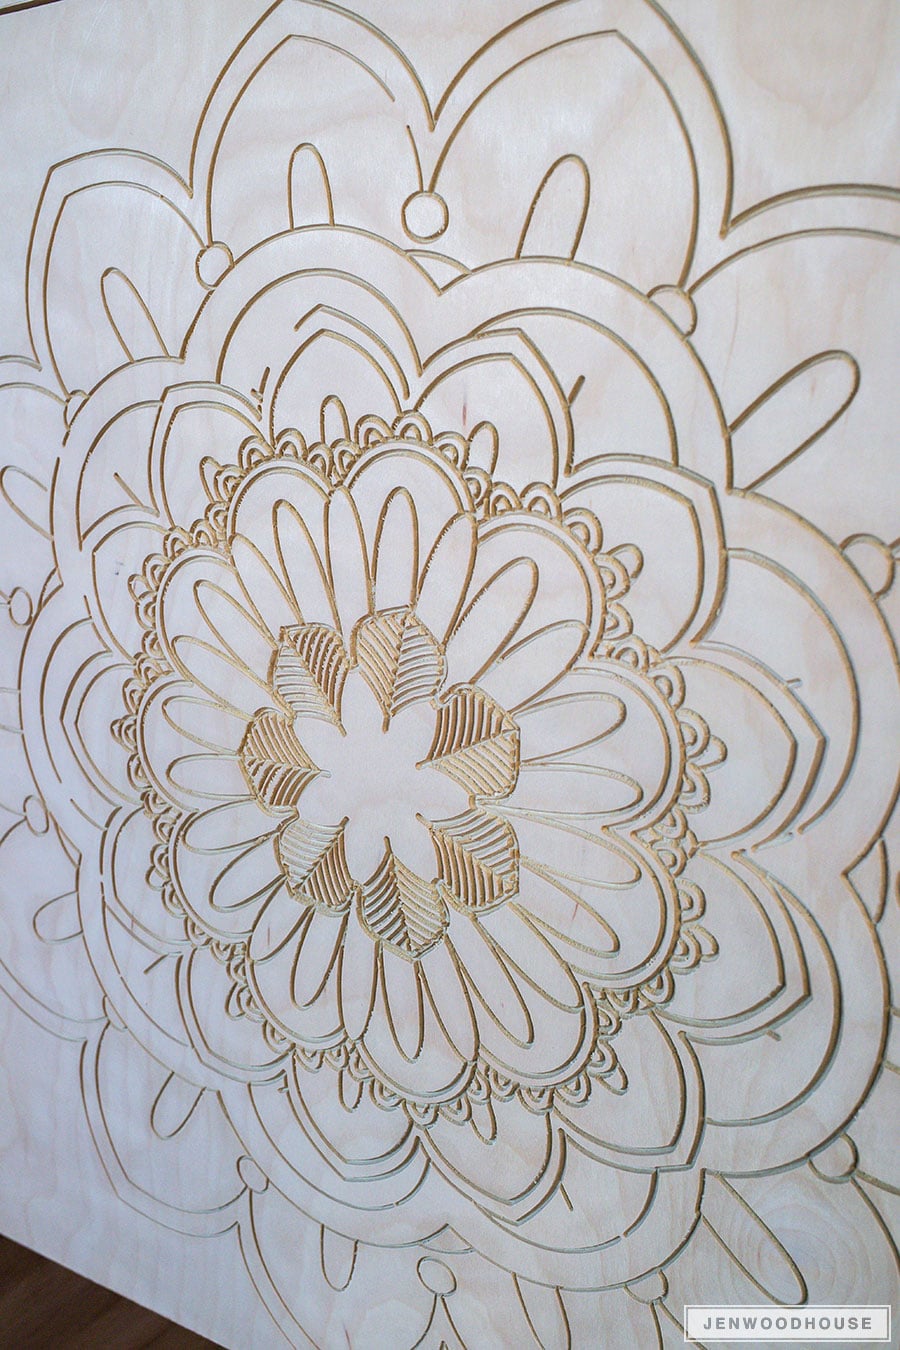
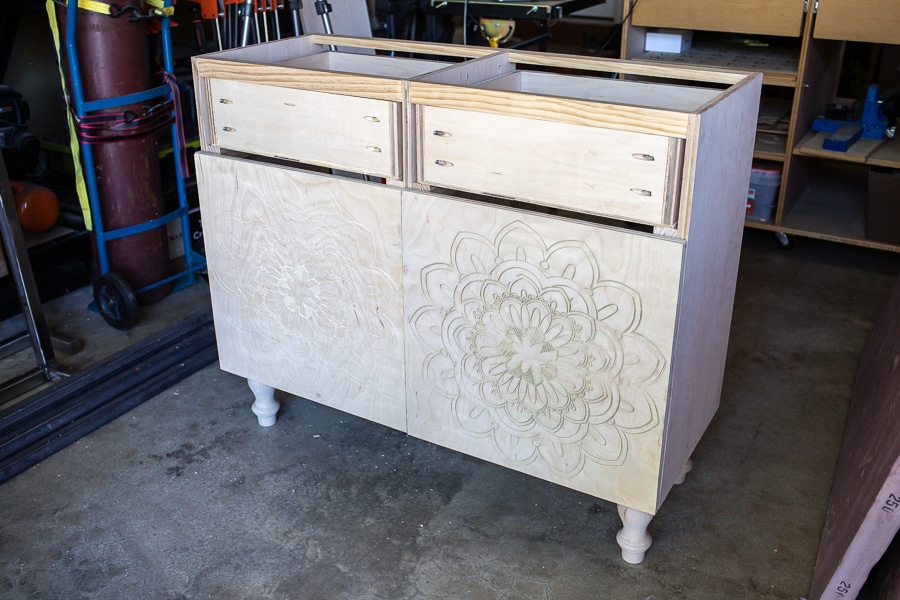
This DIY cabinet is a pretty straightforward build – the thing that sets it apart is the carved design on the cabinet fronts and drawer faces. This is where the X-carve really shines – it can turn an otherwise ordinary piece into a showstopper.
So who wants to build this DIY entryway cabinet? Read on for the how-to and download the free plans below!
Tools and Materials:
- Inventables X-Carve 3D Carving Machine
- Easel Design Software
- 60º V-carve bit
- Table Saw
- Circular Saw with a plywood blade
- Cordless Drill/Driver
- Pocket Hole Jig
- Cordless Stapler
- Cordless Brad Nailer or Hammer
- Concealed Hinge Jig (optional)
- (1) 4 x 8 Ft. Sheet of 3/4-inch Plywood
- (1) 4 x 4 Ft. Sheet of 1/4-inch Plywood
- (1) 1 x 8 x 8 Ft. Board
- (2) 1 x 6 x 8 Ft. Boards
- (2) 1 x 2 x 8 Ft. Boards
- 1 1/4-inch Pocket Screws
- 1-inch Staples
- Wood Glue
- (4) Soft-close Hinges
- (2) 14-inch Metal Drawer Slides
- (2) Cabinet Knobs
- (2) Drawer Knobs
- (4) Furniture Feet
- (4) Hanger Bolts
- (4) Tee Nuts
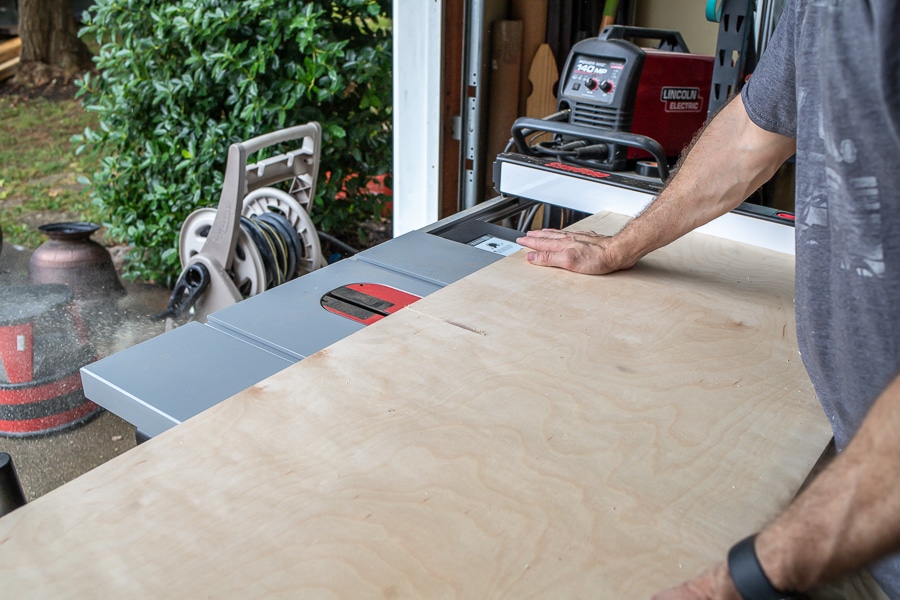
Step 1: Cut the plywood parts
We recently added a brand new table saw to the shop – the incredible SawStop. Are you familiar with these table saws? The technology is amazing – the saw blade carries a small electrical signal that can sense when skin touches the blade. Because our bodies are conductive, the blade detects the change in signal and activates an aluminum brake that stops the spinning blade in less than 5 milliseconds! The saw blade stops immediately and drops down into the table, keeping your fingers and other valuable extremities safe from harm! These saws certainly aren’t cheap, but if you compare the danger of the alternative, I believe it’s a wise investment to make. I shared a video of the saw in action on my Instagram feed.
Step 2: Carve the design
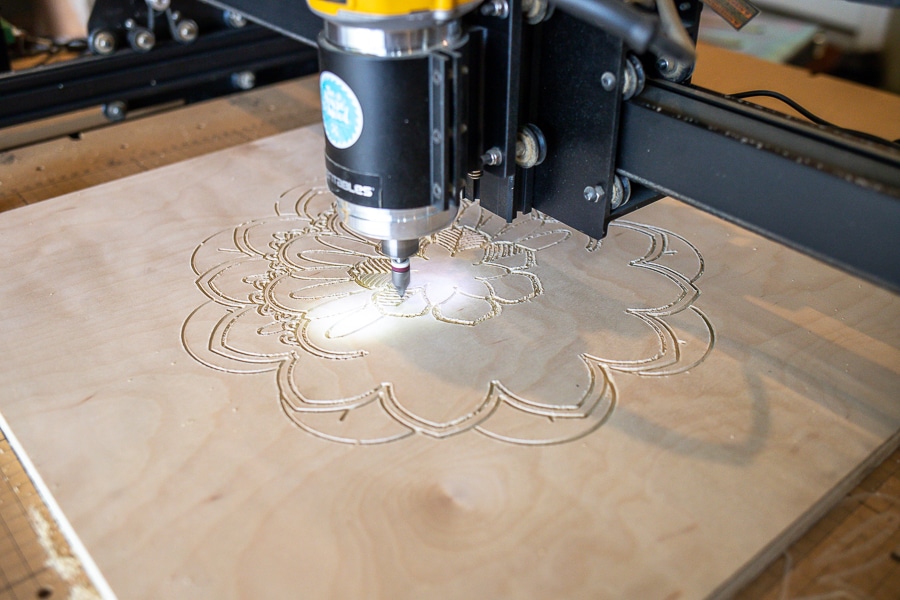
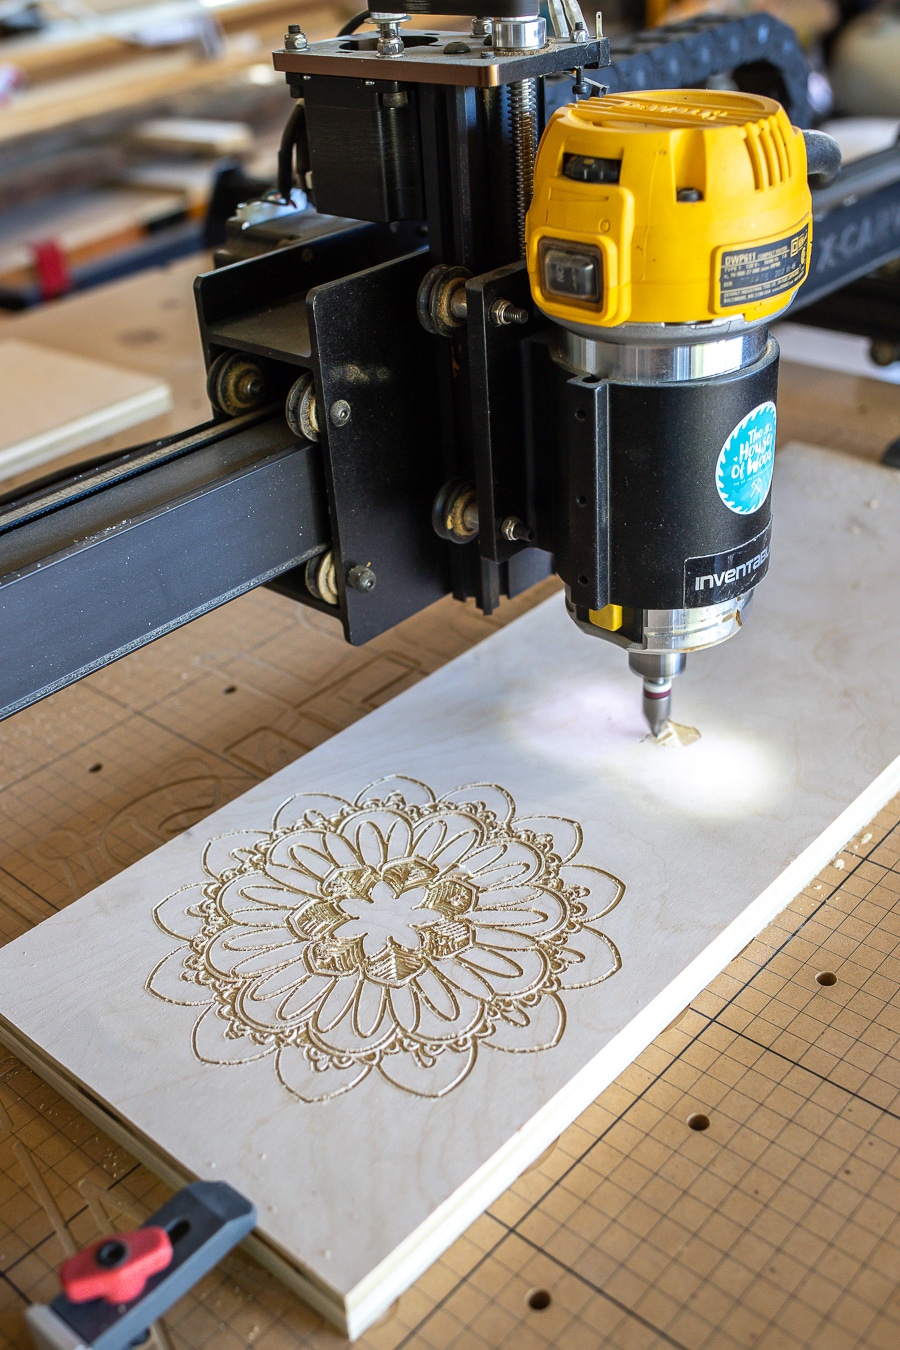
Once the plywood panels were cut, I created a mandala design in Easel (Inventables’ free design software) and let the Inventables X-Carve do its magic – it’s so mesmerizing to watch! If you have a CNC or an X-carve, you can download my SVG file here and carve the same design. You’ll also find a vast array of different projects that the Inventables community shares. The possibilities with this machine are endless! I used a 60º V-carve bit and set the carving depth to 1/8-inch deep, which took about 40 minutes to carve each panel.
Step 3: construct the carcass
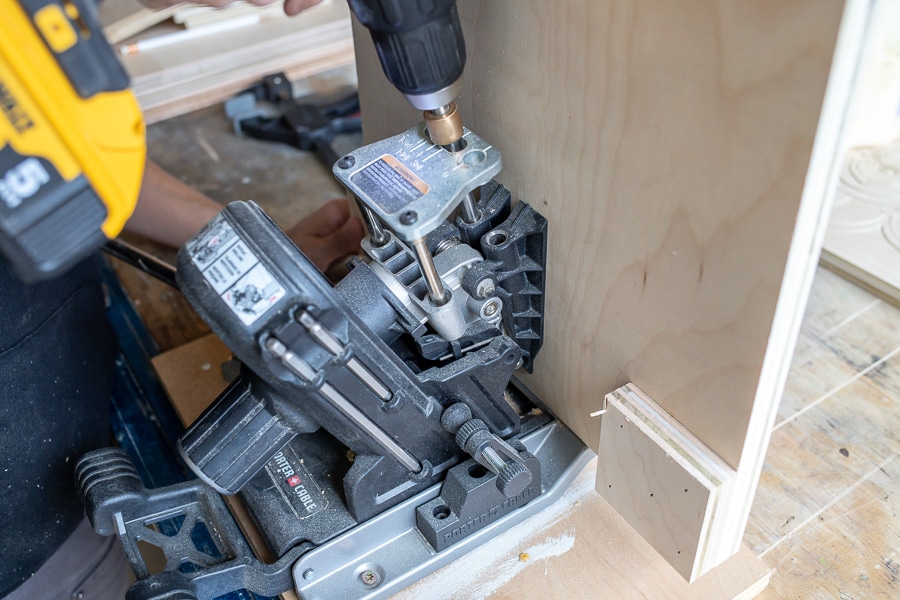
While the X-Carve was carving the design, I drilled pocket holes into the panels to start assembling the entryway cabinet carcass. I really like this Porter Cable pocket hole jig – the settings automatically adjust to fit the material so you drill the perfect pocket holes every time.
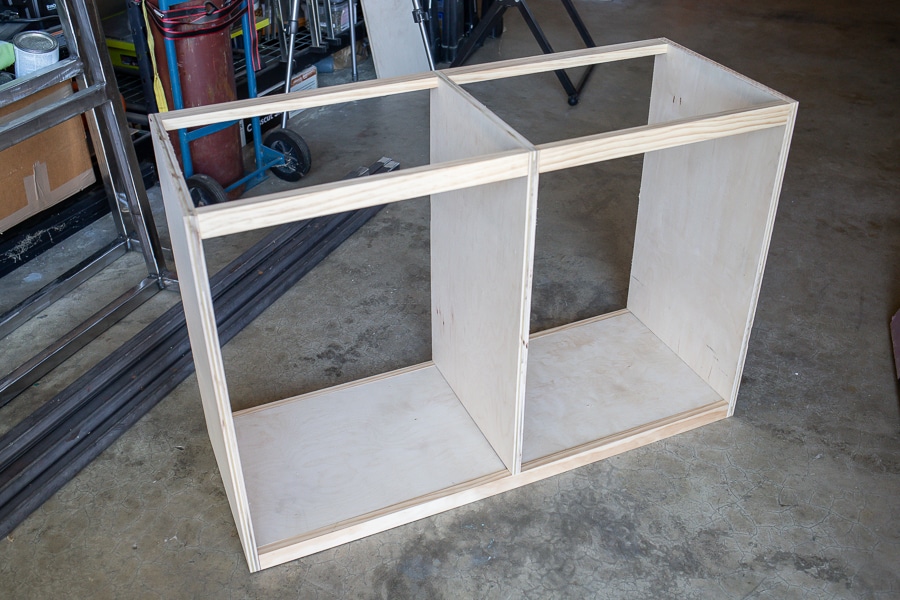
If you’ll notice the front top rails are different from the back rails. I meant for all four rails to be attached turned on their edge, but I accidentally attached the back rails face flat like this. It’s okay if the back rails are attached in this way, as long as the front rails are turned on edge. This is just so that the overlay drawers have more surface to close into. Just remember which side is the front if you do it this way. Hope that makes sense. When in doubt, follow the plans!
Step 4: Build and install the drawers
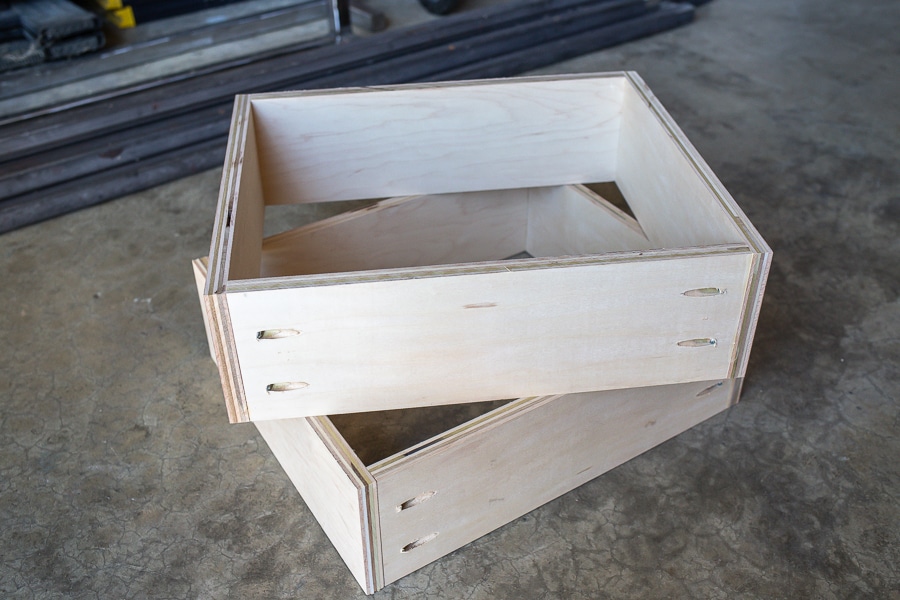
Pocket holes made quick assembly of the drawers. Always build your drawers according to the space they’re going into. Generally, standard drawer slides require a 1/2-inch clearance on each side of the drawer, so you’re going to want to build your drawers an inch narrower than the space. Measure and build to fit! Also, be sure to drill the pocket holes on the front and back boards of the drawer box and not the sides. Since you’ll be pulling and pushing the drawers in and out, placing the pocket holes on the front/back of the drawer will make these joints stronger. If you were to drill the pocket holes on the sides, over time and repeated opening/closing of the drawers, the screws could come loose.
I actually didn’t have the correct length drawer slides on hand and didn’t want to trek all the way back to Home Depot for the second time in one day, so I just made my own slides from scrap wood. I may switch them out once I get some metal slides… but probably not. I mean, let’s be honest. Once a project is done, I’m onto the next thing.
Step 5: Install the hinges and hang the cabinet doors
For the cabinet doors, we used these soft-close concealed hinges along with this concealed hinge jig. These hinges are pretty forgiving – once you attach them to the cabinet, there are three different screws that allow you to adjust the cabinet door depth, as well as the vertical and horizontal plane. You can use whatever hinges you’d like, but I chose these concealed hinges because I wanted to keep the front of the cabinet clean and free of any hardware. Just a personal preference.
Step 6: Add the feet and drawer faces
I set the X-carve to carve another design onto the drawer faces while I worked on attaching the furniture feet. I got these pretty furniture feet from Highland Manor Wood Products. I used the same hanger bolt + tee nut combo that I used on my dad’s printer cabinet a few years ago. You can get a closer look at how I installed the feet in this post.
Next, I slid the drawers in, positioned the drawer faces, and screwed them in place.
Step 7: Finishing Touches
Finally, I added some iron-on veneer edge banding to hide the raw plywood edges and gave the whole piece a good sanding. I haven’t decided on how I want to finish this DIY carved entryway cabinet yet… I keep going back and forth on whether to paint or stain it. I think maybe a white wax would look beautiful, but right now I’m digging the natural wood, actually. What do you think?
*This post is sponsored by Inventables and contains affiliate links. To read my full disclosure policy, please click here.





Love, love, love this cabinet!! If only I had an xcarve!! One day!! Anyway thanks for all your tutorials! I have learned a lot and now I’m starting my own page! I’m going to do some tutorials, diy’s, and, hopefully, be a light of His kingdom on social media. Thanks for the inspiration!
What a Fantastic Post!! Love your work.
wow. thank you for this amazing content. i have been working on diy projects for many years.
xoxo
Hey Jen I love the content you have been posting lately!!
Very innovative work. Great utilization of resources!!