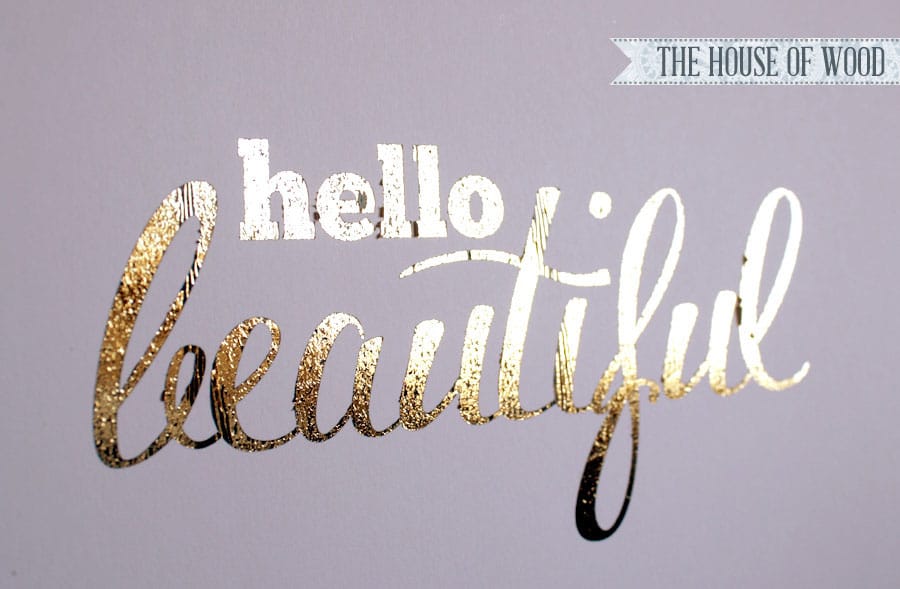
If you’ve kept up with me on Instagram, Facebook, or Pinterest, you’ll gather that I’m crushing on all things shiny and sparkly right now. Gold, crystal, mirrors… anything unapologetically girlie and glam has been my latest obsession. Gold, especially.
*This post contains affiliate links. To read my full disclosure policy, click here.
Last week, I shared a free printable that I made using Silhouette’s printable gold foil. Not satisfied with just sticking the gold foil stickers on the paper, I embarked upon a DIY gold foil tutorial hunt.
Surprisingly, there isn’t much information out there in the interwebs about how to DIY gold foil. I know, crazy, right? So I told myself, “Self, you will figure this out.” Luckily, I stumbled across this handy video tutorial. God bless you, YouTube. Unfortunately, the tutorial recommends a pricey laminator. Because I’m cheap not willing to spend that much time and money on a passing trend, I decided to try my gold foil experiment (*experiment being the key word here) using this basic laminator instead. If all else failed, I could use it as an actual laminator. Imagine that. I wanted one that was at least 13″ wide just in case I ever wanted to laminate (or hot foil) 12×12 scrapbook paper.
Okay, onto my DIY gold foil experiment! You guys are going to flip out over how easy this is!
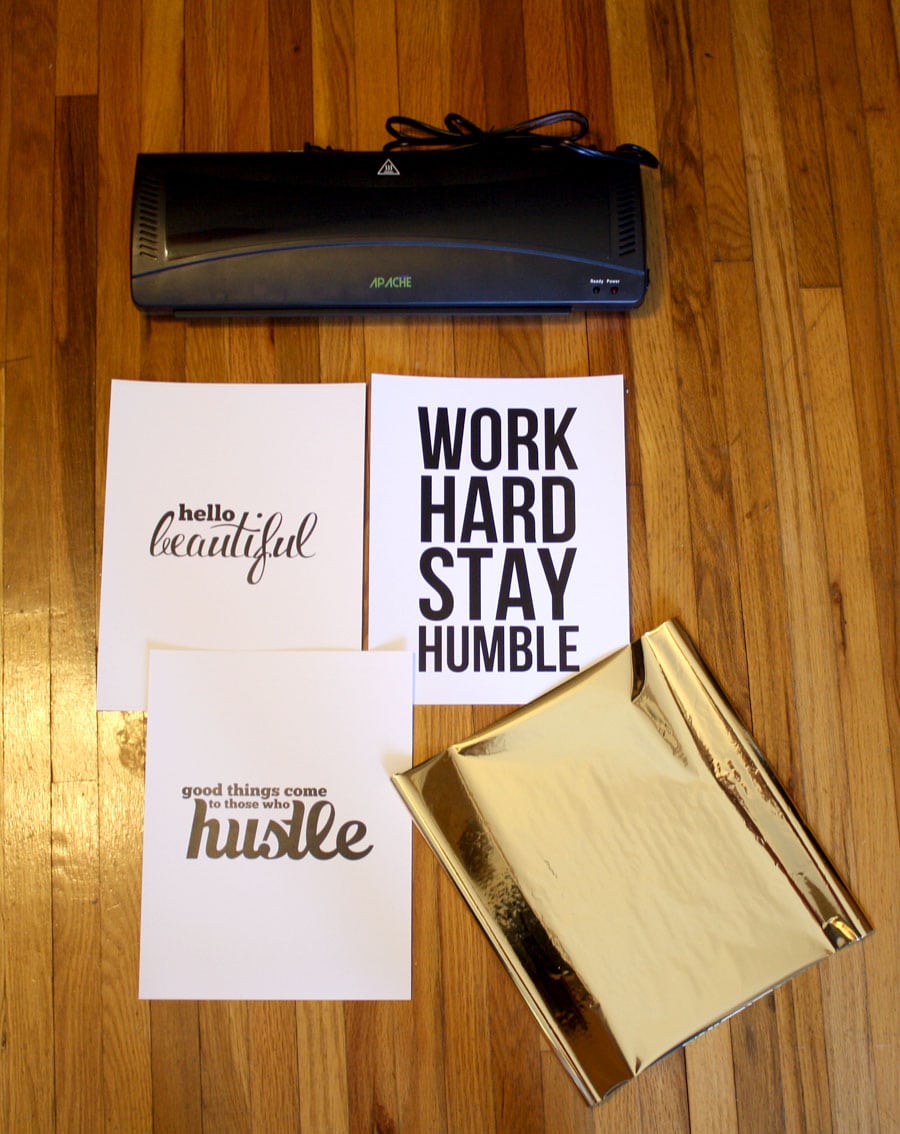
Here are the players:
Alright! Let’s get started (and wish me luck)!
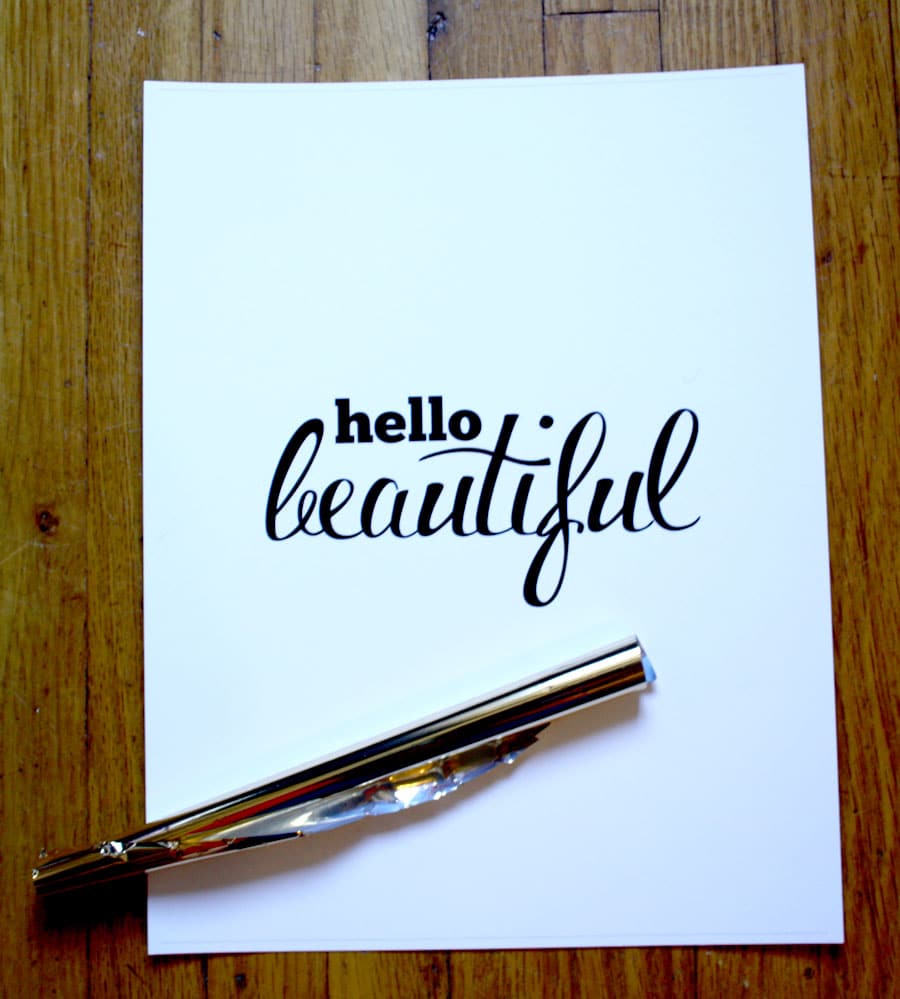
I created these black and white prints in Photoshop and printed them out on a laser printer. You should use a printer that prints with toner because it’s what the foil will react with. You can print your image using a laser printer, or even a photocopier. Just make sure it’s black and white and toner is what’s used (not ink).
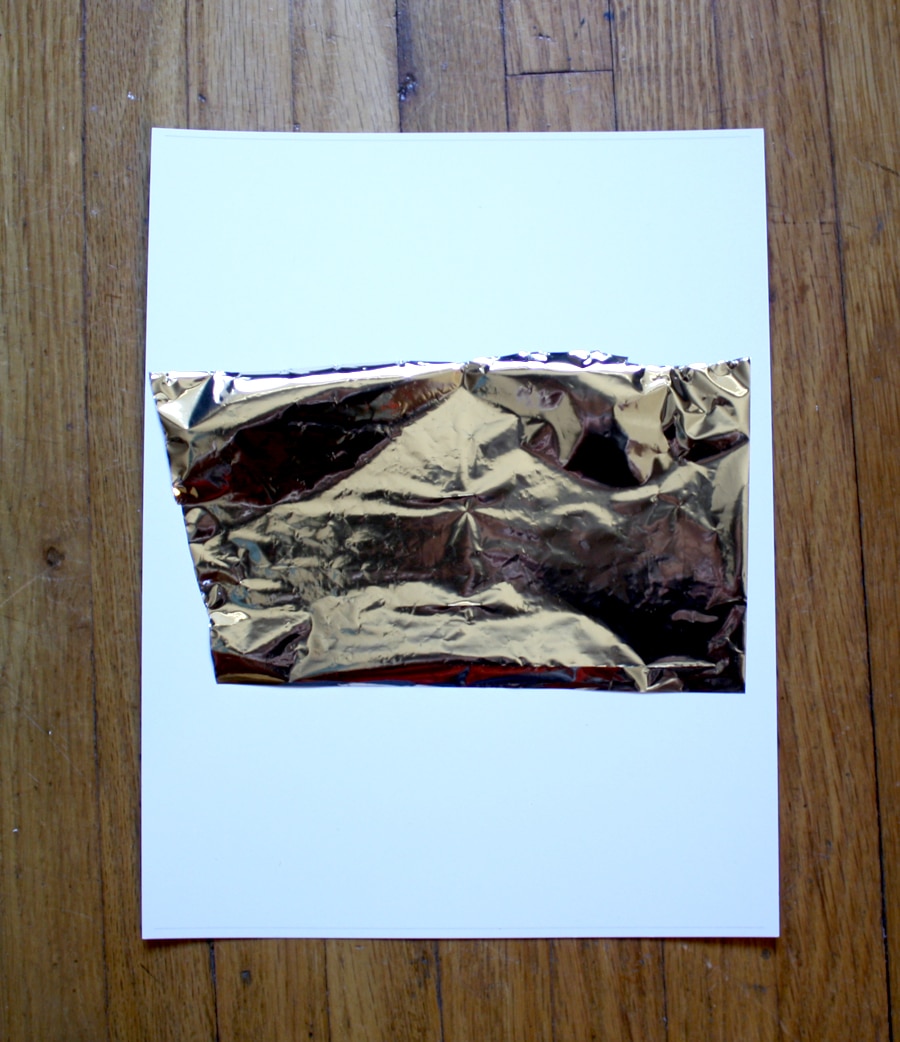
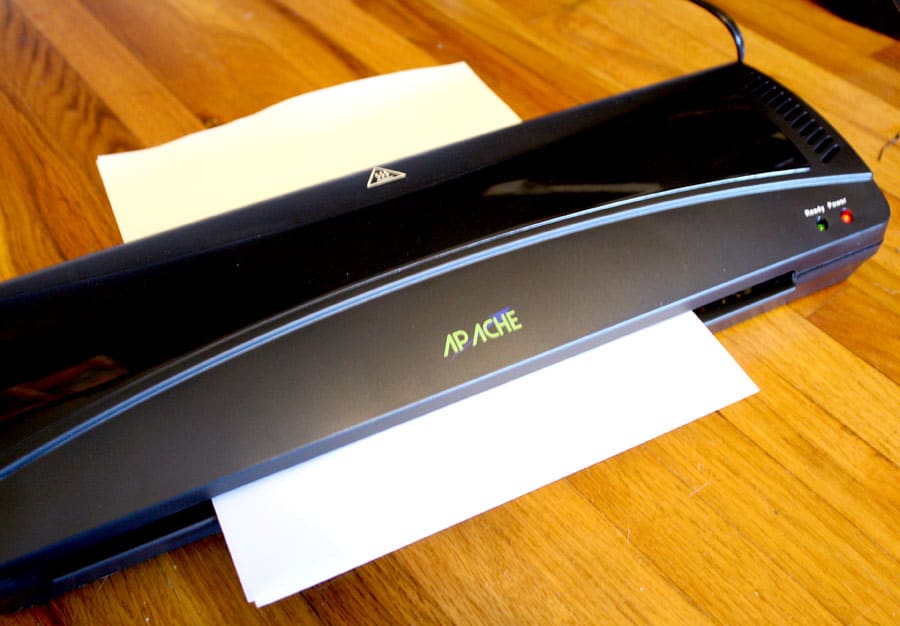
Next, I cut a piece of toner-reactive foil large enough to cover the image, gold side up, smoothed out any wrinkles in the foil, then put another sheet of paper on top, to hold everything in place (so that the foil is sandwiched between the two pieces of paper). Then I sent it through the laminator with my fingers crossed!
Once it came through the laminator, I peeled back the foil and this is what I found:

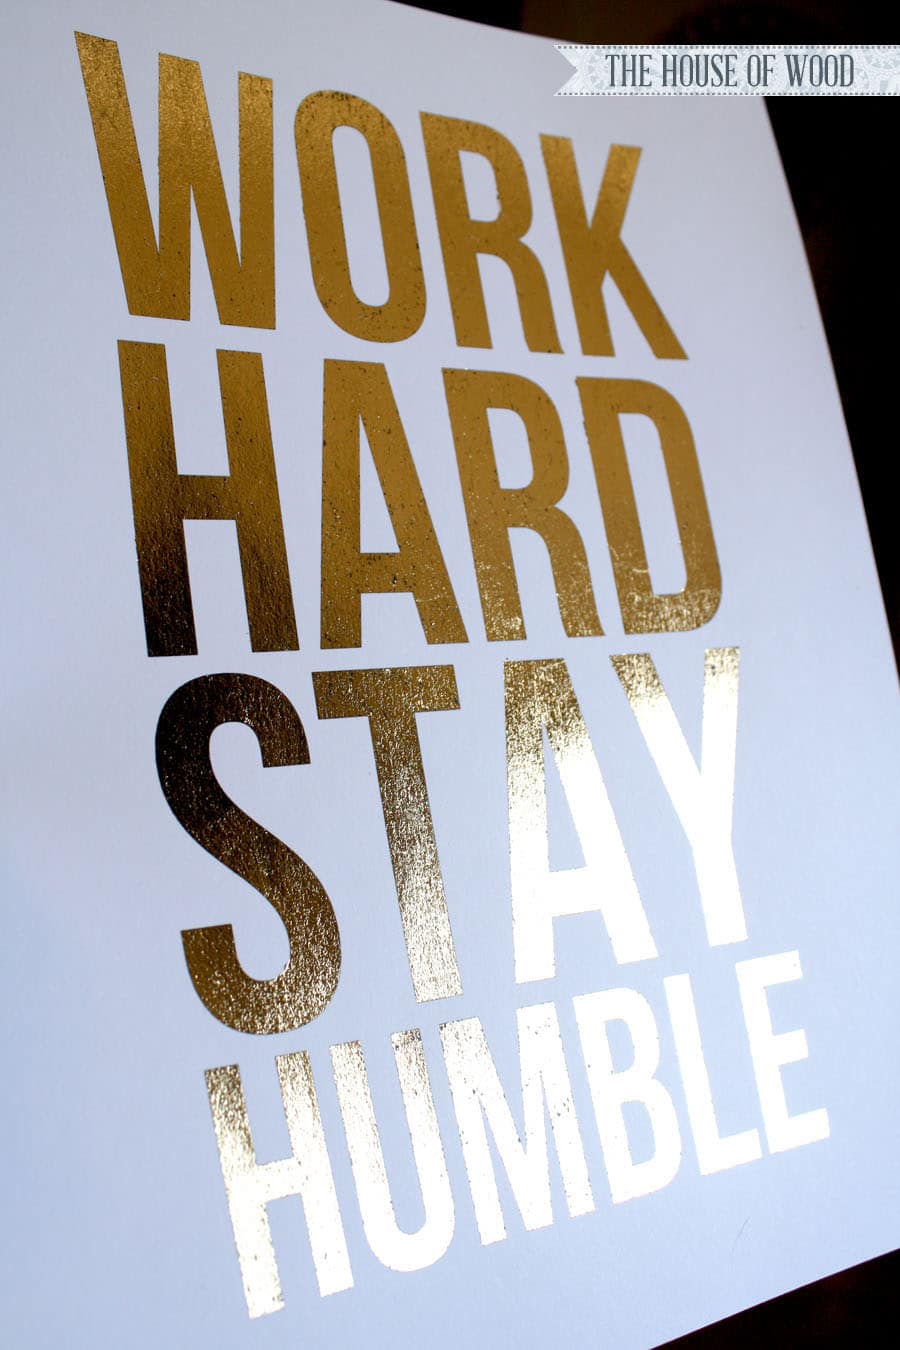
Me, oh, my! My very own DIY! (Gold foil print, that is.) It’s far from perfect, and it certainly won’t buy me a house on the hill if I were to sell them in my Etsy shop, but how neat, right? Here are my 2nd and 3rd attempts:
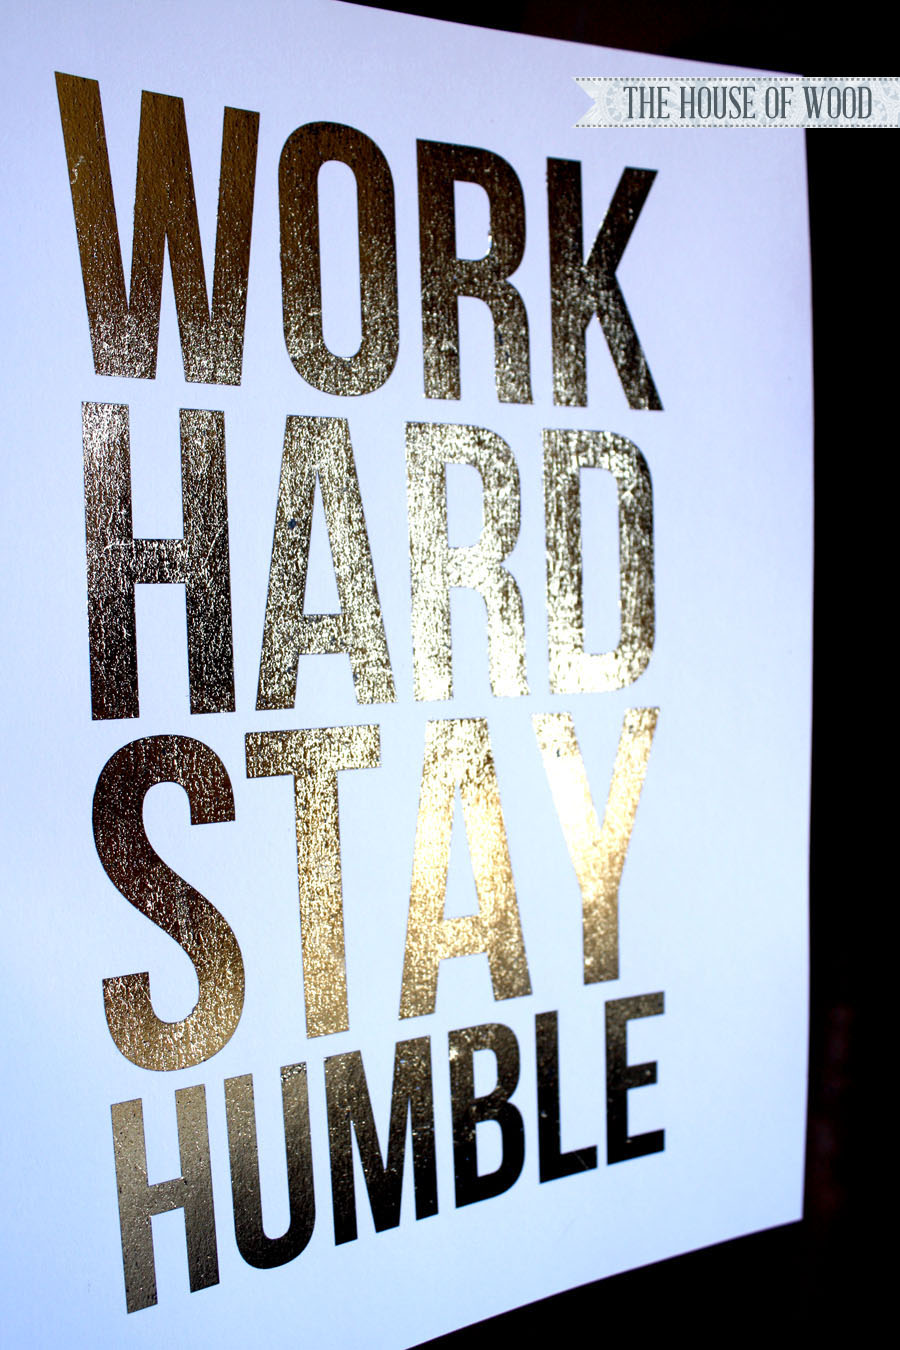
Ahhh, my preciousssss… so shiiiiiiny… And nothing says “Work Hard Stay Humble” quite like glam gold does, amiright? I mean, you can be hard-working, humble, and glamorous all at the same time. True story.
I also learned that lint and dust (or dog hair, in my case) is not good when hot stamping foil to paper. See exhibit A below:
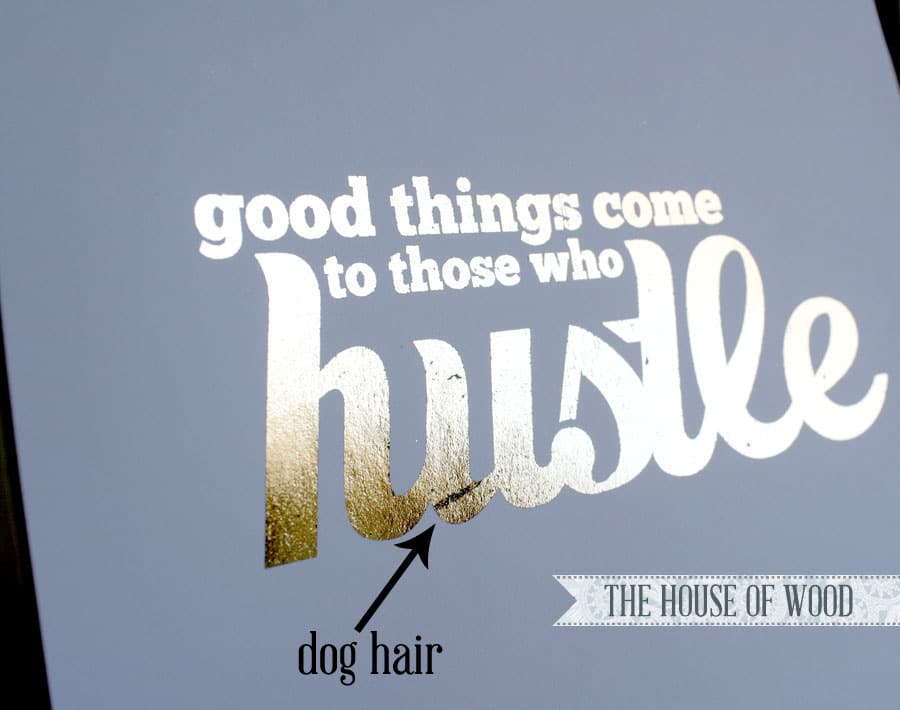
But overall, not a bad little DIY experiment, right? I imagine my DIY gold prints will look even better once they’re framed and hung; you might not even notice the dog hair and other little imperfections (crossing fingers). What do you think? Huzzah for DIY gold foil prints!


SO excited to have found this! It’s incredibly easy. I ran into one issue though, I have used two different toner printers (one brand new) and I am getting areas where the foil does not stick to the toner making black dots.
Hi- I have tried your technique, however the foil seems to be adhering to the toner parts and to the rest of the paper as well. Any tips for how to make it adhere to the printed toner only?
Hi Jen! Thanks so much for this tutorial! I’ve been trying really hard to get it to work, but have had a few missteps and I can’t figure out why! I follow your exact steps here (I print on cardstock from a toner printer at my office and then bring the print home) with the same laminator and foil you mention, but all 3 times the foil comes out spotty. It’s got kind of a grungy look that is actually cool, just not what I’m going for with this project. Any advice?
Hi Maggie,
I’ve come to discover not all toner printers are created equal! Some people have mentioned having different results using different toner printers. Sorry I can’t be much help, but maybe try a commercial-grade printer, like one you’d find at Kinkos or Staples Print Center? Hope that helps!
Jen – I love your tutorials! I’m wondering if there’s any way to print a multicolor image and ONLY gold foil the black inked parts? Essentially making it look like the gold type has been overlayed in layout. I’ve only seen examples of DIY foiling done on plain backgrounds…any ideas on how to do this? Thank you!!!
Hi; do u know if that is possible on a t-shirt?
Deco foil has some adhesive that’s for use specifically with fabrics, might want to check out their website.
Hi, I love this! I unfortunately don’t have the necessary equipment but there are photos I would like to have the gold foil effect. Any recommendations for someone who does custom orders for this type of project?
Thanks!
Hi Jessica,
I don’t know of a specific seller, but I’m sure you can find one on Etsy. Best of luck!
Hello, This is crazy old, but I figured I’d just leave a note because I’ve had mixed results and found some tips for using this process…
Basically, if you’re printing with a laser printer at home, and are using cardstock, there should be an option in your printer’s print settings to select what kind of paper you’re printing on. If you leave it on the default value, you’ll get only a little bit of toner on the page, just enough for it to look solid when it prints, but if you select “Thicker paper” or “Bond paper”, the printer will actually put down more toner, and when you use the deco foil, you’ll actually get a more solid/unbroken layer of the foil stuck to the toner. Otherwise you get that sort of “antiqued” look where the foil only sticks in some areas.
Have fun!
Hi Mindy,
Thanks so much for the tips!
This is awesome! Old post, but it keeps giving!
Hi,
Do you know how to create this gold foil look on ceramic bowls or mugs?
Thanks!
Very excited to try this out for my niece’s wedding invitations. Is it possible to print their names on a toner printer, apply the foil, then run the invite back through the printer to include the rest of their information? They want the information in black and their names in foil.
Hi Alison,
I’d recommend going ahead and getting the entire invitation printed out, then just covering the names with the foil and then running it through the laminator. Hope that helps. Good luck!