A tutorial on how to make a DIY Plant Propagation Station from scrap wood
Happy Earth Day! With over two dozen houseplants, I’m well on my way to becoming a certified crazy plant lady! Woohoo! Now that it would appear that I’m able to keep my little green friends alive, I’ve been experimenting with plant water propagation. So far, I’ve been able to make three new plant babies from existing plants so I thought it was high time to make my very own DIY Plant Propagation Station! Want to make one for yourself? Read on for all the details!
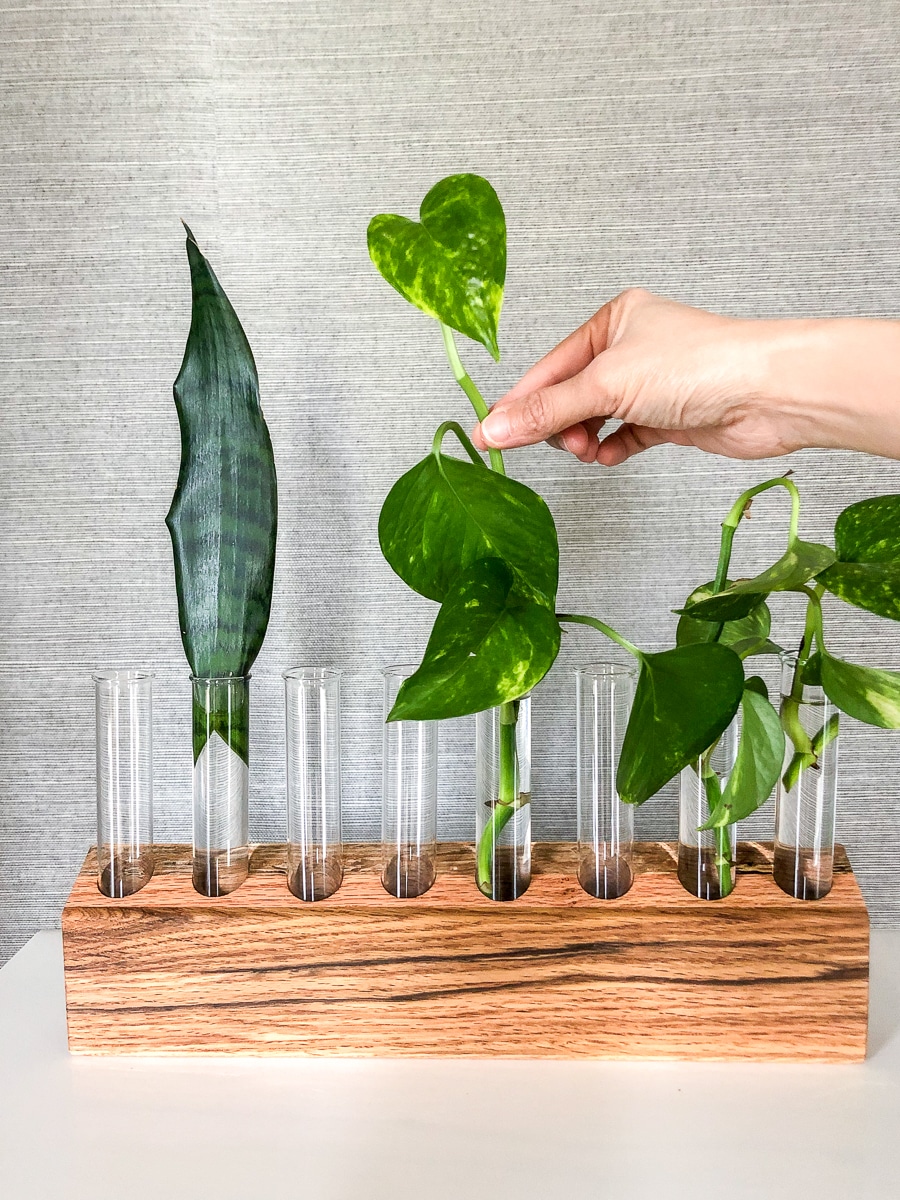
How to make a DIY Plant Propagation Station
Tools
- Tape measure
- Table saw
- Cordless drill/driver
- 1-inch Forstner bit
- Digital angle gauge (optional)
- Clamps
- Orbital sander
Materials
- 4×4 or 2×4 scrap wood
- 50mL test tubes
- 180- and 220-grit sanding discs
- Clear wood finish
Even if you don’t propagate plants, you could totally make this into an adorable bud vase! How cute would it be to stick a few tulip stems in these test tubes? Answer: SO cute!

Step 1: Rip a 4×4 in half (or use a 2×4!)
I had these 4×4 red oak newel post cutoffs from our recent staircase renovation, so I ripped them in half on the table saw. If you don’t have a 4×4 scrap handy, then you can totally use a 2×4 (since that’s essentially what they end up being anyway).

Step 2: Drill holes into boards
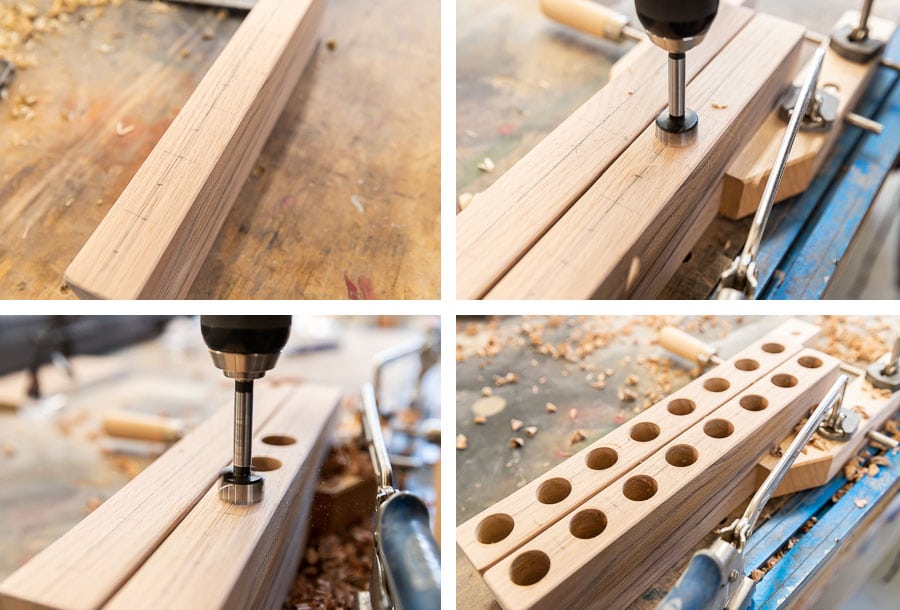
Then I figured out the spacing between each of the test tubes, measured and marked the location. My boards were about 14 inches long, so I was able to fit 8 test tubes on each one. I clamped the wood down to my workbench and used a 1-inch Forstner bit to drill the holes where the test tubes would sit. The wood is 3 1/2 inches thick so I drilled the holes down to about 3 inches, just shy of drilling all the way through.

Step 3: Cut the angle (optional)
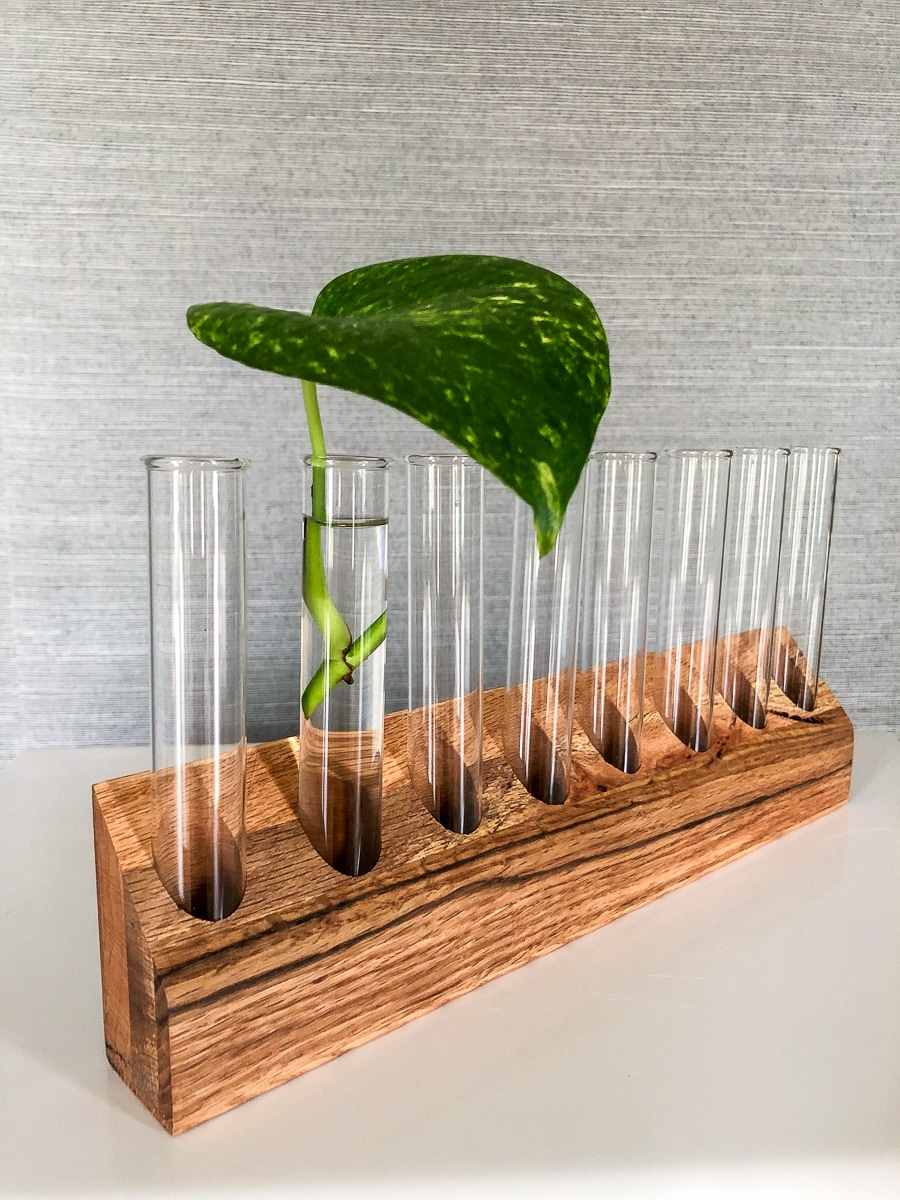
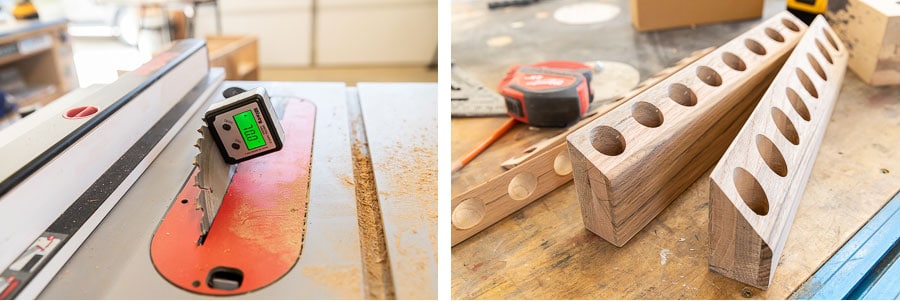
I could’ve stopped here and called it a day, but I wanted to spruce up this plant propagation station a bit more. I set the angle on my table saw blade to 45 degrees and cut the angle on the first propagation station. I decided I didn’t like the steep angle and adjusted my blade to 70 degrees for the second propagation station. I like the look of this less severe angle, though both work just fine. It’s just a matter of preference.

Step 4: Sand and finish
Finally, I sanded the whole thing with 180- and 220-grit sandpaper and finished it with some Odie’s Oil. Then I dropped the test tubes into place and clipped some plant stems. After a few weeks, I expect to see roots starting to grow! Not bad for a quick scrap wood project, right? Do you propagate your plants? What’s your favorite plant to propagate?
*This post contains affiliate links. To read my full disclosure policy, please click here.




niche blog,,,i like
Love them! Where did you purchase your test tubes from?
Thanks, Adriana! I bought the tubes from Amazon (linked in the post). https://amzn.to/3buZKTn Hope that helps!
I got mine at Michael’s craft store
Amazing!!!! Loved this unique idea of recycling scrap wood so creatively….
Did you sand inside the holes? If so, using what? Thanks!!
Indeed one of the perfect work, I have ever came across!!