*This post is sponsored by The Home Depot.
Being an Army family that moves around every couple of years, we’ve become serial renters so we’ve gotten pretty clever about temporary decorating ideas. This DIY wood mantel is totally renter-friendly, easy to complete in an afternoon, and easy on the wallet.
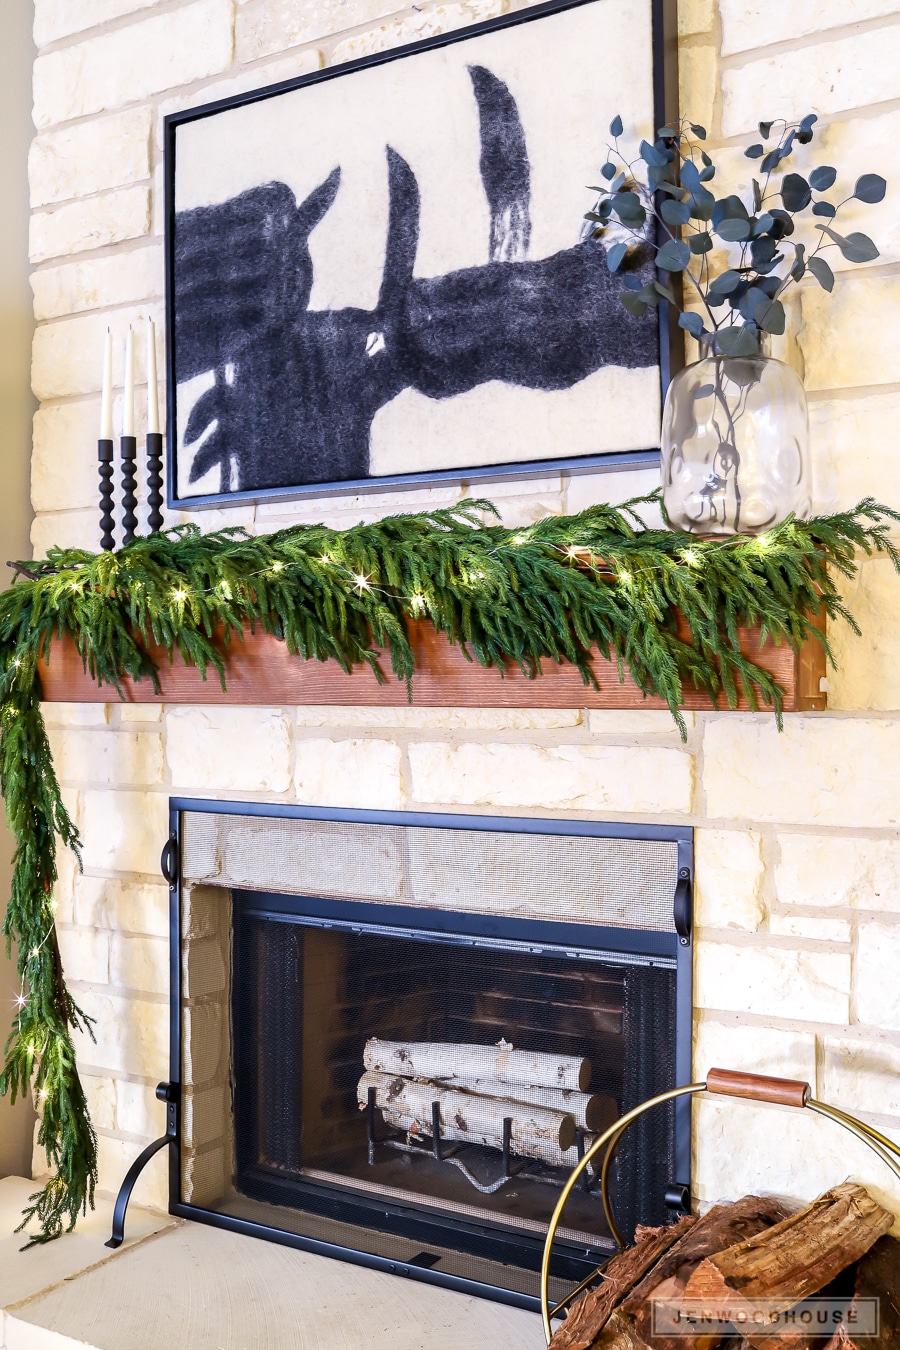
We haven’t used our fireplace in the 2 years we’ve lived here and as much as I complain about the sweltering three-digit summers, I do love the 70º winters. This Lampasas stone is everywhere in Texas and our fireplace is no exception. For the holidays, I wanted a chunkier mantel to place garland and Christmas decorations on, so I built this DIY wood mantel. With just 3 boards that cost me a little over $30, I was able to give our space a whole new look! And the wood mantel slides on, like a sleeve, over the existing mantel so it’s a temporary look that I can switch out quickly and easily without damaging the stone. Landlords and tenants rejoice!
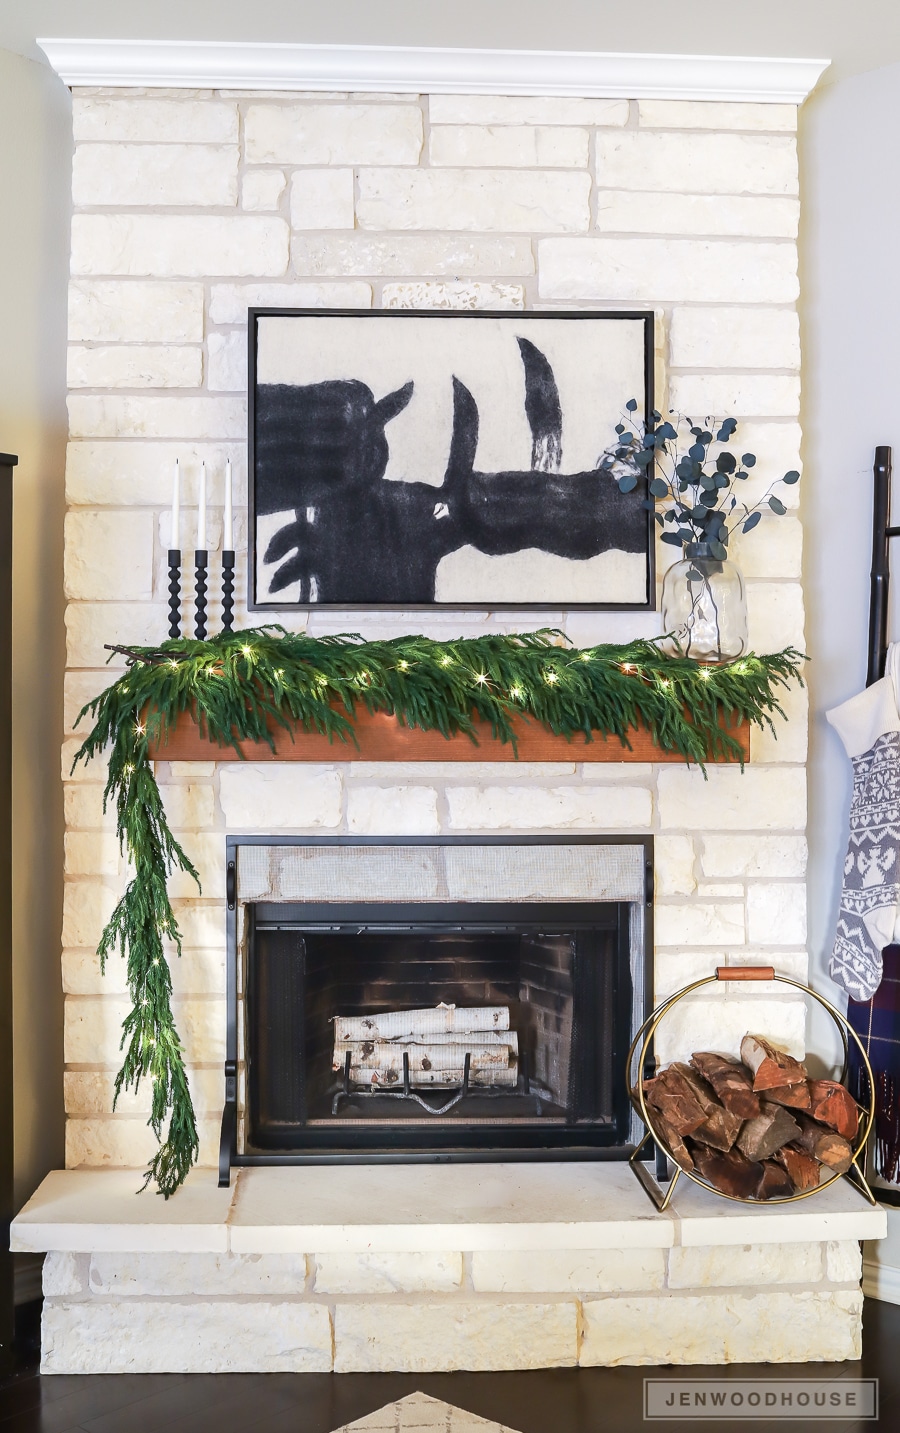
How To Build A DIY Wood Mantel
Supplies:
- (2) 1 x 6 x 8 Ft. Boards
- (1) 1 x 10 x 6 Ft. Board
- 1 1/4-inch Brad Nails
- Wood Glue
- Stain and Finish
Tools:
- Tape Measure
- Pencil
- Speed Square
- Circular Saw
- Brad Nailer or Hammer
- Orbital Sander
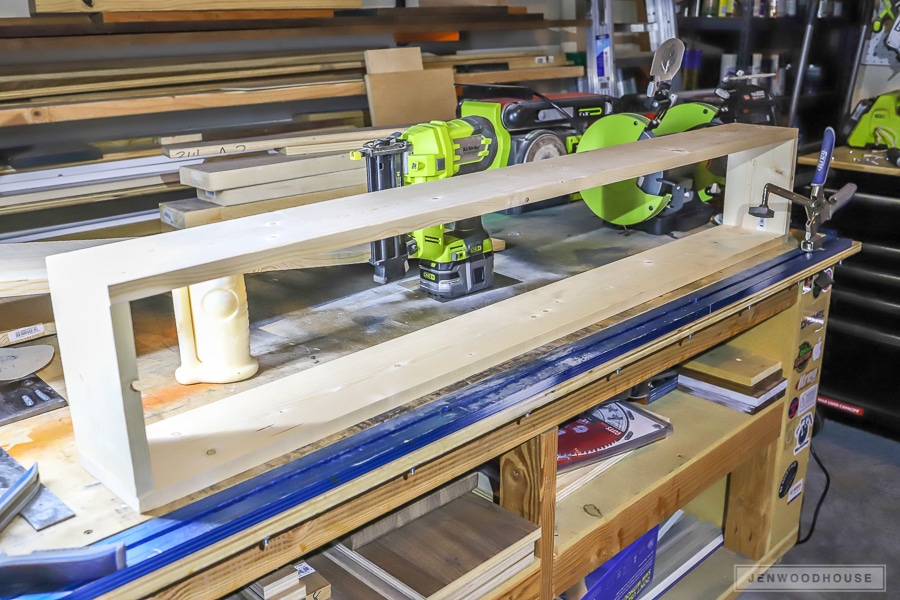
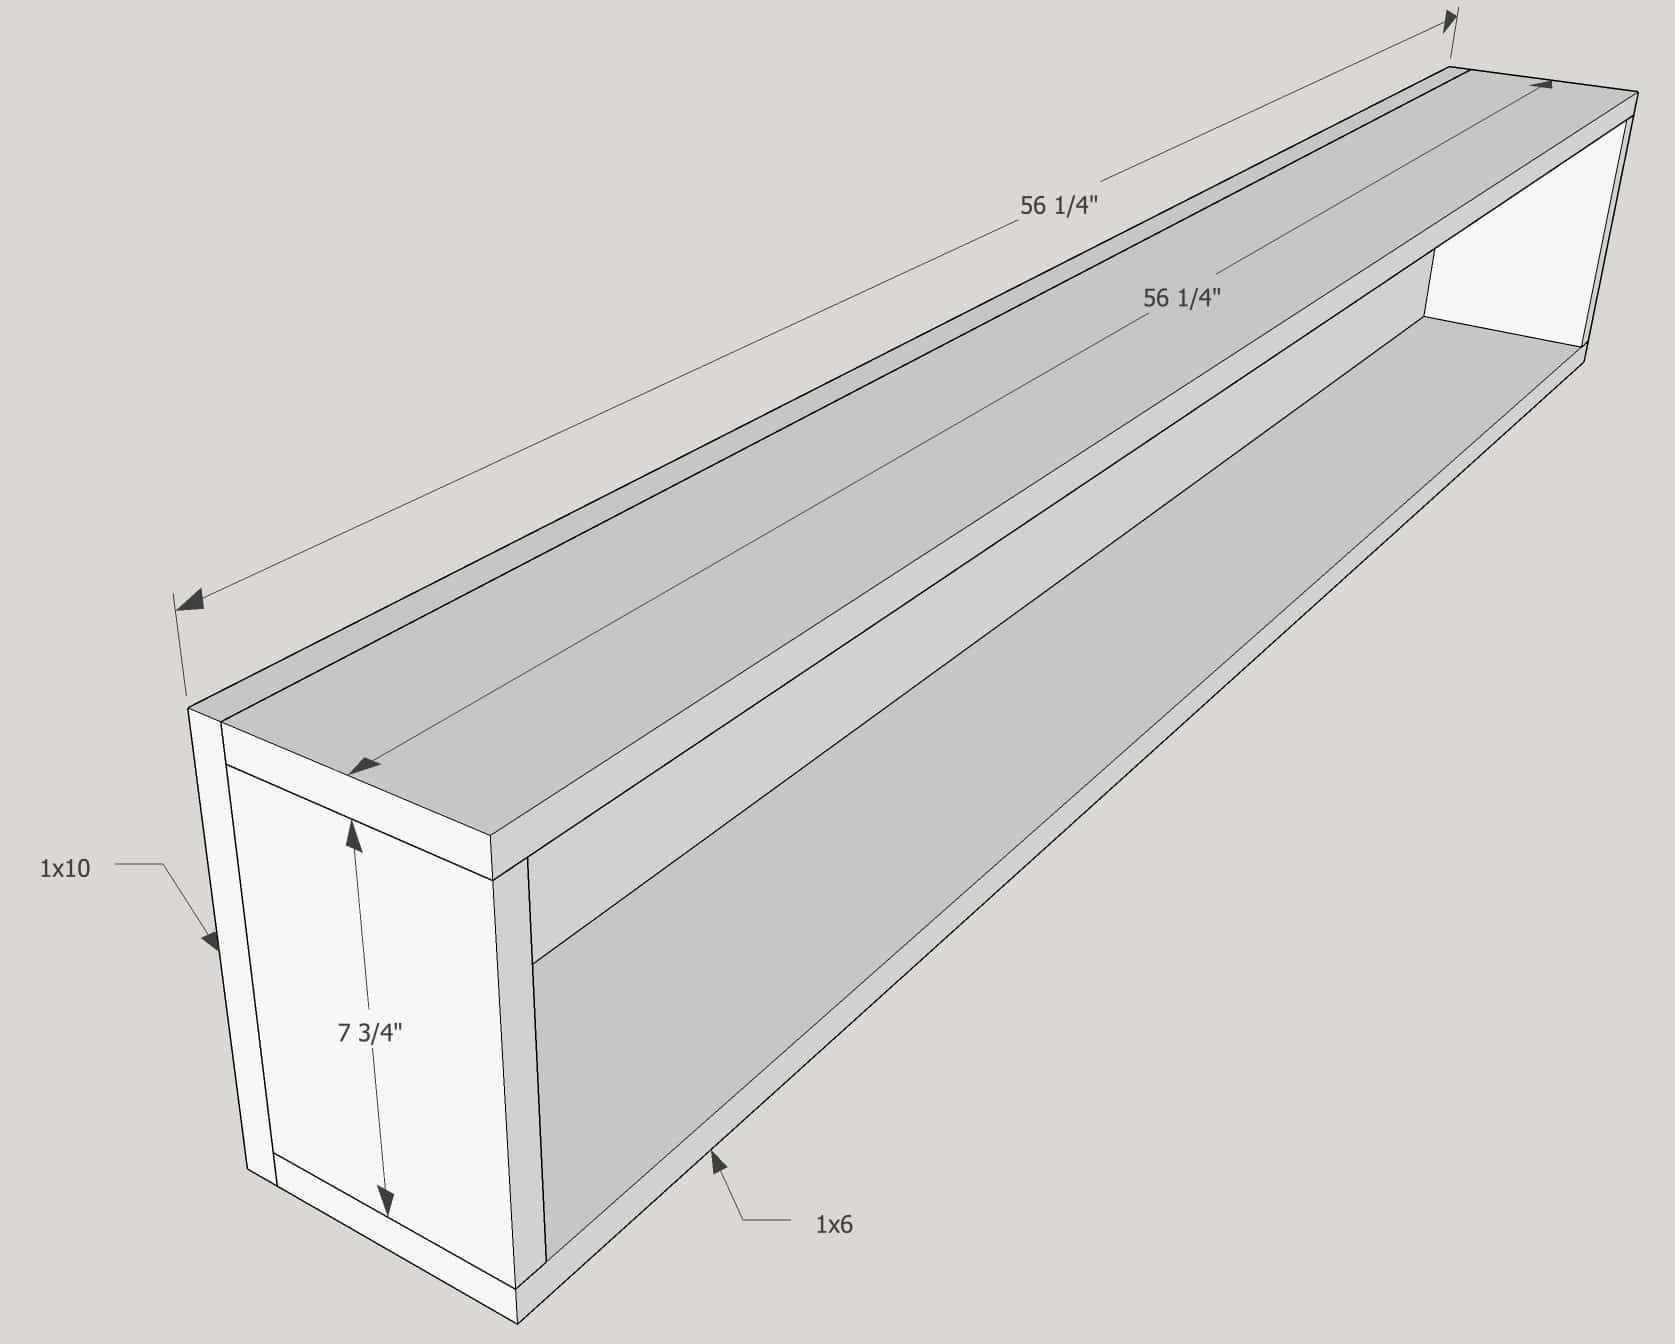
Here’s a quick sketch with the dimensions, but I suspect these measurements will vary for you, depending on the size of your mantel. You’ll likely use a 1×6 board for the framework and the 1×10 for the front piece. Use wood glue and brad nails to join the boards together. Basically, you’re building a 5-sided box.
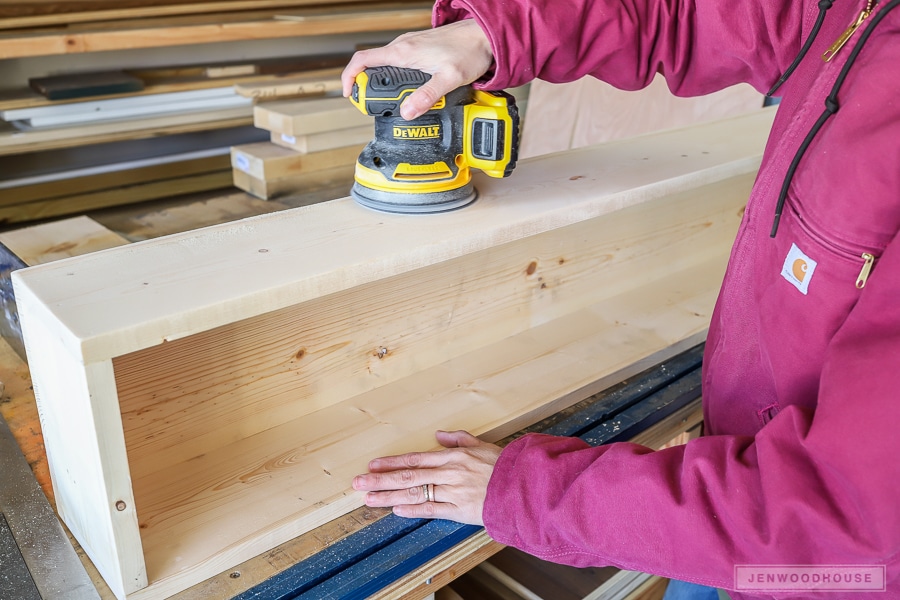
DEWALT 20-VOLT MAX LITHIUM-ION CORDLESS BRUSHLESS 5 IN. RANDOM ORBIT SANDER
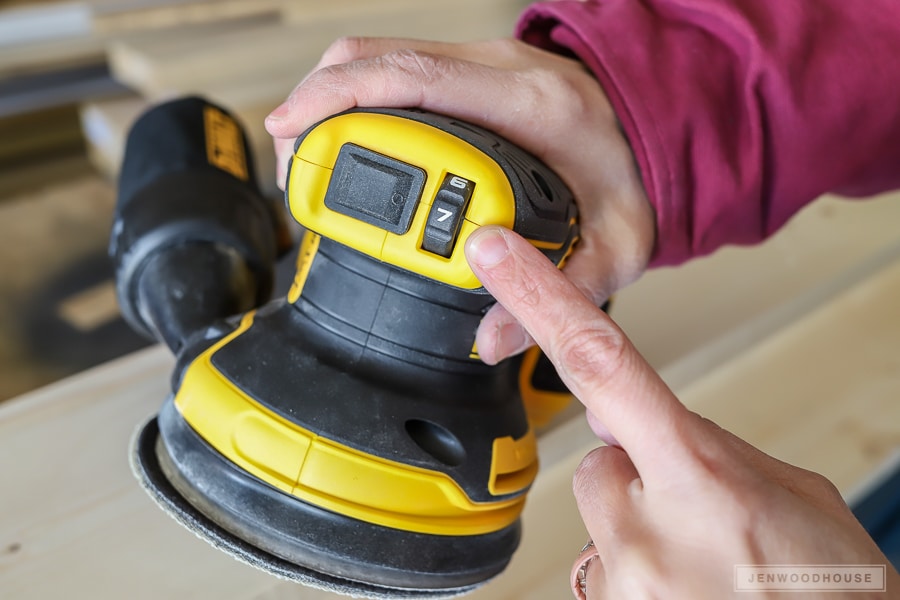
The hook-and-loop sanding pads are easy to replace, but what I like most of all is the quick stop. As soon as you turn off the sander, the disc stops spinning immediately – there’s no waiting for the sander to stop spinning after it’s off. I’ve never seen this on any of the other sanders I’ve used, so this is a pretty cool feature.
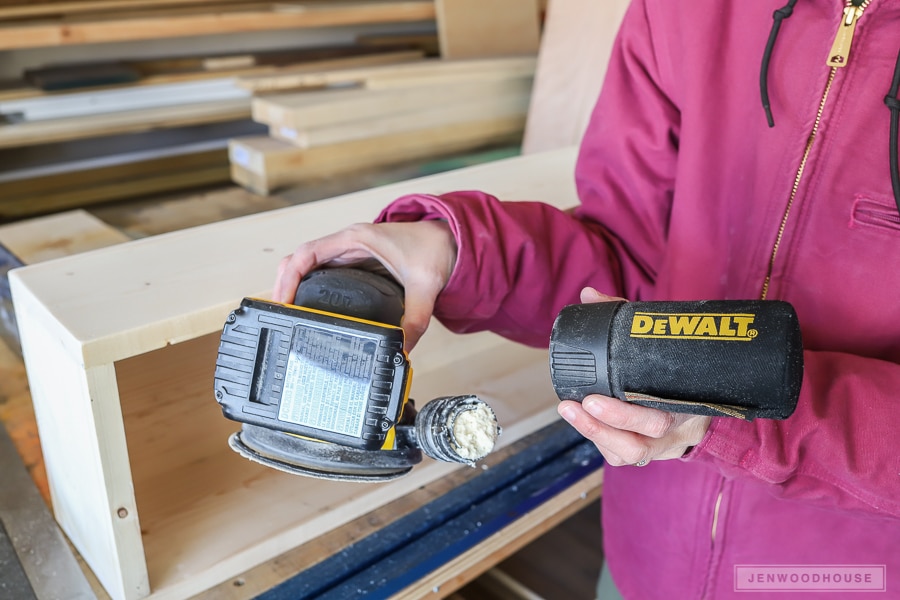
I love that it has a variable speed setting and the dust bag turns and clicks into place, so you don’t have to worry about it coming loose mid-session.
Small improvements like these set this sander above the rest and as someone who hates sanding, I really appreciate anything that will make the job easier and quicker.
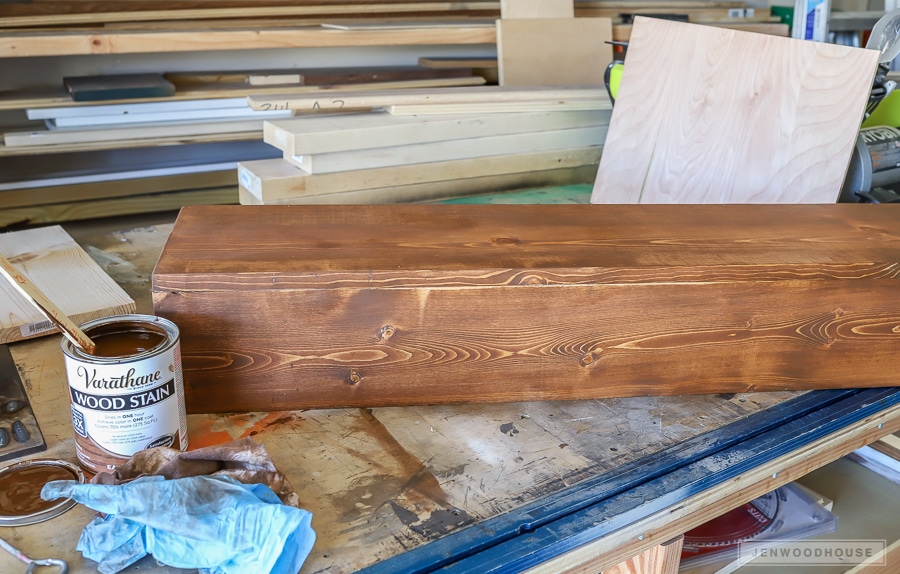
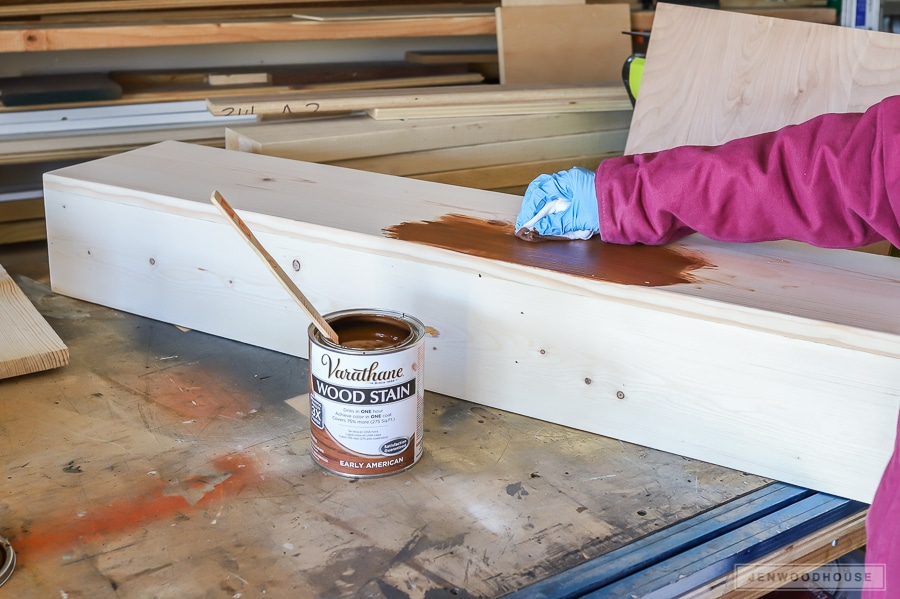
After the mantel is built, sand all the rough edges with 180-grit sandpaper, then remove any dust and debris from the project before staining. I chose one of my favorite colors, Early American by Varathane.
Let the coat of stain dry for at least an hour and then you’re ready to apply a protective finish.
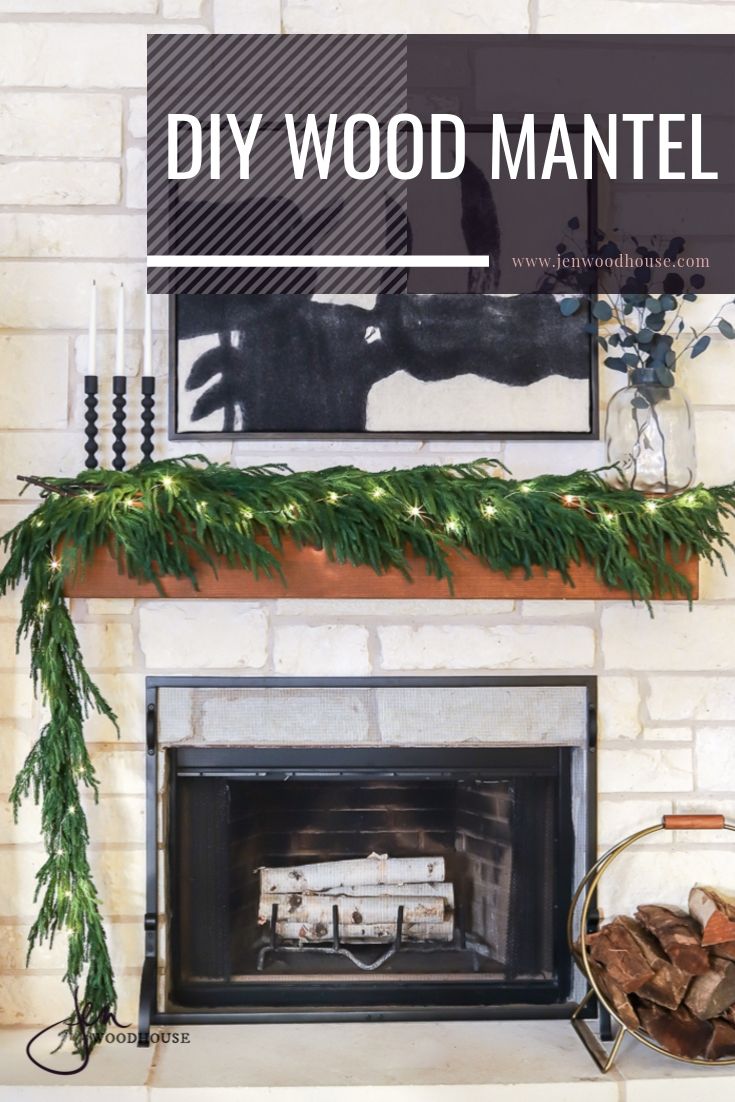
Pin it for later!
*I acknowledge that The Home Depot is partnering with me to participate in the ProSpective 2018 Campaign. As a part of the Program, I am receiving compensation in the form of products and services, for the purpose of promoting The Home Depot. All expressed opinions and experiences are my own words. My post complies with the Word Of Mouth Marketing Association (WOMMA) Ethics Code and applicable Federal Trade Commission guidelines. This post contains affiliate links. To read my full disclosure policy, please click here.



Nice project and quality tools.Thanks for the inspiration Jen.
We can use all of these tools. Thanks for sharing. Happy 2021
This looks amazing! I love how simple and straightforward the instructions are. Can’t wait to try making my own wood mantel with just three boards. Thanks for sharing such a great project!
This is such a clever and straightforward project! I love how you broke it down into simple steps. Can’t wait to try making my own wood mantel at home! Thanks for the inspiration!