Hey there House of Wood readers! Kristi here from Chatfield Court and I’m back to share a DIY wood planter that I built for our front porch.
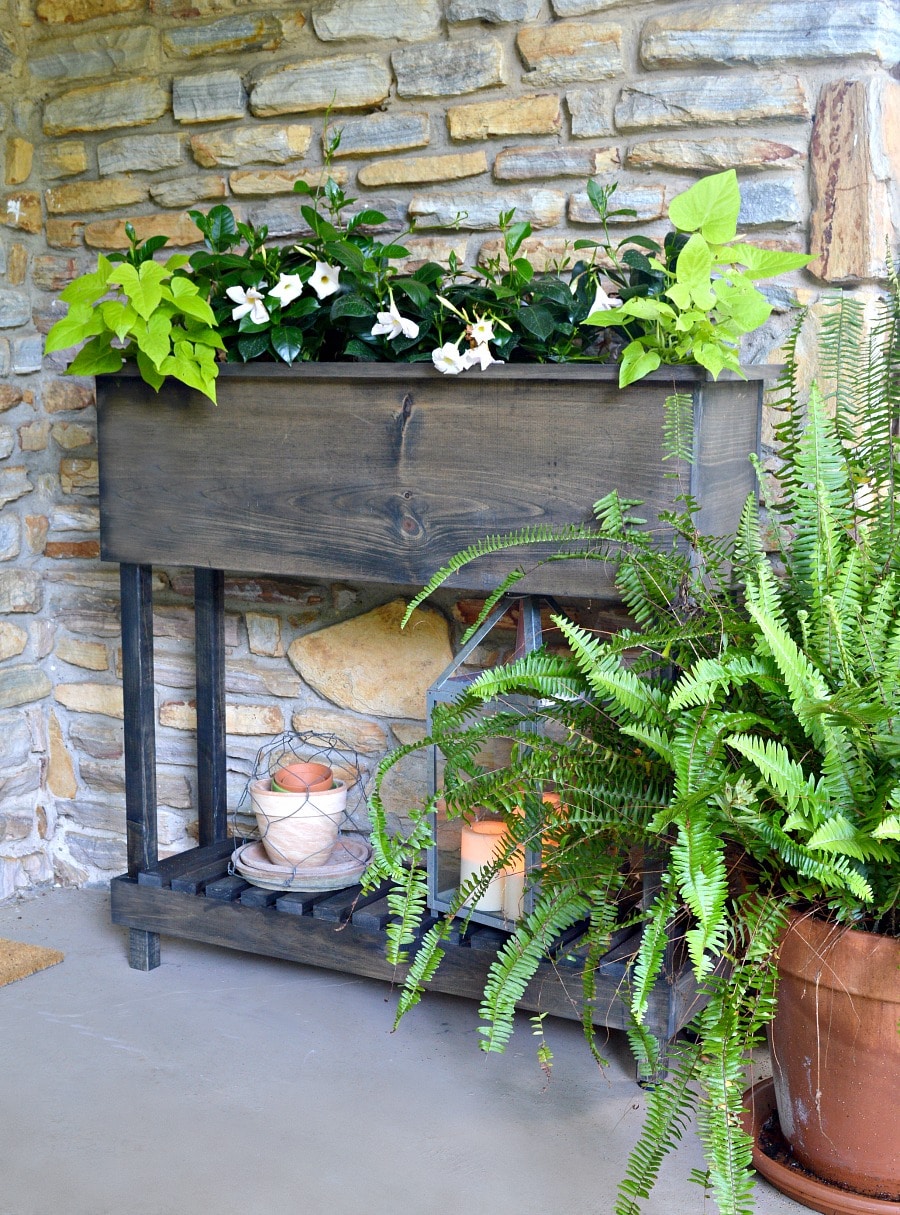
I’ve been sprucing up our front porch for summer and I really wanted to put a planter next to the front door. I searched in stores and online but couldn’t find the perfect style or right size. So, since I couldn’t find what I wanted, I decided to go for it and build my own.
How To Build A DIY Wood Planter
Supplies:
- (2) 3/4″ x 11-1/4″ x 8′ pine boards
- 1-3/4″ wire brads
- (2) 2″x2″x 8′ pine
- wood filler
- wood stain
- pot liner
- wood glue
Cut list:
- (2) 3/4″ x 11-1/4″ @ 38-1/2″ long (planter box front and back pieces)
- (2) 3/4″ x 11-1/4″ @ 9-1/16″ long (planter side pieces)
- (4) 2″ x 2″ @ 29-1/2″ long (planter legs)
- (2) 3/4″ x 3″ @ 38-1/2″ long (bottom rails)
- (2) 3/4″ x 11-1/4″ @ 9-1/16″ long (side bottom rails)
- (18) 3/4″ x 1-7/8 @ 10-5/8″ long (slats for bottom shelf)
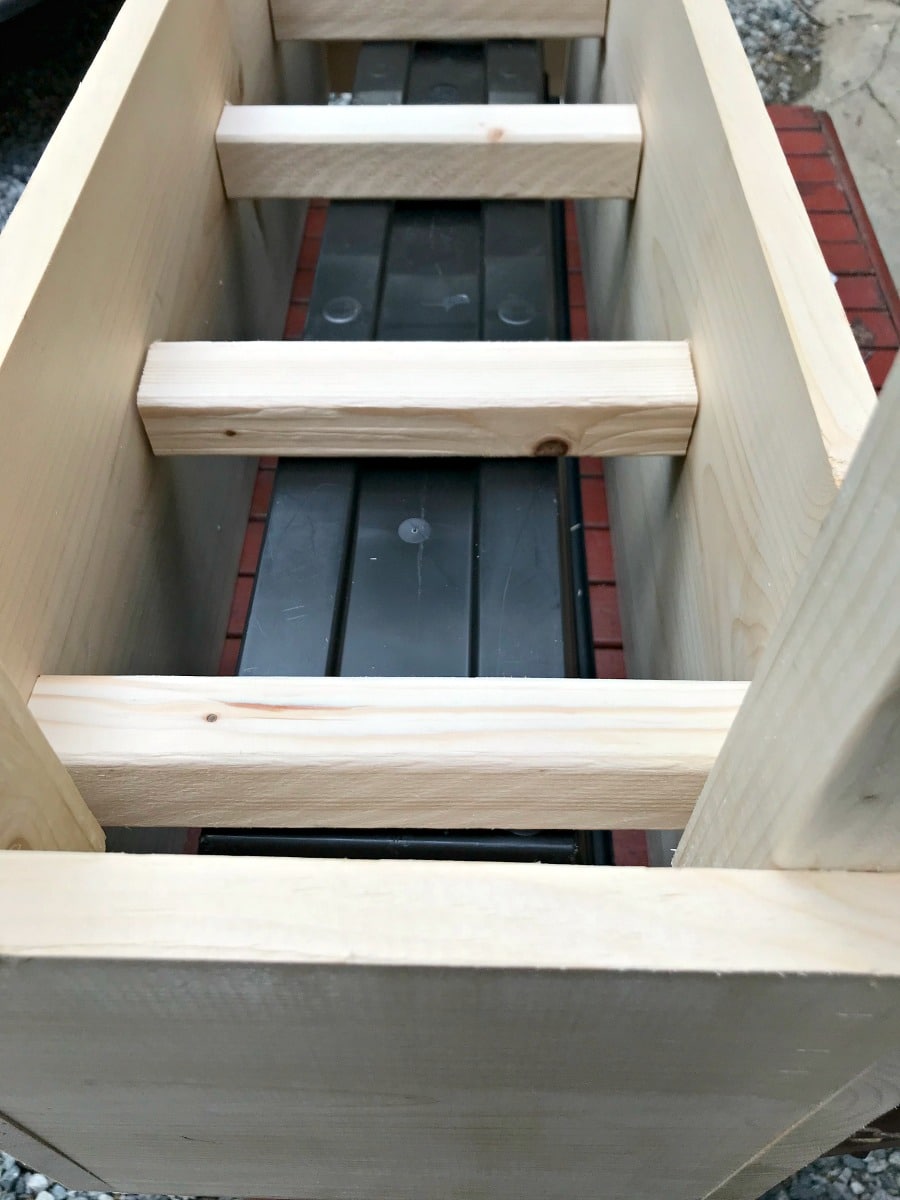
- (5) 2″ x 2″ @ 9-1/16″ long (supports for pot liner)
- (2) 3/4″ x 40-5/8″ @ 1-7/8″ with a 45° angle (rim around planter box)
- (2) 3/4″ x 12-15/16″ @ 1-7/8″ with a 45° angle (side pieces for rim around planter box)
Tools
- table saw
- chop saw
- pneumatic staple gun
- palm sander
I had already made a rough sketch of my planter so the next step was to figure out the dimensions. I wanted something that fit a wall on my porch so I measured the width, length, and depth and went shopping for supplies.
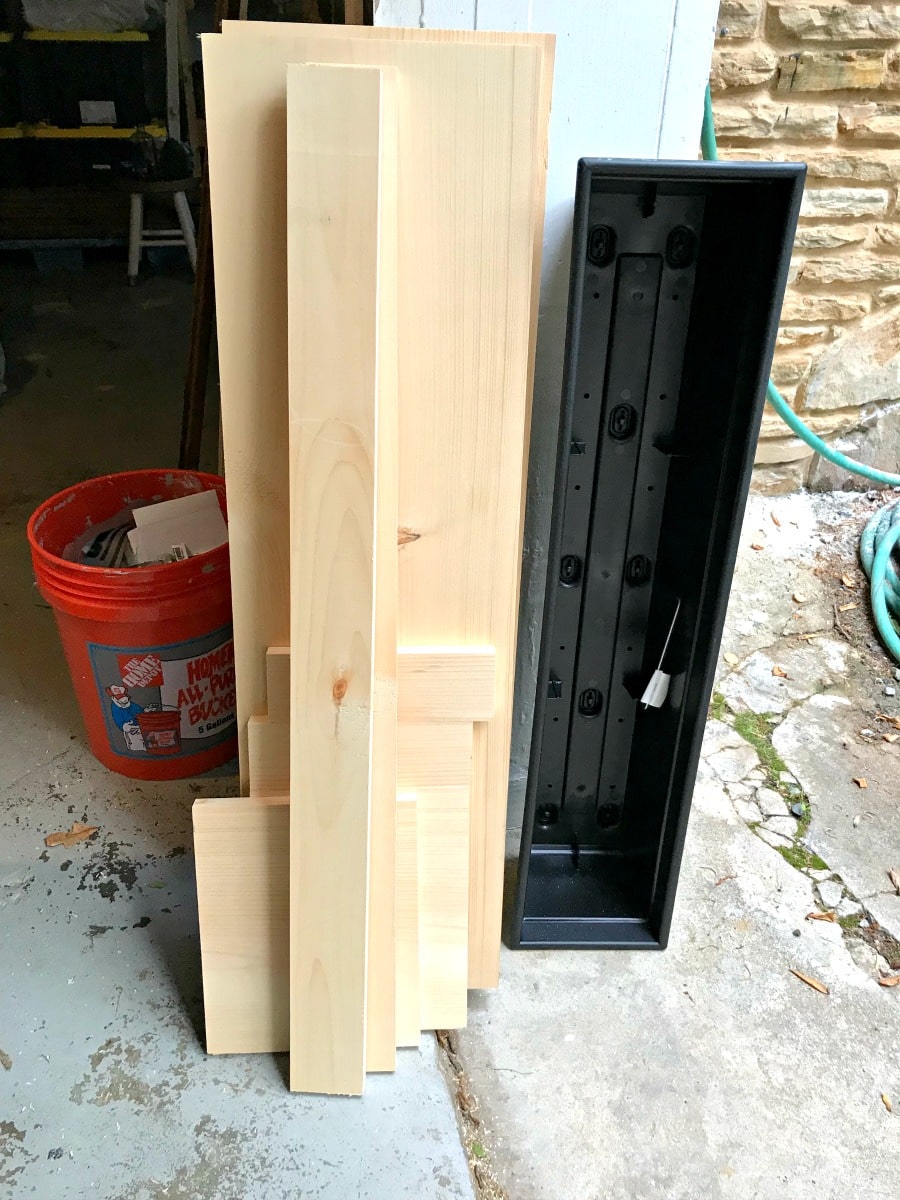
Luckily, I found a plastic pot liner that was the right fit my chosen spot on the porch and it would be the perfect foundation for my wood planter.
Instructions
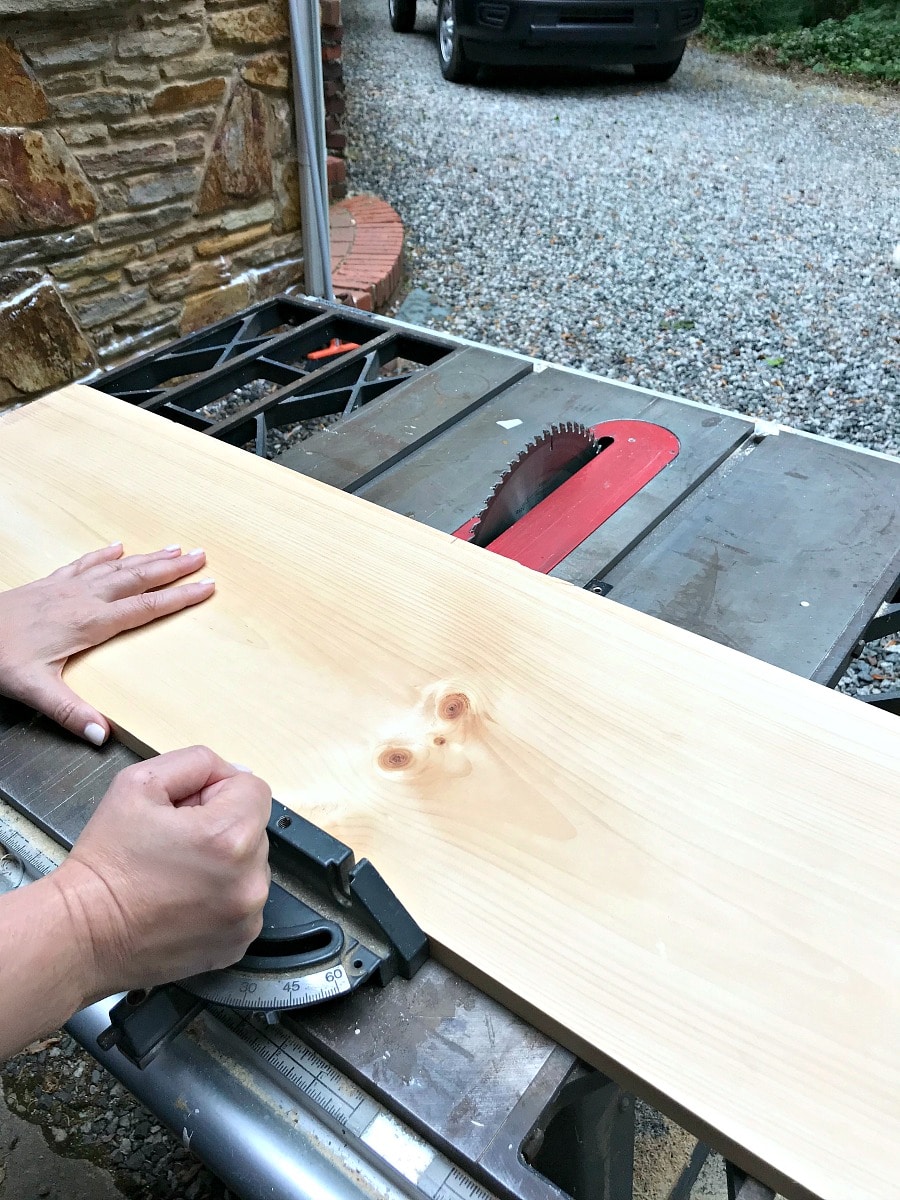
With all my supplies together and measurements worked out, it was time to cut the wood. I started with the main planter box and cut one of the 8′ pine boards into the front, back and side pieces of the box.
Next, I worked on the bottom shelf.
First I cut one 3″ strip off of the second 8′ pine board. Then I cut that 3″ strip so that it matched the same dimensions as the main planter box (10-9/16″ x 38-1/2″).
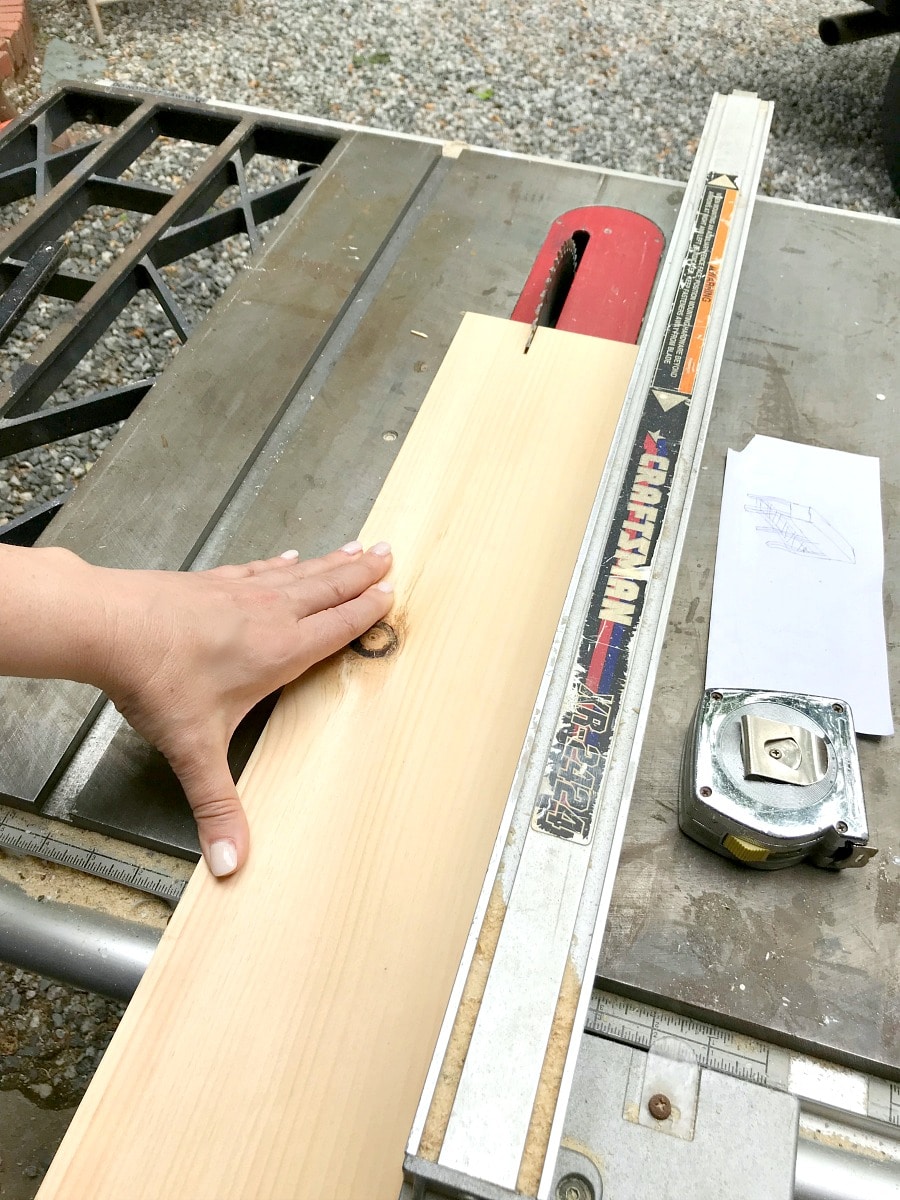
Then I cut the remnants of the second pine board into 1-7/8″ strips for the bottom shelf.
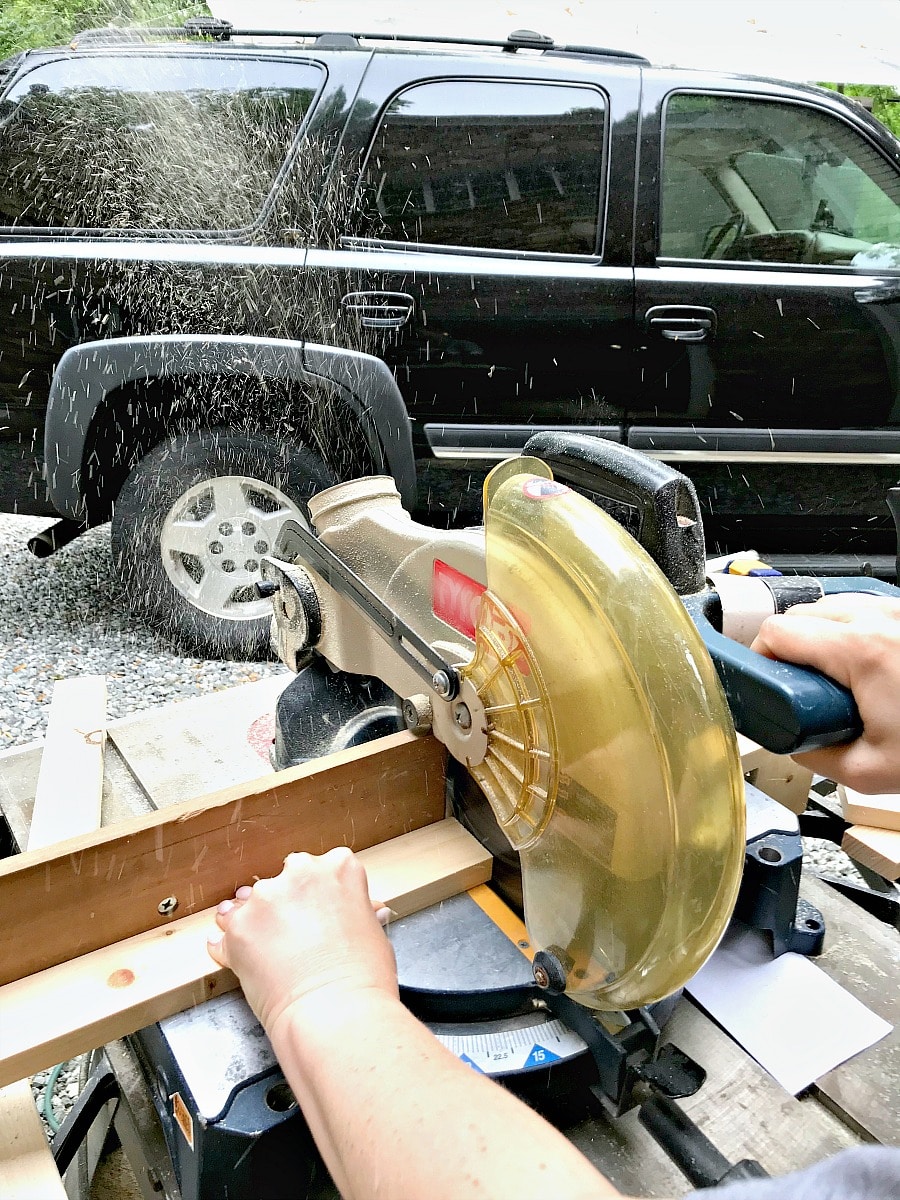
After I cut the strips, I used a jig to cut 18 lengths at 10-5/8″ to make the slats of the bottom shelf. The jig made it easy to get the same length for each slat and allowed me to do it quickly.
Finally, I cut the 2×2’s to length for the planter box legs. As a result, I ended up with 4 legs at 29-1/2 ” each.
It was a bit of an afterthought but I had some wood leftover and decided to use the remainder of the 1-7/8″ strips to make the rim around the planter box. I cut a 45 degree angle on each end so they would fit together.
Now that all of my wood cut, it was time to put my planter together.
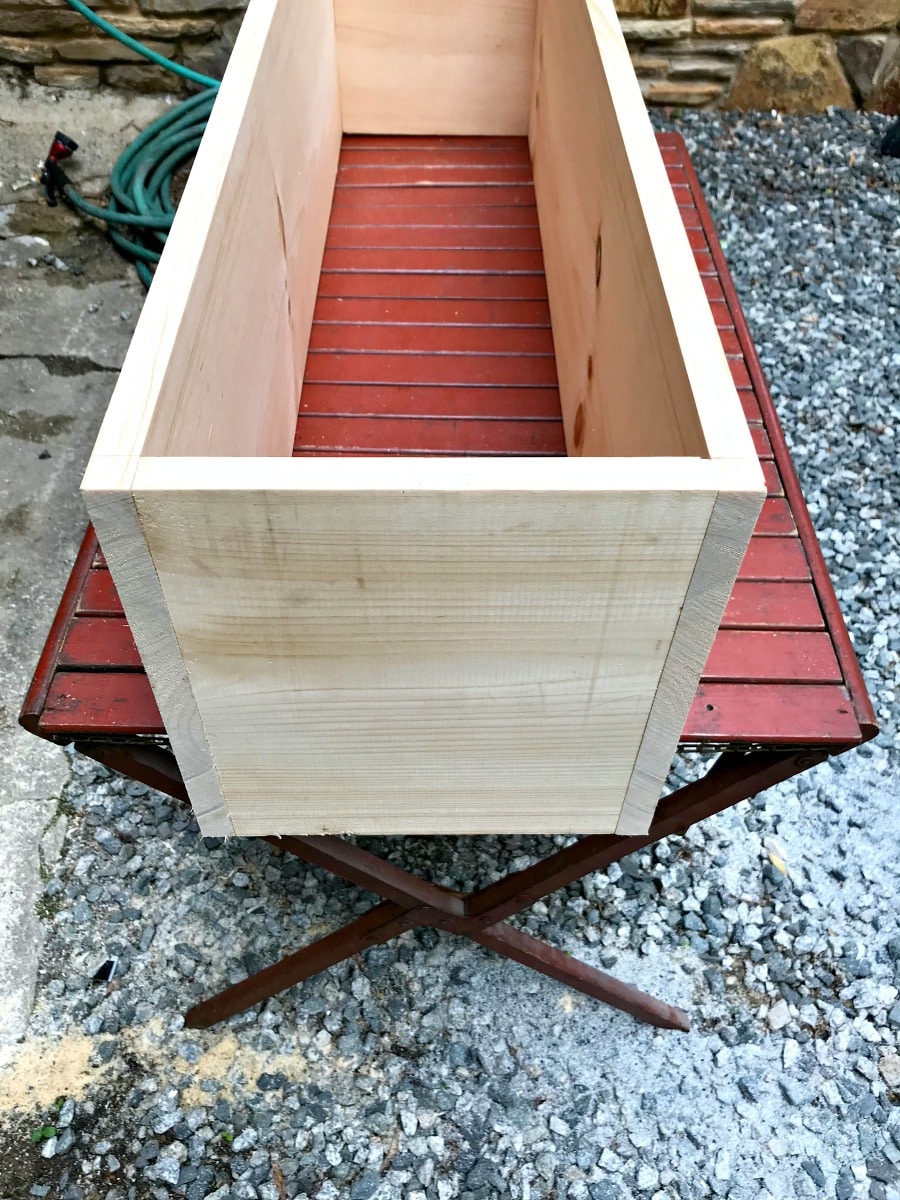
I put the planter box together first by applying wood glue on the seams and nailing it together using the pneumatic nail gun.
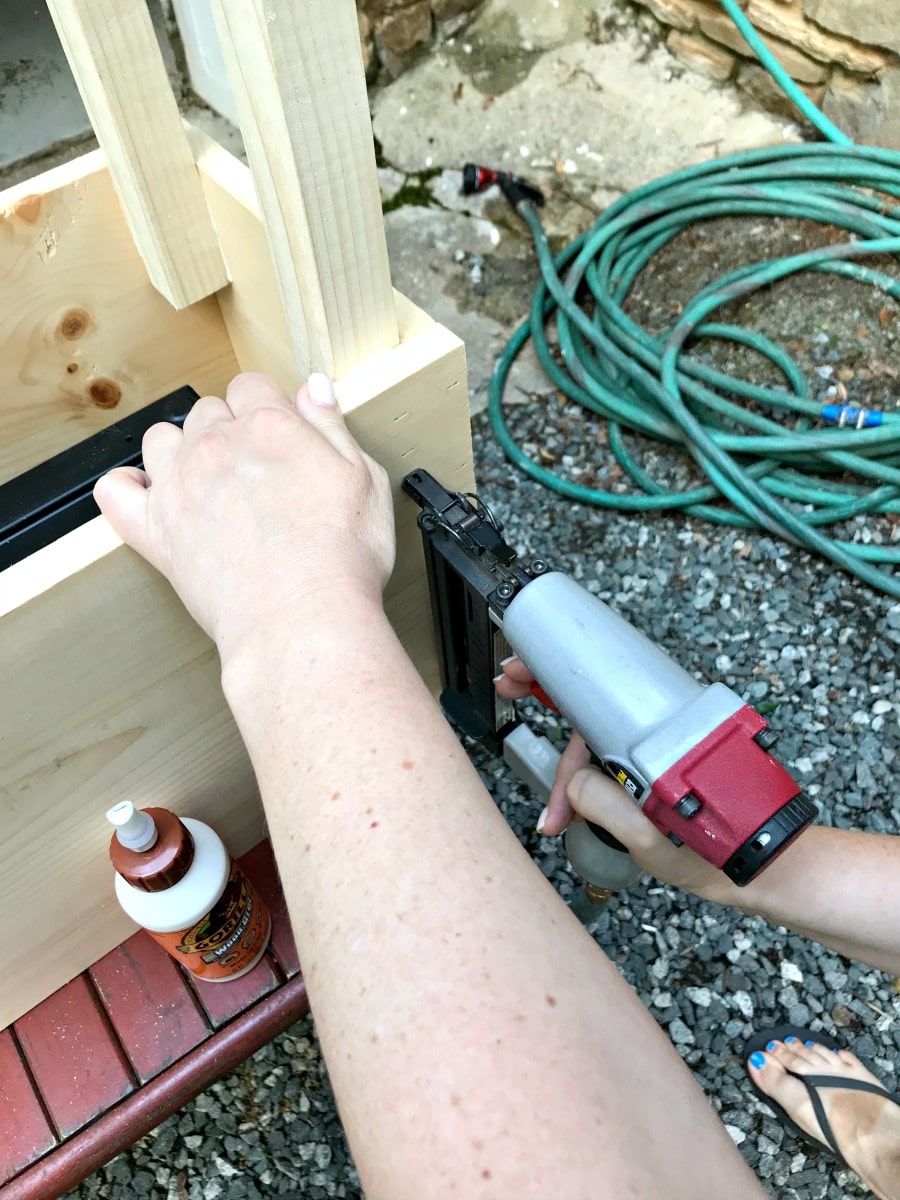
Then I added the legs by recessing them 3″ into the planter box. These were also glued and nailed on.
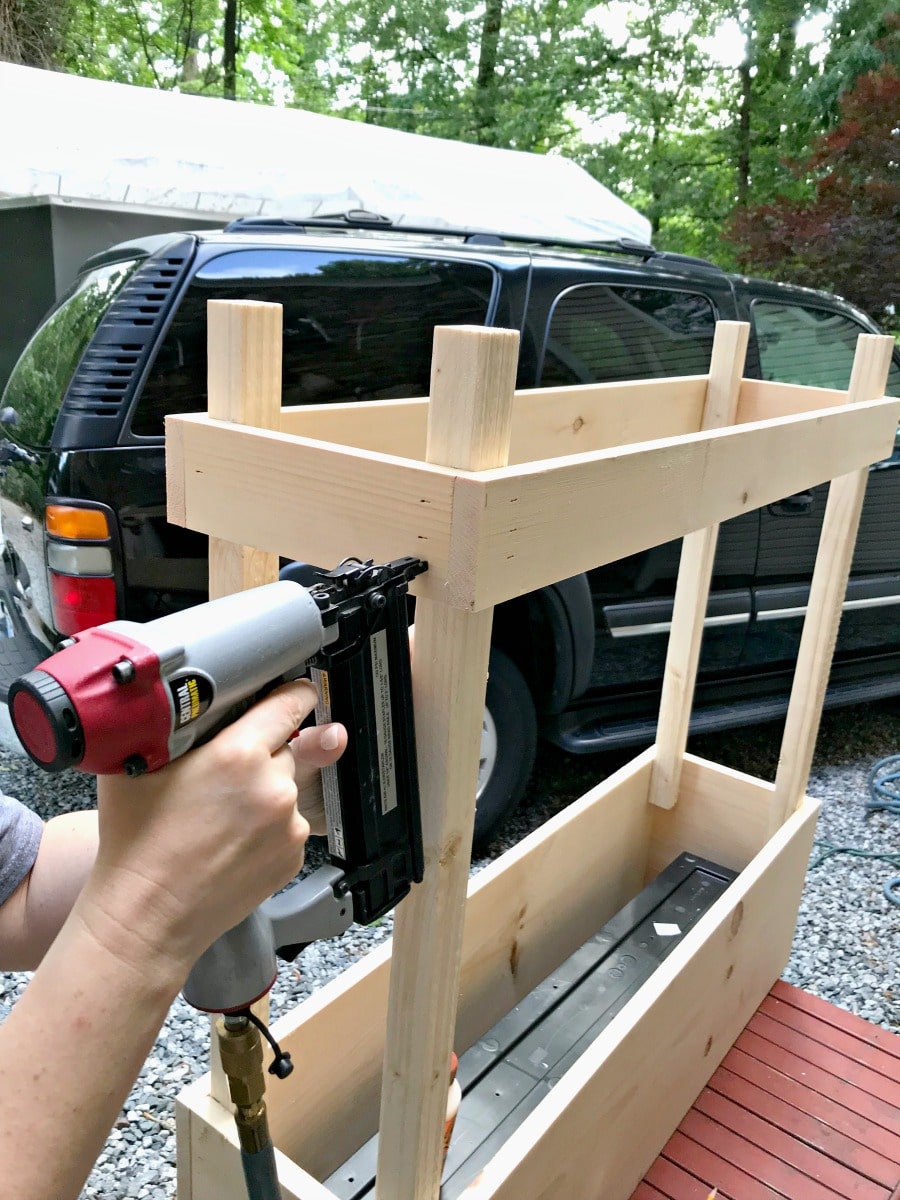
After that, the bottom shelf was attached, in the same exact way the planter box was put together. First the front, then the sides and back. Each piece was glued and nailed.
Next, I added the supports under the pot liner. In order to do that I put the planter and pot liner upside down and space the supports on top of the upside down pot liner. Once I was satisfied with the placement of the supports, each one was nailed into place.
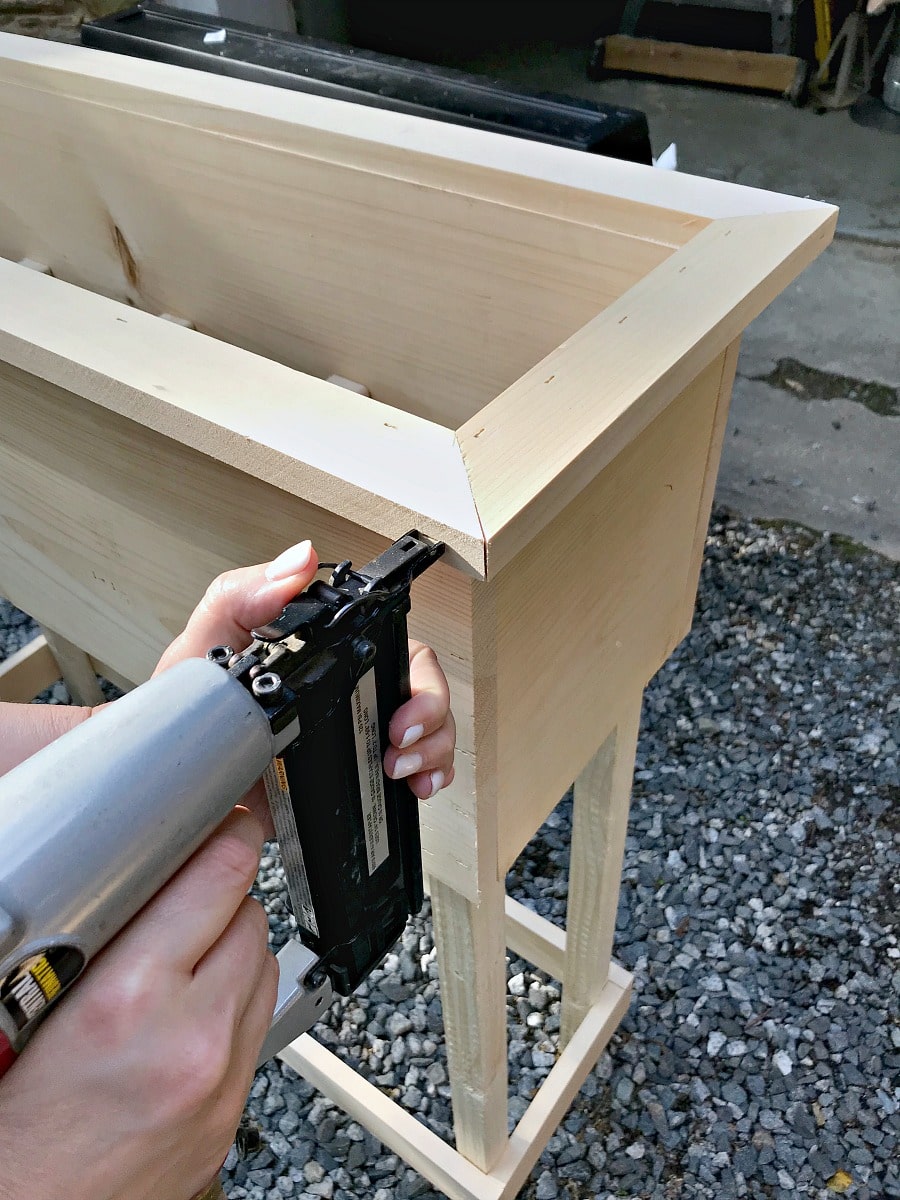
Next it was time to add the rim around the planter box. First I attached the long, side piece, with glue and nails, and then I matched up the 45 degree angles and attached the sides and the last long piece.
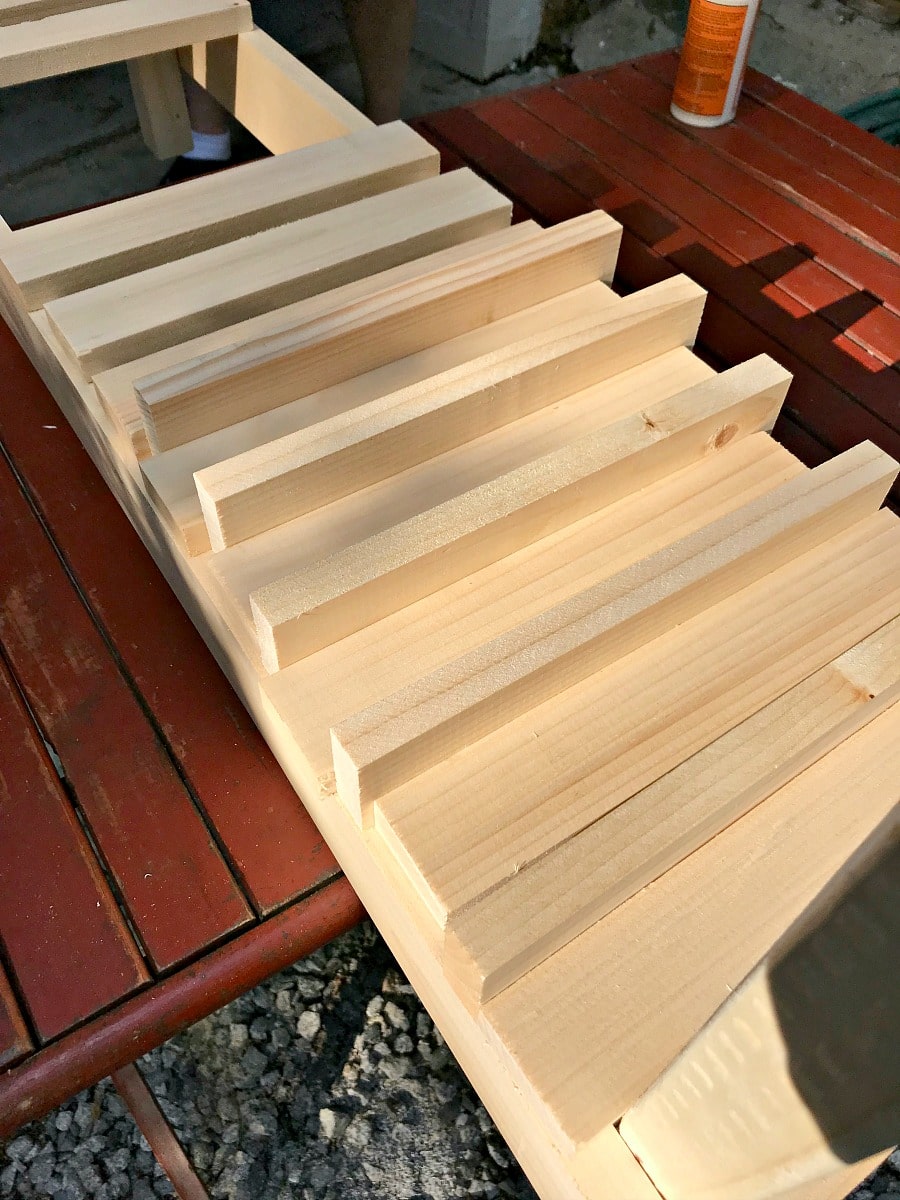
Finally, I installed the slats for the bottom shelf. I laid them out to figure out spacing and, as luck would have it, a 3/4″ board was the perfect spacer for in between each slat.
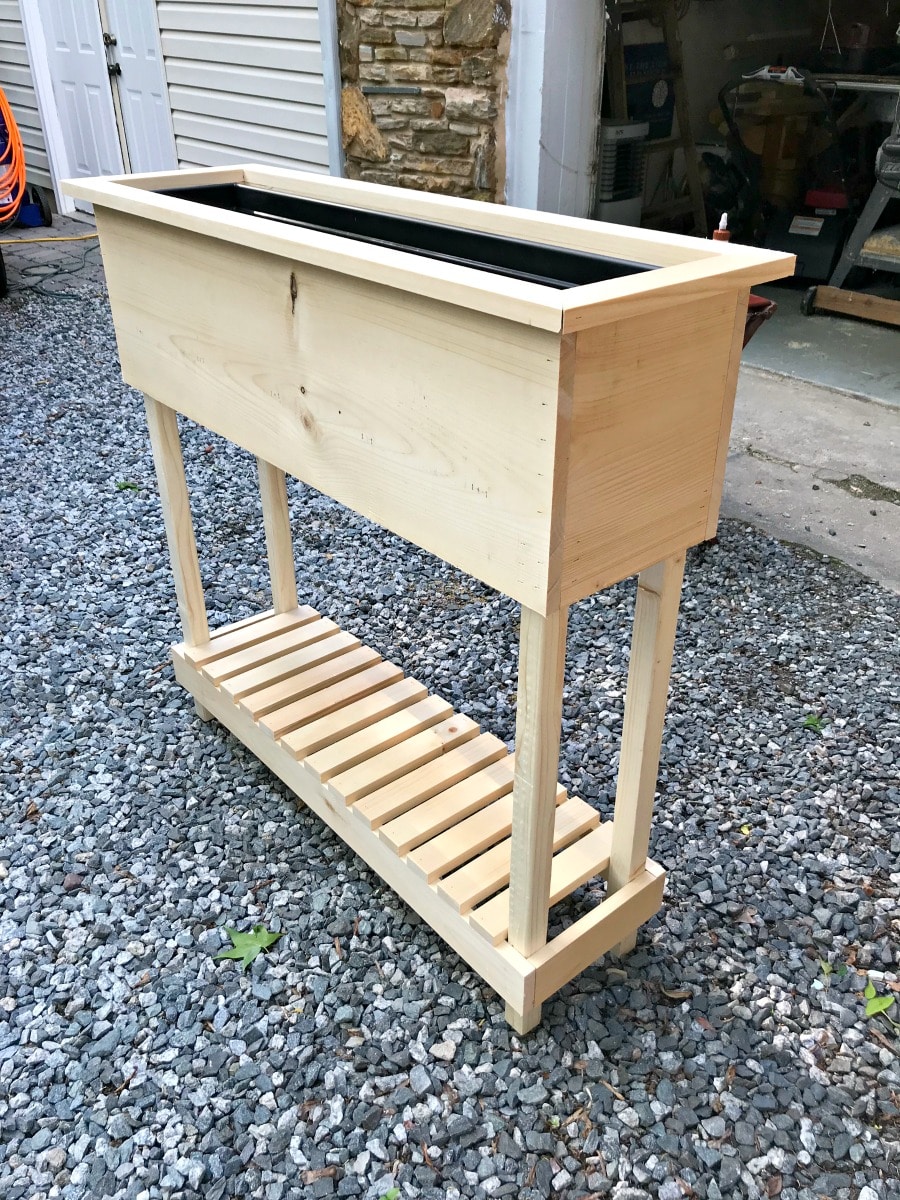
My DIY wood planter build was complete and ready for stain.
In order to make the piece look more finished, I filled all the nail holes and seams with wood putty and sanded everything smooth.
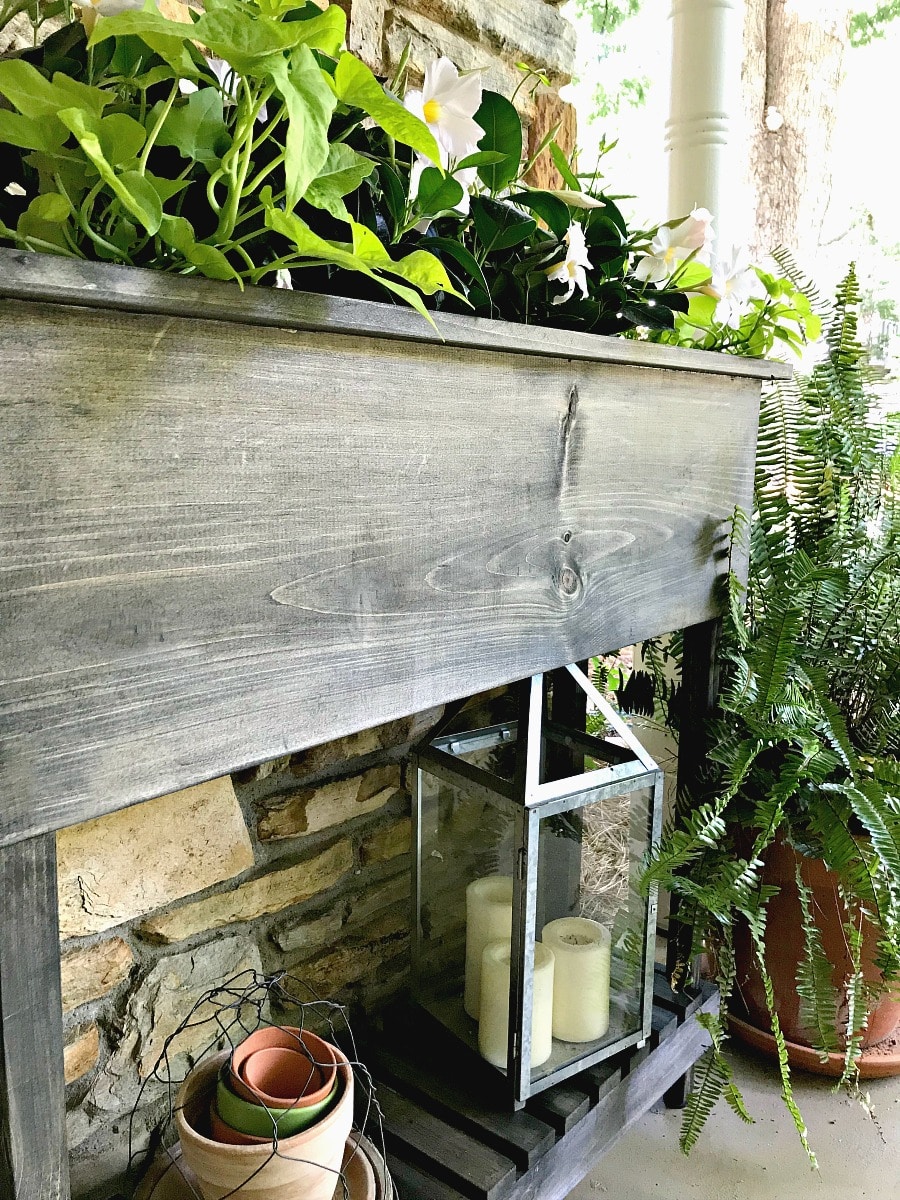
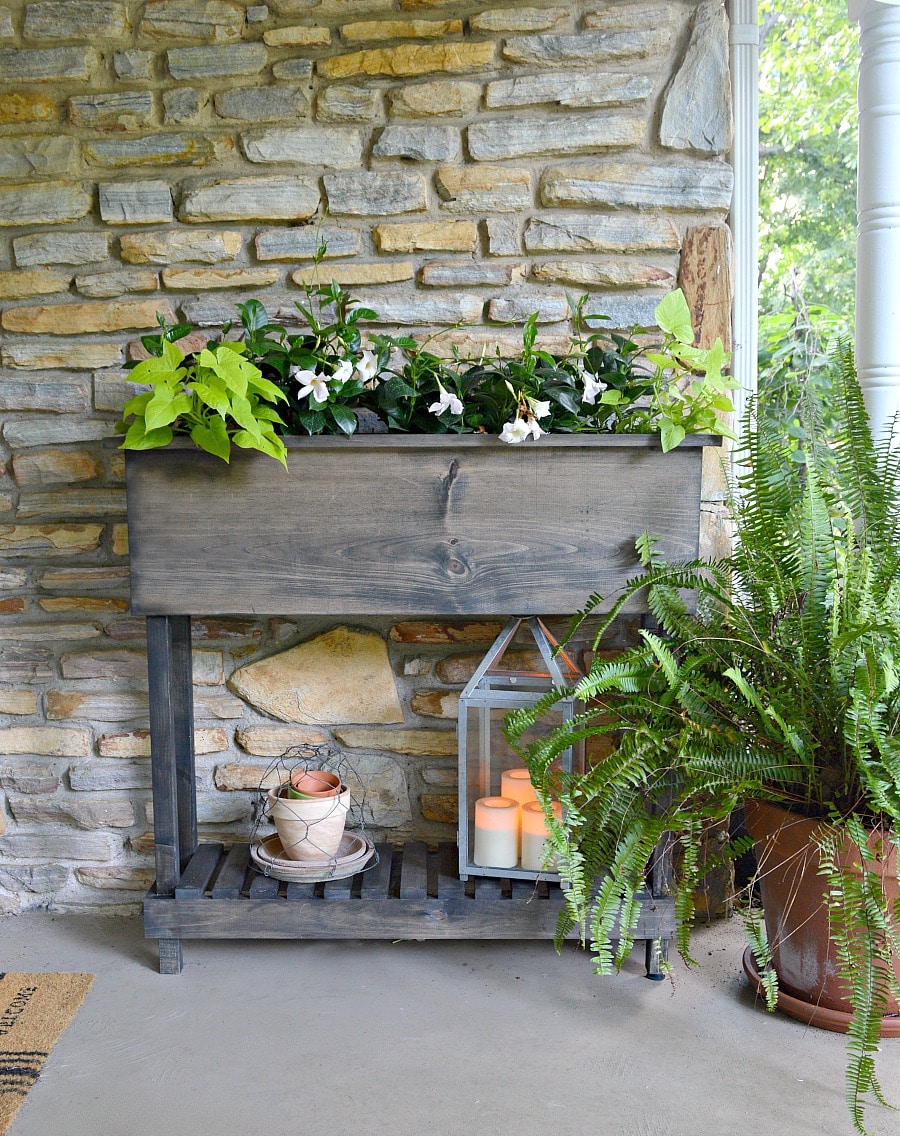
The last step in my DIY wood planter was to stain my new piece. We have a stone house so I wanted my planter to have a rustic look. With this in mind, I decided to go with an ebony stain.
Some pretty plants and old pots finish off the rustic look.
I love how my DIY wood planter turned out and it’s the perfect fit for our front porch. Now that it’s all done, I’m itching to build something else. Hmmmm… maybe I need a planter on my back deck.
Make sure you visit me over at Chatfield Court to check out some of my other DIY projects, like our DIY platform bed and our easy DIY trash and recycle drawer. Don’t forget to stop by the comments.

Leave a Reply