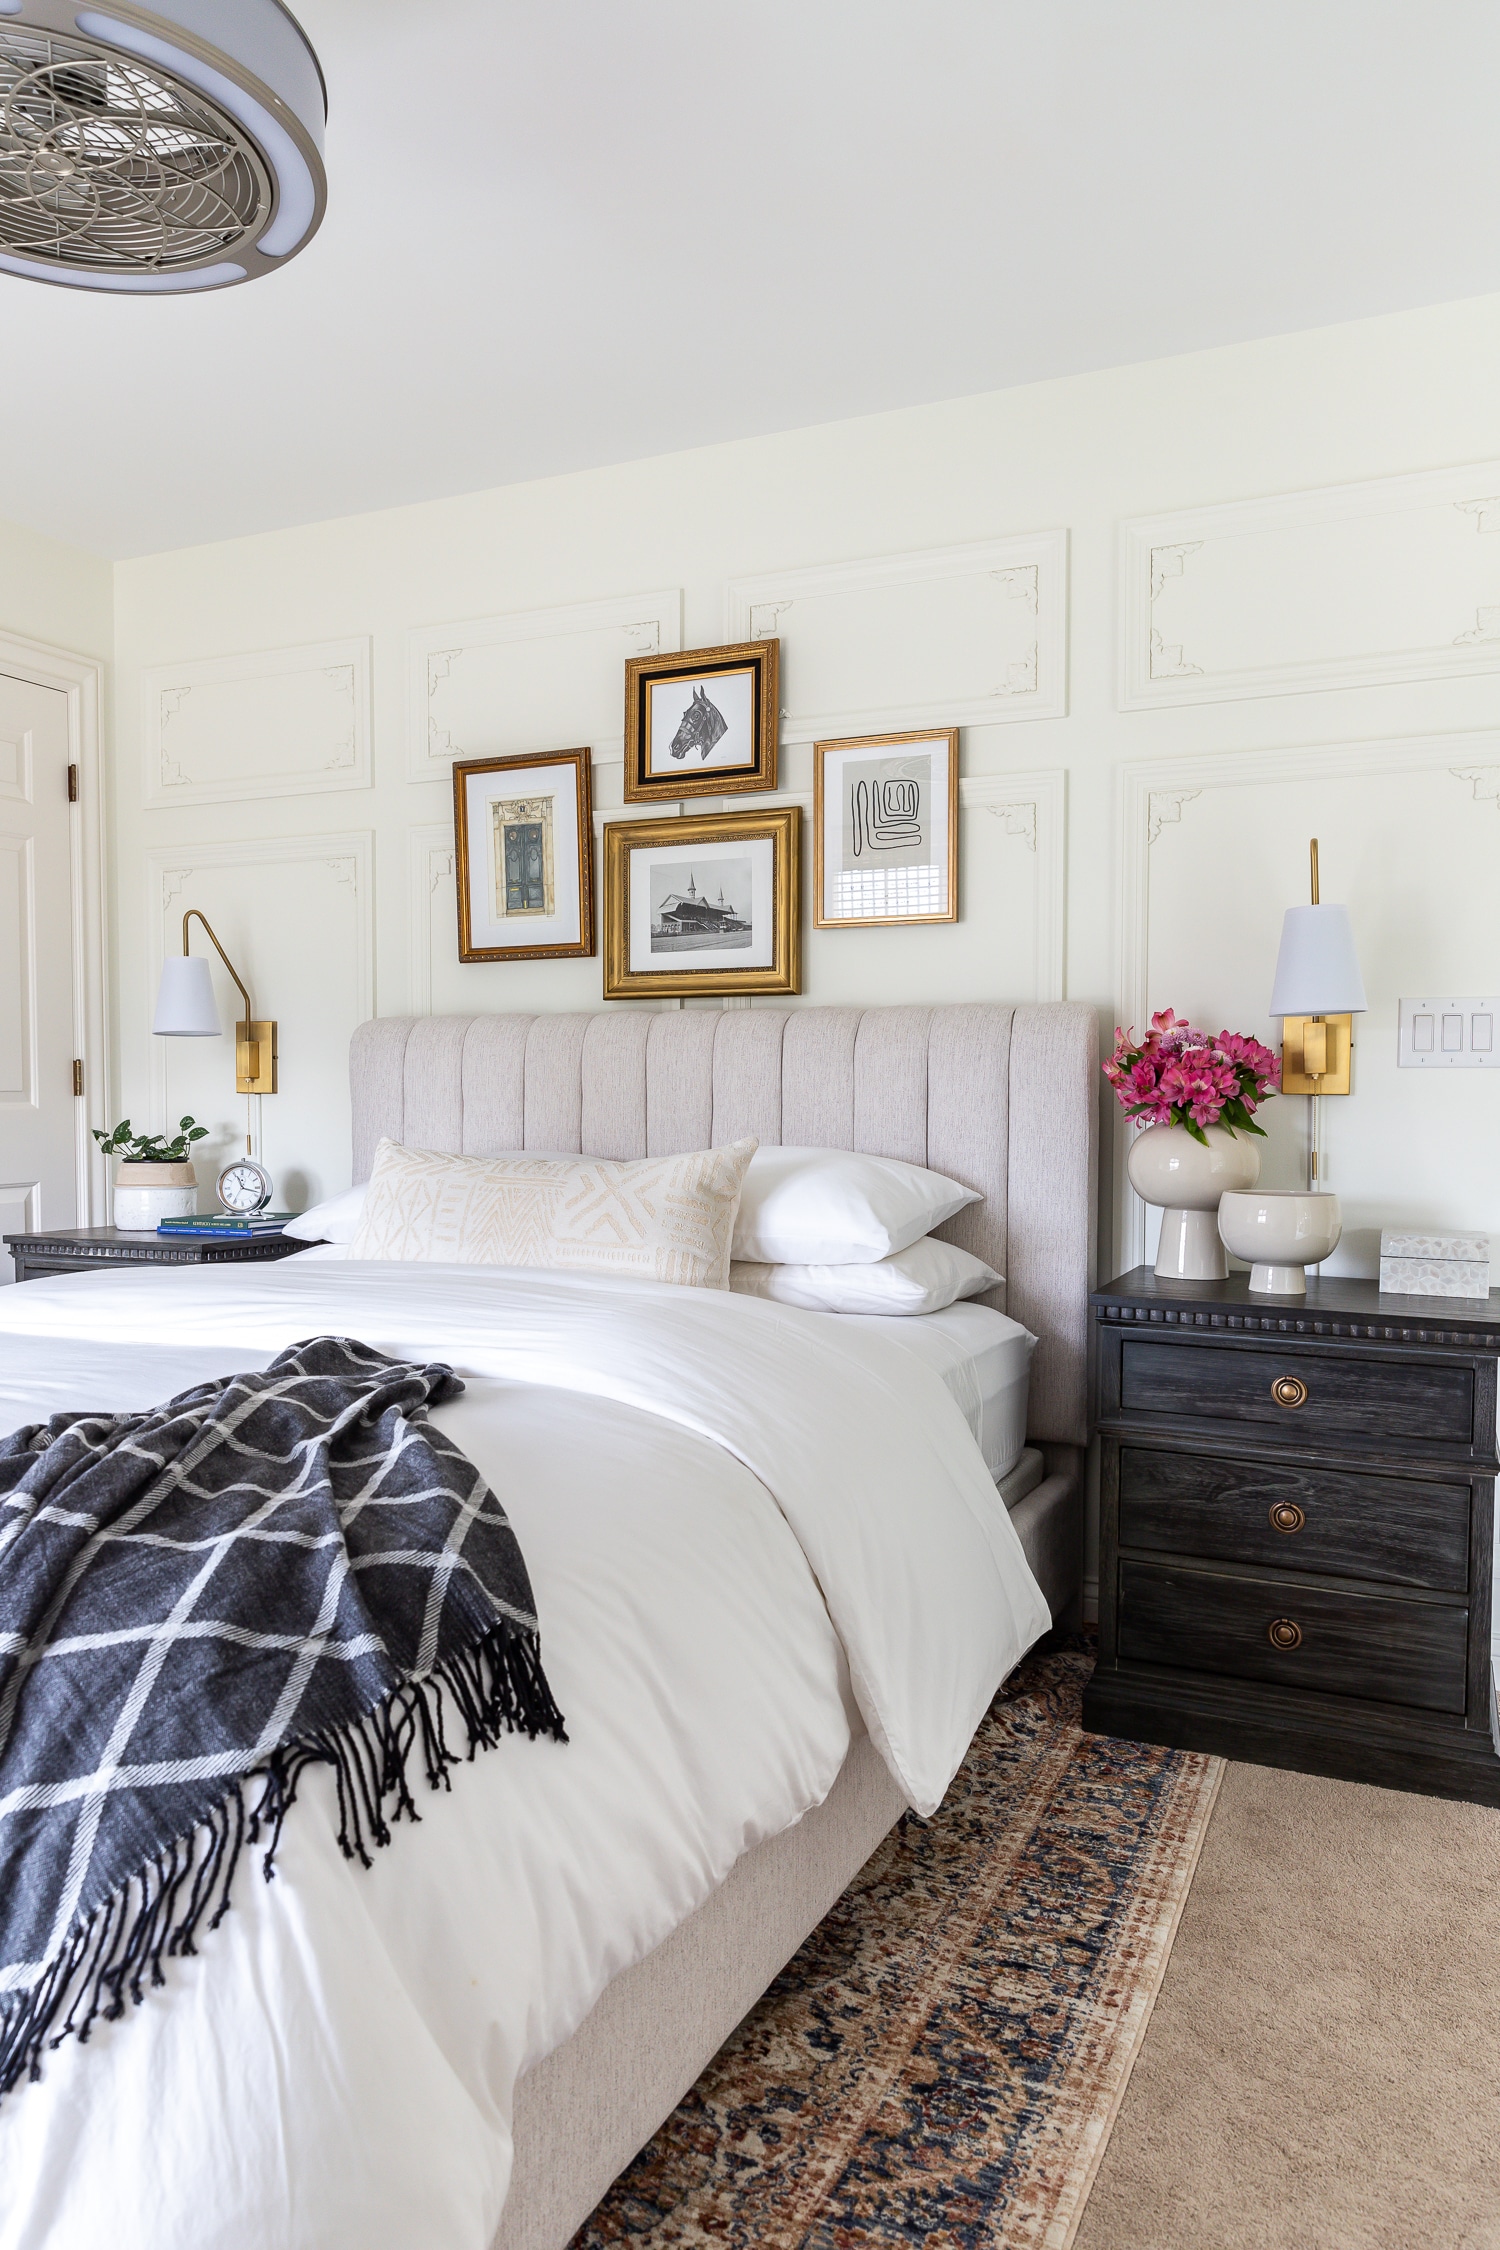
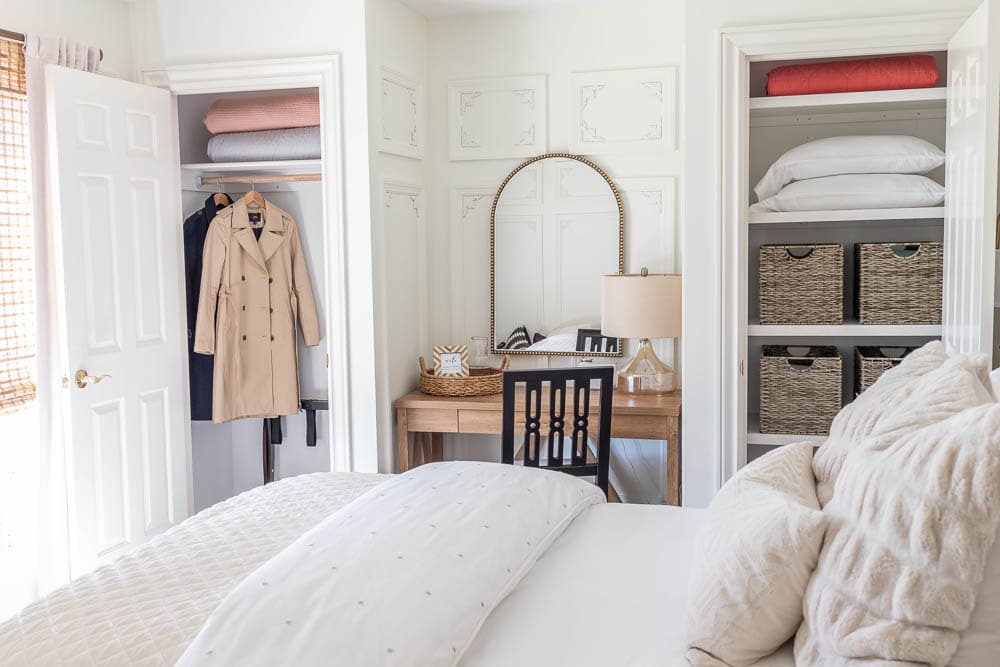
You might remember this space from previous posts and videos, where we renovated the guest bedroom as well as the en-suite bathroom. We tackled the final project in this room and are excited to share our bedroom closet makeover!
Closets (Before)
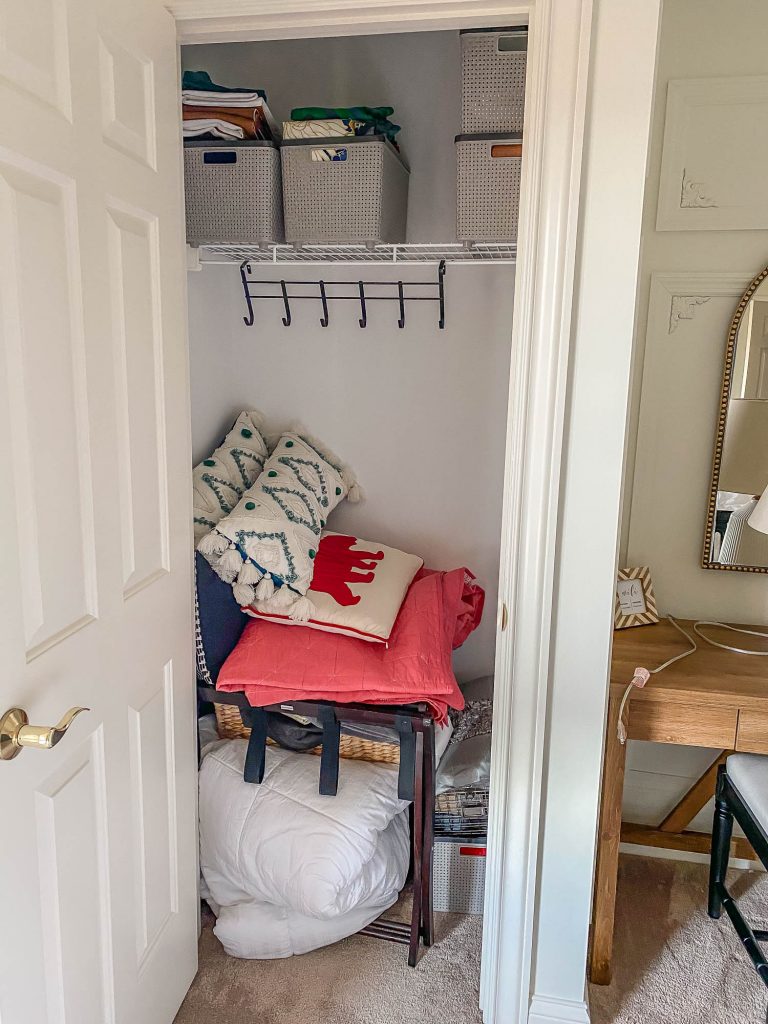
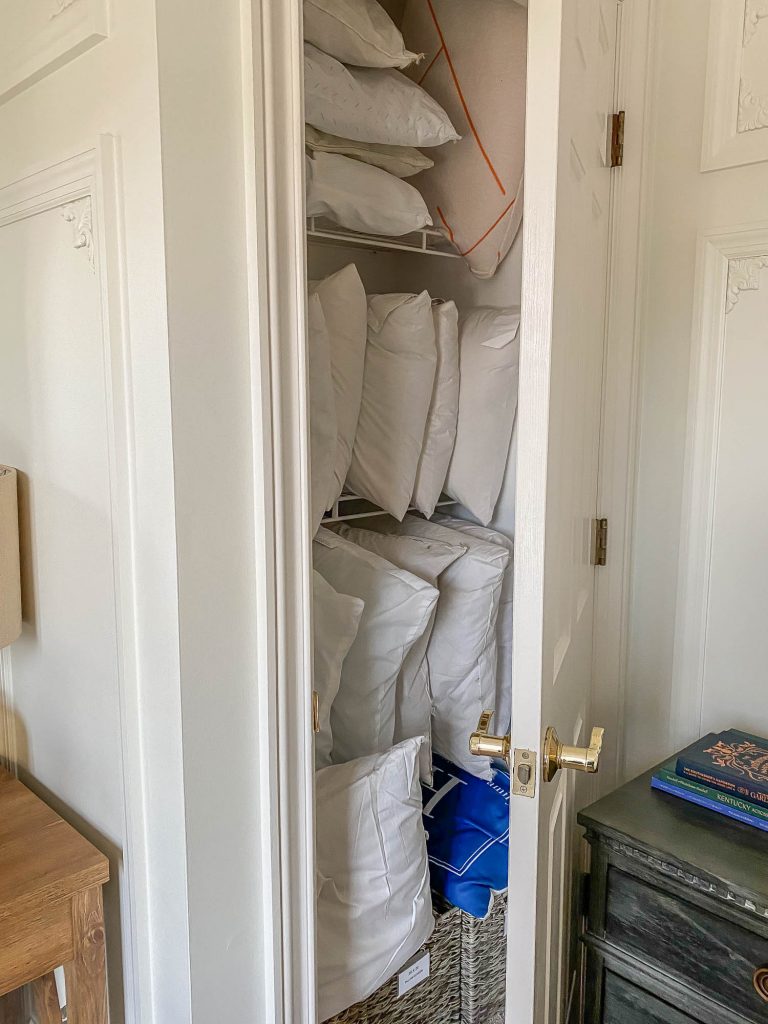
The last thing we had to do to call this room “done” was give the closets a little makeover. But first, let’s take a look at what we’re dealing with (don’t judge me!).
The dimensions of these closets are about 36 inches wide by 24 inches deep. The basic wire shelving is adequate, however we can certainly improve upon this situation by making better use of the space and by adding more functionality and organization.
Watch the Video!
The Home Depot Mobile App
This bedroom closet makeover was made possible by The Home Depot. No matter the project, The Home Depot has the tools to help. They’ve got thousands of how-to guides for DIY projects and home improvements on their website as well as on their incredible mobile app. I was able to find a ton of ideas and inspiration from their closet organization guides. I don’t go without using this app multiple times throughout my projects – it’s so helpful and super convenient.

Buy Online, Pick Up In-Store
In addition to the how-to guides, I can shop straight from the app, order products online and either pick it up in store from a pickup locker or from the customer service desk, or I can select “curbside pickup” which is my favorite. After placing my order, I get a text and email notification letting me know my order is ready, then I park in the designated curbside pickup location, check in on my phone, and my order is delivered straight to my car. It doesn’t get any easier than that! Now, I mentioned just a few of its features, but there’s so much more that this powerful little app can do, so click here to take a closer look.

Clear out the closet
The first thing I did was clear out the closet – I took everything out and put it the hallway where the entire family would trip over it. It’ll be in everyone’s way, which gives me the motivation to finish this project quickly. (That’s a pro tip for ya.)
Remove wire shelving
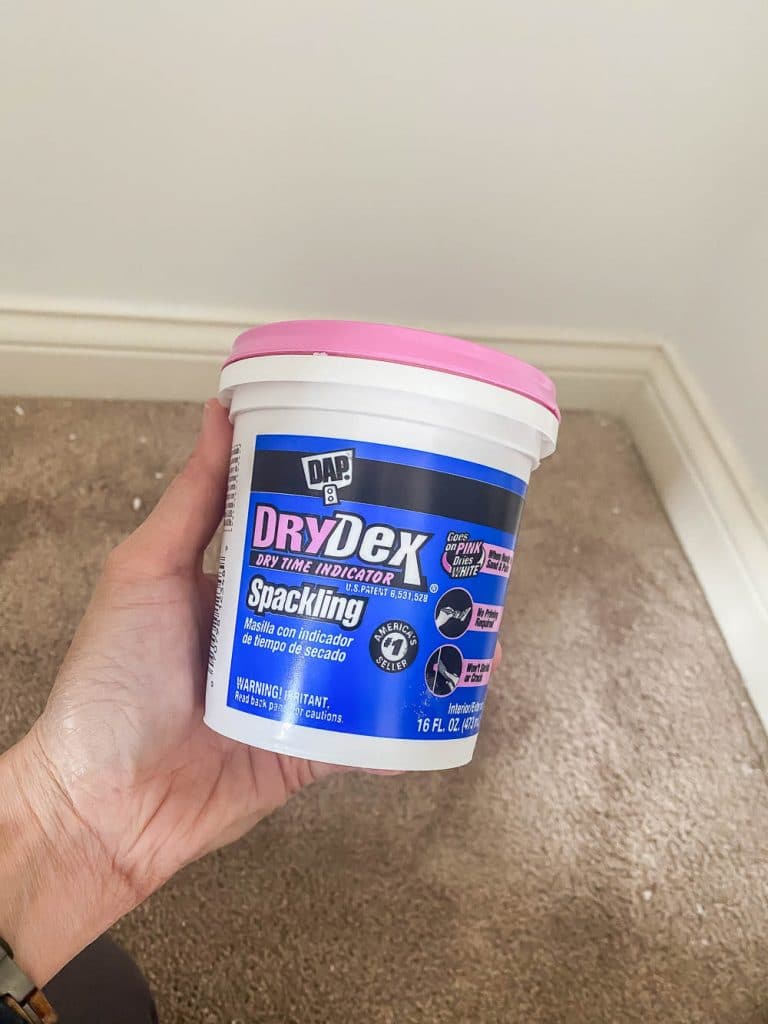
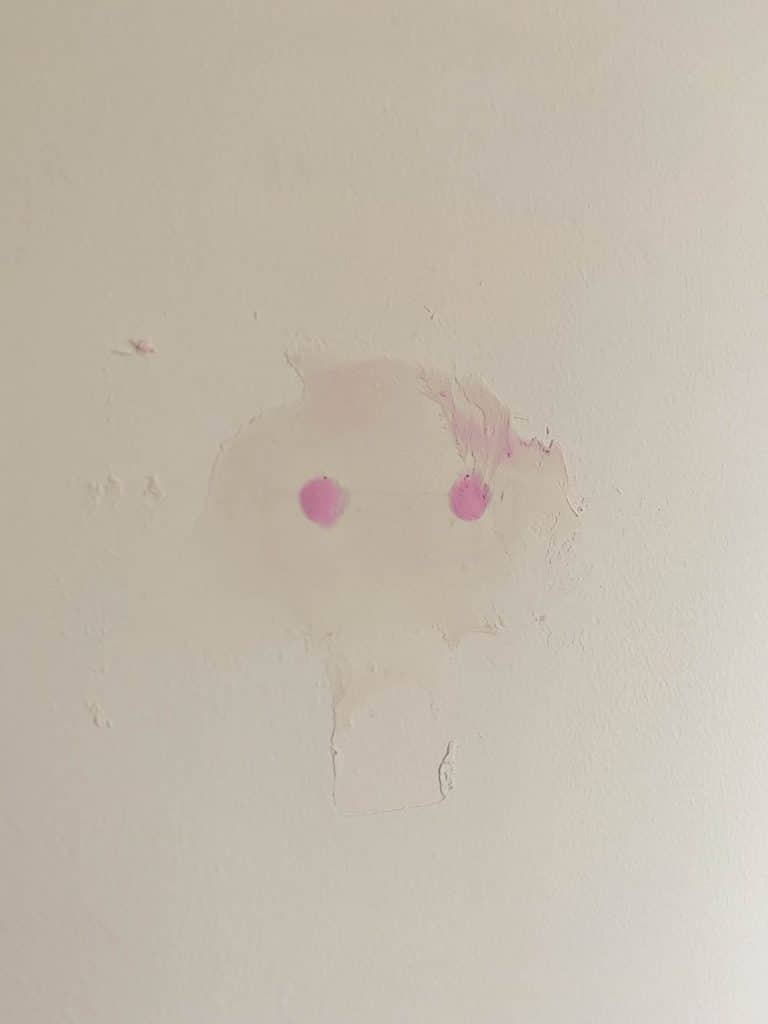
Then I removed the wire shelving. You can use a cordless drill or a screwdriver if you’re a glutton for punishment. You can also pick up one of these battery-powered screwdrivers, they’re really handy to have around the house for quick fixes. You’ll likely have big holes in the wall left by the wall anchors like I did, so we’ll have to patch and fill that. I like to use this color-changing spackling paste… it goes on pink and turns white when it’s dry. I overfill it, wait till it dries, and then I sand it down flush.
Patch and repair walls
If you want to do something fun, like add wallpaper, or paint a stencil or something, now is the time to do it. I installed wallpaper inside my hall closets and it’s so cute. But because these are occasional closets, I’m not going to go through the effort this time, but it’s a fun little surprise if you want to be “extra.”
What Is Span Limit?
Span limit is the maximum distance apart that you can place the shelving supports before the shelf is at risk for sagging. Span limits can range from 18 inches to almost 5 five feet long depending on the material you choose and the load it’ll carry. Since this is a bedroom closet, we’re not going to be loading these shelves up with a set of encyclopedias or anything super heavy – it’ll hold extra linens, various and sundry items, so I’m not too worried about exceeding the span limit.
A general rule of thumb is if you’re using ¾-inch thick particleboard, you’ll want about 20-30 inches between supports. Thirty to 32 inches for ¾-inch thick plywood, 28-36 inches for 1x solid wood, and 50-72 inches for 2x lumber. I’m using melamine, which is considered particleboard, and again, because these shelves won’t bear a heavy load, we should be fine, even with the 36-inch width. Also, the back cleat runs the full length of the shelf, offering more support.
Cut shelves and supports to size
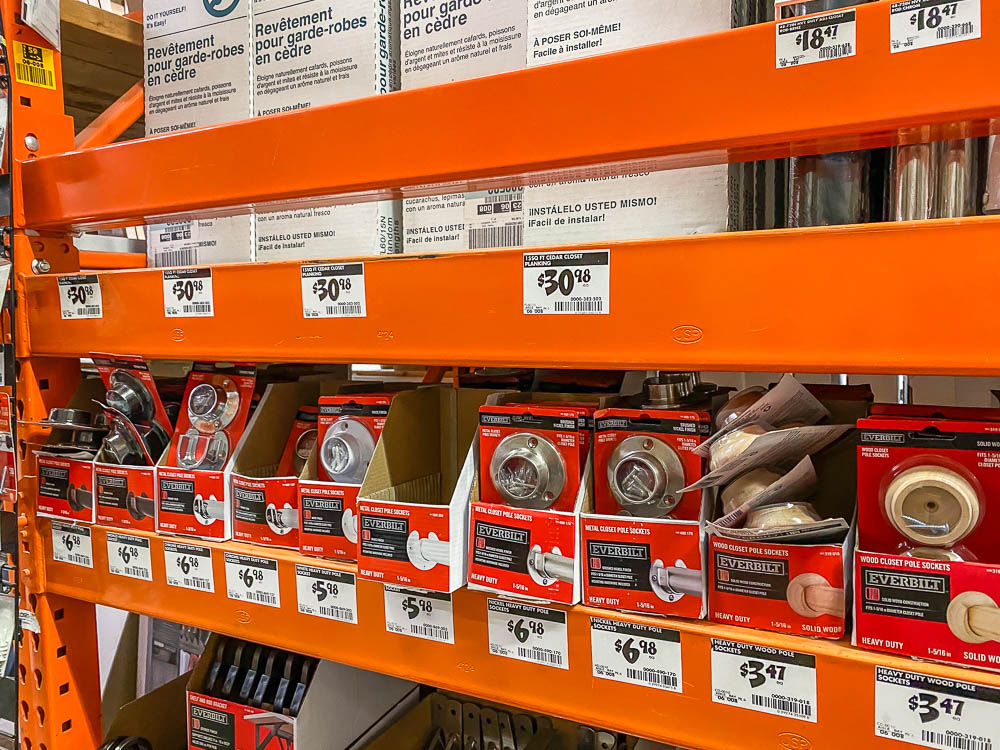
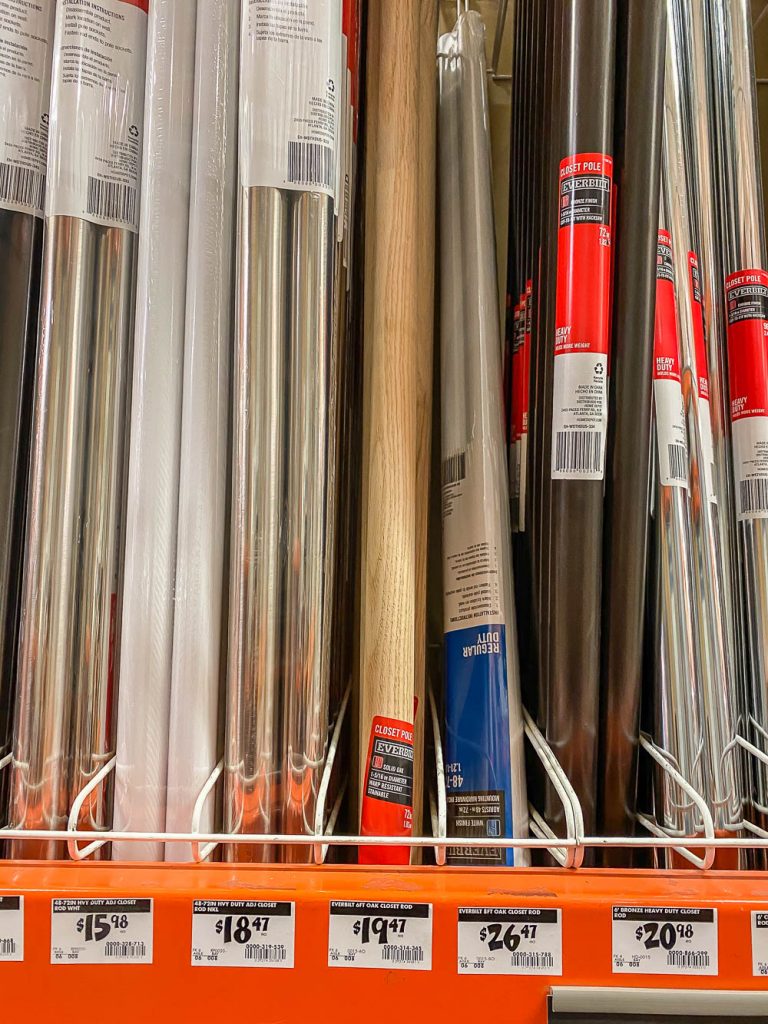
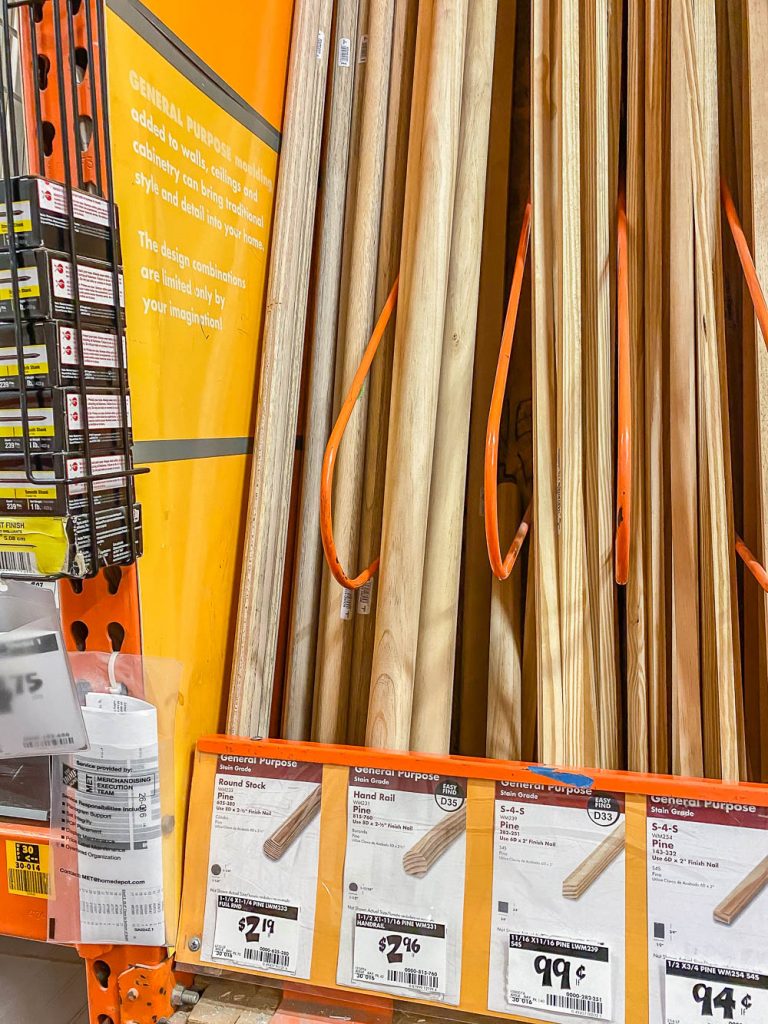
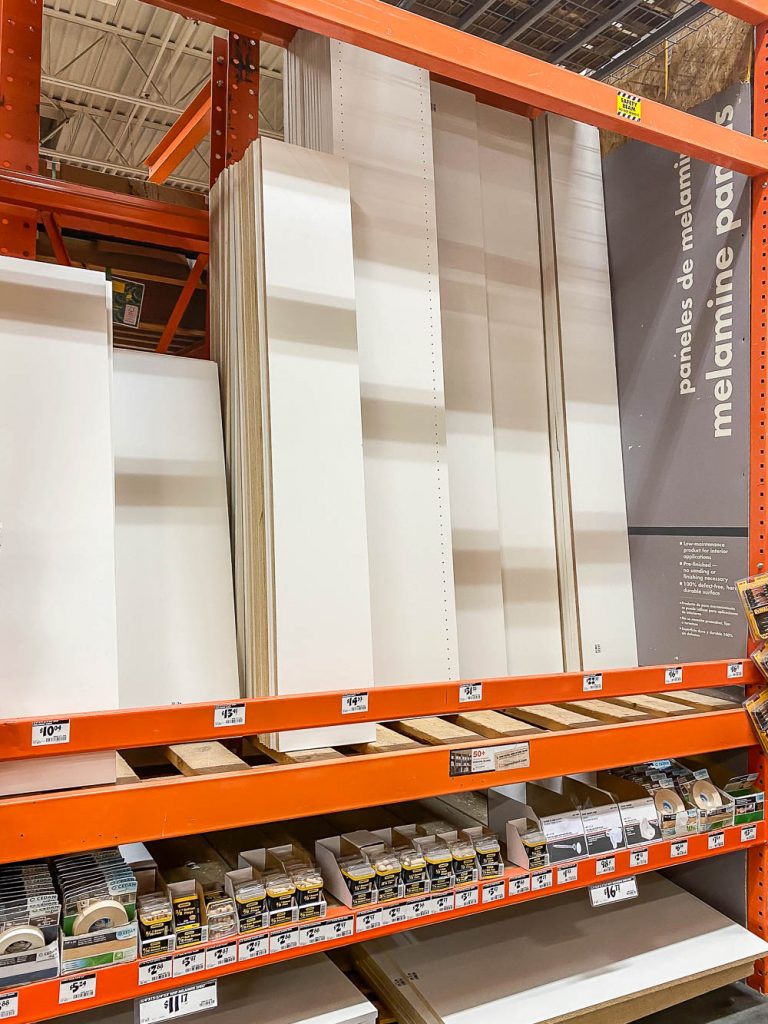
I picked up a closet rod, pole sockets, some 1x2s for trim, and some melamine shelves from The Home Depot. It cost about $120 for all of the materials. These shelves are pretty strong, but easy to cut to size. And if you’ve watched any of my other videos, you know I love using a foam insulation board as a cutting mat. I measured and marked where I wanted to cut the shelves, then made the cuts with my track saw. You can make these cuts with a table saw, circular saw, or with this mini saw – it’s called the Dremel Saw Max and it fits in your kitchen drawer! It’s best to clamp a straight edge guide so that your cuts are straight. I’ll link all of the tools and materials below.
These shelves will be supported by 1×2 cleats that are screwed into the walls. Measure, mark, and cut the 1x2s to length, find the studs in the wall and screw the 1x2s to the studs. Make sure to check for level. I like to drive the middle screw in first, then check for level, then drive in the remaining screws. I ran a 1×2 across the back, as well as on both sides.
Secure shelf cleats to wall studs
I used a stud finder to find the studs in the wall, then pre-drilled pilot holes and screwed the 1×2 supports to the wall, making sure each cleat was level and even. I like using an impact driver here instead of a drill because it packs a little more punch, but you do need to stay in control of the tool, or it can easily get away from you.
Add shelves
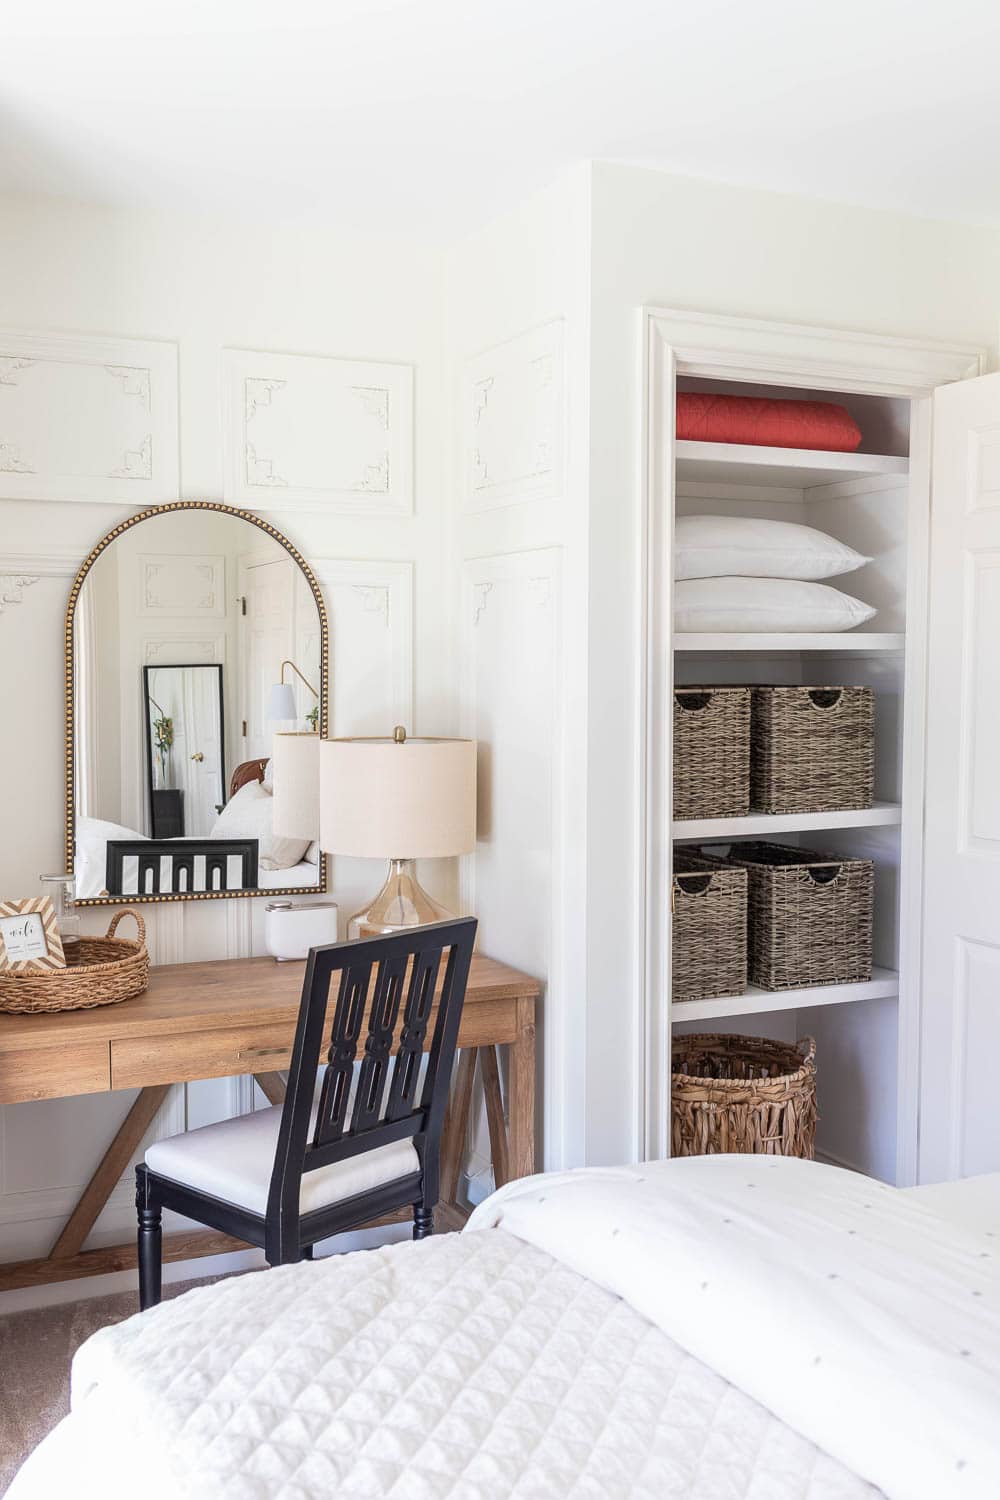
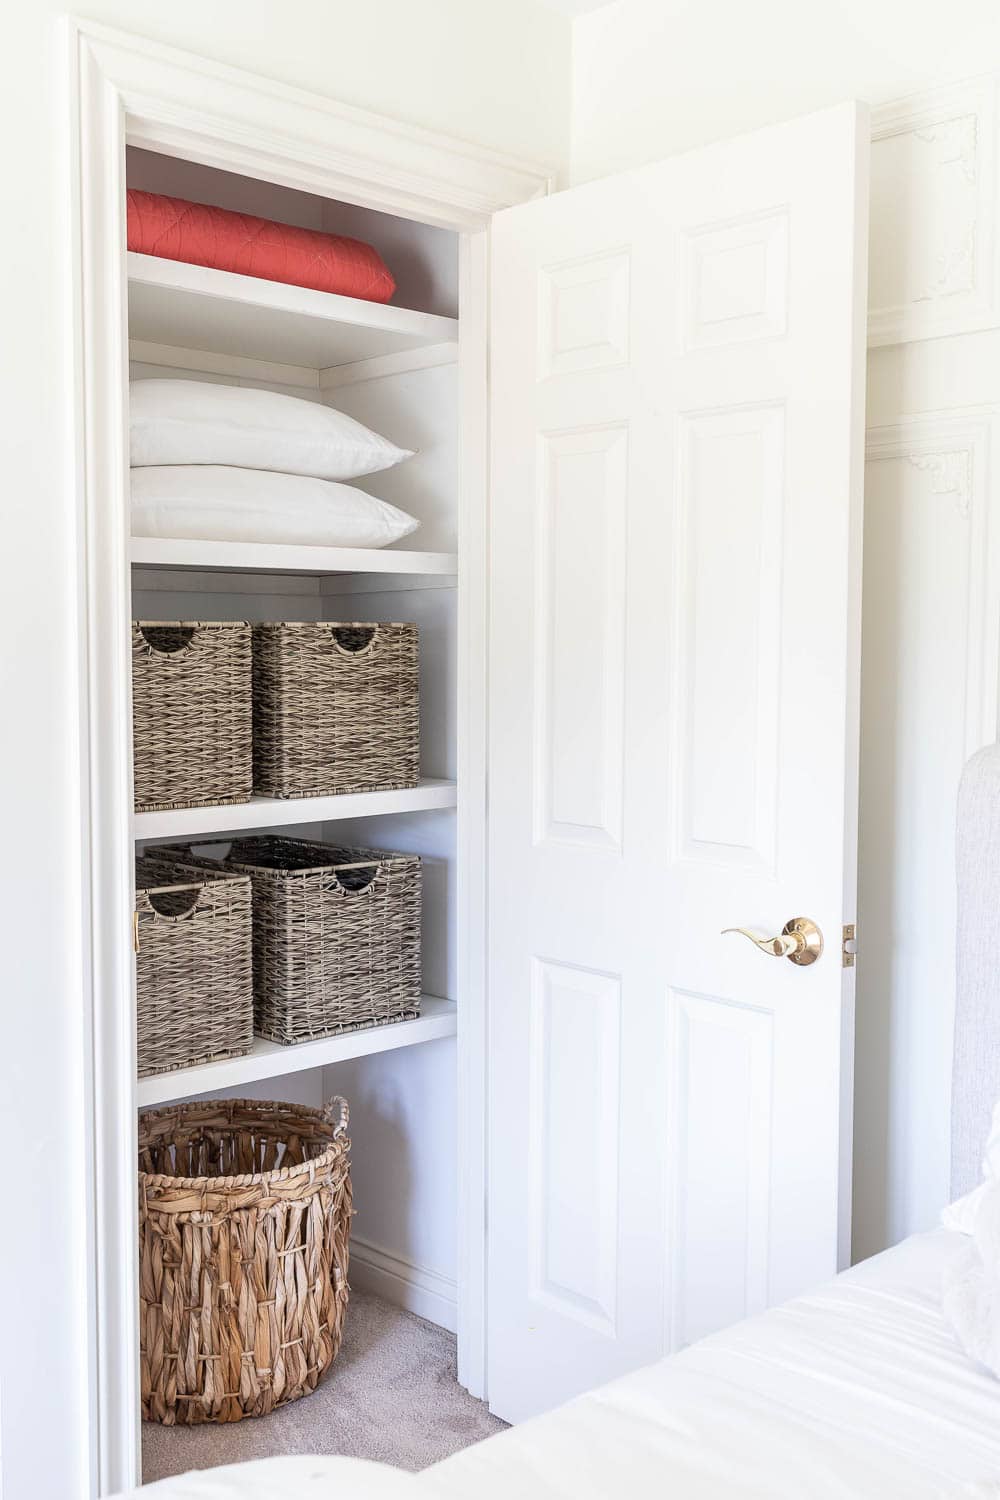
Once the cleats are secured to the wall, it’s just a matter of laying the shelves in place. You can screw them to the cleats if you want, but it’s not necessary. You may also want to caulk the joints for a seamless, finished look. Check out my secret trick to getting the cleanest caulk lines in this short video.
The shelves are 16 inches apart – I did this because most of the baskets I use are about 12 inches tall, and I wanted to make sure to leave enough space for that.
Install closet rod
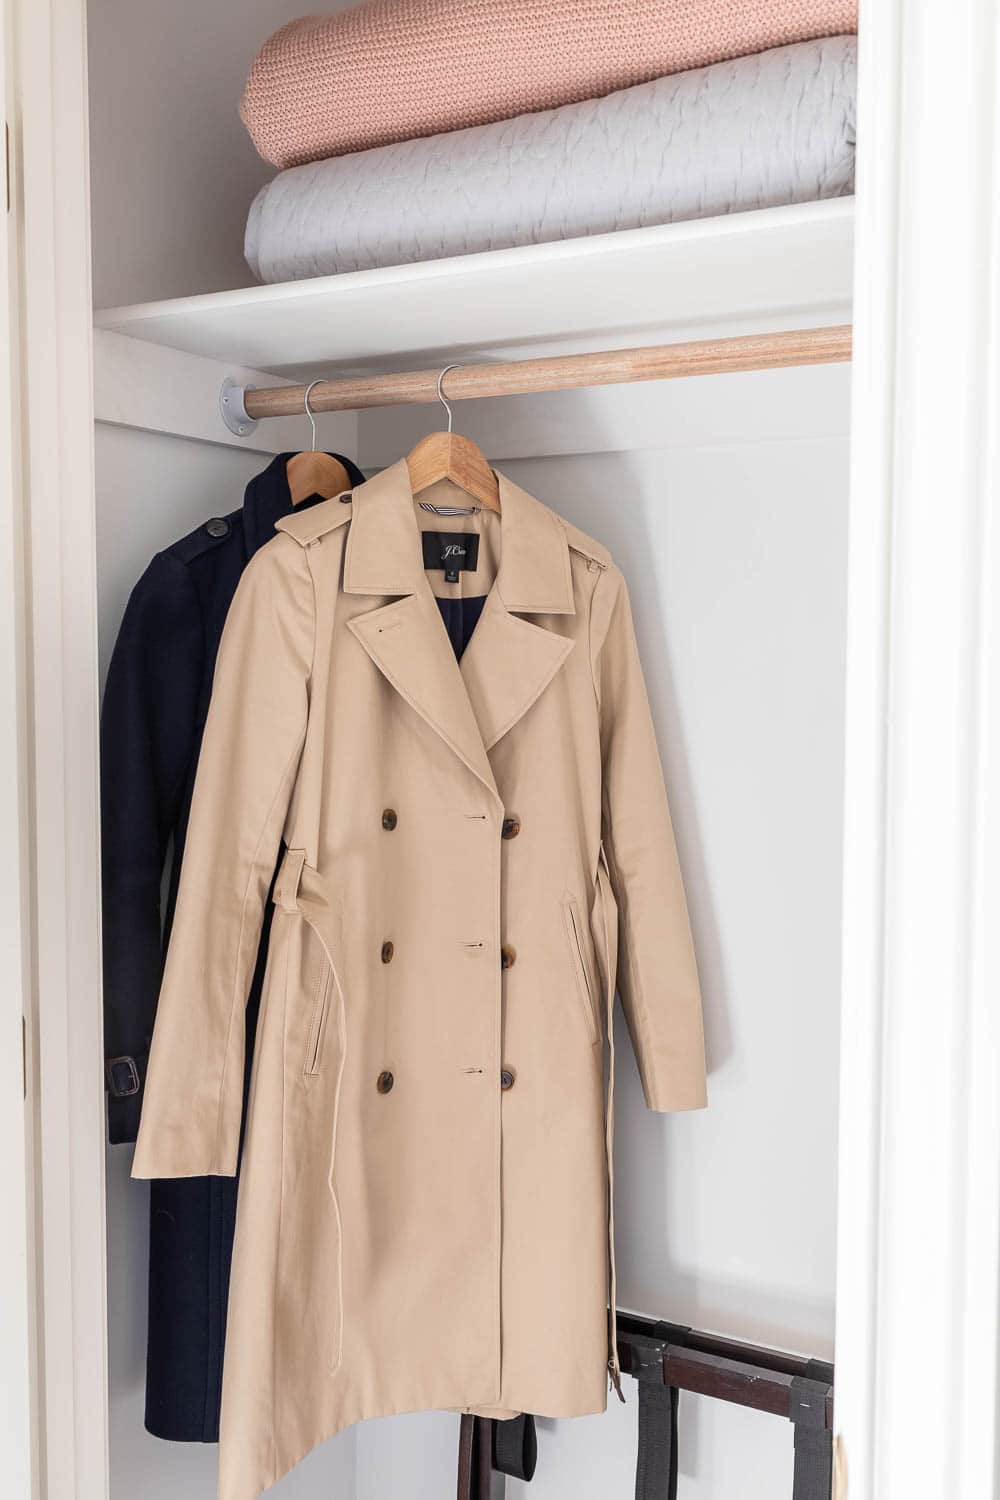
Now let’s move onto the other closet. I put a top shelf in here, with a closet rod below it. Because there were no studs where I wanted to place the pole sockets, I used a 1×4 for the cleat, so that I could screw the 1×4 to the wall using heavy duty anchors, then I screwed the pole sockets to the 1×4. Lastly, I dropped the closet rod and melamine shelf into place. How’s that for quick and easy? Finally, to hide these unfinished edges, I measured and cut 1×2 trim and glued and nailed it to the front edges.
Finishing Steps
Finally, I caulked the seams and joints, filled the nail holes with painter’s putty, and touched up the paint. Would you look at that?! This was an easy, affordable project that really upgraded our closets. Organization is one of my love languages and I just love how this bedroom closet makeover turned out! It not only looks so much better, but there’s a lot more functionality now!
Tools:
- Tape Measure
- Cordless Drill/Driver
- Cordless Impact Driver
- Compound Miter Saw
- My Favorite Miter Saw Blade
- Dremel Saw Max
- Dremel Rechargeable Screwdriver
- Cordless Brad Nailer
- Stud Finder
- 24-Inch Box Level
Materials:
- Melamine Wood Shelves
- 1×4 Primed Wood Boards
- 1×2 Primed Wood Boards
- Pole Sockets
- 1-1/4 inch Round Dowel
- Spackling Paste
- Painter’s Putty



Very helpful. Thank you from the bottom of my heart.
That’s what I call space use. I love that post. Nothing wasted, simple and smal decoration things…
Thanks for the thoughtful comment, Cemre!
Amazing work!! Looking for more from you.