Hello again! I’m thrilled to partner with Varathane to bring you the third video in our 3-video wood finishing series! The farmhouse trend is still going strong and if you don’t have a hundred years to wait for wood to naturally weather and distress, you can use these easy techniques to achieve that rustic, farmhouse look.
If you missed the first two videos, you can find them here:
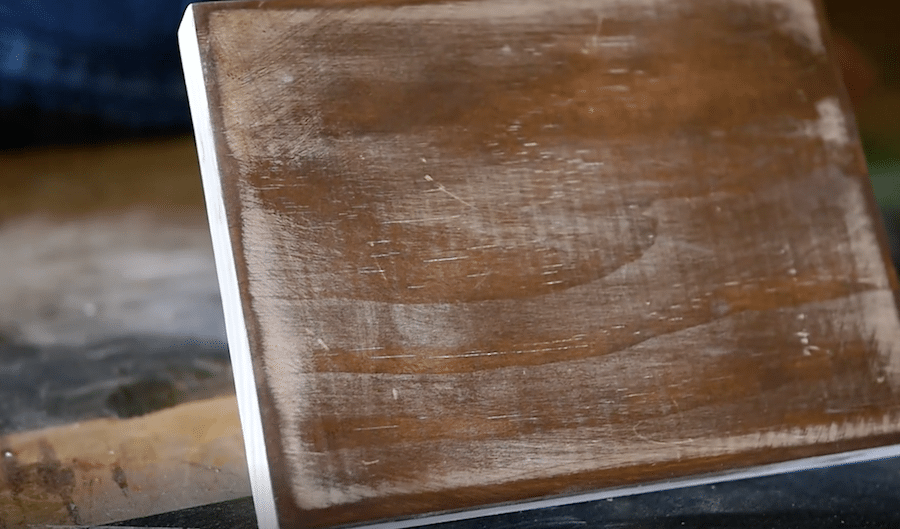
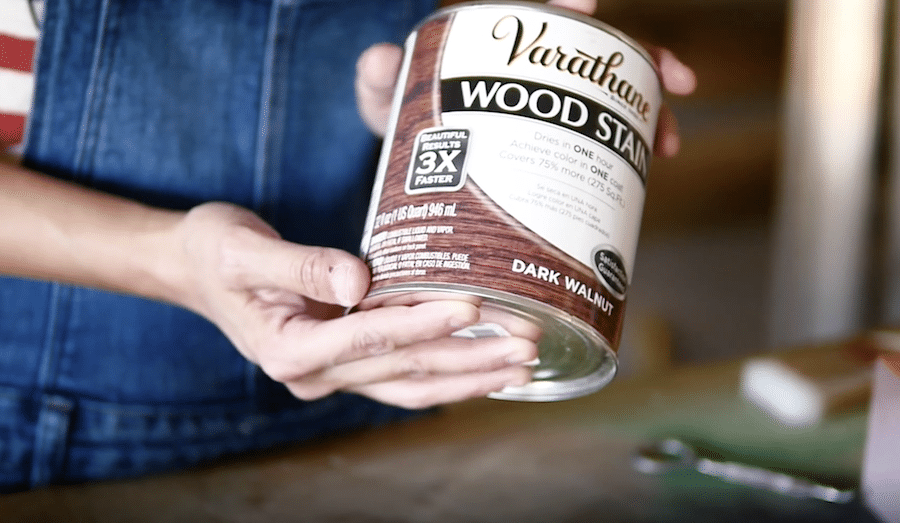
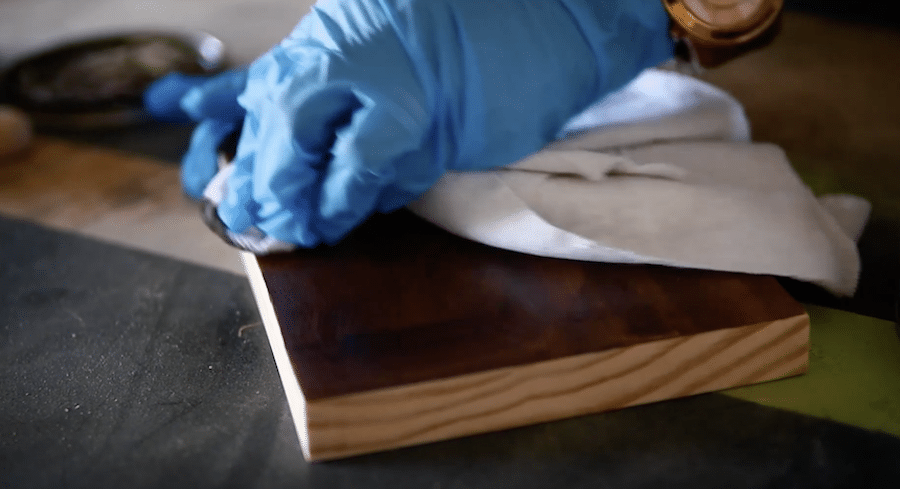
I’ve got a brand new scrap piece of pine wood here and we’re going to make it look weathered and distressed, as if it’s been around for generations. First, we’re going to sand and then stain the board. I used one of my favorite stain colors, Varathane’s Dark Walnut – it’s a rich, medium brown that’s not too warm or too cool. To apply the stain, I typically use a shop rag and some disposable nitrile gloves. If I need to get into the nooks and crannies of a piece, I’ll use a disposable foam brush.
For more details on the basics of staining wood, check out my Staining 101 video.
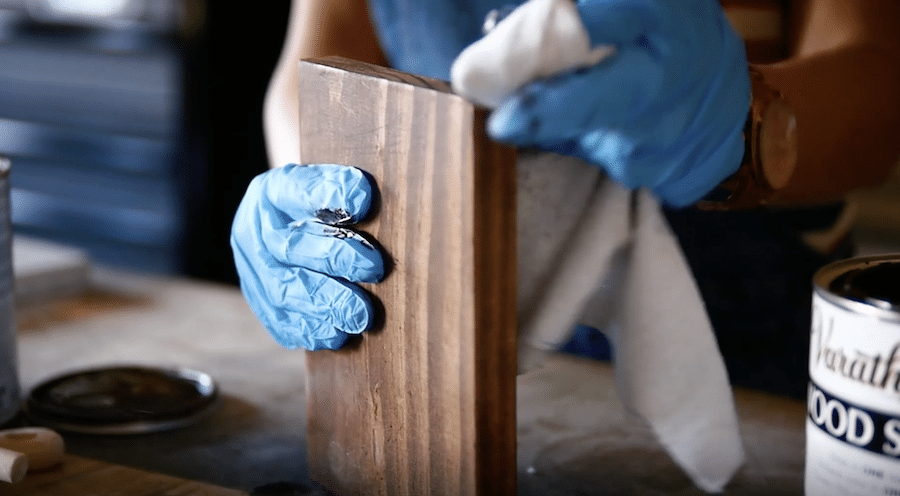
Dip the rag into the stain and start working it into the wood, in a circular motion. Make sure all of the stain is absorbed into the wood fibers – you don’t want any excess stain sitting on top of the surface because it’ll get tacky and cause issues later on. The great thing about this Varathane stain is that you only need one coat – you don’t have to keep layering on coat after coat to get that deep, rich color. And it dries in about an hour, so it’s a great time-saver!
Once the stain is fully dried, we’re going to lay on a thin coat of white paint. I like to use Rust-Oleum’s chalked paint because it’s ultra matte and it dries to smooth, chalky finish. It’s also easy to distress, which is the look we’re going for.
You can brush on the white paint, and it also comes in a spray paint can… just get a thin coat on your wood. You can also dry-brush – just take a dry bristle brush and dip it into the paint. Blot out as much paint as you can on a paper towel, so that you have very little paint on the tip of the bristles. Then gently brush the paint onto the wood. Don’t worry if it’s not perfect – you’re going to sand off most of it anyway. You just want to add some depth and variance to the piece.
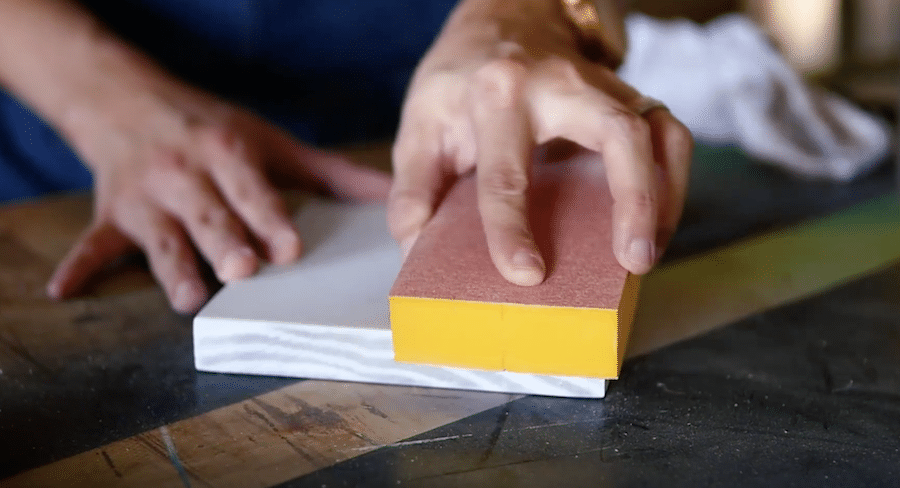
Once the paint is dry, it’s time to distress. You can use all sorts of different tools – hammers, nails, chains, rocks – anything to distress the wood. You’ll also want to use a coarse sanding block, like 120-grit, to sand off most of the paint so that the beautiful walnut stain comes through. We’re trying to mimic a weathered, worn look, as if this piece has been around for some time, with some natural wear and tear. Think of where a piece would naturally get bumped or scratched and sand in those areas.

Once you’re happy with the look, remove the dust before applying a protective finish. I recommend this Varathane Polyurethane in a matte or satin sheen. You can check out my Finishing 101 video for more details on the basics of finishing wood.
*This post is in partnership with Varathane Wood Finishes. All ideas, efforts, and opinions are my own. Some links may be affiliate links. To read my full disclosure policy, please click here. Thank you for supporting the brands that support this website.
Leave a Reply