Hi friends! I’m excited to be back with the second video in our 3-video series with Varathane Wood Finishes!
Watch the other two videos here:
Clear finishes, like polyurethane, will protect wood against damage from moisture and everyday wear-and-tear, so it not only makes your project more durable, but a good finishing job can really bring out the natural beauty of the wood grain. While staining is optional, you’ll definitely want to apply clear top coat for long-term protection and durability.

Factors To Consider
Durability
What’s the project type? Is it a dining table, that will get a lot of heavy use, which will need more protection, or is it an accent table that won’t see a ton of traffic? Depending on your project type, choose your finish accordingly.
Sheen
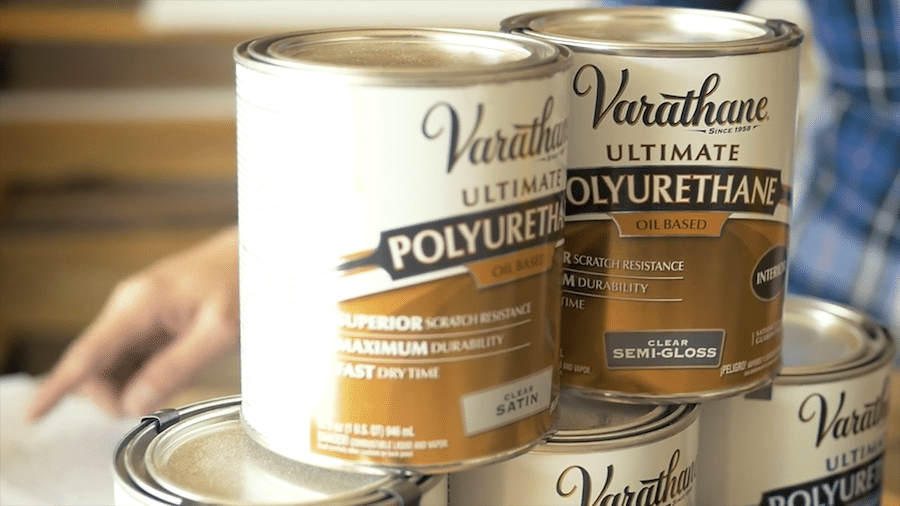
Another thing to consider is sheen. Varathane finishes are available in matte, satin, semi-gloss, and gloss sheens. The sheen level doesn’t affect its durability, so it’s simply a matter of preference which sheen you choose for your project. I typically like to use a satin or semi-gloss sheen because I like a little shine, but not too much.

Oil-Based vs. Water-Based
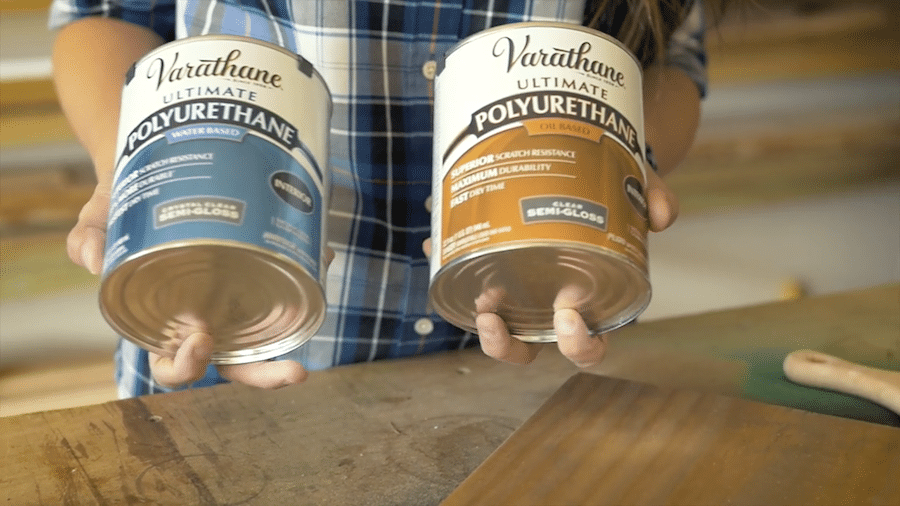
Should you use an oil- or water-based finish? There are pros and cons to each. Oil-based finishes typically take longer to cure than water-based finishes, so if, for example, your project is very large and you need more time to work, you’ll want to use an oil-based product because it allows you more time to apply the finish without it drying before you’re ready. But the Varathane brand actually has the fastest dry times of other oil-based polyurethane brands and it’s also self-leveling, so it minimizes brush strokes, which is really nice. Water-based finishes dry faster, are low odor, and clean up is easy with soap and water. Varathane offers both oil- and water-based polyurethane, but they recommend a minimum of 2 coats for oil-based and a minimum of 4 coats for water-based. So, while water-based dries faster, it requires more coats whereas oil-based dries slower, but you don’t need as many coats. So, you can decide which works best for you.

Preparation
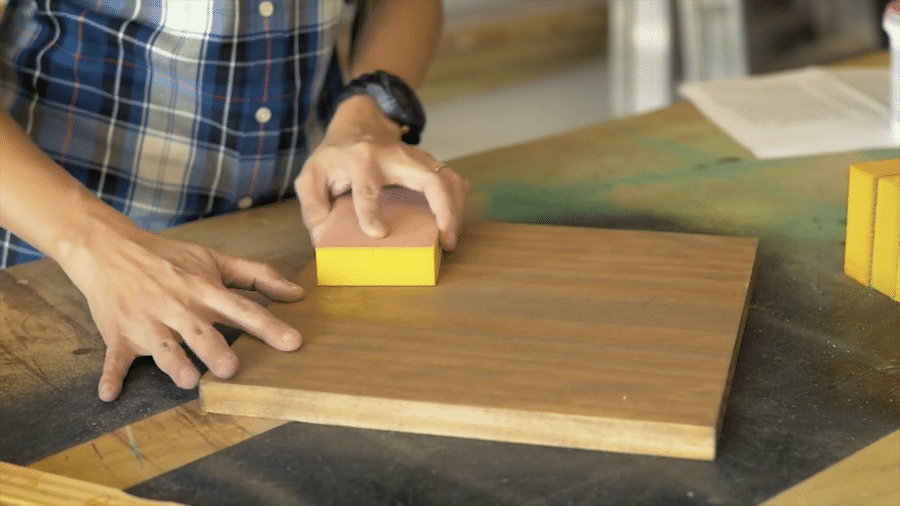
Whether you choose an oil- or water-based finish, preparation is paramount to a professional-looking project. You’ll want to prepare the wood with a good sanding. I usually start with a medium-grit sandpaper, like 120-grit and work my way up to 320-grit. Take care to remove all dust and debris from your project before you apply the finish! This is super important! Use a vacuum and a slightly damp cloth or tack cloth to remove the dust from all the surfaces. If you use a damp cloth, make sure it’s only very slightly damp because water can raise the wood fibers, and you just spent all that time knocking them down with sanding. Once your project is dust-free, it’s time to apply the finish. Make sure your workspace is well-ventilated and well-lit. You’ll need to be able to spot any runs or drips before they dry!

Application
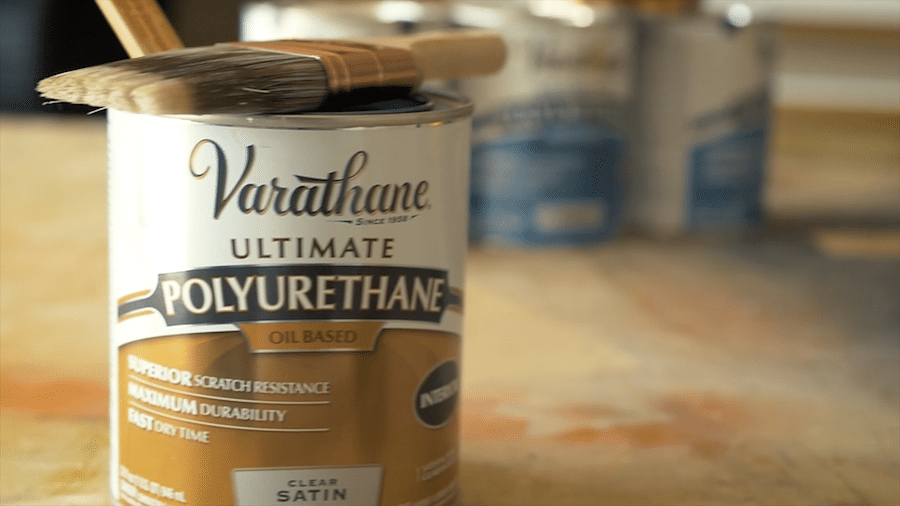
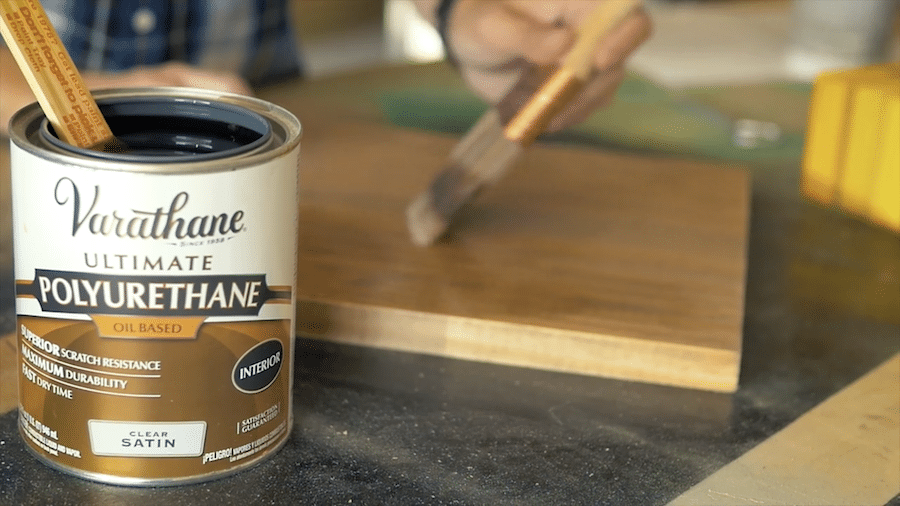
Open up your can of finish and stir, being careful not to create bubbles with aggressive stirring. And whatever you do, don’t shake the can! It’ll increase the risk of bubbles in your finish and we don’t want that! Use a high-quality bristle brush to apply the finish – avoid a foam brush or roller because again, it can cause bubbles and blemishes and that’s just a headache to remove later on.
You can also spray on the top coat, which leaves a beautiful finish, but often times, the setup and cleanup of using a sprayer is more work than I’m willing to do in an afternoon, so I personally just opt for a good, high-quality brush.
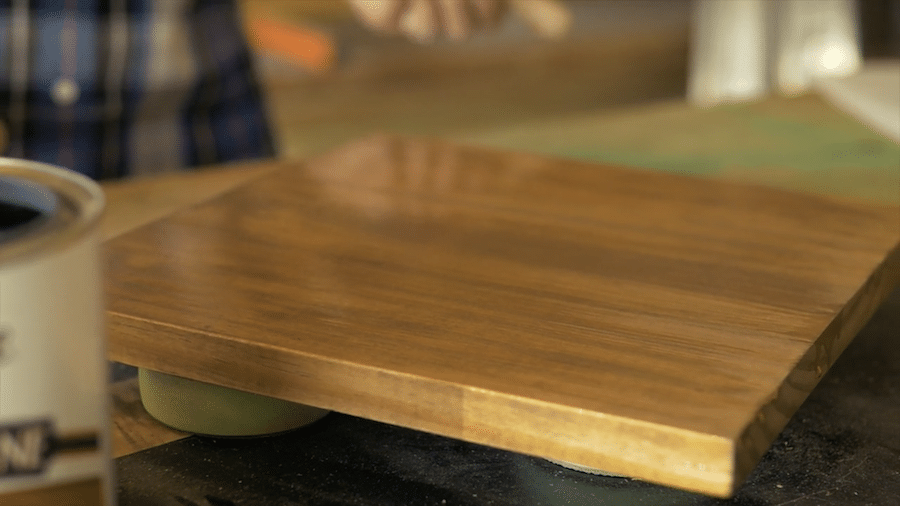
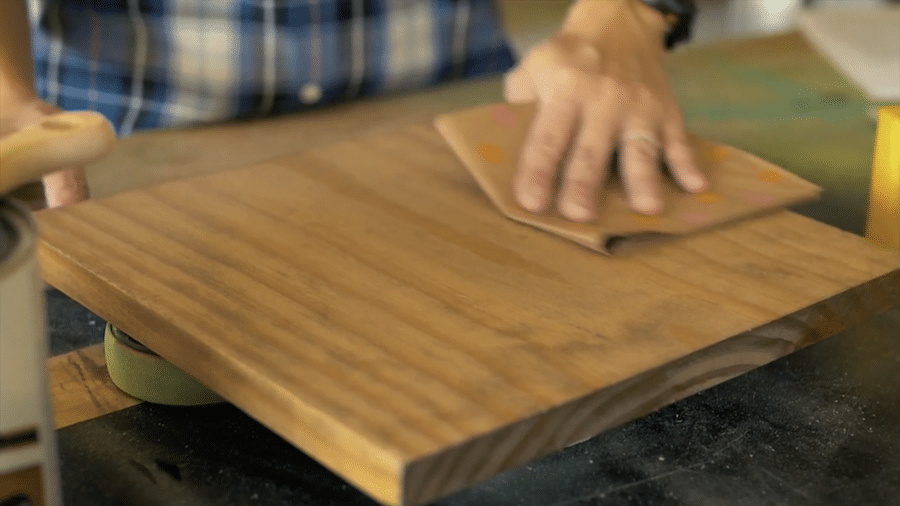
Apply thin, even coats, working in the direction of the wood grain. After the first coat dries, sand lightly with a 320-grit sandpaper. And don’t use a power sander, hand-sand between coats, so that you don’t sand off all of the finish you just applied! The idea here is just to smooth out any rough spots and to prepare the surface for the next coat of finish. Once again, remove all dust before applying the next coat. I typically lay on at least 3 coats of finish to a project, 4 or more if it needs more protection.
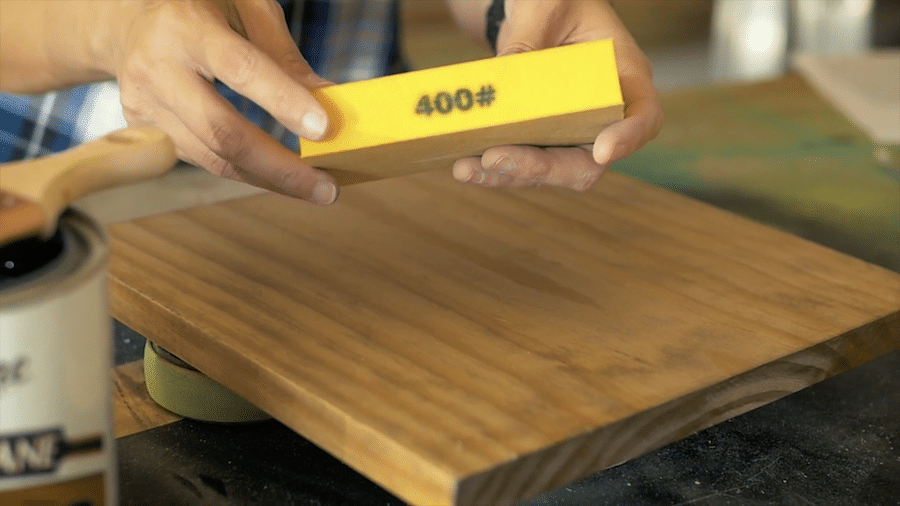
Before I apply the last coat, I’ll hand-sand the project with 400-grit sandpaper for an ultra smooth and glass-like surface. After the final coat dries, if the surface still feels a little uneven or rough, I’ll go back over with a paper bag, which is equivalent to about 1000-grit sandpaper. Remove any remaining dust and let your project cure for at least 24 hours before use. Finally, step back, and admire your beautiful, professional-looking finish!
*This post is brought to you by Varathane Wood Finishes. All efforts, ideas, and opinions are my own. Some links are affiliate links. To read my full disclosure policy, please click here. Thank you for supporting the brands that support this website.
Thank you for the article. Does the oil based poly darken the wood more than the water based? Do you have any expierence with the 3x thickness Varthane?
Hi David,
I haven’t noticed a difference in darkness with oil-based v. water-based, but the oil-based tends to amber more than the water-based polyurethane. I’ve worked with the 3x thickness Varathane finish before, but didn’t have good results. I prefer to have control over each layer and be able to sand smooth between each coat and the triple thick poly doesn’t allow me that control.
Am I missing the videos here? I’m only seeing the articles on all of these.
Thank you for sharing this informative blog! All the information provided by you is really very helpful for all. I agreed that keep your project dust free with the piece of tack cloth. Everyone should follow the tips provided by you, it will make their work easier. Keep Posting! Keep Sharing!
I’m working on my first piece of hand made furniture – a simple oak desk top for my home office. I’ve applied two layers of oil based satin polyurethane and have found after the second coat that you can see my strokes in the finish. Unfortunately I’ve been using a foam roller thinking it would be a good idea for this 9ft x 3ft table top.
Can I sand this out, or do I just need to live with a few blemishes on my desk?
A little off topic, do you recommend oil based or water based polyurthenae for a salon flooring?
After I read this, I was so inspired to have a wooden swing seat built for my daughters at our Arizona home’s backyard. I immediately hooked up with tree swings to get me those swings. My little girls are enjoying every afternoon and I get to bond with them too. It just goes to show how a simple thing could bring so much joy.
How long do we let the coat of polyurethane dry before it can be sanded?