Hi friends! I’m excited to be partnering with Varathane to bring you a 3-video tutorial series on how to stain and finish wood, and how to create a weathered farmhouse finish! This is the first of the three videos, Staining 101: The Basics of Staining Wood – I hope you enjoy!
Watch the other two videos here:
Preparation
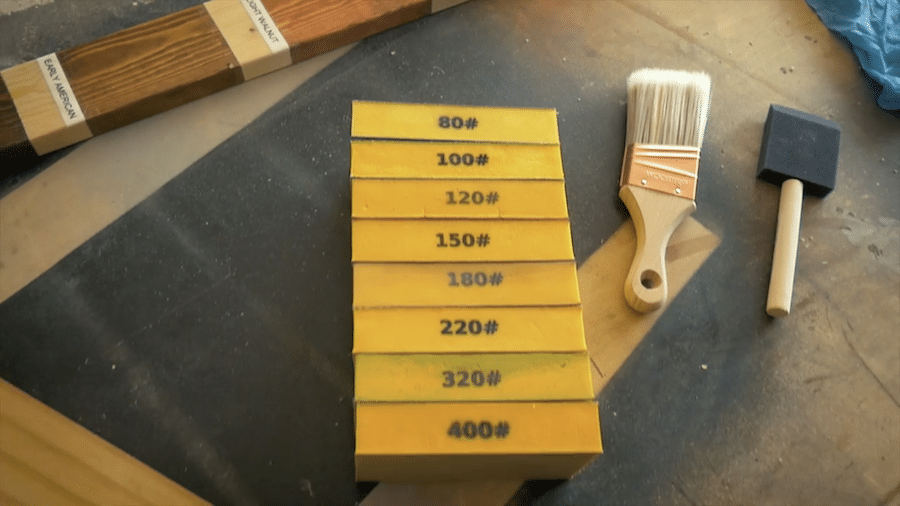
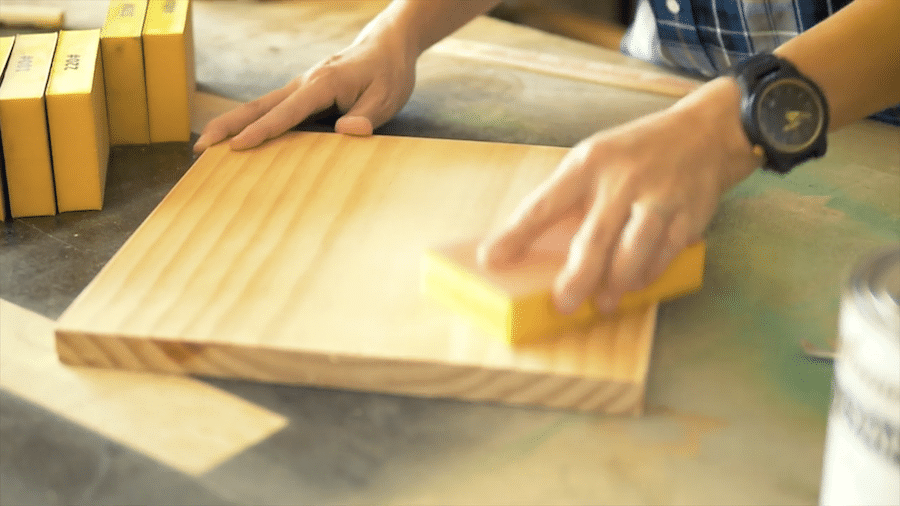
First and foremost, preparation is key to a professional-looking project, so you’ll need to prepare the wood with a light sanding. I usually like to start with a medium grit sandpaper, like 120-grit, then work my way up to a finer grit, like 320-grit. Try not to skip grits: start with 120, then move up to 150, 180, 220, and finally 320. Now my piece is ready for staining. When you’re sanding, you’re opening up those wood fibers so that the stain can penetrate properly. Also, do your best to sand in the direction of the wood grain, to avoid leaving unsightly scratches. Use a tack cloth to remove all dust and debris before applying the stain.

Application
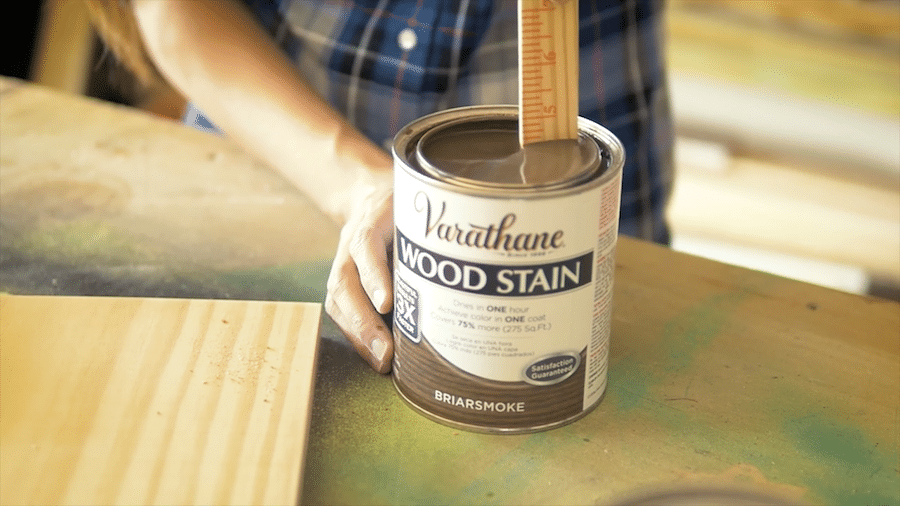
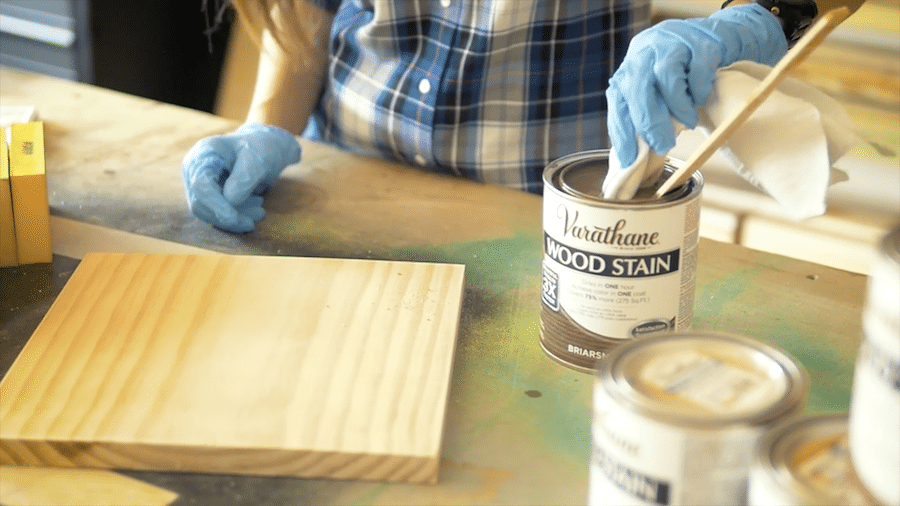
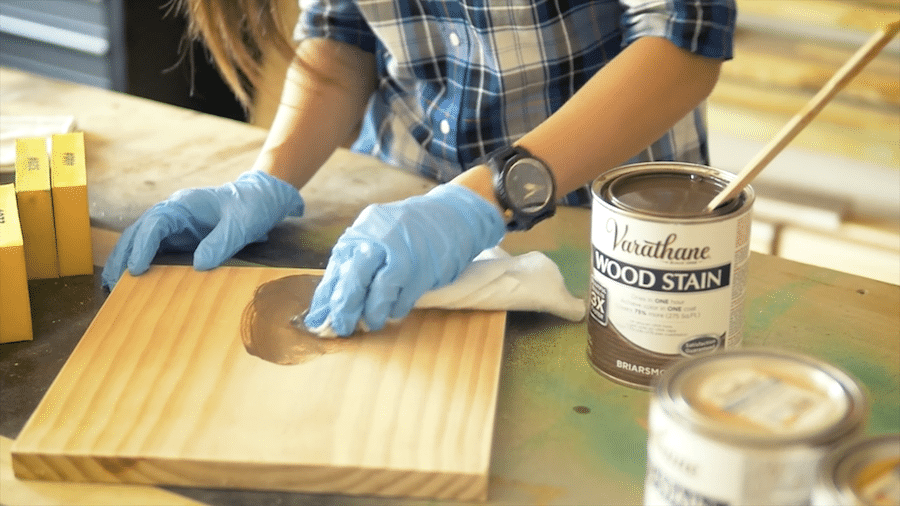
Open up the can of stain and stir it up really well. Some of the color can settle at the bottom, so be sure to stir before and during application, to ensure the truest, most even tone and color. You can use a bristle or foam brush to apply, or a shop rag or even an old t-shirt. I just grab some disposable gloves, a shop rag, and dip a corner of the rag into the stain and start working the stain into the wood in a circular motion. I immediately go back and wipe up any unabsorbed stain – don’t let excess stain dry on the surface of your project because it’ll cause issues later on.
The great thing about this Varathane stain is that you can achieve your target color in just one coat. Unlike most stains, you don’t have to keep layering on coat after coat to get the depth and richness you’re looking for. And it dries in an hour, so you can complete your projects so much faster and more efficiently.
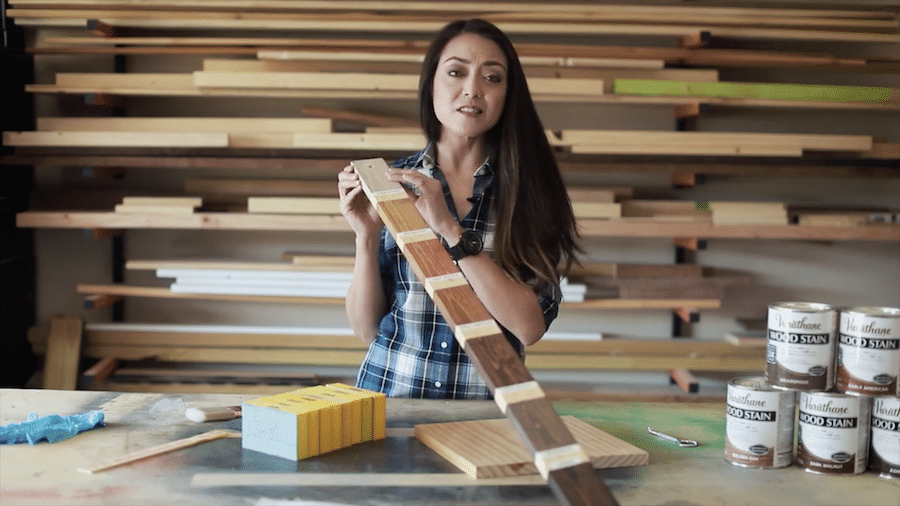
Some of my favorite colors are Varathane’s Dark Walnut, Early American, Briarsmoke, and Golden Mahogany. I took a scrap pine board and stained it in a few of my go-to colors so I can easily see which stain I want to use for each project. You’ll still want to test out the stain on a piece of scrap wood, but this stain stick gives me a good starting point, so I know which can to grab.

Protection
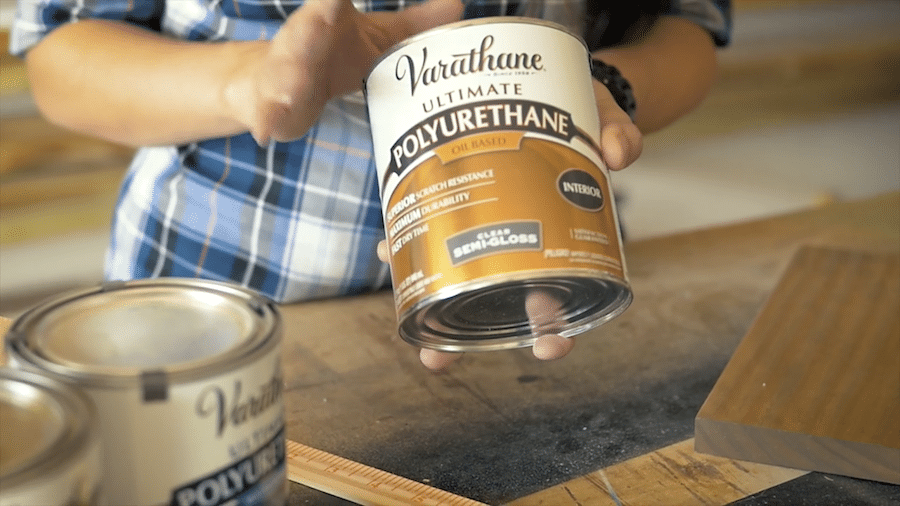
Once the stain has completely cured, you’ll want to protect your project with a clear top coat, like Varathane’s Polyurethane. This will help in long-term protection and durability. You can check out the next video in this series, Finishing School 101: The Basics of Finishing Wood for more details on how to finish your project.
*Big thanks to Varathane for sponsoring this post. All ideas, efforts, and opinions are my own. Some affiliate links are used in this post. To read my full disclosure policy, please click here. Thank you for supporting the brands that support this website.
You drowned out your voice with the background music
I was just coming to say the same thing.