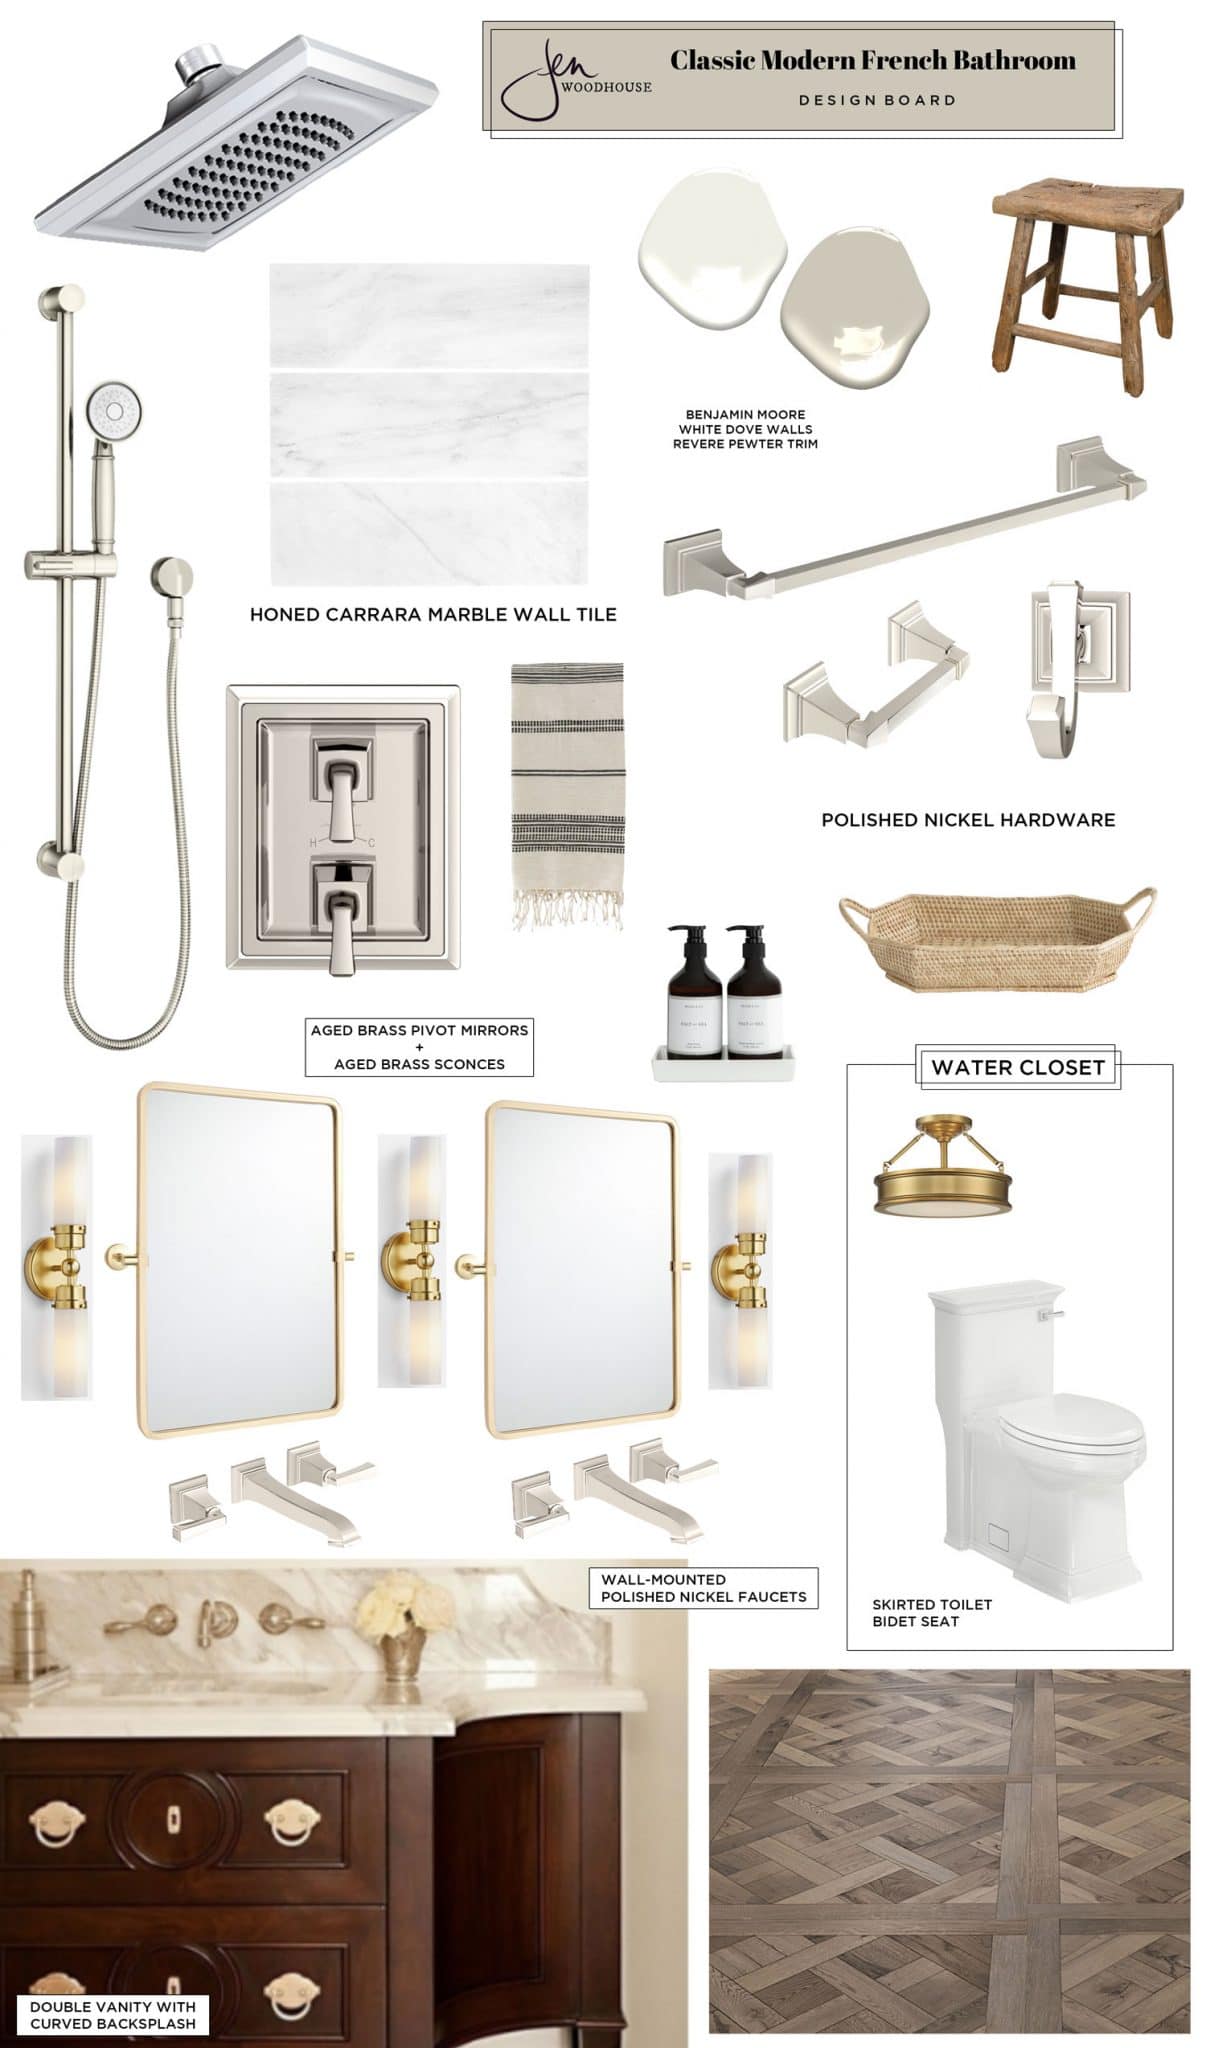
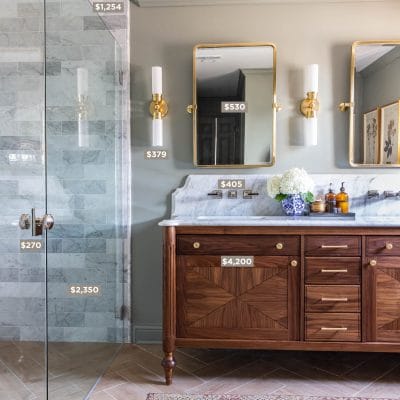
As you may know, we’ve been hard at work, remodeling our primary bathroom and we’re nearing the finish line! I can’t wait to show you the full reveal – it’s going to be SO GOOD! I’m thrilled to be partnering with American Standard on this bathroom remodel. We chose to outfit our entire bathroom with their stunning Town Square S collection – I absolutely love the traditional elegance of this design. It’s classic, stylish, and a little on the formal side. As a reminder, here’s our original design board:
Watch the Video!
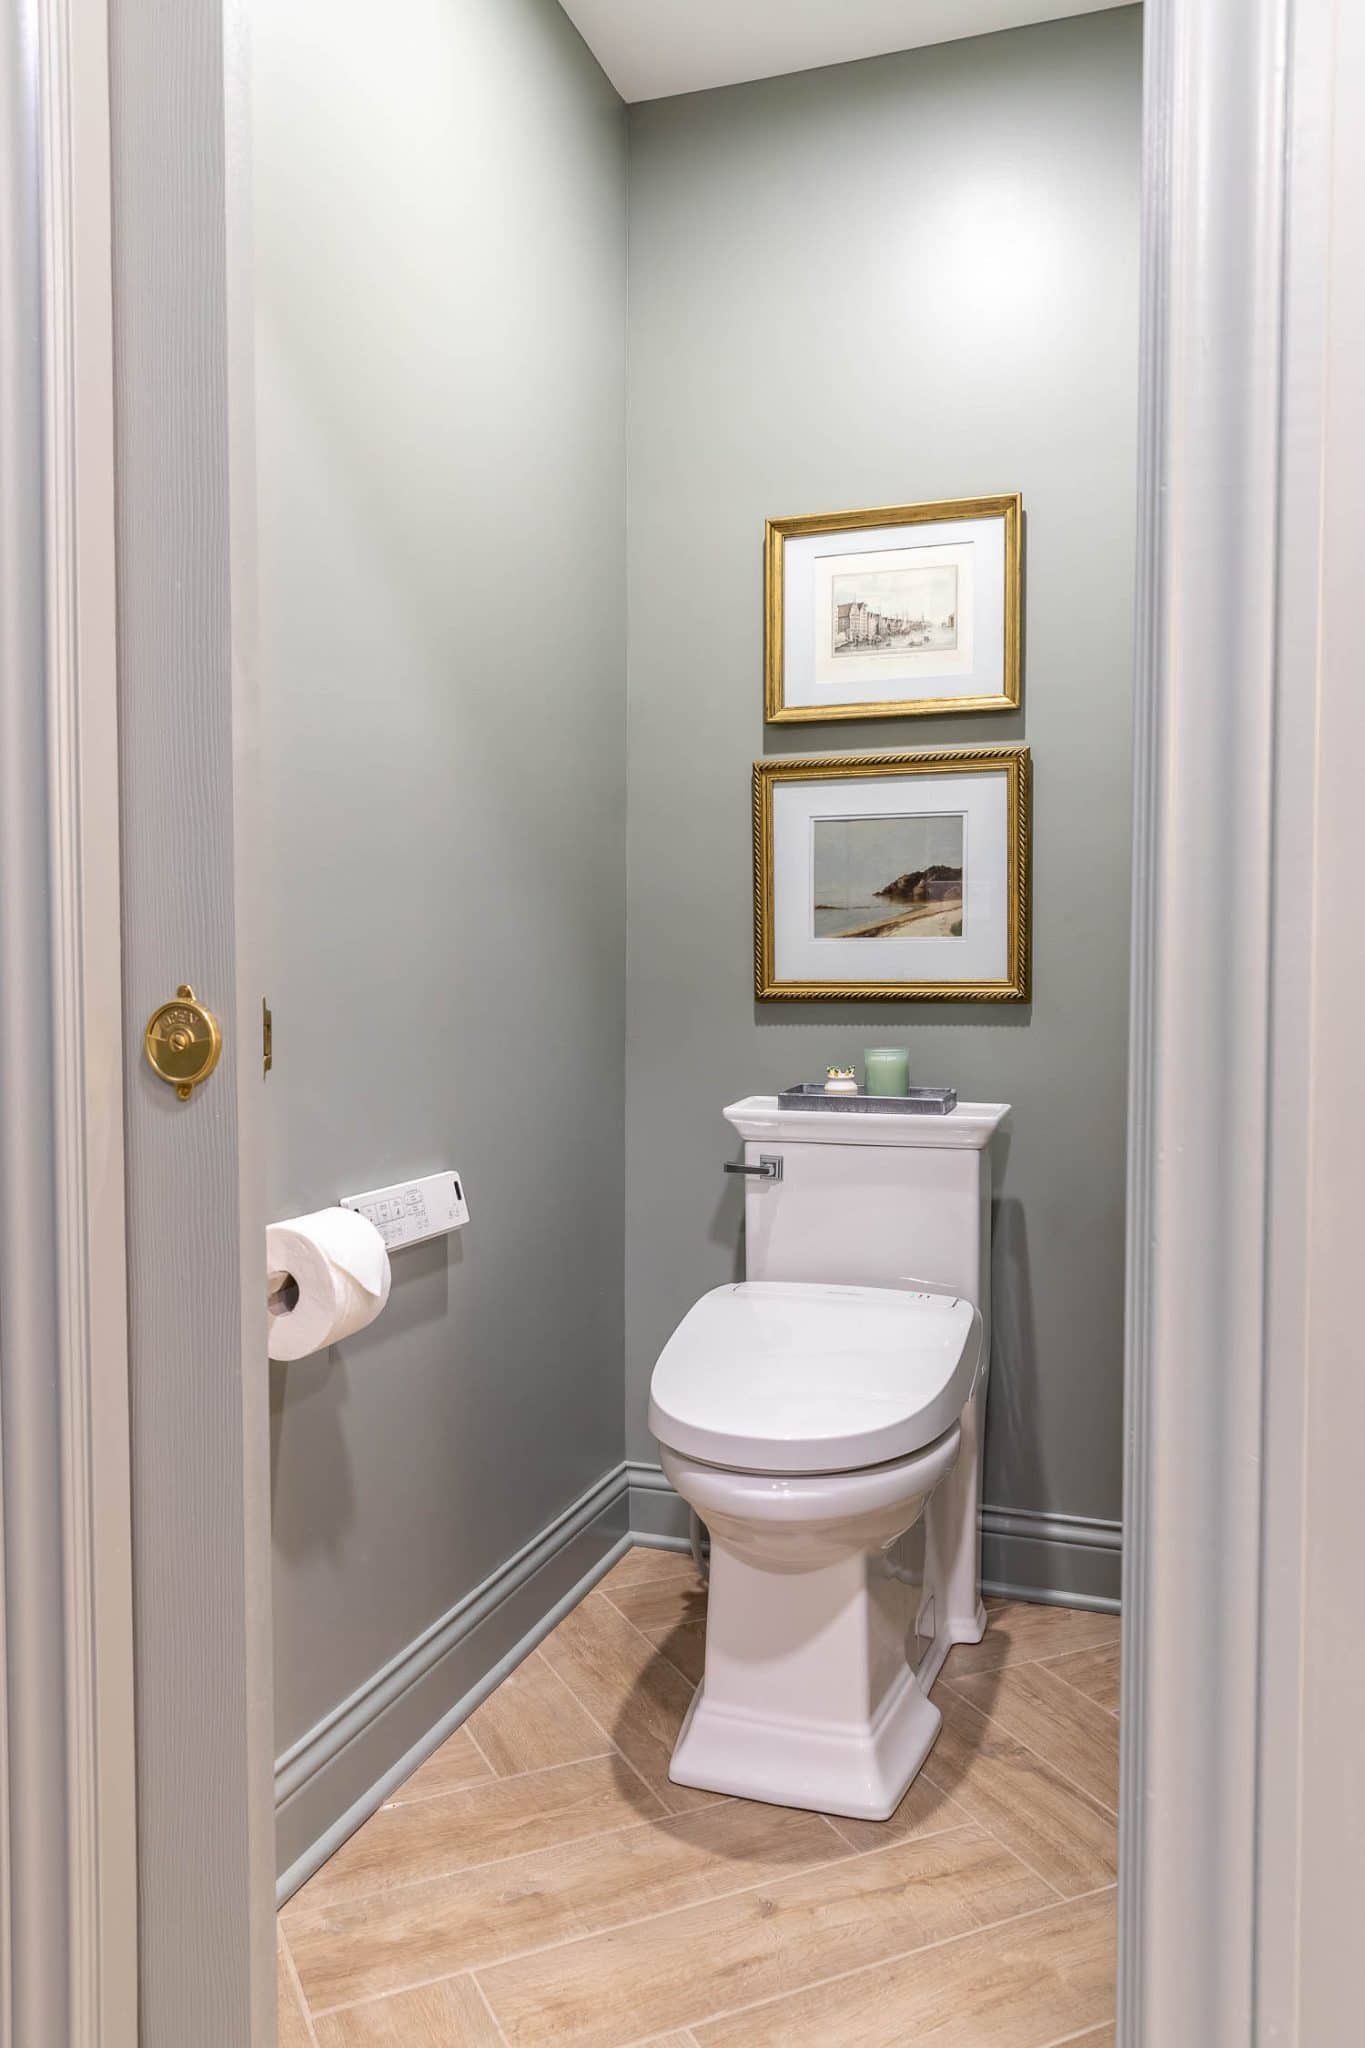
We chose the American Standard Town Square S One Piece Toilet with the Advanced Clean Electric SpaLet Bidet Seat. When Adam and I lived in Japan, we were really spoiled by their toilets – it was common to have heated seats and warm water bidets, which is why I’m super excited to be installing this bidet seat. It easily replaces your regular toilet seat, as long as you have a power source nearby. You can easily switch out these fixtures and fittings to upgrade your bathroom experience, without having to undergo a full bathroom remodel!
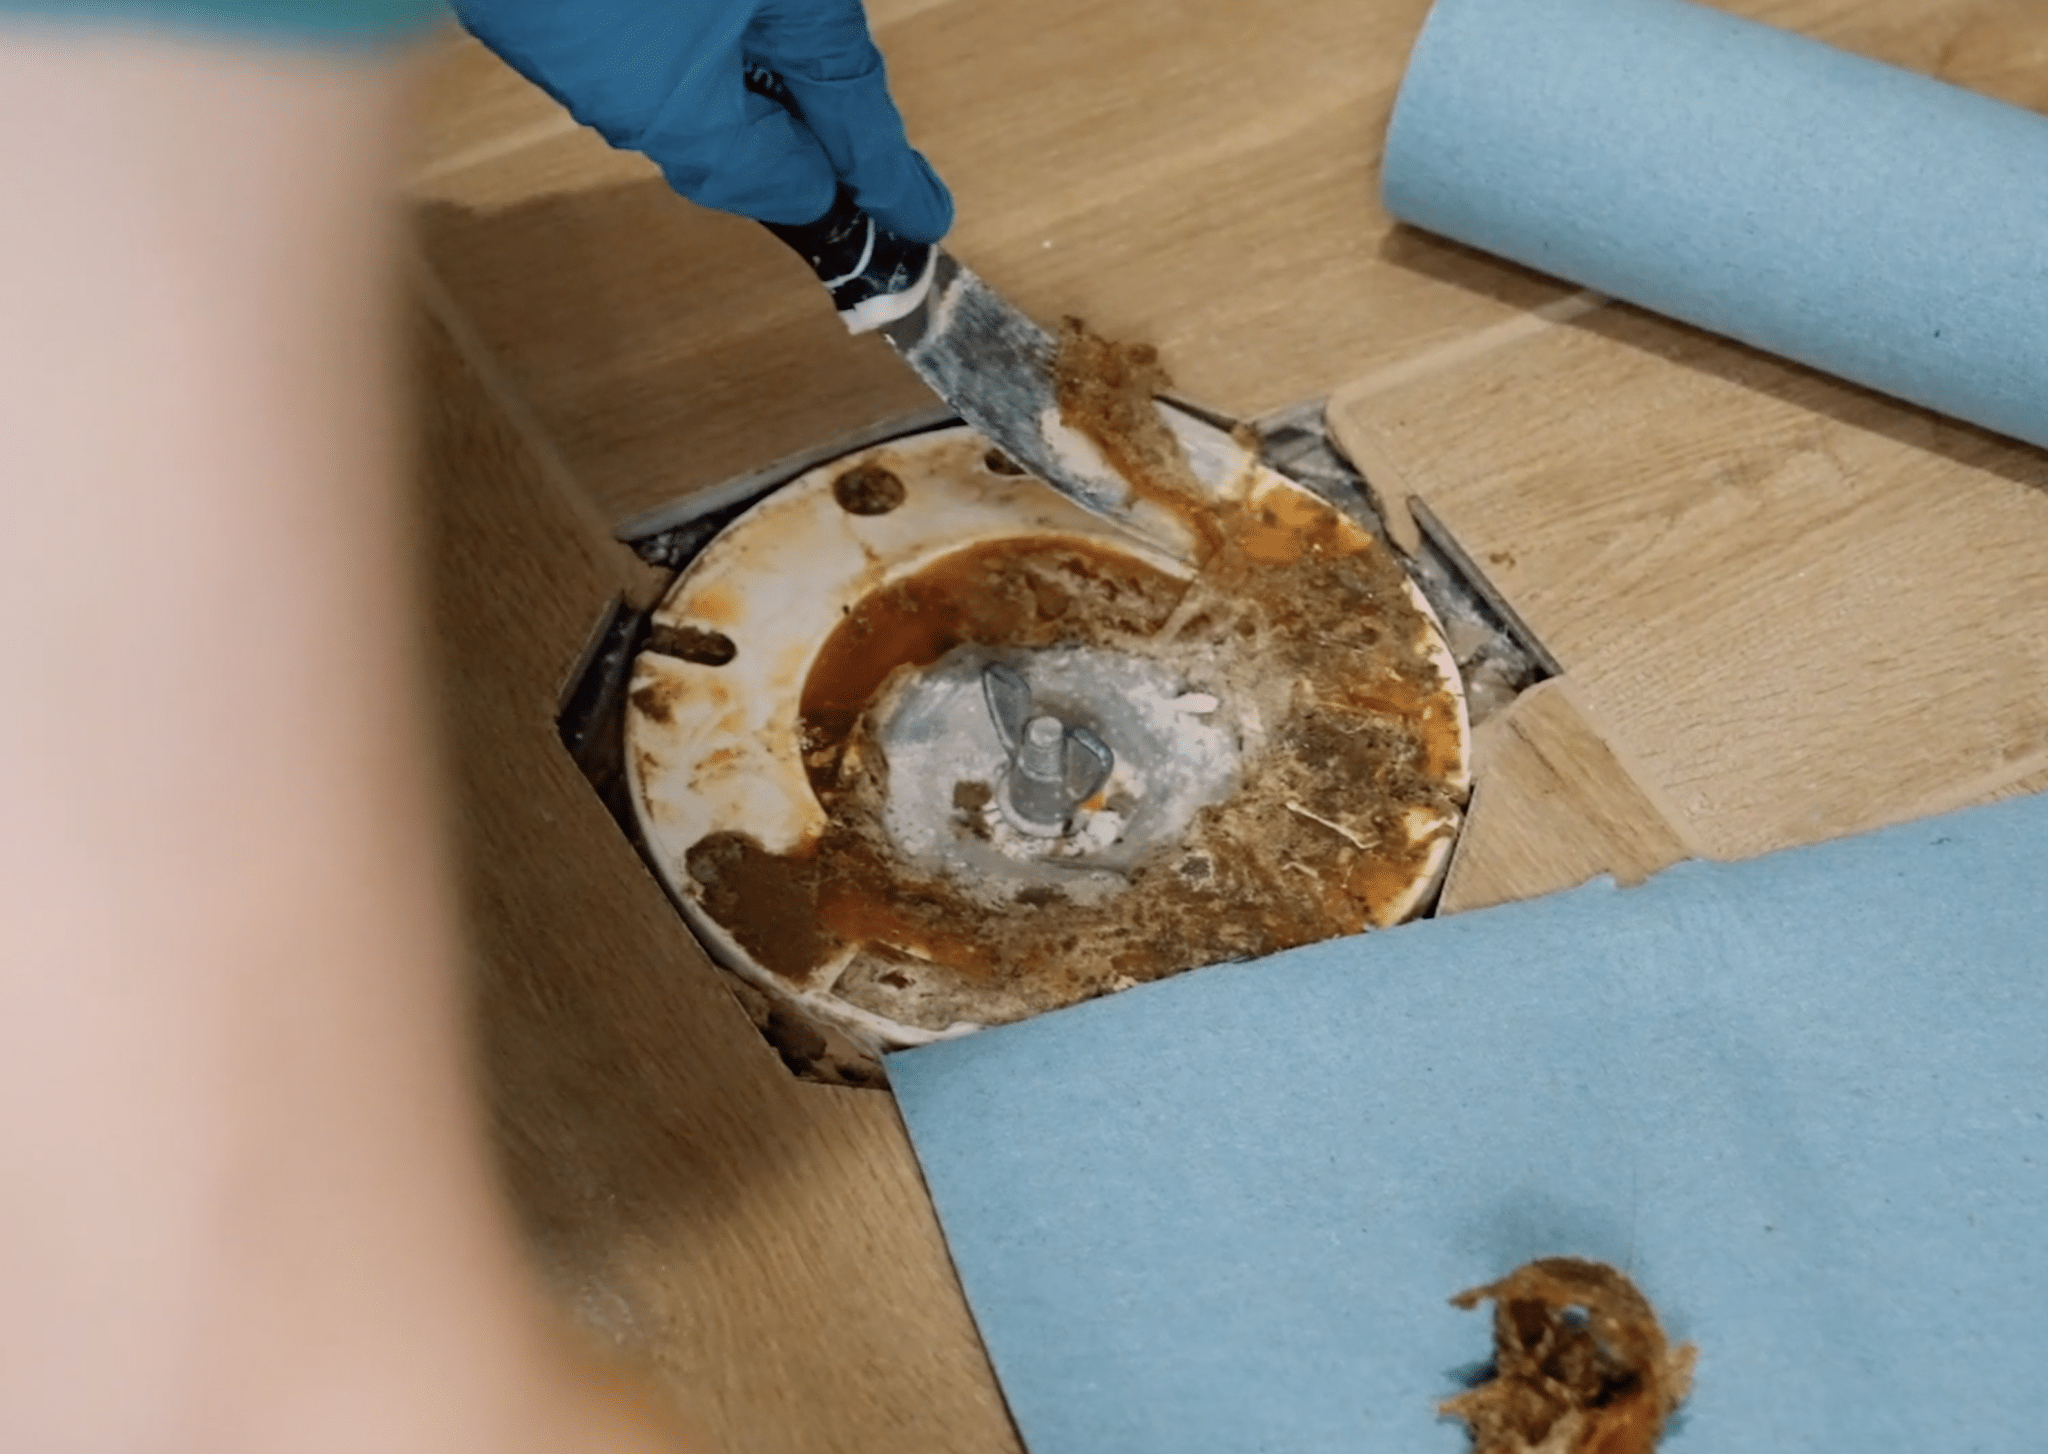
Step 1: Prepare the Toilet Flange
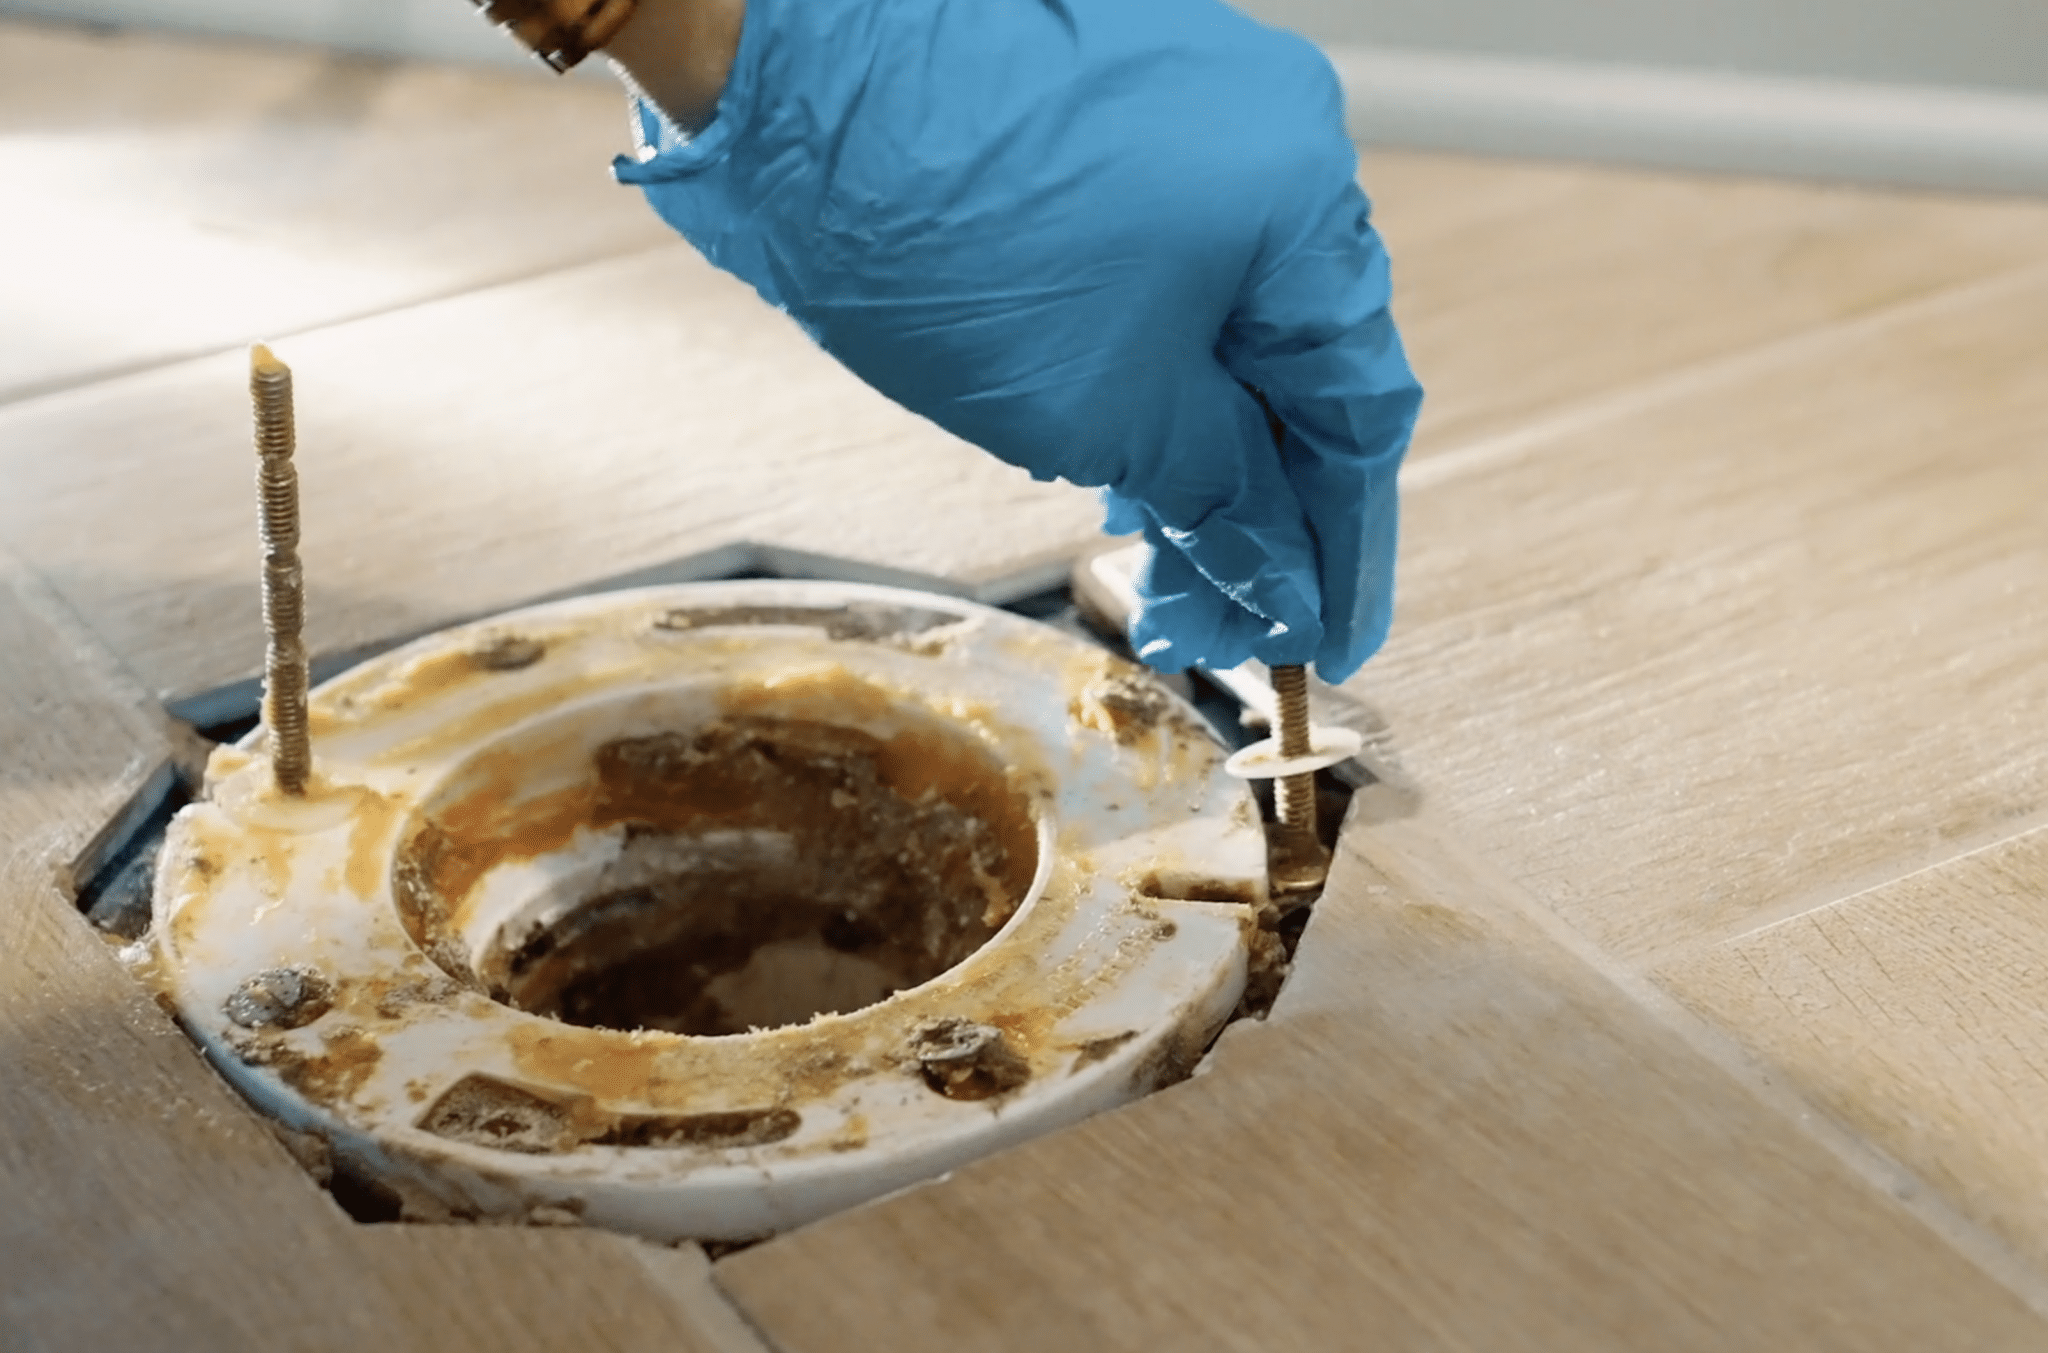
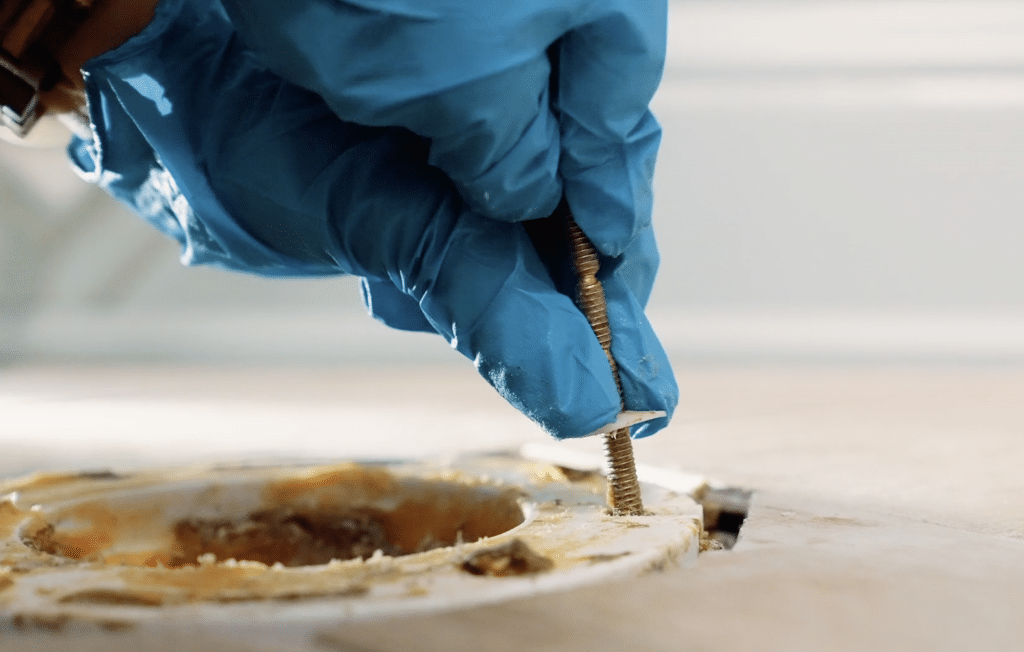
The first thing I did was clean off the old wax ring (so gross, wear gloves!). The toilet flange should be either flush with or proud of the flooring. Our is good to go, but if you find that yours is below the floor level, you can pick up a toilet flange extender from the home improvement store and build up that flange so that it sits higher. There should be two flange bolts sticking up – this is what’s going to secure the toilet to the floor. We used plastic collars to help hold the bolts upright for when we go to set the toilet in place.
Step 2: Install the Wax Ring
We used an extra thick wax ring and pro tip: you may want to pick up at least two of these just in case, because you really only get one chance to set the toilet and if you mess that up, the wax ring can be compromised and that can lead to leaks. (Don’t ask me how I know, just save yourself the extra trip to the home store.)
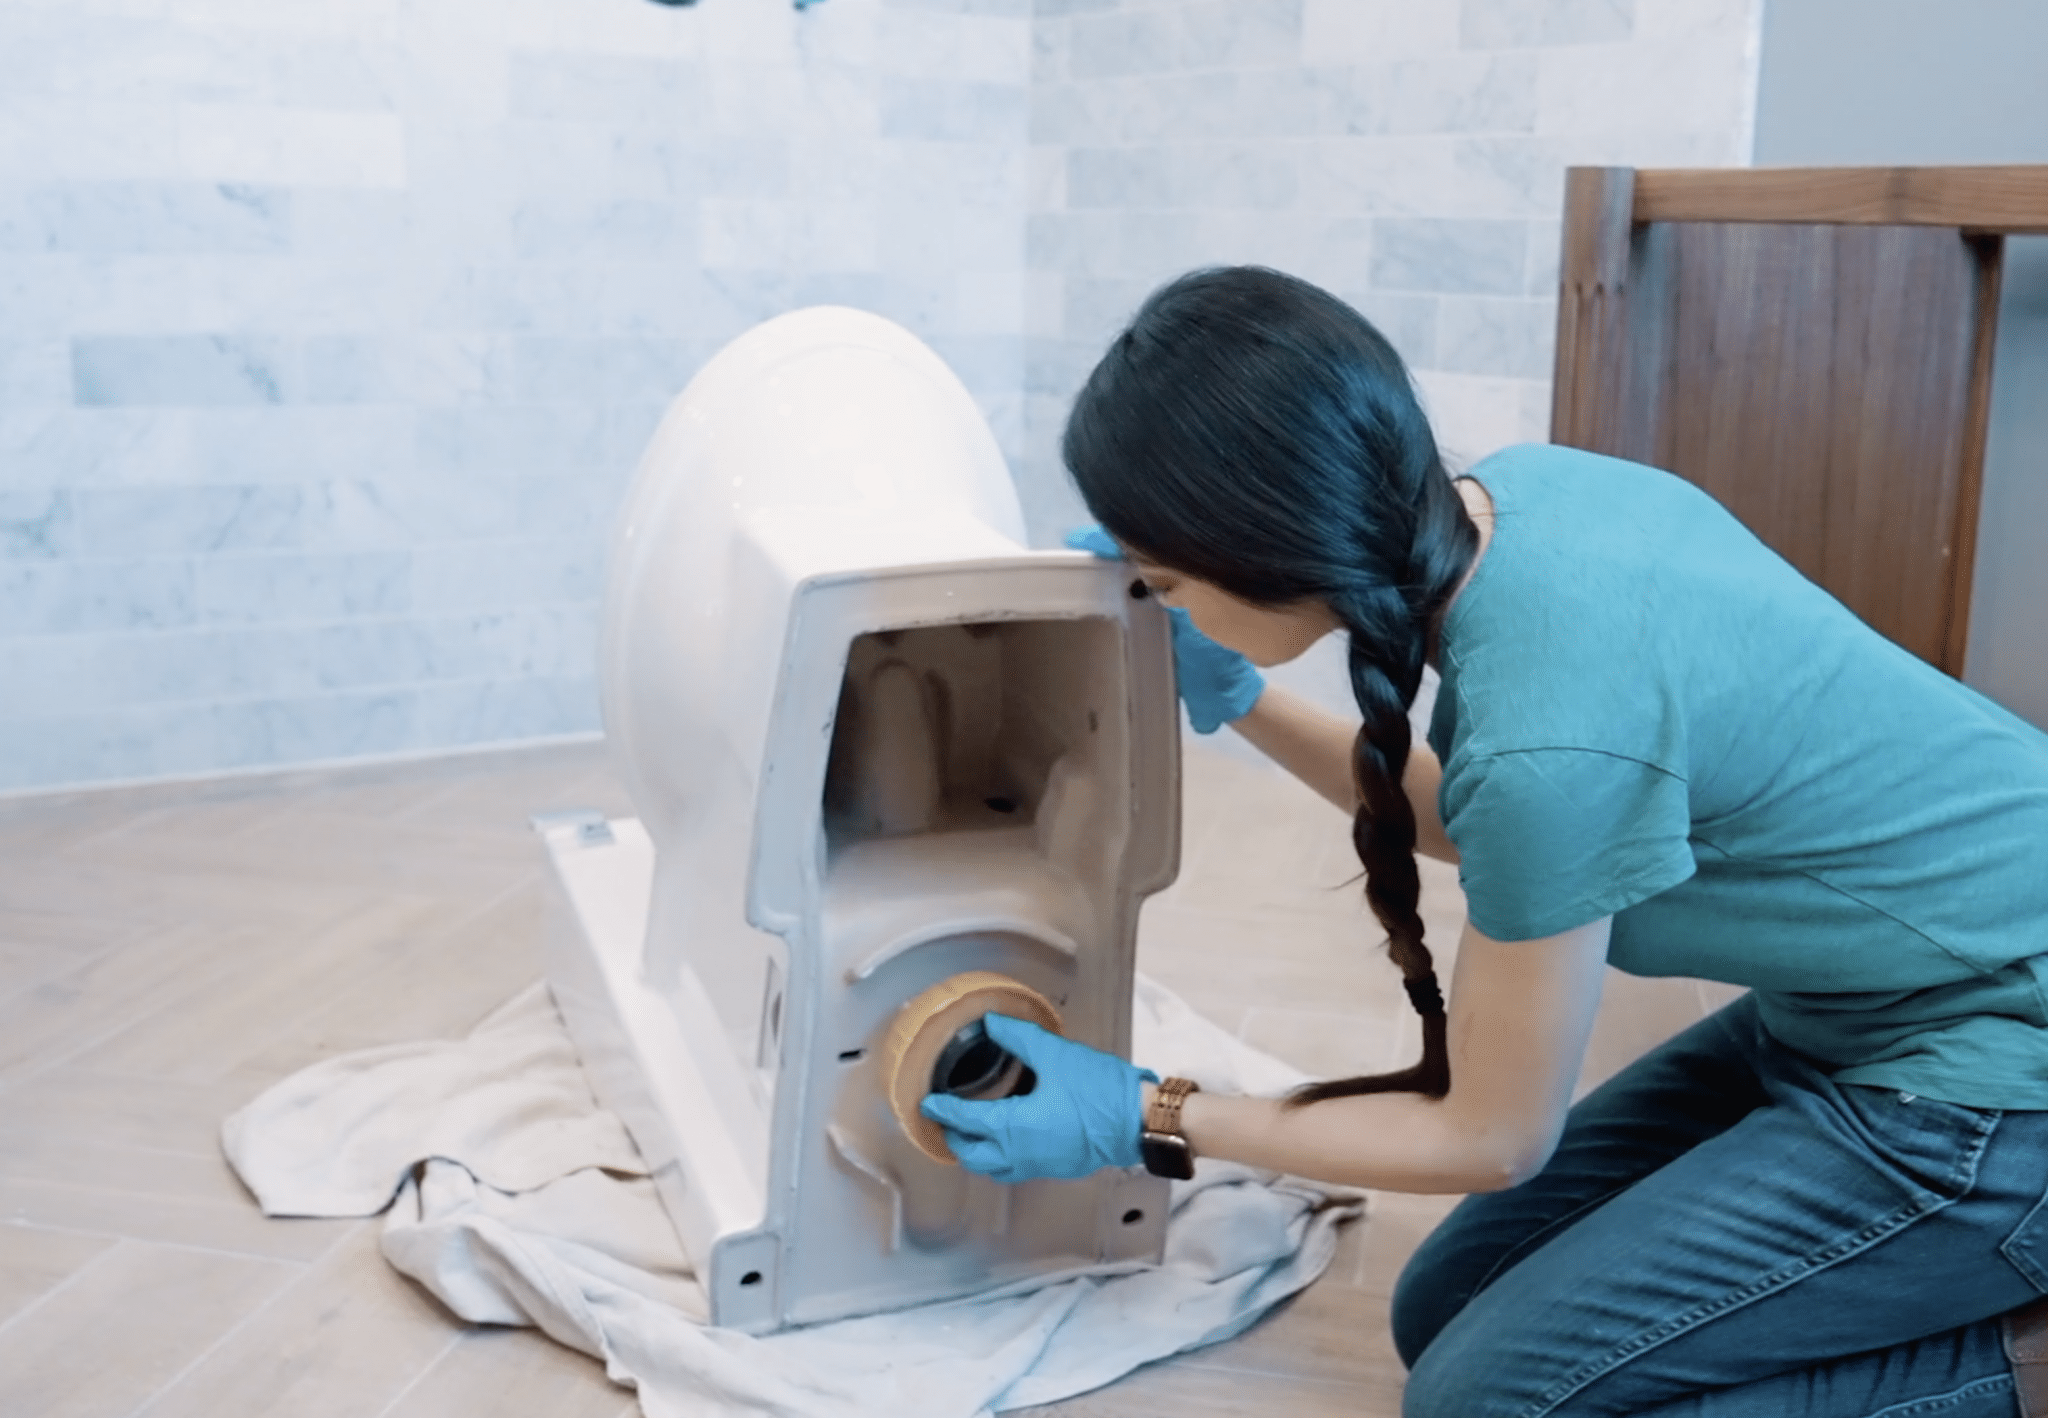
The wax ring helps form a watertight seal around the bottom of the toilet and the waste line and then compresses when you set the toilet down on it. It’s important to set the toilet straight down, and not move it around so much because that wax ring can be compromised and lose that seal, and then you have problems. I placed the wax ring on the bottom of the toilet and lightly pressed it just so that it would stick in place.
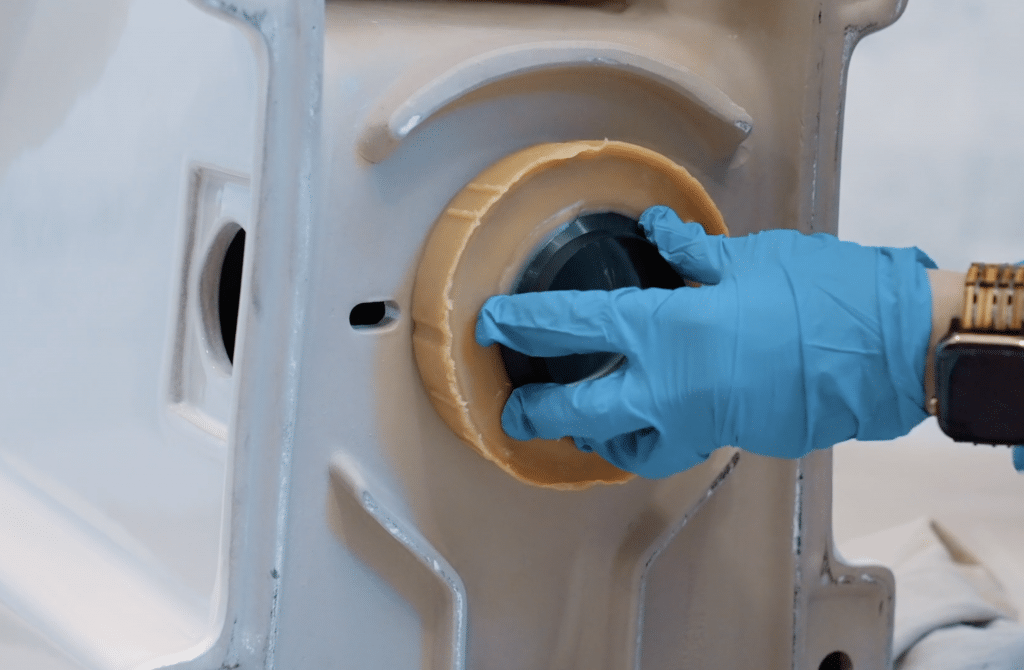
Step 3: Set the Toilet and Secure the Toilet Flange Bolts
Next, Adam came and set the toilet down, making sure to align the bolts with the holes in the bottom of the toilet. Be sure to set the toilet straight down, to ensure the wax seal remains intact.
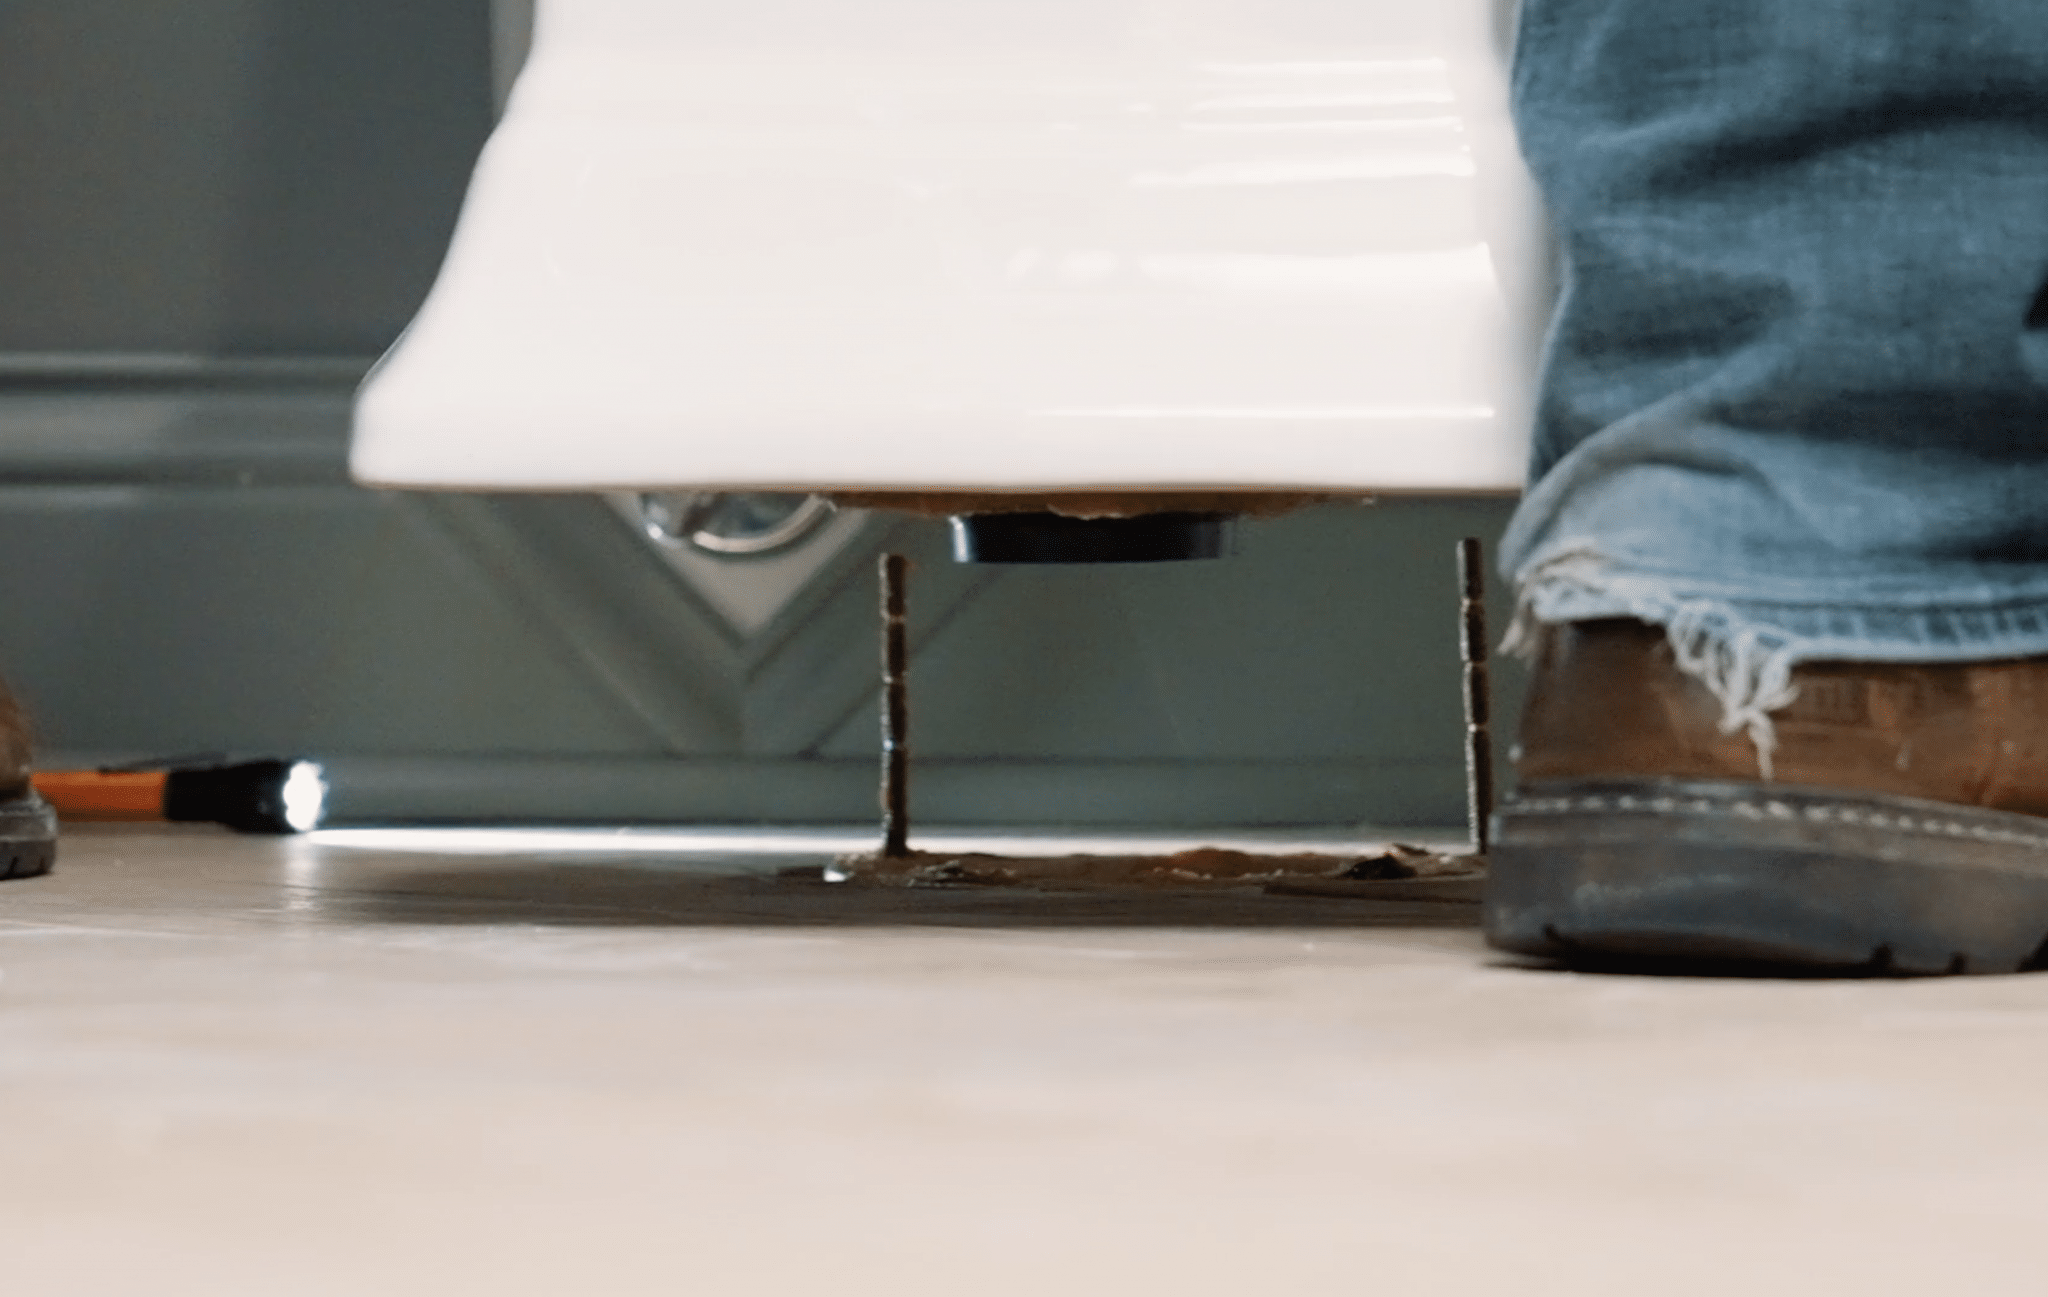
Because this toilet has a skirted base, there are actually openings on the side of the toilet where we can reach in and tighten those bolts down, whereas a normal toilet will usually have the bolts exposed, which you can cover with a decorative cap.
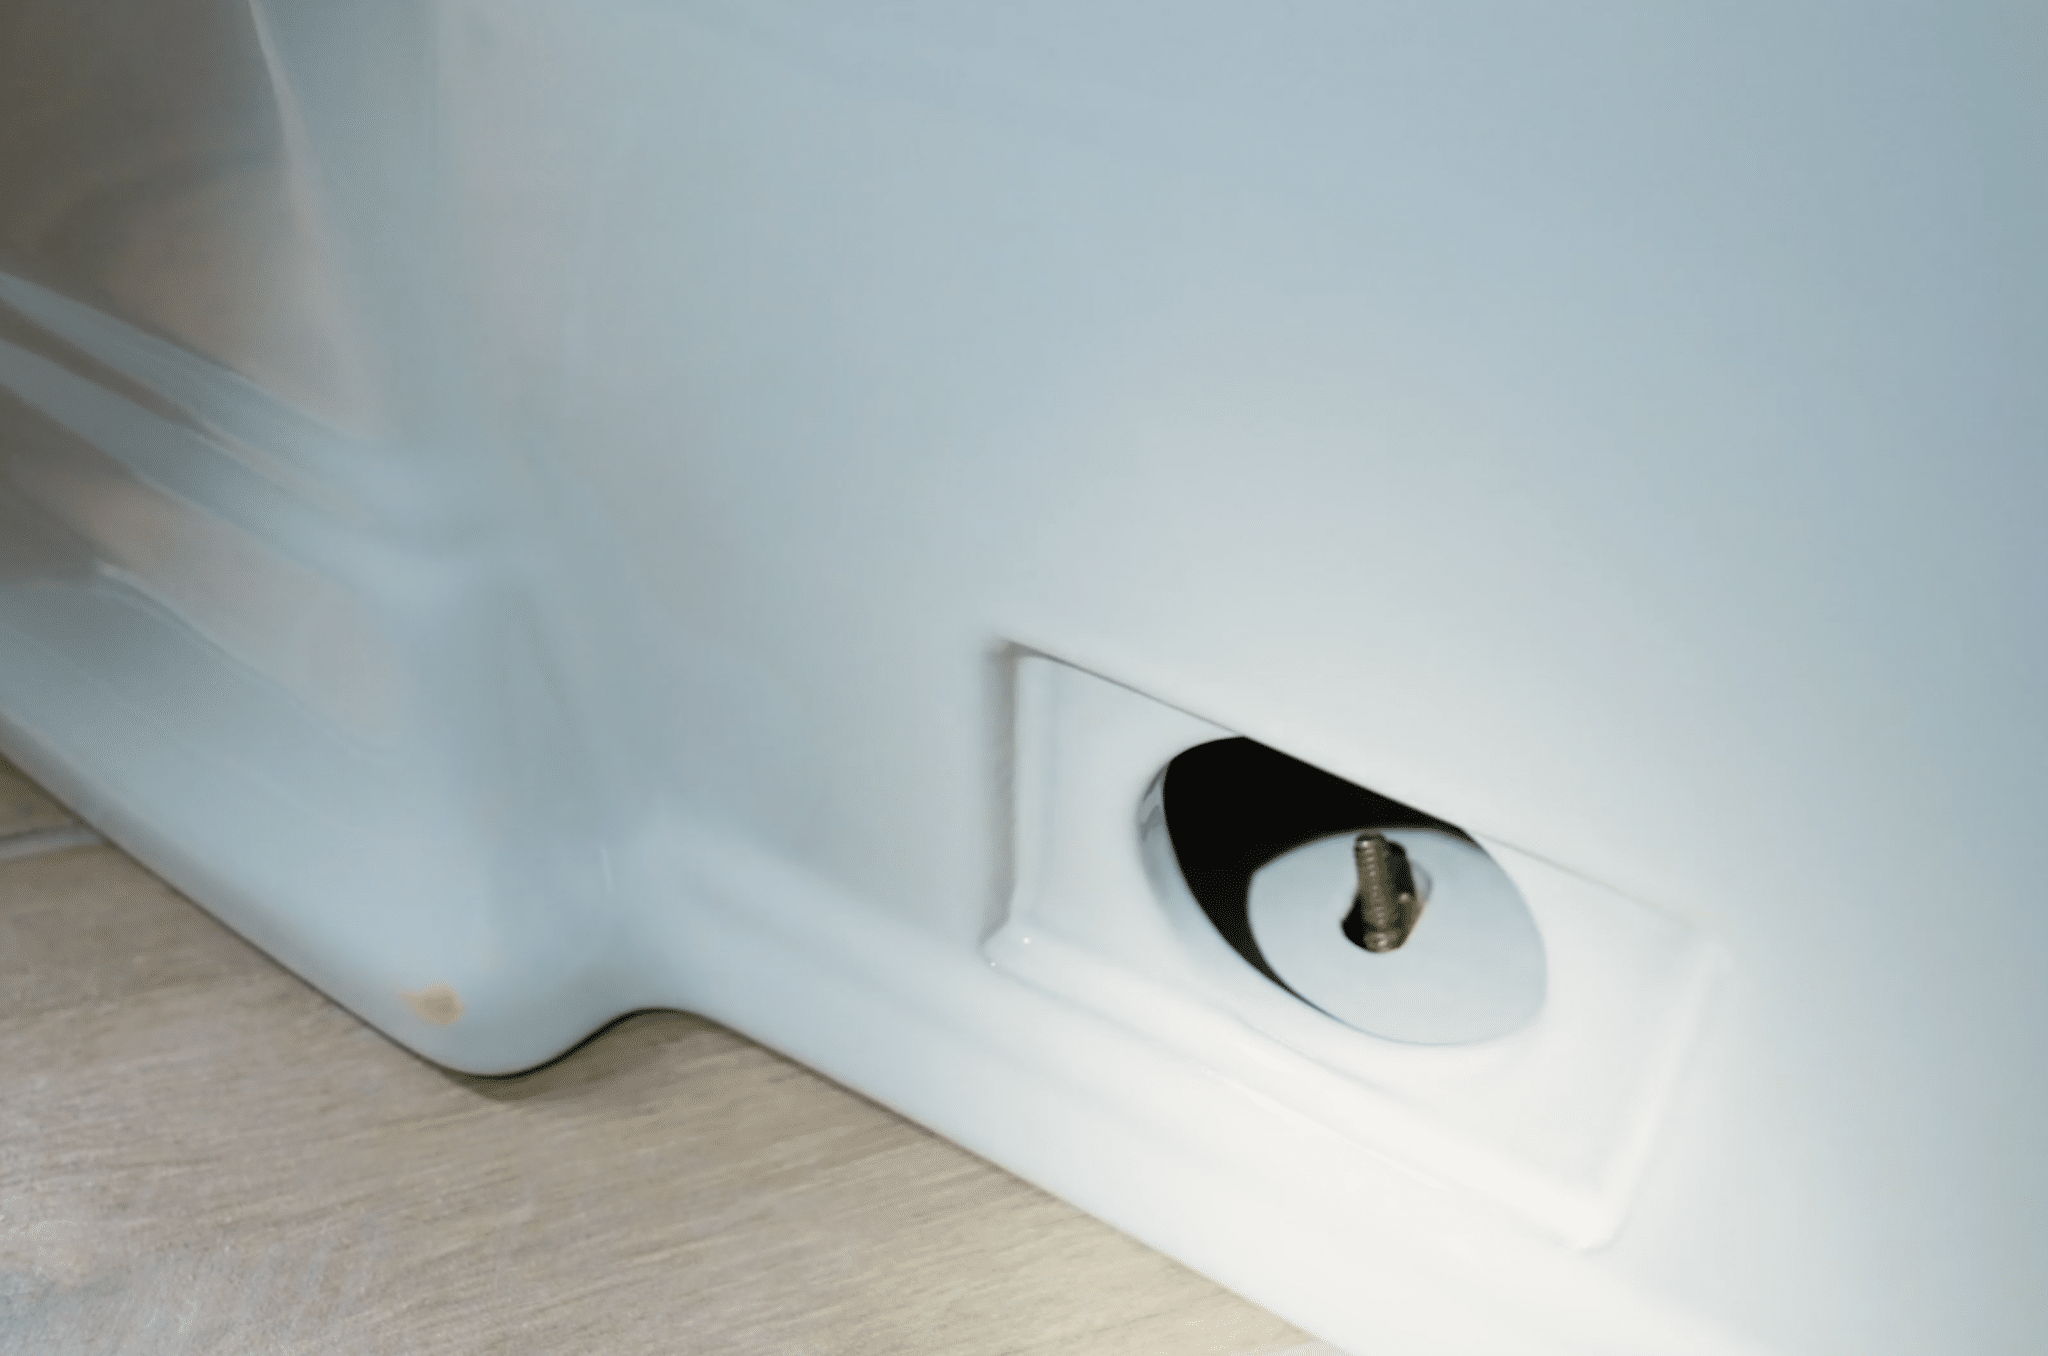
American Standard Town Square S One-Piece Skirted Toilet
I chose this toilet because it’s part of the Town Square S collection from American Standard, which is what we’re using for the entire bathroom renovation. Not only does it look great, but because it has a skirted base, it’ll be so much easier to keep clean! The beautiful crown molding details coordinate so well with the overall style of this bathroom. We chose the chair-height toilet with an elongated bowl for extra comfort and ease. It’s also high efficiency which helps conserve water, and it has a PowerWash rim that scrubs the bowl clean with every flush.
Step 4: Install the Bidet Seat
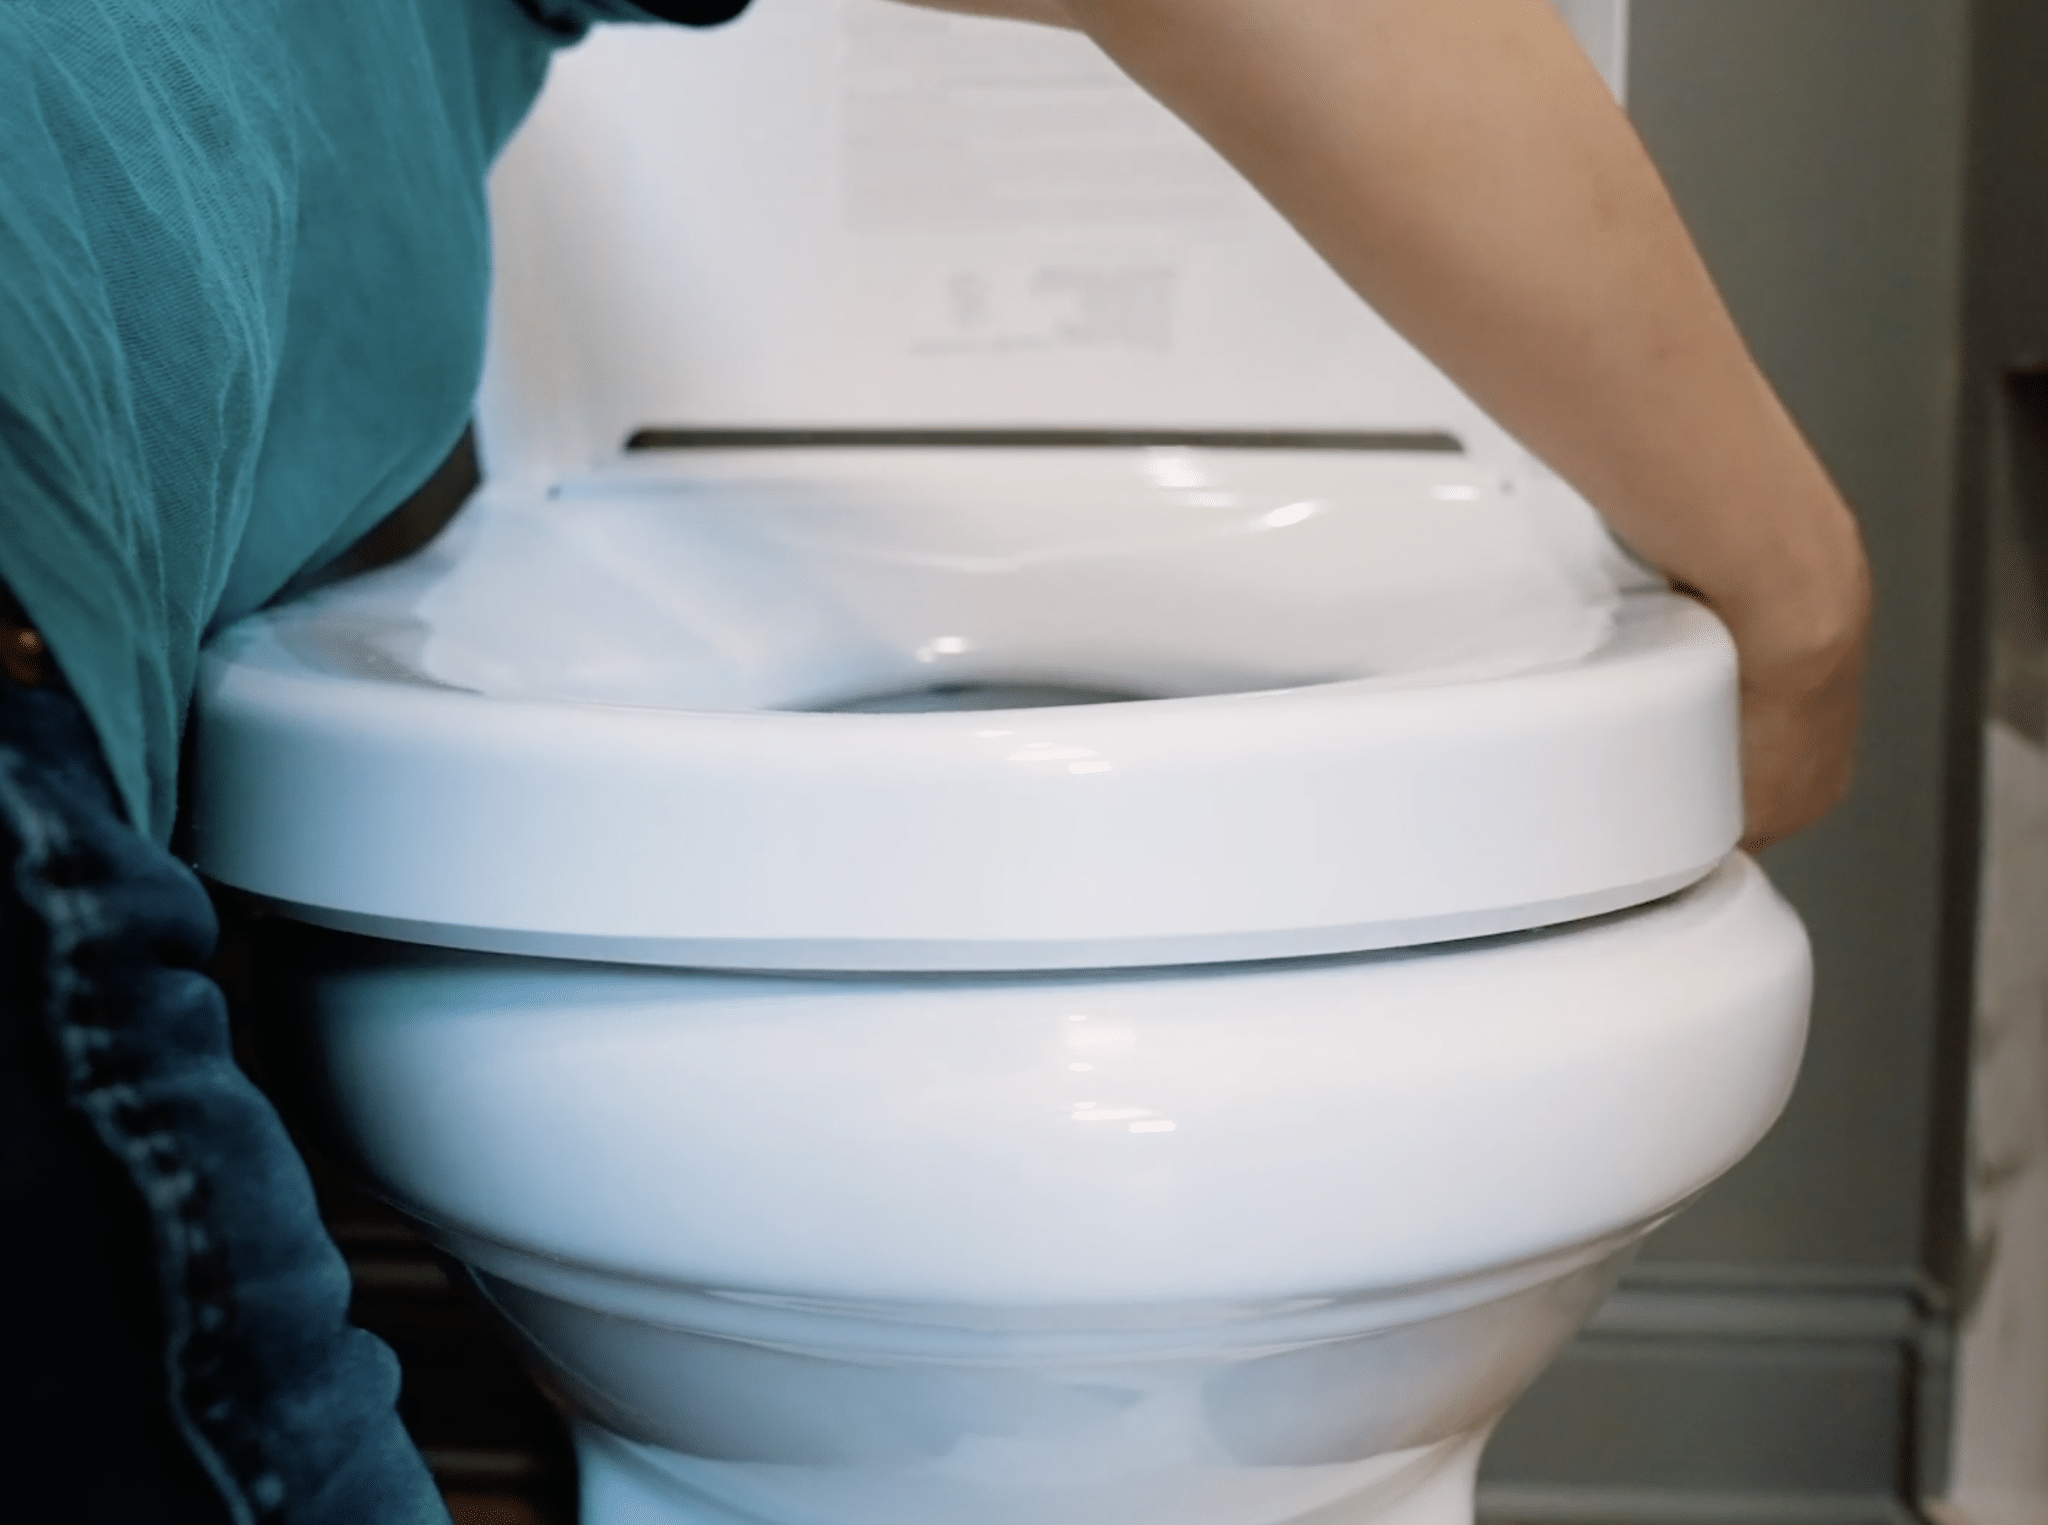
Now that we’ve got the toilet secured to the floor, it’s time to install the bidet seat. We’re using the American Standard Advanced Clean Electric SpaLet Bidet Seat with remote control. You’re not going to believe how easy it is to install! It comes with a mounting kit and a water supply hose. You will need an additional water supply hose that will go from the shut-off valve to the junction fitting.
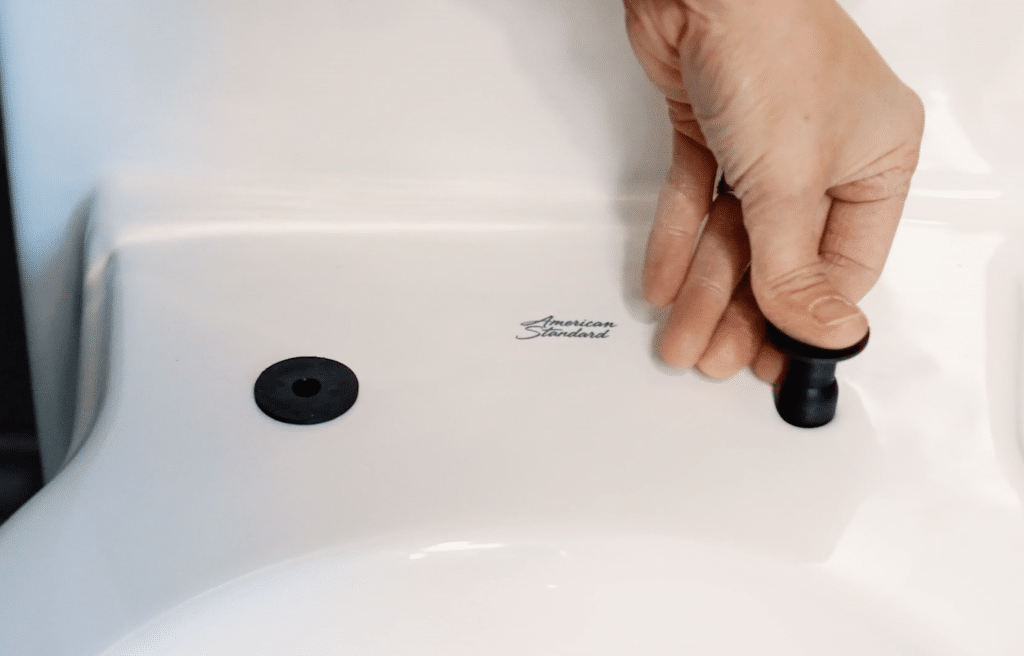
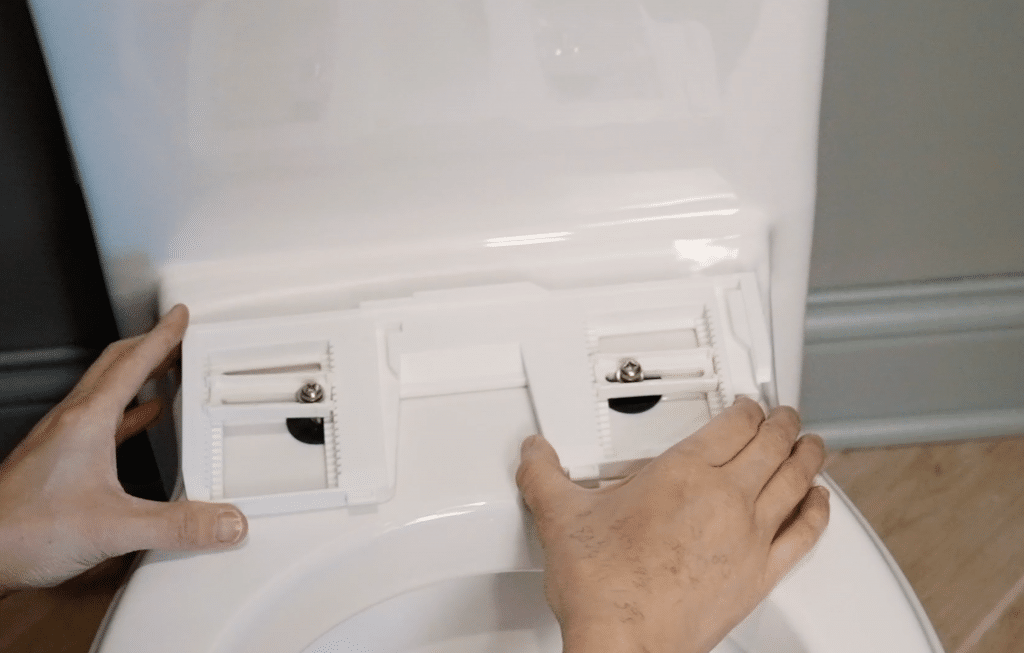
The black bushings go in the holes in the toilet, (I really had to press hard to get them in), then the mounting plate goes on top of that. The little plastic pieces can be placed in various slots so you can adjust the mounting plate up and down, and left to right. The washers and screws go last, and then you just slide the bidet seat onto the mounting bracket. Easy peasy!
Step 5: Connect the Water Lines
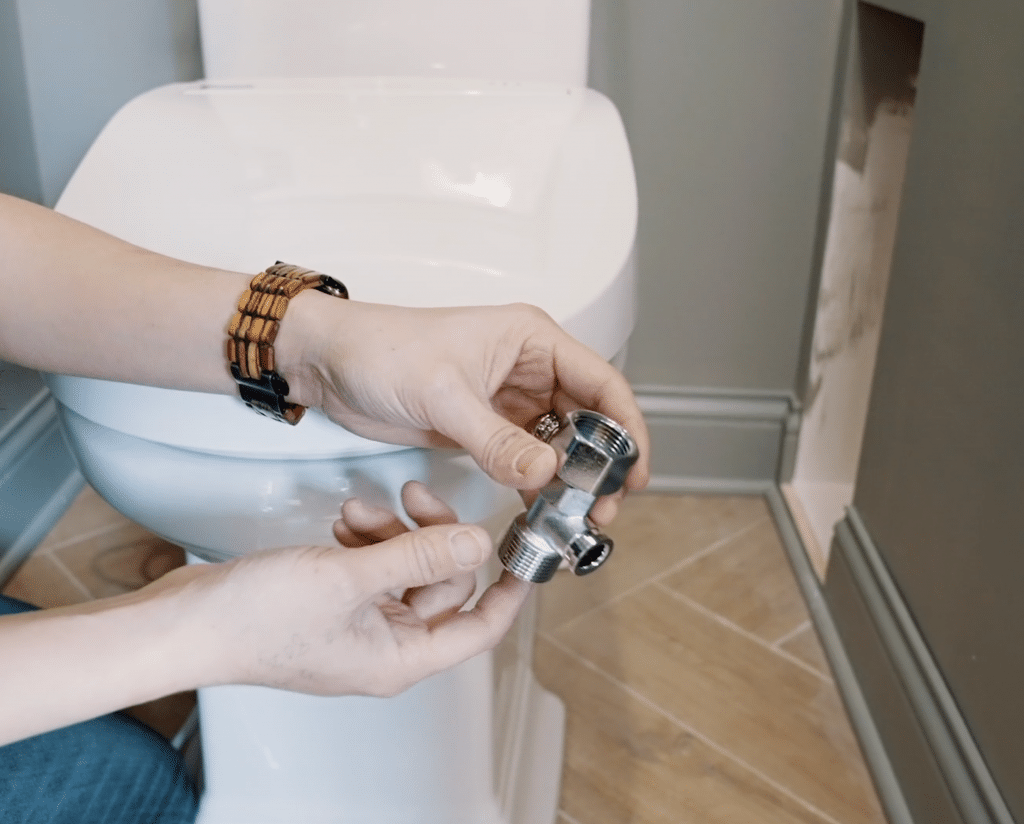
Make sure the main water line is turned off and the shut off valve to the toilet is turned to the off position. The bidet seat comes with a water supply hose, the junction fitting and all the connections. As I mentioned earlier, you’ll need an extra water supply hose as well.
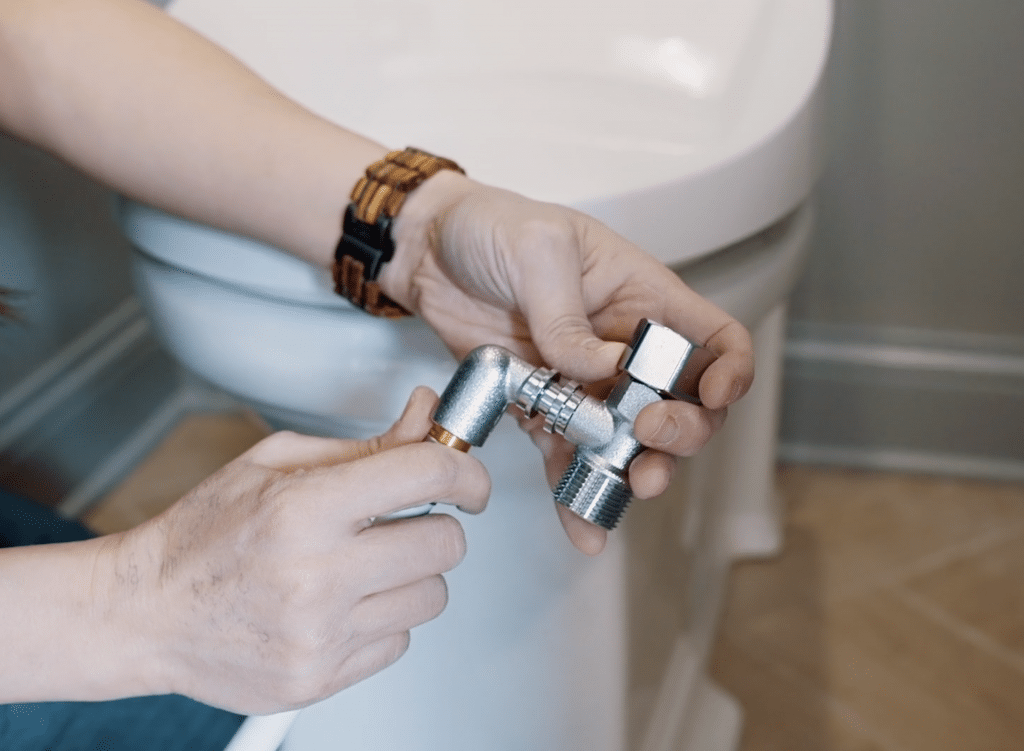
The junction fitting is this T-connection thing that will screw onto the tank inlet, water supply hose, and the bidet seat water supply hose. Connect the junction fitting to the tank, then connect the bidet water supply hose and attach the other end to the bidet seat.
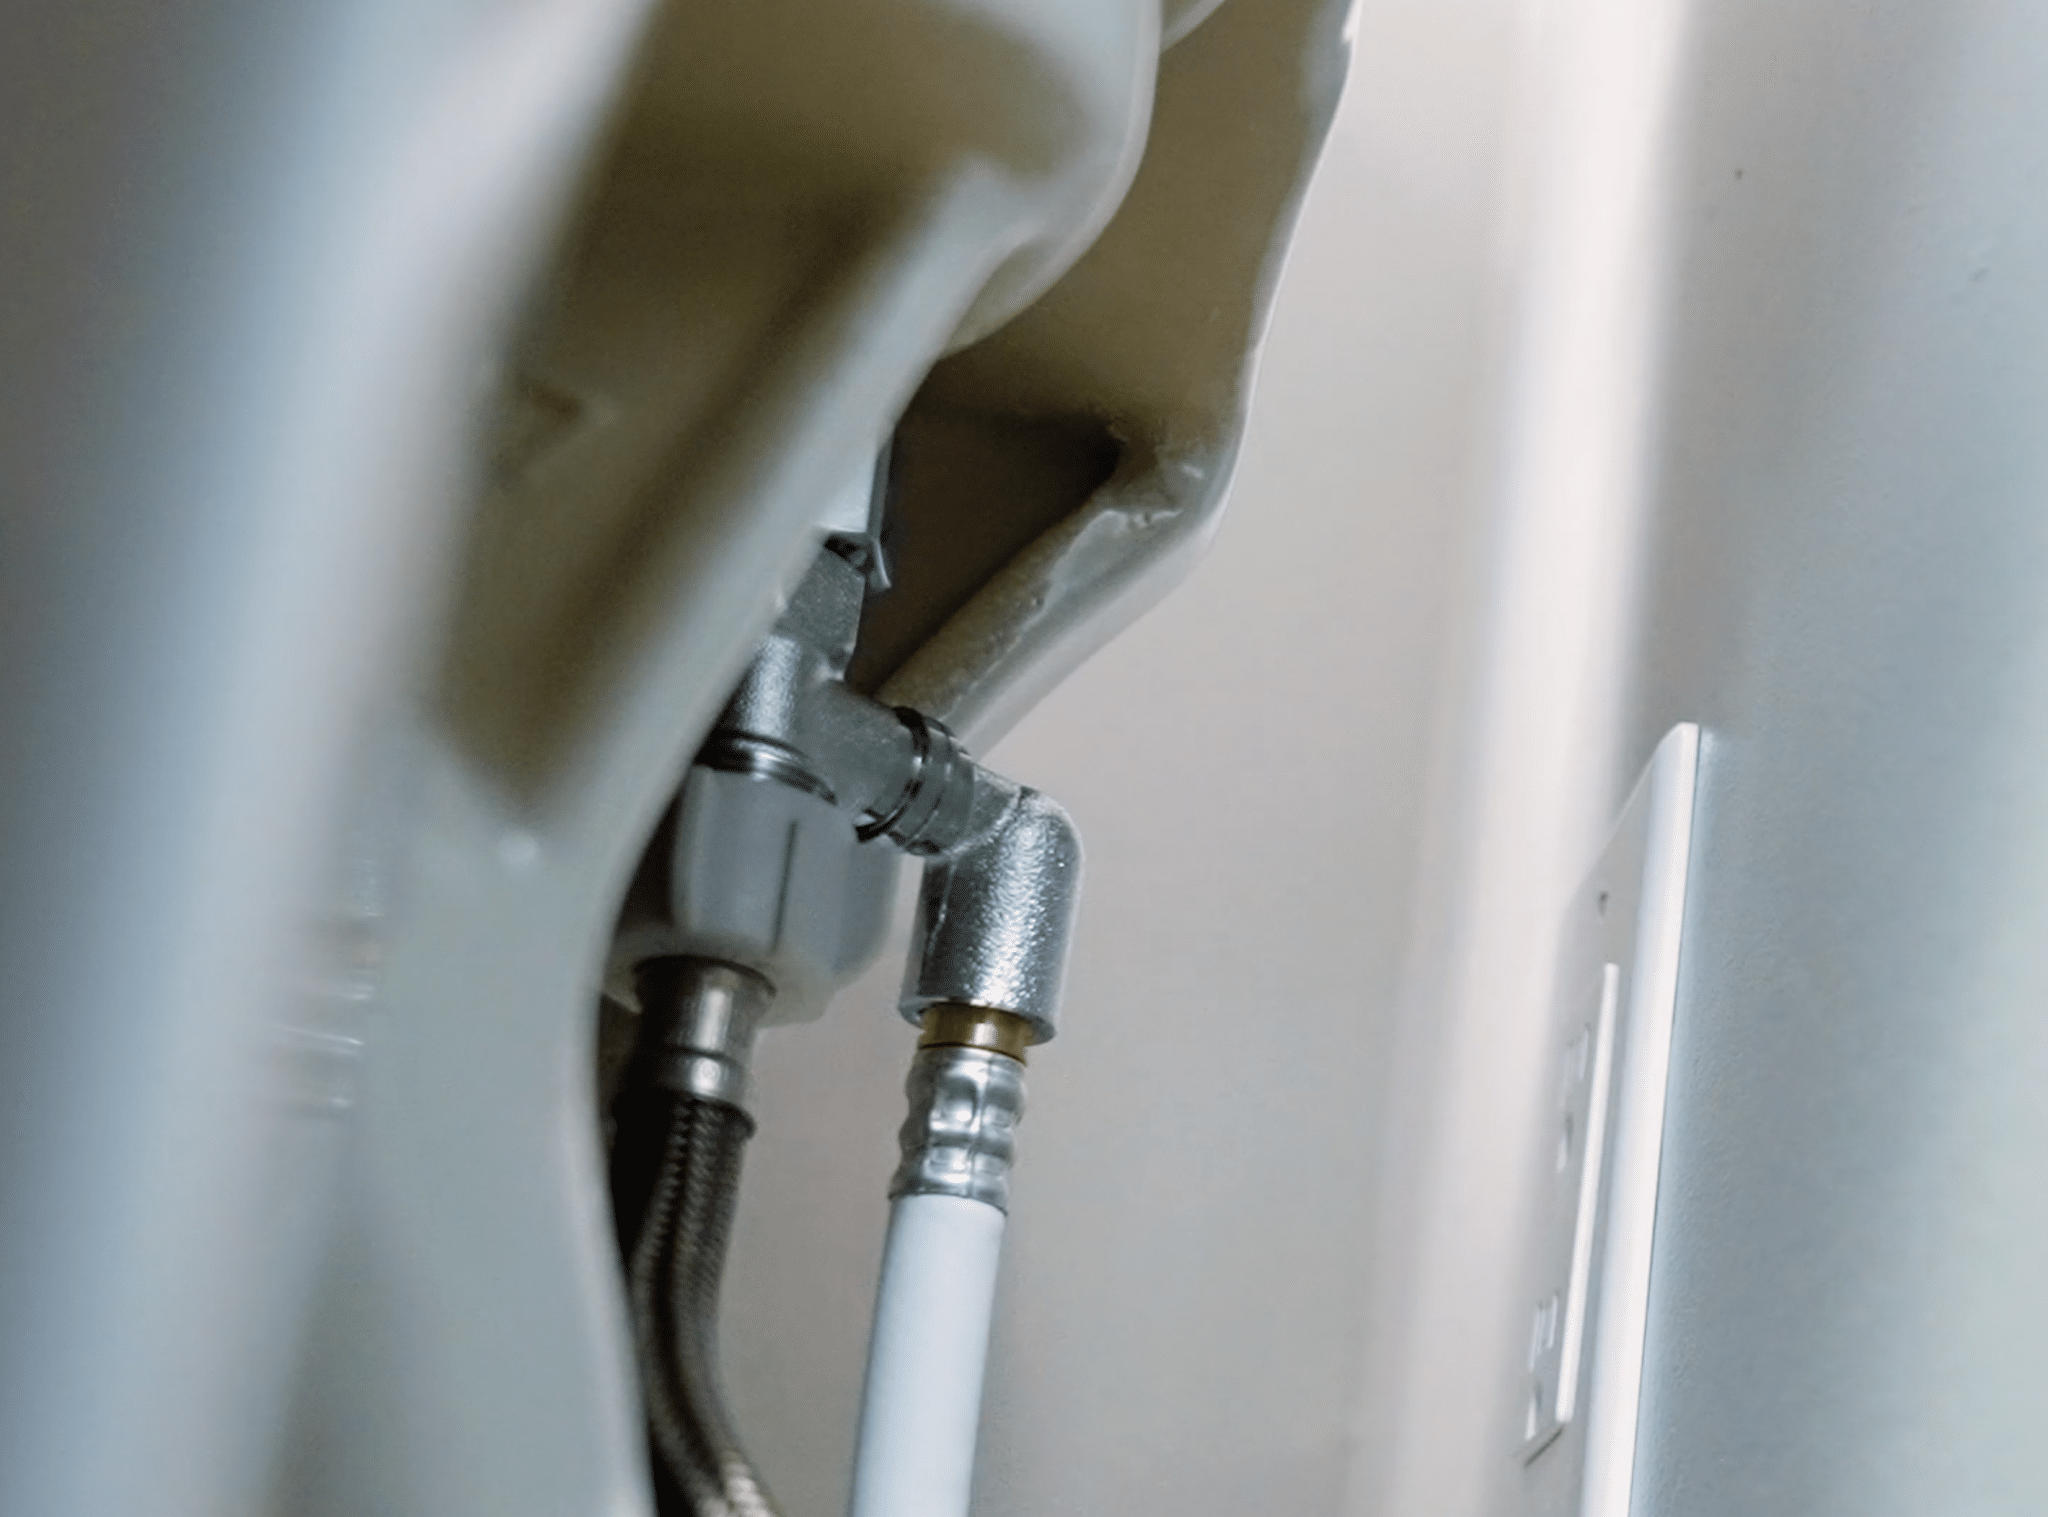
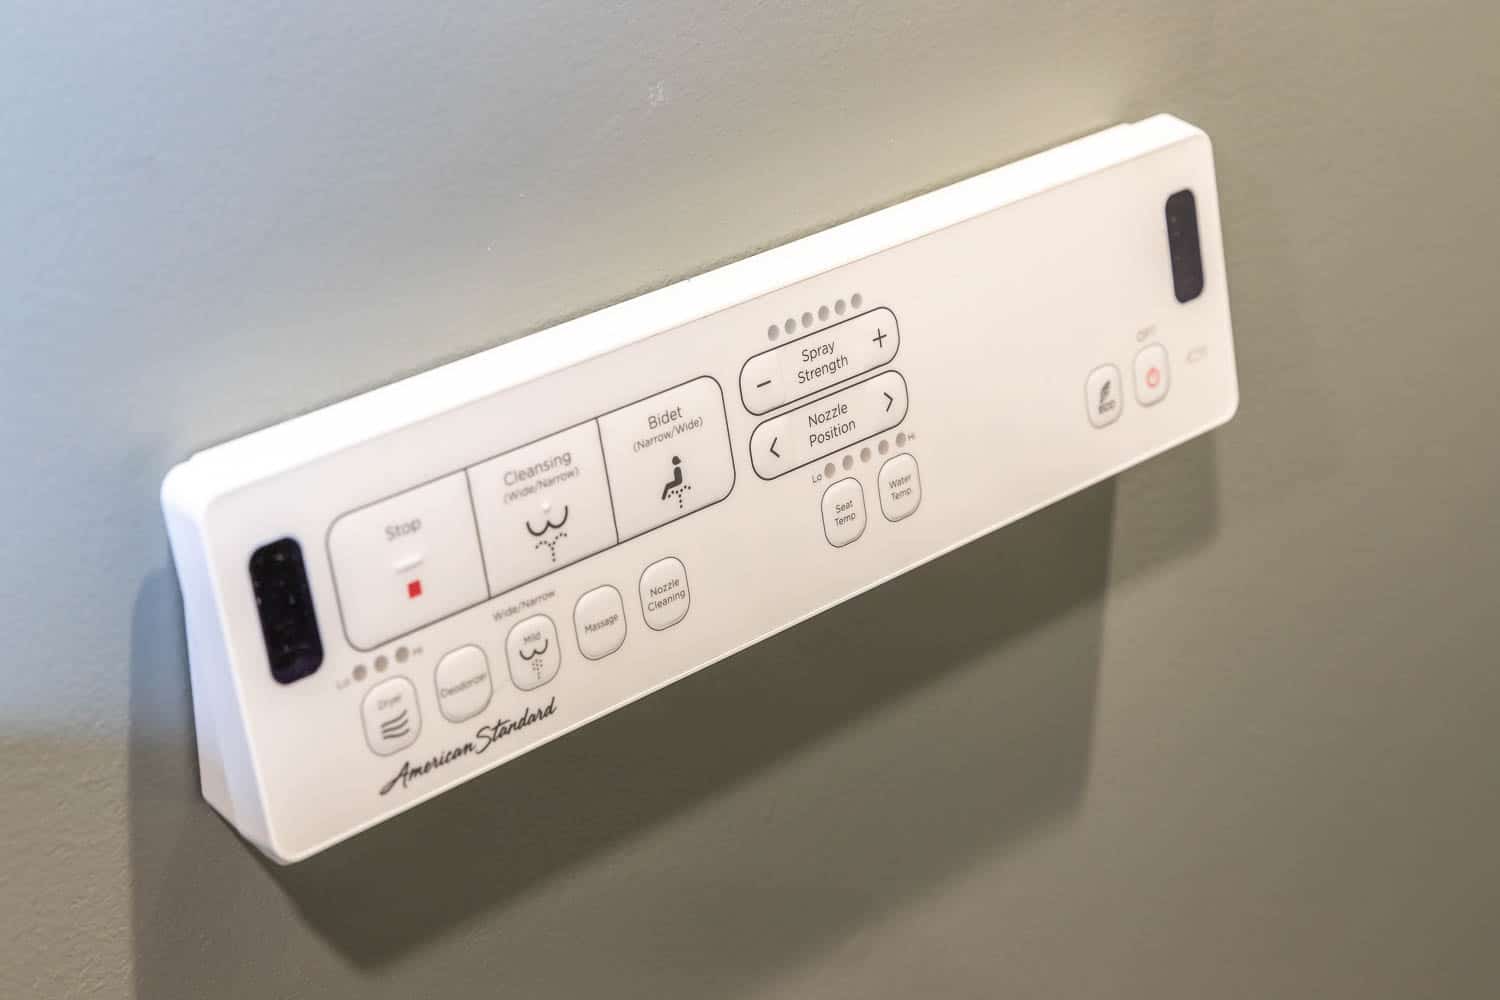
The two plastic attachment clips go on both ends of the bidet seat hose. Make sure everything is screwed on tight, slowly turn the water on and ensure that nothing is leaking, then plug the bidet seat into a nearby power outlet. The tank will start to fill up and you’re good to go! Then you can either keep the remote control nearby or mount it on the wall.
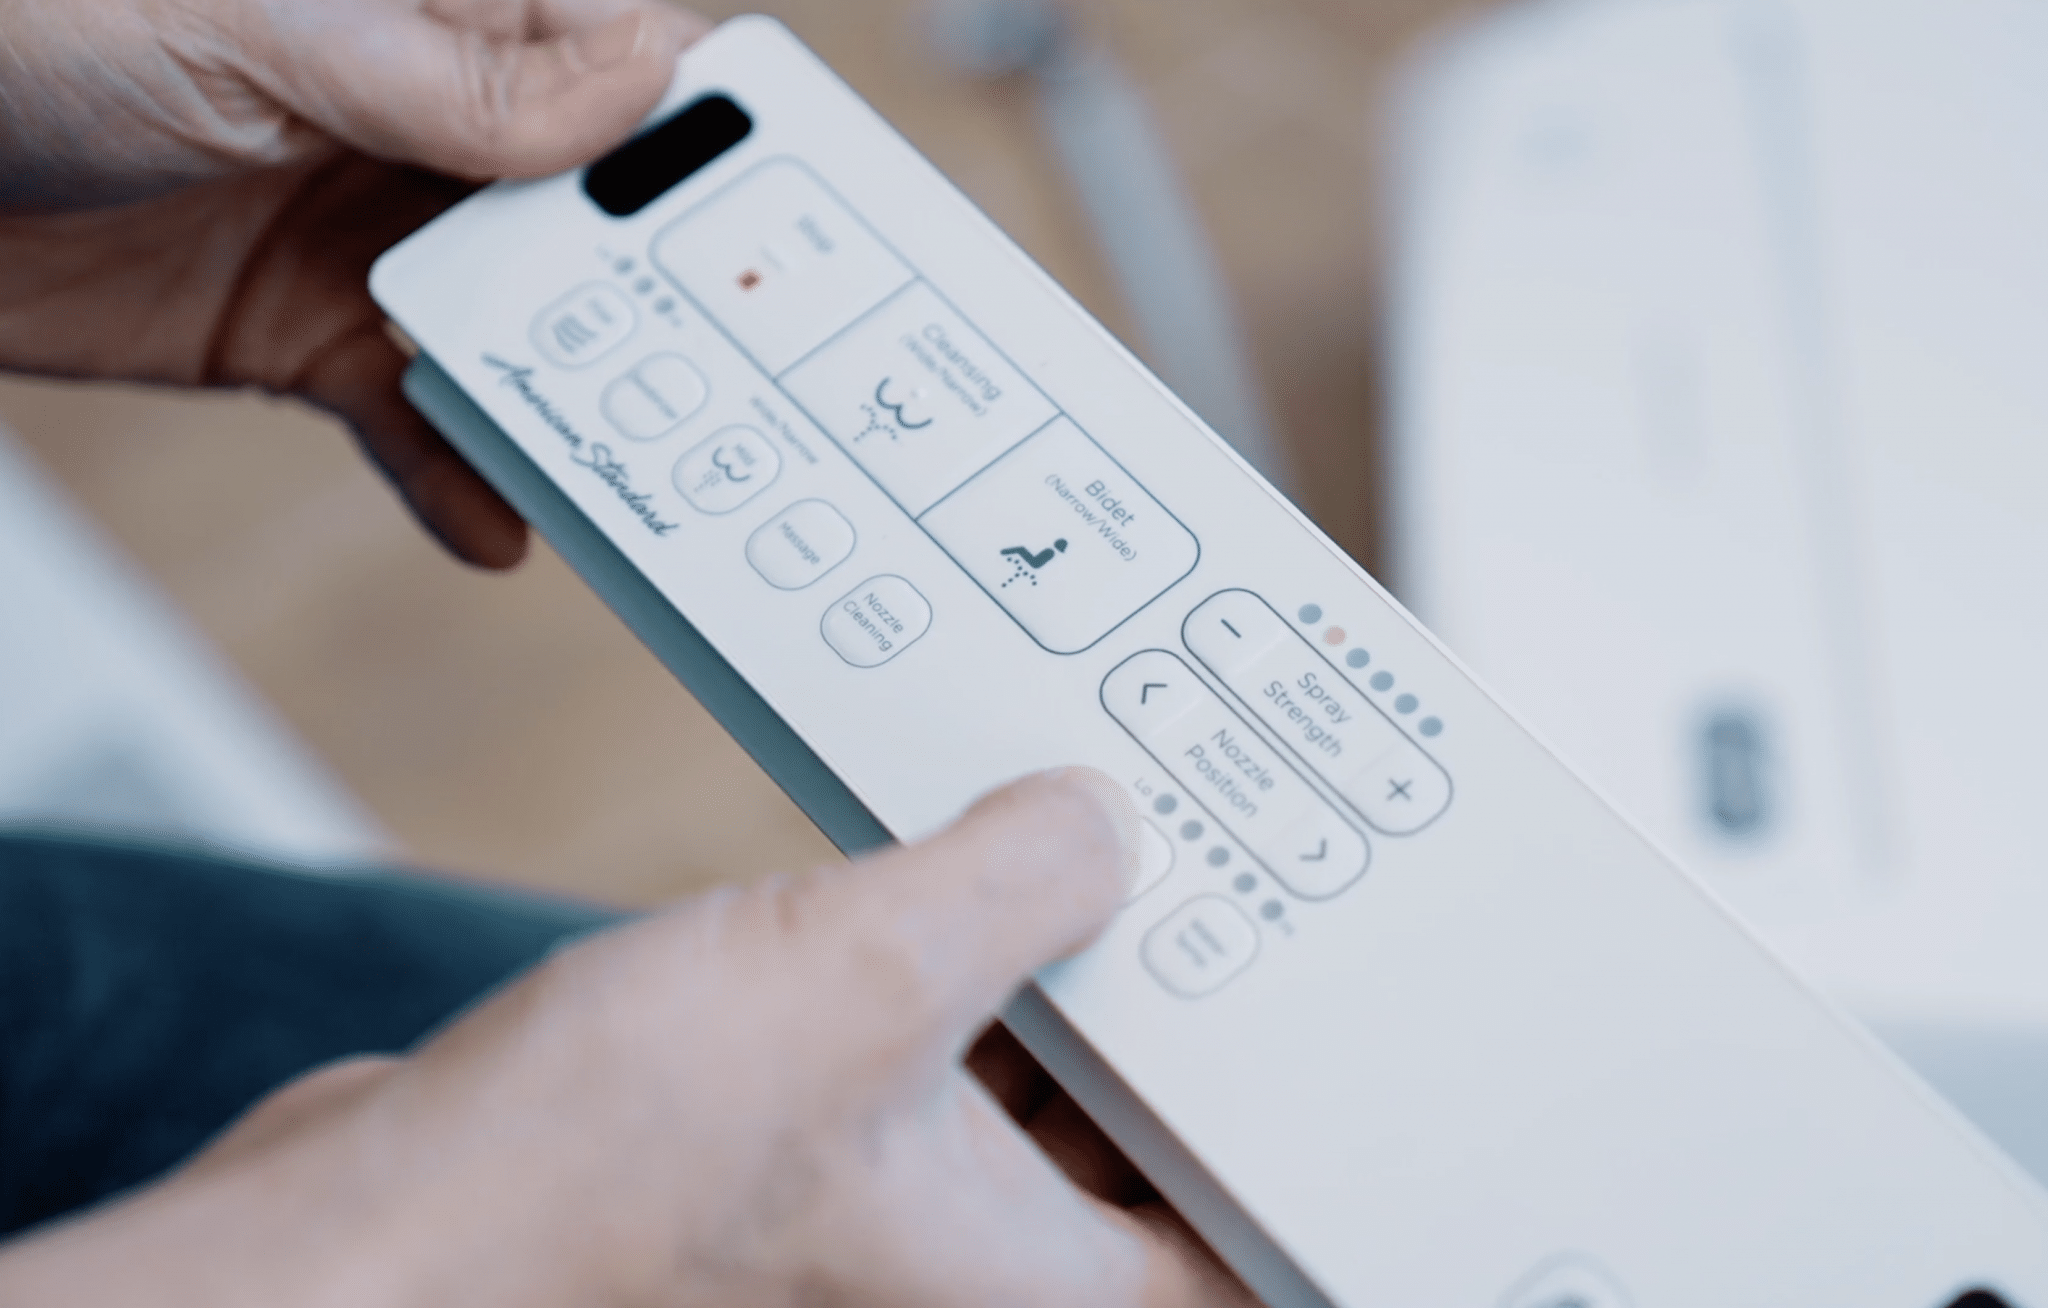
American Standard Advanced Clean SpaLet Bidet Seat
This bidet seat has self-cleaning dual nozzles for front and back cleansing, a warm air dryer and a heated seat (my favorite). There’s a lot of adjustability – you can adjust the spray strength, the water, dryer, and seat temperature, as well as the direction of the spray nozzles. It also has a soft-closing lid. So nice!
I’m so excited to give this toilet and bidet seat a whirl – it’ll feel like I’m living in Japan again! I love that this bidet seat can easily replace a standard toilet seat (as you can see, installation is quick and easy!) and this one-piece toilet will be easier to keep clean with its skirted base and PowerWash rim. We’ll be sharing the full reveal of this bathroom very soon, so stay tuned… you don’t want to miss this incredible transformation!
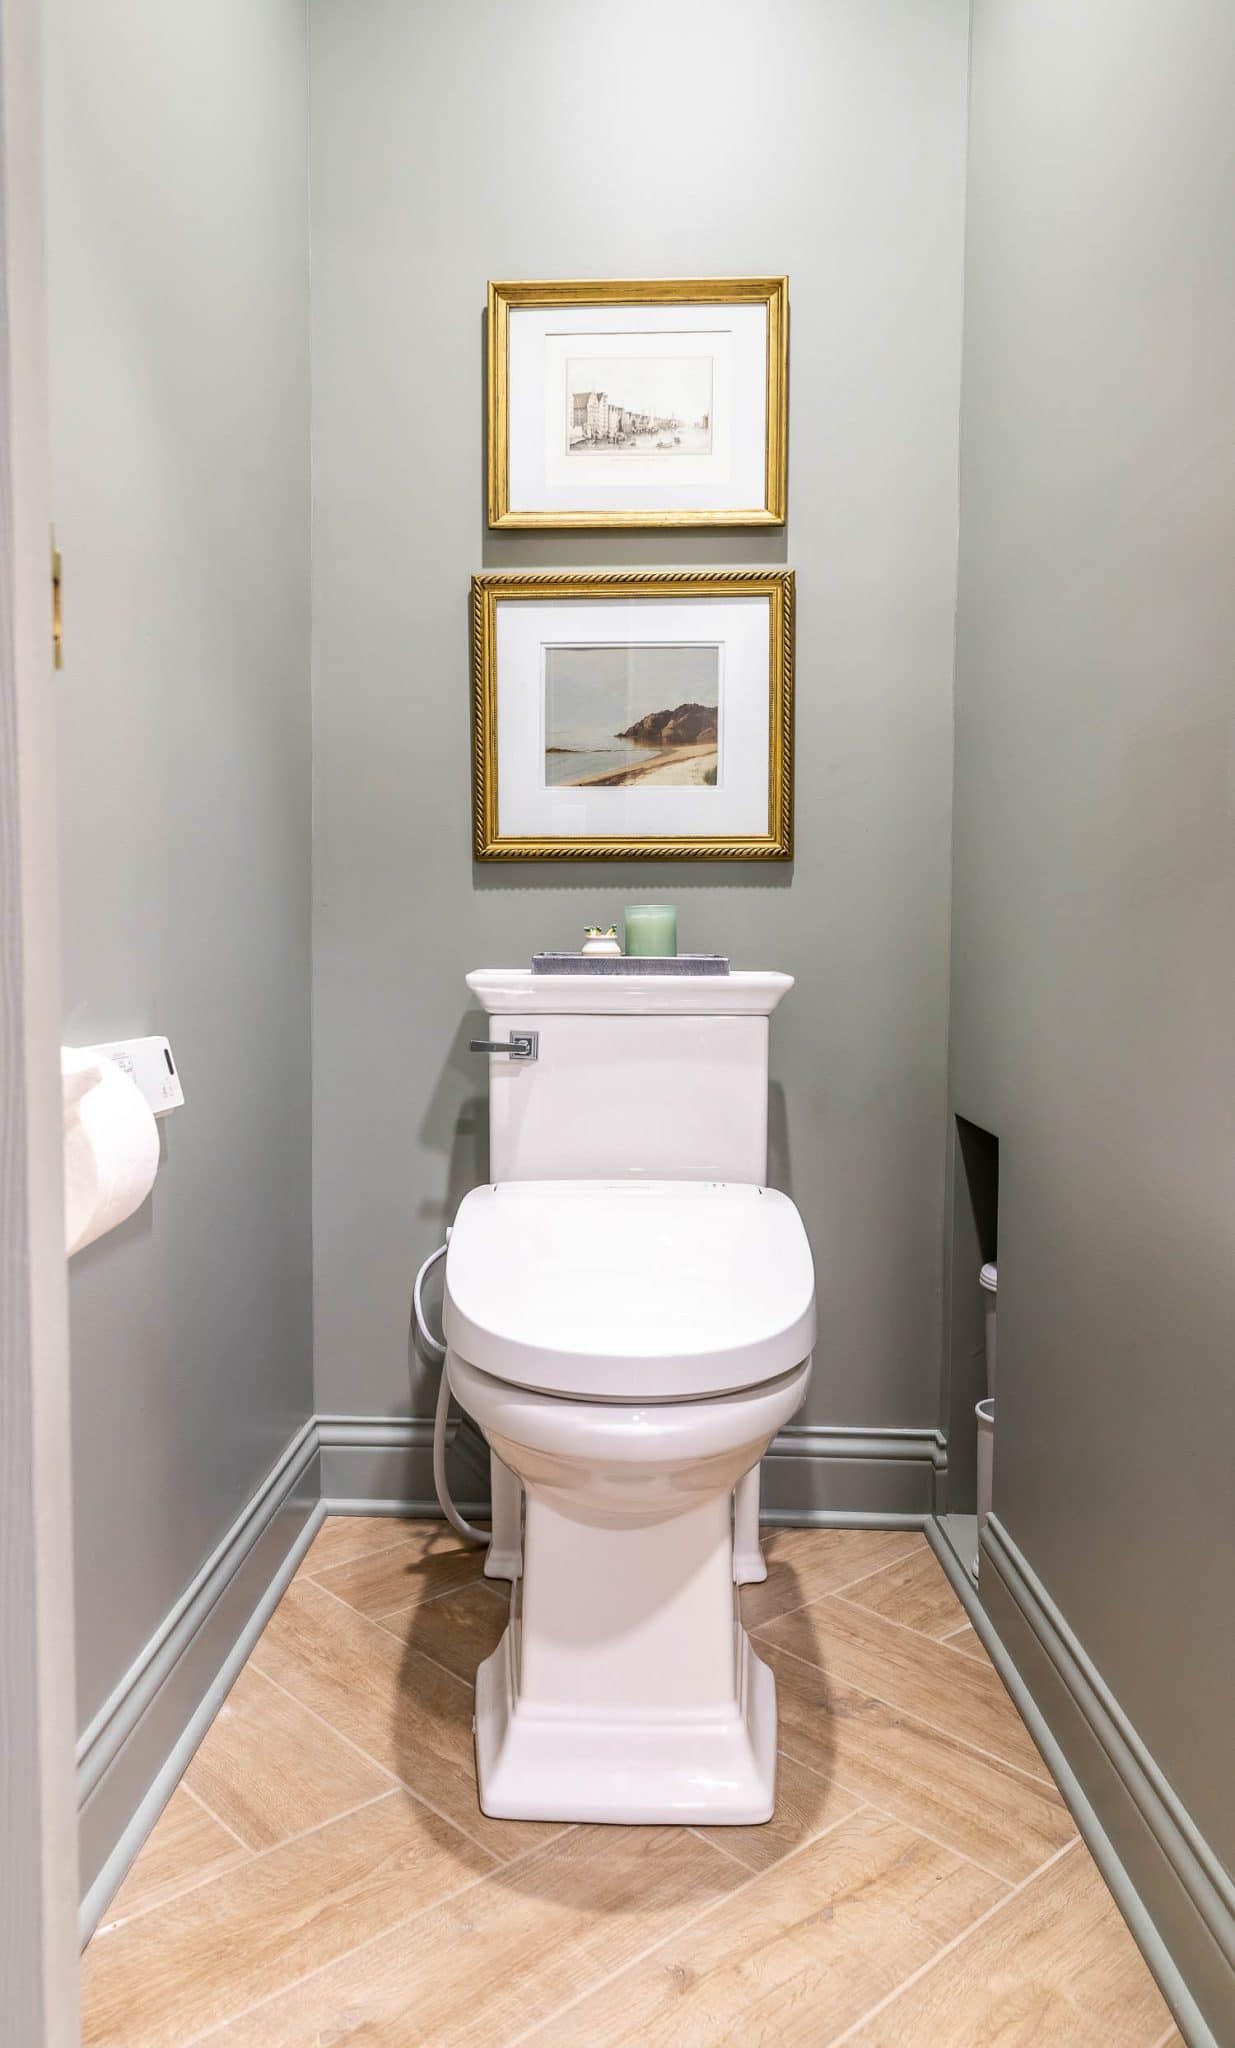


wow, that is one good looking toilet! The bidet is so nice!
Jen, what is that wall color?
Where did you get the gold lock on the pocket door?