WHAT. HAVE. WE. DONE?!?!
This is what happens when serial renters suddenly become homeowners. We demo ALL THE THINGS! After years of renting and not being able to make any permanent changes to our homes, our trigger finger is a little on the sensitive side. #understatement
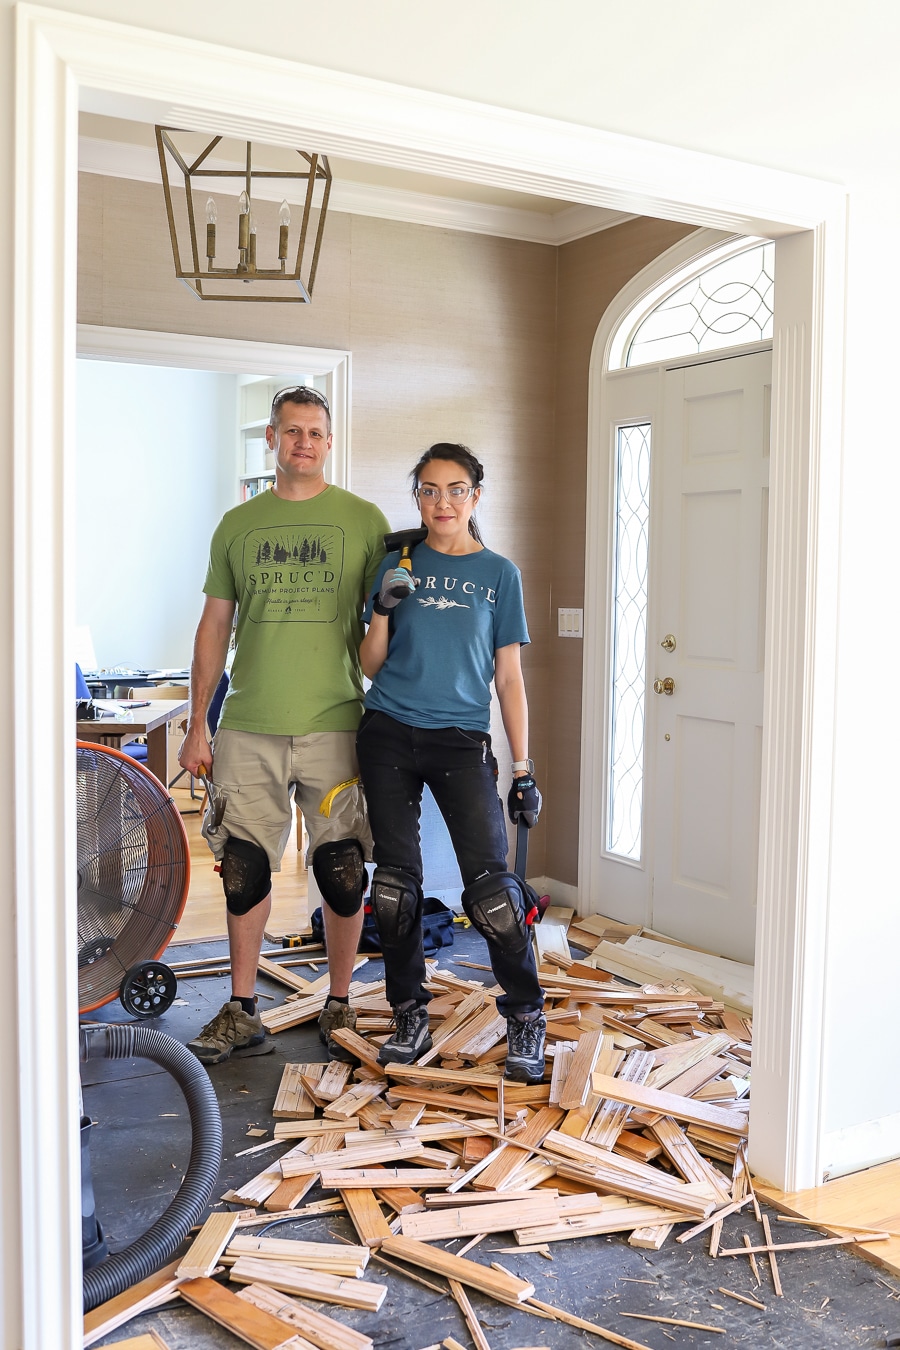
When we bought this house, there were three different types of flooring on the main level: dated, honey oak hardwood, builder-beige carpet, and dark laminate that was installed over ceramic tile (so I guess that’s technically four types of floors). We want to replace all of this mismatched flooring with one cohesive wide plank French oak hardwood, but before we install the new floors, we’ve got to demo the existing floors.
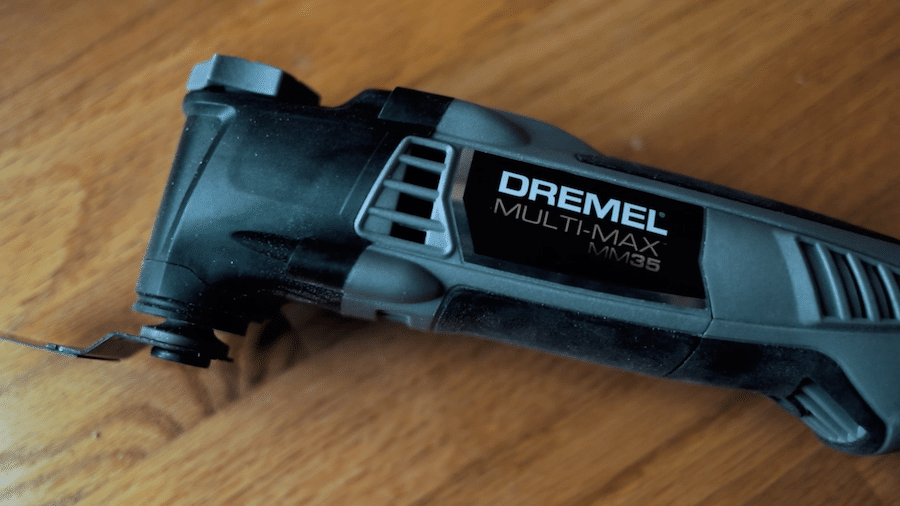
Big thanks to Dremel for sponsoring this project. We used the Dremel Multi-Max in both the demo and installation of this hardwood flooring project and it was the perfect tool for the job. Read on to see how we used the Multi-Max to remove stubborn baseboards!
How To Remove Baseboards the Easy Way
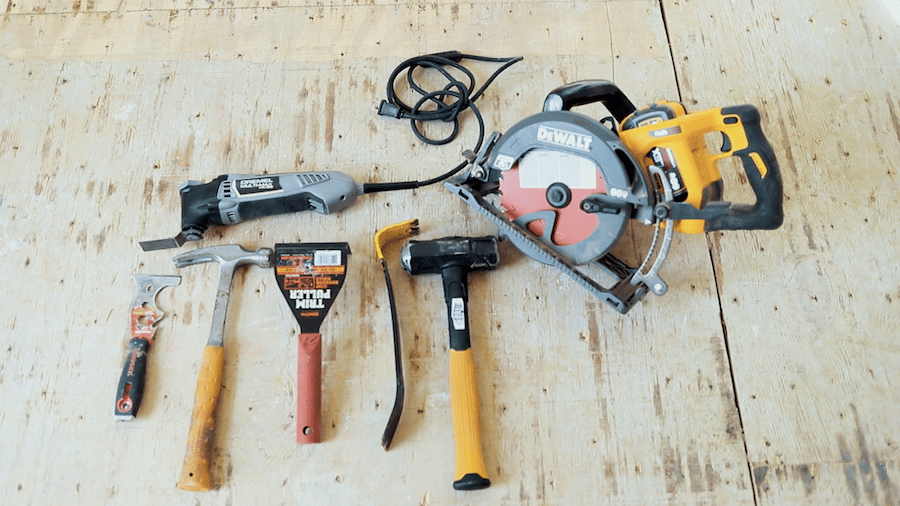
Tools:
- Dremel Multi-Max
- Painter’s Tool
- Hammer
- Trim Puller
- Pry Bar
- DeWalt 4 lb. Fiberglass Engineering Sledge Hammer
- DeWalt Circular Saw
- Diablo 7 1/4″ 24-Teeth Demo Demon Saw Blade
Safety Gear:
- Husky Soft Cap Gel Knee Pads
- General Purpose Work Gloves
- Safety Glasses
- Dust Mask
- Hearing Protection
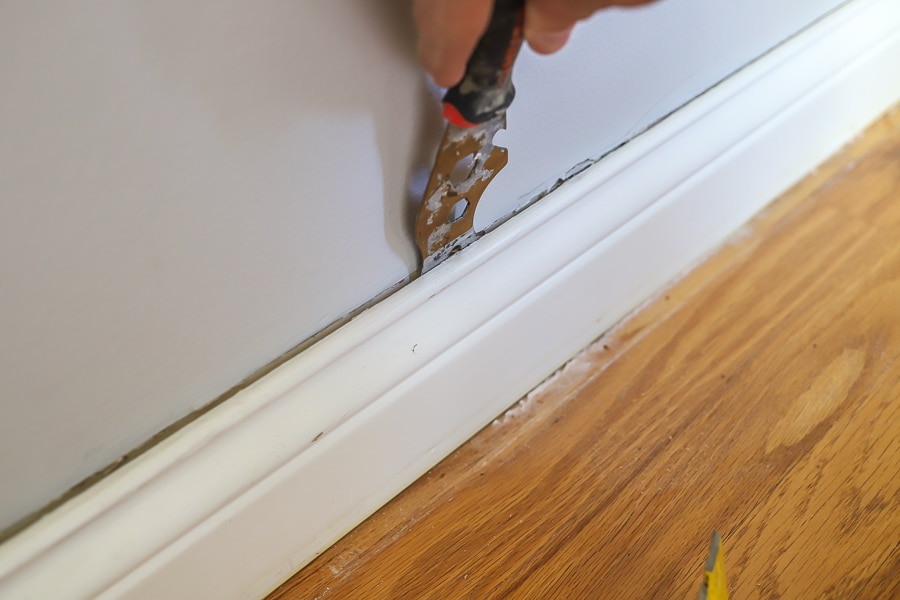
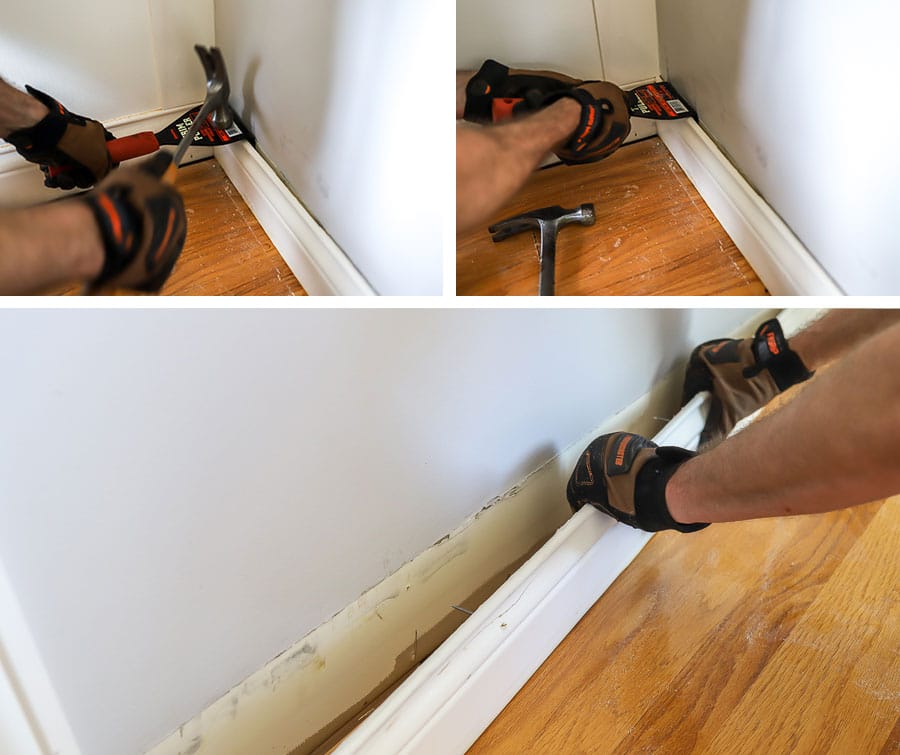
First, score the baseboards with the painter’s tool or a box cutter. Cut through any old paint, caulk, or drywall paper so that when it comes time to separate the baseboard from the wall, it comes off cleanly. We tried a bunch of different tools (a flathead screwdriver, painter’s tool, utility knife, etc.) to pry the baseboards from the walls. After slow-going success and more effort than we’d like to admit, we finally gave this Trim Puller a shot. It worked like magic! What’s that they say about having the right tool for the job? Yeah. Save yourself some valuable time and effort, and go ahead and get the Trim Puller. It’ll make your demo day go quicker and easier. You’re welcome.
Position the Trim Puller where you scored the line, then use a hammer to gently tap the tool down behind the baseboard. Shimmy it a bit and start pulling up, prying the baseboard from the wall. Continue moving down along the wall, using the Trim Puller every 8-10 inches. Because the head of the tool is wide and flat, it evenly distributes the pressure so as not to damage your walls.
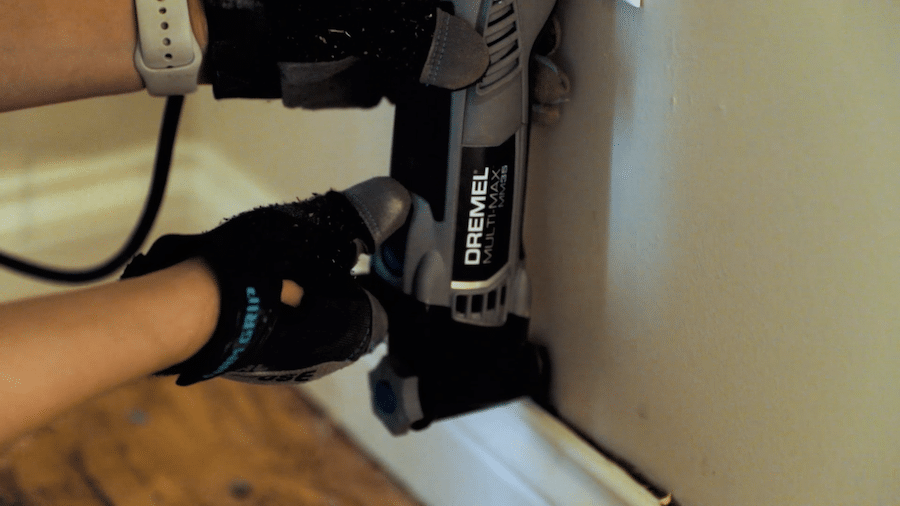
There were several times when we just couldn’t separate the baseboard from the wall, so we used the Dremel Multi-Max with the wood and metal blade to cut through any stubborn nails – this worked like a charm! We wondered why we didn’t use this tool in the first place. What’s that thing they say about hindsight being 20/20? Yeah. That.
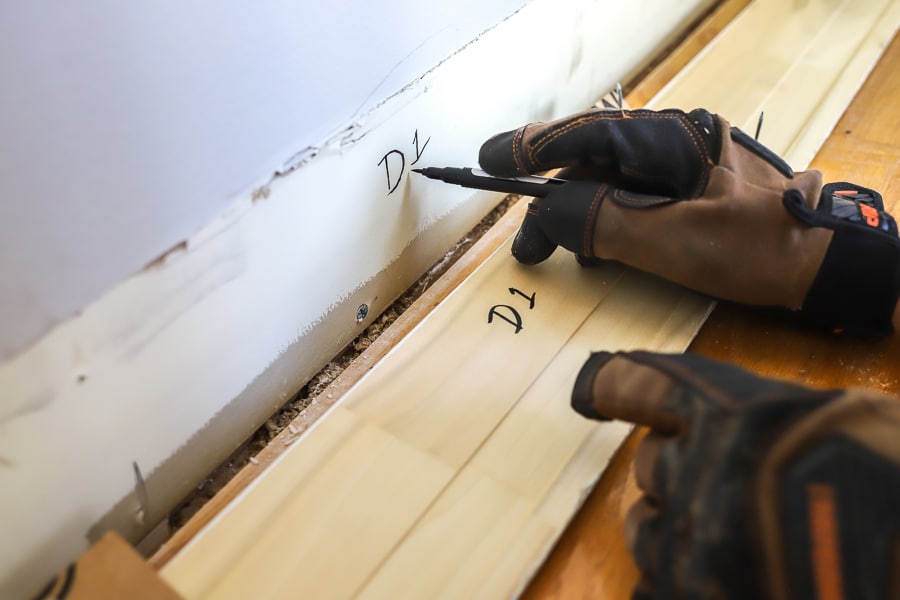
We’re being as gentle as we can to try and salvage these baseboards. Just in case we decide to reuse them, we’re labeling the baseboard and the wall, so we know where each piece goes. It’ll be easier than making all of those cuts again! If we do reuse these baseboards, I’ll give them a quick sanding and fresh coat of paint so they’ll be good as new. Who knows though, after the new wider planked floors are in, I may decide to go with chunkier baseboards… the jury is still out on that one.
How To Remove Hardwood Flooring
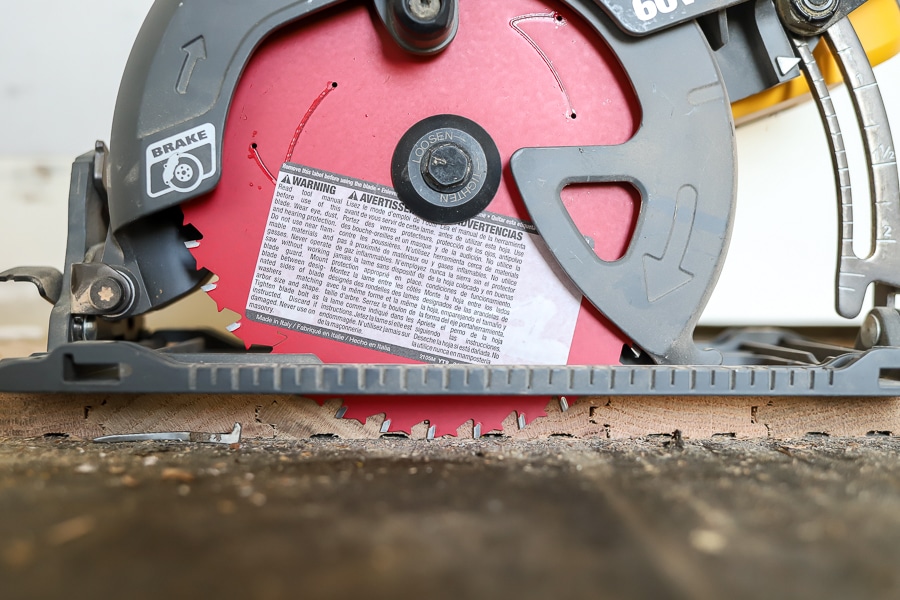
First, set the blade depth on your circular saw. Our flooring is about 3/4 inches thick, so I set the blade depth about 3/4 inches deep, so that the blade cut through the hardwood floors, without cutting into the plywood subfloor. Because we’re throwing out this old flooring, we weren’t picky about where we made our cuts. We just made a cut across the room, every three feet or so, running perpendicular to how the planks were laid. Running the saw perpendicular like this minimizes the risk of cutting through any nails. You’ll want to be more strategic about your cuts if you’re trying to salvage your flooring.
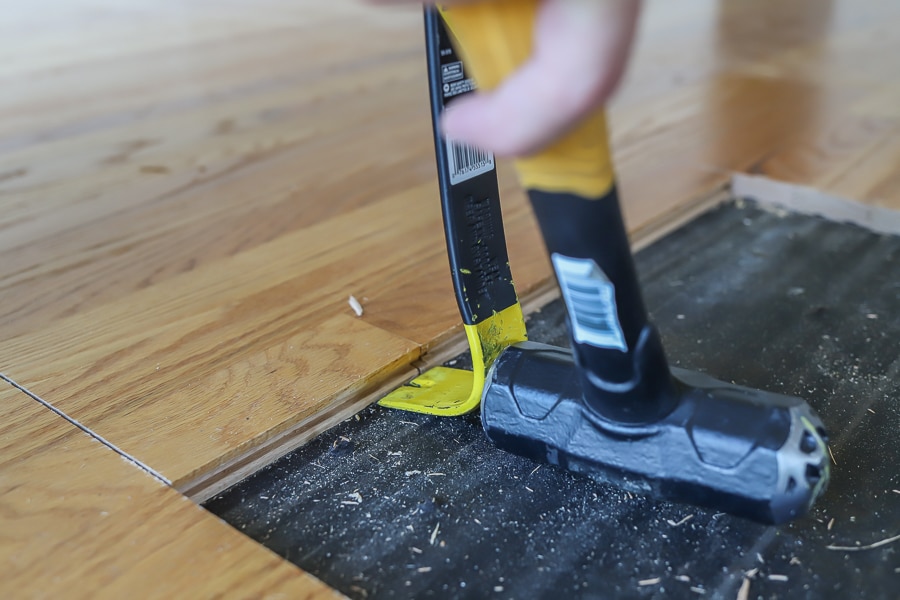
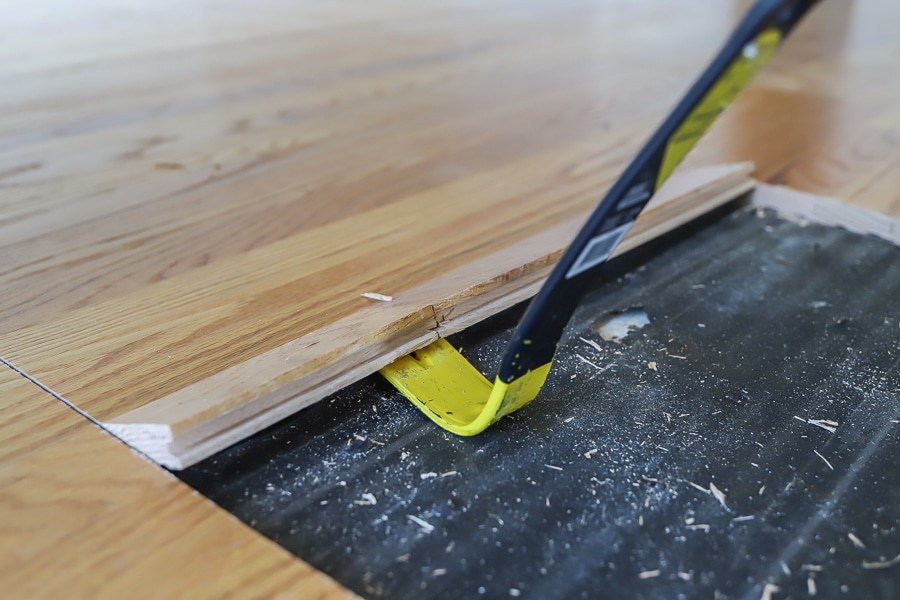
Next, position the pry bar as shown and give it a good whack with the sledgehammer to drive it under the floorboard. This is a great time to get all that pent-up aggression out! Demo is so fun. Then, push or pull the pry bar, leveraging against the subfloor. Pry up the flooring, board by board and continue this until all of the flooring is taken up. We also pounded the nails back against the back of the boards, so no one accidentally got stabbed by a stray nail.
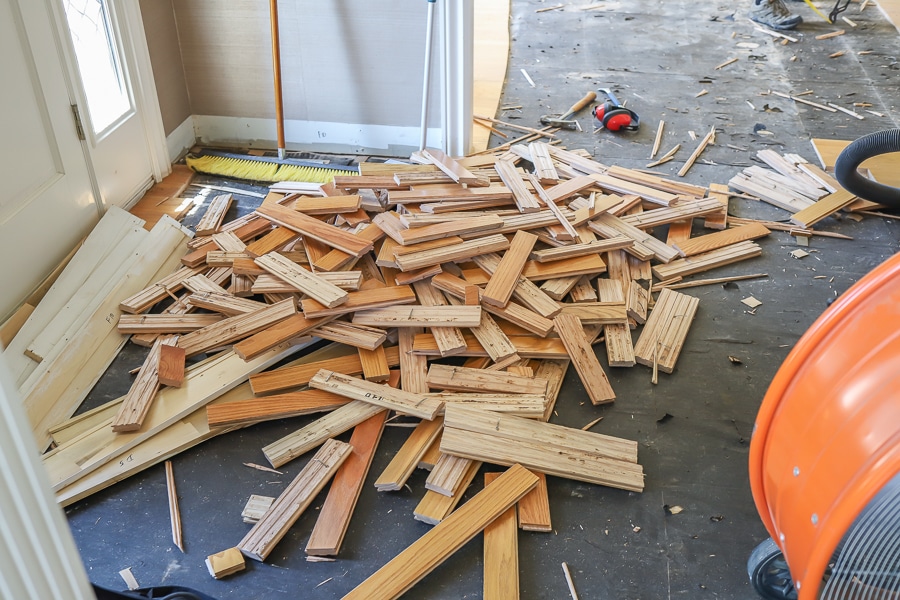
Lather, rinse, repeat. Once we found our groove, the flooring demo went pretty fast. Finally, we pulled up the underlayment and removed any nails and staples in the subfloor to get it ready for the new floors. We can’t wait to get these brand new floors laid down, so stay tuned for that! We’ll be sharing the whole process soon!
Want to see all of the flooring choices we’re considering? Check out this post!
Ready to see how the new hardwood floors look? Check out this post and see how easy it was to install!
*This post is brought to you in partnership with Dremel. Thank you for supporting the brands that support this website! All efforts and opinions are my own. Affiliate links are used; to read my full disclosure policy, please click here.



thank you very much for those tips! that changed a tedious job into something more relaxed
in the same way the dremel tools made things easier, here in Argentina it is not so easy to find them, thank you again
Hey Jen,
Fantastic! It’s the 101guide on hardwood removing!
Thanks so much for the tips, and the list of tools to make it more straightforward. I need to buy some of these tools.
Off to share.
thanks for that nice tips
I love all the ideas you share with us. Your kitchen looks fabulous
Excellent article, I love the pictures that really help me see the topics you are describing. I will also second your recommendation for knee-pads, doing a good job on flooring takes time, so it’s important to make yourself as comfortable as possible so you can do the job right the first time. Thank you for taking the time to make this guide.
Hey Jen,
Awesome article!
Such topics are really great for us to remove the hardwood flooring. It helps me to buy a product. I will wait for your next post.
These tips help one save a lot of time during hardwood removing. Thank you for saving us time
Your flooring looks fantastic, I love all the tips and ideas you share with us.
Hey Jen
I think it is the finest and easiest way to remove the Hardwood floor and I am really thankful to you for sharing step by step Video now I can use those tools in a perfect way
Hardwood removing, no doubt, on of the hardest task for me as I’m an avid woodworker who works to build new homes or remodeling existing ones. Every time I remove hardwood flooring, it takes tons of my time and energy. But the video you’ve shared shows that you’ve done the task quite easily. I’m really wondering how? Is it the magic of woodworking tools you’ve used? I use different types of tools but never used that multi-max. Thank you so much for sharing this blog and best of luck for your next task!
After doing floors for 25 years, I gotta say this gal is awesome. I wish I could find some help that is half as efficient and smart.
great
Hey Jen,
It’s an Excellent article on removing the hardwood floor. The step by step guide is really helpful. I love this article and would like to share it with my friends
This is very useful article and really like to read out this article and it is very useful article for renovation of house and to remove out the hardwood flooring..
Thank you for shearing this article to us..
This is so useful for me .. I want to change my flooring once a year so this post is important to me!
Why would you want to change your floor once a year?
very useful and informative if you want to remove hardware flooring. Thank you for sharing.
Thanks a lot for the tips, this was very useful and made it a lot easier for me.
You both are amazing, you remove the flooring all by yourself, last year, we hired professionals to do the same job, wish I read your article earlier and save some bucks, great work. And thanks for sharing all the information with us. I am going to share this article with everyone I know who are planning to change their floor.
You guys inspire me to do DIY work around my house. So motivational and it looks like you have a great time.