If you know anything about me, you know that organization is one of my love languages. We just moved into our new home and as I started getting things unpacked and organized, one pain point was our hall linen closet. It had basic wire shelving installed that didn’t make the most of the space. Giving our linen closet a makeover was one of the projects I knew I wanted to tackle as soon as possible and I am SO GLAD I did!
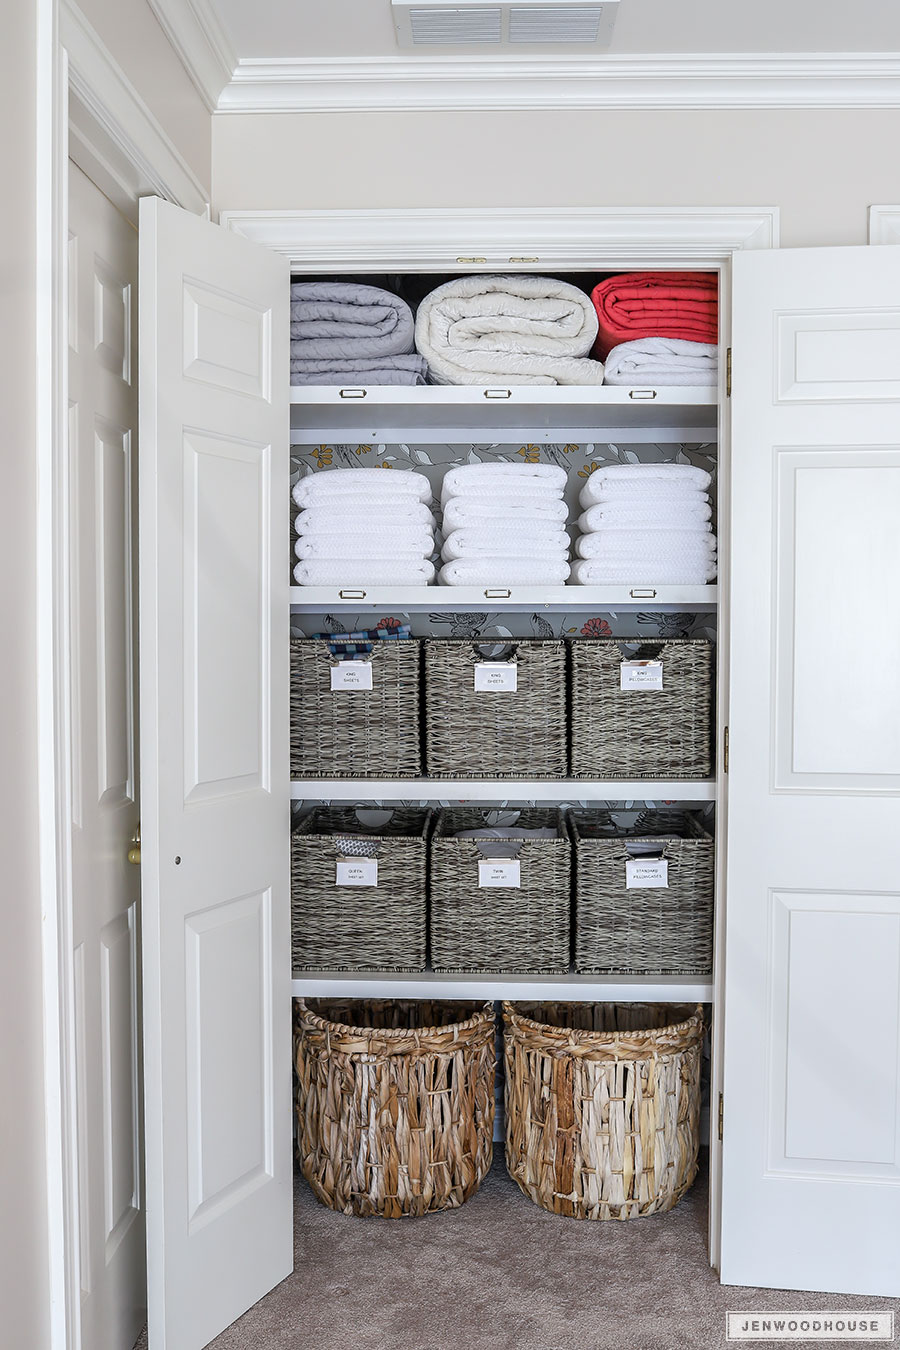
I’m so excited to be partnering with Dremel this year to bring you several smart and easy DIY projects. This linen closet makeover is the first of many projects! I’m often asked for my tool recommendations for folks who don’t have a huge workshop space. If you’re an apartment dweller or you don’t have access to a workshop full of big power tools, this DIY project is for you! I’ll show you how I reorganized our linen closet using only small handheld power tools.
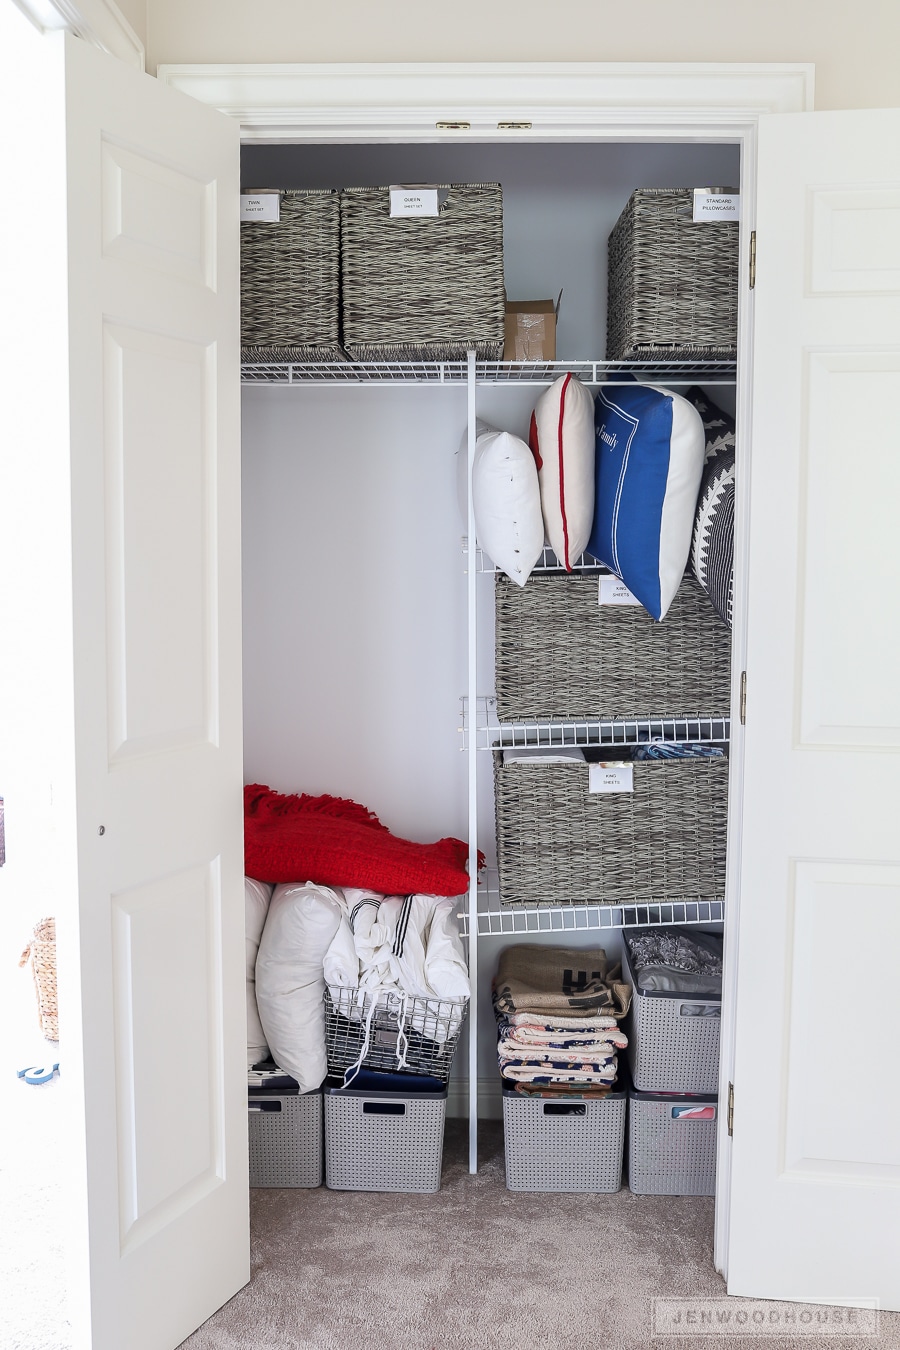
Are you ready to see what our linen closet looked like before?
The basic wire shelving wasn’t even level and it was pretty shallow, despite there being about two feet of depth in the closet. Also, allow me to draw your attention to that big empty space on the left. I assume this space is for hanging things, but as you can see, it’s a massive waste of valuable real estate in this small closet. It won’t be difficult to improve upon this sad situation and create a smarter storage solution without devoting a ton of time and effort.

Tools:
- Dremel Go
- Dremel Ultra Saw
- Tape Measure
- Cordless Impact Driver
- Level and Stud Finder
- Cordless Pin Nailer
Materials:
- 1×2 Ft. boards
- Melamine shelves
- 2 1/2-inch Wood screws
- 1 1/4-inch Pin nails
- Wood glue
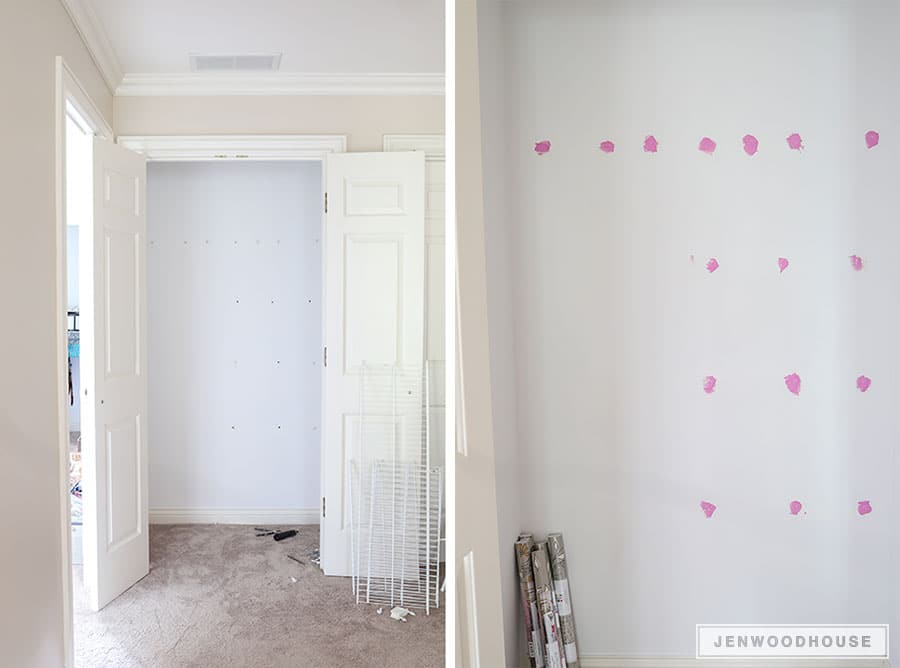
First thing’s first: rip out that dysfunctional wire shelving and prime the canvas. I used the Dremel Go cordless screwdriver to remove the shelves. This is such a handy little tool to have around the house. It’s rechargeable by USB and once you seat the bit into the screw head, you simply push to engage. You can take a closer look at the Dremel Go here. The drywall anchors for the wire shelves left some gaping holes in the walls so I patched them up with spackle and then let it dry. Once dry, I used a sanding sponge to sand everything flat.
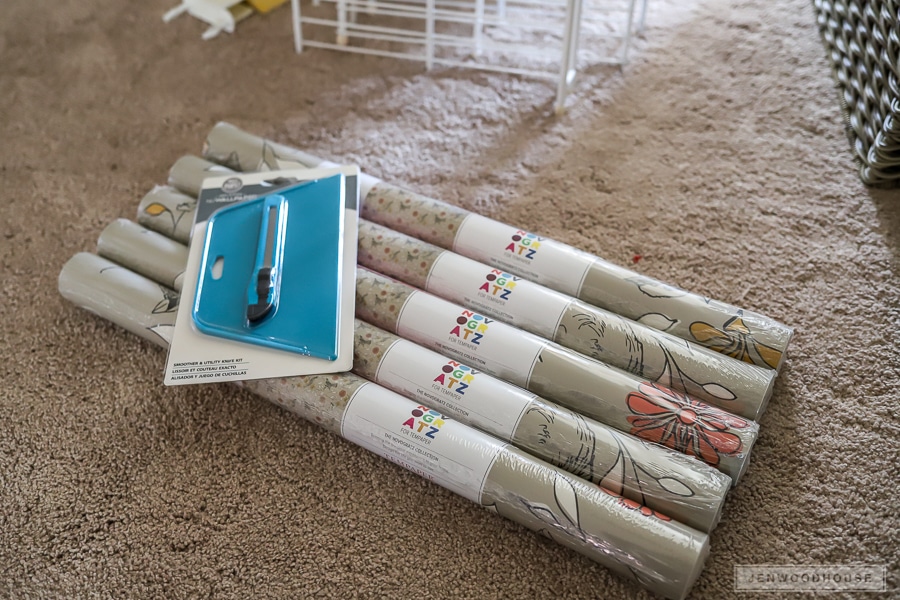
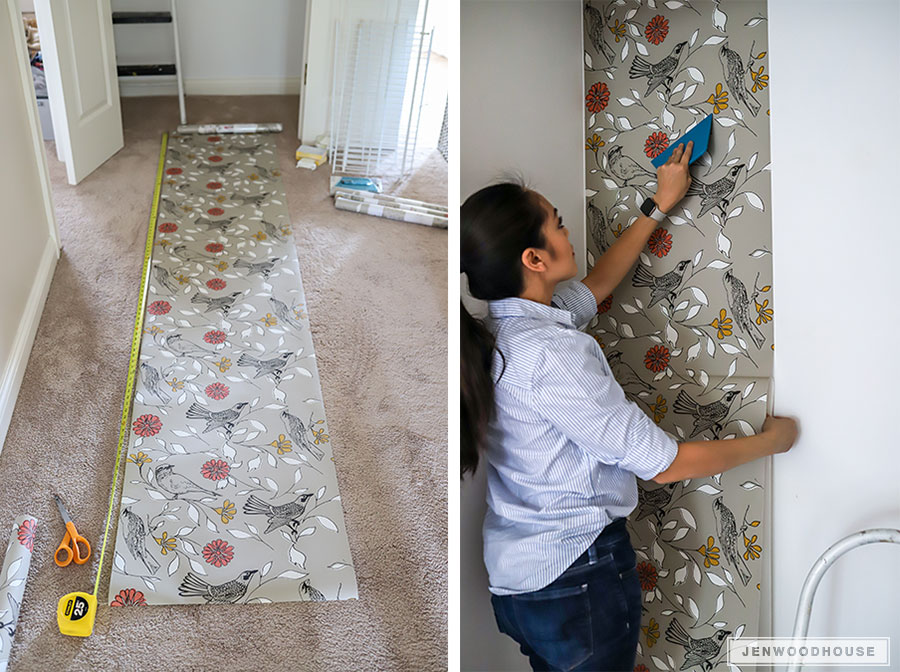
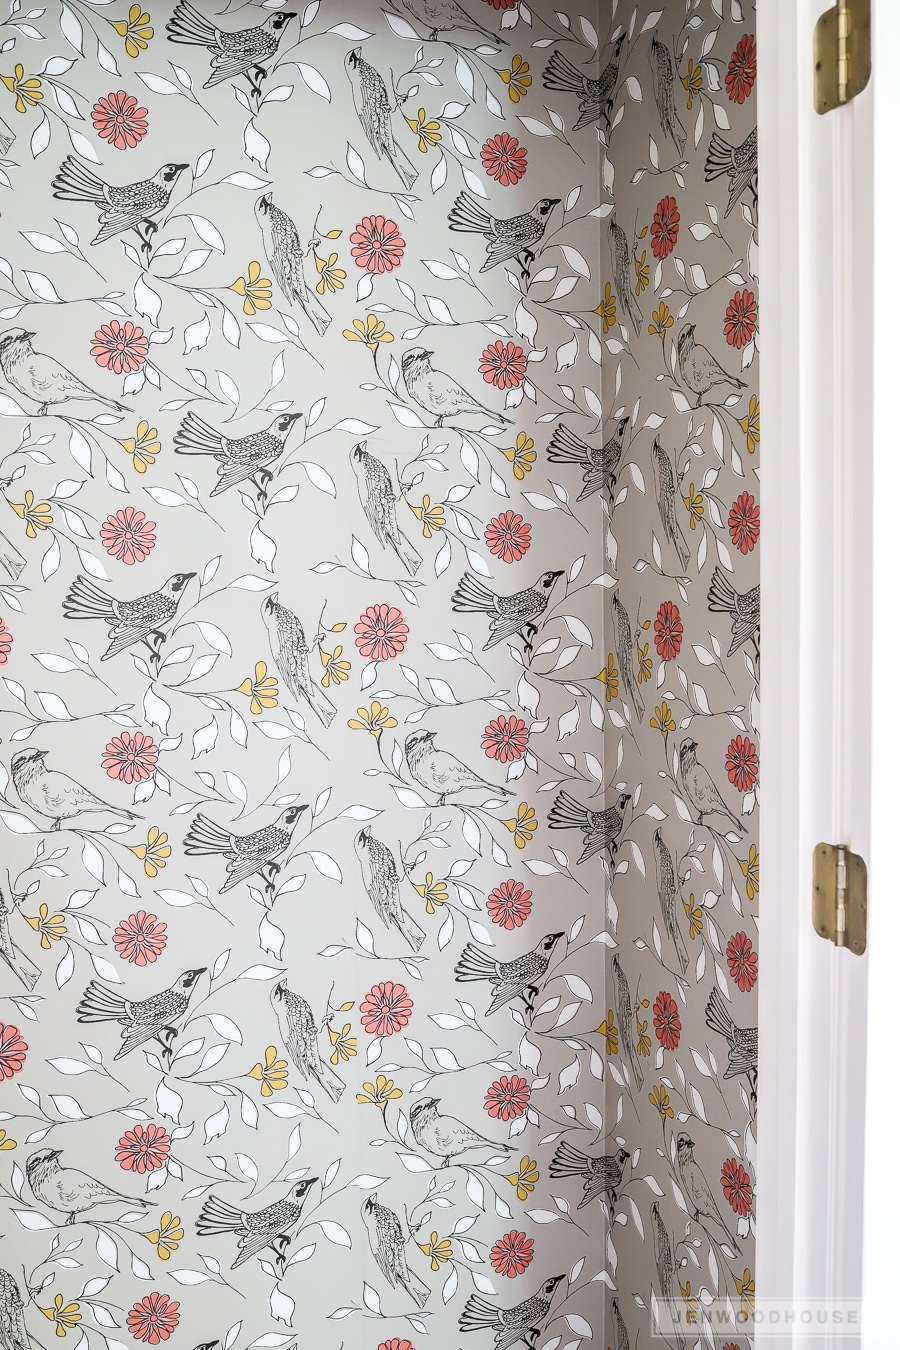
Next, I installed this peel-and-stick wallpaper. This step is totally optional, of course. And word to the wise – installing peel-and-stick wallpaper is best completed with two people. I hung this wallpaper by myself and while it was certainly possible, it wasn’t without a few choice words and a verge of tears. I will say, however, that the wallpaper is very forgiving. I was able to pull it off and reposition the panels whenever I messed up, which sadly, was more often than not!
Quick tip: buy more rolls than you think you’ll need – you can always return the unopened rolls later!
Because I tend to obsess over the tiniest details, the perfectionist in me just about had a conniption fit when I couldn’t get the pattern to line up exactly or when the wallpaper stuck to itself. Very, very frustrating. But after all was said and done, my mishaps are virtually unnoticeable. Most of this lovely pattern will be covered up by baskets, blankets, and towels anyway, so I really shouldn’t have wasted my time sweating the small stuff.
I would recommend skipping the wallpaper if you tend to be a perfectionist like I am or if you don’t have an extra set of hands to keep the wallpaper from wrinkling or sticking to itself. Hopefully you’ll have better luck than I did.
But it sure is pretty, right?! Not sure if the juice was worth the squeeze, though.
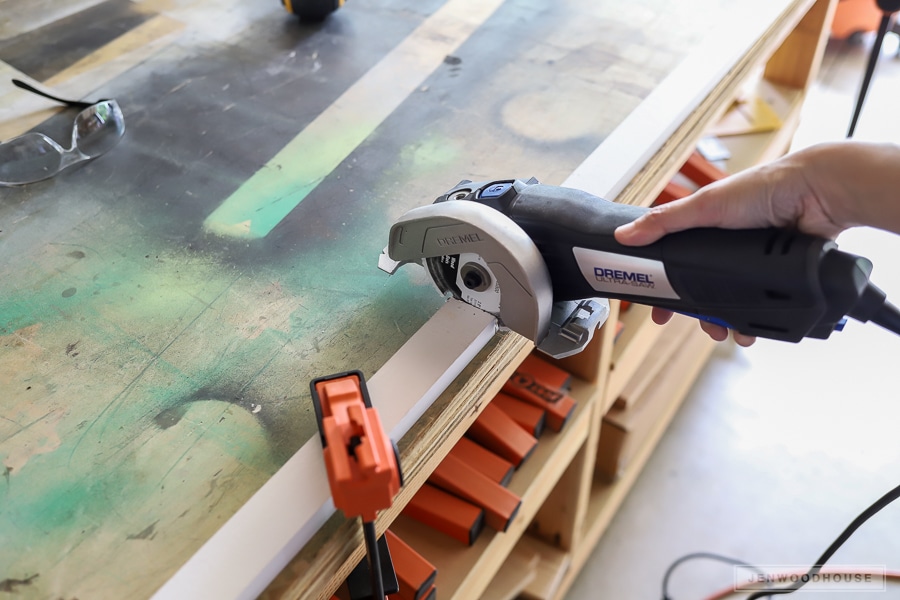
After the wallpaper was installed, it’s time to cut the cleats for the shelving. I used the Dremel Ultra Saw to make all of my cuts. This little handheld tool made cutting the boards quick and easy. I love that it’s small enough to store in a drawer, but it’s perfectly capable to take on a project like this.
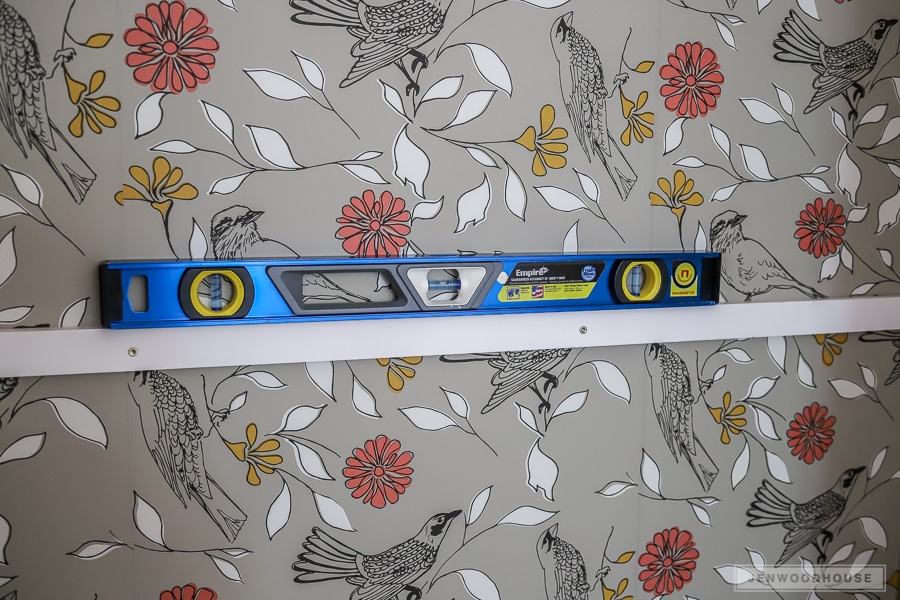
I located the studs in the wall and screwed the cleats in with 2 1/2-inch wood screws. I used a level to make sure everything was, well… level.
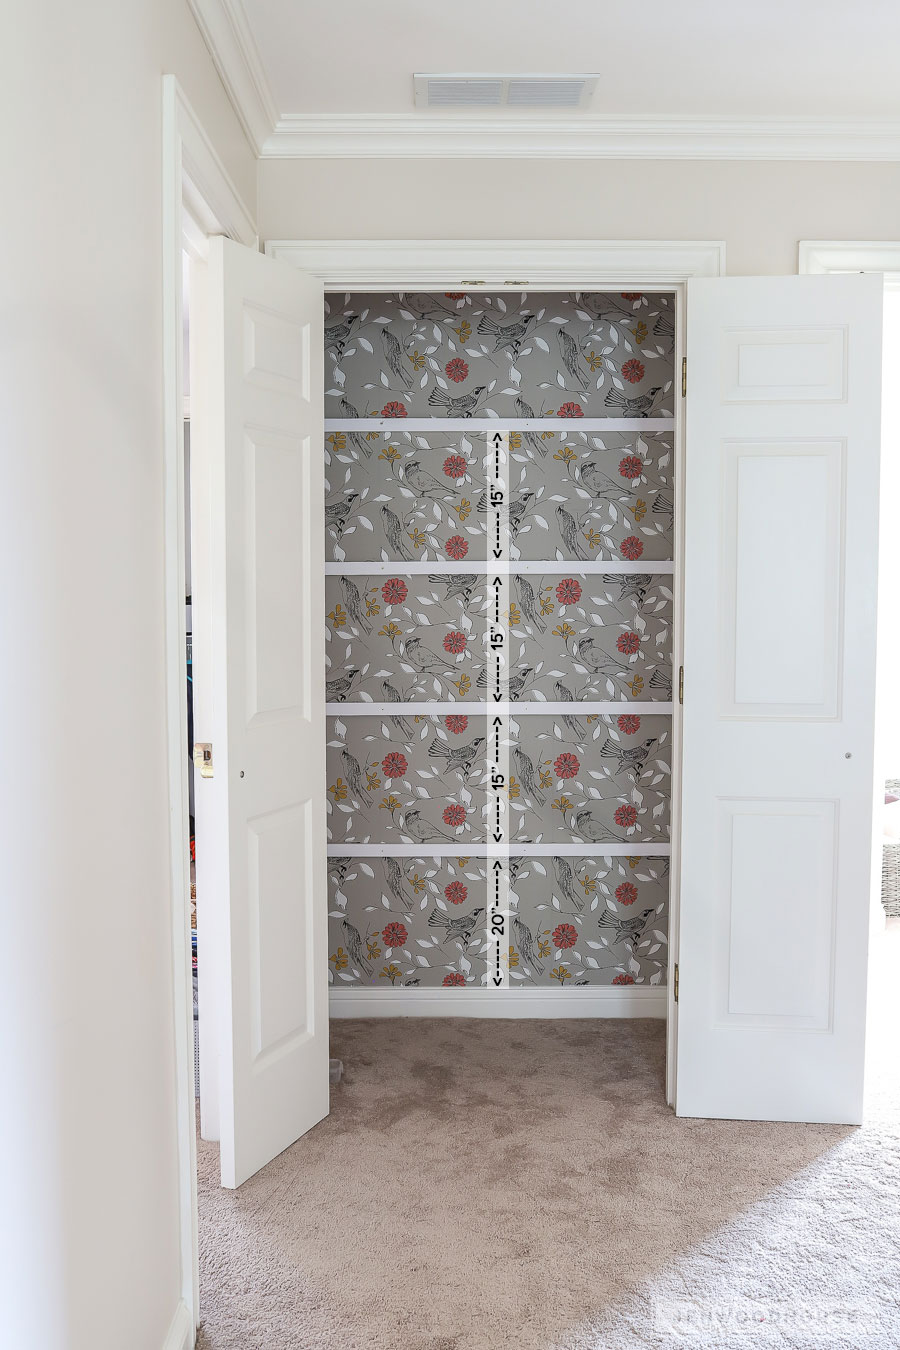
The long cleats run along the back of the closet and there is a shorter cleat on each side to support each shelf. I cut four 45-inch cleats for the back and eight 24-inch cleats for the sides. Your measurements may vary.
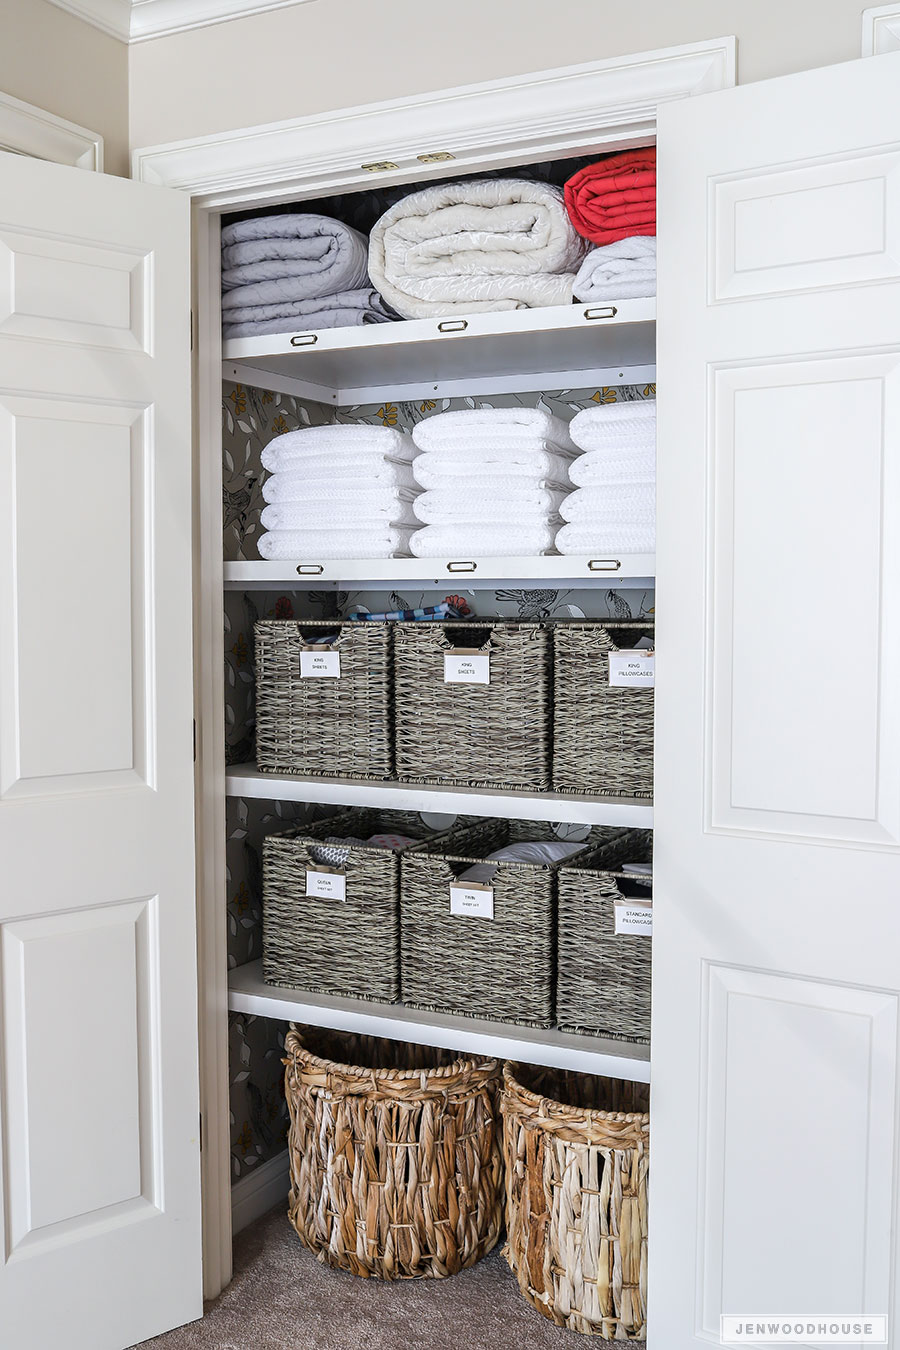
We’ll store extra blankets, quilts, and pillows on the top shelf, guest towels on the second shelf, and then bed sheet sets on the lower two shelves. The lowest shelf measures about 20 inches from the ground to store bulkier items underneath, while the rest of the shelves are about 15 inches apart.
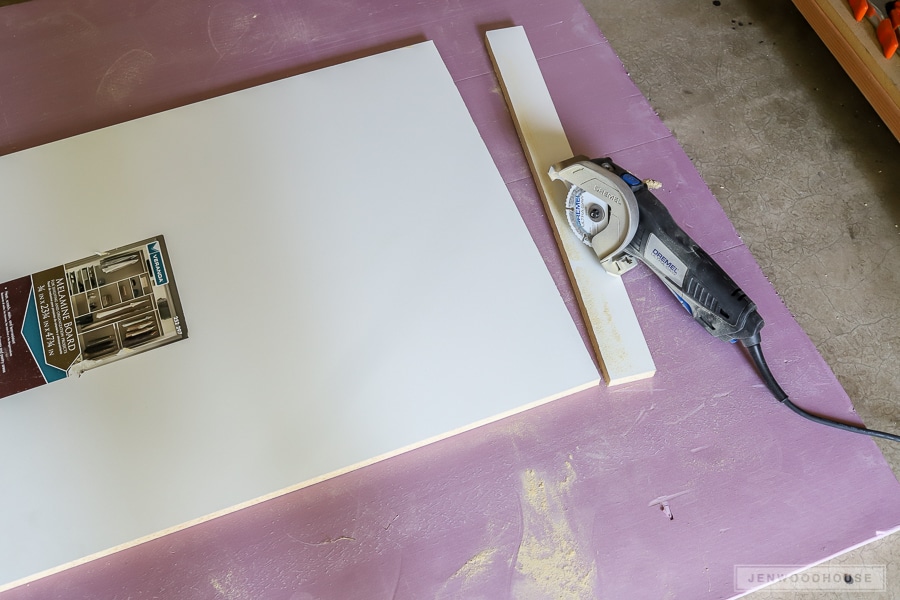
These melamine shelves happened to be the right width for our linen closet, so I just had to cut them down to the correct length. I did this with the Ultra Saw as well. So quick and easy!
Quick tip: use a foam insulation board as your cutting mat so you don’t damage your floors!
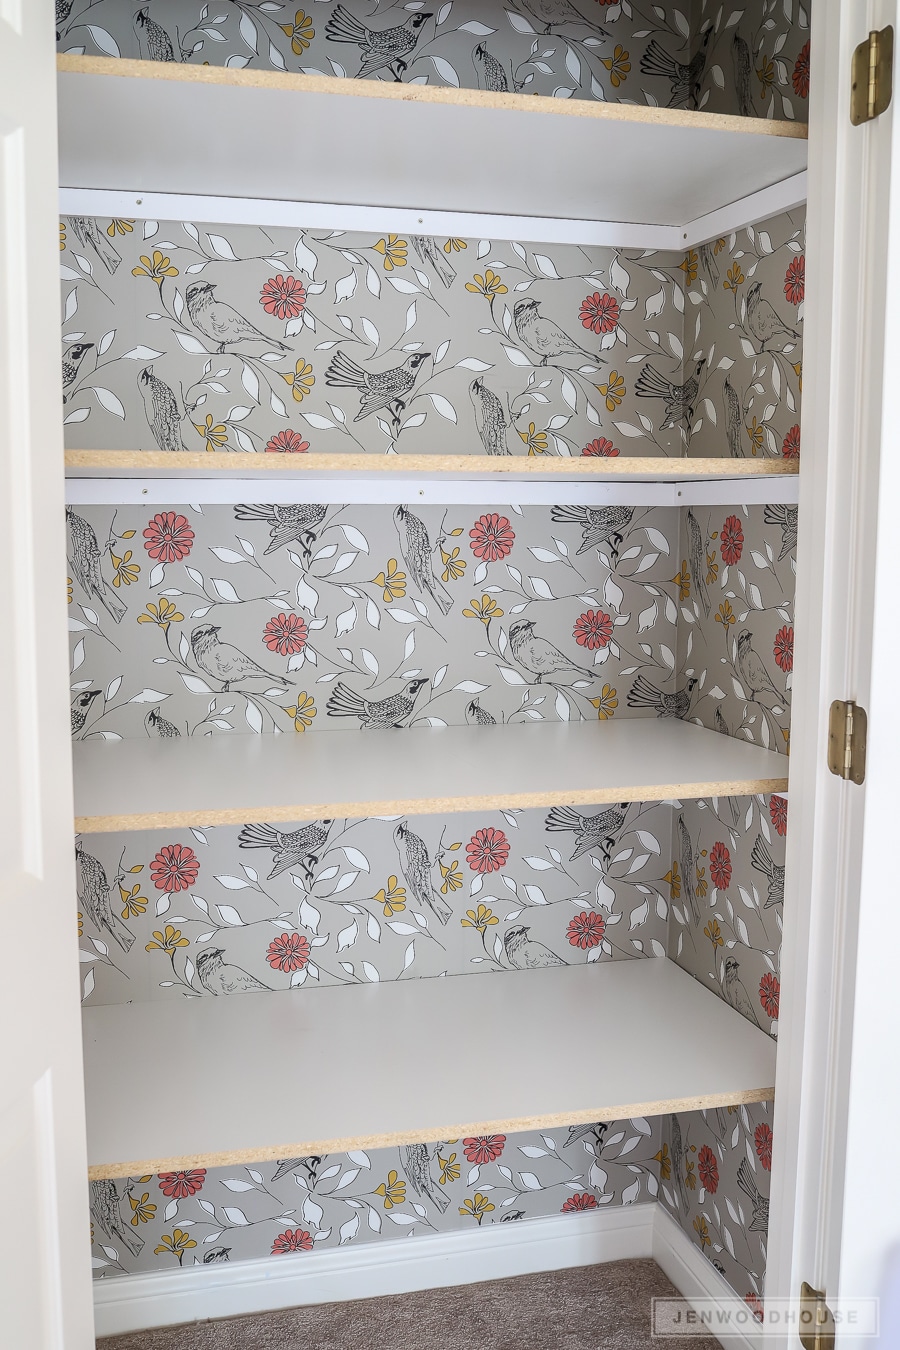
We’re nearing the finish line now. I laid the melamine shelves into place, then added more 1×2 trim to the front to cover the raw MDF edges. I used my pin nailer to attach the trim to the shelves.
I was worried that the shelves would sag because the span is almost 4 feet long, but so far, there’s been no evidence of that! These melamine shelves are surprisingly strong (and heavy!) and we’re not storing much weight on them. If you’re going to store more weight on your shelves, however, you may want to reinforce them with cross braces underneath. A good rule of thumb is to have support every 24 inches. You can use this handy “Sagulator” to make calculations according to your details.
Feel free to caulk the seams underneath where the shelves meet the cleats, if you’re so inclined.
Finally, fill up the shelves with linens, towels, extra blankets, and other items then stand back and admire your newly organized, more efficient, and fully functional linen closet! This scene gives me all the heart eyes! Would it be weird to leave these doors open all the time?!
What do you think? Are you convinced that you don’t need big power tools or a massive workshop to tackle this project? Grab a few Dremel tools and get to work! And don’t forget to tag me on social media (@jenwoodhouse #jenwoodhouse) so I can see your linen closet makeovers!

Product Sources:
- Gray Cotton Quilt
- Cream Velvet Quilt
- Rectangle Storage Baskets
- Round Floor Baskets
- Bin Clip Label Holders
- Card Label Holders
- Peel and Stick Wallpaper
*This post is sponsored by Dremel. All efforts, ideas, and opinions are my own. This post contains affiliate links. To read my full disclosure policy, please click here.



Thank you for showing this with a small tool. I don’t have the store to purchase larger tools and it stops me from doing many projects that I would love to do.
So glad to hear. Thanks for reading, Betsy!
Another great project, Jenn! I love how you take the time to explain each step and the pictures are wonderful! I can’t wait to have my closets redone
You’re the best!
I like it ! very sharp will have to do it my self
LOVE how this turned out! At first I was thinking, “wallpaper in a closet? why?”. I see now! It turned out amazing! Definitely next on my to do list 🙂 Thank you for sharing!
Jen! Talk to me about this Ultra saw? How do you get the strait line? I don’t have room for a table saw, but have had the need for quick cuts and had to use the cutter at Home Depot. Would this product be a good fit for my non-workshop garage?
Hi Marie,
Absolutely! You can clamp a straight edge to act as a guide for the saw to cut a straight line, but I didn’t bother doing that – I just eyeballed it and the saw stayed pretty straight (you can see it in action on my Instagram video). The only thing is, the Ultra Saw can cut up to 3/4″ material, so if you’re wanting to cut thicker stock, you’d have to flip the board over to complete the cut. Hope that made sense!
I have some wire shelves I’d like to replace. I loved the video. You made it look soooo easy, I think I could do it myself! Can you provide and approximate cost breakdown? It would go a long way towards convincing the Hubs. Thanks!
Hi Melissa,
Thanks for your note! Your costs may vary depending on the size of your closet, but for our closet, the cost of materials was less than $65. Hope that helps!
Thank you so much for the video, plans, tutorial for the closet organization and the behind the door shelf. I will be doing both of these soon as we just purchased a new home(new to us) and there are a few things just like this that would be very helpful.
Thank you!
Which size are the baskets? Medium or Large? I am definatly organizing my linen closet, hubby home today for surgery and ready to purchase baskets, glad I found your idea and will be looking at more on your site. I could not find the link for the pink curtains for the girls room. Can you advise please? thank you
Hi Maggie,
I believe the blankets are all king-size and I think the pink curtain from our daughter’s closet is from World Market. Hope that helps!
do you have a youtube video on how you fold?
Hi Melissa,
No, I’m sorry I don’t!
Hahahha I was thinking the same thing. I’m fold obsessive and these are great. ??
What are the baskets labeled?
Hi Brittany,
We keep bedsheets in the baskets: king size, queen size, and twin, as well as pillow covers and shams! 🙂
Jen can you please tell me the labels which I can use without using nails. I do not like to use nails on my wall if not necessary
Hi Jen! Can you please tell me what size you used for your baskets? i love how polished this looks!
I just absolutely love the linen closet! The baskets on the bottom (floor) in the cover photo on pinterest are different than the baskets pictured and linked in the blog post. Do you know where you bought the cover photo basket? Thanks!
Thanks Mollie! These are the baskets I bought: https://amzn.to/2YHtqZK (not sure if Amazon changed the image, but this is the correct link). Hope that helps!
I love this DIY! What do you keep in the bottom baskets and are the white folds towels?
Love this project and it looks so much better than what I have. Currently, just some Dollar Store plastic bins in a linen closet, ugh. Anyway, I’m always have trouble locating studs. Do you have a stud-finder that you recommend? And ladies, feel free to use that line whenever the opportunity arises!!
What is the color of paint on your hallway walls? I love the soft contrast it has with your trim.
That’s a great project. I would really like to try and tackle my linen closet as well but I’m a bit confused…are the cleats you refer to also the same as the 1”x2” wood listed in the materials list? Also, why did you have to apply trim to the front? Doesn’t the melamine shelf come with finished edges?
Hi! I have the same question! Jen, I’m planning to do this project too … can you let us know if the 1X2 is wood or melamine and once you put it in place, do you have to fill the holes and paint if it’s wood? Thanks!!!
Hi Diana,
It’s been awhile since I did this project, so my memory is a little foggy. I believe I used primed wood for the cleats. Hope that helps!
I am 100% going to try and do this project, I just hope it will look as gorgeous as yours. I love everything you did here, especially the final results. Thanks for sharing
Jen,
When using the peel-n-stick wallpaper it helps immensely if after making your cuts, you only peel back enough to get yourself started. Then as you work to smooth it out you peel a little more, then a little more and so on. It will keep the long piece from sticking to anything especially itself. When trying to remove the entire backing before install, it creates static which causes all sorts of headaches. Hope this helps.
Love