Good morning House of Wood fans! Shelly from 100Things2Do.ca here with another simple, but elegant build to add to your “I made this myself!” portfolio. Let’s make a DIY Mid-Century Modern Side Table!
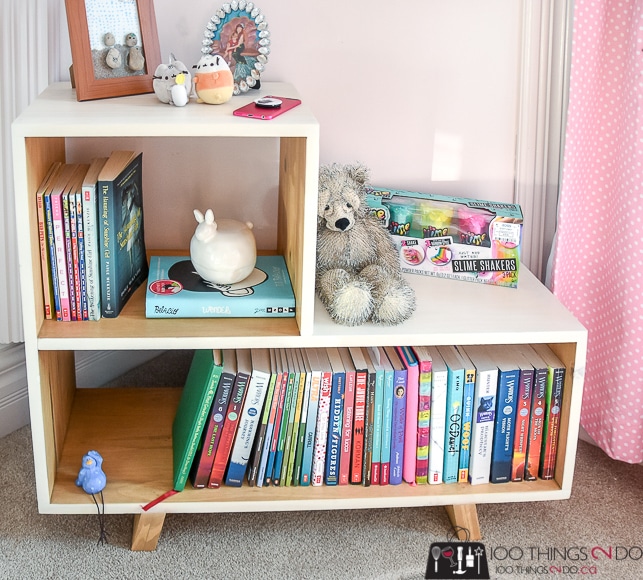
I know farmhouse style has been in fashion well… ever since there have been farmhouses – but I’ve noticed a growing trend towards MCM (Mid-Century-Modern) furniture in the pages of magazines and on sites like Urban Barn, Birch Lane, Anthropologie and Grandin Road (to name a few). MCM furniture tends to feature sleek lines, rounded edges and a combination of bulk in the functional portions of the furniture, but a minimalness to legs and handles.
For my build today, I thought I’d combine a little MCM style, farmhouse colours, and a helping of functionality in a really easy and inexpensive project; my mid-century-modern side table.
Mid-century Modern Side Table
Tools:
- miter saw
- pocket hole jig
- square
- random orbit sander
- paintbrush/s
Supplies:
- wood glue
- 1 ¼-inch pocket hole screws
- drill
- 1 ¼-inch wood screws (optional: use a brad nailer with 1 1/4″ nails)
- wood filler
- stain and/or paint
Wood:
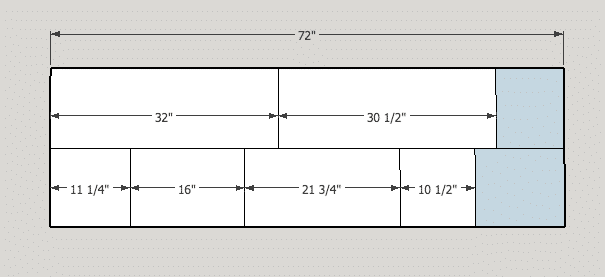
- (2) 1 x 12 boards at 6 feet long.
Pro Tip: Check for knots and warping before buying and if you are unable to cut around bad sections, mark the worst side so you can “hide” blemishes on undersides/insides.
Cuts:
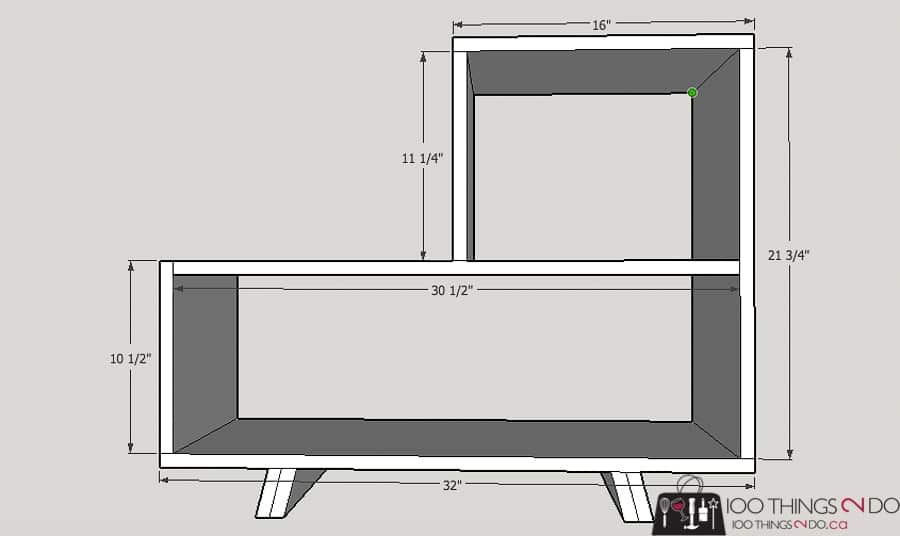
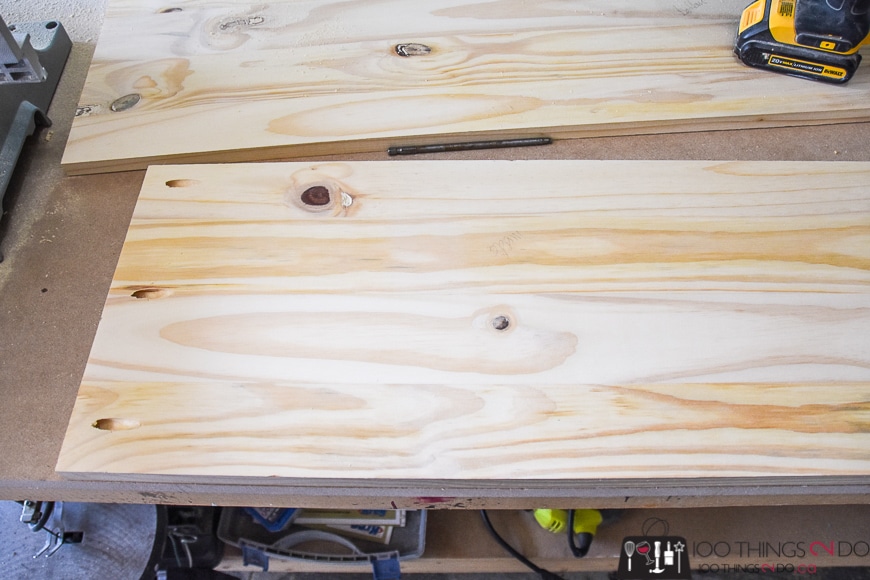
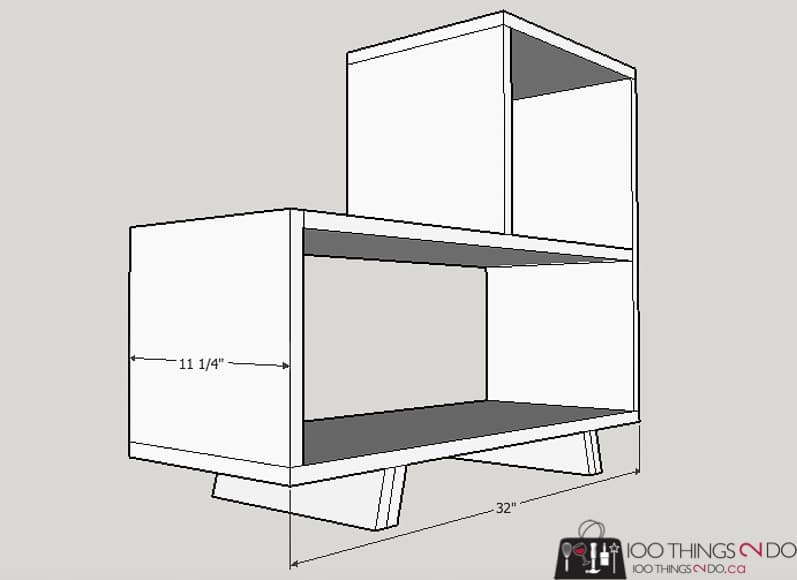
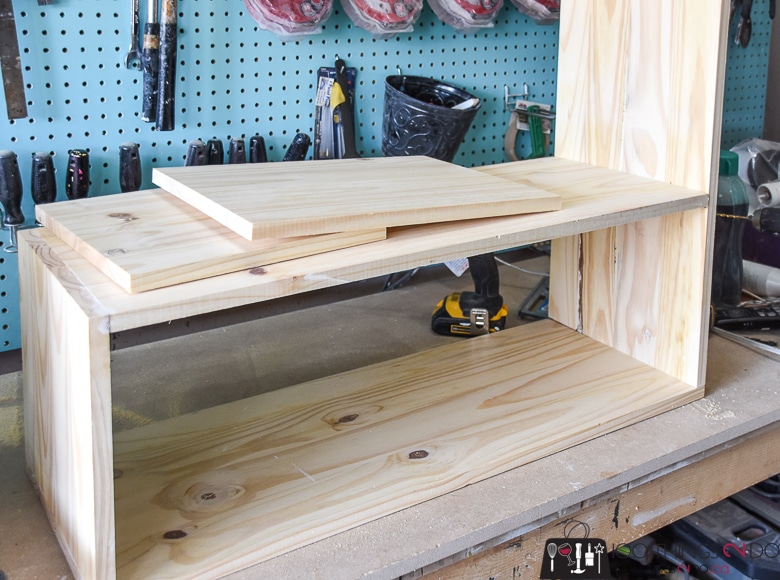
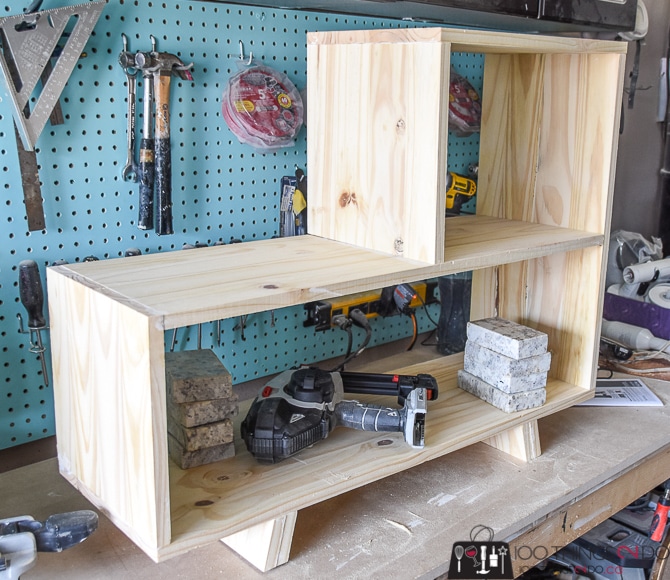
Use the pocket holes and 1 ¼” pocket hole screws to attach the 30 ½” board to the top of the 10 ½” board and up 9 ¾” on the taller side. Check for square before drilling in place.
Now you can attach the center divide section (11 ¼” board). I used wood glue and 1 ¼” wood screws and drilled up from the underside of the centre shelf 14 ½” in from your tall sideboard.
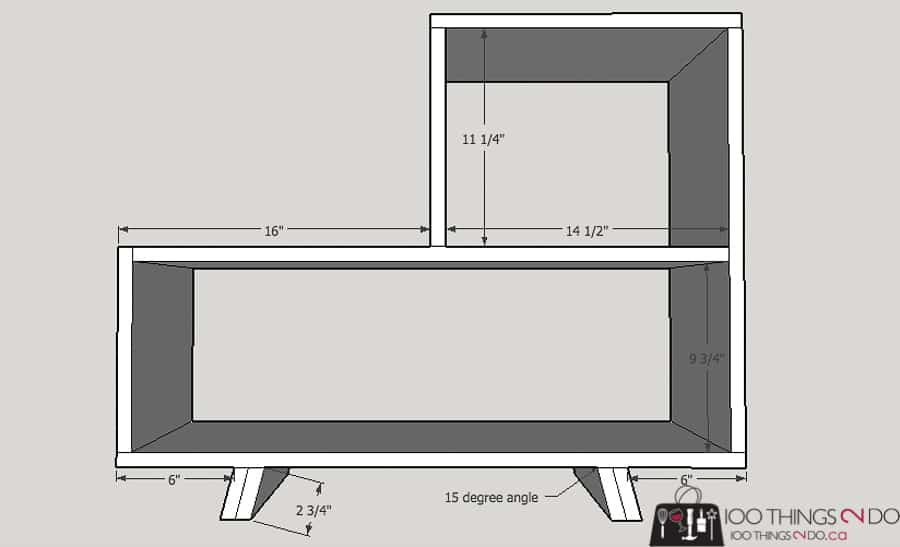
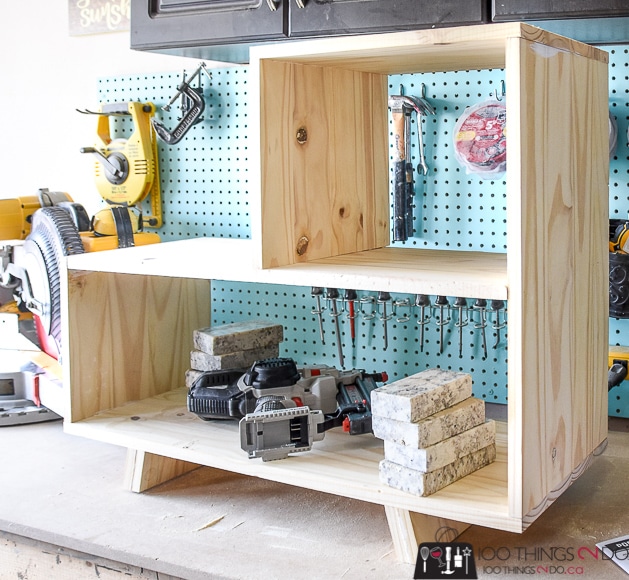
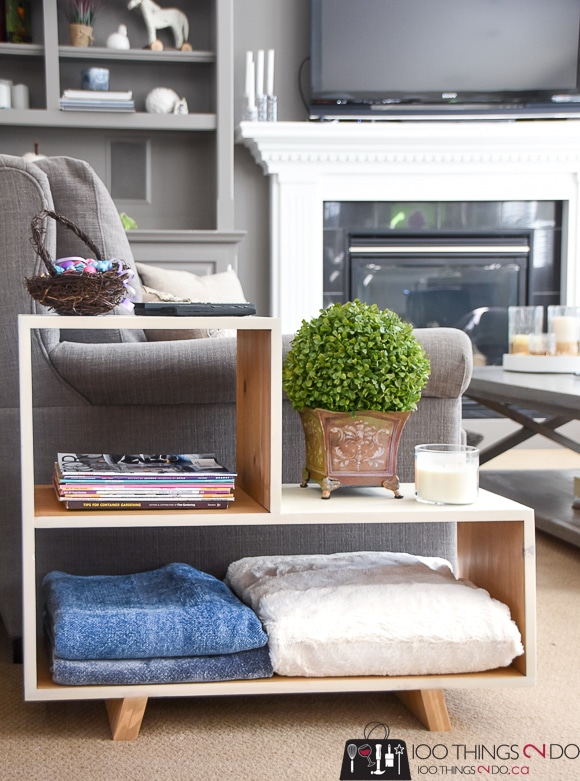
The shelf sections of this mid-century modern bookshelf are tall enough to hold average sized books, blankets and/or throw pillows (or one of those giant ashtrays that were so popular the first time this furniture style was on-trend lol)
The bottom section of your build will be dependent on the height of the chair/bed you want to put your mcm table next to.
For my purposes, I wanted an overall height for my mid-century-modern side table of 26″. This meant that I needed legs that were approximately 2¾” tall. I cut 4 pieces of 1″ x 12″ to 3 ½” long. I glued two pieces together, reinforced with finishing nails and then clamped them until dry. (do this twice)
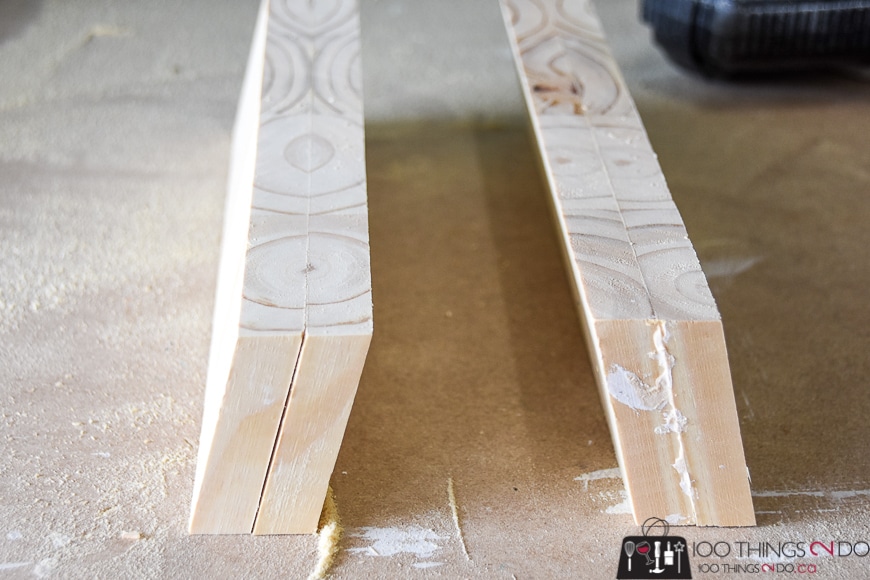
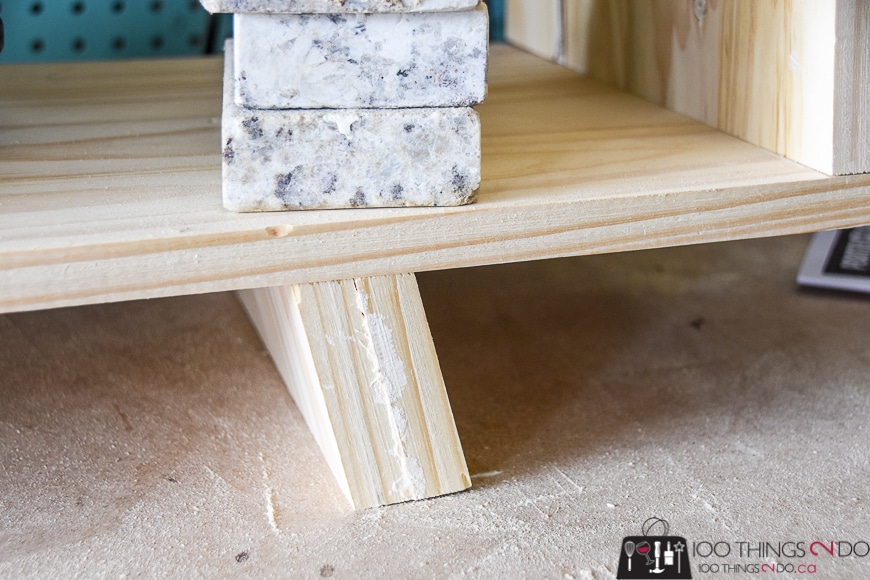
Attach the legs to the bottom of the baseboard 6″ in from either end. Use wood glue and finishing nails (or screws if you prefer) to hold firmly in place.
This is especially important if you are painting your piece. When you stain wood you expect to see seams here and there as the grain of the wood fluctuates from one board to the next, but on a painted piece, your seams should be as invisible as possible to have a smooth, consistent surface.
Sand everything smooth with 120-grit, then 220-grit sandpaper and you are ready to finish!
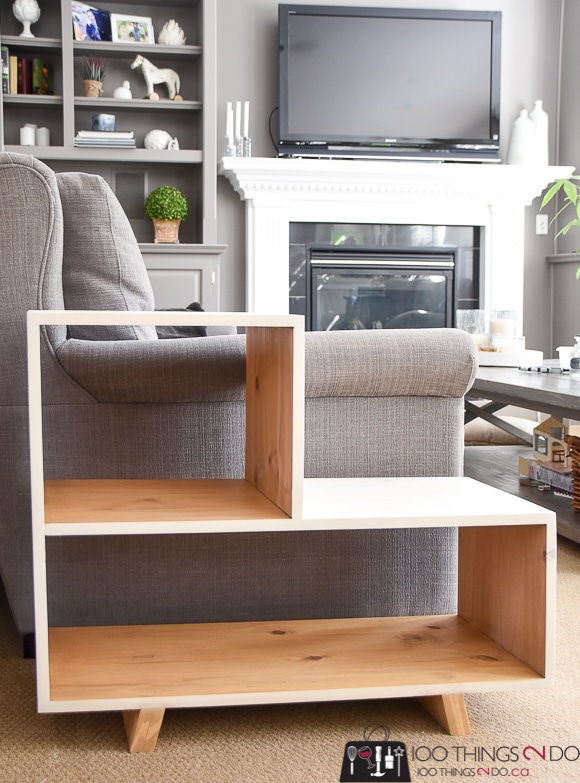
I went with a fruitwood stain for the insides of the shelving sections and then an antique white on the outside. I thought this gave it both a ‘farmhouse’ feel and was still in theme with the mid-century modern style and color combinations. My white paint – in latex – was watered down slightly to give it sort of a white-washed look – although I didn’t wipe any off as is typical when applying a white-wash finish. I topped the entire piece with a coating of clear poly to protect the surfaces from scuffs, scratches and watermarks.
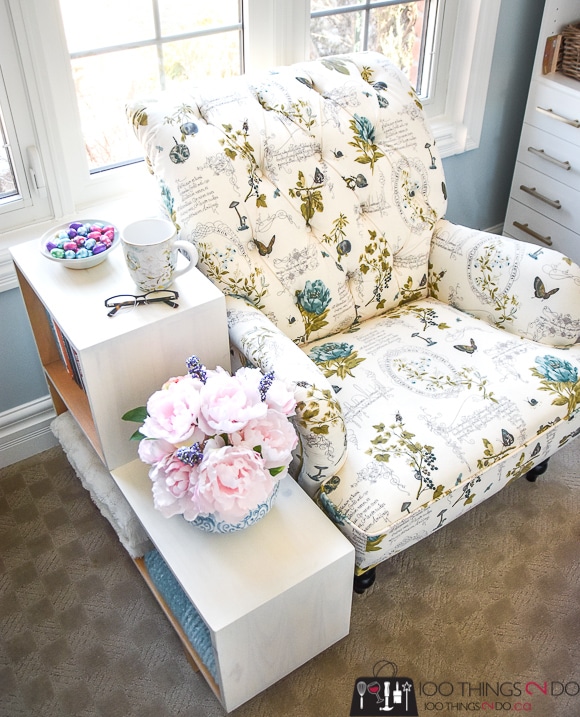
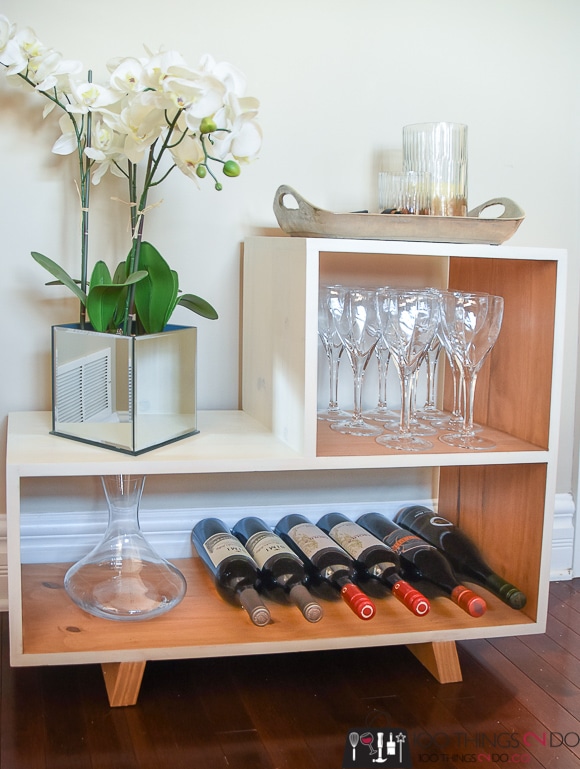
Look at all of that storage! It’s actually 30 ½” by 11 ¼” of storage space on the bottom and middle shelf and then another 16″ x 11 ¼” of storage space on the top – if my calculations are correct, that’s almost 6 ft² of storage space for books, games, magazines, blankets, pillows… in a narrow, 11 ¼” piece!
Keep blankets and magazines next to the couch and within easy reach.
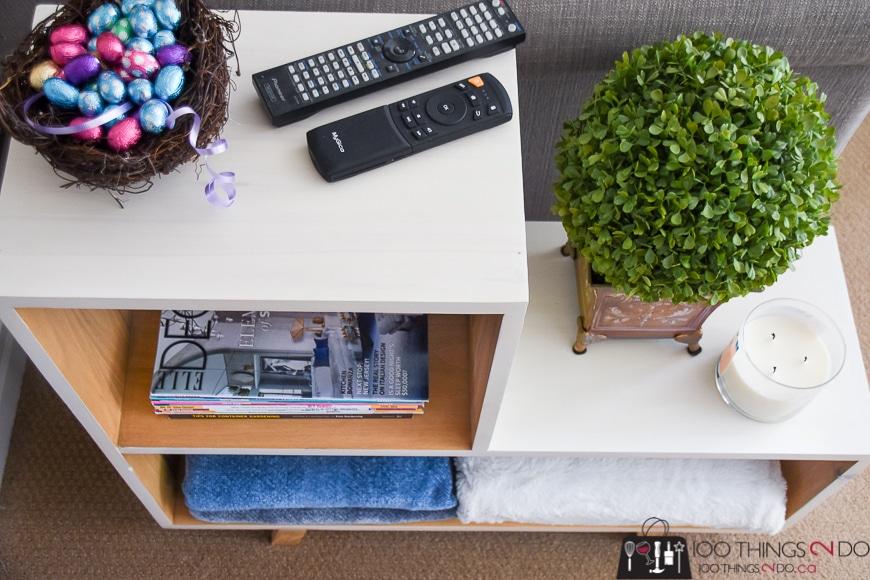
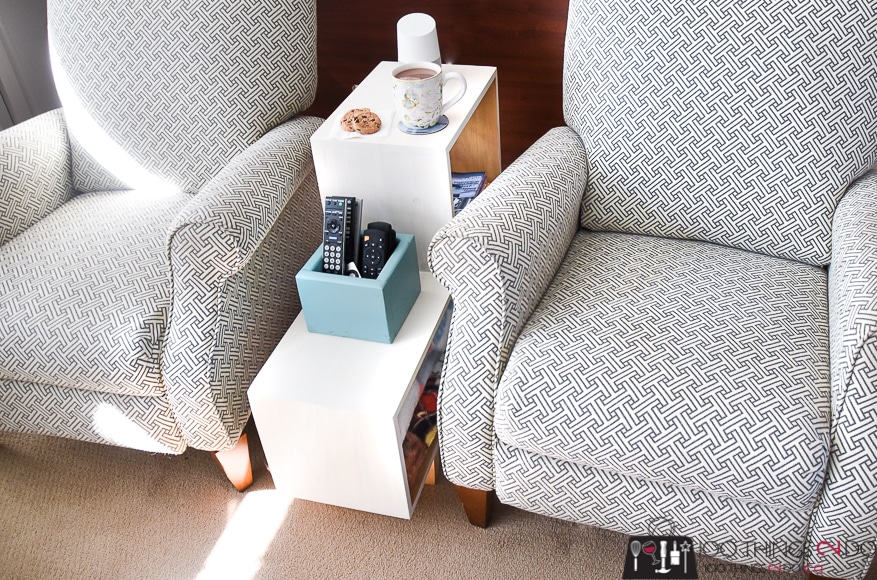
The legs are a bit short, but you could also use this as a wine rack or bar.
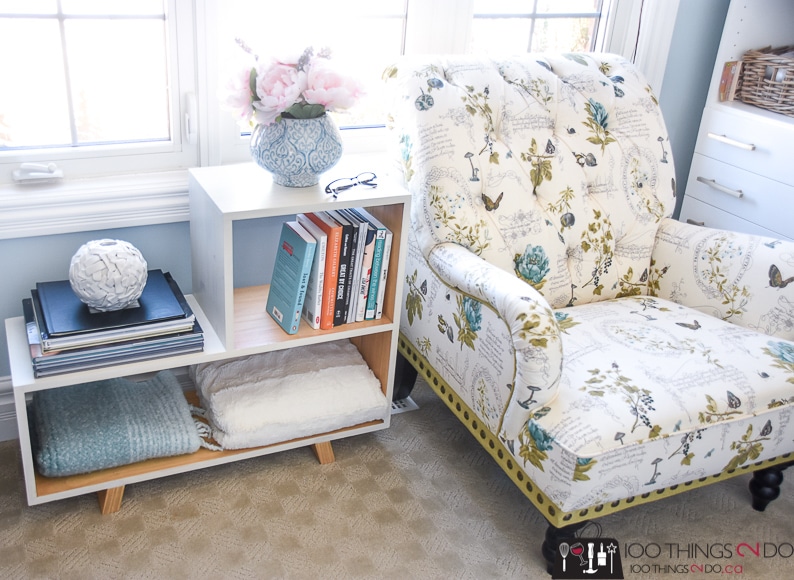
This mid-century modern side table would be fantastic in a child’s room as a bookshelf with a few stuffed toys on the side or use it as a nightstand next to the bed.

Pair it with Jen’s round marble side table or tuck it in your dining room with Jen’s modern box joint dining table.
Two pieces of wood – which ring in at about $25 – a bit of your time, and you have an on-trend piece of furniture that takes up a small footprint, but has a whack-load of style and function! Doesn’t get much better than that!
Thanks for having me Jen and Jen-fans, have a great one!


Love it. Nice piece. It seems like it would be very versatile in use. Doesn’t look too hard to make either. Thanks for sharing this wonderful little piece and all of the plans.
This project is awesome!, Also, after going through woodprix site and seeing some cool plans from his book, I was surprised you could download them.