Well, hello again, Friend! Remember that printer table I built for my dad? Well, I’m back to dish on how I achieved that beautiful finish! You can get the free plans for this project over at Ana White’s site here.
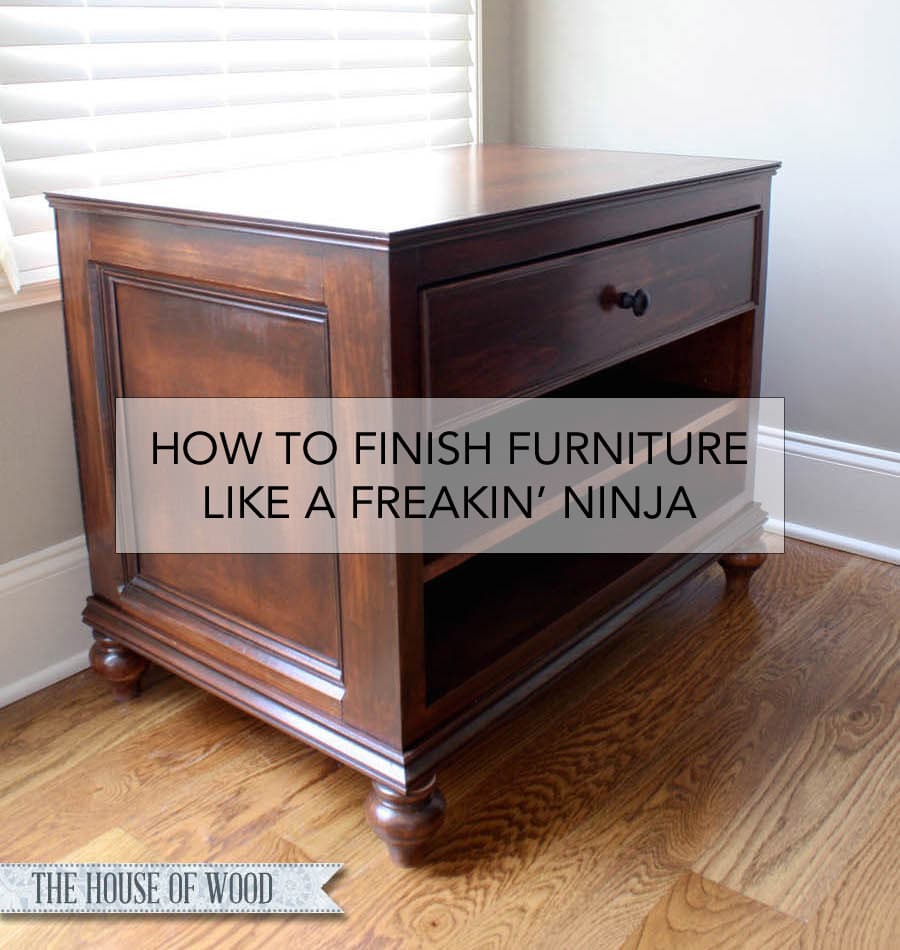
So here’s how it all shook out for me…
Supplies:
- 120-, 220-, 320-, and 400-Grit Sandpaper
- Wood Conditioner
- American Walnut Wood Stain
- Foam Brush
- Wood Filler
- Translucent Glaze
- Universal Tinting Colorant
- Water-based Polyurethane
- High-quality Bristle Brush
First, I sanded the entire piece with 120-grit sandpaper, then followed up with a finer, 220-grit. Then I vacuumed the dust and debris and wiped everything down with a slightly damp rag. I don’t use a very damp rag, because the water can raise the grain of the wood – that grain that I so painstakingly just sanded down.
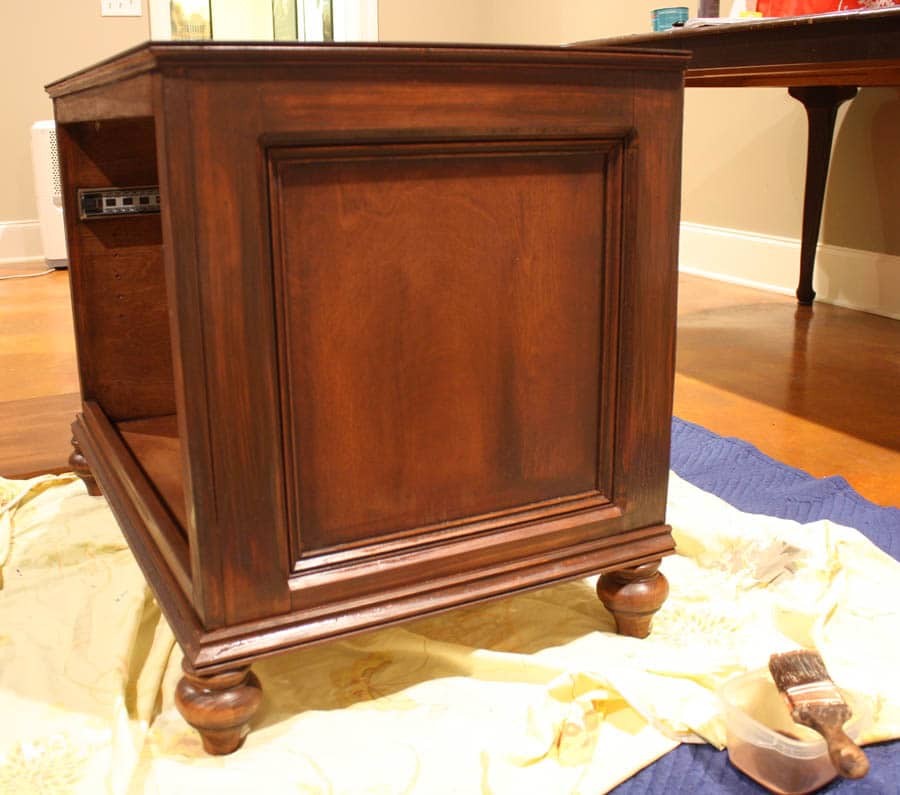
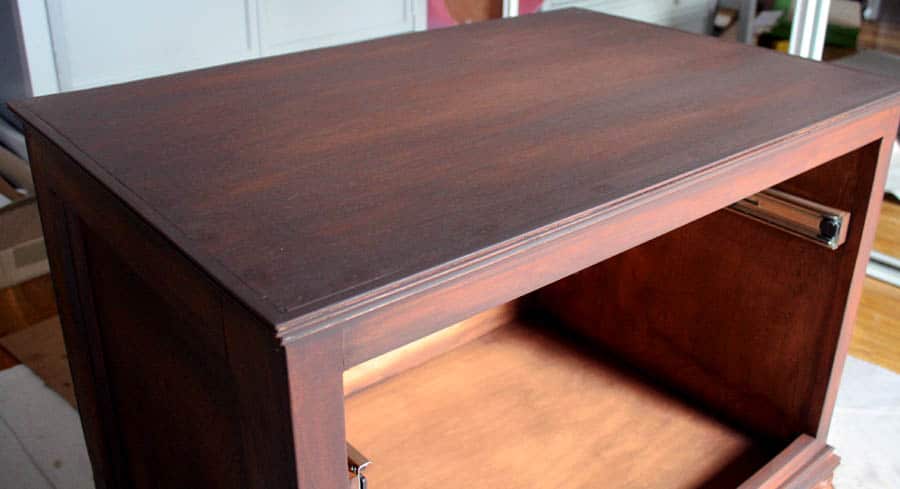
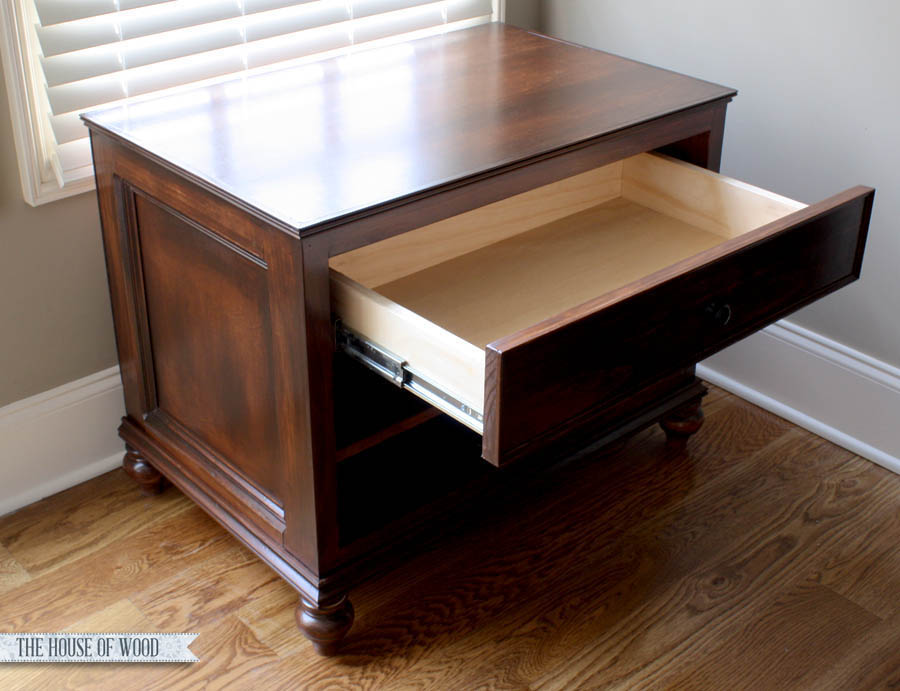
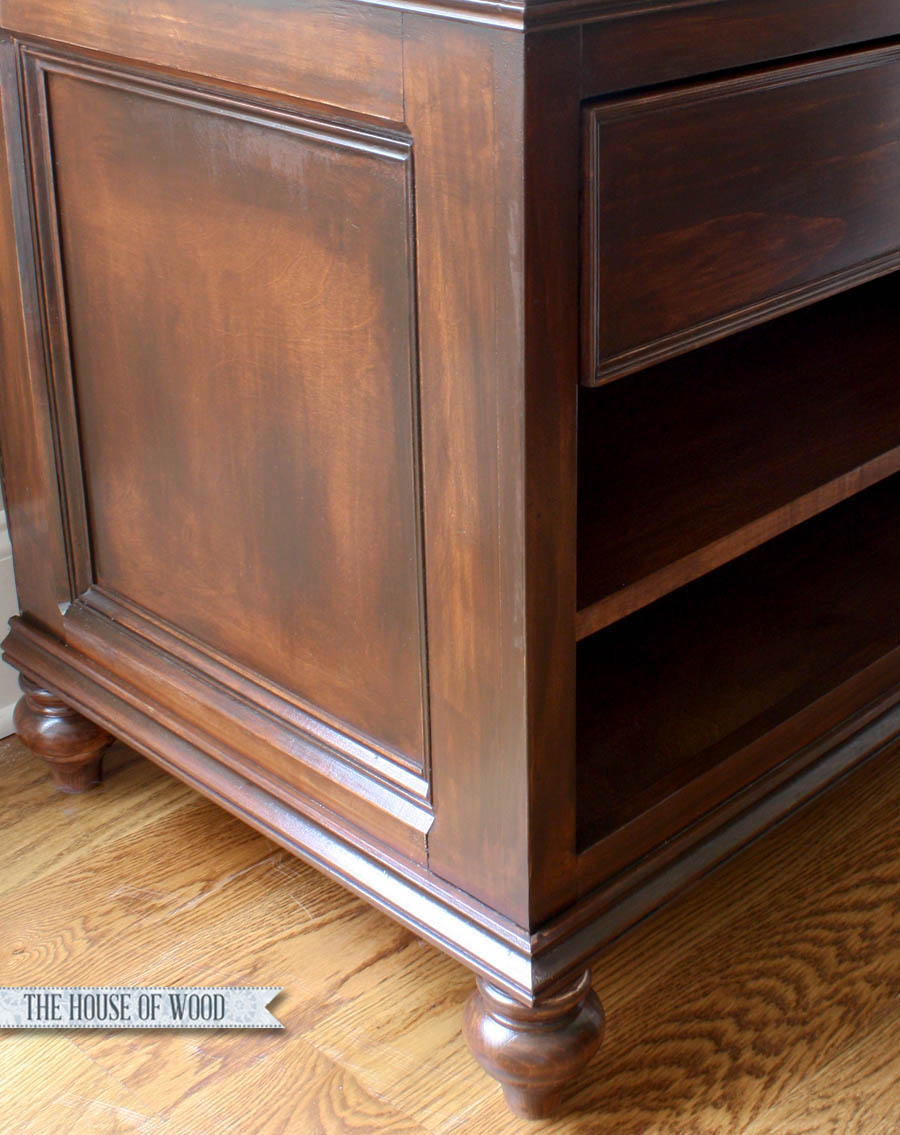
Second, I applied wood conditioner to the whole piece (per manufacturer’s directions) then stained it with an American Walnut stain. This was just to give it a reddish-brown base color to start from. See how everything is still splotchy and kind of… fugly? Well, it’ll get better, just stay with me for a sec.
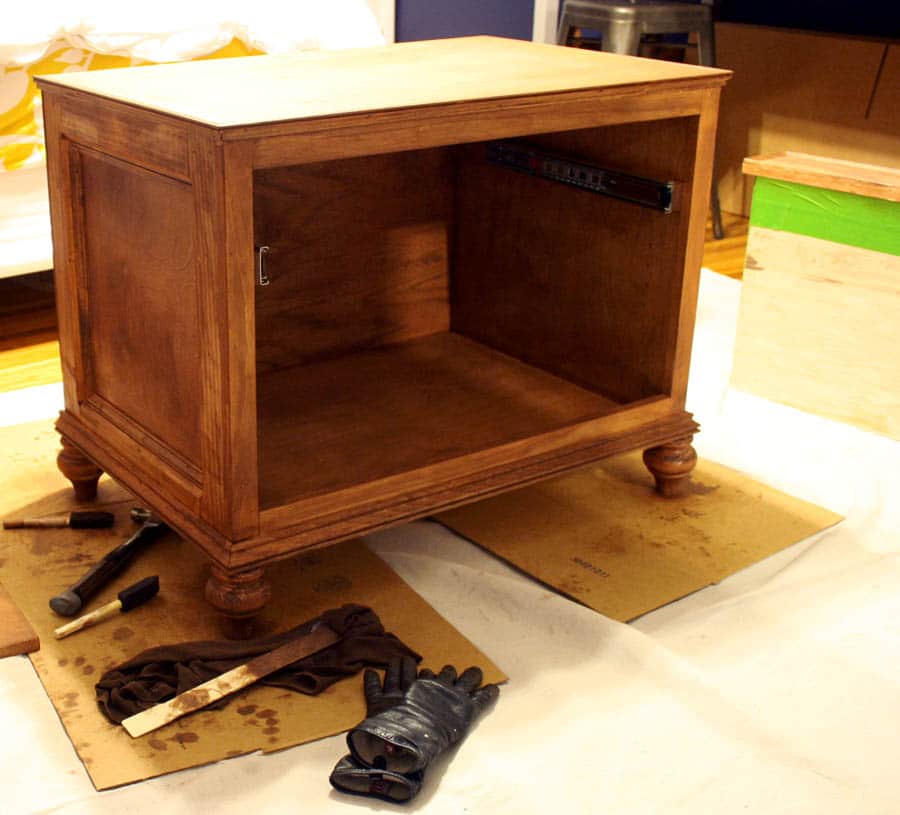
Oh, and one more thing worth mentioning before we move on… I don’t fill the nail holes until after I put the first coat of stain on. I find that wood filler never seems to stain properly (even though it claims it’s paintable and stainable). So I stain the piece first, and then fill the nail holes in and smooth everything out and sand it back down, if necessary. That way, there’s minimal wood filler to disrupt my stain color. It just helps laying down the base color first before adding the wood filler that may potentially not take stain the same way the rest of the wood does. Remember that whole surprise-disliking-control-freak thing? Yeah. Hope that made sense.
This is after one coat of stain (and before wood filler):
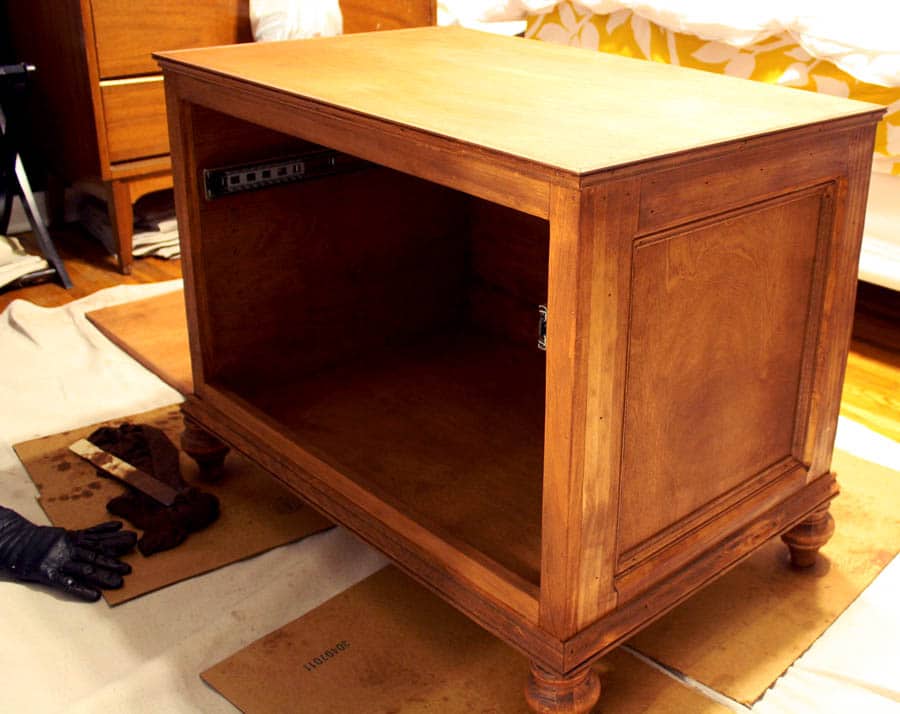
After the first coat of stain is on, I fill in all the nail holes with wood filler and smooth it out. After the wood filler is dry and hardened, I sand where necessary and quickly hit it with my stain-soaked rag, just to color in the wood filler splotches.
Alright, so this next step is where the magic happens. I’ve never worked with glazes before in my life, so this was a total game-changer for me. I did a lot of researching and YouTube video-watching to understand what a glaze is and how to use it.
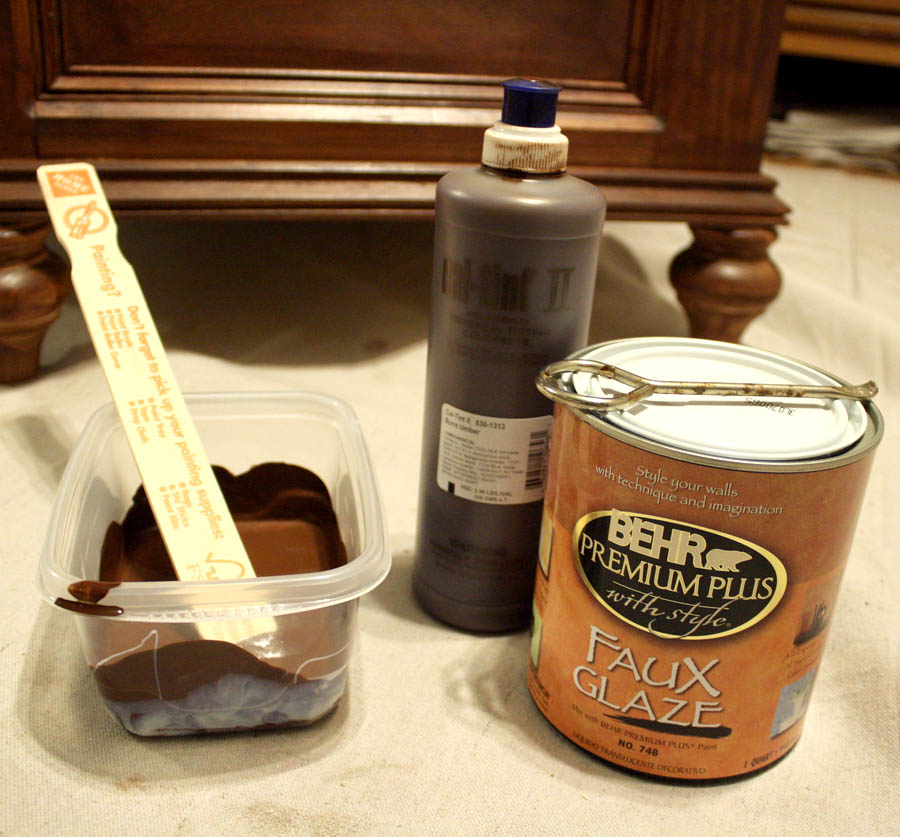
Glazes come in many different colors, but if you’d like to mix your own custom color (which is what I did), you should get a translucent glazing medium and tint it to your desired color. There are really no hard or fast rules – you can choose any colorant you want: universal tinting colorant (shown below), furniture powders, latex or acrylic paint – it’s up to you. I used a universal tinting colorant that I bought on Amazon.
I poured about 1/2 cup of translucent glaze into a disposable container, then mixed in the tint. I started small (1 tsp) and worked my way up until I achieved the color and shade I wanted. I started with the burnt umber, and found that the color matched too closely to the stain color; it looked like I was just painting some brown paint on, so I added a teaspoon of raw umber to the mix, which added a cool, dark tone.
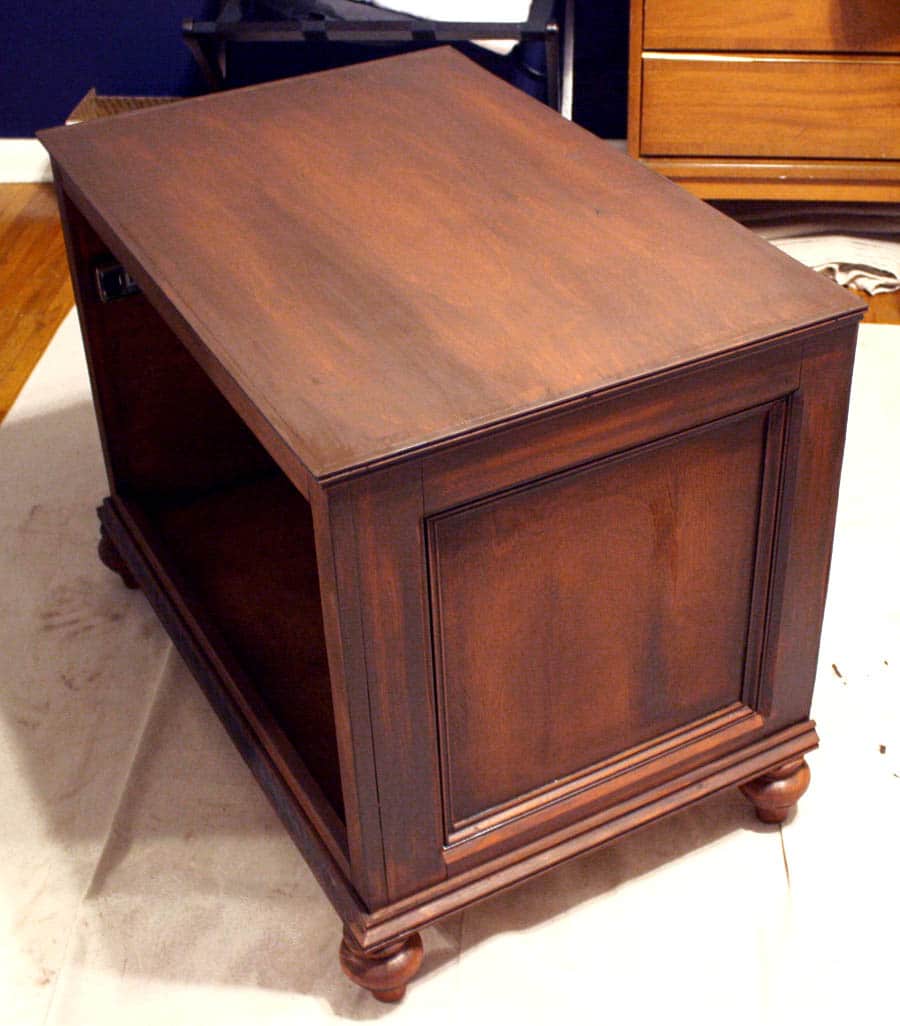
Then I brushed on my mixture (any ‘ole brush will do), shadowing here and there. Since my dad’s desk is sort of ‘stripey’ – I tried to mimic that. Then I wiped off the excess with a very damp cloth, using the cloth to blend blend blend! This took most of the glaze off, but left it in the crevices of the trim. I tried to take a painterly approach with the glaze, following the natural grain of the wood, to accentuate it. You can see where I brushed it on and wiped it off in different sections, just kind of eye-balling it.
Goodness. It adds so much more depth to the finish, amiright?
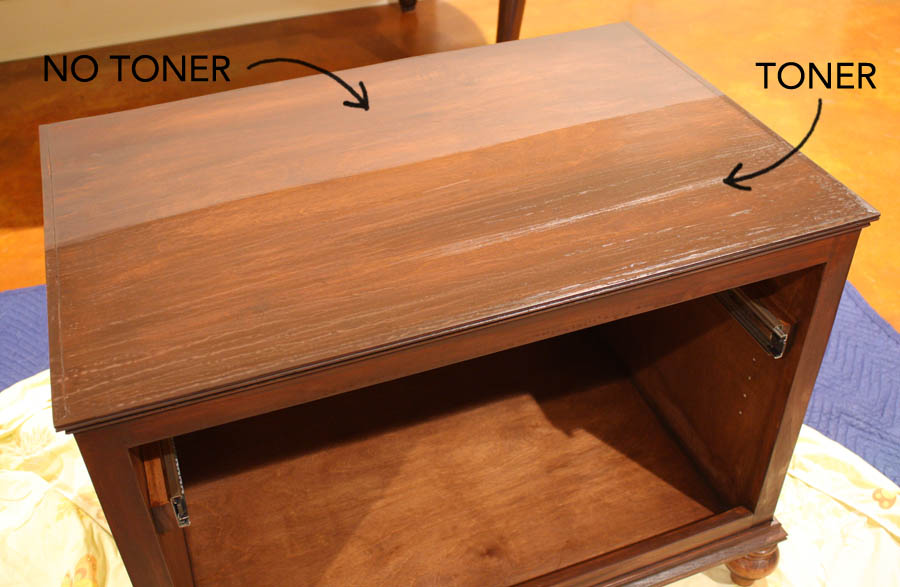
Next, I moved onto mixing up a wood toner. Basically, the toner I mixed up is a tinted, extremely diluted polyurethane.
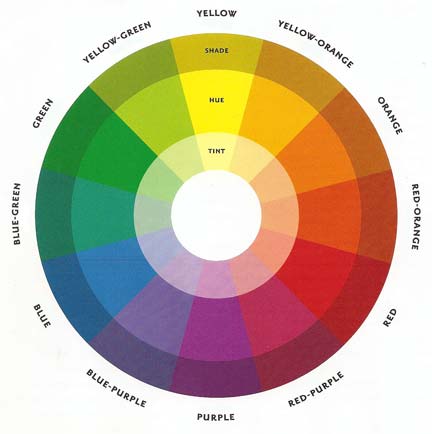
Keep the color wheel in mind. Colors that are opposite each other on the wheel cancel each other out, or ‘tone’ the other down. So from now on, when I get my hair colored and the stylist comes at me with a purple toner, I don’t need to duck and cover. I now understand that she’s trying to tone down the yellow, brassy tones in my hair. Same concept here.
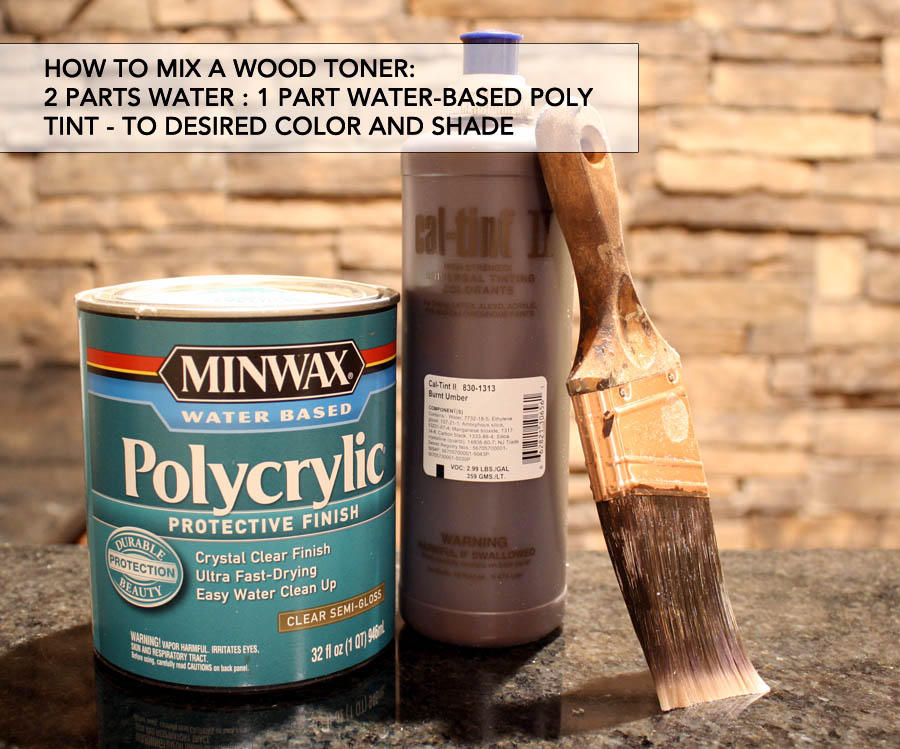
Then I brushed it on with a high-quality brush. I went slowly so as not to create bubbles (which poly is notorious for). The toner blends everything together and unifies the look.
For the top coats, I used Polycrylic in a semi-gloss sheen, brushing on each coat using a high-quality brush. Don’t use foam here – it’ll cause bubbles and we definitely don’t want that. I applied 3 coats of Polycrylic, hand-sanding in between coats with 400-grit sandpaper.
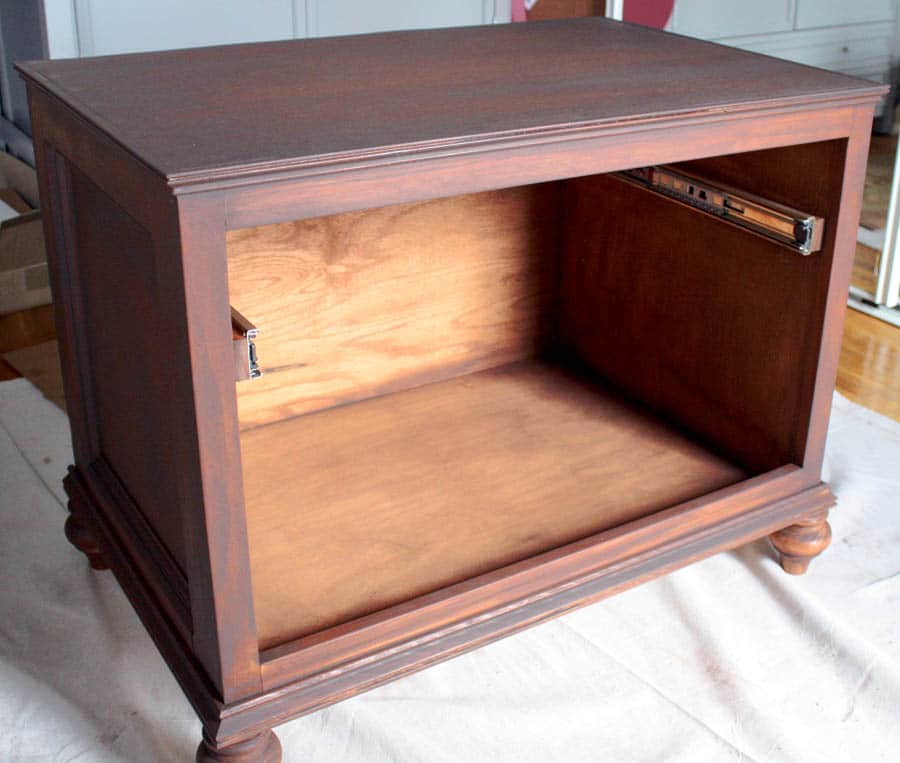
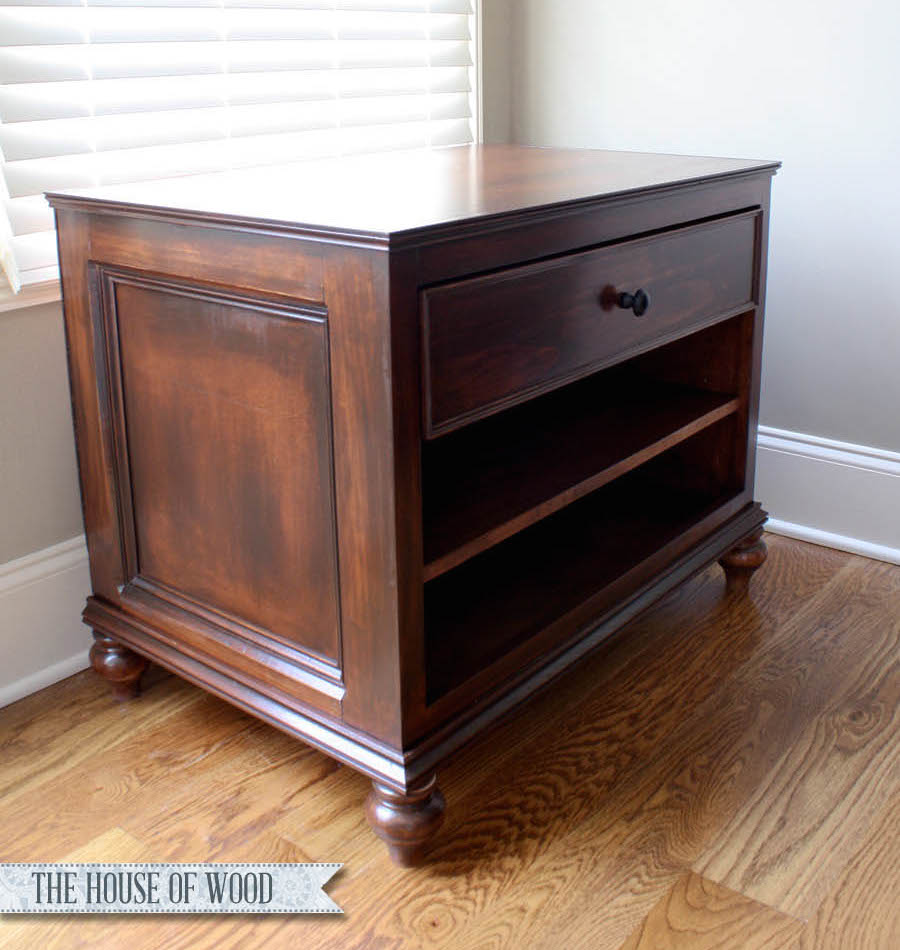
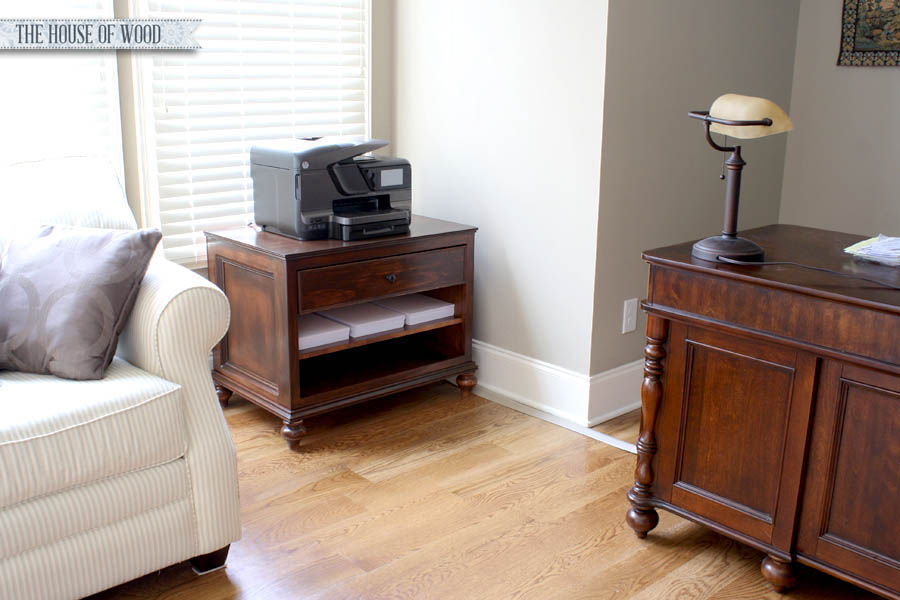
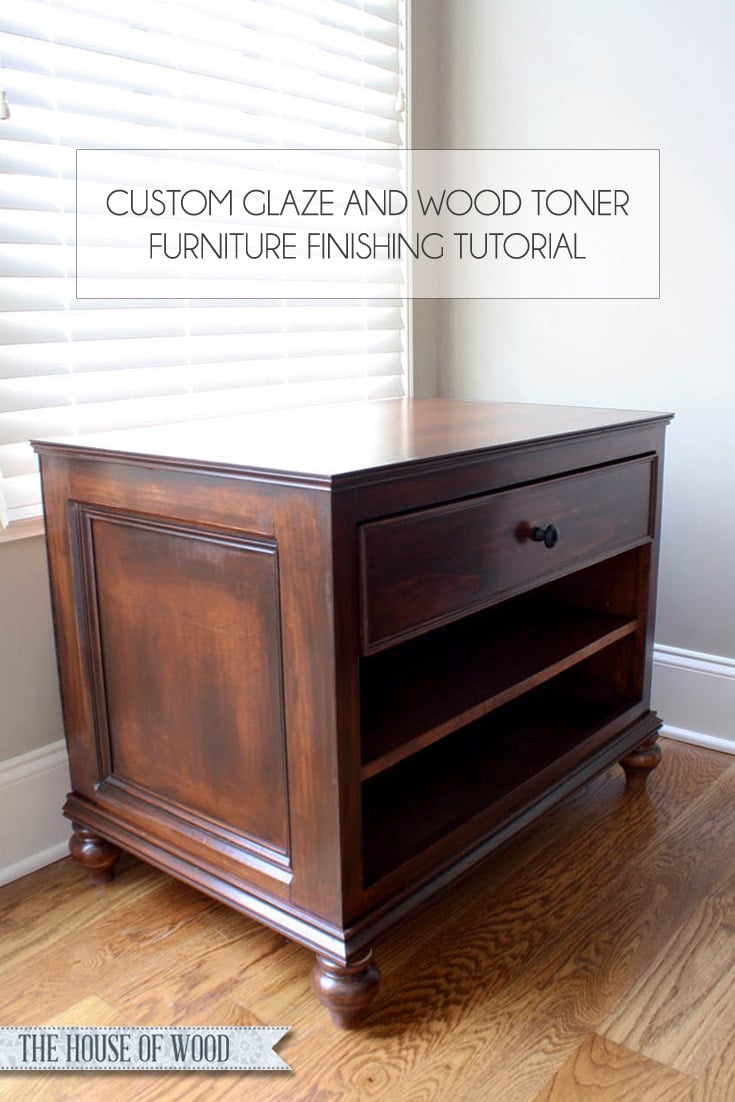
And here’s how it turned out:
I was really apprehensive during this entire process because I needed the DIY printer table to match my dad’s existing desk as closely as possible. I’m really happy with how it turned out – even though it’s not an exact match, the two pieces still look like they belong together and the finish doesn’t compete with or distract from Dad’s beautiful heirloom-quality desk.
So there ya go! A few extra steps, but totally worth it in the end, right? A whole new world of finishing is opened up to me now, and hopefully to you too!
What about you? Do you have any game-changing finishing techniques you’d like to share? I’m such a novice at this sort of thing, so I’m always grateful for any insight. Thanks for reading, friends. Happy finishing and happy weekend!
Thanks for pinning and sharing this tutorial – I heart you!
*Affiliate links used. To read my full disclosure policy, please click here.




Jen, you are so freaking adorable! I couldn’t have explained each step better myself! I’m so glad you took the time to write this. Not only are you way funnier than me but now every time someone asks me about the finishing the desk I can just send them this link. Thank you so much for the huge shout out!
Thank YOU, Elisha! Couldn’t have done it without you. 😉
WOW, thanks! I’m just learning to stain as well and haven’t been able to get beyond the splotchy look, so this is so helpful. I used wood conditioner, but still couldn’t get that lush look. Who would’ve known there were this many steps. But that also means more products to buy… sigh… 🙂
So true, but the good news is, this stuff will last you FOREVER! I only used a couple teaspoons of the tint and about 1/2 cup of glaze, so you really just have to buy them once, unless you’re finishing a crap ton of furniture. Good luck and happy finishing!
Thank you for much for the step by step explanations. Now I am going to get the tint and glaze to work on a few blotchy pieces that I was pretty sure the only way to proceed is to paint over them. 🙂
Yay! Good luck!
Thank you for explaining what you did to finish this piece of art. I plan to save the article for future use. Might want to ask you questions in the future if thats ok about something Im finishing. The glaze I had heard of have never used, have played with dye stains and have added some to other stains to change color a little. Do you have other articles you might share? Seems like you are the expert. Thanks again Jen, and to Jay for adding to his BS subjects, ahaha , Garver
Jen, what an amazing finish! This printer table style is going to be my next project but I’m going to convert the size to bedside tables. I am in the process of building the bed right now to mimic Restoration Hardware’s Maison Bed. I am using Ana White’s design with drawers instead of plain kickboards for the sides of the bed. I am also here in the Nash-vegas area and would love to watch a project you are doing sometime to help me learn more! Thanks so much for these instructions for the finish as that has always been my hardest area to conquer.
Jen I’ve seriously never left a comment on a blog of someone I don’t know so you’re my first and that says a lot! Wow! I learned so much from this post! You made your furniture look amazing and of such high quality! I have so much to learn and will be sharing this post and referencing it a lot. I’m glad I read it because I’m about to redo my boys’ dresser and now that I’ve read this it will turn out so much better. Thanks! (Not that you’ll want to check out my beginner blog but if you do it is currently .blogspot.com but I’m upgrading in a couple days to no .blogspot.com ending …baby steps right?) Anyway, thanks again for the post and happy creating!
Thanks so much for the kind words and for stopping by! I’m glad you’re here. Your comment made my day! Good luck on your boys dresser refinish. I’d love to see it when you’re done!
Will do! Not sure how to send you a picture of the before and after when it is done, but I’ll figure it out 😉
Just email me! Good luck!
I have a questions. Trying to replicate this type of finish and I have been doing a lot of research online about glazing since I have NEVER done it before but I seem to keep reading things that say you need to seal the stain first then apply the glaze or the glaze will just act like a stain. Can you explain this to me??? I am soooo confused on what to do. Thanks soooooo much!
Amy
Hi Amy,
I didn’t seal the stain first before applying the glaze. I stained the piece, let it dry then mixed up the glaze and brushed it on. I used a very damp rag to manipulate the glaze, wiping most of it off while some remained in the nooks and crannies. Once I was happy with how it looked, I mixed up a wood toner and applied that to even things out. After everything dried, then I finished it with 3 coats of polyurethane. Hope that helps – good luck!
I needed to see this finishing tutorial. I just finished sealing a coffee table I’m working on, but man the brush marks are driving me crazy. I probably should have bought a high quality brush.
Great article! We are linking to this particularly great article on our website.
Keep up the good writing.
This looks amazing!!!! I’m not nearly the wood working expert you are but can definitely tell the amount of work that it took. I’ve never worked with wood glaze but your project looks so good I’m definitely going to give it a try. Thanks for sharing this
Awesome! Thanks for stopping by Jay!
Thank you so very much! The detail you laid out in this post is just what I was looking for. I just finished building a 9 foot sofa table and really want it to match the look/color from a small corner curio I found at a thrift store. I’ve worked with stains before but never done any glazing; your process was the simplest and best instructions I was able to find and it really help me achieve the look I wanted.
BTW – your printer stand looks awesome and I may just tackle that for my next project!
Thank you
Thanks so much for the great note, Carl! So glad my post was helpful!
Hi there,
I stumbled across this post going down a rabbit hole of links. 🙂 It looks like the Behr Faux Glaze 748 is no longer available. Do you have another recommendation? Or a more current post on how to make a beautiful finish please?
Hi Cari,
Any glaze should work! Good luck!