Sometimes I get bitten by an unexpected building bug where I MUST BUILD SOMETHING RIGHT THIS SECOND FOR NO REASON WHATSOEVER. One would assume I have a lot of free time on my hands, right? Nope. But today, I threw caution to the wind and said “eff you, DIY project deadlines, I must build a pair of tapered cedar planters rightthisverysecond even though I have absolutely no need for a pair of tapered cedar planters!”
A few months ago, my friend Ana White posted this photo by MakeYourselfHome on her Facebook page and I haven’t been able to get those gorgeous planters out of my head ever since! It’s a variation of Bower Power Blog’s $20 Tall Planters.
So instead of completing any of the projects on my ever-growing and time-sensitive list, I built two of these sexy beasts:
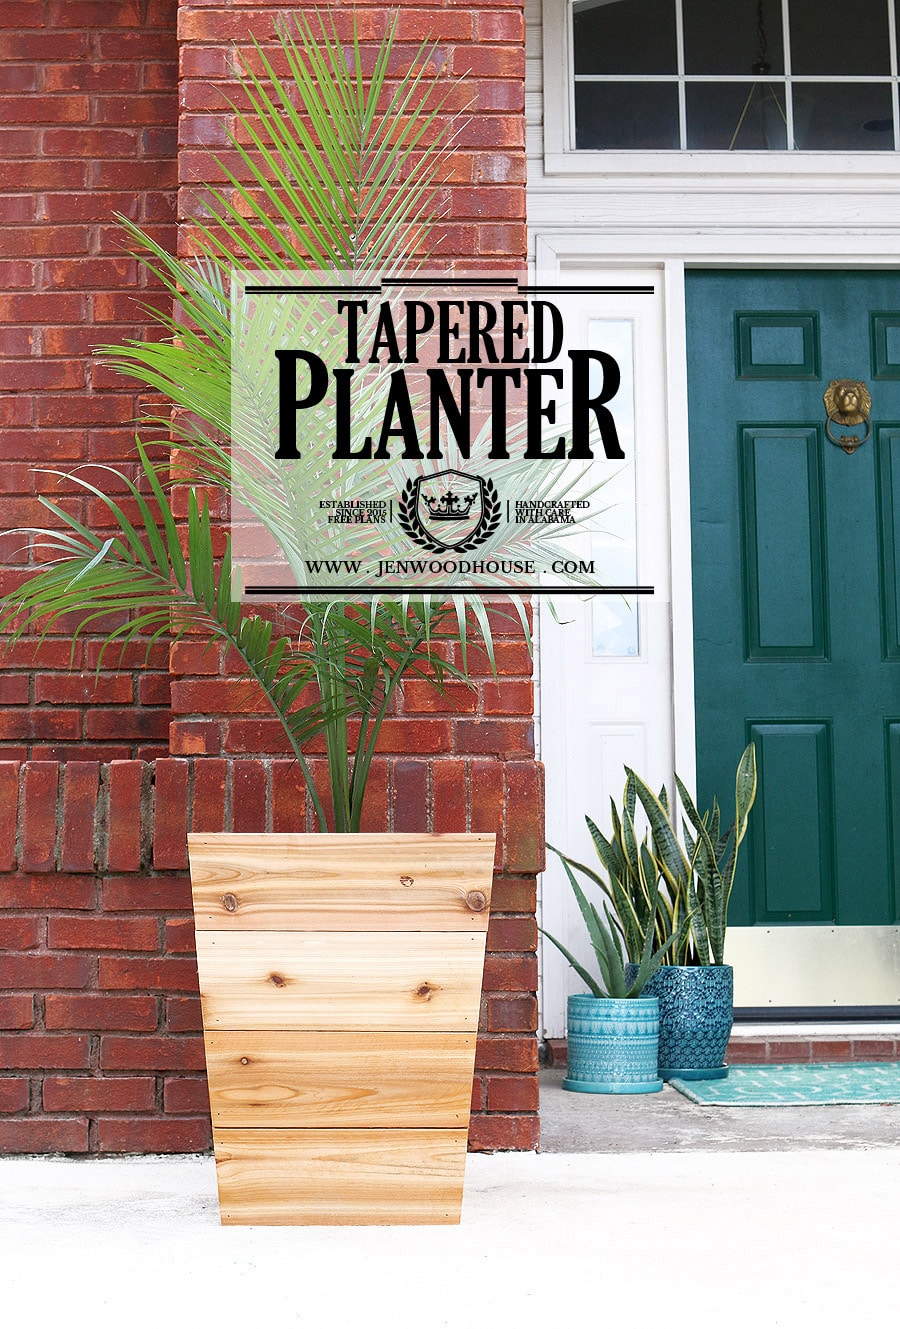 It’s a good thing they didn’t take long to build. My kids went down for a nap, I got busy, and had a pair of new planters by the time they woke up. I love naptime, don’t you? I just like to build things, you guys – I almost forgot to take progress pics too, because I was having too much fun building for no particular reason at all. Sometimes, you just gotta do it for you. Amiright?
This is a super simple and inexpensive project. I was browsing around The Home Depot (a daily occurrence for me) and discovered that a 1×6 8-foot cedar board cost almost $20. That’s for one board, you guys. For reals. Ridonk. I literally said out loud: “that is insane” then texted my friend Jaime in disbelief. After I recovered from sticker shock, I made a beeline over to the cedar fence pickets to pick up 8 pickets at $2.55 a piece. Now thaaaaat’s more like it, thank you very much.
The cost to build two of these babies was about $20! And if you’re a little math-challenged, it’ll cost about $10 to build one planter. You’re welcome.
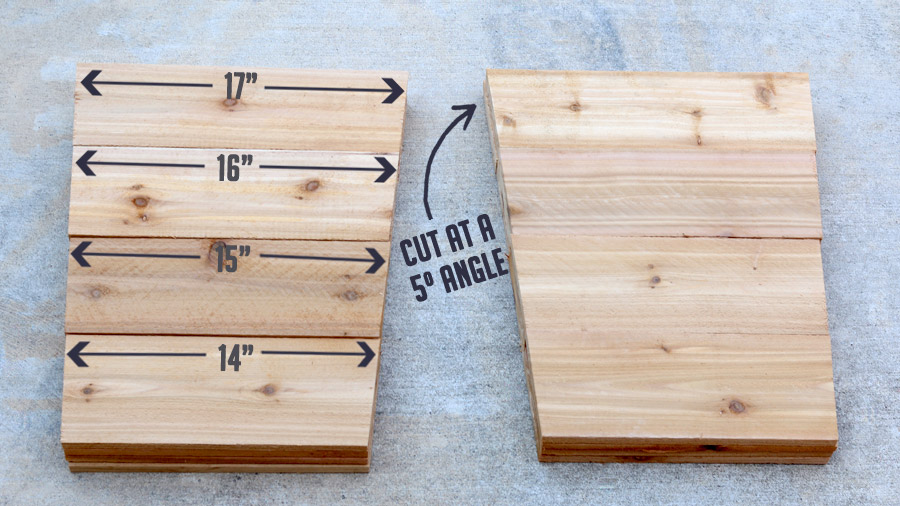
First, I cut all my pieces, cutting the ends at a 5º angle:
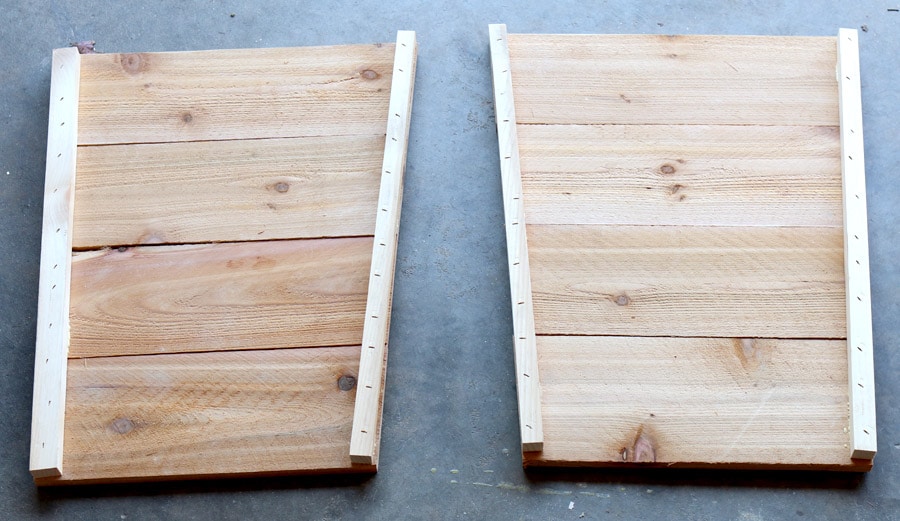
Then to construct two of the panels, I took some scrap wood and glued and stapled it to the boards like so:
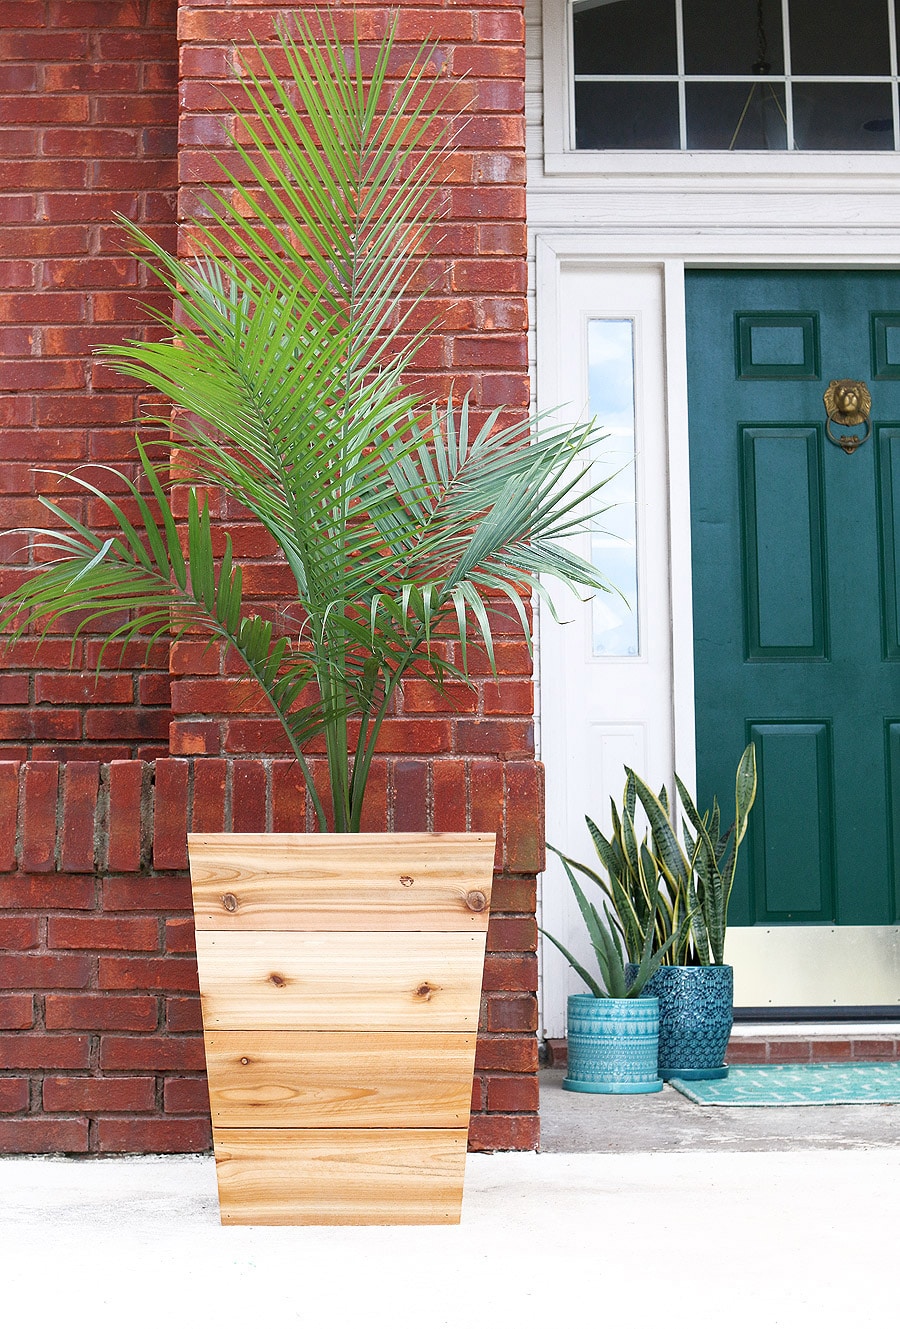
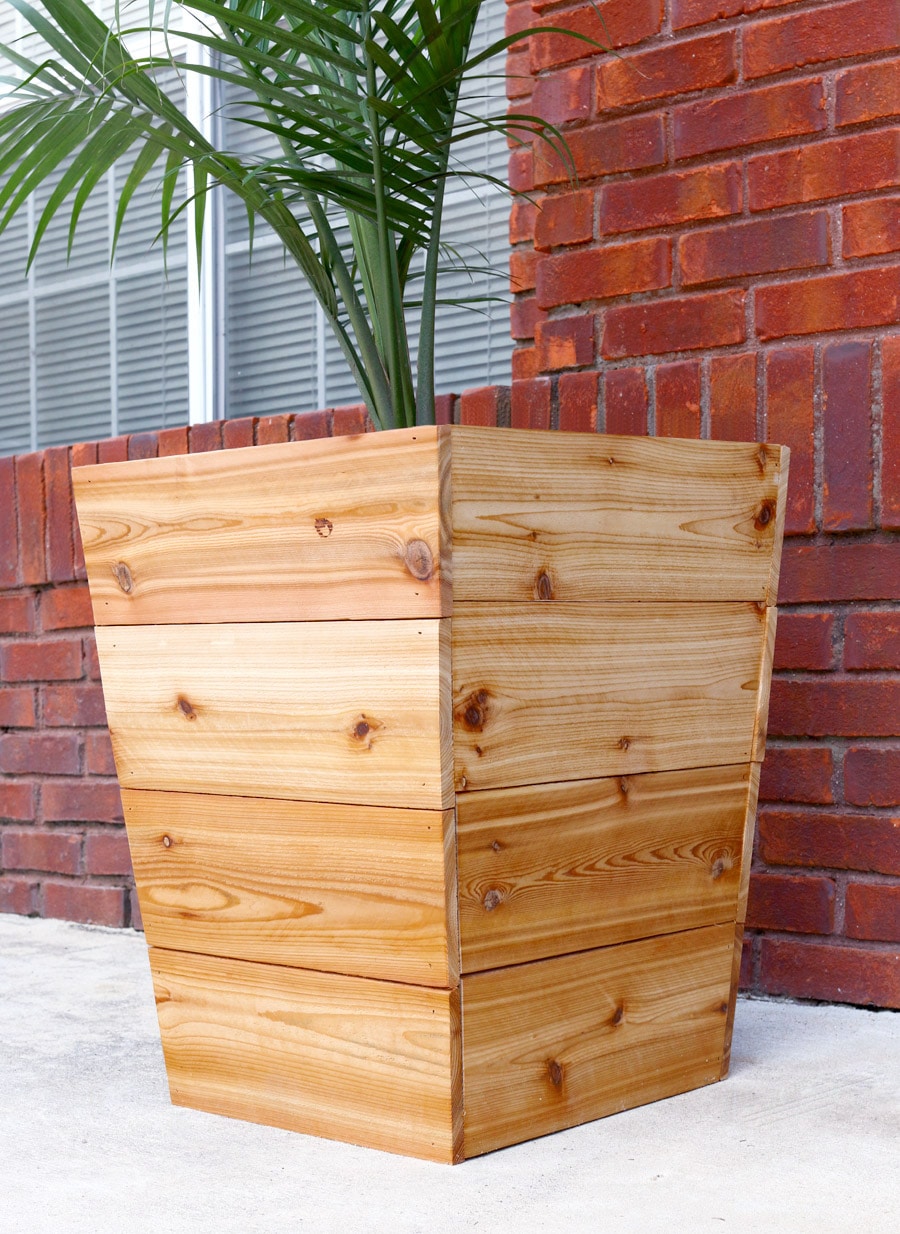
 Then I attached the other two sides with wood glue and brad nails to form a box. I chose to use staples on the inside and brad nails on the outside, just because I feel as though staples are more secure, yet brad nails are less visually intrusive. Although cedar is naturally resistant to decay and thus better-suited for exterior use, I sprayed a couple coats of matte polyurethane to protect it from the outdoor elements.
I bought a couple of 15″ square plastic planter pots to drop into these planters. I thought about adding some supports on the inside of the planter to support the pot, but because of its tapered design, the plastic pot can only slide in so far. I may add some supports later on, if it ever becomes an issue, but for now I’ll just go on living my life.
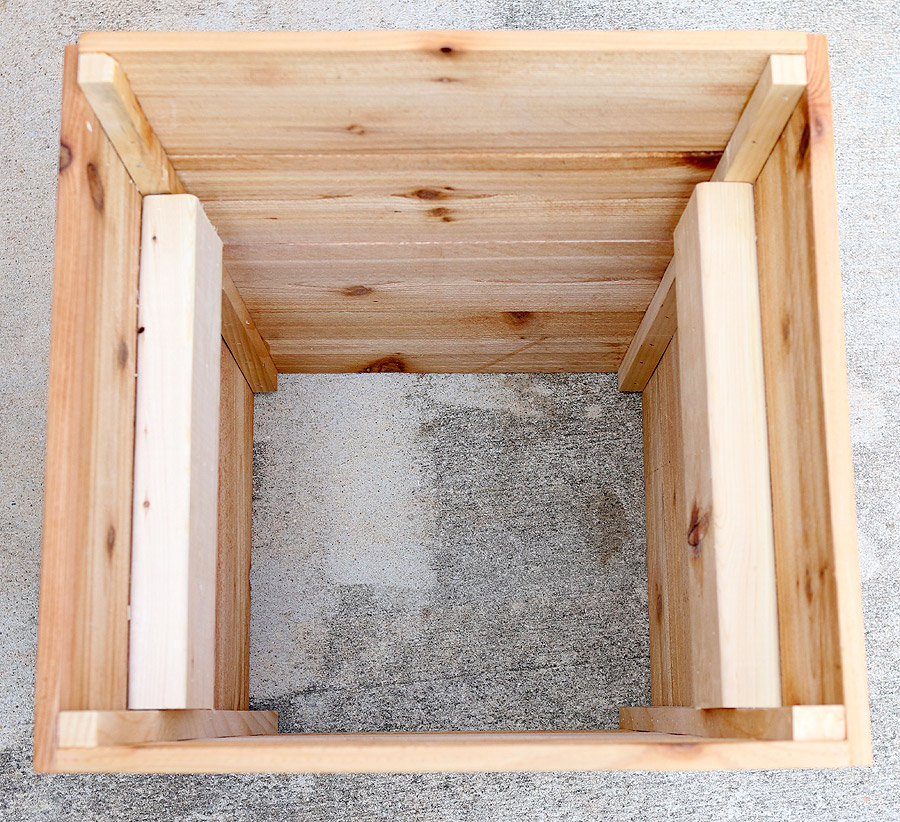
 Update: After about a day, the plastic pots were beginning to sit cock-eyed in the planters, so I used a few scrap 2x4s and attached them to the inside of the planter with wood glue and nails. These supports will help the pots sit level inside the planters. Just keepin’ it real, folks.
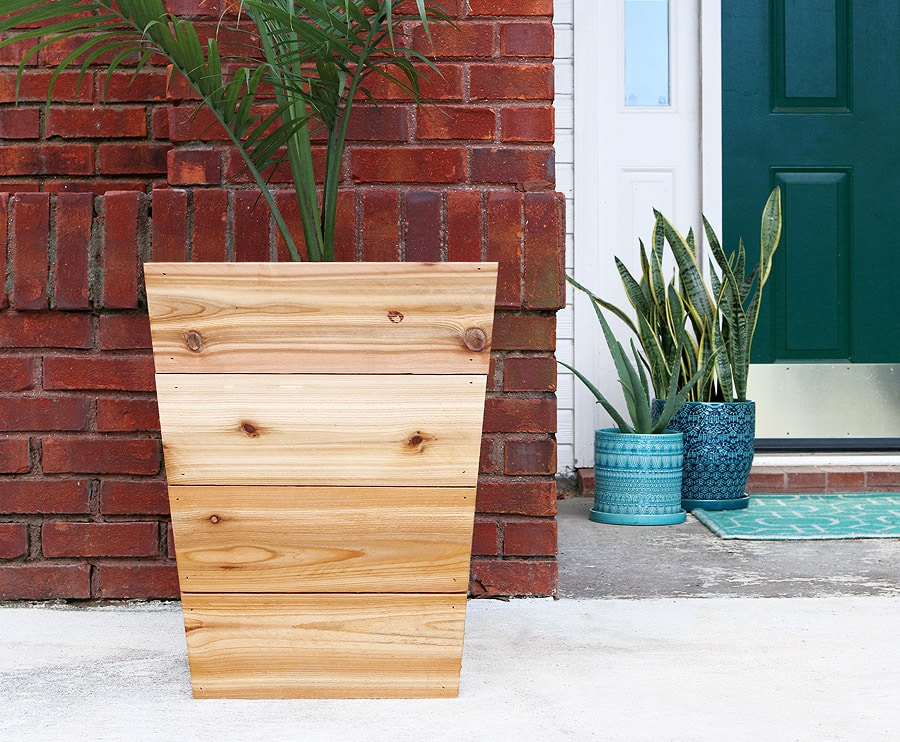 What do you think? Not too shabby for $20 and a couple of hours, right? How about you? Do you ever get bitten by the building bug then build something completely random?
Thanks for stopping by, friends! If you’d like to build this planter for yourself, download the free plans above! Oh, and PIN IT so you don’t forget it!
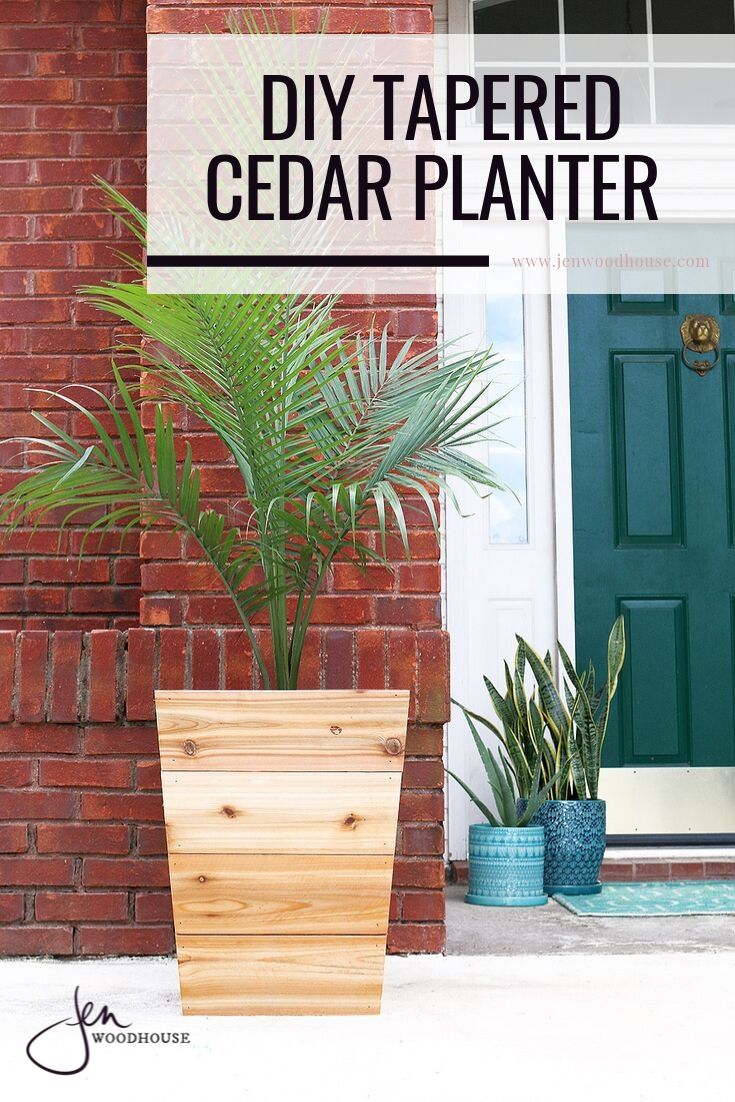
Pin for later!


These are perfect! I’ve been looking for something for the front of the house and I think these might doing the trick! I’m pinning. Thanks for the tip on the cedar fence posts, score!
So, is there no bottom for the planter? I never would have thought to build a bottom-less planter. If I am going to just place another pot inside of it, what does it matter.
Color’s of these planel are excelent. Design also Mind blowing.I like blud tips. thanks
Love love love this planter! Just stumbled upon your site today and really like the posts. This is definitely on my to do list now.
I don’t have a brad nailer or stapler any chance I could use small screws?
Love this design and the simplicity and affordability of the project. Can’t wait to check out the rest of your site and see what other great things you’ve created!
Where did you find 15in square plastic planter pots? I’m not finding them and where I am they are more expensive, decorative.
Hi Dana,
I got them from Home Depot.
I bought some round fabric pots off amazon. They are a very durable thick felt with handles on the sides. The reviews say they hold up for years. Super cheap. I bought a 5 pack of 10 gallon for $25!
Love the planter! Also like the paint colour on your front door. Do you happen to have the paint colour and brand?
This is the cleanest looking planter cant wait to try
Love these tapered planters! Do I cut both sides of the picket at a 5 degree angle or just 1 side? It looks one way when you are assembling and another in the finished product. Thanks!
Was this question ever answered? I want to build these but I have the same question! Do you cut both ends of the boards at an angle? Or just 1 end?
Try some cuts on scrap wood then you’ll know
Both sides. Just finished one.
Hi
Does the angle go inwards on each side
Hi love the planter but also love door color … can you send me name
Thankyou
I made one of these yesterday! It was so easy and it looks great! Placing it with a tall grass plant in front of the ugly electrical meter and other utility boxes on the front of our house for an easily movable “disguise” for these eyesores.