Welp. Evie’s play table has been built, so now it’s time to build the chairs! After some brainstorming (and a lot of head-scratching), I modified Ana White’s plans. Her plans call for 1×2 chair legs and slatted seats, but I wanted our chairs to be a bit more sturdy, so I opted for 2×2 chair legs and one solid piece of wood for the seat (which would mean I’d have to notch out the back, but we’ll get to that later).
Nothing frustrates me more than crappy wood and furring strips are no exception. It’s next to impossible to find a good board. They’re usually bowed, nicked, scraped, or split (at least at my Lowe’s). You certainly get what you pay for, in this case. I knew I didn’t want to deal with the headache of splitting wood while building these chairs, so I went hunting for alternatives. Another (albeit more expensive) option would be to purchase 2×2 poplar wood (like I used for the table legs), but they’re only sold at 36″ lengths and I wanted to keep costs down. Though I didn’t want to compromise on the quality of wood, I also didn’t want to overspend, but my options were running thin. That’s when the Hubs (aka my knight in shining armor) had a true lightbulb moment. He found these 2×2 treated mitered balusters. They’re made of Southern yellow pine and are sold in either 36″ or 42″ lengths. They’re usually used for building outdoor decks so they’re weather-treated and have a moulded finish on all 4 corners. And get this: they’re only $0.89 a pop!* I get quality, solid wood at a price even the el-cheapo furring strips couldn’t compete with! Sold! We snatched a couple of them up and went on our merry way. *There may or may not have been a dorky dance party in the middle of the aisle.
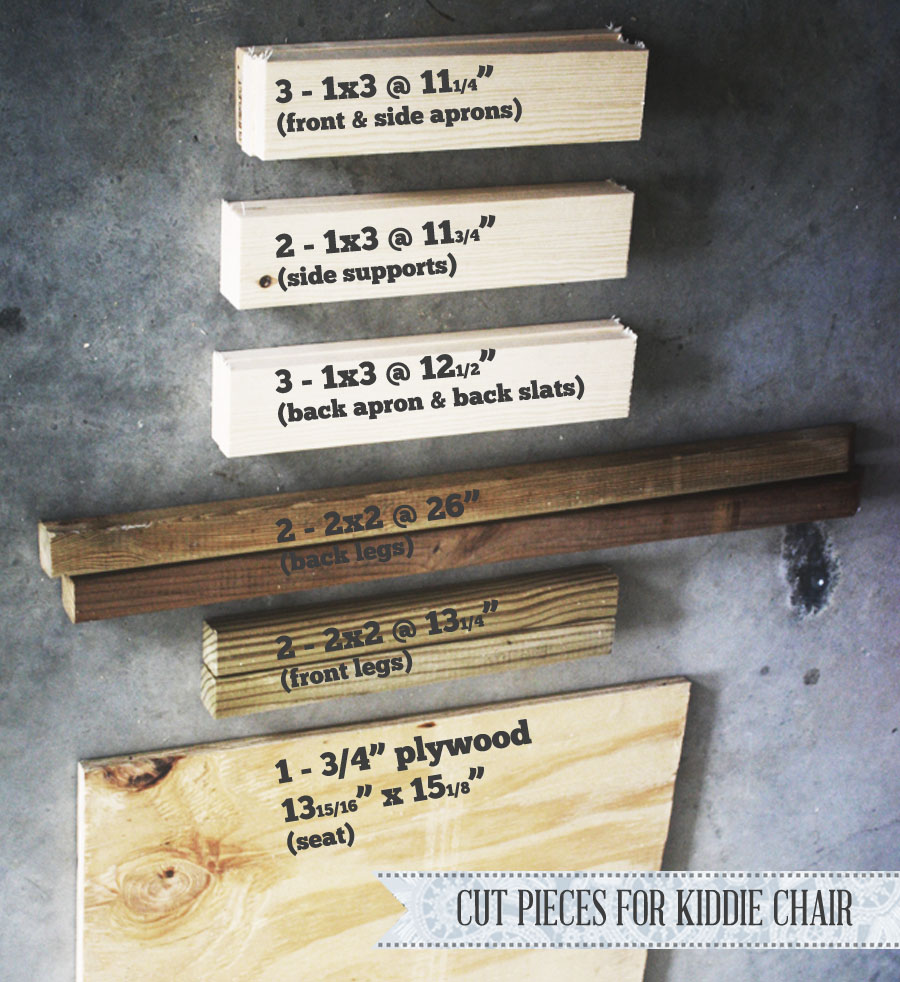
Here are my boards, once they were cut. These measurements vary from Ana’s plans because of my modifications:
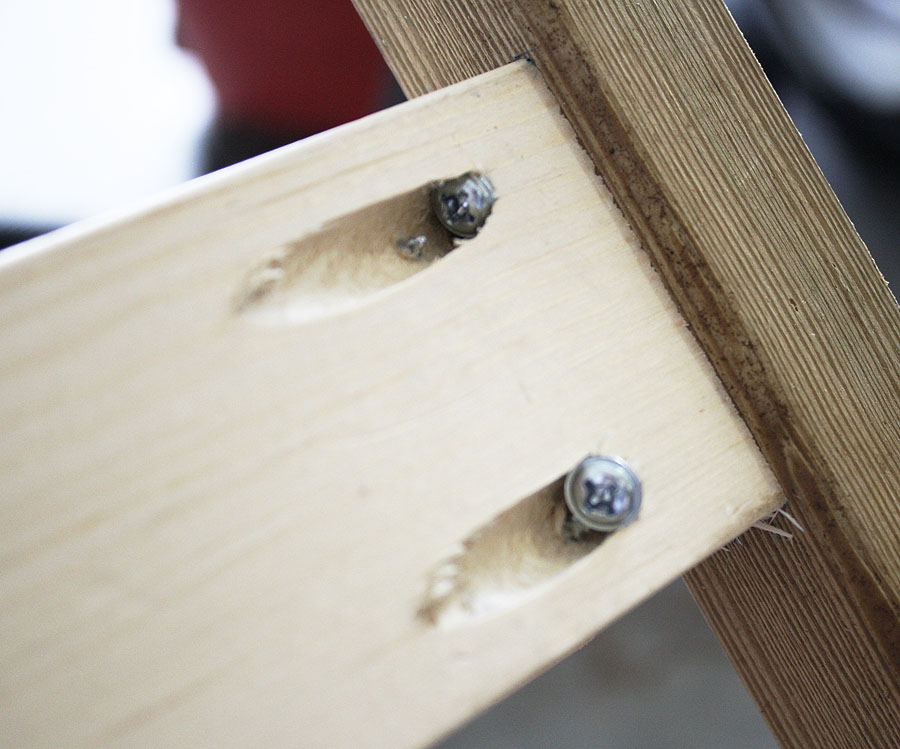
I used Ana’s plans as a guide, but ended up having to feel my way through this project because I had no idea what I was doing changed so many things. For one thing, she recommends using screws, glue, and nails, but because I’m more familiar with the Kreg Jig, I decided to use that instead. This meant figuring out where to drill all the pocket holes, and how to join each board together. In short, I was ‘winging it.’ And it wasn’t all smooth sailing. Case in point: this hardware traffic jam (oops):
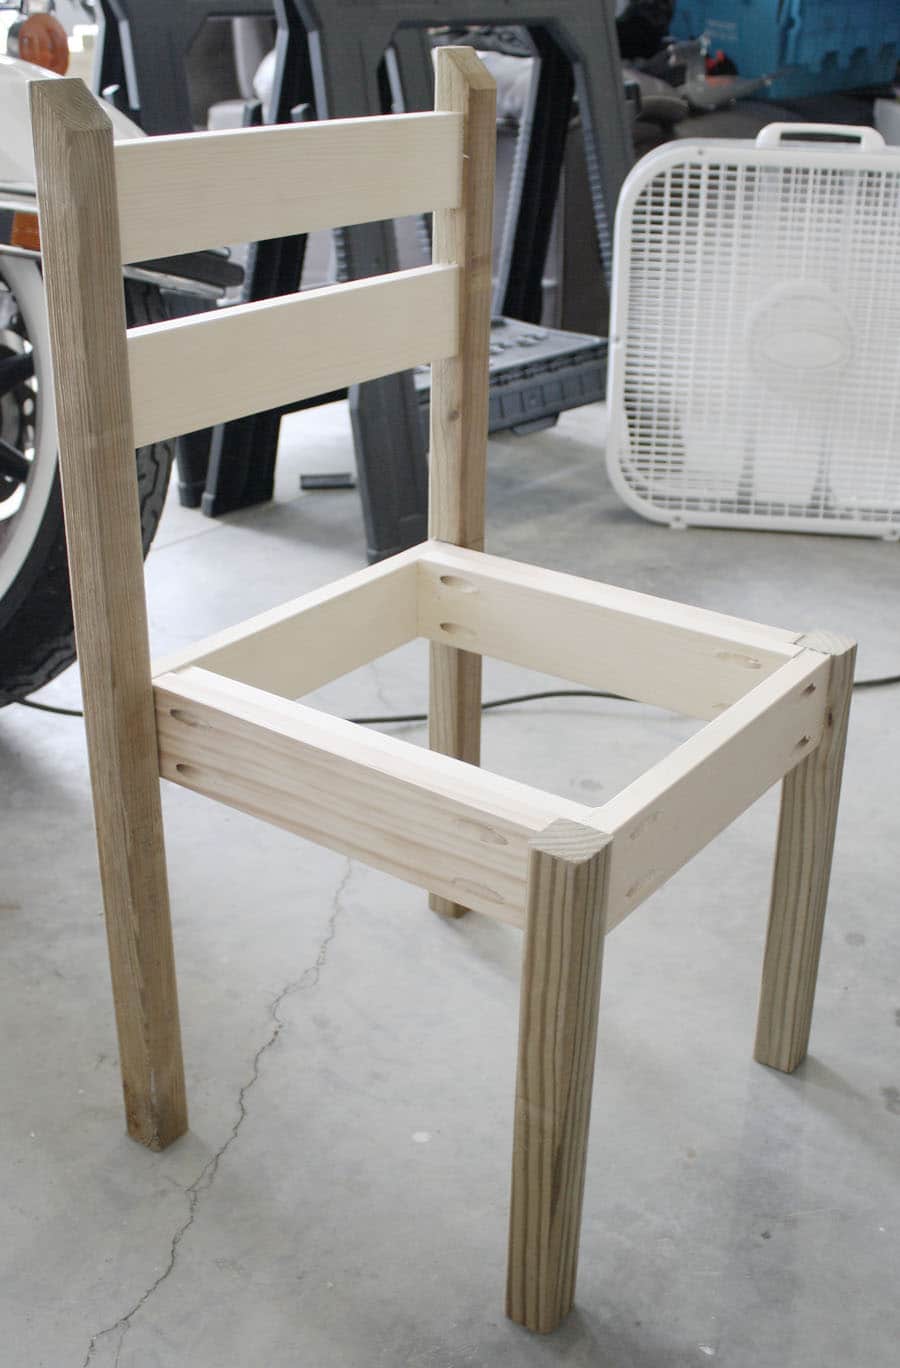
Here is the chair frame complete (and look at those cute mitered balusters!):
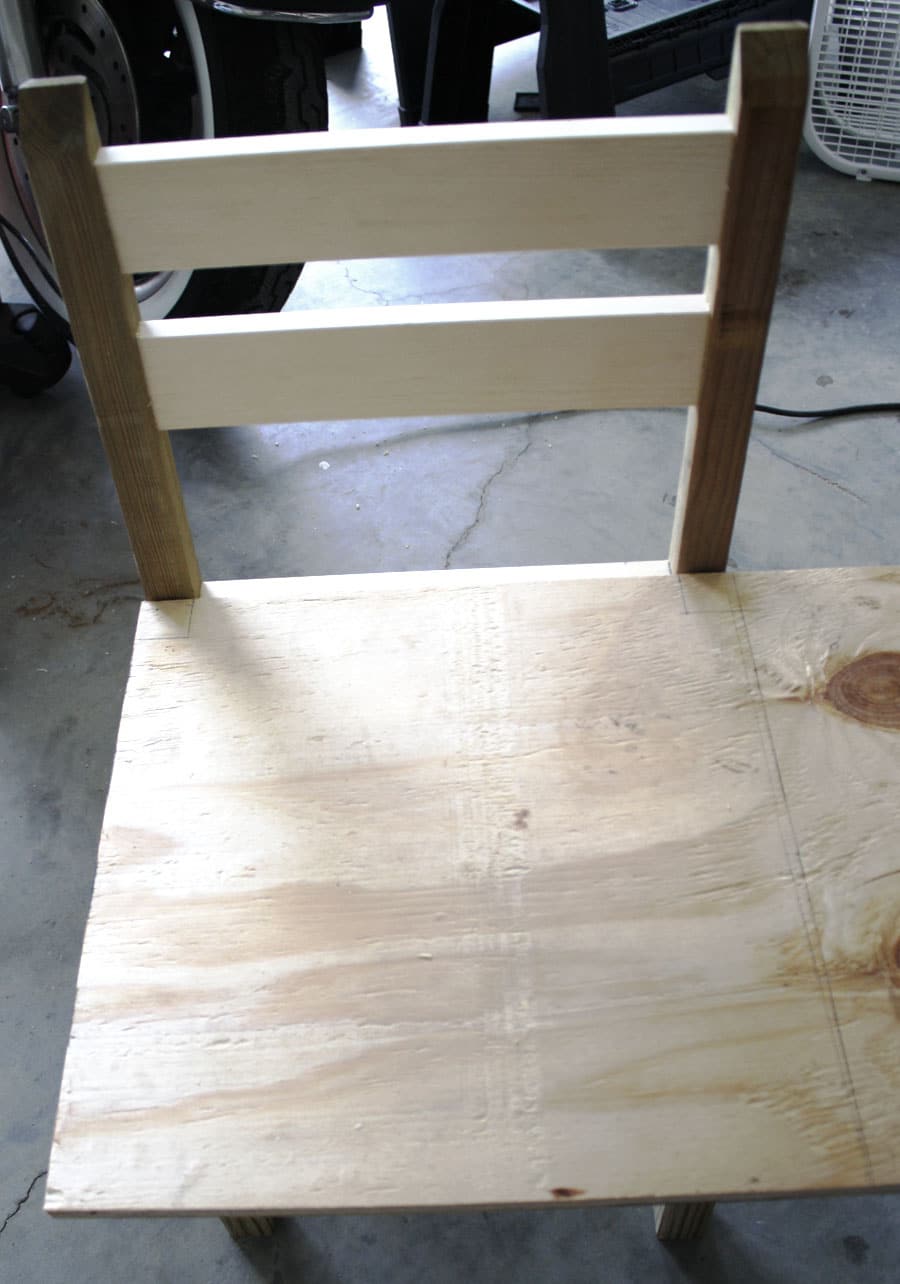
And now to attach the seat to the frame. But first, I had to figure out where to notch out the back:
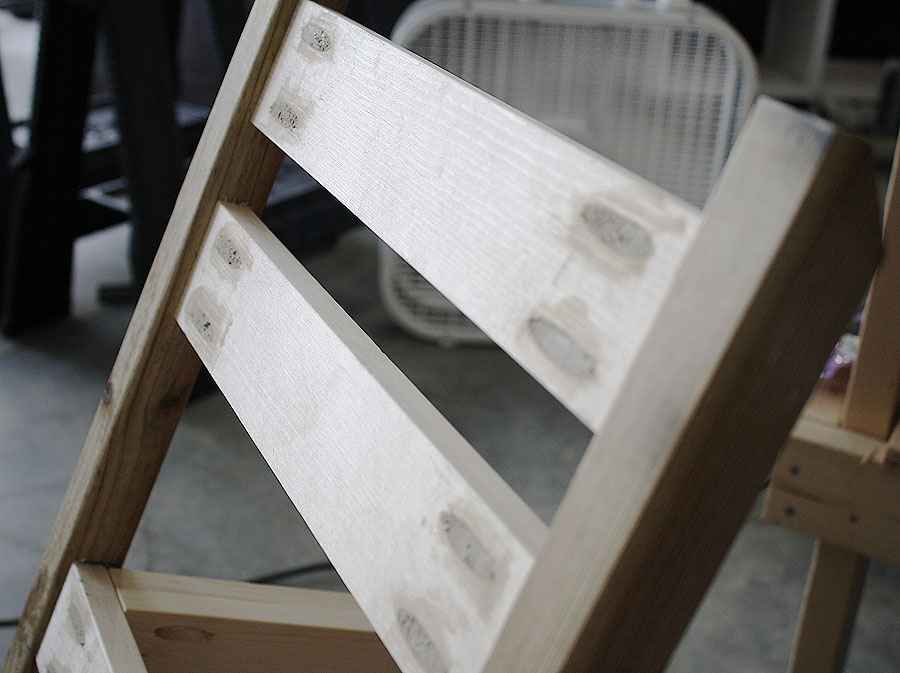
I filled all the pocket holes with paintable/stainable wood filler, then attached the seat with 1 1/4″ finish nails and wood glue.
Primed and ready for paint!
I decided to paint the table white (since I already had it on hand) and the chair red. I found this strawberry color in the ‘oops’ paint section marked down to $1.57.
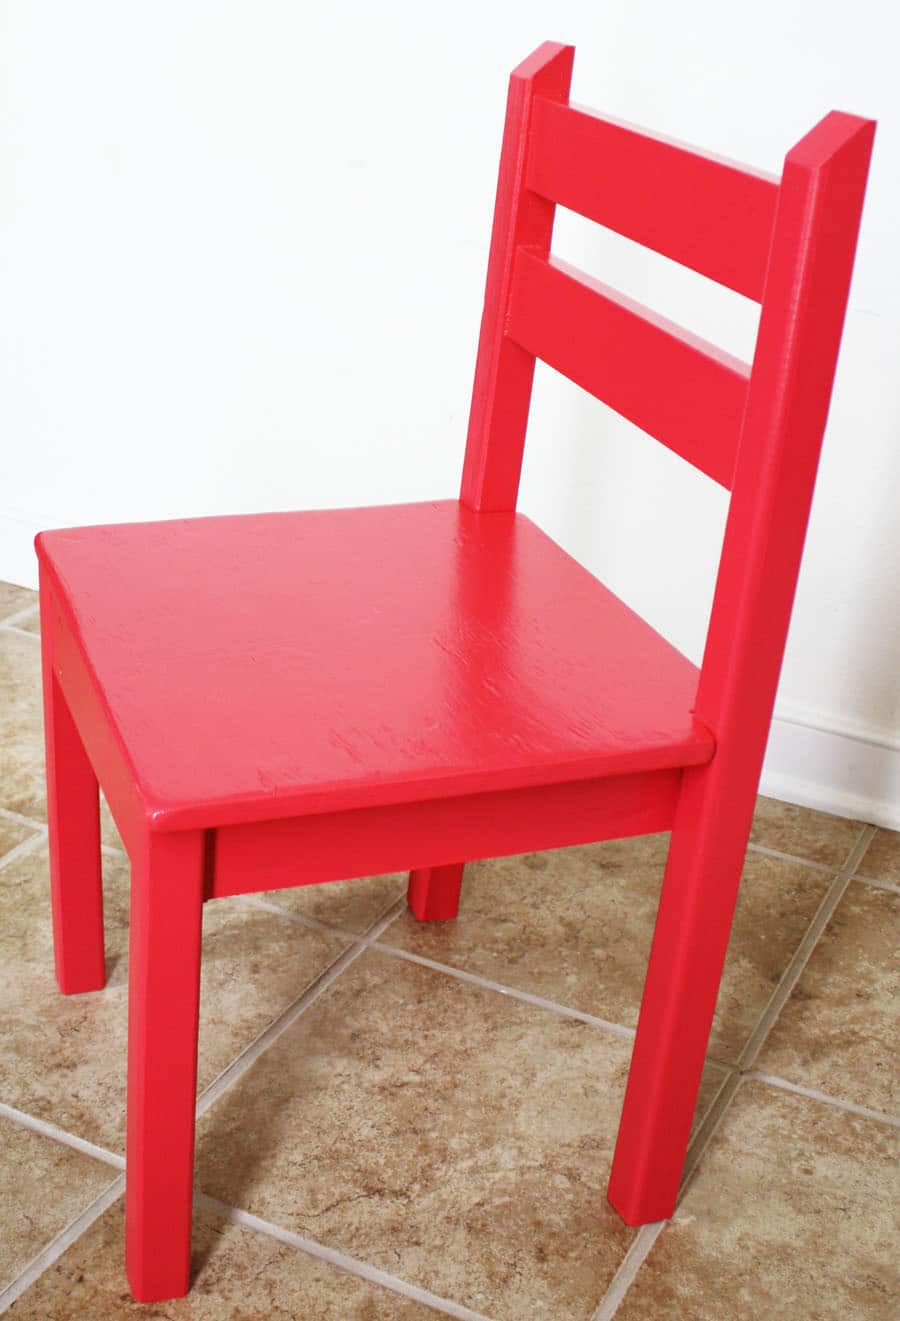
I used a 2″ angled brush to apply the paint, but used a roller just for the table top because I didn’t want to show brushstrokes. After 1 coat of primer, 2 coats of paint (light sanding in between coats), and 3 coats of satin polyurethane, here’s the final result:
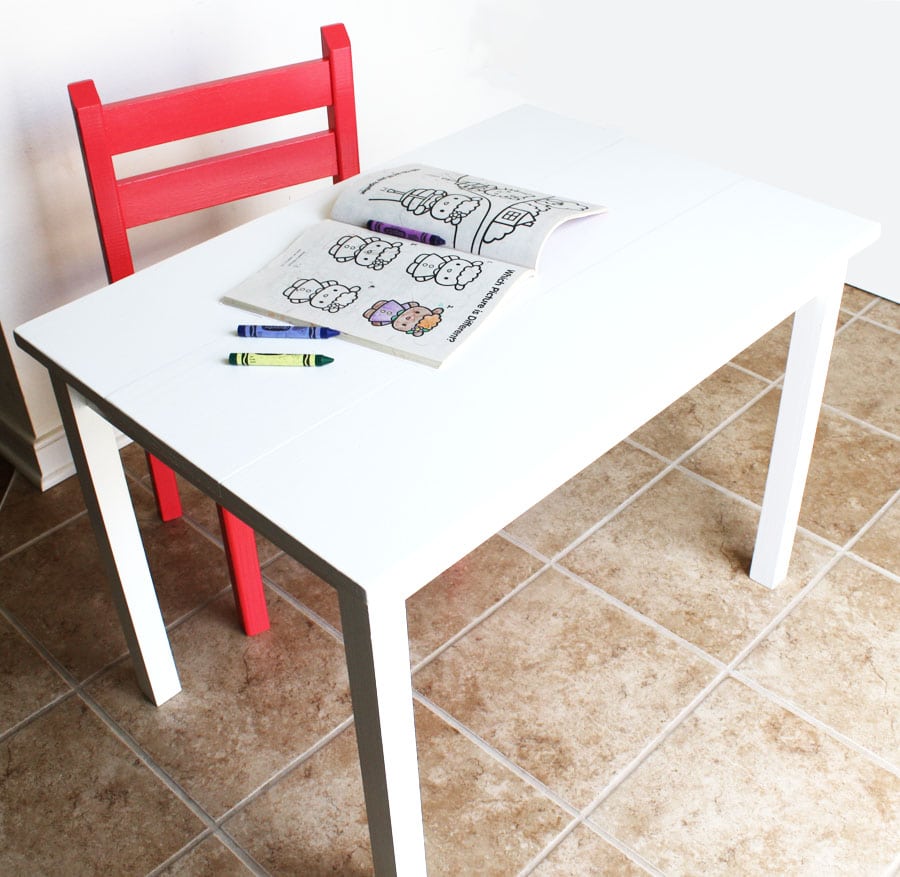
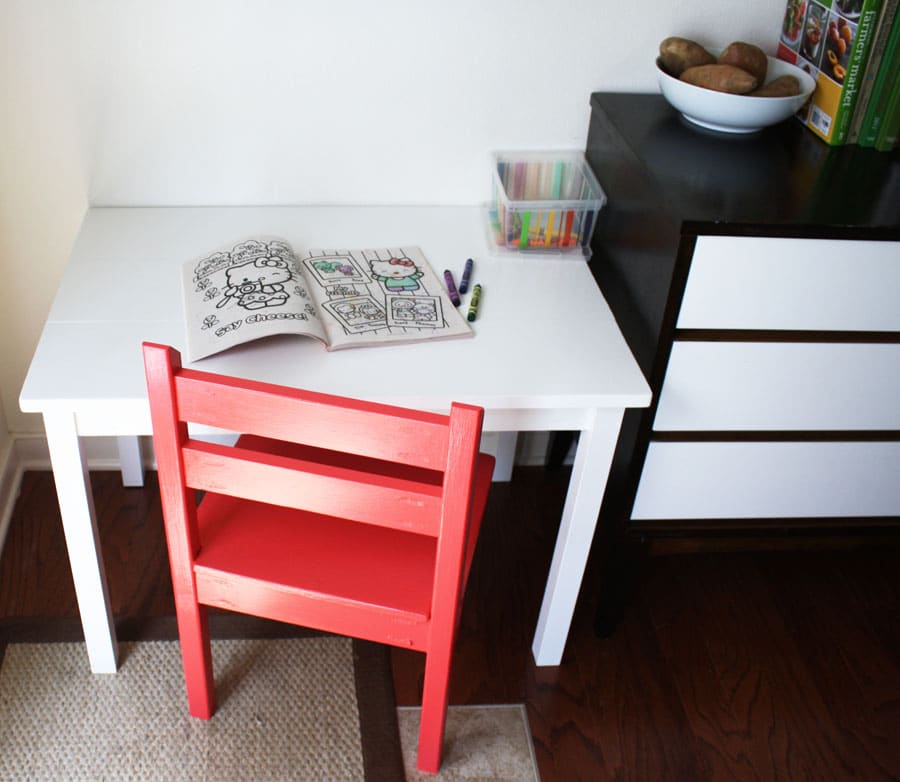
And here they are together (I still have to build 3 more chairs)! I’m so excited to give this to Evie… I think she’ll love it!
Cost Breakdown:
- Lumber: $3.38
- 2 Balusters: $1.78
- 3/4″ Plywood: already owned
- Pocket hole screws: already owned
- Wood filler: already owned
- Primer: already owned
- Paint: $1.57
- Polyurethane: already owned
Total cost: $6.73
Here’s hoping 3 coats of polyurethane will be able to withstand the terrors of toddler-dom! What do you think?
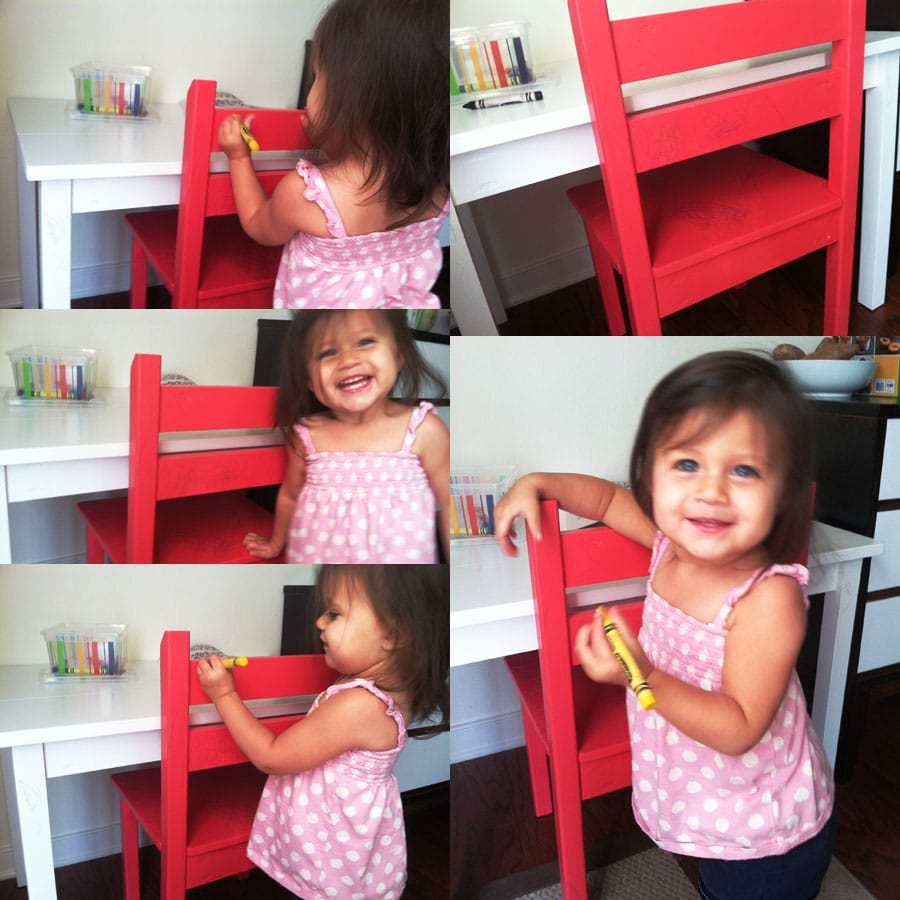
*Update: well, that didn’t take long. Behold: my little ‘artiste.’
What a stinker!




You are a girl after my own heart!! Seeing your Shanty2Chic and Ana White projects on your blog just makes me smile! I LOVE doing their projects!!!
And you have a baby on the way, too!! I have about two weeks left before we bring baby girl home and then I’m hoping to get back to my wood projects. {after the adjustment, of course} 🙂
So excited that you are featuring my baseball scoreboard on your blog! Thank you so much!
Hi Jen! I followed a link from Ana White website and I really like your version of this chair. I too am going to use a Kreg Jig and was wondering the order of placement of boards. Did you secure the side and front aprons first followed by the side supports? Just looking for a little direction this will be my first project:) thanks so much!!!
Hi Carrie,
I followed Ana’s steps as far as what to build in what order. Good luck!
Hi there – you explain that you changed the wood for the legs and back supports (and the seat) but not if you did for the apron pieces and back slats. It doesn’t look like you used the furring strips that she suggests, so what did you end up substituting?
Hi Brooke,
I used balusters for the legs and a plywood seat. Balusters are usually used for decking and they’re weather-treated, so I sealed them with primer, paint, and poly to hopefully keep the nasty chemicals at bay. Hope that helps!
The table set is super cute, as is your little Evie.
I’m confused, it looks like you have more boards cut than what you used? Is there a video?
Jen, I bought the balusters already so I am building the chairs today.
Evie is Adorable
Dan
Hi Jen. I hope to build this chair for several of my grandchildren. Would you have plans for the same chair design however with arms? Thanks, Ed
Hello!!! What is the appropriate height of the table for these chairs?? Thanks!!
I’m in the middle of building this and just curious shouldn’t the back apron and back slats be
12 3/4? Because the front apron is 11.25 plus the side supports add additional 1.5 inches so that totals 12.75.
Could you clarify please
Hi Jen! What size nails did you use for the pocket holes please? Hoping to make this tomorrow. Thank you so much