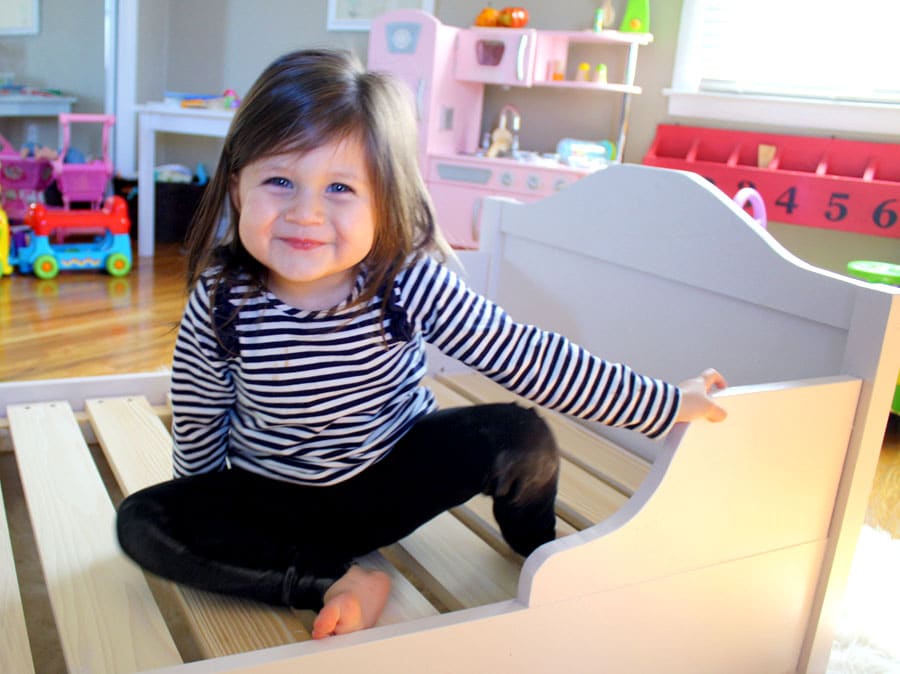
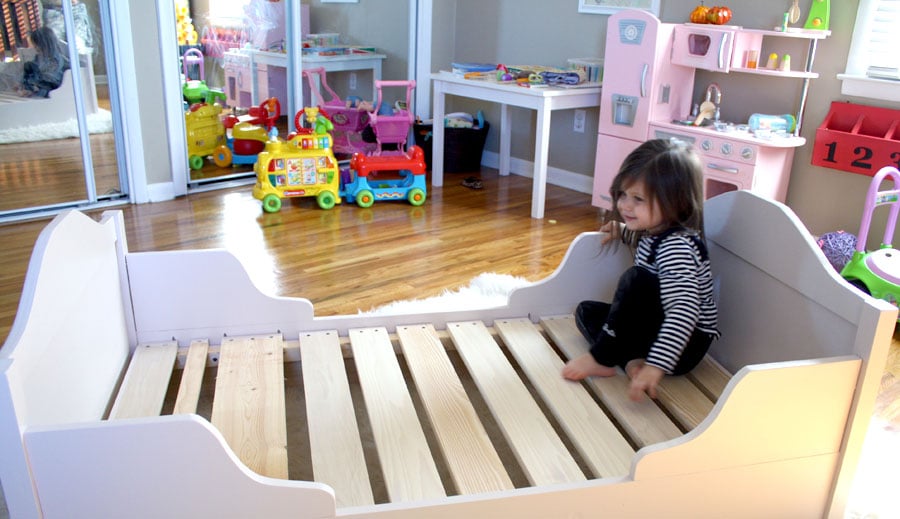
Hi friends! I can’t tell you how excited I am to share my latest project with you! I’d even venture to say I’m almost as excited as my 2-and-a-half-year-old daughter, Evie. Almost. We’ve reached a new milestone. Evie is ready for her “big girl” bed and she is over the moon about it! I mean, look at this adorable face. She couldn’t even wait long enough for me to put her mattress on before climbing in!
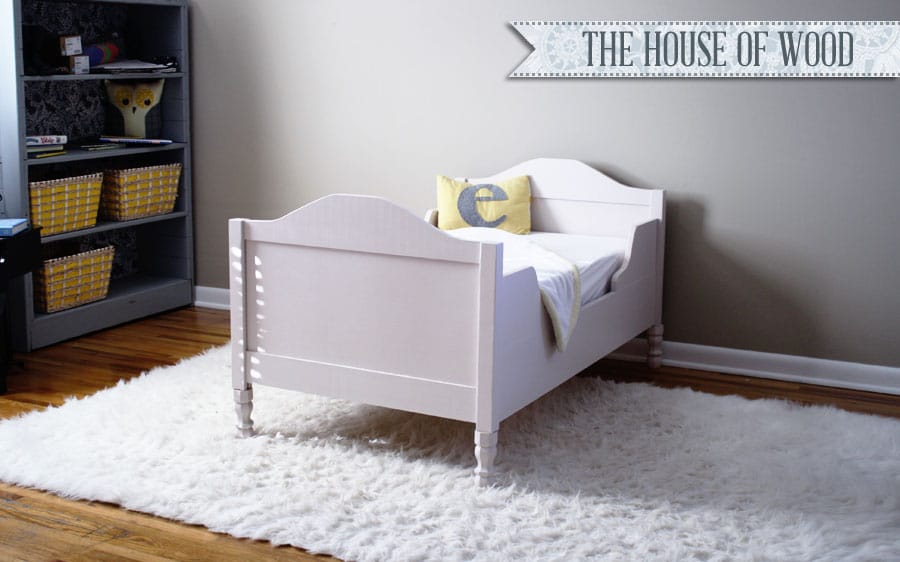
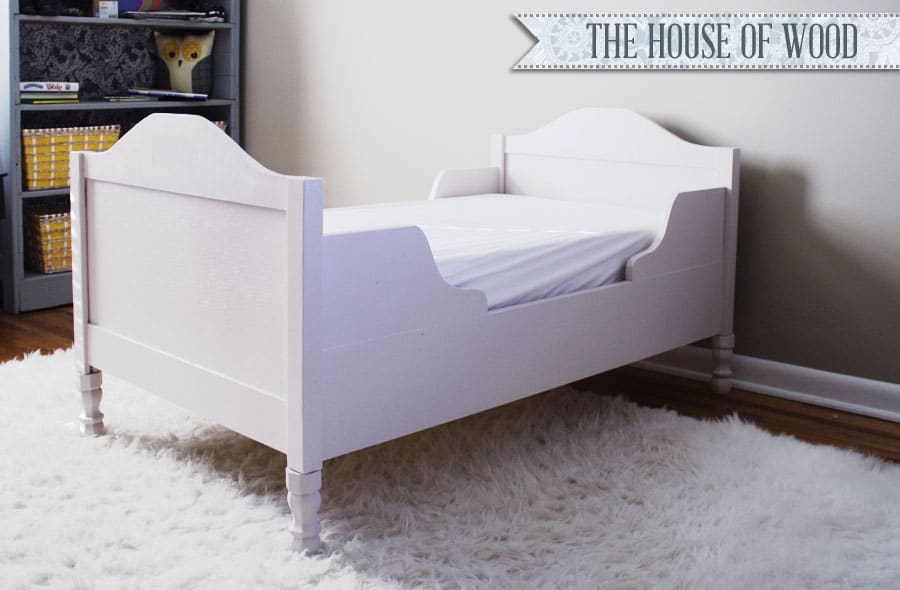
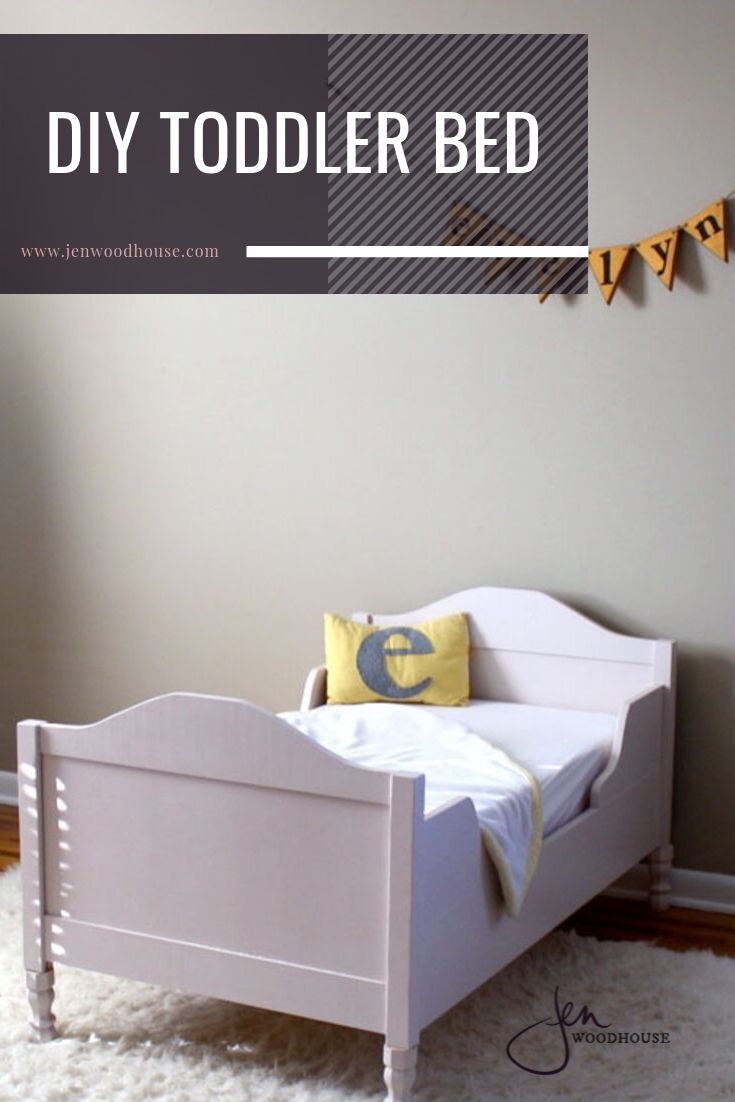
Once again, I teamed up with my lovely and talented friend, Ana White, to create this knockoff Restoration Hardware toddler bed. Be sure to visit Ana’s site for the full step-by-step plans. Isn’t it super cute? I’m in love with it, but my heart is breaking a little because my baby girl is growing up. *Sniff.
This project was a labor of love for me and Ana took such great care in drawing up the plans, which include some table saw work in creating the head and foot boards. I recently got a table saw and though I’m still a little intimidated by it, it was good experience to finally work with it. Also, because the head and foot board panels are made of plywood, I chose to use Purebond Plywood because it’s non-toxic and formaldehyde-free. Home Depot sells the PureBond brand. Since this bed is for my little girl, I want to build with the safest materials.
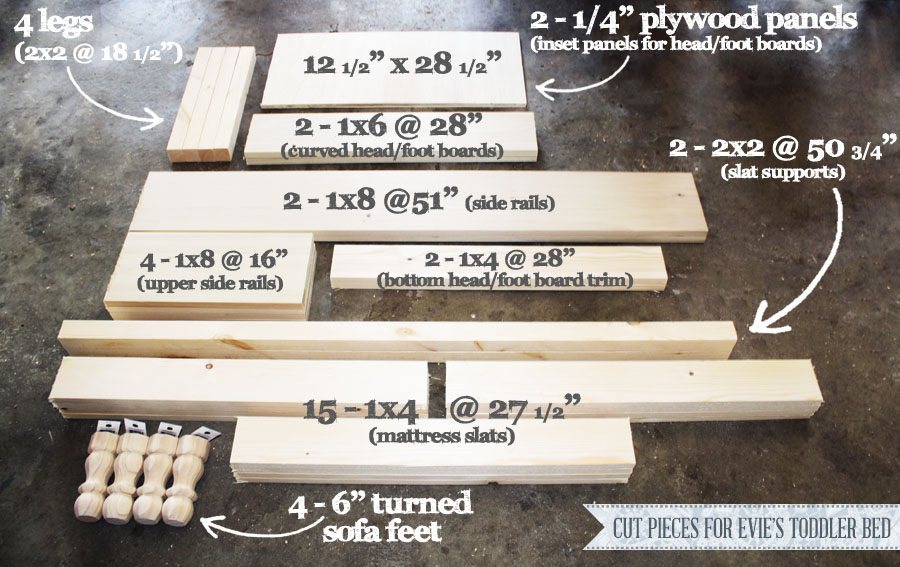
Here are my cut pieces:
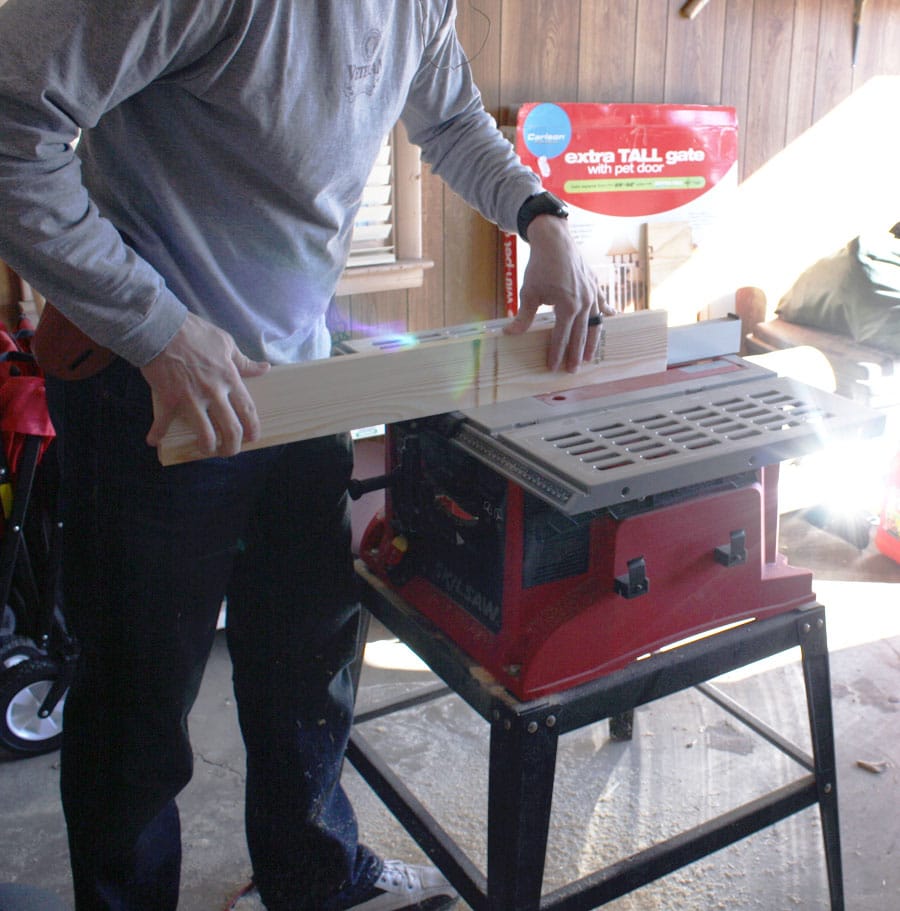
And here’s where I employed the help of my dear, obliging husband to show me how to use the table saw. See how he’s turned the board up? We’re making grooves in it so that the head and foot board panels will be inset.
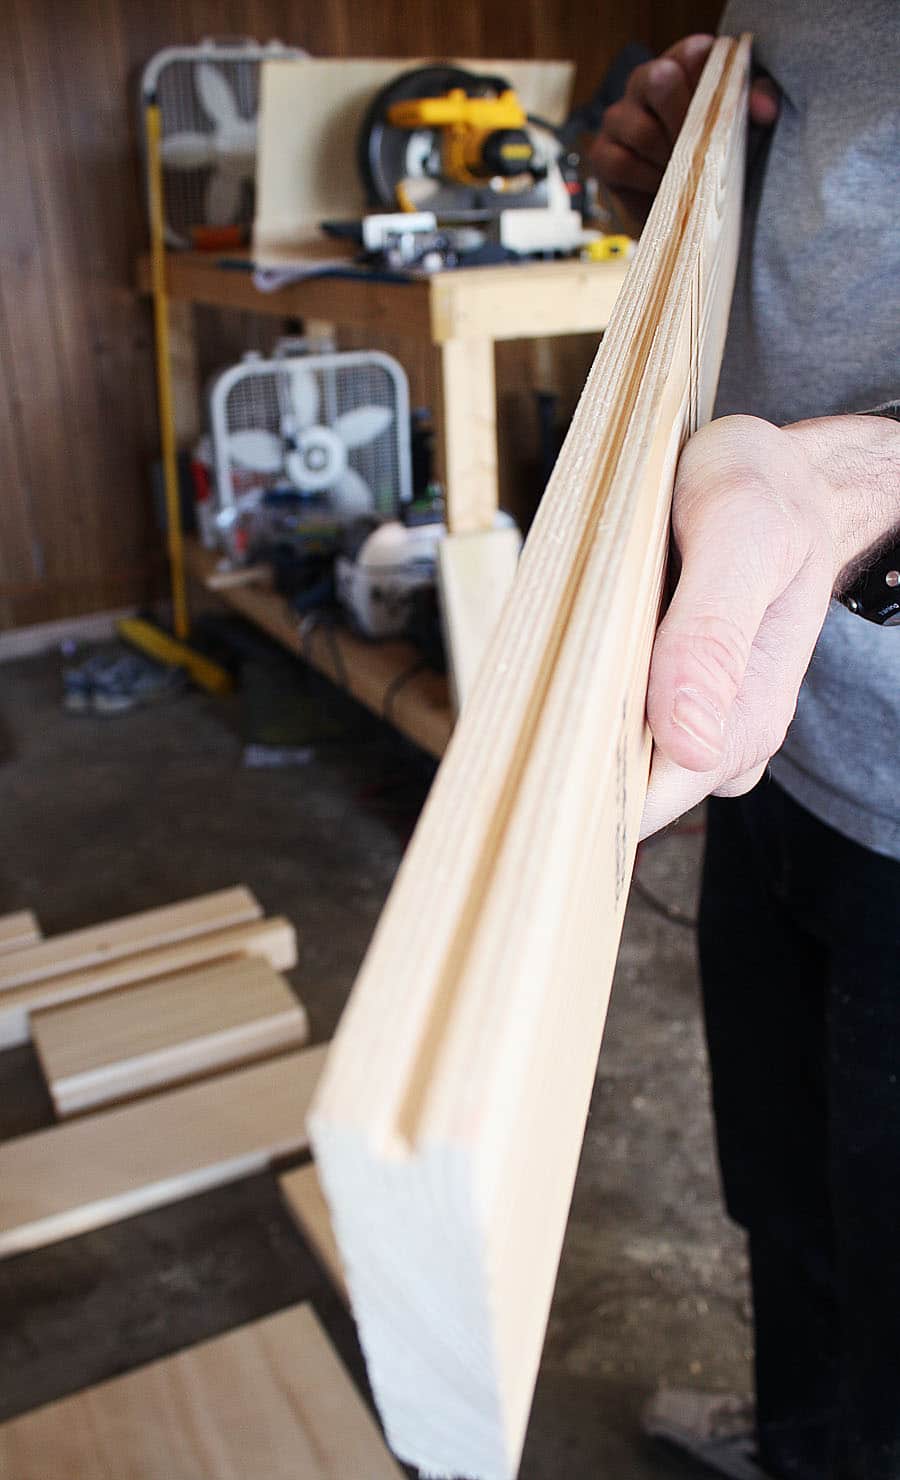
And here’s our groove. Shake your groove thang, shake your groove thang, yeah, yeah!
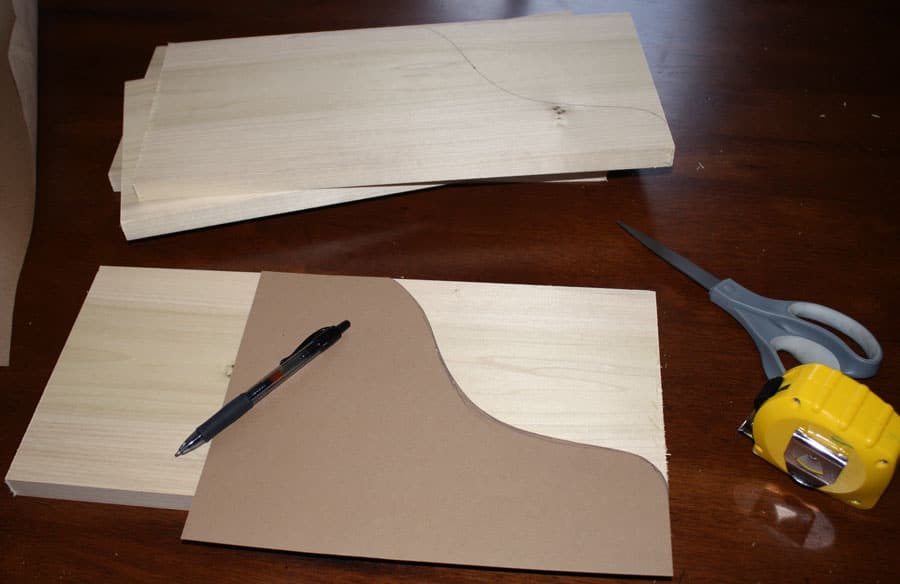
I drew the curve for the head and foot boards on some brown kraft paper and used it as a template so that the boards would be identical, then I used my jigsaw to cut them out:
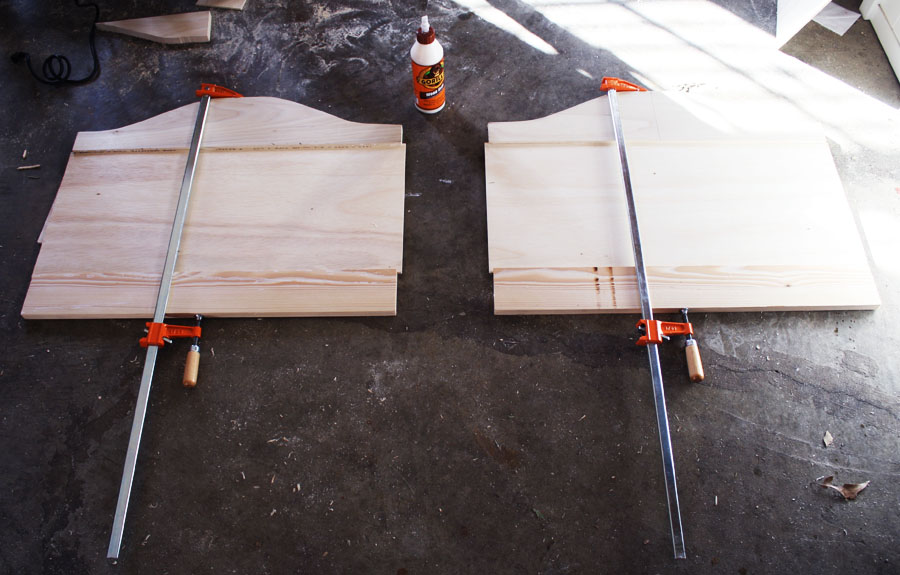
I squeezed a thin line of wood glue into the grooves and clamped the plywood in between. Clamps are your friends.
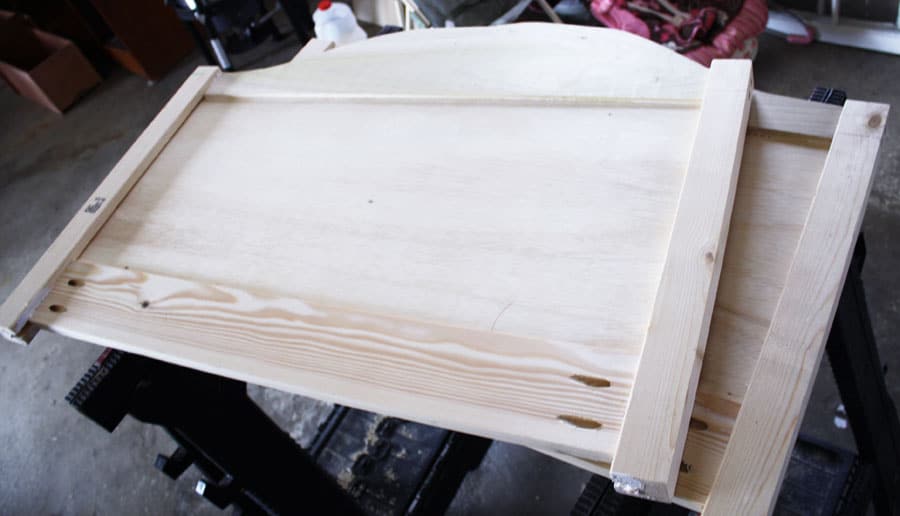
Then after screwing the legs on with pocket hole screws, the head and foot boards are complete!
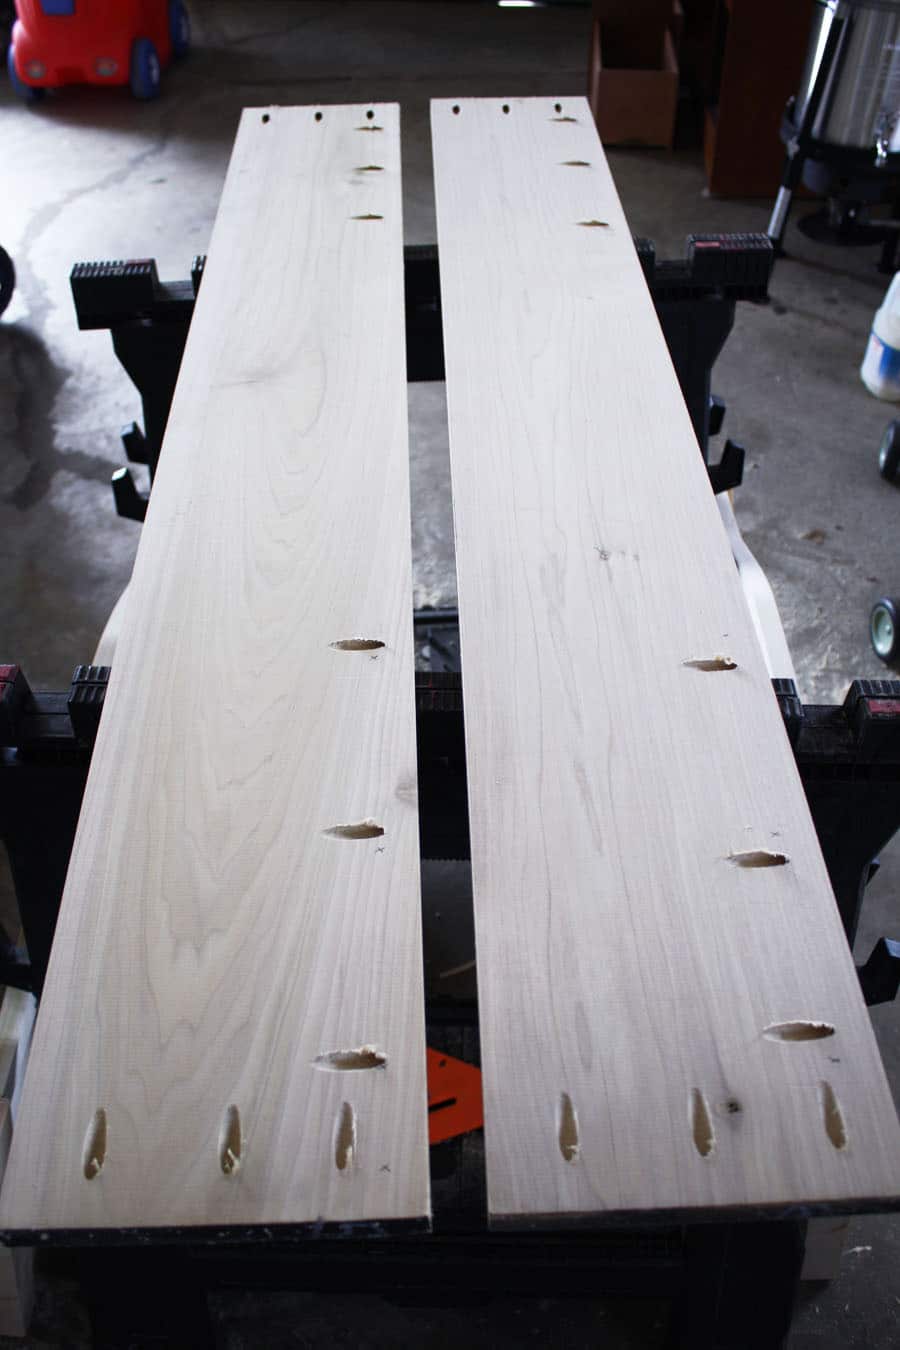
Then I drilled pocket holes on the side rails like so:
And used the same technique to make a template for the curves for the four small side rails:
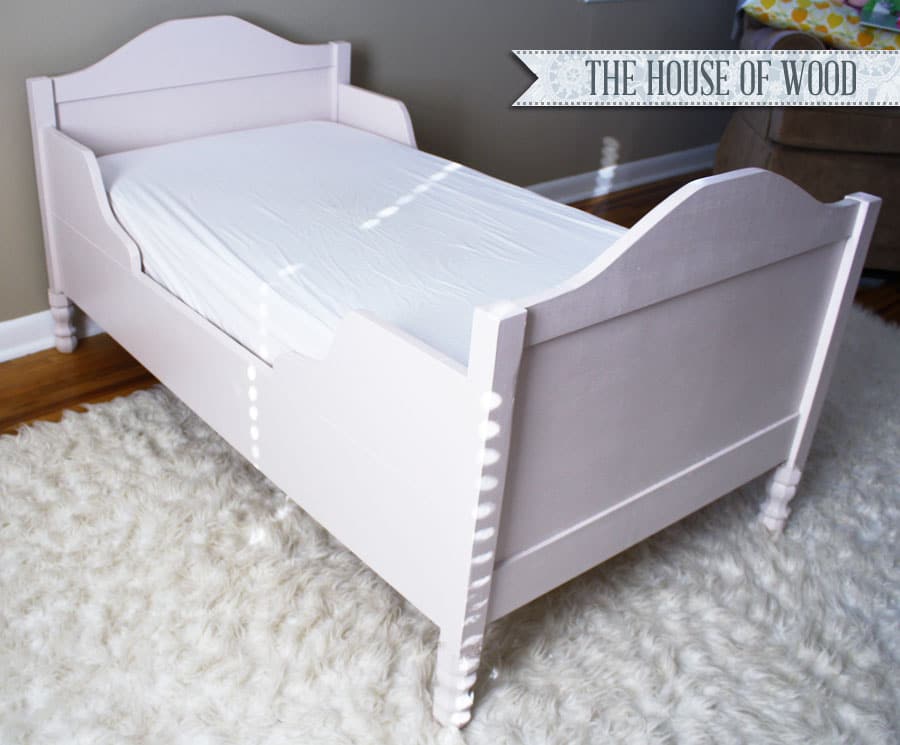
Next I put all the pieces together, attaching the head and foot boards to the side rails. Then I screwed the mattress slats on and attached the feet. After sanding everything down until all the surfaces were smooth like butter, I painted it with Benjamin Moore’s low VOC semi-gloss interior paint called “kitten whiskers.” It’s the sweetest, most neutral pink with soft beige grey undertones. It looks more pink in these photos, but in reality it’s reeeeeally close to Restoration Hardware’s “dove grey” finish. Ooh… ahh… so pretty and sweet.
You can build your own knockoff Restoration Hardware toddler bed by downloading Ana’s plans. They are so easy to follow. Be sure to drop by her site, get the plans, and start building! Thank you so much, Ana! I had such a blast building this project and Evie absolutely loves her new “big girl” bed!





How much room did you leave on each side of mattress to frame. 1/2 ” or did you leave more.
Thanks,
Greg