*This post is in partnership with Rockler Woodworking and Hardware.
“Hello, Beautiful.” That’s literally what I say every time I walk by our new DIY Modern Sliding Door Entertainment Center. I’ve been saying it so much recently, it’s starting to get weird.
But can you blame me?
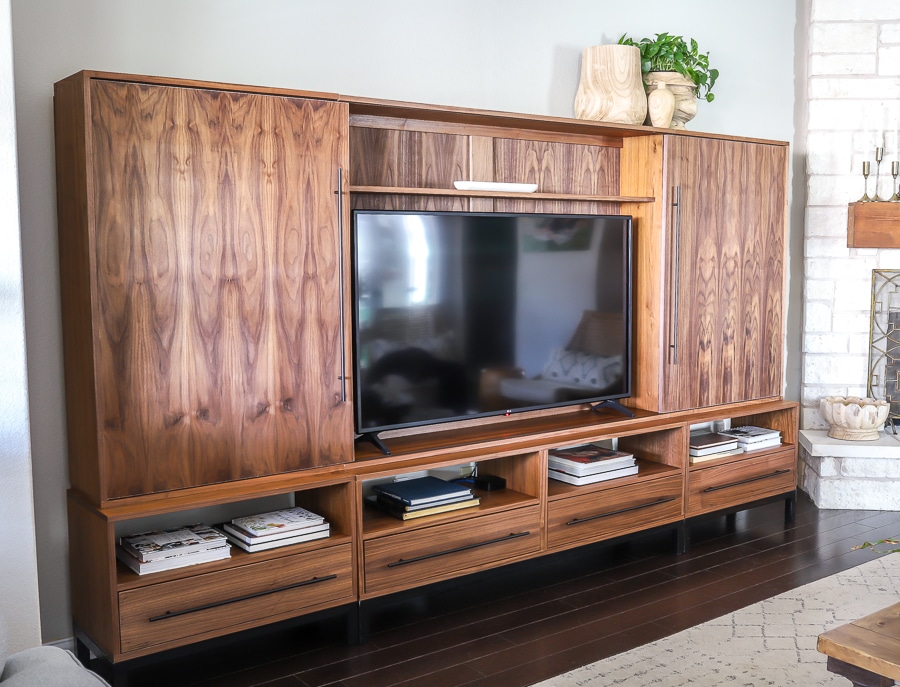
Behold my Magnum Opus:
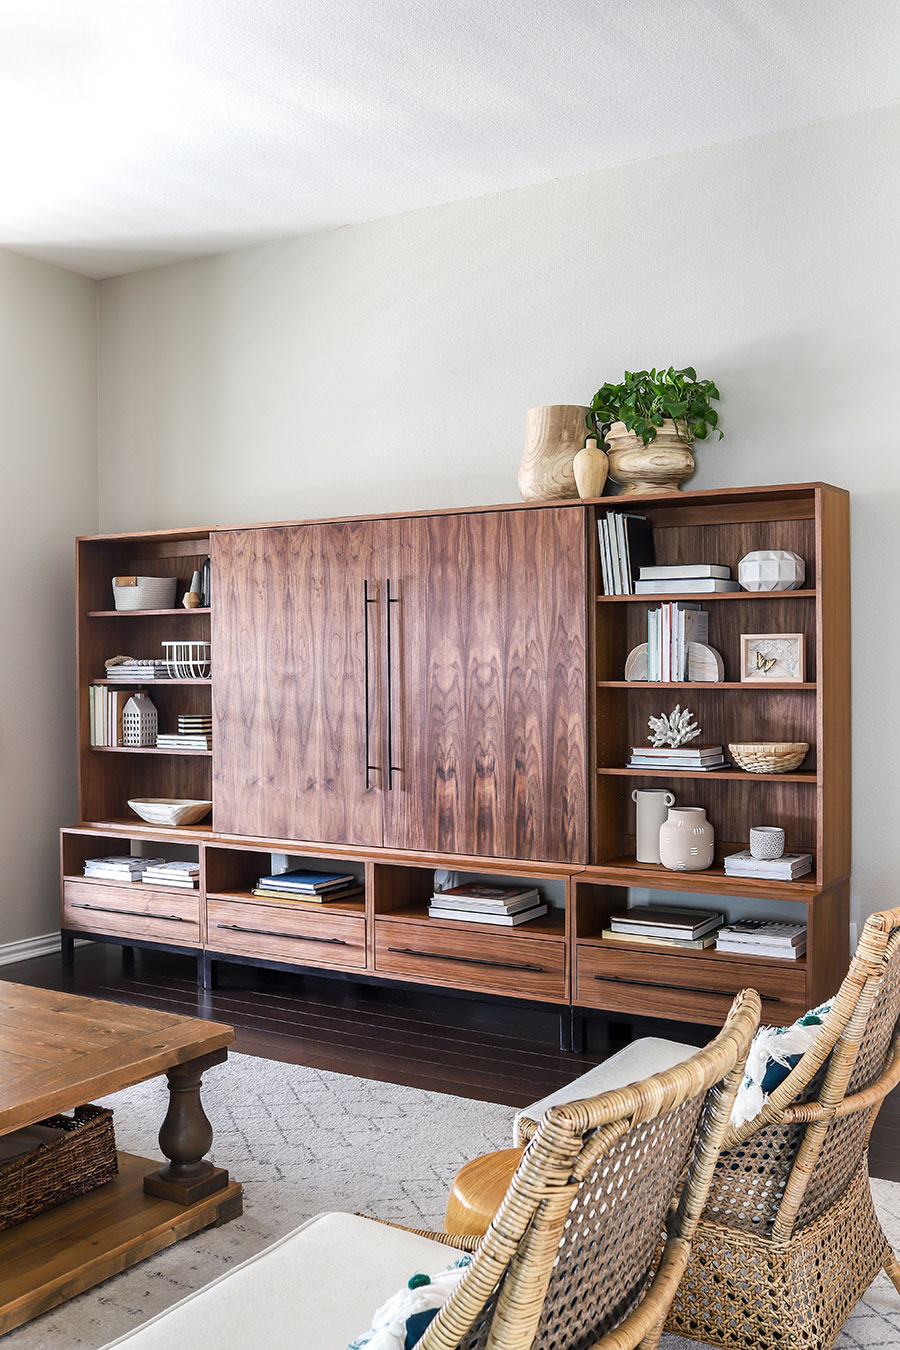
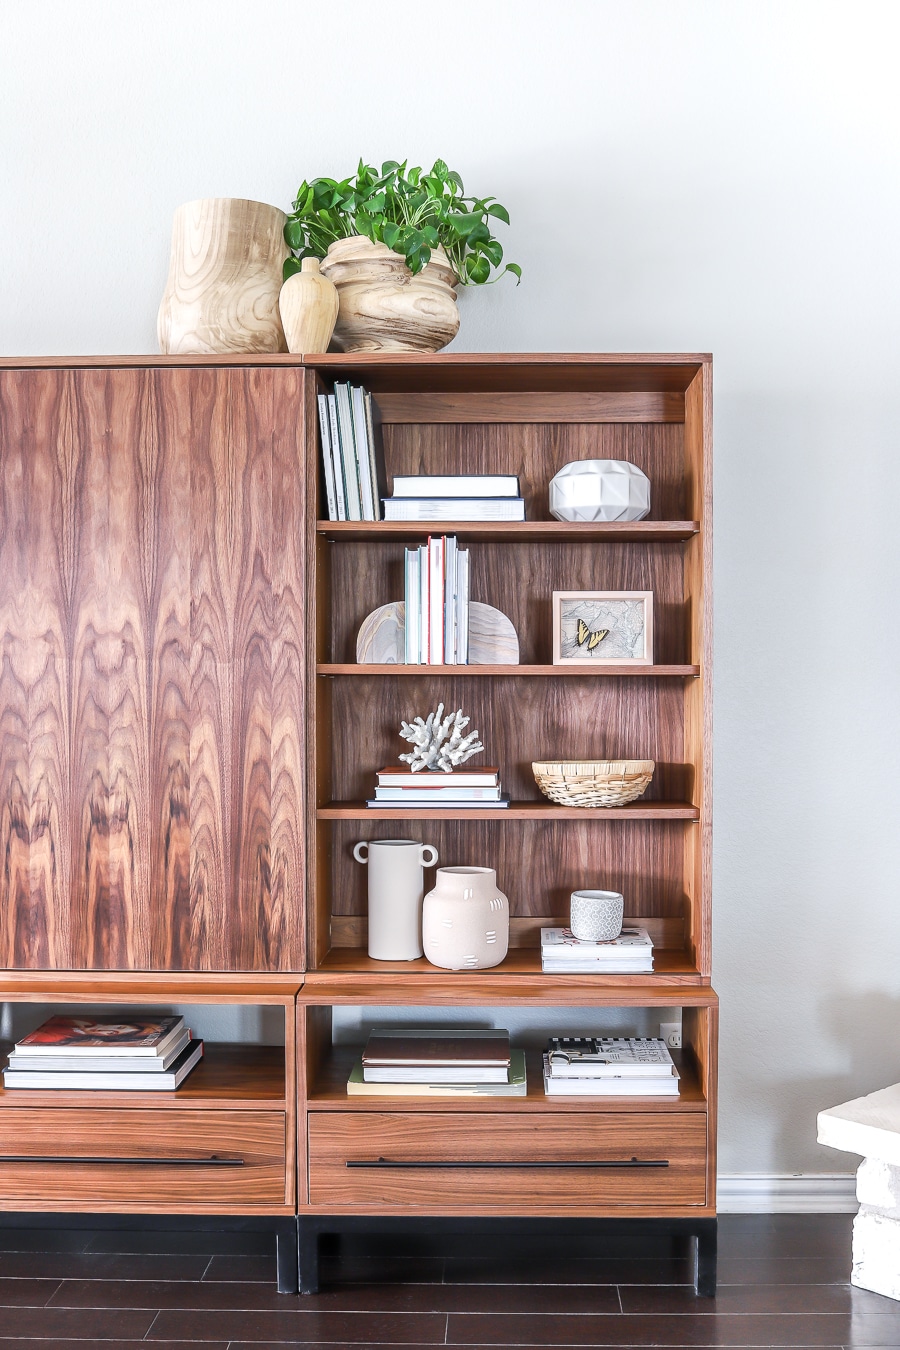
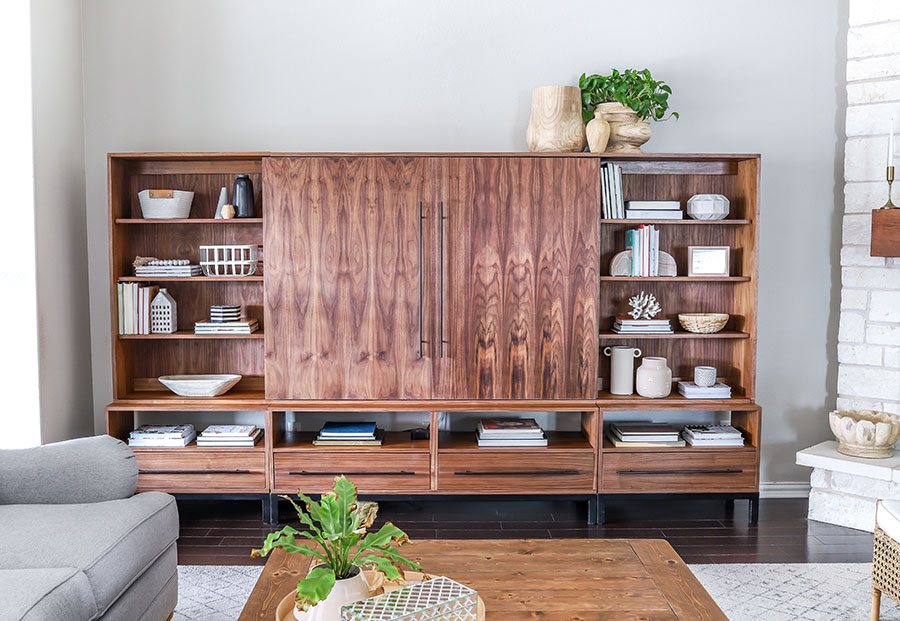
From the walnut drawers and sleek sliding doors to the welded steel base, I still can’t believe I made this! And all for a little less than $900 in materials. And before you balk at that price tag, keep in mind I opted for the more expensive walnut hardwood plywood. If you use birch or maple, I’d estimate your costs to be about half that. Oh, and expect to drop anywhere from five to eight thousand dollars on the store-bought variety.
No, thanks. I’d much rather build than buy any day of the week.
I really wanted the sliding doors on this DIY home entertainment center to be sleek and modern – I didn’t want to use exposed barn door hardware, so I was thrilled to find this low-profile European Style Sliding Door Hardware at Rockler. Because our entertainment center is a massive 126 inches long, I had to order 3 sets and piece together the tracks, since they come 58 inches long. I was a bit nervous about it actually working as intended, but it did! The doors slide quietly and easily and installation was clear and straightforward per the included instructions.
Victory dance!
I worked long and hard on this DIY entertainment center, but the build itself wasn’t very complicated at all. I’d say this is a solid intermediate-level project, but only because there are so many different components. Because we move so often (Army life!), I have to keep things like ‘ease of portability’ in mind and so I drew the plans so that the pieces are modular.
The DIY entertainment center plans are quite extensive and thorough (almost 40 pages long!). I spent many, many hours on it because I wanted to set you up for success when you go to build this project. I went back and forth with drawing up separate plans for each component, but it wasn’t really making sense, since the sliding doors connect the upper portion, so I went ahead and included all of the different parts into a single 39-page plan! You can download the complete DIY entertainment center plans below.
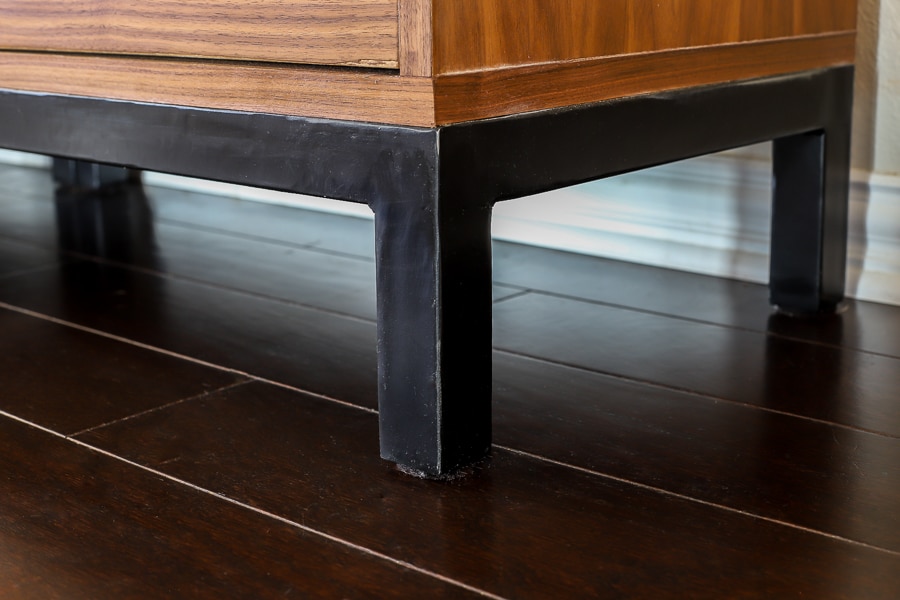
There are the two small end cabinets with drawers, the bookcase towers that will sit on top of that, the center console with drawers and the TV console, and of course the pièce de résistance: the sliding doors. And we can’t forget about the welded steel base. Of course, you can substitute wood for the base, if you’d prefer, but I recently learned how to weld, so I was pretty excited about incorporating metal into this build!
Also, the DIY entertainment center plans include alternate building recommendations should you not want to weld the steel base. But if you’re up for learning a new skill, I highly recommend welding! It’s easier and not as intimidating as you might think! I’m working on several posts on how to weld from a beginner’s perspective. Here’s my first post on welding, covering the prep work involved.
This was my first time working with walnut hardwood plywood. One full 4×8-foot 3/4-inch thick sheet ran me about $119 and we picked up 6 sheets from a local lumberyard. The Rockler Material Mate Panel Cart and Shop Stand made it easy to transport full sheets of plywood. We slid the panels directly onto the cart from the back of the truck, tilted the top vertically, and rolled it into my workshop. Once inside my workshop, it took little effort to transfer the plywood from the cart to my workbench. The Material Mate is quickly becoming an essential part of my workshop.


Useful Tools and Shop Helpers:
- Rockler Material Mate Panel Cart and Shop Stand
- RZ Dust Mask
- Microjig Push Blocks
- Porter Cable Pocket Hole Jig
- Diablo 12-inch 100-Tooth Miter Saw Blade
- Empire Digital Level
- Right Angle Drill
- Rockler Universal Drawer Slide Jig
- Rockler Shelf Pin Jig
- Freud Professional 6-inch Dado Set
- Table Saw Zero-Clearance Dado Insert
- 1 3/8-inch Forstner Bit
- Walnut Veneer Edge Banding
Welding Supplies:
- Lincoln Electric TIG 200 Square Wave Welder
- Dewalt Angle Grinder
- Diablo 60-Grit Flap Disc
- Steel Square Tubing
TIG Welding Prep Work: Where To Buy Metal, How To Clean It, and How To Sharpen the Tungsten Electrode
Hardware:
- European Sliding Door Hardware
- 100-lb. Accuride Zinc 14-inch Full Extension Drawer Slides
- 19.5-inch Amerock Oil-Rubbed Bronze Bar Pull
- 30-inch Oil-Rubbed Bronze Cabinet Bar Pull
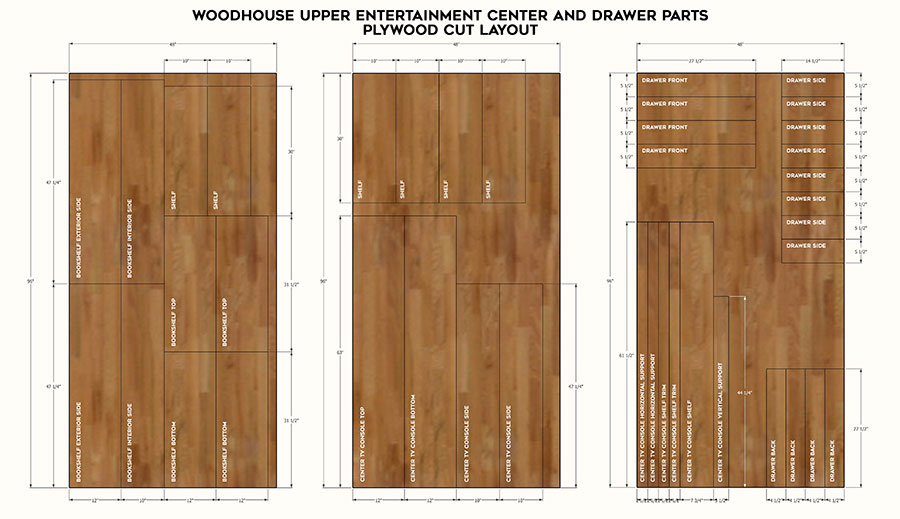
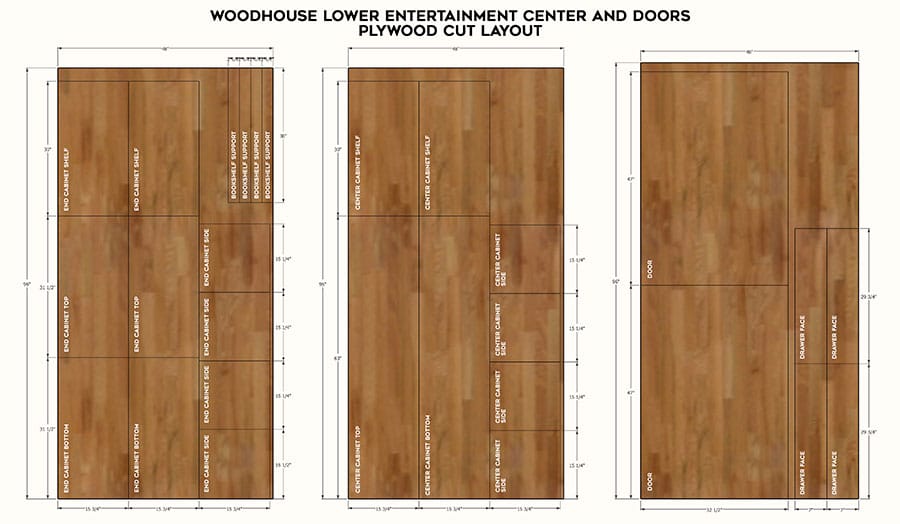
The DIY entertainment center plans include plywood cut layouts as well. When laying out the cuts in the diagrams, I was mindful of the direction of wood grain and tried to maximize material so there’s as little waste as possible.
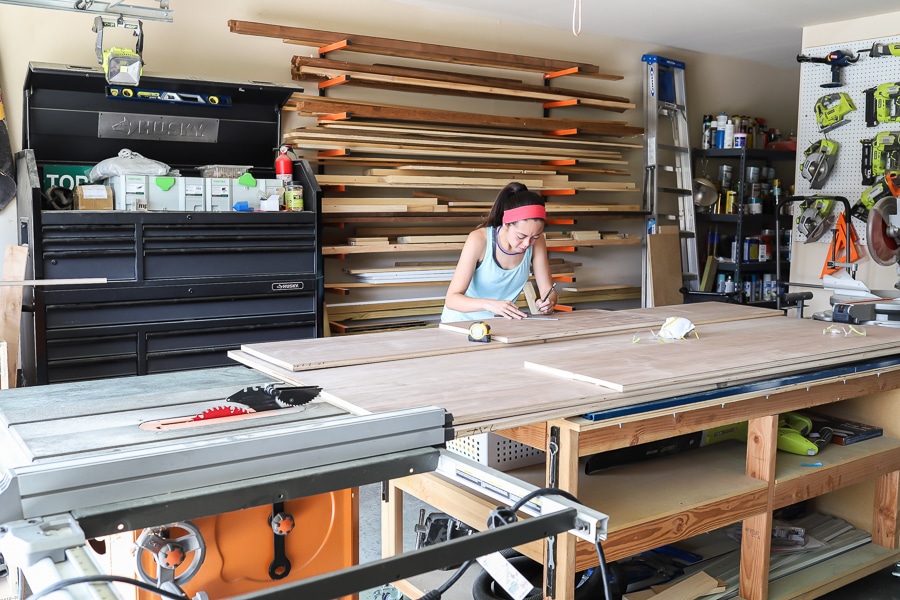
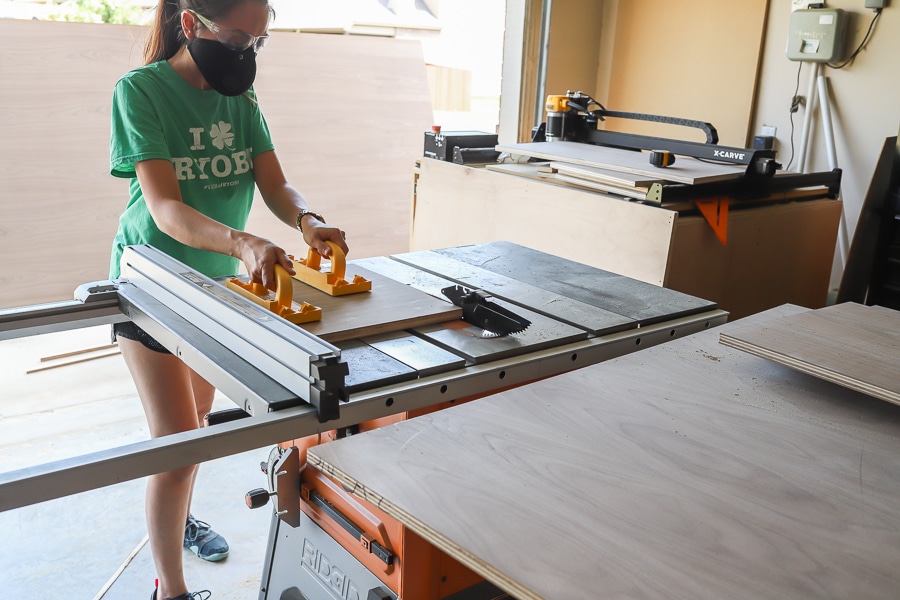
First, we cut all of our plywood down to size on the table saw. Be sure to wear a respirator whenever cutting or sanding walnut – dust from walnut is pretty nasty stuff! It’s a common respiratory irritant, so protect those lungs! My favorite dust mask is made by RZ Masks because it’s easy to put on and doesn’t fog up my safety glasses.
Speaking of safety gear – these Microjig push blocks make working on a table saw so much safer! I’m able to maintain more control over my workpiece while still keeping my hands far away from the blade. I almost always use them whenever I work on the table saw.
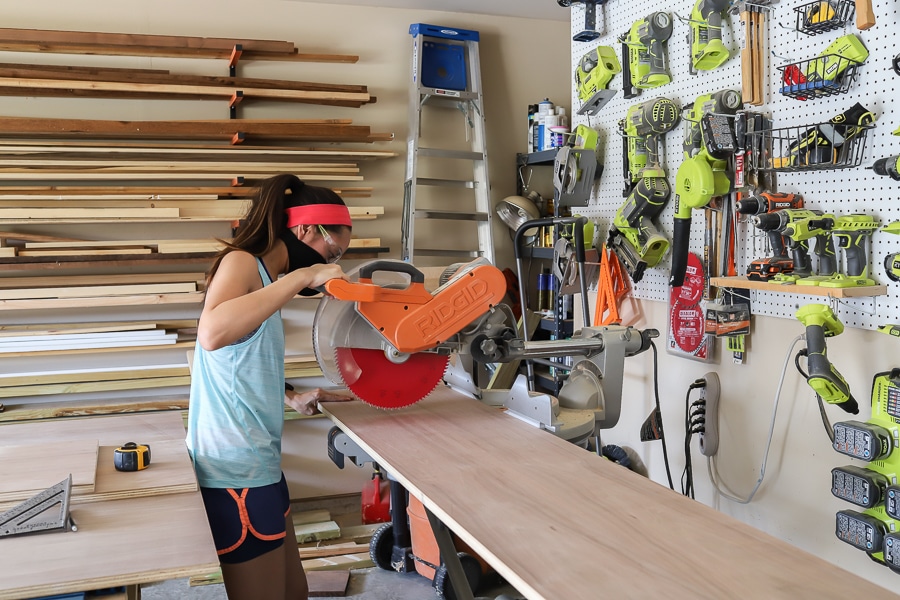
If you watch my Instagram stories, you’ll know how much I love this miter saw blade. It’s the Diablo 12-inch 100-tooth miter saw blade. The cuts are so clean and precise that sanding is minimal to none! It works particularly well for plywood too – there is virtually no tear-out!
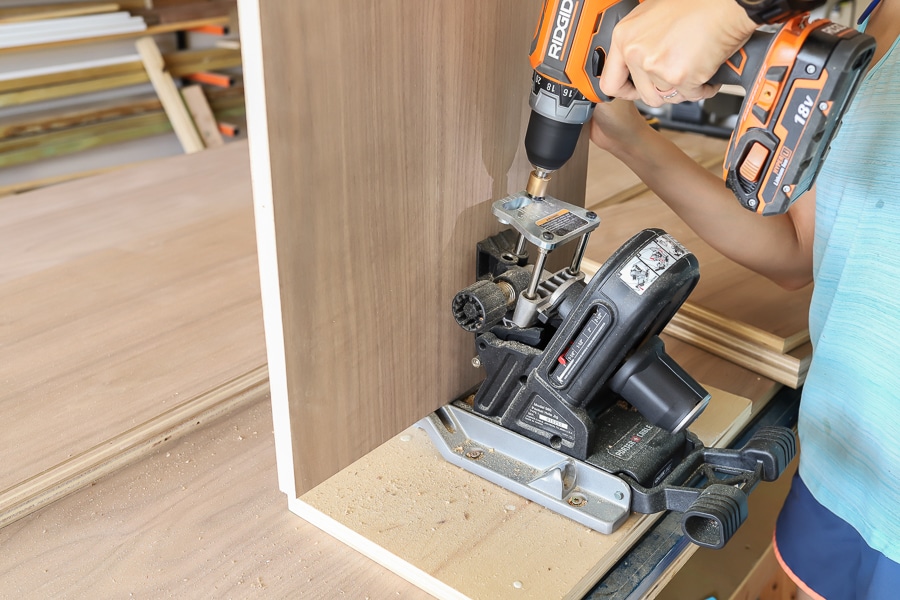
Another tool I have been loving lately is this pocket hole jig made by Porter Cable. It auto-adjusts so you don’t have to change the settings when working with different material thicknesses. It also has a self-adjusting clamp so clamping your material is quick and easy.
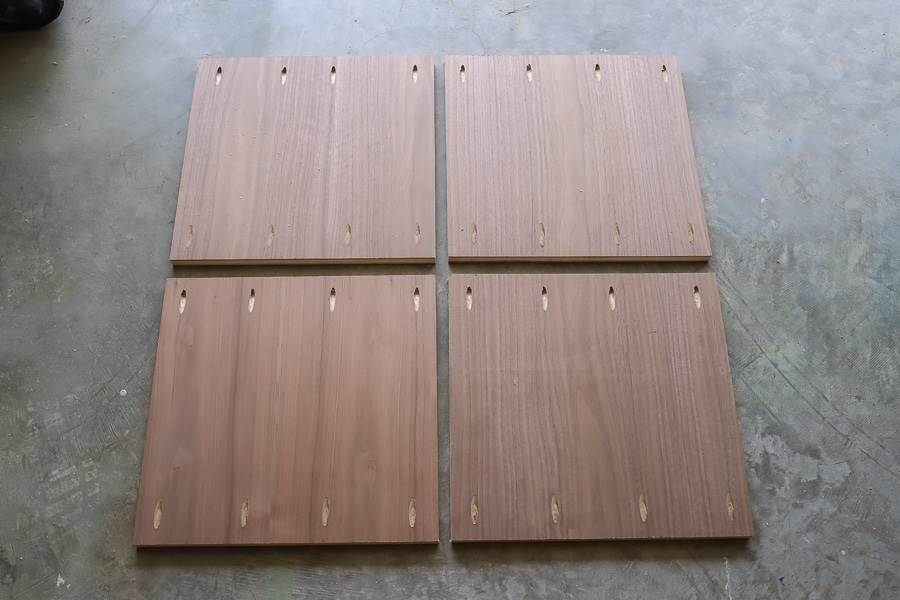
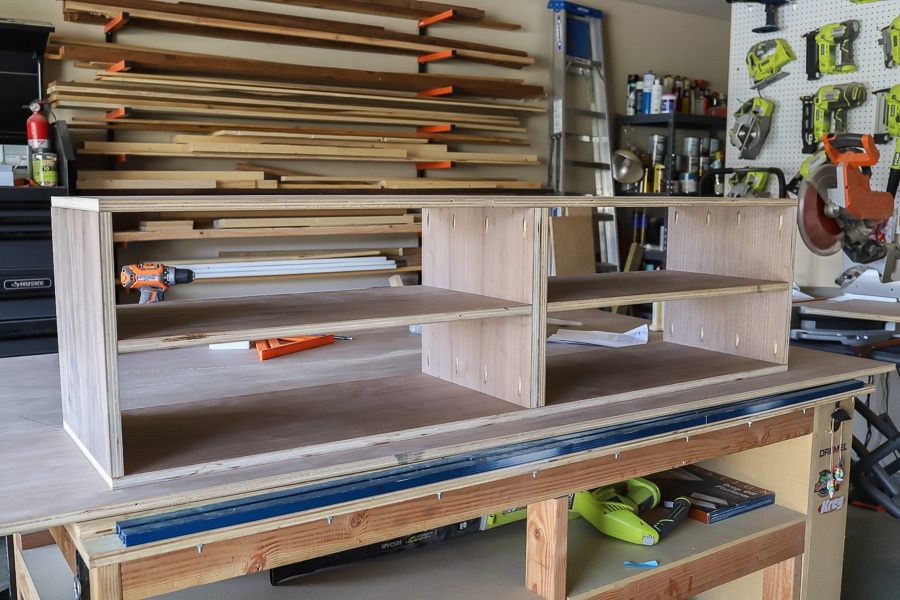
Once the plywood is cut and the pocket holes are drilled, it’s time for assembly.
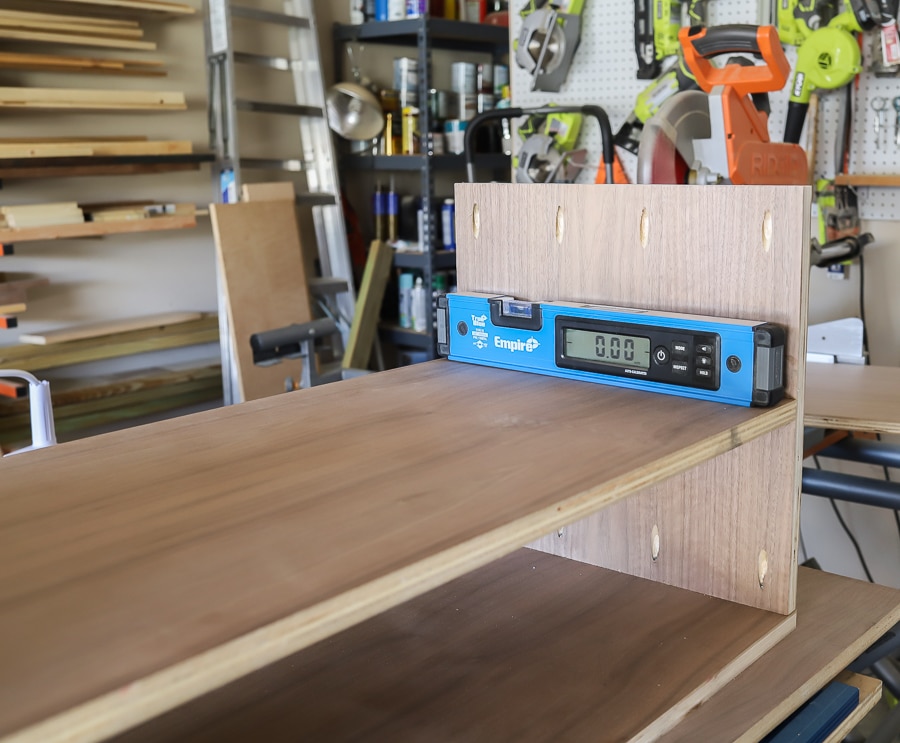
I used this digital level to make sure the shelves were straight and level.
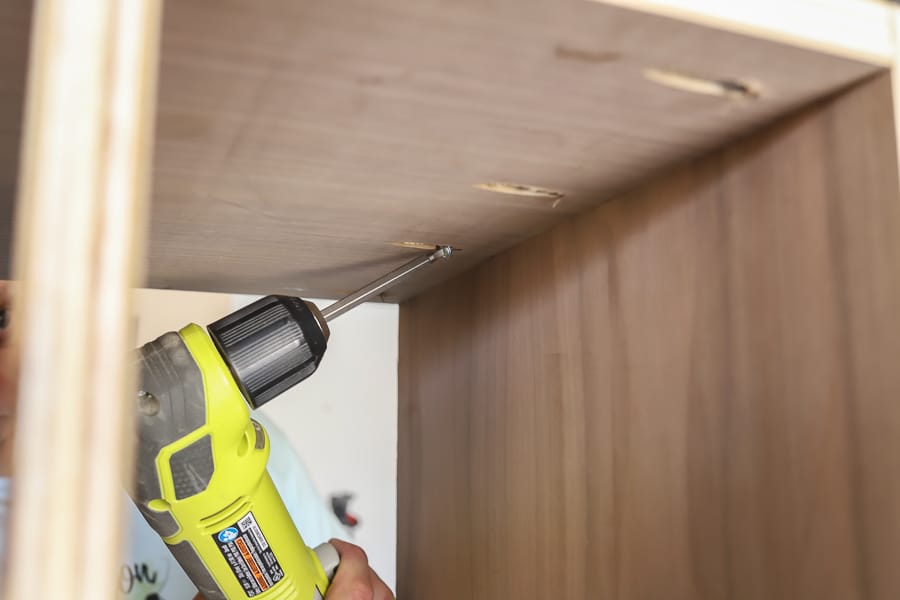
A right angle drill is very useful when you need to drive a screw in tight places.
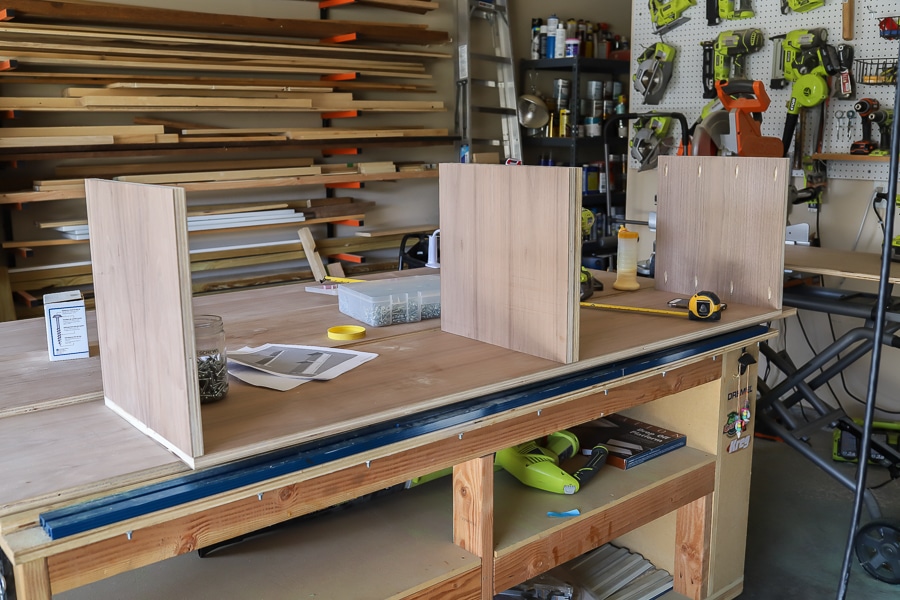
The center console carcass is constructed and it’s time to move onto the bookshelf towers.
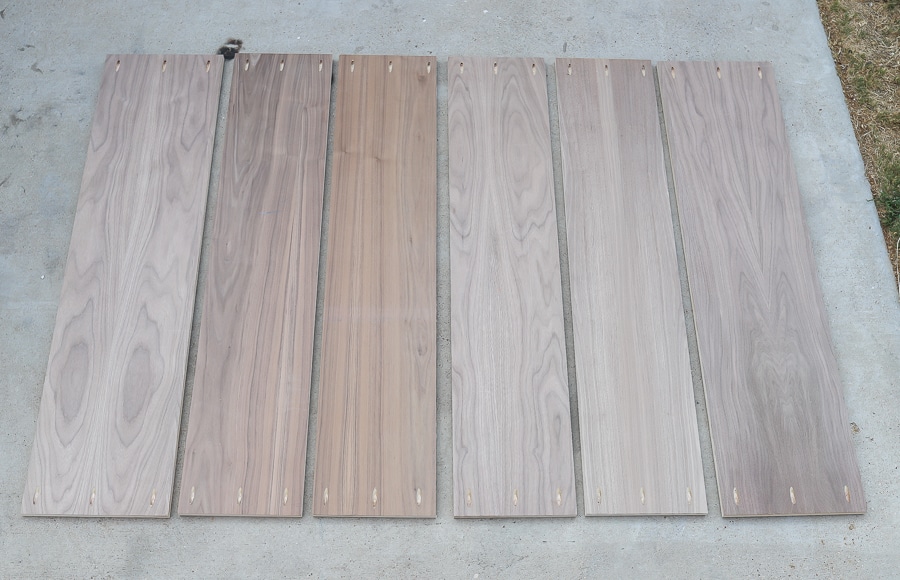
Here are the sides for the bookcases.
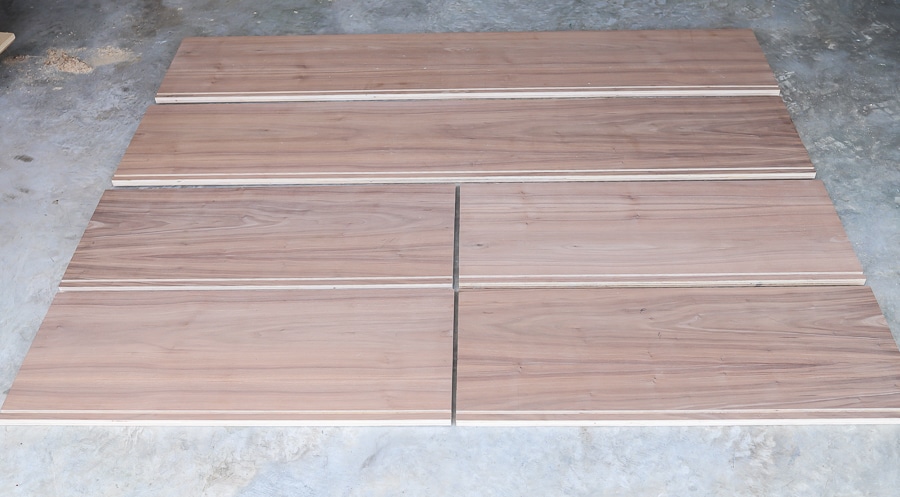
The photo below shows the top and bottom pieces of the entertainment center. Notice the grooves that are cut towards the front edge of the boards. This will be for the sliding door track. We used the table saw with a stacked dado blade for this, but you can also use a router fitted with a channel bit.
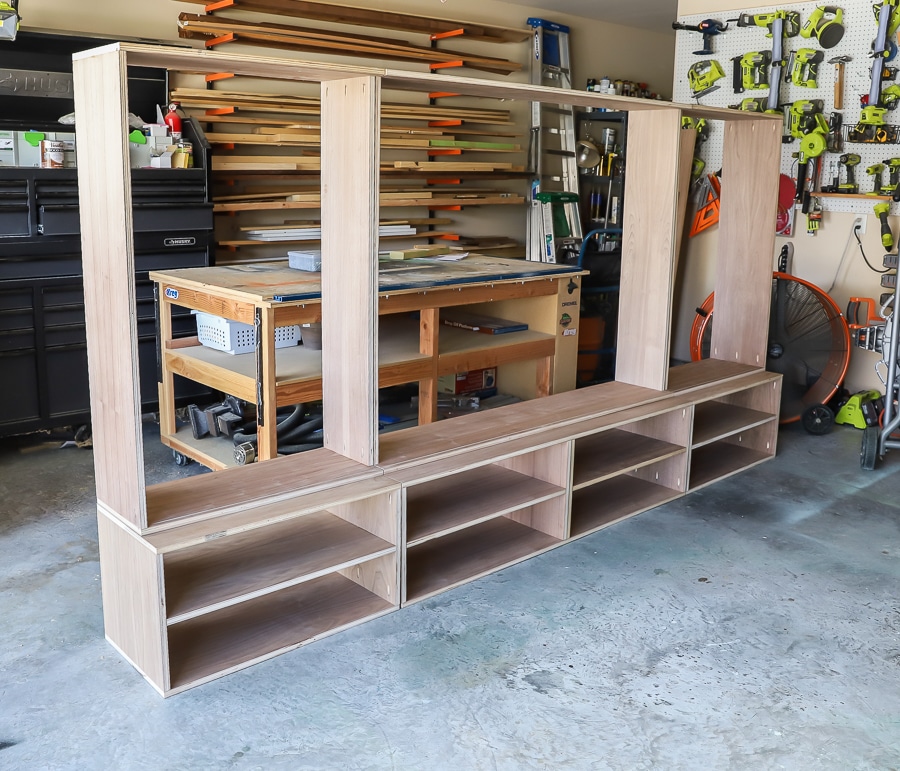
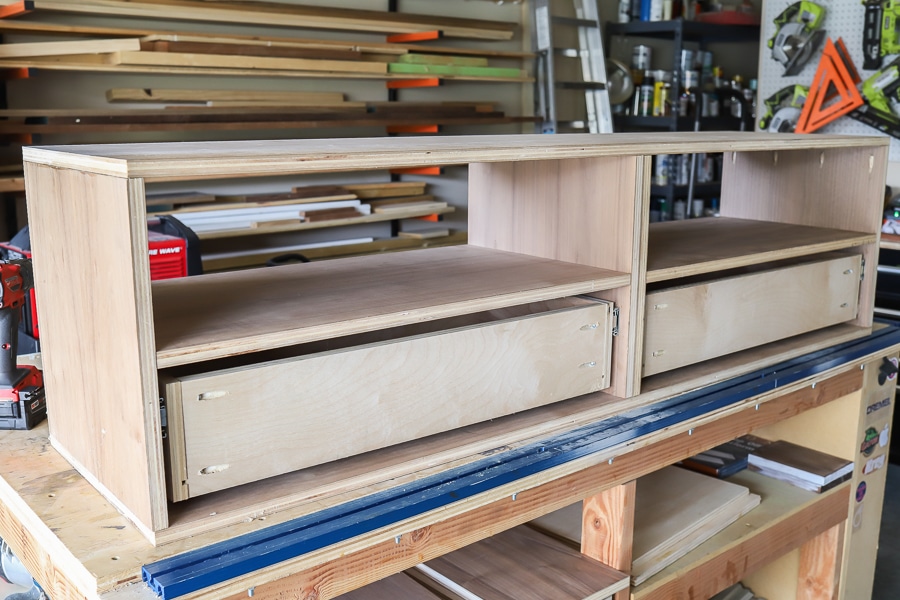
It’s starting to take shape! The bookshelf towers, TV tower, end cabinets and center console are all built! Next we’ll build the drawers to go into those cabinets. I ended up using birch plywood for the drawers, just as a matter of preference – I liked the look of the lighter wood inside the drawers.
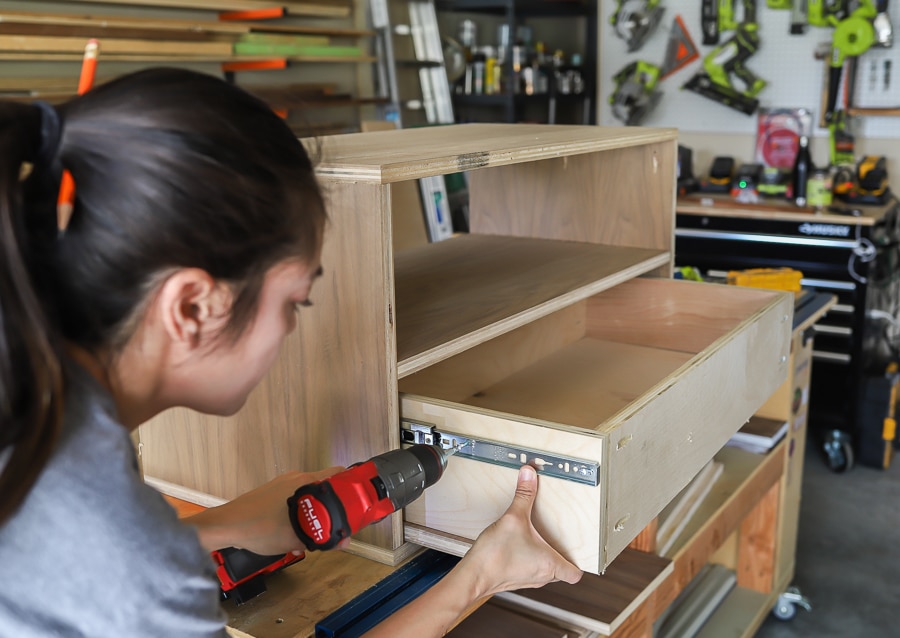
When building drawers, you always want to measure the space where the drawer box will go and build the boxes accordingly. Generally speaking, drawers need to be 1 inch narrower than the space it’s going into, to allow for a 1/2-inch clearance on both sides for standard drawer slides. Whichever type of drawer slides you choose, you’ll want to defer to the manufacturer’s instructions.
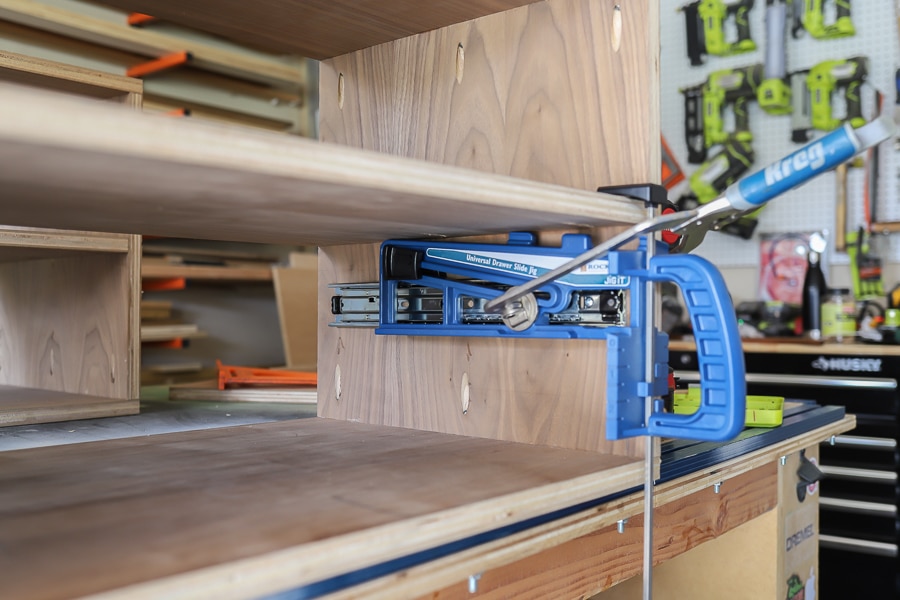
If you find installing drawers frustrating, I highly recommend this Rockler Universal Drawer Slide Jig. It made installing the drawer slides easier and more efficient – by setting the jig once, you can easily repeat the process with the same precision for all of the drawers. I also used four 100-lb. Accuride Zinc 14-inch Full Extension Drawer Slides and four 19.5-inch Amerock Oil-Rubbed Bronze Bar Pulls. For the sliding doors, I chose this longer pull: 30-inch Oil-Rubbed Bronze Cabinet Bar Pull.
In hindsight, I wish I’d set the jig a little lower, so that the drawer slide was positioned more towards the middle of the drawer box. Not a huge deal because these drawer slides are made to support 100 pounds of weight wherever they’re installed, but my perfectionist tendencies dictate that the slides should have been centered.
Want to know the easy way to install drawers? Check out my Instagram stories. In fact, there are quite a lot of videos showing the entire process of this build, so if video is more your speed, you’ll want to check those out. You’ll get a closer look at my process, the mistakes I made, how I corrected them, as well as helpful tips and tricks. Be sure you’re following me on Instagram, where I show a lot more “behind-the-scenes” stuff.
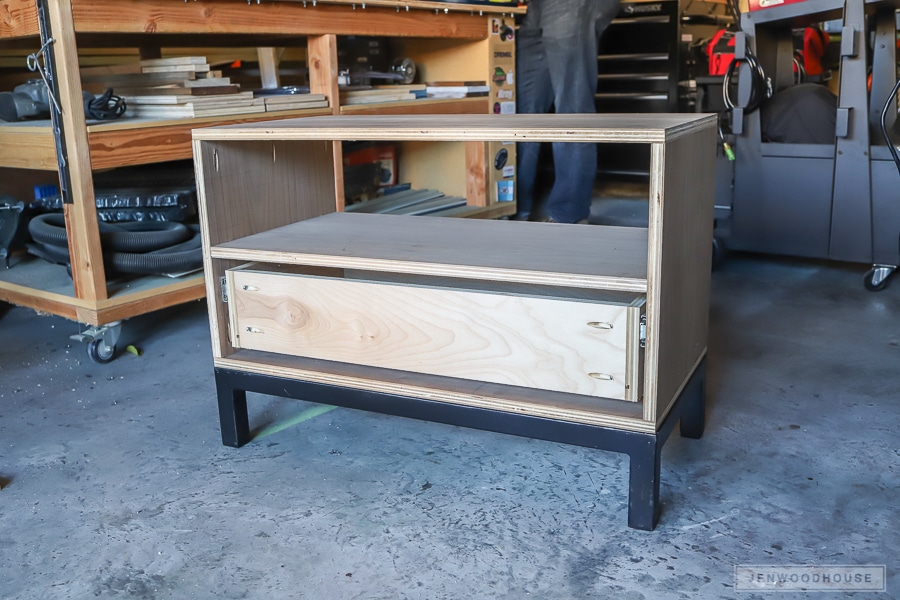
Awesome. The drawers are installed and now it’s time to move onto welding the steel base.
Did I mention that I recently learned how to weld?! I attended Workbench Conference 2018 and Lincoln Electric was one of the vendors at the conference. They were demoing some welding machines in their booth, so I was able to give MIG and TIG welding a try. Needless to say, I was hooked! A few months later, Lincoln Electric sent me my first welder and my next door neighbor, who was a professional welder in the Army, gave me a crash course one weekend.
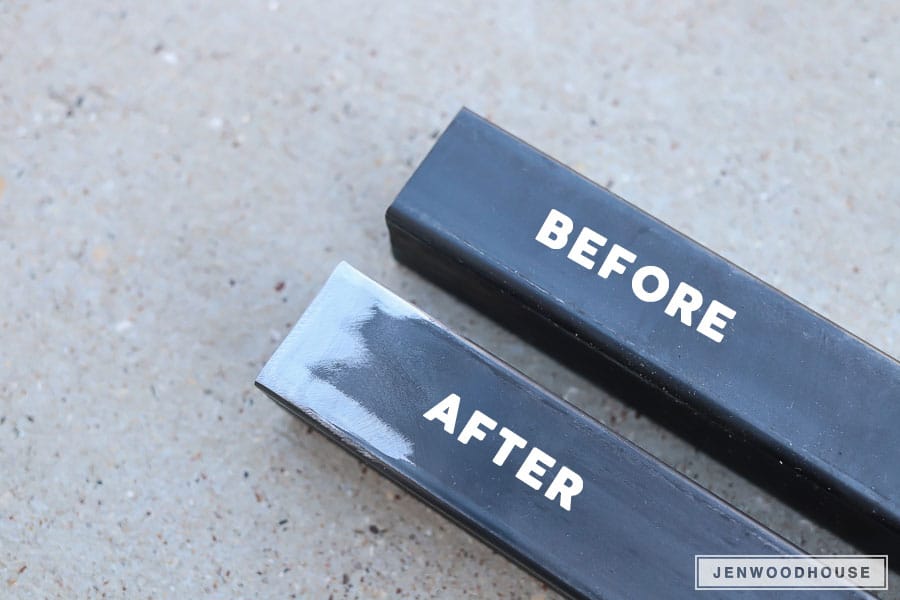
Whenever you’re TIG welding, everything has to be sparkling clean – the steel, the tungsten electrode, the filler rod – everything. We’re using an angle grinder with a 60-grit flap disc to clean the steel. Check out my post on how to clean metal, sharpen the tungsten electrode, and other prep work necessary for TIG welding.
A few seconds of grinding that mill scale off of the metal should do the trick. Once you get down to bright, shiny metal, wipe those parts down with acetone and you’re good to go.
Once all the steel was cleaned, it’s time to weld. Now, you might think welding is a bridge too far, but I promise you – it isn’t as intimidating and inaccessible as you might think! Did you know about 1% of the population knows how to weld, and less than 1% of that number are women?! We need to raise the status quo. We can do it together! Believe me, if I can do it, SO CAN YOU!
While it would make more sense to MIG weld this project because it’s faster and easier, I actually prefer TIG welding. There are more moving parts and variables with TIG welding – your hands and feet are doing different things simultaneously – but I actually prefer it to MIG because I find TIG strangely relaxing. You wouldn’t normally TIG weld steel furniture because it’s so slow-going, but it feels less scary because it doesn’t spark like crazy.
Even still, this is obviously a beginner-level project because I’m a total newbie welder and I was able to fabricate the steel bases for this project! I’m working on a dedicated post on “TIG welding for beginners” so stay tuned for that. In the meantime, check out Jody Collier’s awesome YouTube channel for a wealth of welding knowledge. My buddy John Malecki also has a great video on beginner welding for woodworkers.
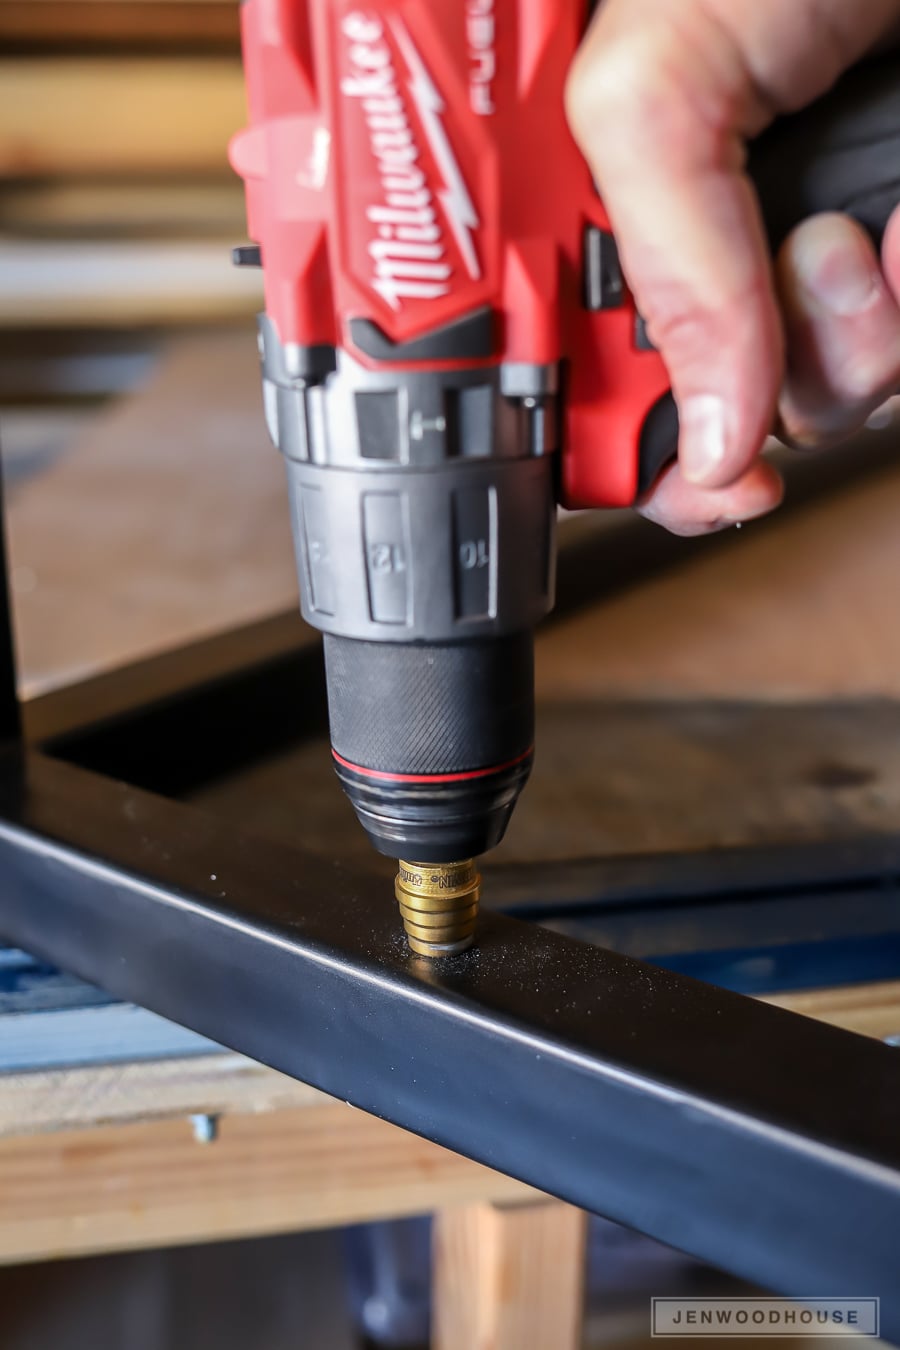
Once the steel base was complete, we used a stepped drill bit to drill holes through the square tubing so we can attach the base to the cabinets. Another option would be to weld on little tabs for the screws to go into. I’d already spray-painted the steel at this point and I didn’t want to grind back down to clean metal just to weld on tabs, so we went this route instead. I actually like the clean look of it. The only tricky part is if you lose your drill bit inside the square tubing, you’ll need some pincers to retrieve it. All of my childhood years of playing “Operation” finally paid off!
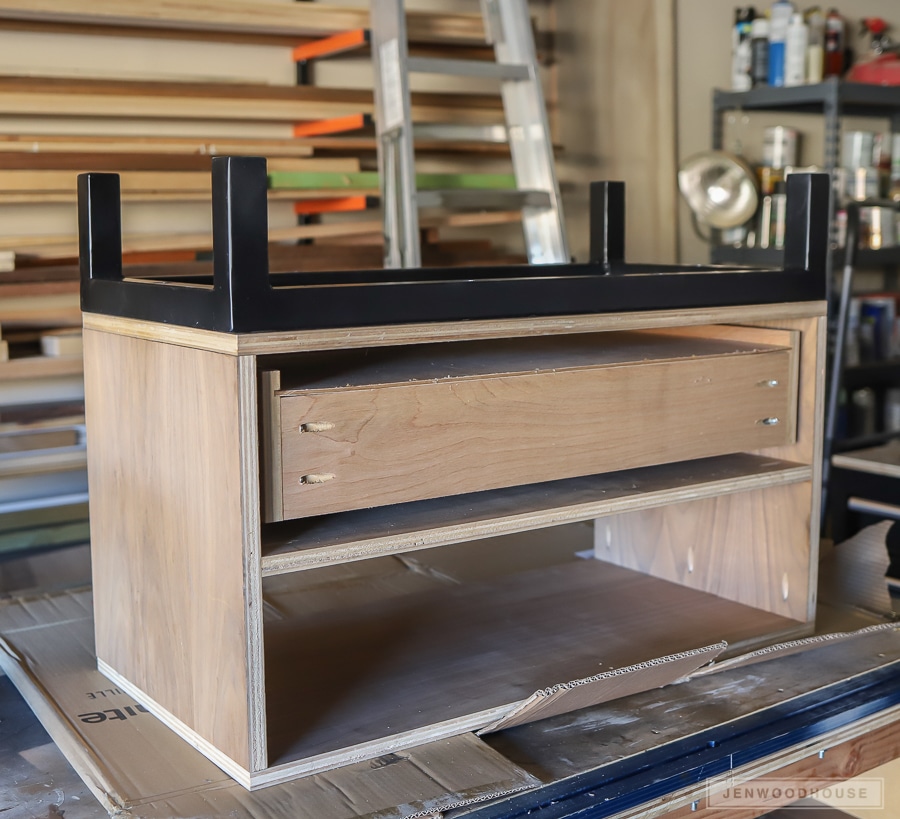
Ta-da! The steel base is attached! Now to attach the drawer face. I learned a few neat tricks from my friends Brad and Marc on how to attach the drawer face. You can check that out in my Instagram stories as well.
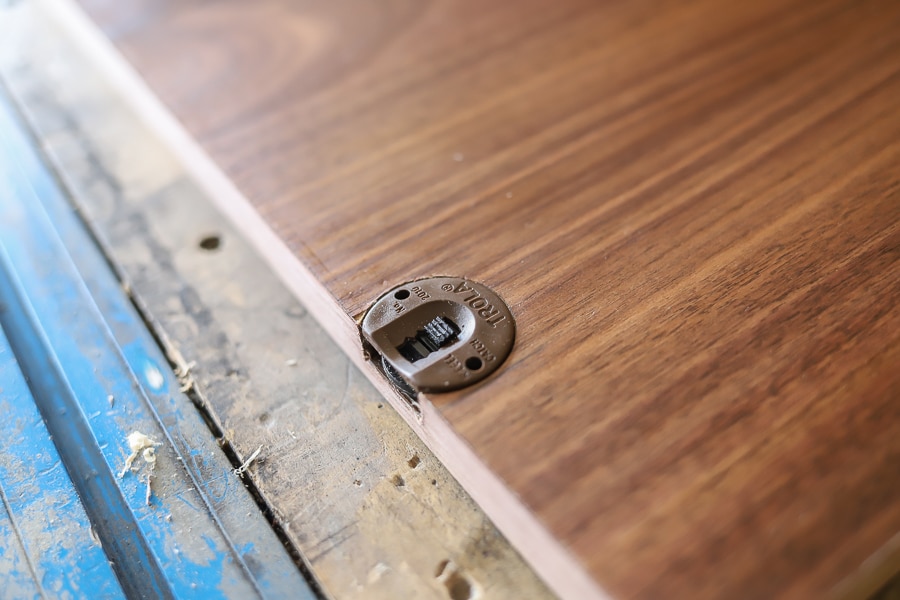
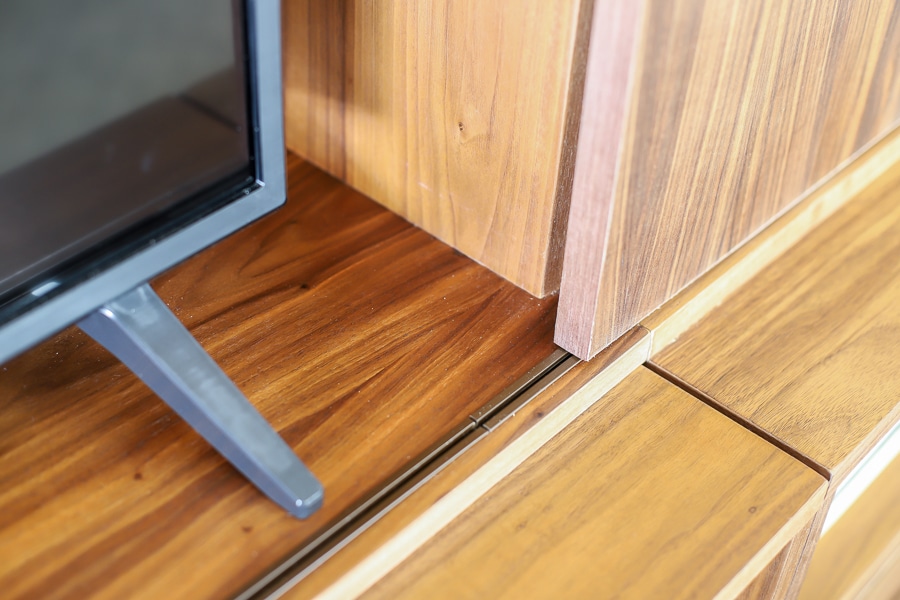
Now it’s time to install the sliding door hardware. Remember those grooves we cut into the bookshelves and center console earlier? The track is going to fit right in there. The upper guides and lower rollers will be installed into the doors. We cut the doors down to size, then used a 1 3/8-inch Forstner bit to drill out a space for the guides to sit in.
The instructions that came with the sliding door hardware were excellent. They tell you exactly what size hole to drill, how far from the edge and how deep to drill. And the guides themselves have adjustable tabs that allow some room for error. The photo above shows what one of the upper guides looks like when installed into the interior side of the door.
Finally, I ironed on some walnut veneer edge banding to all of the exposed edges of the plywood, applied a couple of coats of satin wipe-on finish to bring out that beautiful walnut grain, and called it done! When we brought the separate components into the house, we screwed the bookcases to the center TV console so that the tracks were perfectly aligned. You’ll want a smooth transition so that the doors can slide easily from side to side. Those adjustable tabs on the upper guides also help when placing the doors on. You simply slide the lower rollers into the bottom track, then push the top of the door into place and lift the black tab so it inserts into the upper track.
We absolutely LOVE how our DIY home entertainment center turned out!
Want a peek behind those doors? That’s a 60-inch television in there. One of my favorite things about this DIY entertainment center is being able to hide that big black box when not in use!
So are you ready to build your own DIY Modern Sliding Door Entertainment Center? Grab the plans below! I would love to see your versions. Please tag #jenwoodhouse if you post on social media so we can see your projects. Thanks so much for reading – I hope you enjoy building this DIY Entertainment Center as much as I did!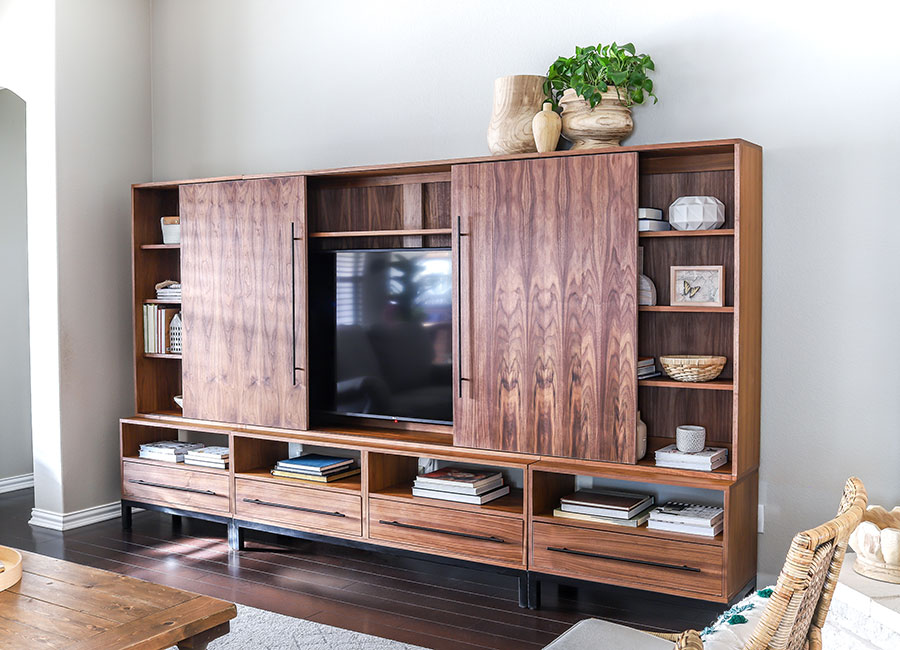






You are an absolute rockstar genius stud. This is so beautiful!!
Oh my gosh Jen this is gorgeous! The walnut plywood is definitely worth the extra cost. Now I want to make one of these for my living room.
Simply put…this is stunning!! Thank you for sharing this!
That’s just stunning! You’ve really outdone yourself this time! Gotta check with the CFO (my wife) to see if we can spring for the plans.
Thanks for the kind words, Robert! Good luck!
Roughly how much did it cost to make this yourself?
Thanks Jen. Your site is so inspiring. As a house wife, it has made me much more driven to work on my newest woodworking hobby and I am glad to follow your site. Keep up the great work and keep inspiring.
.
Hi! I purchased the plans. The links you shared here to the European style sliding door is a broken link and the cabinet drawers as well. Are there others you would suggest??
Thanks!
Hi Nathan,
Thanks so much for your support! I’ve updated the link to the sliding door hardware: https://www.rockler.com/european-style-sliding-door-hardware
Hope that helps!
I finished building this! Would you like to see pictures? How did you find a 60inch tv with less than 10 inch tv stand depth?? We’re having trouble finding one
Hi Nathan,
I’d love to see photos of your project! You can submit them here: https://jenwoodhouse.com/share-your-project. We bought a Vizio TV from Best Buy and it’s slim enough to fit inside the entertainment center. Hope that helps!
Sounds good! I’ll share the pictures. I uploaded a bunch of them on Instagram. We ended up just building a new TV base for the TV for now.
I’d love to see your pictures!! Can you share your IG? I bought the plans and would like to take on this project. Would love to see how it turned out for you!
What a beautiful website!!
Absolutely marvelous and beautiful!!! The idea implemented is very creative and awesome.
Really good work… Nice post and great photos.
Hi, I am so impressed with your beautiful work!!! I’m drawing a plan for a small piece of furniture in need of a steel base. May I know the size of the square tubing you used for the entertainment center? I’m hoping the 1 ½” square tubing I have will be an appropriate size for my modern cupboard. I need pictures as I’m designing lol and came across your gorgeous entertainment center! I’m anxious to look through your other projects, too!
Thanks much, Lori