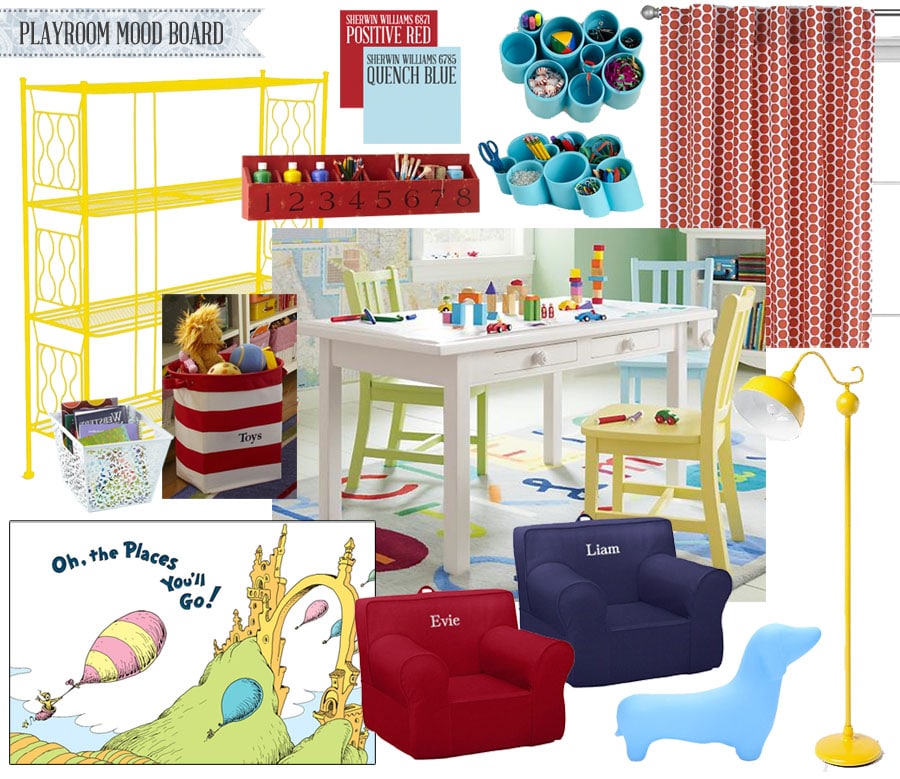
Last month, I posted this mood board for the kiddos’ future playroom, inspired by Dr. Seuss’s Oh, The Places You’ll Go! children’s book. I love the message and the whimsical illustrations in it and plan to paint a wall mural of one of its scenes on the playroom wall:
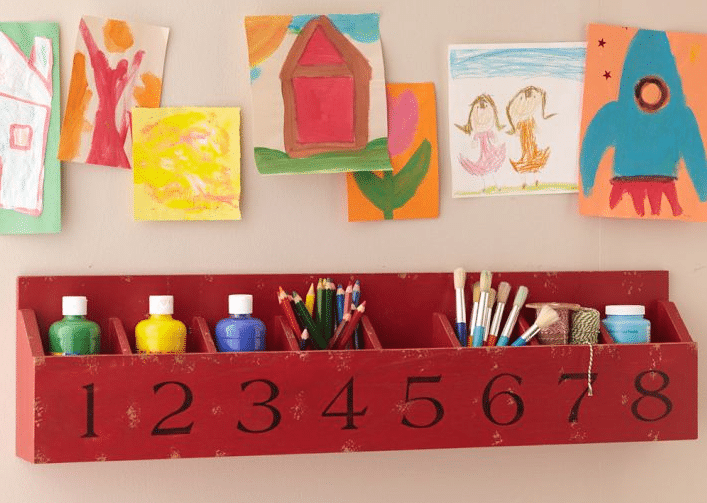
And take a look at this cute cubby wall shelf. It’s from Pottery Barn Kids ($99), but it’s no longer available. Even if it was, I can’t bring myself to drop a hundred bucks on a shelf, especially when I have a bunch of scrap wood piling up in my garage, just waiting to be used.
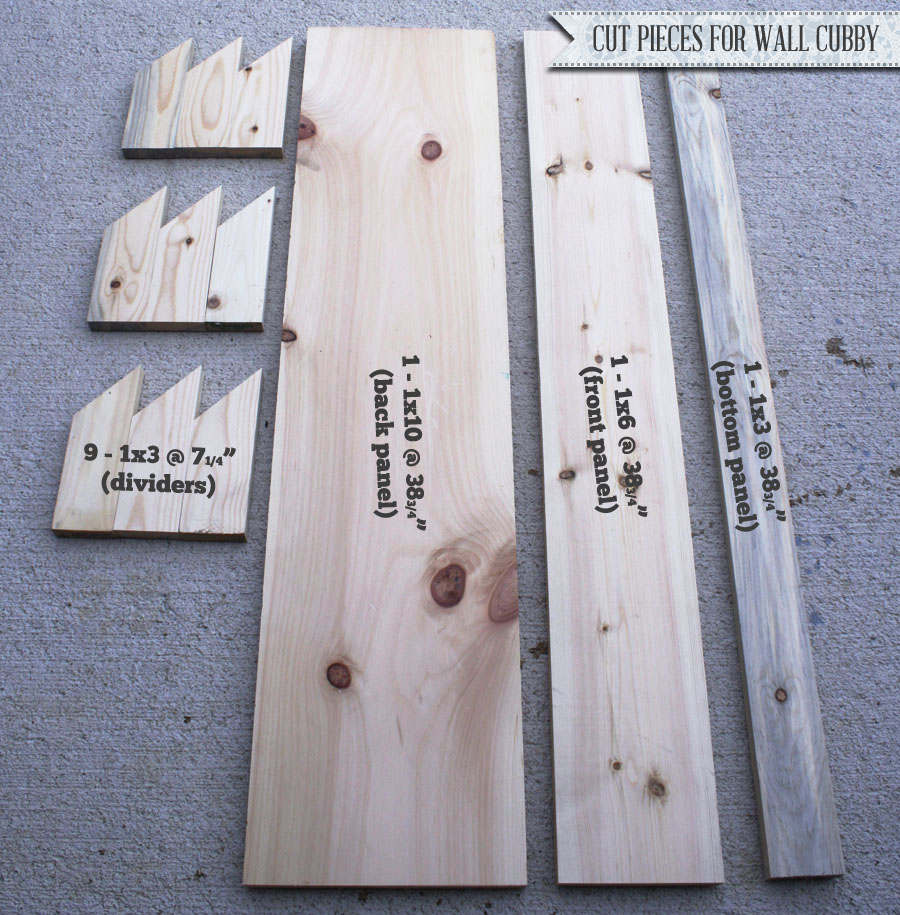
I was able to build this shelf with lumber I had on-hand, but if you don’t and want to purchase lumber for this project, I don’t expect it costing more than $10.00. Ana White has some excellent plans for this project. I used solid boards (it’s what I had laying around), but you can use 1×3 and 1×2 boards, like in Ana’s plans. Here are the pieces after I cut them:
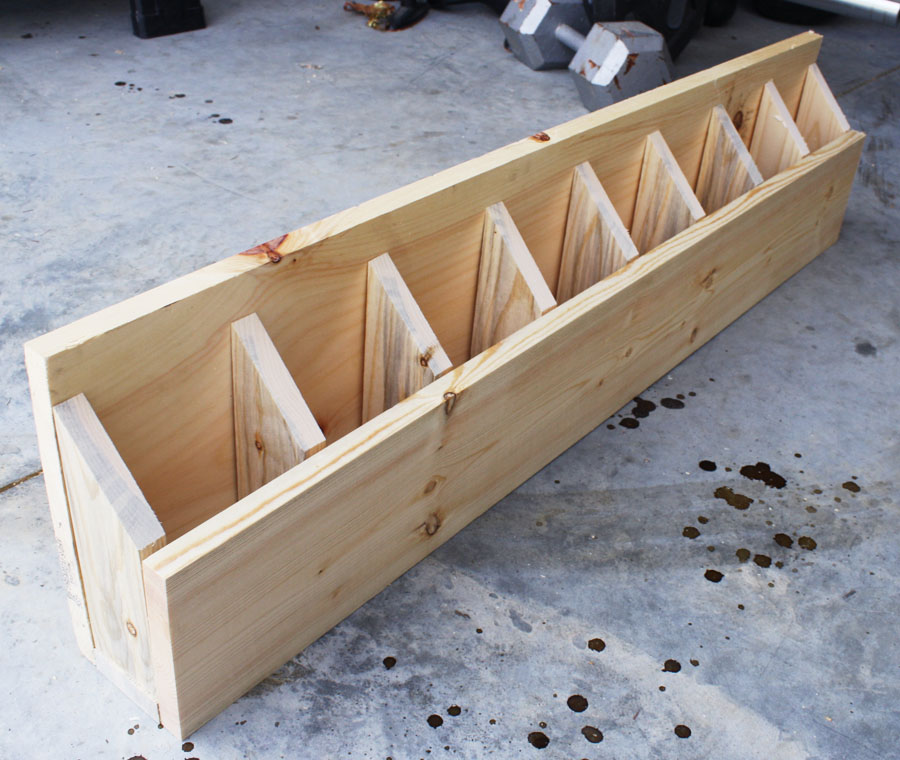
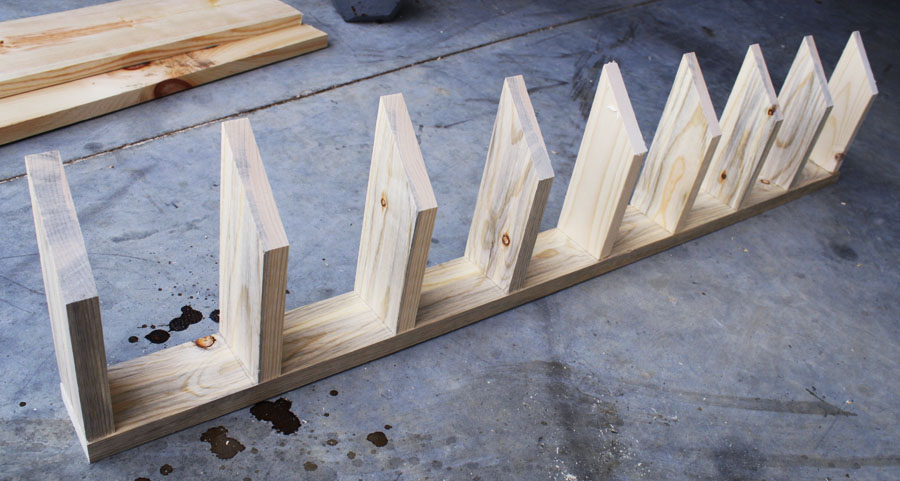
Then I quickly did a dry fit just to see how everything would come together. I also cut a 4″ piece of wood to serve as a guide, to make sure the dividers were evenly spaced.
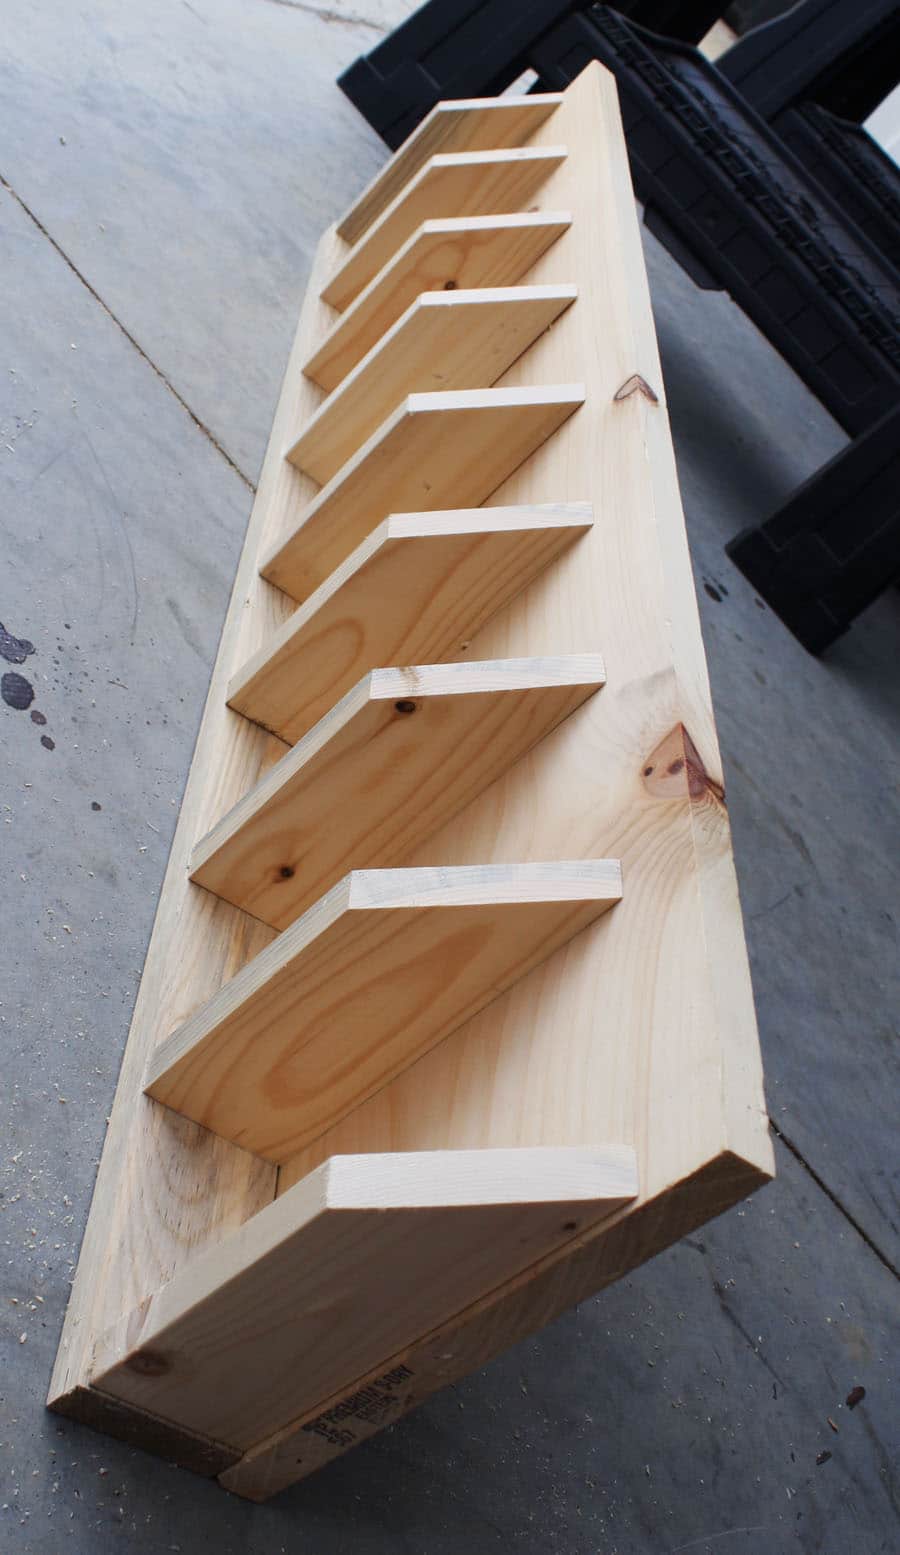
Using the 4″ block as a guide, I placed all the dividers where they should be and marked it with a pencil. Then I pre-drilled holes in the bottom board and attached all the dividers, countersinking the holes and using 2″ wood screws.
Then I pre-drilled holes and screwed the back board on:
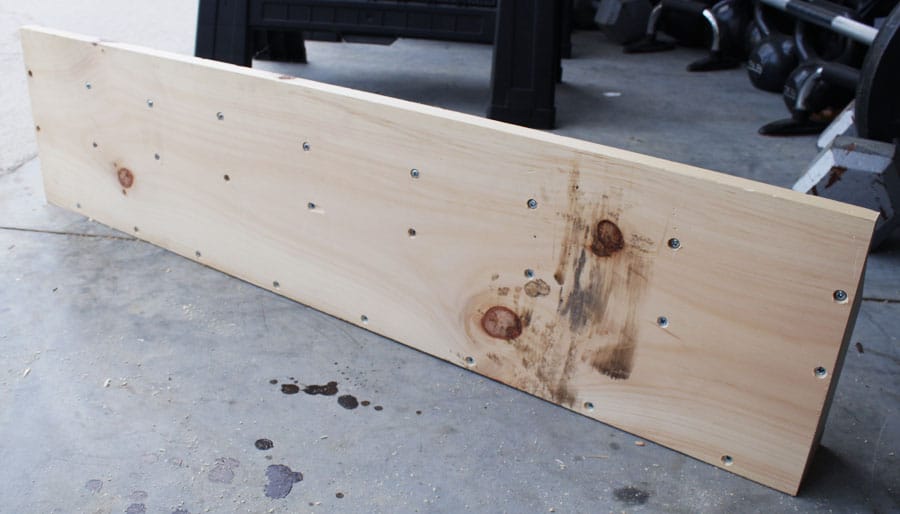
Here you can see where I placed my screws. The top row of screws is 1 1/4″ long because the angle in the dividers wouldn’t have allowed for a 2″ clearance. The two bottom rows of screws are 2″ though. I countersunk all the screws so that when I hung it up, it wouldn’t scratch the wall, and the shelf would sit flush against it.
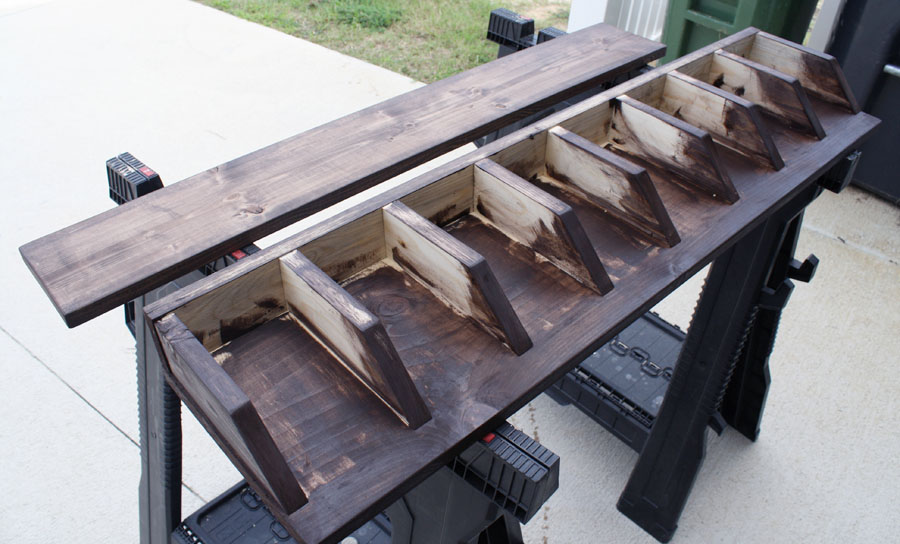
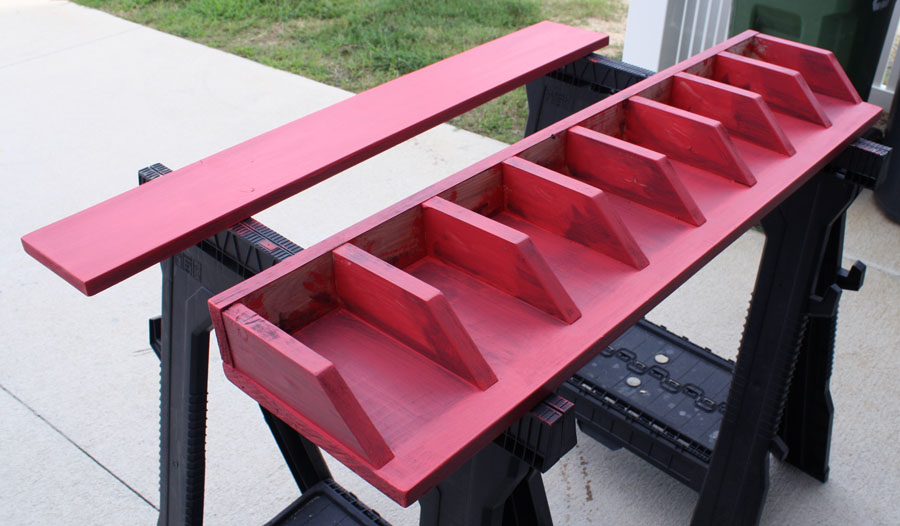
Then, before I added the front board, I went ahead and stained and painted it. I did a quick staining job, using Rustoleum’s Ultimate Wood Stain in Dark Walnut. As you can see, I didn’t even cover the entire thing. I just focused on the corners and edges because I knew I’d be painting over it anyway. Also, I figured it would be easier to stain/paint with the front board off so I could easily get into every nook and cranny. The thought of having to jam a paint brush down in each cubby makes my head hurt, so I’m glad I had the foresight not to add the front board on just yet:
Then I put a couple coats of strawberry colored paint on top of the stain. This is the same Valspar paint I used for Evie’s play chair. Again, I wasn’t too concerned with giving it a perfect finish, because I’d be distressing it and making it look a bit shoddy, like Pottery Barn’s shelf.
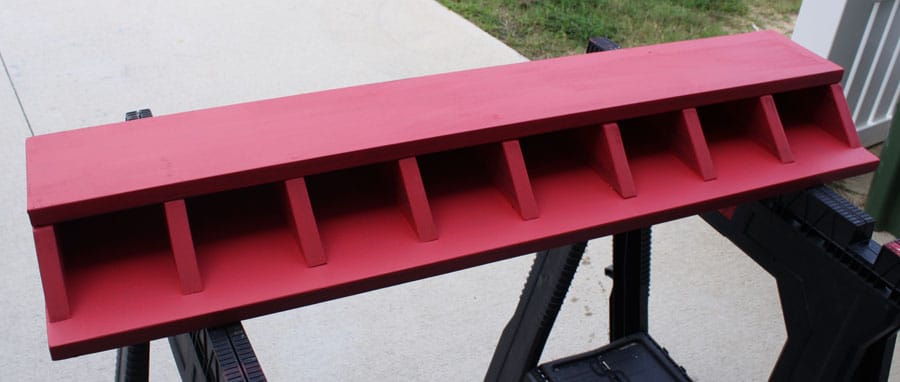
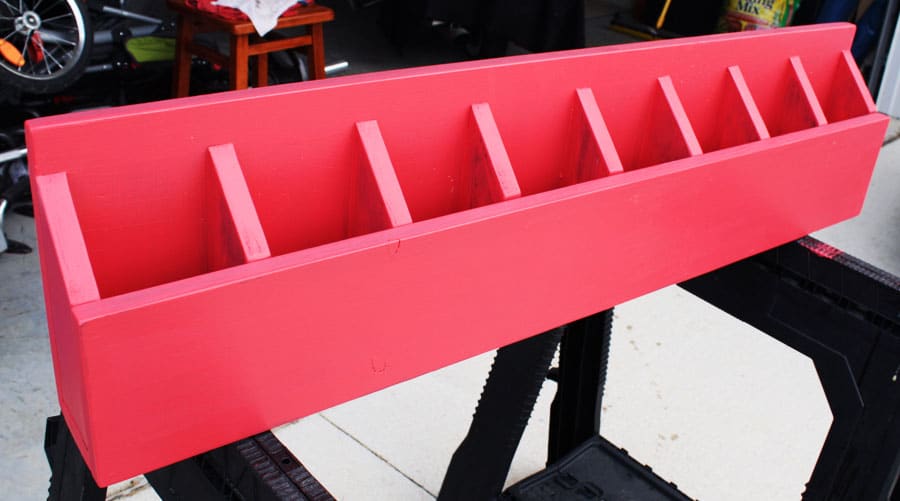
Then I used 1 1/2″ finish nails to nail the front board onto the shelf. I used a nail punch and covered the nail holes with wood putty.
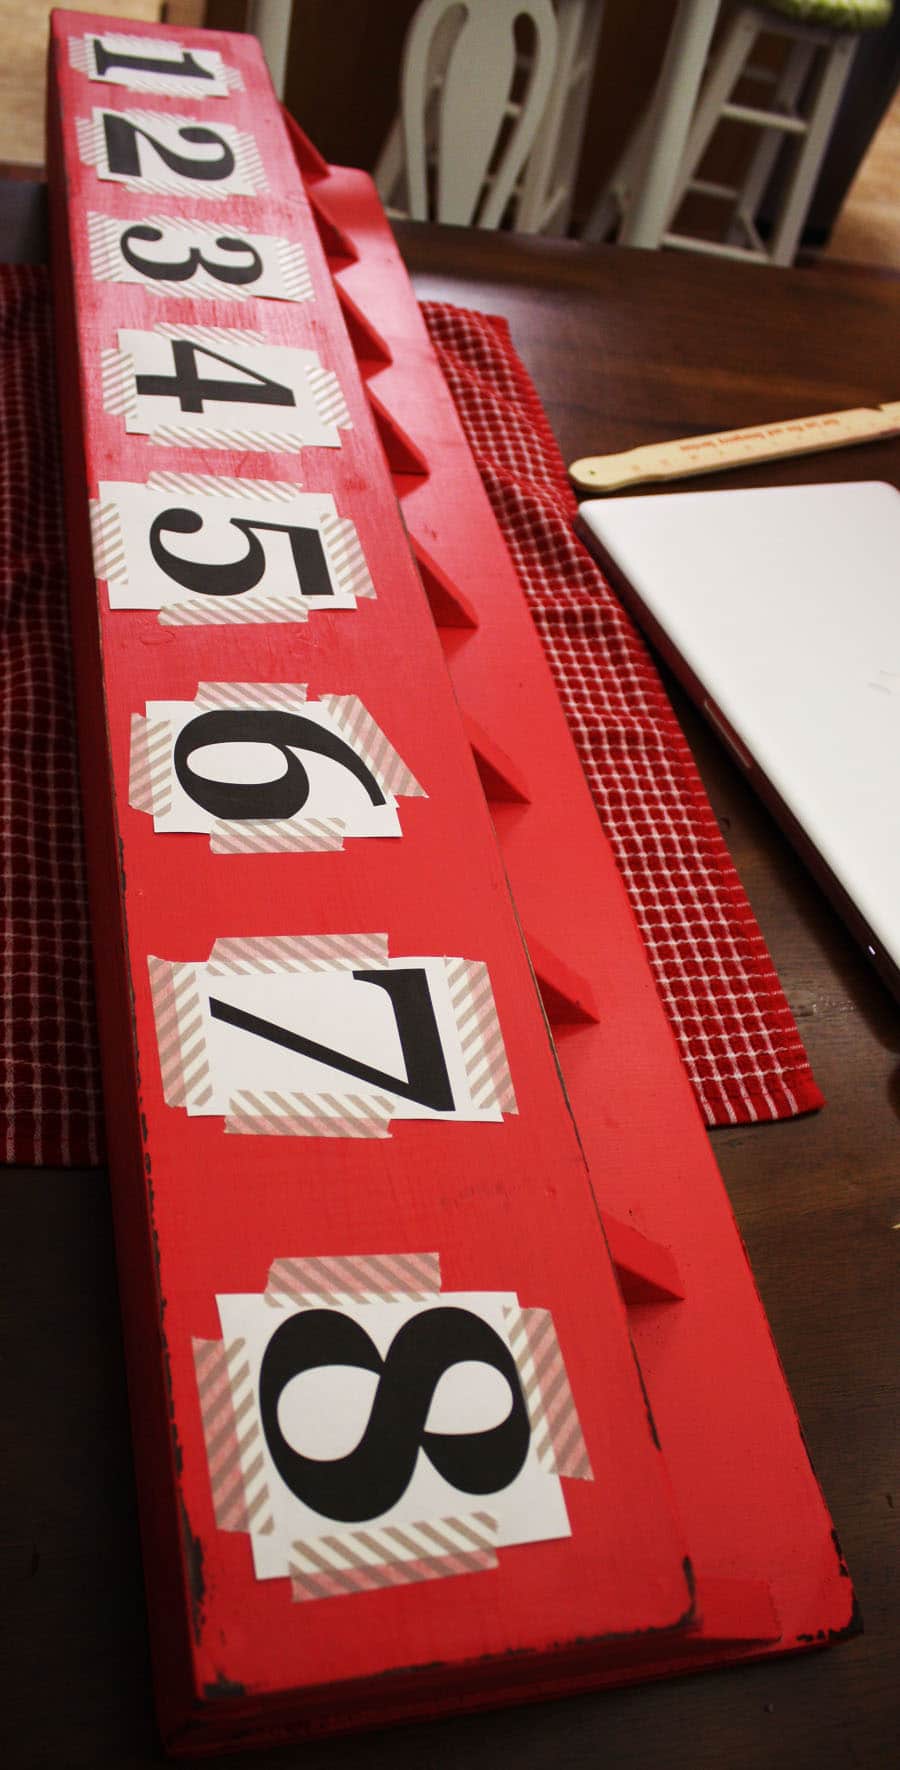
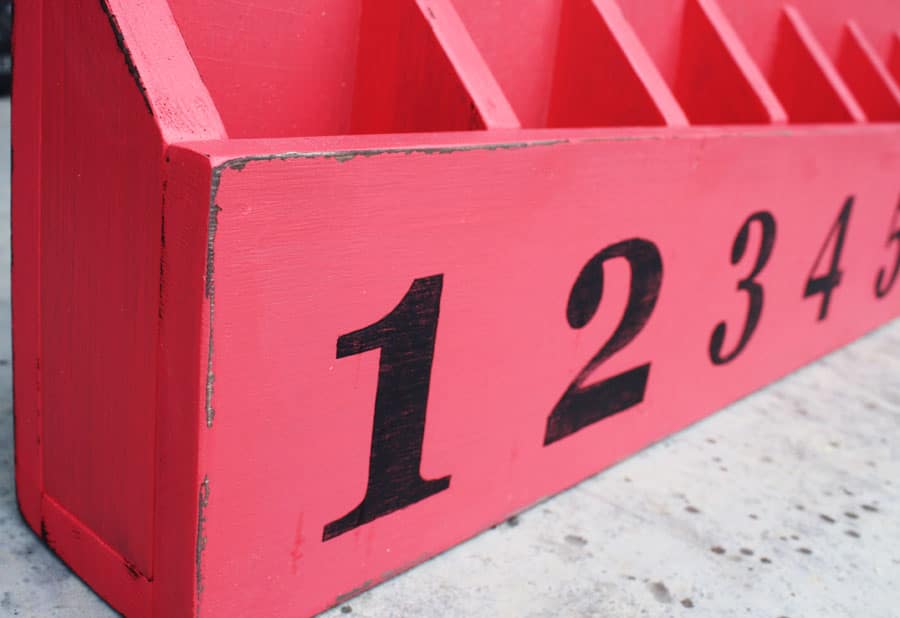
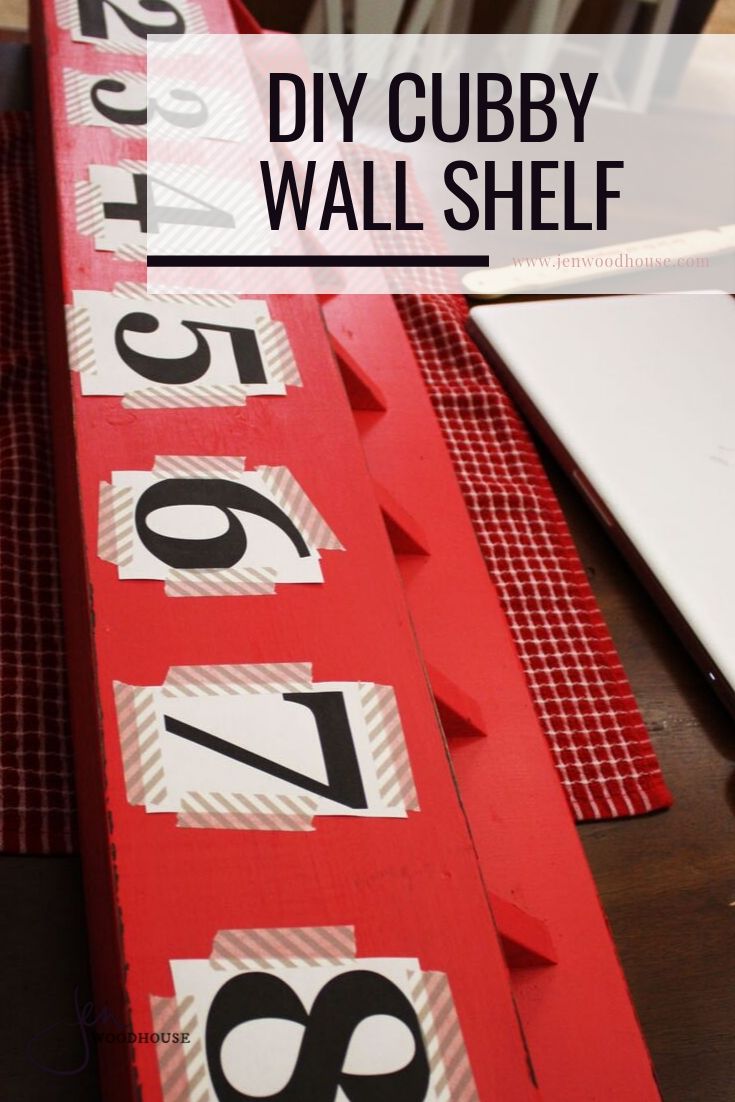
After the paint dried, I gave it a quick sanding and distressed the edges a bit, to reveal the dark walnut stain underneath. Then I printed out numbers 1 through 8 on the computer and taped it to the shelf. The font is bold Georgia at 300pt. Using a ballpoint pen, I traced over the numbers, pressing hard to create an indention into the wood. Then I hand-painted the numbers onto the shelf, using the indentions as a guide.
I gave the whole piece another quick sanding, so that the painted numbers didn’t look so crisp and new, slapped on a quick coat of Rustoleum satin polyurethane to seal everything up and voila!
So here’s Pottery Barn’s $99 shelf:
And here’s mine (for free… yippee!) – Pin it for later!
Easy peasy and pretty quick too! I was able to do this project while Evie took a 2-hour nap. Another project is crossed off my TO DO list and I’m one step closer to realizing the kiddos’ future playroom! Woo to the hoo! I think I’m in love! What do you think?




Jen, I love this! It would be perfect for my preschool room! This is on my project list for sure!!!
Definitely! It’s super easy and fast too! Can’t wait to see yours!
Jen, I love this! Wonderful job. I’m rearranging my playroom in my head right now to figure out how to make a creative center with this on the wall. . .
Nice! Come back and share pics with me!
awesome! It turned out great, this project is on my list! We’re homeschooling and I want to make a larger version to do the “workbox” method. Thanks for the inspiration.
No problem! These cubbies are so handy! Looking forward to seeing what you come up with!
Wow! I like your version better than the PB version, actually! Very impressive.
I found your blog months back when you posted a video on YHL’s blog comments that had your Evie singing Adele with you. 🙂 Been a follower ever since! I love love love your song “Rearview”… was so meaningful to me as I spent a year doing a lot of overnight car travel for work, and I really did hate to see my hubby in the rearview. 🙁 Thankful that season is past us.
Hi Randa!
Thanks for visiting and for the kind words! It’s always neat to hear how people relate to my songs. Thank you again!
Love a good PB knockoff. This is great and awesome tutorial! I’d love for you to share this at my blog party, Twirl & Take a Bow at www.houseontheway.com. It’s every Tuesday through Sunday. This would be a great addition! Hope you can stop by!
Leslie
Thanks, Leslie! Heading over now to link up!
Wow! That is really awesome! Great job! Thank you for sharing. Visiting from Beyond the Picket Fence. Would love it if you would share this at my Make it Pretty Monday party at The Dedicated House. http://thededicatedhouse.blogspot.com/2012/08/make-it-pretty-monday-week-11.html Hope to see you at the bash! Toodles, Kathryn @TheDedicatedHouse
Great! I made a similar one out of pallet wood a few months back (have yet to blog about it) with only 3 sections and it was soooooo heavy… pine next time!
I’m looking at this shelf unit and thinking how handy it’d be on kitchen window ledge for individual potted herbs.Instead of numbers, stencil or write the plants’ names on appropriate cubby front, change out the color to suit the room …. other uses, too, like sorting mail. Love it.
WOW just what I was searching for. Came here by searching
for free
What did you use to attach it to the wall? I am worried about it being heavy once materials are in there.
If you’re concerned about weight, you can use either drywall anchors and drywall screws or screw directly into the studs in the wall. I just used D-ring hangers attached to the back of the wall cubby and hung it on the wall with 50-lb. picture hooks.