Easy and scary Halloween decor that you can make with a few simple supplies, yes please! Jaime here from jaimecostiglio.com where it’s all DIY all the time so naturally, we are making a spooky DIY Halloween Black Cat Wood Cutout to decorate your mantel, bookshelf, door, or yard.
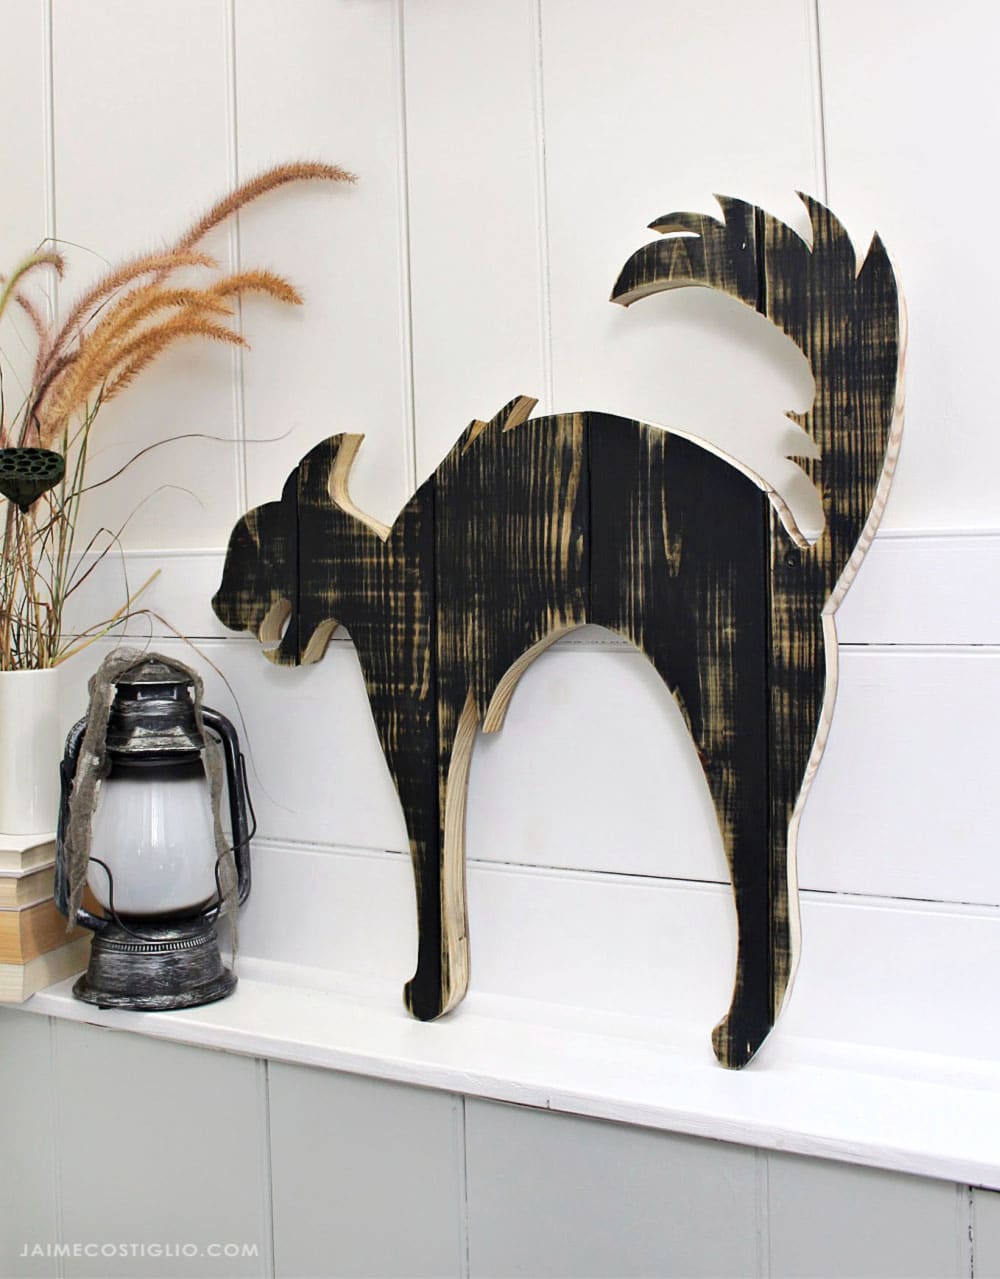
Take a large piece of MDF or plywood and cut out a cat shape to make your space spookier. Halloween yard decorations are the most fun. How cool would your yard look with a bunch of creepy cats prowling around? And you can make it any size you like, I stuck with 24″ wide because an inexpensive handy panel at the hardware store is 24″ wide.
Can’t draw a spooky cat? Don’t worry, that’s what the internet is for. Find you favorite scary cat silhouette clip art and I will show you how to enlarge it using the grid method. (Please be sure the clip art is royalty free, no copyrights and good for personal use.)
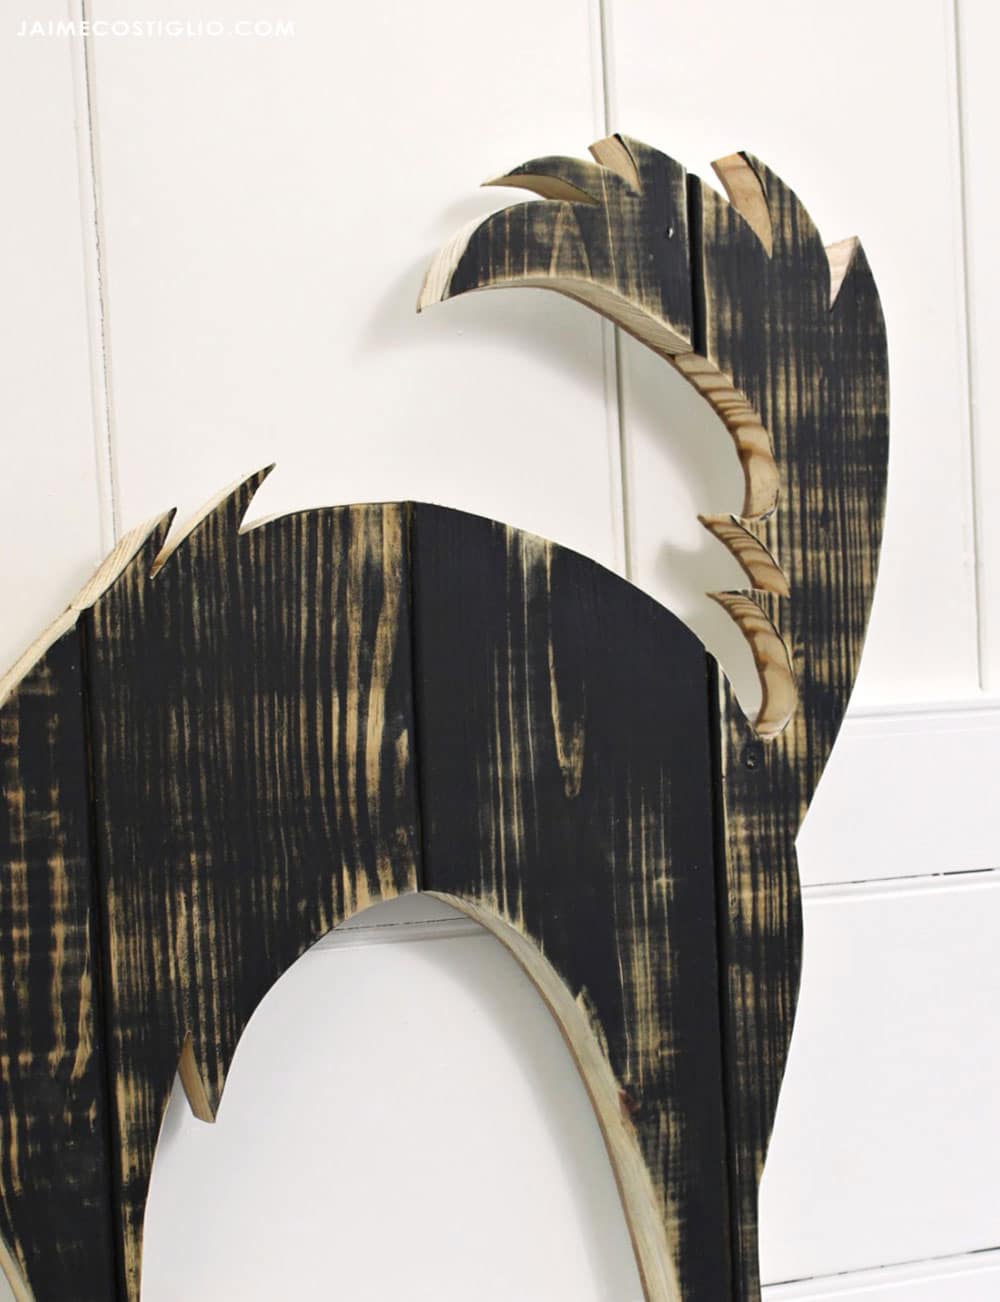
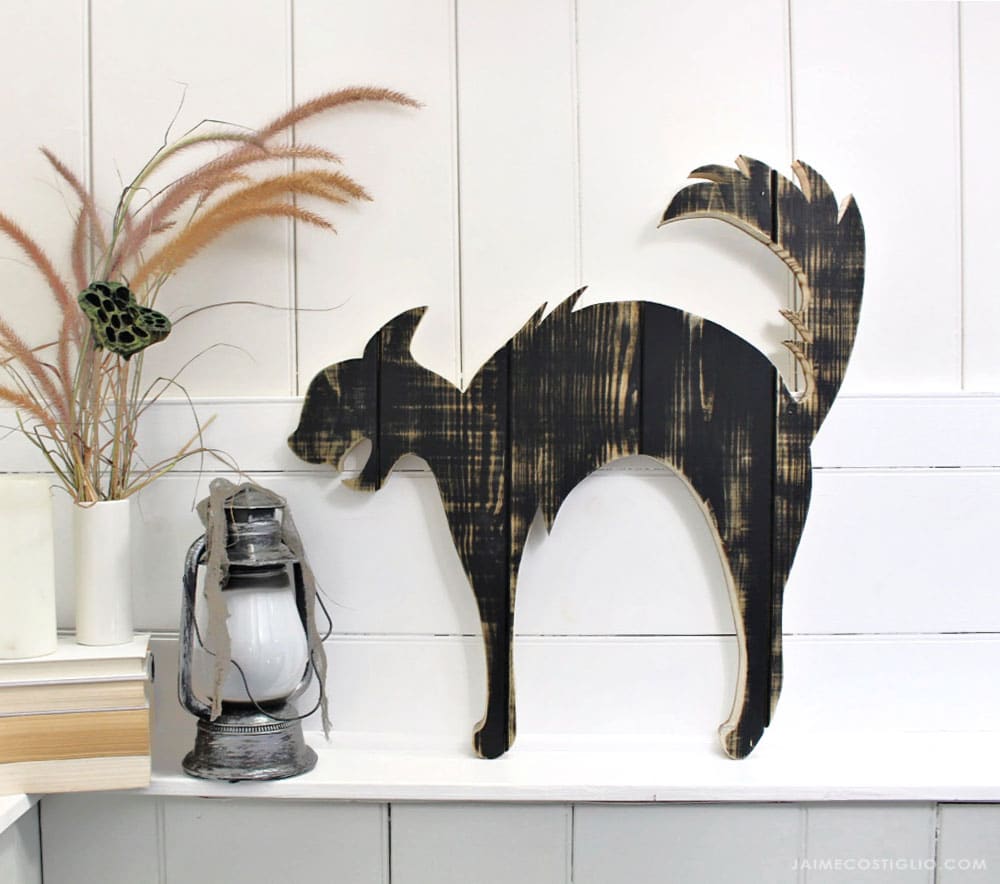
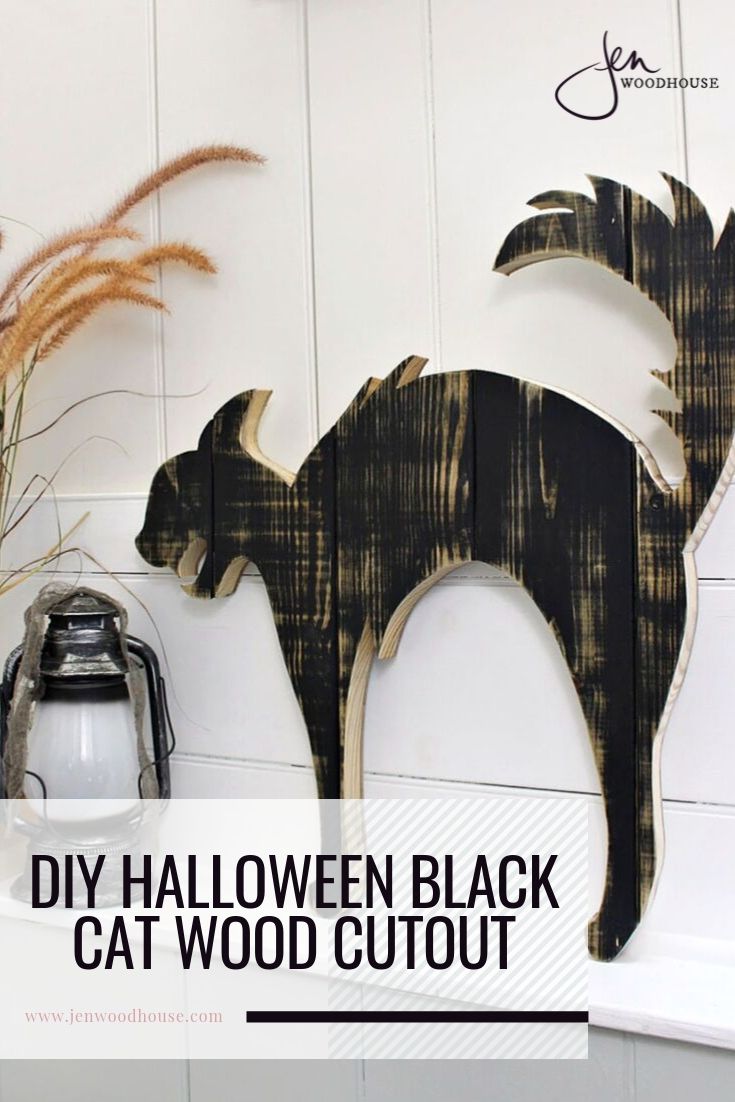
This black cat shape has a great curved spine and spiky fur with some really mean looking teeth. The shape is simple and easy enough to cut out, but still with enough detail to make it spooky.
I opted to layer the MDF with some old deck boards for a thicker cat, but you can use any thickness of MDF or plywood and achieve a similar look. Let’s get to it then, down below are the step by step instructions to create a black cat wood cut out.

Supplies:
- (1) 2′ x 4′ handy panel MDF or plywood (any thickness will work)
- clear quilting ruler or yardstick
- pencil
- cat silhouette print out
- jigsaw
- sander
- black acrylic paint
- paintbrush
Step 1
Print out your desired black cat silhouette shape (I used this cat shape here). Be sure the clip art is royalty free and for personal use only. Either print from the preview image directly or insert the image into a word document and print.

Step 2
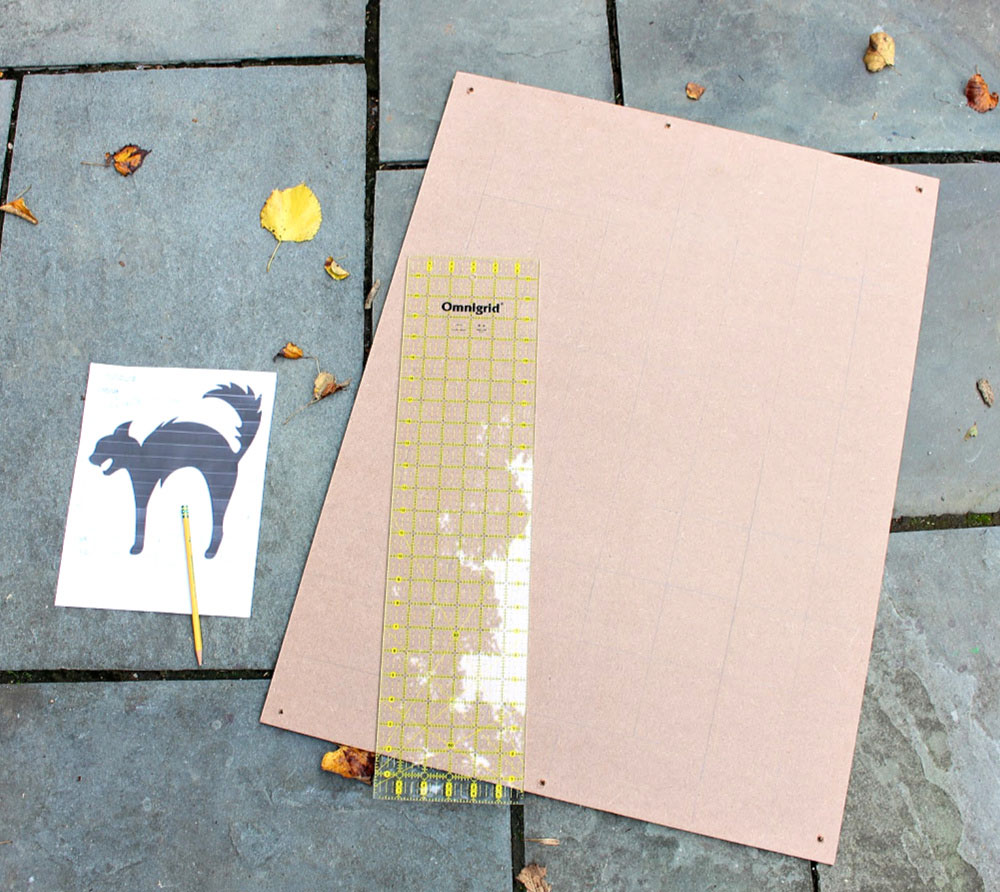
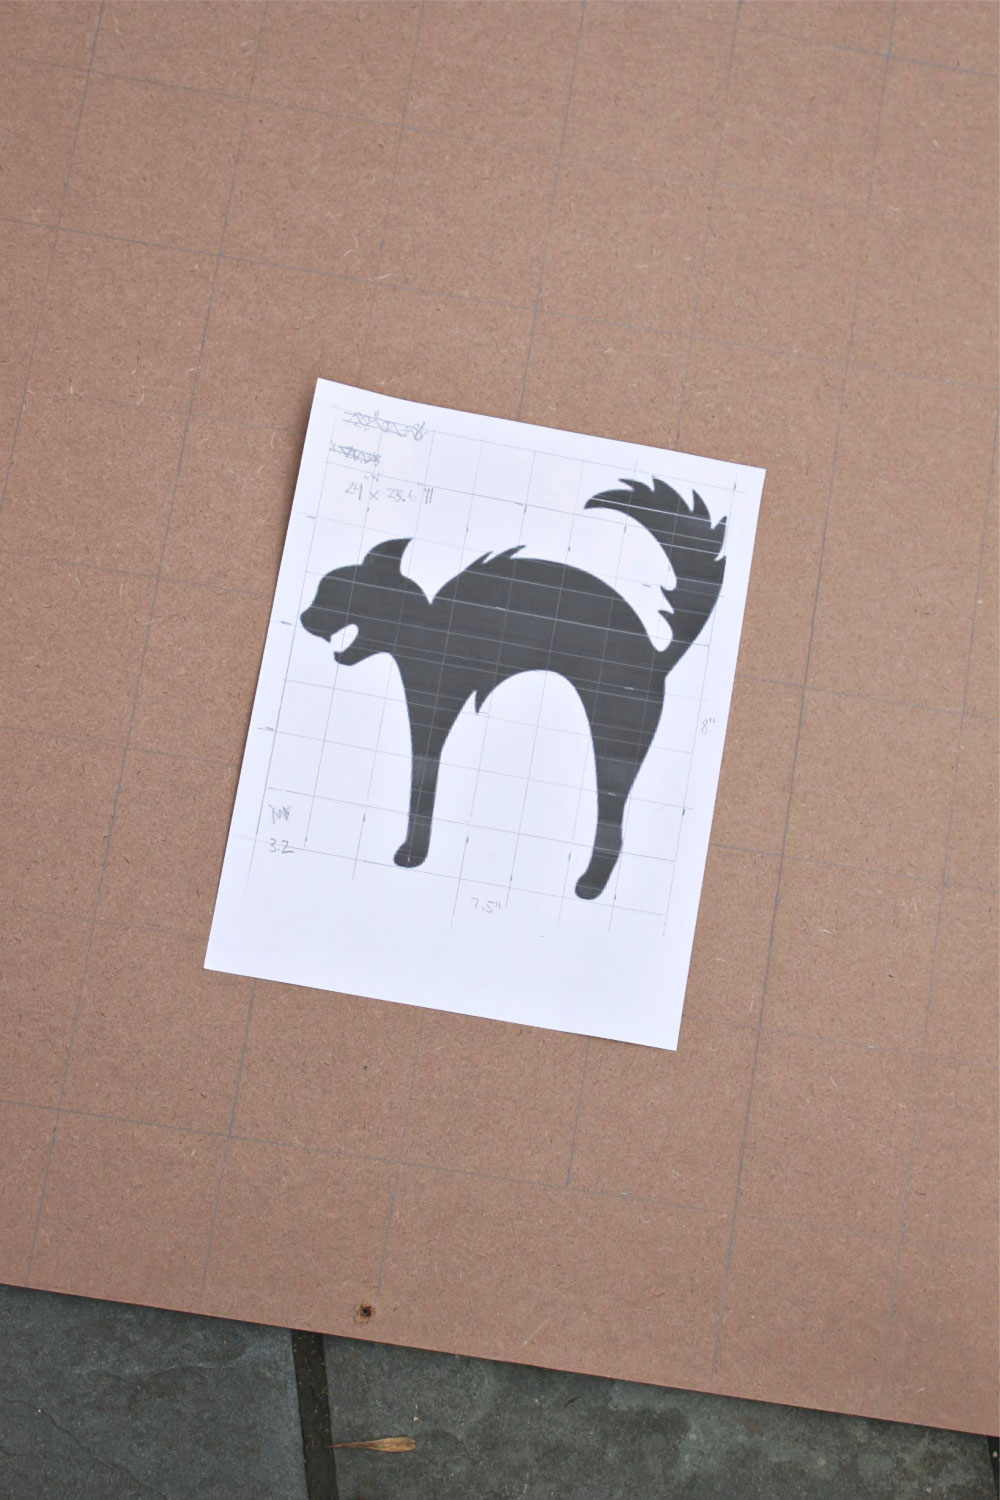
Begin by drawing a grid onto the printout using a clear ruler or yardstick and a pencil. My cat printout is 8″ x 7 1/2″ and I simply divided the image in half and then halves again until I ended up with about a 1″ square grid. Make the same grid onto the larger MDF piece, start by dividing in half, then halves again until you have the same number of squares.

Step 3
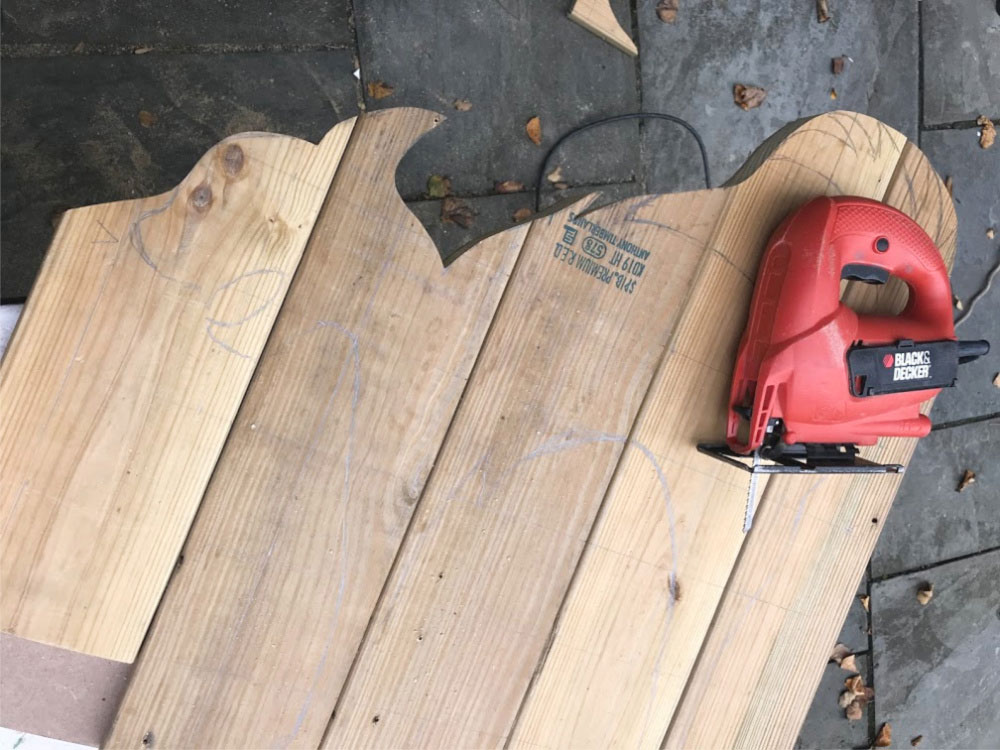
I opted to attach wood boards to the MDF screwed on from the back, but this is completely optional and you can cut the cat directly from the MDF if you prefer. Using the grid as your guide sketch out the cat silhouette onto the MDF (or boards). Then use a jigsaw to cut out the shape.

Step 4
Sand any rough edges smooth. I actually really like the wood cut out as is but this is Halloween and a black cat is more creepy.

Step 5
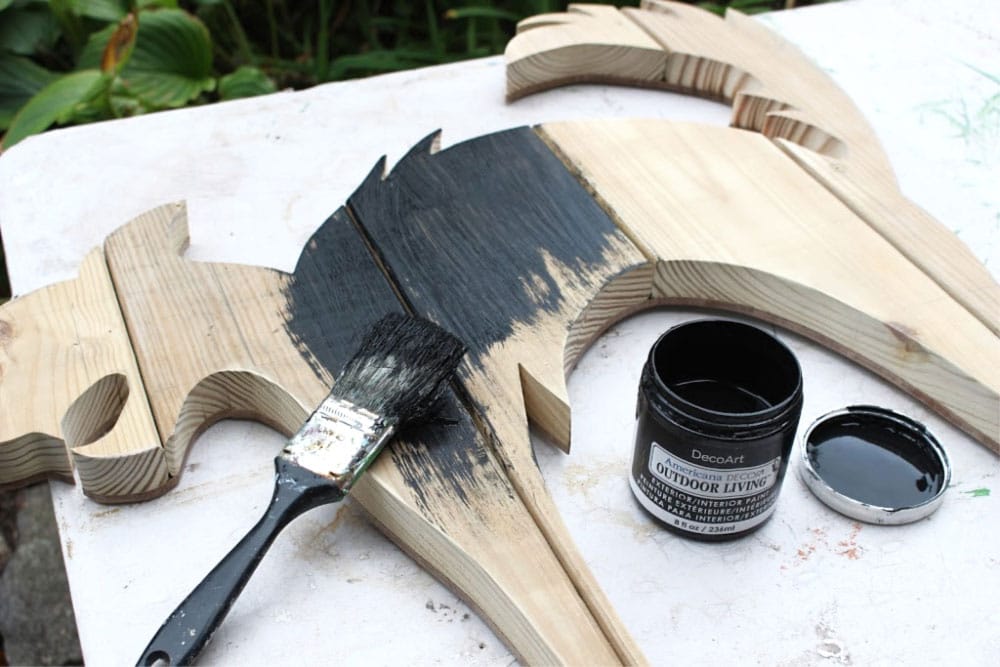
Paint the cat shape using black acrylic paint and a paintbrush. Once dry, give it another light sanding to allow the wood grain to pop through and clean up the edges.
Place your cat on the mantel or ledge, wherever it will scare the most people. Halloween doesn’t have to be complicated, just a few simple decorations like a DIY Halloween Black Cat Wood Cutout and you’re all set! Happy Halloween!






thank you for this Halloween 31st Oct 2020 try to create Halloween Black Cat Wood with the help of your Tutorial!
It was a very good post indeed. I thoroughly enjoyed reading it in my free time. Will surely come and visit this blog more often. Thanks for sharing.
Well designed black cat. The main color is black and the combination with its shape creates a magic and is very suitable for Halloween
Thank you for the tutorial!
I do though need the cat to be SMALLER!
I need it for a wreath!
Can you please give some advice on how to do that? Thank you!
It’s going to be a Christmas gift.
(Different cat, of course)
Thank you so much sharing such a wonderful regards.
Such a fun DIY little project! I am sure you could build not only a cat but a whole catio that would look amazing and super stylish!
I appreciate you providing these lovely regards so much.