How to make a DIY Balinese-inspired Carved Entryway Console Table with step-by-step plans and a beautiful video!
*This post is in partnership with Inventables.
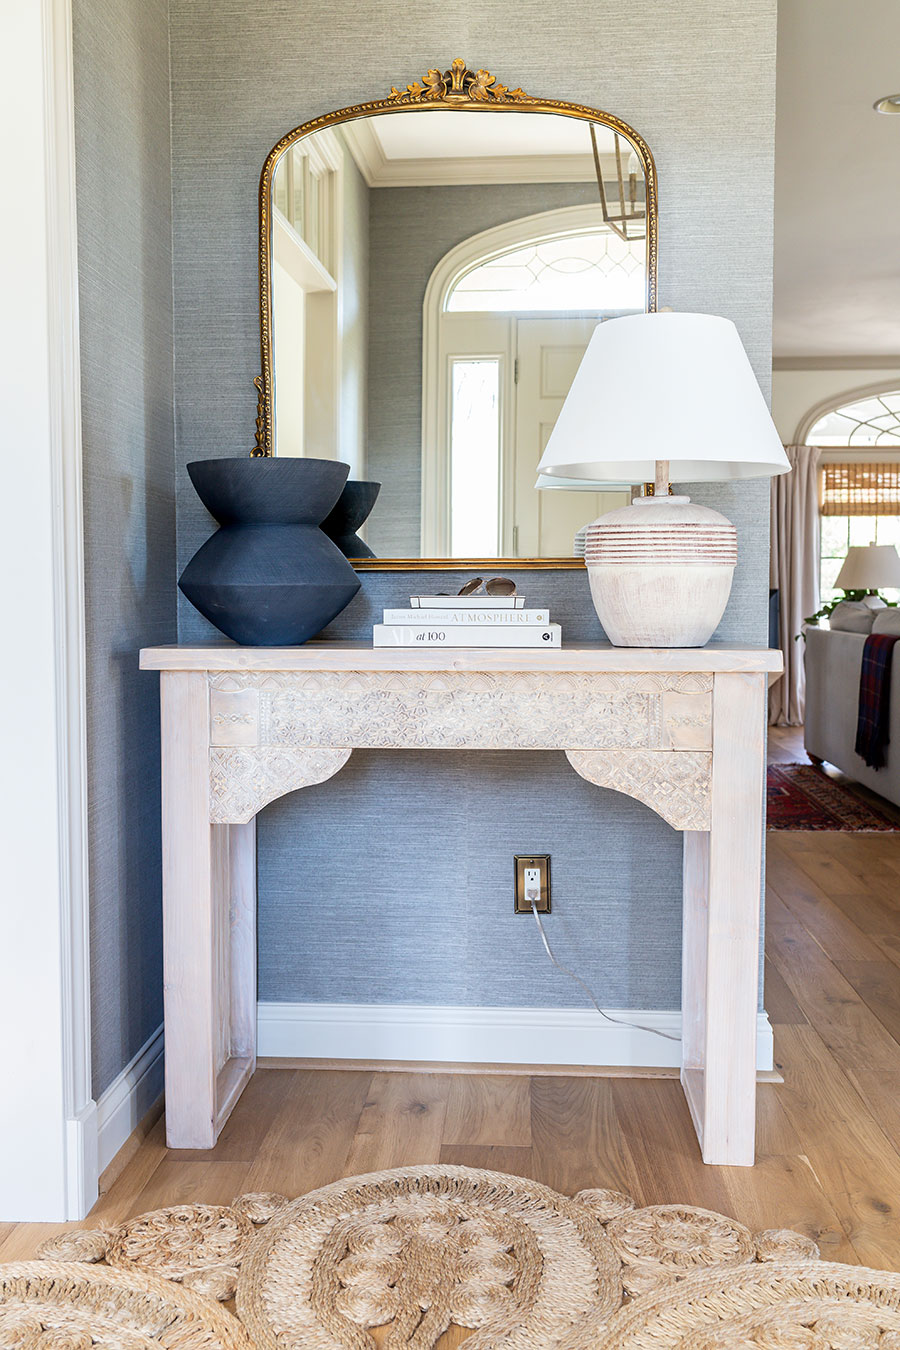
The entryway is the first impression of a home which is why I wanted a truly show-stopping piece of furniture for our space. For over a year now, I’ve been on the hunt for the perfect console table, but haven’t been able to find anything that really inspired me. I’ve long admired the intricacy and craftsmanship of Balinese carved wood furniture and though I briefly entertained the idea of creating a DIY version, I knew that hand-carving such a large project would take ages and I have neither the tools nor the expertise required.
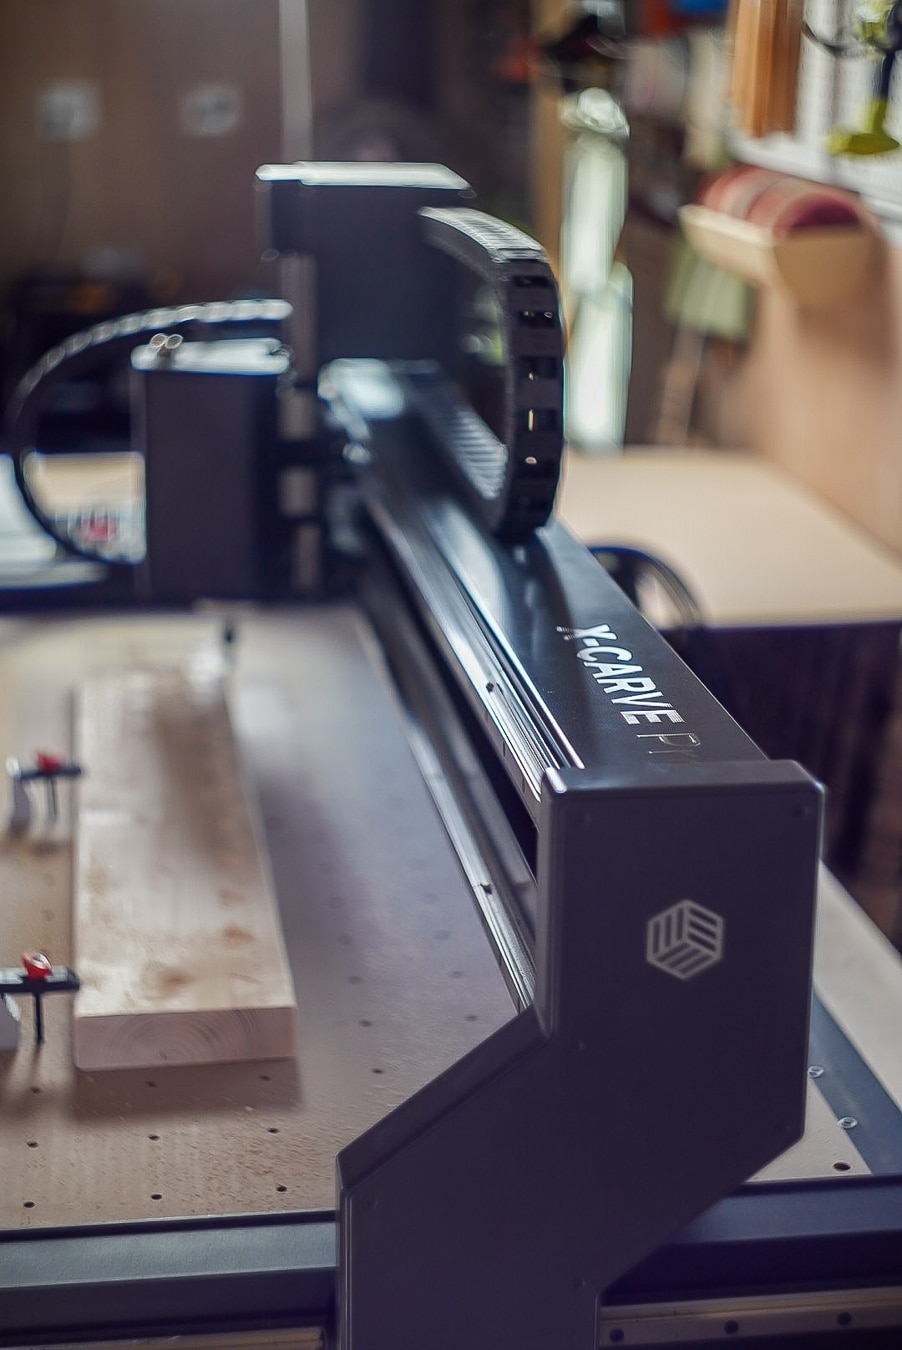
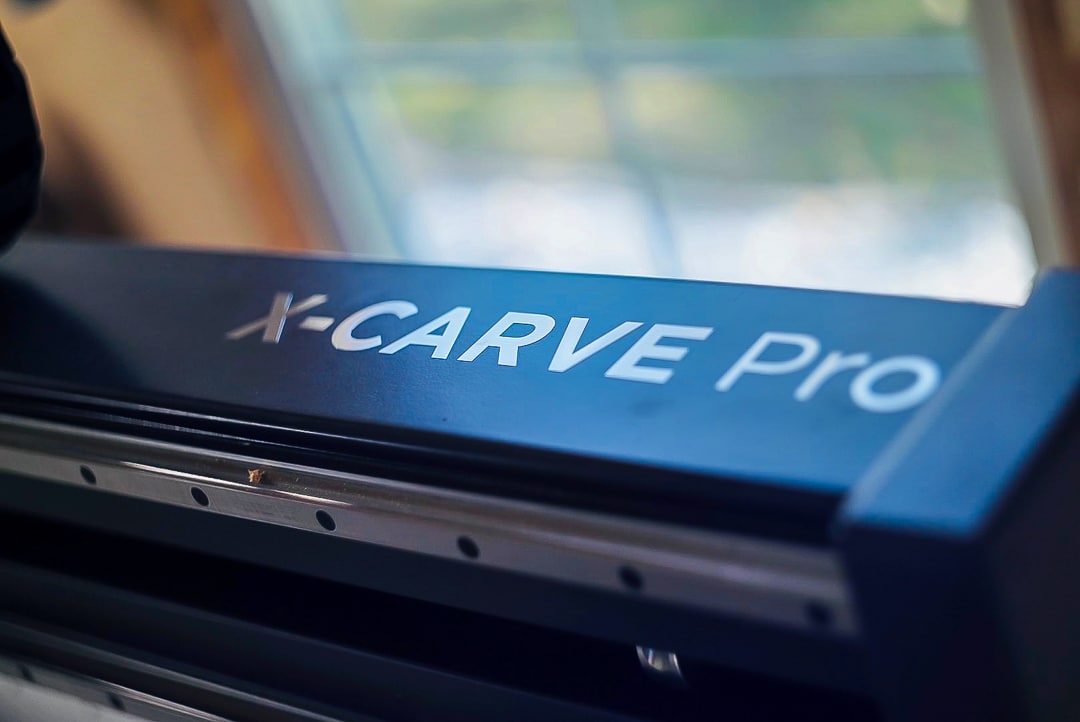
Enter the Inventables X-Carve Pro.
I’d like to introduce you to the newest addition to The Woodhouse Workshop. With its oversized 4-foot wide workspace, this machine has made all of my carved wood furniture dreams come true.
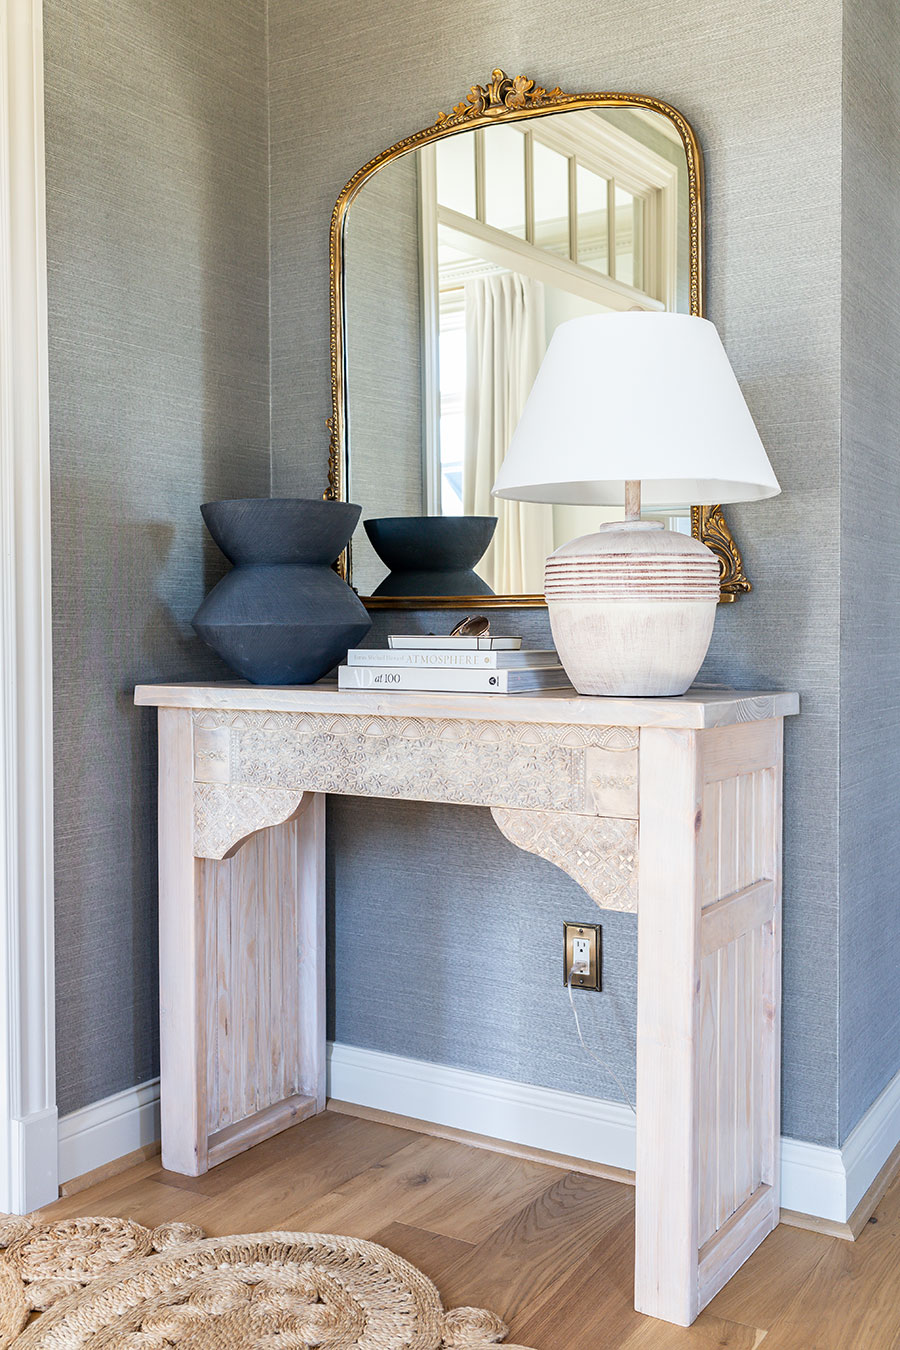
Feast your eyes.
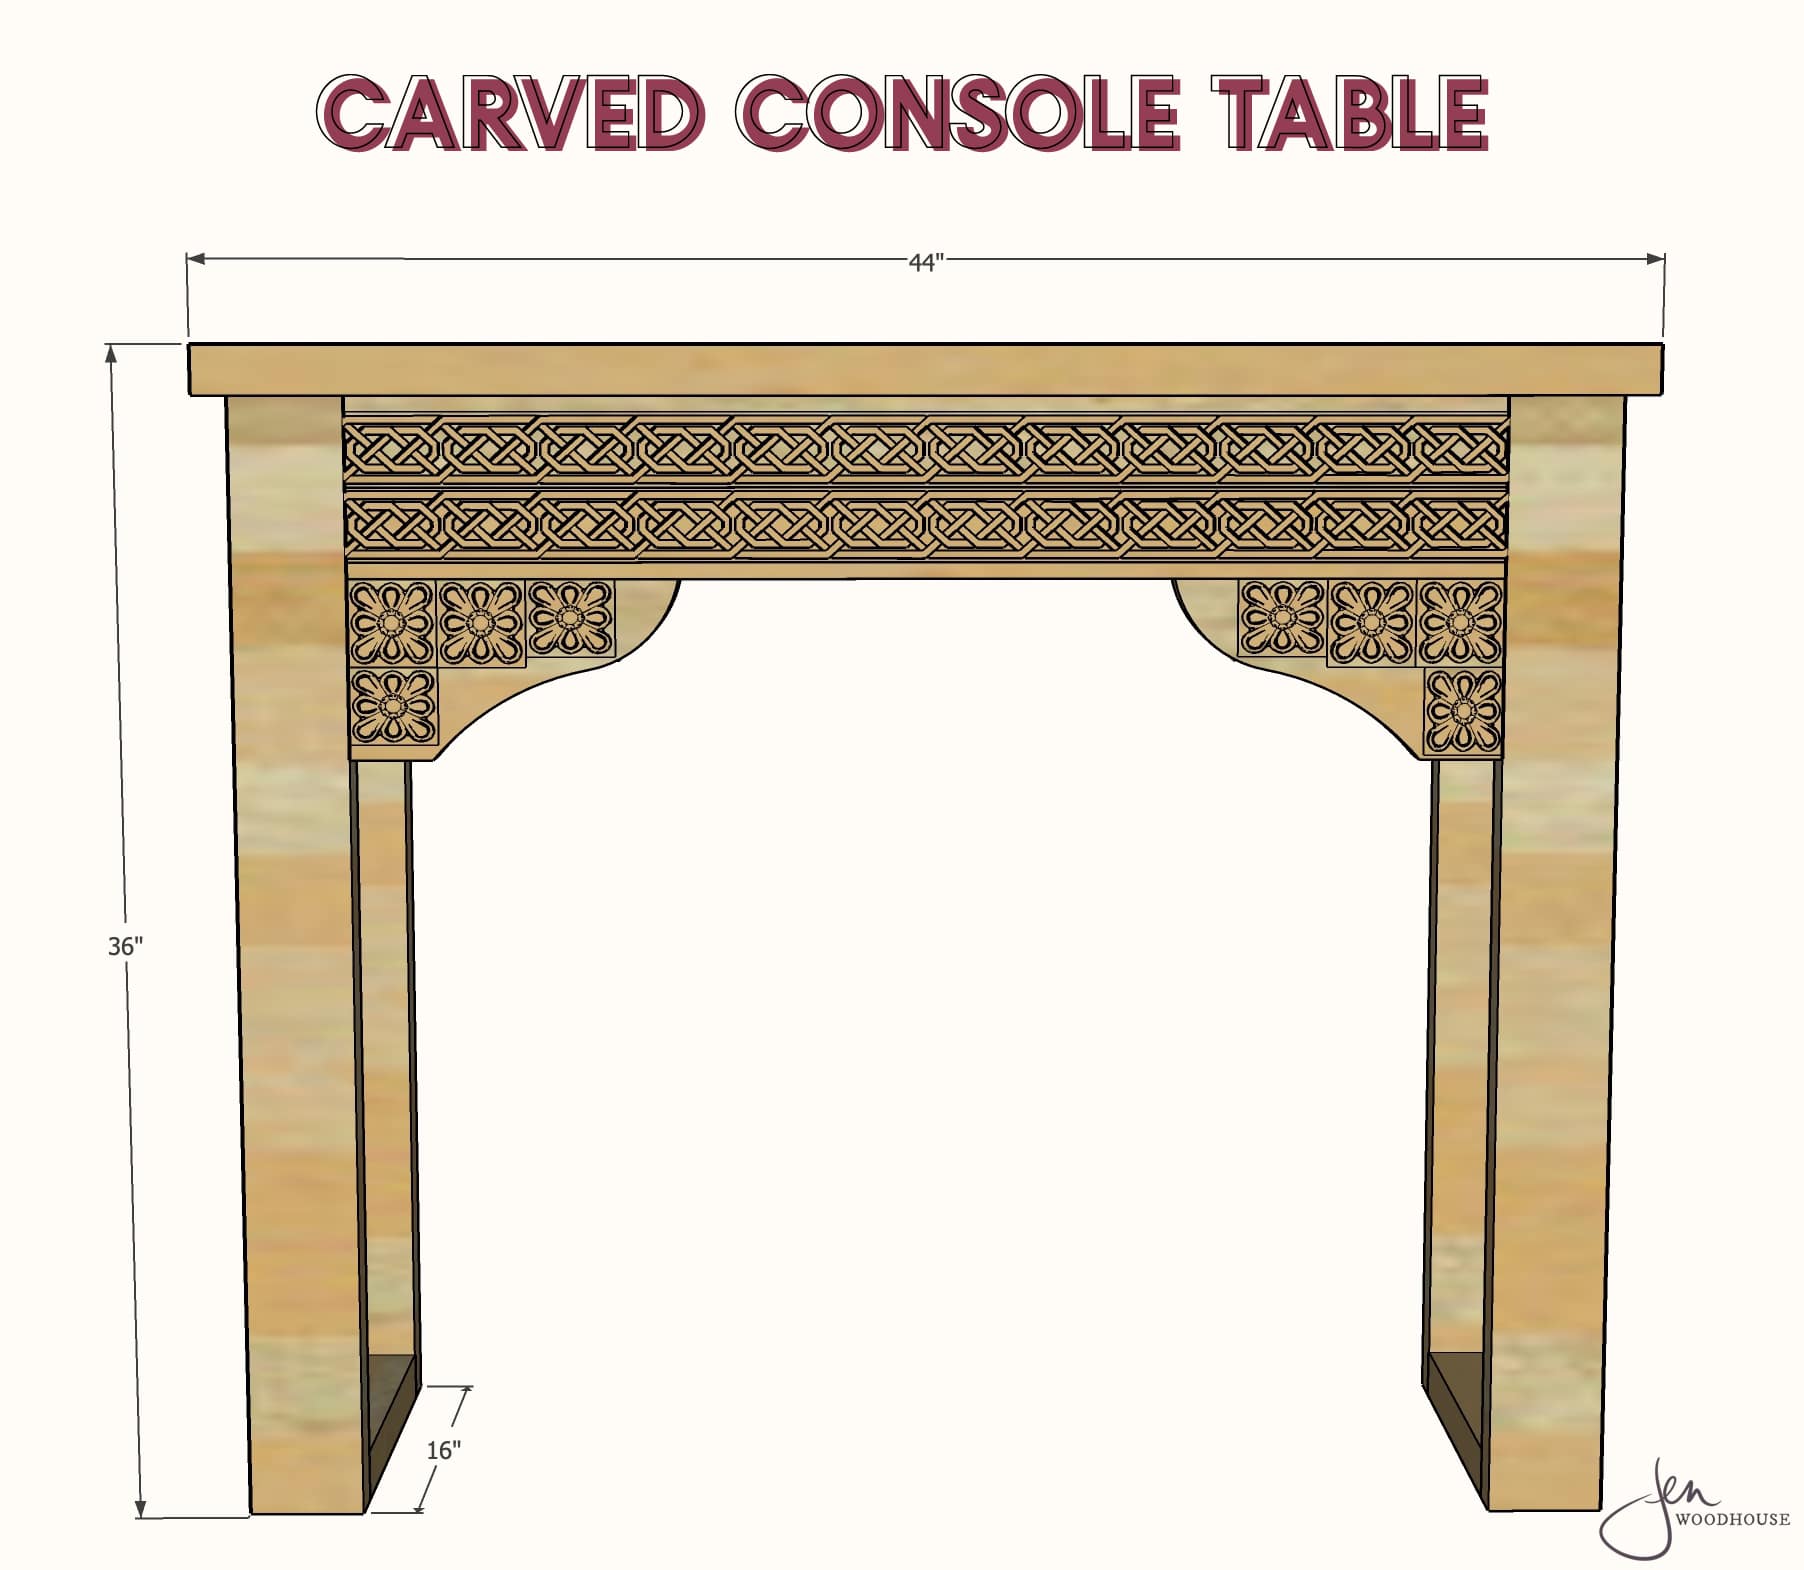
She’s a beaut, Clark! With the X-Carve Pro, I was able to make this DIY carved console table in one weekend! Imagine if I were building furniture to sell – my productivity level would be through the roof! I designed this console table so that it comes together easily, using regular off-the-shelf dimensional lumber and simple joinery. You can download the step-by-step PDF plans below if you’d like to build this console table for your home. And if you happen to have a CNC machine, you can download my .svg design file as well.

DIY Carved Entryway Console Table
Let’s take a closer look at the new X-Carve Pro from Inventables.
This CNC machine comes in two sizes: 4 ft. x 4 ft. and 4 ft. x 2 ft. which allows you to make bigger projects faster. I’m most excited about the extra wide workable area – no need to cut down full sheets of plywood! Inventables also introduced a new tiling feature in Easel Pro (their web-based design software) that allows you to carve projects larger than the machine footprint, so you can carve materials up to 4-feet wide and infinite feet long for maximum productivity. You can design oversized projects using this new tiling feature, which tells the X-Carve Pro to carve section by section without having to reconfigure the setup each time.
Now I’m dreaming up all kinds of fun projects to make and sell since I can set it and forget it. Could this be the beginning of The House of Wood Manufacturing? 😉 Christmas is right around the corner – maybe this year will be the year of homemade gifts… I have so many ideas brewing!
Another thing that impressed the bejeezus out of me was the speed of the machine. I tweaked the default cut settings in Easel Pro, pushing the X-Carve Pro to work harder and faster and it didn’t even break a sweat. With such a solid gantry, I didn’t worry that the increased speed would compromise the carve. This thing is a beast in the workshop!
Also, I was surprised to discover that the X-Carve Pro is a lot quieter than my baby X-Carve! I’m guessing the enclosed air-cooled spindle is to thank for this. And unlike my baby X-Carve, the spindle turns on and off in conjunction with the software program. Once the carve is complete, the spindle returns to the home position and turns off on its own. Love that!
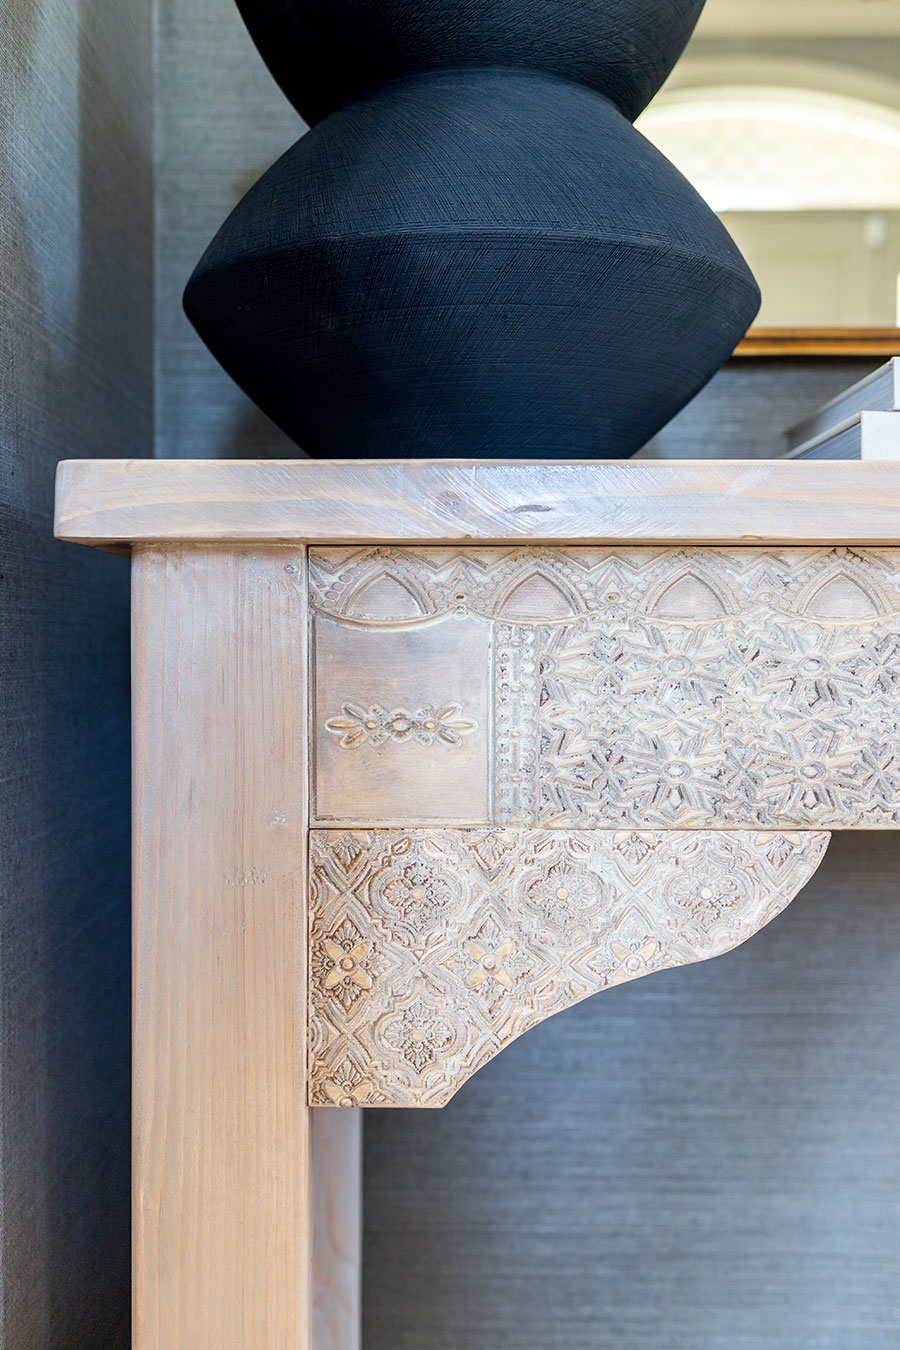
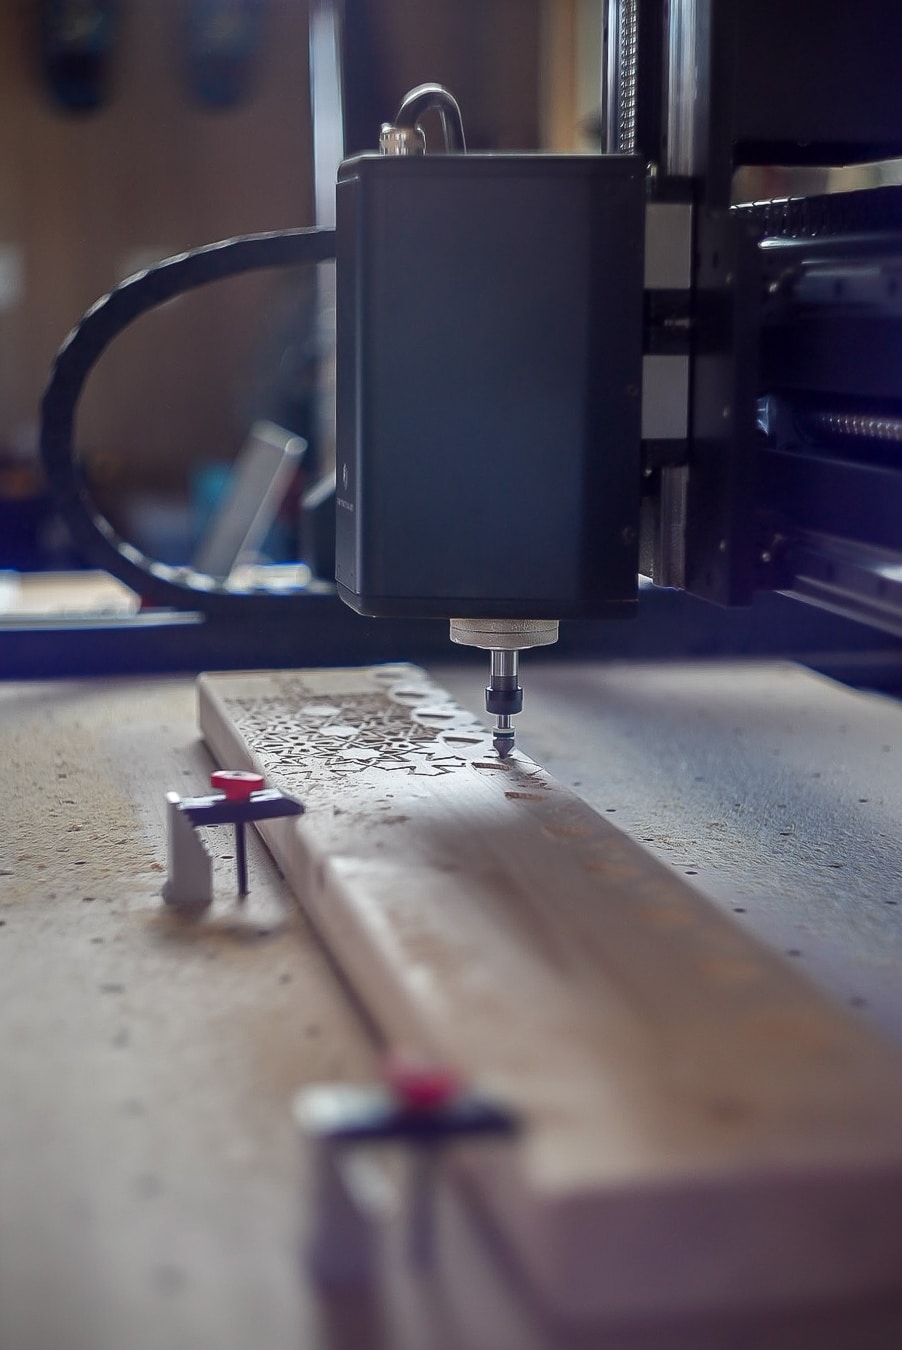
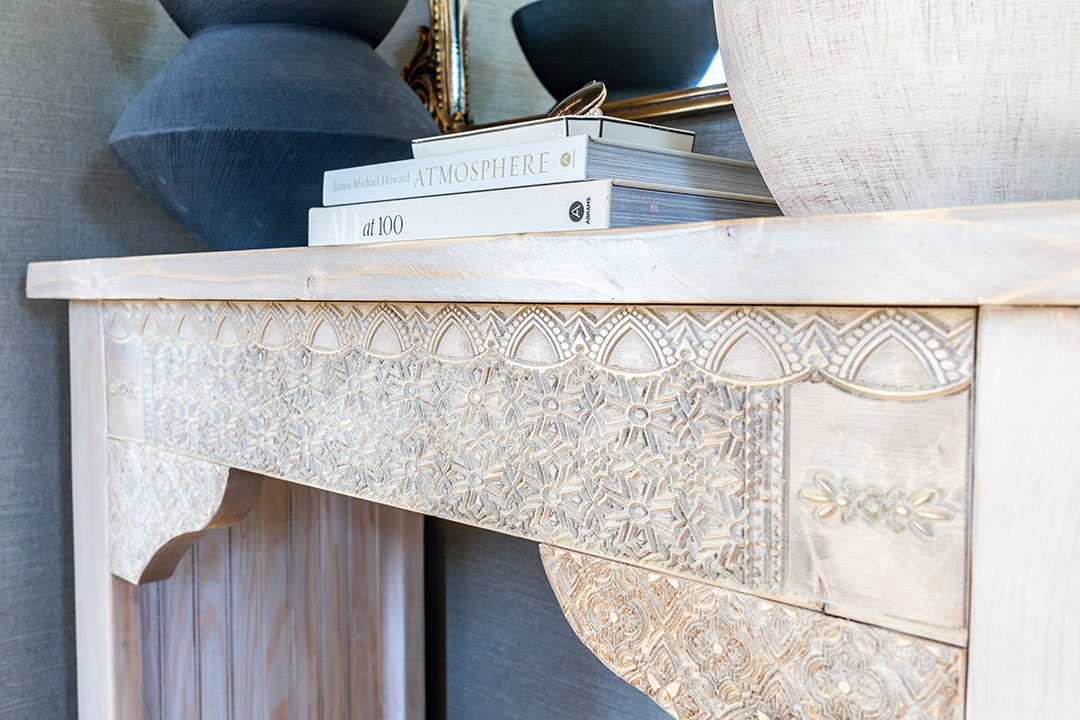
Even with my more aggressive cut settings, the machine delivered accurate and precise carvings with ease. I actually inverted my design because I wanted it to be raised up so that the background receded. The negative space in the pattern is what is removed, so that the flowers would pop out. This is more time-consuming than simply carving the pattern into the wood, but I love the overall effect it has. I think it makes the table look more hand-carved and artisan-crafted, which is exactly the vibe I was going for.
If you’re in the market for a CNC machine, allow me to offer you one last consideration: Inventables has stellar customer support. From initial assembly to the finished design, a knowledgeable, friendly Inventables genius (Hi, John!) is just a phone call or email away. And as someone with limited CNC experience, I found it incredibly comforting to have an expert’s guidance along the way.
They were even able to cut my carve time from 18 hours down to about 7 hours by suggesting I use the Two-Stage Carving feature, which would allow me to use two different bits on the same project. I used a larger-diameter bit to “rough-in” the big areas before following up with a smaller bit to clean up the details. Here’s a helpful tutorial on Two-Stage Carves. This project consists of 3 separate carves: the main carve which is the front apron and the two curved ‘wings.’ The front apron took almost 5 hours to carve while each wing took about an hour.
I’m thrilled with how my DIY carved console table turned out! What do you think? I’d still be hand-carving this thing straight into 2021, but thanks to the X-Carve Pro, I’m not. 🙂 Thanks for stopping by – be sure to download the plans and design files above and watch our YouTube video!



Wonderful DIY piece. You’ve given me a great list of tasks to add to my to-do list this coming new year!!