*Hi friends! Well, I’m afraid all good things must come to an end. Today, Linn from Darbin Orvar is sharing her last post with us. I’m sad to see her go, but so thankful she chose to share her built-in cabinet series with us. I hope you found the whole tutorial useful and inspiring. I know I did! If you missed the previous posts, here’s Part One, Two, Three, and Four. And if you’re a YouTube junkie like I am, be sure to subscribe to Linn’s popular woodworking/DIY channel Darbin Orvar – she shares a new video every week! Thank you so much, Linn, for sharing your entire process and project with us. The built-in cabinet unit turned out so beautifully! Thank you!
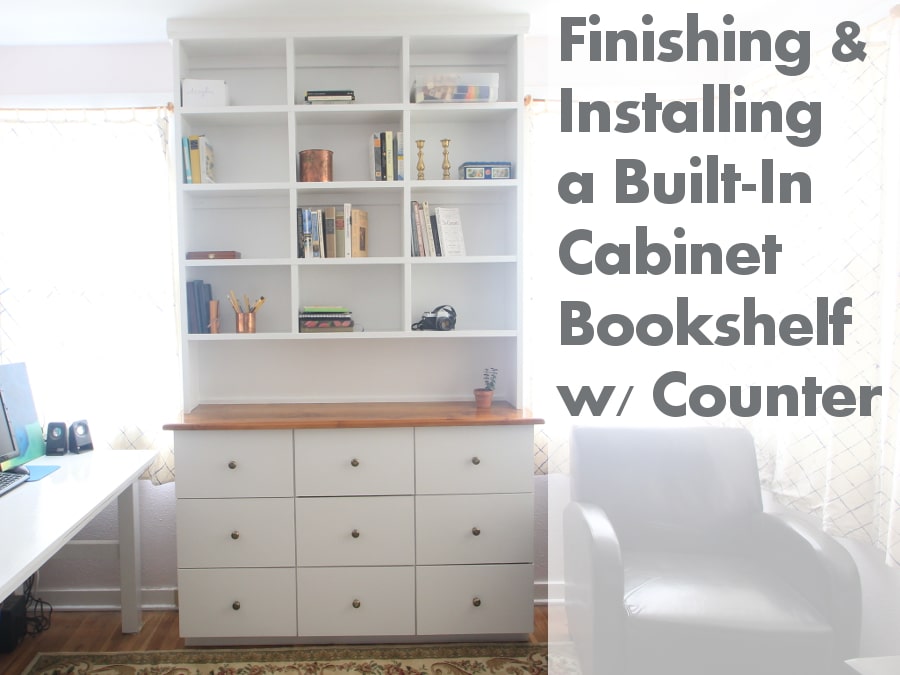 Okay guys! Time for the last guest post here about my built-in bookcase series. It’s been so much fun posting here, thanks Jen for having me! If you remember the last time I left off, I had just completed building the nine drawers and now I need to finish the whole unit, add those little finishing touches and install it in the office. You know when you’ve been working on a project for a long time and you’re so happy to get it done? That’s how I feel a little bit at this point. Like I am so excited but also relieved to finally finish this build!
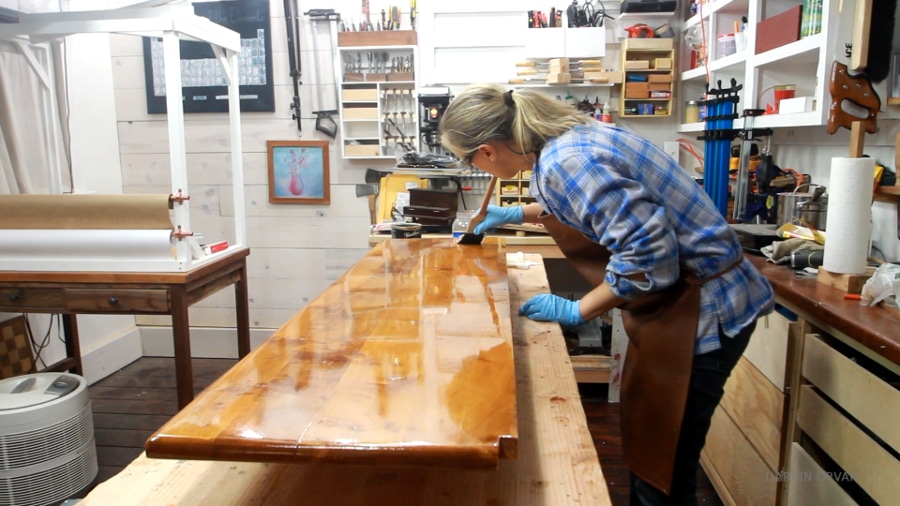
So first of all, the counter. In Part Three, I wrote about building the counter from rough-sawn lumber and I have been applying several coats of polyurethane since then, sanding in between. Time for the last coat! I use long strokes to minimize bubbles and I really take my time with this. The counter has a really nice gloss level and it’s just beautiful. So now, that has to dry for a couple of days.
 Now let’s move on to working on the base.
First, I’m using some drywall spackle to fill in the visible edges of the plywood and then sanding smooth once it’s dried. Next, I’m painting the edges, the sides, and the bottom, and finally clear-coating everything – on top of the painted areas as well as the insides to protect it.
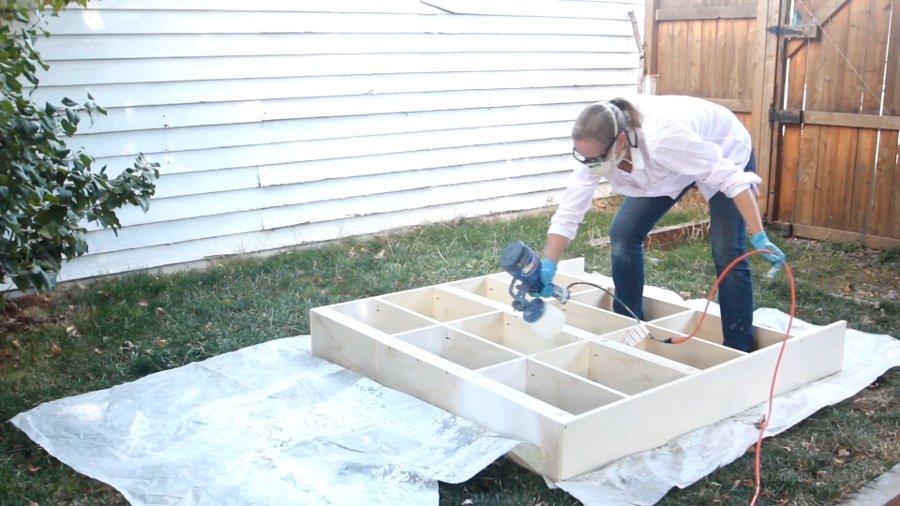
 Now we have the top shelf unit and I’m painting it white – spraying it – which is a lot faster, then sanding after the first coat. I’m using drywall spackle again to fill in the pocket holes, which does a lot to finish off the piece.
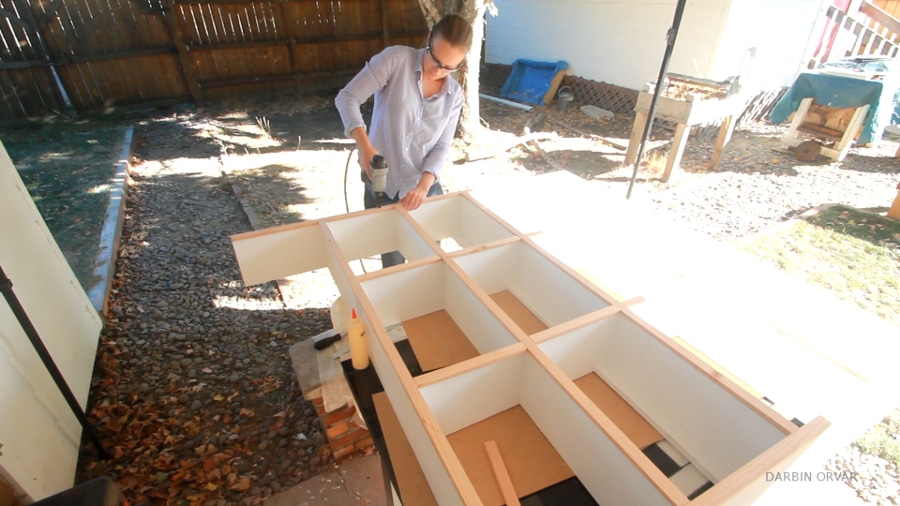
 To add a nice finishing touch, it’s time to add some face frames. I’m just cutting up simple framing lumber for this, and I want the face frame to just cover the plywood a touch over. To install, I simply glue and nail them on.
 Now when the face frame is complete, I first spackle the nail holes, sand, then paint the whole unit again, with an extra coat on the face frames. Once that has dried, I sprayed polyurethane over the whole unit to add protection.
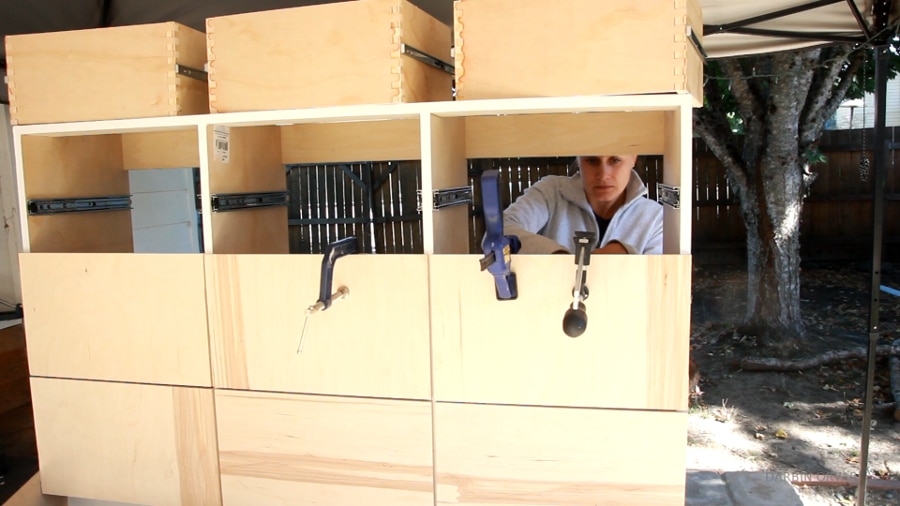
Let’s go back to the base. In this post, I built a set of nine drawers for the base using my box joint jig. Well, the drawers still need some drawer fronts. For that, I have some nice 1/2-inch Baltic birch plywood cut up, which I clamped in place and screwed in from the back. Then it’s more sanding and painting, as well as clear-coating.
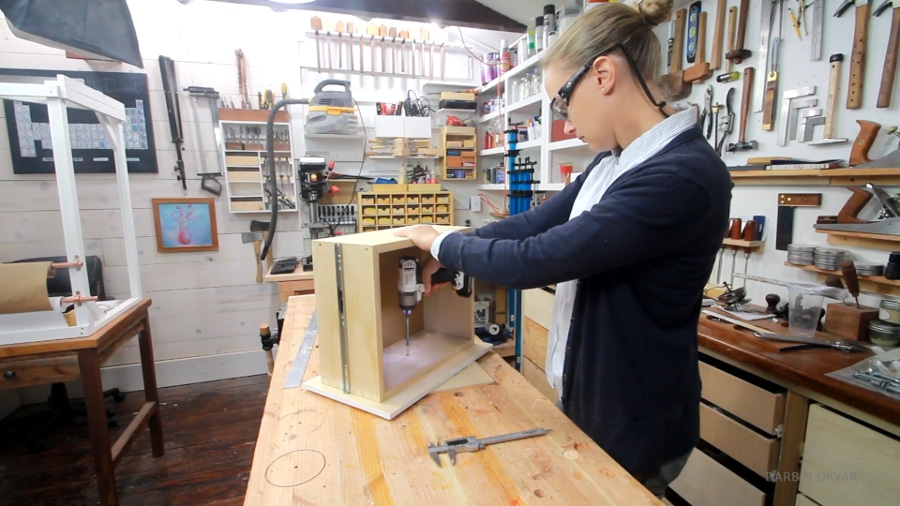
 Time to put on the hardware. I’m using simple antique brass knobs and they’re really easy to attach. Simply find the center, drill a hole, then drill a larger hole on the inside with a spade bit to countersink the screw and screw in the knob. And repeat eight more times…
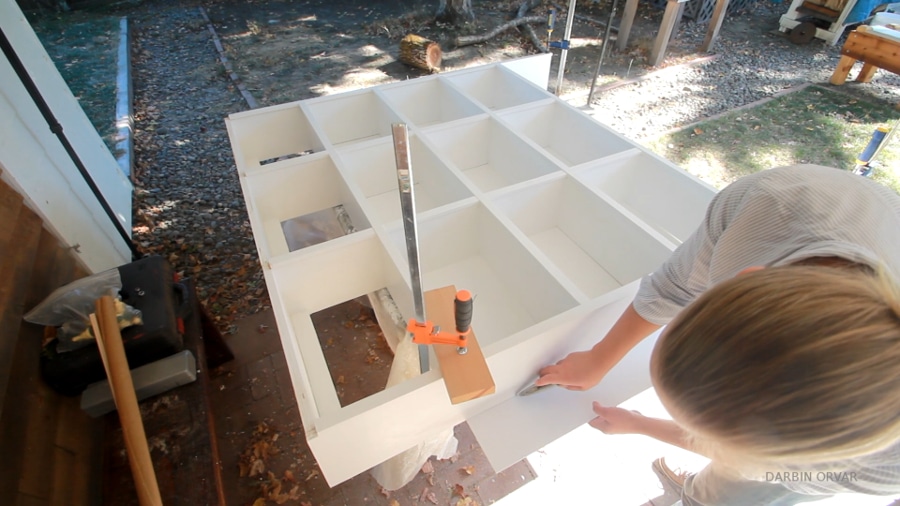
 Okay, now let’s focus on the backing. I decided to go with hardboard which I painted white as well. Of course, I could have gone with bead board here, but I wanted a nice smooth simple surface. I simply scored it to size and nailed it from the back.
 At this point, the counter has fully dried and now I like to finish it off with some steel wool and soapy water. This is really just to take away small imperfections and get it super smooth. I used 0000 steel wool, working it over the counter, cleaning it up and repeating a couple of times – it makes the surface very nice and smooth.
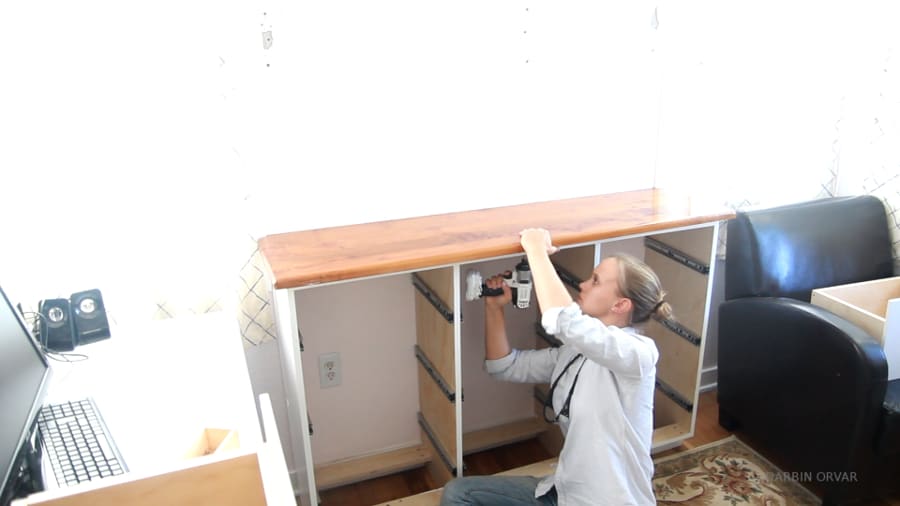
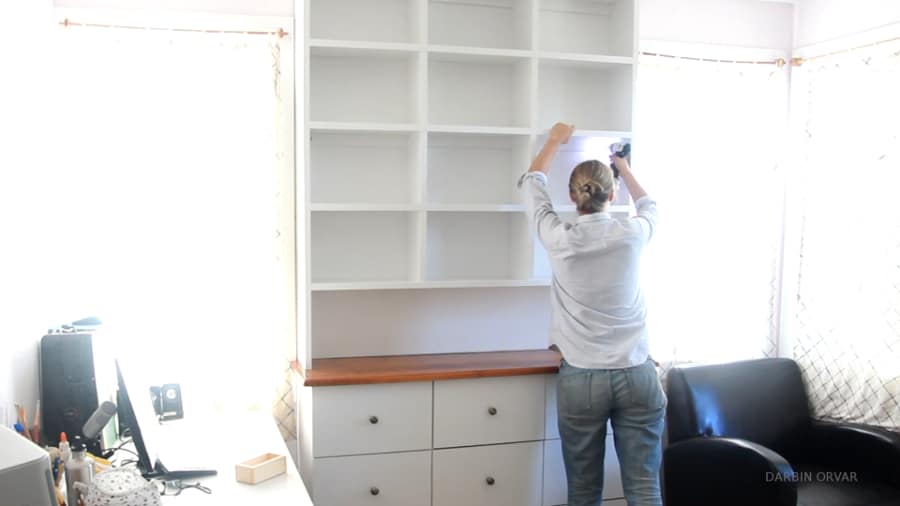
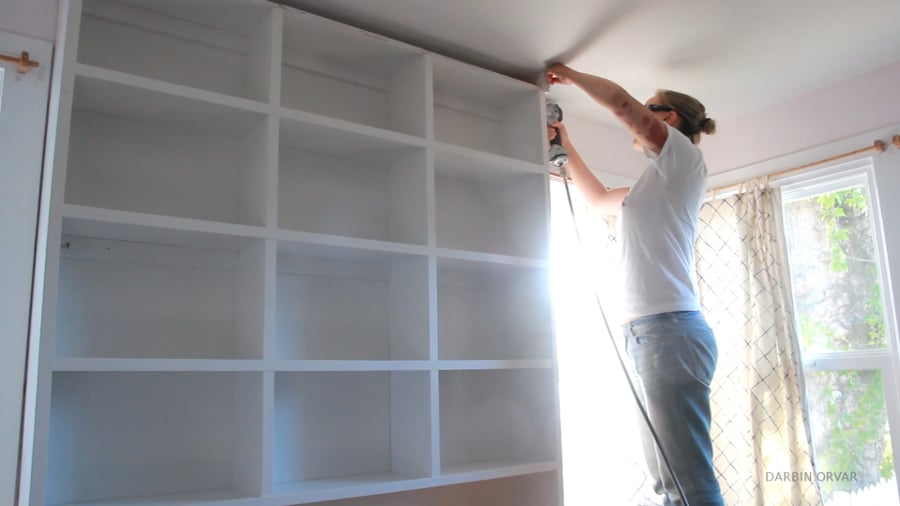
We are now ready to install! To install the base to the wall, I’m using a couple of brackets, as well as screwing in the back piece directly. Then putting on the counter, which I’m screwing into the base from underneath, in the front. For the top, I screwed it to the wall using the nailing strips.
 Okay, one little detail left to do. To finish off the piece, I want to add a piece of molding at the top. I’m using a bit on the router and adding a nice profile on a piece of wood, then painting that white as well.
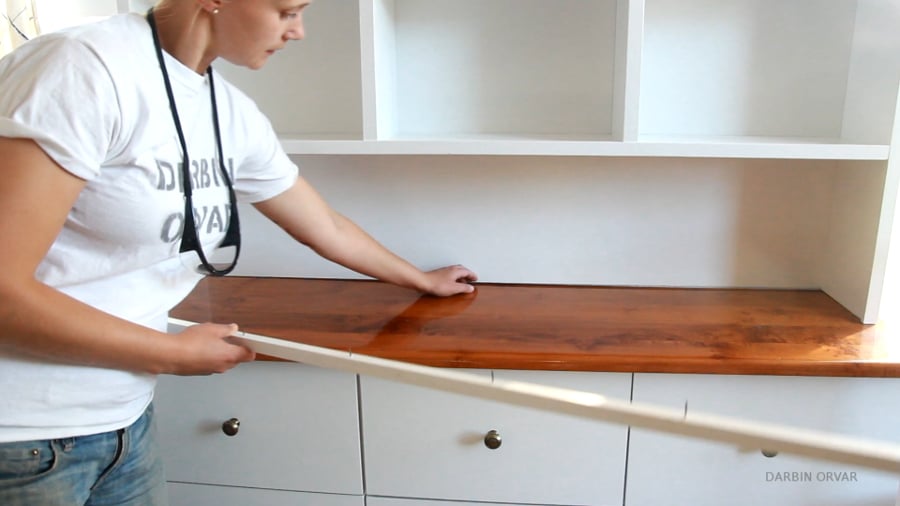
I also cut up a thin strip of wood to hide that little gap in between the counter and the backing – you can never go wrong with some extra molding!
 Then I nailed on the molding at the top as well and it looks good! Time for some caulk to hide the seams; caulk does such a great job of hiding any imperfections.
 Okay, so the built-in cabinet is now complete and installed! I’m so happy with the way it came out. There were a lot of parts to this project, but as long as you take your time and break it down, it’s not a very difficult project.
Make sure to check out the video for a much more in-depth point of view. Thanks again Jen for having me on your blog; it’s been so much fun and I hope you guys enjoyed this series!


Leave a Reply