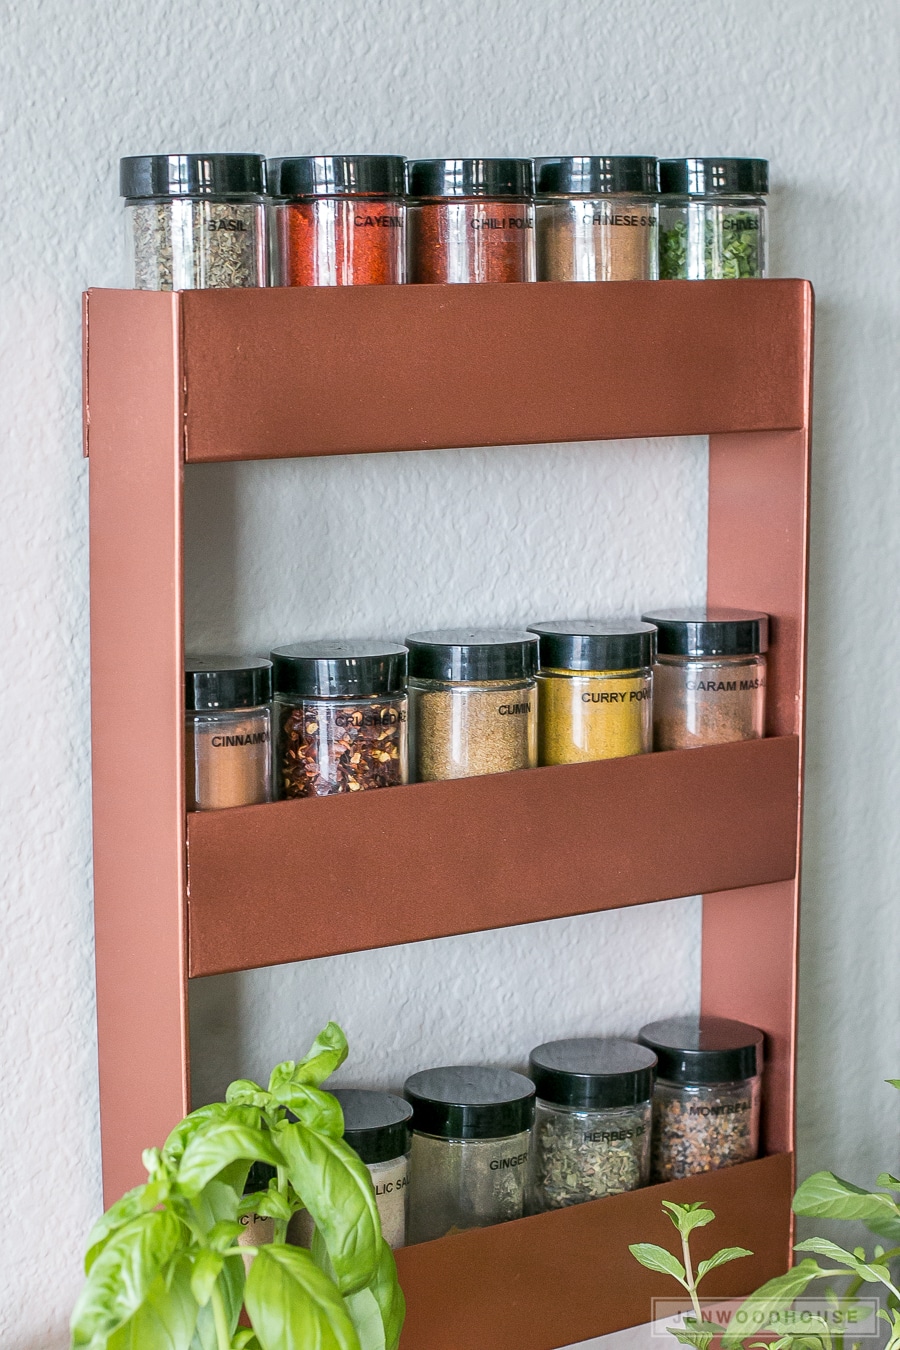
Hi friends! If you recall, I’ve teamed up with Bernzomatic to bring you various DIY projects throughout the year using their blowtorches. My first project was a DIY metal candleholder sconce and I’m back to share a new project with you guys: this modern DIY copper spice rack!

Now, I bet you heard ‘blowtorch’ and immediately shut down. I know, because that’s exactly what I did. I was extremely intimidated by this whole project because I know nothing about brazing, welding, or metalworks in general. All I know is that it involves fire and gas and getting burned or blown up isn’t my idea of a good time.
But this quote by Eleanor Roosevelt kept coming back to me:
“You must do the thing you think you cannot do.”
Fear can be crippling, but I’ve found that if I push through and face those fears head-on, I gain strength, courage, and confidence through the very experience I was fearful of. I think the most inhibiting thing about being a creative maker is mustering up enough courage and determination to just begin. I’m so glad I pushed through because I now have a new skill that opens up a whole new world of possibilities. And it wasn’t as difficult or as scary as I expected! Using the torch was safe, fun, and incredibly empowering.
So let’s punch fear right in the face and make this DIY copper spice rack. I’m telling you – if I can do it, so can you.
 Safety first! Read these general safety precautions and follow all safety warnings included with Bernzomatic fuel cylinders and hand torches. Also, please don’t hold me liable for any injuries or damages. I’m not a blowtorch expert, I’m just a homeschooling, Army wife, work-from-home mom who enjoys making things (even if it scares me).
Tools:
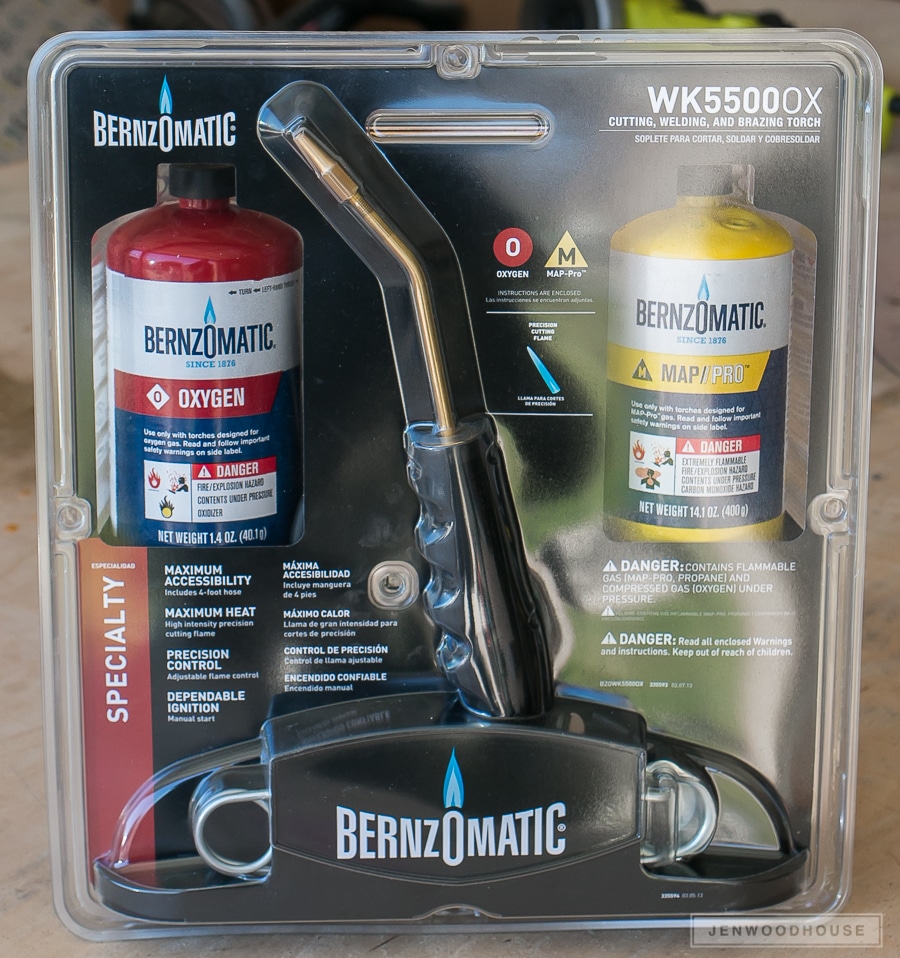
- Bernzomatic WK5500 OX Cutting, Welding, and Brazing Torch
- Angle grinder with metal cutoff wheel and grinding wheel
- Steel Clamps
- Drill or Drill Press with 1/8-inch Drill Bit
- Wire Brush
- Welding Gloves
- Shade 5 Safety Glasses
Materials:
- Bernzomatic Bronze Flux-Coated Brazing and Welding Rods
- Bernzomatic Ox9-1.4 oz. Oxygen Torch Cylinder
- Bernzomatic MG9-14.1 oz. Map/Pro™ Hand Torch Cylinder
- (1) 2-inch x 2-inch x 1/8-inch thick Steel Angle @ 4 feet long
- (2) 2-inch x 1/8-inch thick Steel Flat Bar @ 3 feet long
- WD-40 Spray Lubricant
- Copper spray paint (optional)
Cut List:
- (2) Flat Bars @ 20 1/2 inches (sides)
- (4) Angle Irons @ 10 inches (shelves)
- (1) Flat Bar @ 10 inches (hanging bar)
I coerced my husband Adam into helping me with this project. He’s great for moral support and he gives me the courage to take on these scary projects. Plus, he’s abnormally strong, so if anything goes awry, he can usually use his brute strength to bend anything to his will. Also, our next door neighbor is a professional welder, so I pretty much assaulted him with my countless questions. Mental note: take neighbors out to dinner.
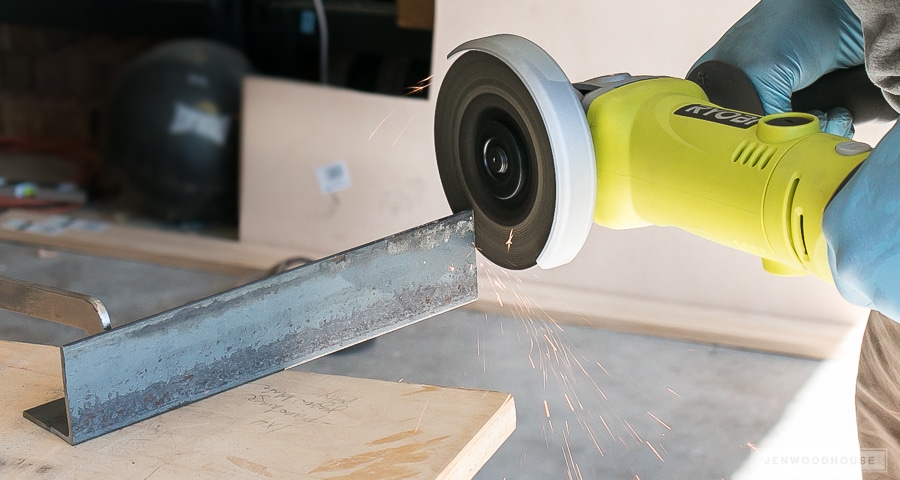
Since Adam is impervious to pain, I made him cut all the metal pieces because sparks don’t look like they feel very nice. Using the cut list above, Adam cut the steel to length. You can use a hacksaw (which will take FOR.EV.ARRR) or a saw with a metal cutting blade for this. You can also use an angle grinder with a cutoff wheel, but our particular RYOBI angle grinder model does not recommend this. We may or may not have followed the rules but we did live to tell about it.
After cutting the pieces, the edges were sharp and snaggy, so Adam used an angle grinder to grind the metal burrs down. We followed up with a belt sander to smooth everything out.
 Okay, so you’ve probably noticed by now that we’re not using real copper here. It’s actually steel that I will later spray-paint copper. This is optional, of course. You can leave the steel as is if you want a more industrial, Restoration Hardware-inspired look.
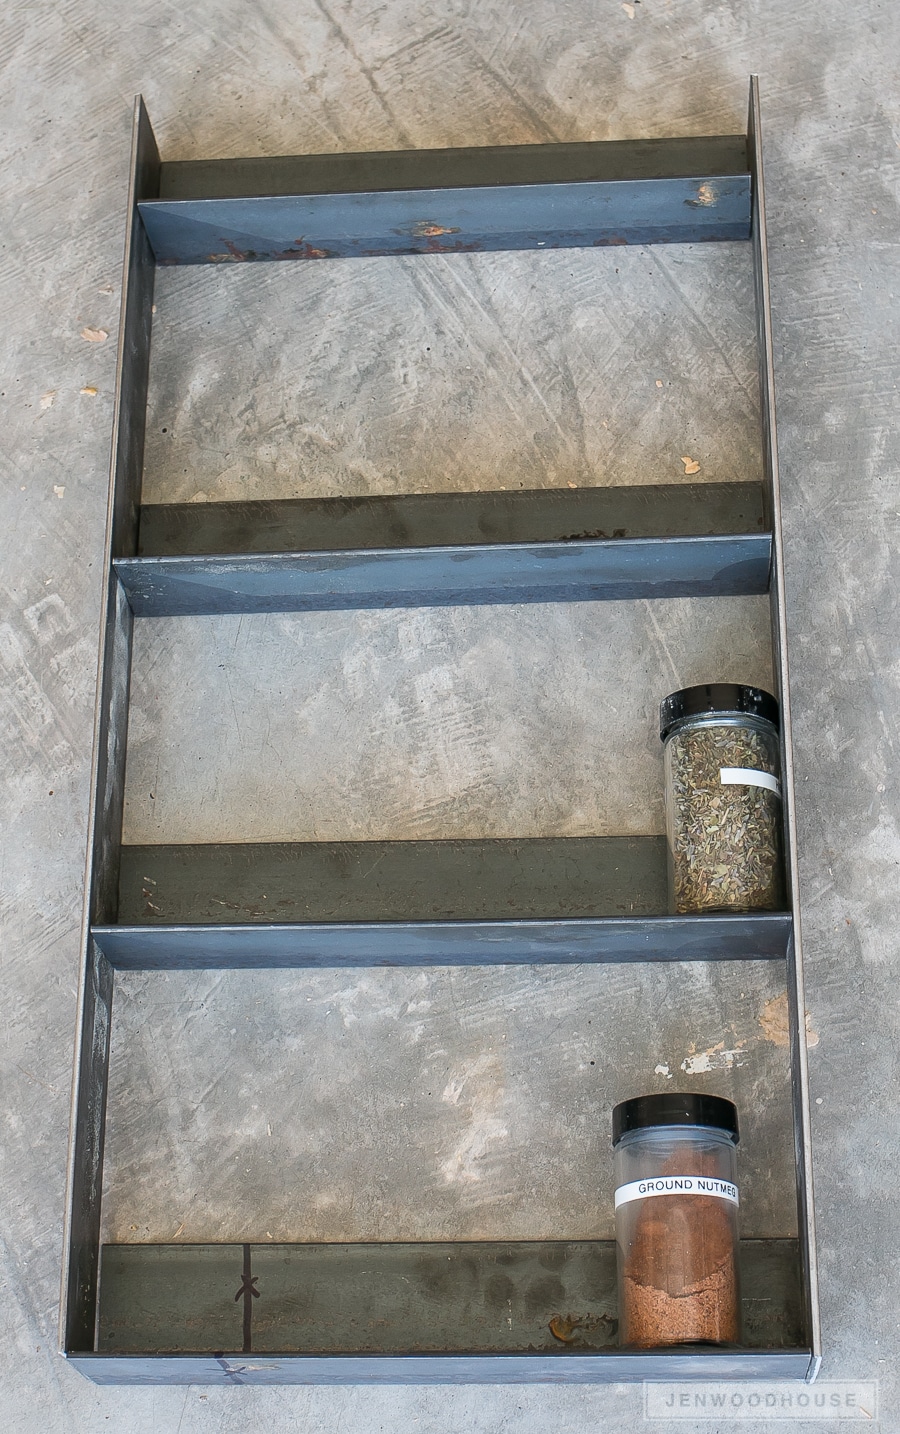
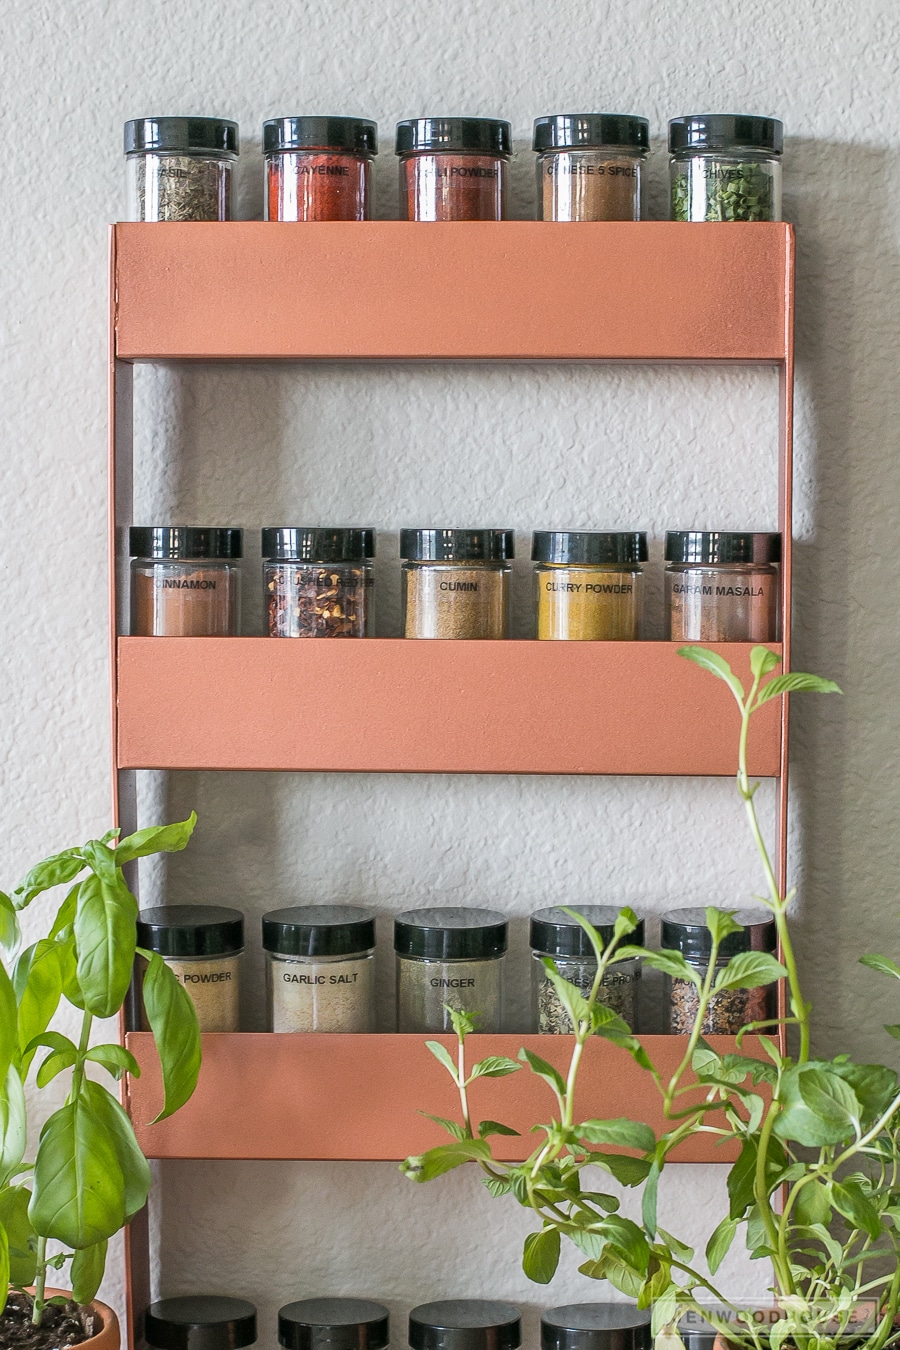
Next, I dry-fitted the pieces to see how everything would come together. I used my spice bottles to space out my shelves. The shelves ended up being 6 inches apart. Before we fire up the torch, we have to clean the metal. I used brake cleaner to clean all of the parts.
 Okay, so now that the metal parts are sanded and cleaned, it’s time to fire up the torch! Always use safety glasses and protective gloves when operating the torches.
This handy kit has everything you need to complete a small project. We ended up using five oxygen cylinders because I’m a newbie and worked much slower because of it. But after I got the hang of it, I would estimate that I would have needed about three oxygen cylinders to complete this project. I sent Adam to Home Depot multiple times over the course of this project. #ithappens #moreoftenthannot #happywifehappylife #yesdear
Okay. I’ll stop tagging the hashes. Moving on.
 First, check the cylinders for leaks. Here’s a great video on how to do this, along with some helpful torch safety tips. After you connect the torch to the cylinders, open the fuel valve slowly and use the spark lighter to ignite the torch. The flame will appear soft yellow and should be between 4-6 inches long. Slowly increase the flow of the fuel by adjusting the fuel valve so that the yellow portion of the flame touches the tip of the torch. Adjust the fuel valve until the flame is about 7-9 inches long. Then, gradually open up the oxygen valve until there is an inner blue flame about 1/2 inch long at the tip of the torch. The outer blue flame may be longer. This is the welding/brazing flame we’ll need.
So what the heck is soldering, brazing, and welding and what’s the difference? Here’s a helpful article.
Before I got started, I prepared the work surface. Because my workbench is made of wood (i.e. combustible material), I couldn’t work directly from it, so I placed several bricks down and used that as my work surface. It worked great because I could also use the bricks to hold the flat bars in place as I used the blowtorch. The bricks also retained heat well, which was super helpful.
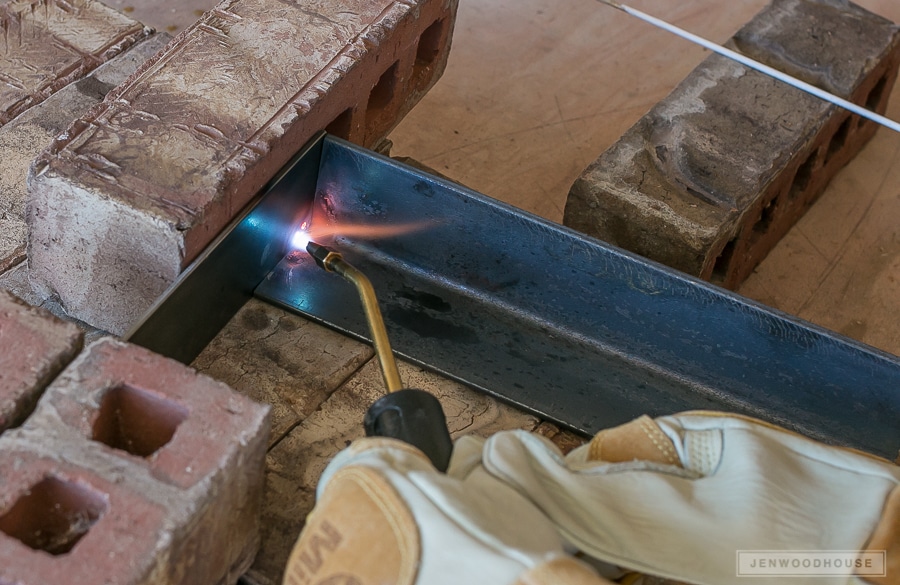 Use the torch to start heating up the two metal pieces. Move the torch in small circles and work along the joint. The heat is cumulative, so keep the torch in motion because the metal will want to dissipate the heat. Once you achieve an even, rosy orange glow, then you’re ready to introduce the welding rod. If you follow me on Instagram, I shared a full video play-by-play in my Instagram stories.
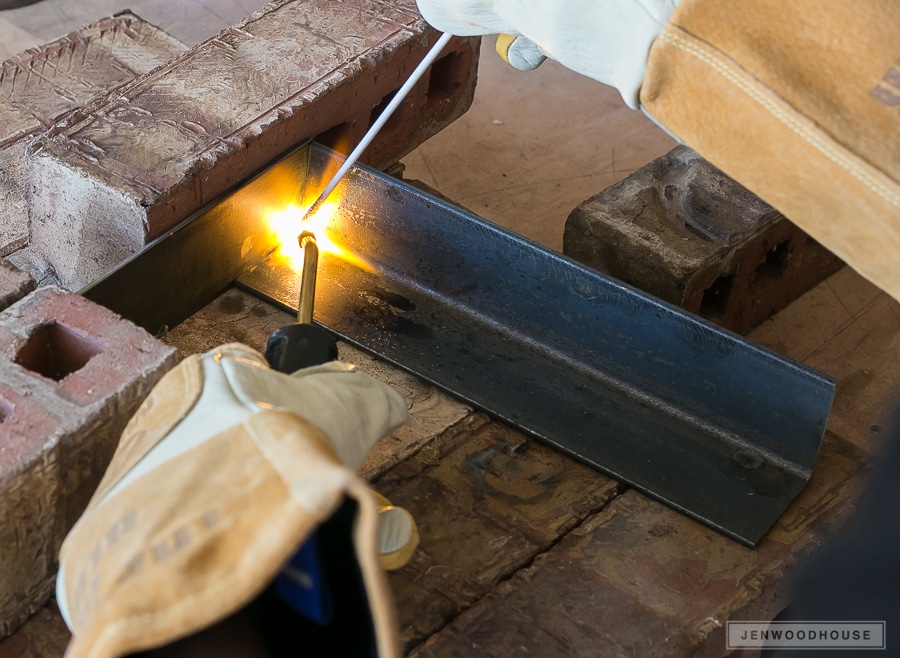 Once the metal is hot and glowing, use the brazing rod to braze the pieces together. Pay attention here because the brazing rod will melt pretty fast and will drip like molten lava. I used the rod to gently direct the melted metal along the joint. Then, I put the brazing rod down and used the flame to flatten out the seam. I turned the torch off, then used a wire brush to clean up the joint. Be sure to allow the metal to cool naturally. Don’t speed up the cooling process with water or you may risk stress fractures in the joint.
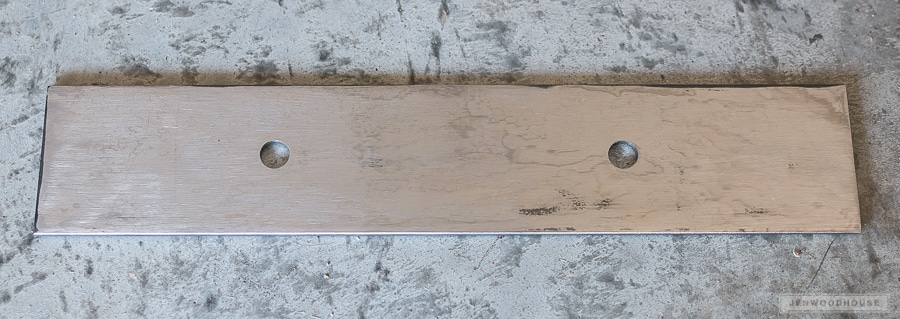
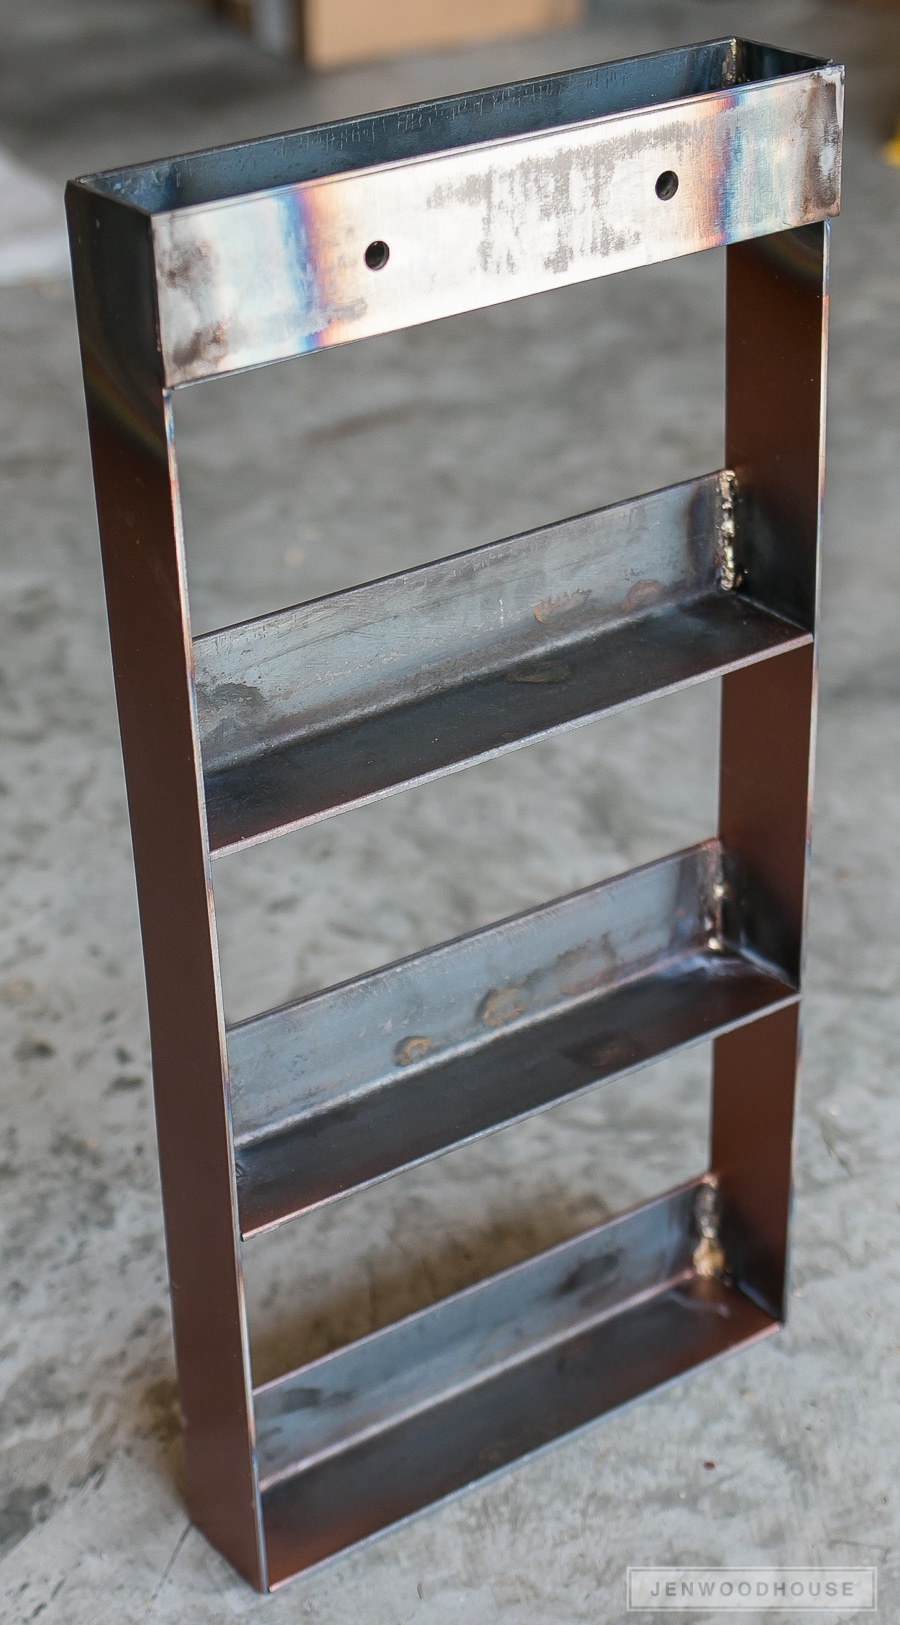
After all the shelves were attached, it’s time to attach the hanging bar to the spice rack. This is the piece that will allow me to hang the rack on the wall. We cut a piece of flat bar to 10 inches and used a drill press to drill a couple holes into it. We sprayed some WD-40 onto the drill bit as we were drilling to keep it from overheating. Then we used the angle grinder and belt sander to smooth away any sharp edges.
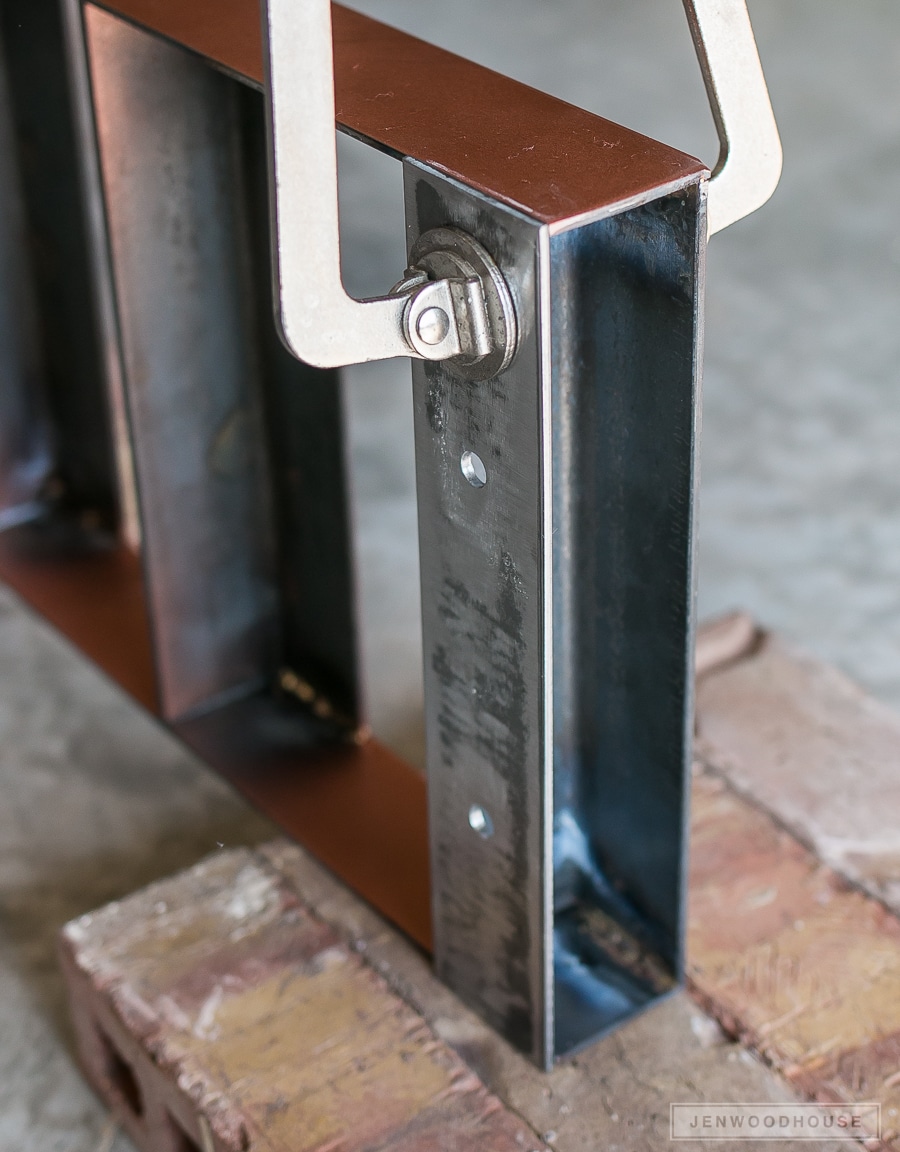
We clamped the back piece on and brazed it onto the spice rack.
 Ta-da! Pretty cool, right? I’m so excited to have acquired this new skill!
Finally, I used my favorite copper spray paint and spray-painted the spice rack and loaded it up with my spice bottles. I bought my spice jars from Bed, Bath, & Beyond for 99¢ each. Here are similar ones on Amazon.
So many new possibilities now, right? Thank you, Eleanor Roosevelt. I just did the thing I thought I couldn’t do and I’m better because of it.
Now. Let’s braze ALL THE THINGS.
 These brazed joints are super strong – it’s totally overkill for these tiny spice jars of course, but why build when you can overbuild?
Oh, and one more thing – so how do we safely dispose of empty non-refillable cylinders? Bernzomatic actually has an initiative called CylinderSafe™ – you can enter your zip code and find a local disposal site so that you can properly dispose of your empty tanks. Super helpful.
And that’s it! I hope this post inspires you to pick up a torch and try your hand at brazing metals. Feel free to reach out with any questions you might have. I may not know the answer, but I’ve gotten very good at Googling things. 😉
Be safe, have fun, and get out there and make something. See y’all next time!
Like this project? Please PIN and SHARE it!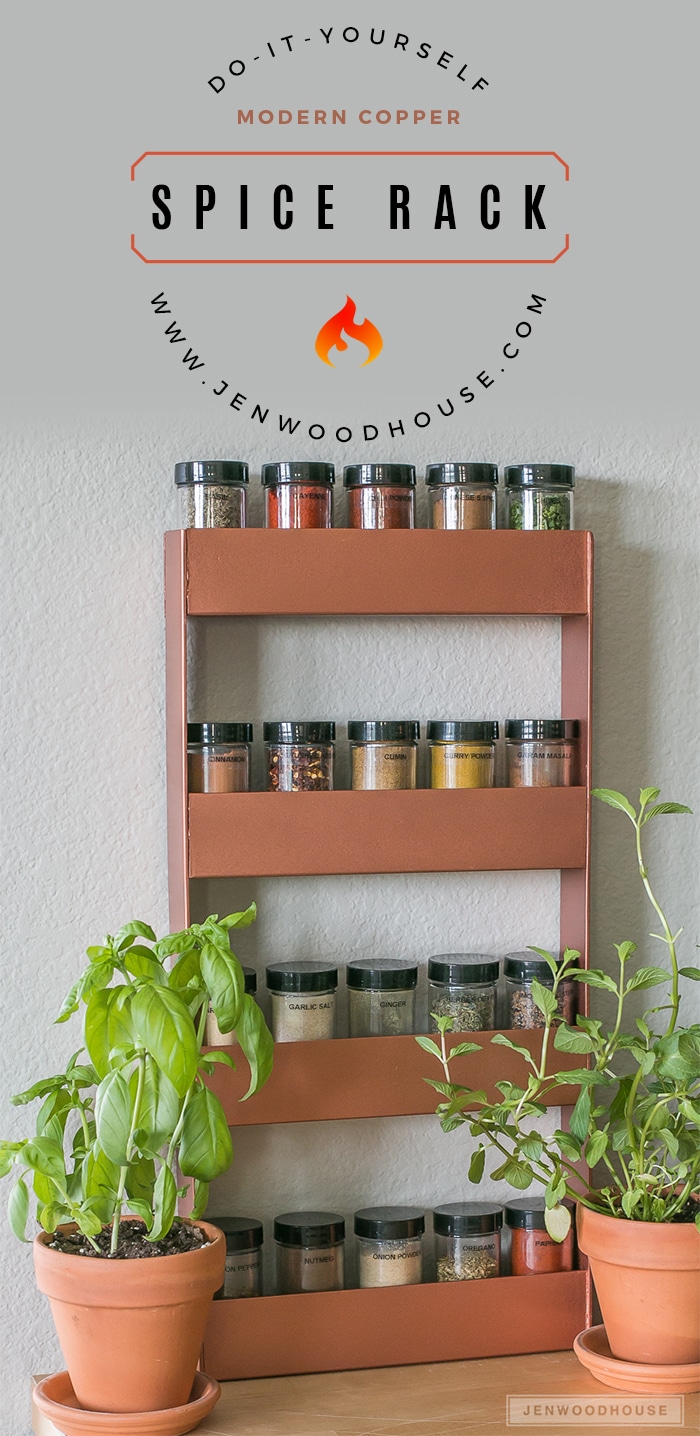
*This post contains affiliate links and is sponsored by Bernzomatic. To read my full disclosure policy, please click here. I am a Bernzomatic Torch Bearer; all opinions and efforts are my own.


This project came out great! Been thinking about working with metal and now you’ve inspired me to give it a shot. “why build when you can overbuild?” this should be a tee-shirt.
Awesome – I’m so glad to hear that Anthony! Thanks for your note!
No whimpy, pine spice rack need apply in your kitchen eh? That really is a fun torch, once you get the hang of it. Well done!