I don’t think I’m alone when I say that I have a love/hate relationship with Anthropologie. I love it so hard and my pocketbook hates me for it. Who’s with me?
Well, I have a treat for y’all because I’m teaming up with 4 other crazy talented bloggers for an Anthropologie Knockoff Series. Are you excited? I’m excited.
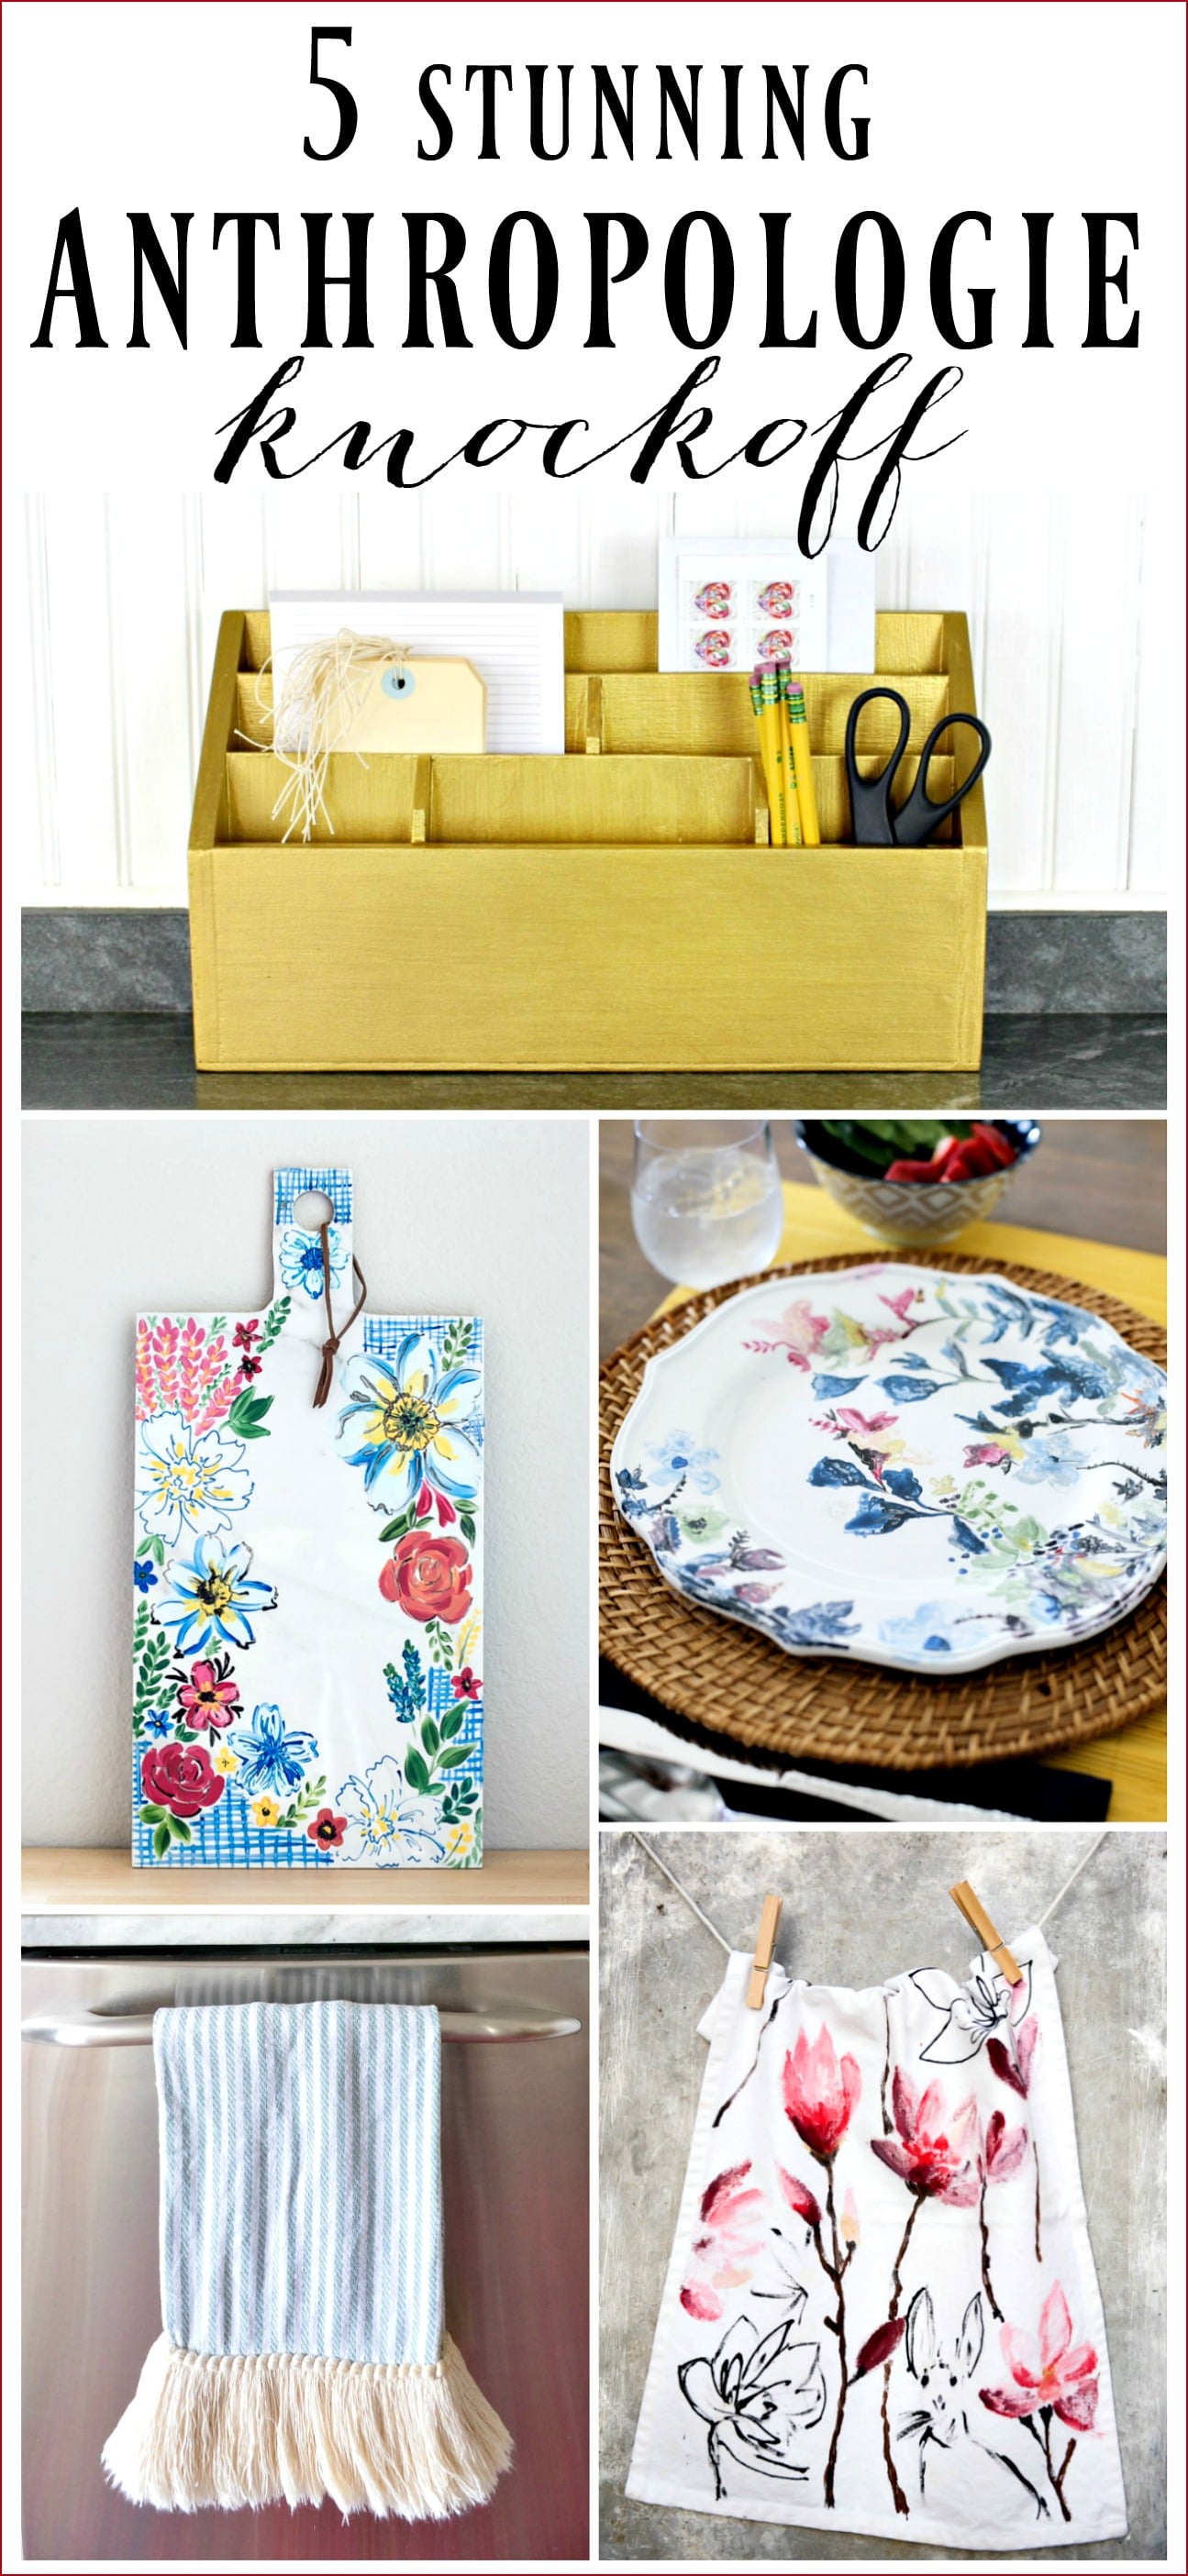
Have you guys seen this Sissinghurst Castle Cheese Board? Beautiful, right? And it’s almost $80 after tax and shipping. EIGHTY DOLLARS. Insanity. Oh, Anthro, why you gotta be so mean?
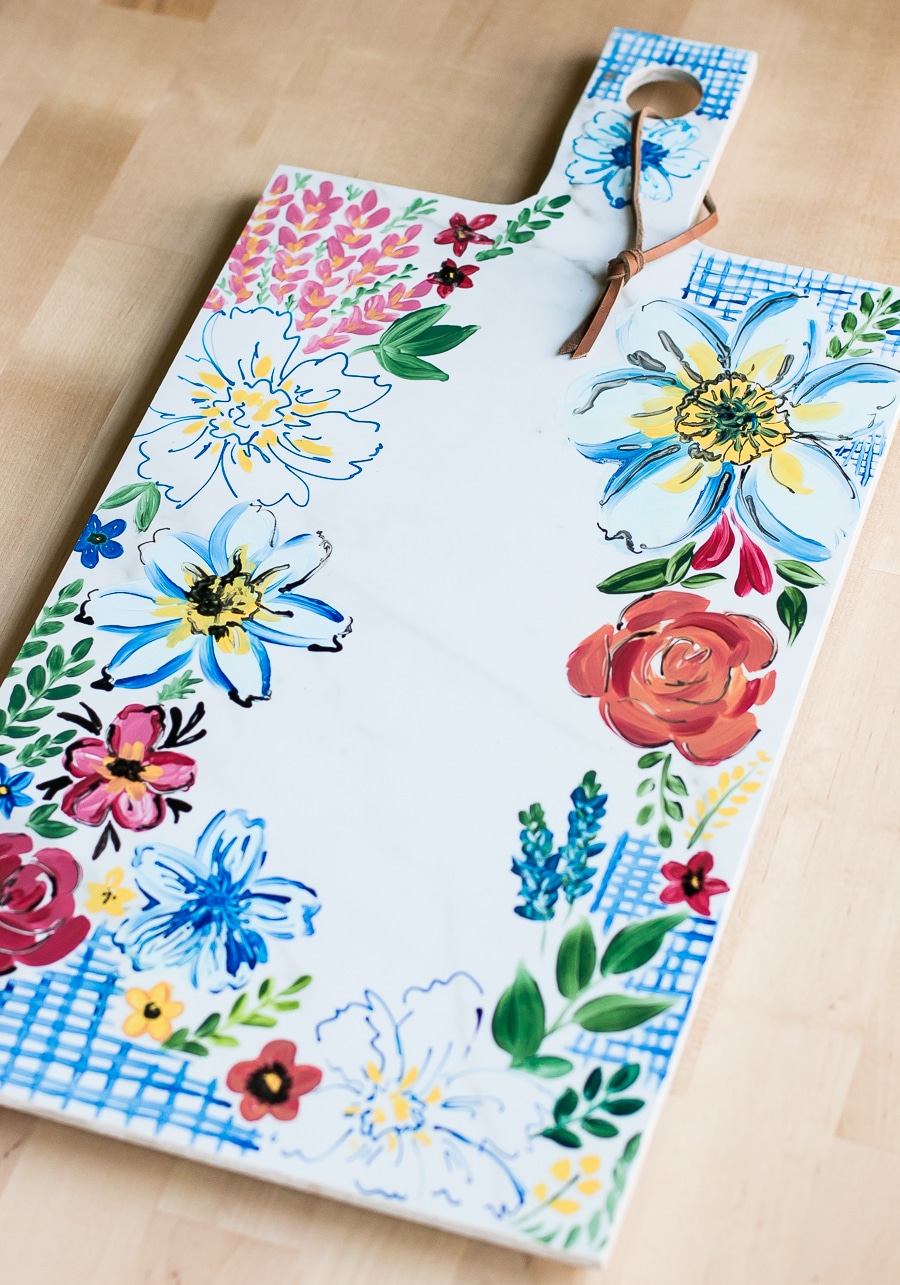
Well, you can make your own DIY Anthropologie Cheeseboard knockoff for as little as TEN BUCKS. Are you doing a happy dance yet? I am.
So check this out.
I picked up one marble tile from Home Depot for less than $5.00. Oh, and by the way, Anthro’s cheeseboard is much smaller at 18″ x 8″. Mine is a whopping 24″ x 12″.
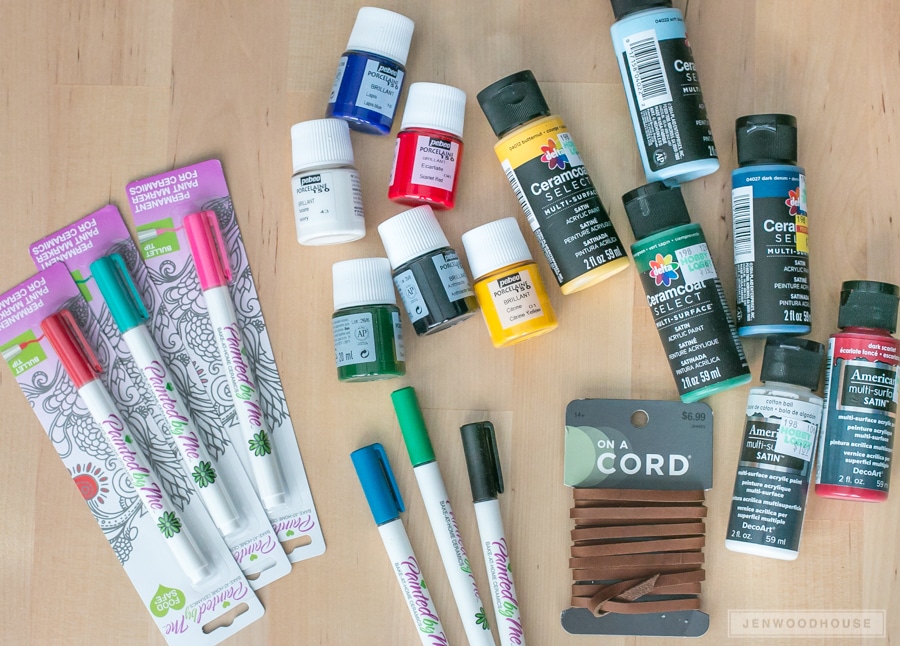
Okay, so now that we’ve got our marble tile, the only other thing we really need are ceramic paints, which are about $1.50/bottle. Depending on how many colors you want to use for your DIY cheeseboard, you can make a pretty convincing Sissinghurst Castle knockoff for about $10.00.
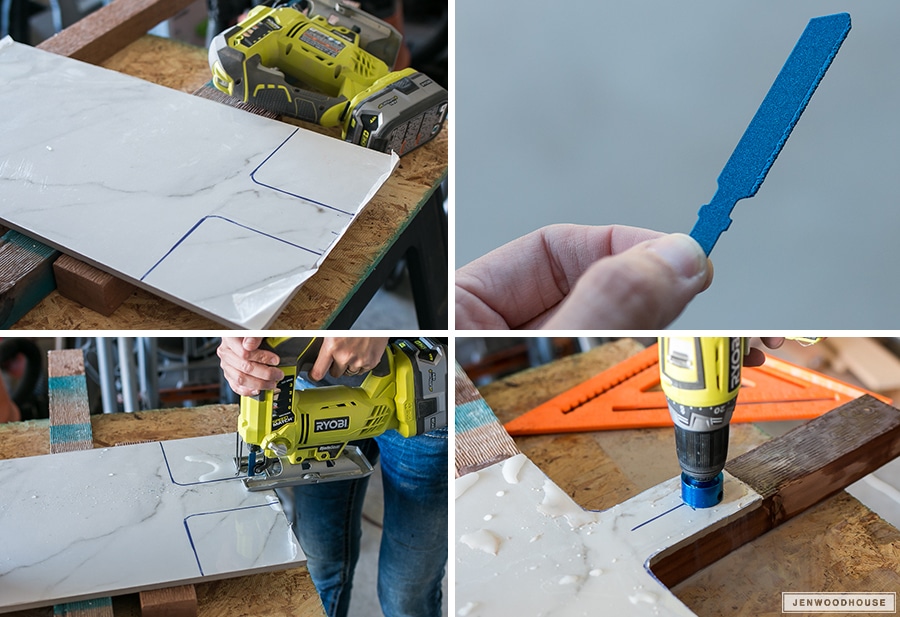
Because I wanted to stay true to the overall shape and design of the cheeseboard, I chose to cut my tile. You can cut tile in various ways: with a wet tile saw, manual tile cutter, nippers and scoring wheel… there are several different options out there. Hopefully you already own some kind of tile cutter, otherwise, diamond blades and bits can get pretty pricey. Or you can just skip cutting the tile altogether and get right to painting. Totally up to you.
I chose to use a jigsaw fitted with a diamond blade because… well, I don’t know if you know this, but I’m kind of a big deal when it comes to the jigsaw.
The tile came with a plastic cover, so I left that on and used a Sharpie to trace where I wanted to make my cuts. I installed the diamond blade on my jigsaw and clamped the tile to my work surface. As I was making my cuts (slowly), I poured water on the blade periodically to keep it from overheating. Cooling the blade will prolong the lifespan of the blade. Also, I chose to use a cordless jigsaw because it gave me a little more peace of mind. I’m no master electrician, but from what I hear, water and electricity don’t mix.
Next, I cut a hole in the tile with a cordless drill fitted with a diamond hole saw, again using water to cool the bit as I was drilling. Finally, I peeled the plastic off and lightly sanded any sharp edges with 150-grit sandpaper. Be sure to wear safety glasses while you work. Shards of tile in your eyeball ain’t cute.
I tested 4 different brands of ceramic paints: Painted By Me, Pebeo Porcelaine 150, Delta Creative Ceramcoat, and DecoArt Americana Multi-Surface paints. The Painted by Me ceramic markers say they are food-, microwave-, and dishwasher-safe. The other three brands are microwave- and dishwasher-safe, but are not recommended for food.
After doing a little digging, I gathered that in order for a paint to be labeled food-safe, the FDA must approve it, or the ceramic must be fired in a kiln (2000+ degrees). A home oven obviously doesn’t get hot enough to properly cure the paints to make them food-safe.
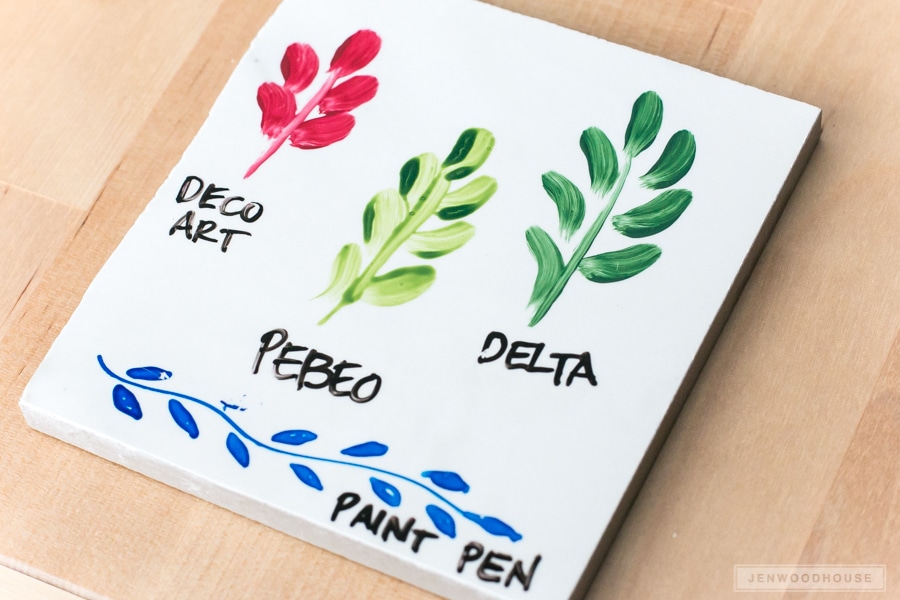
All that being said, I tested all of the paints out on a scrap piece of tile, baked it in the oven, and put it in the top rack of the dishwasher. I tried my darndest to wipe, scrape, and scratch off the paint and all but one of the paint brands stayed put. I don’t see these paints leaching into my food anytime soon.
As you can see, I was able to scratch off the Painted by Me markers with my fingernail. This is also the only one that claims to be food-safe. Of course. You can’t win ’em all.
The other brands are non-toxic and water-based, so I feel fairly safe using it for food, despite them not being labeled “food-safe.” Also, I would be placing mostly dry foods on the cheeseboard, so I wasn’t worried about ingesting any paint residue. If you still feel uncomfortable about it, then feel free to use this cheeseboard for decorative purposes only.
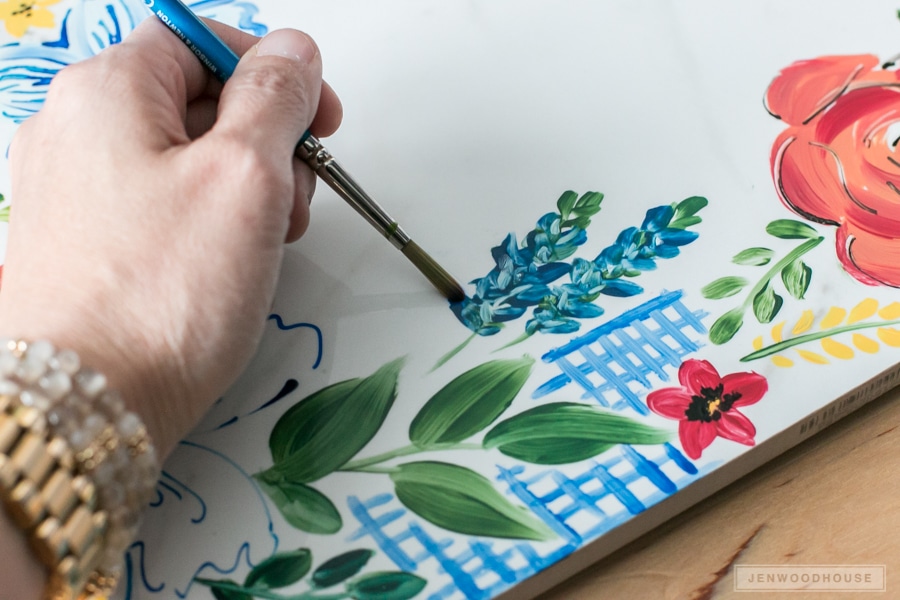
I picked up my paintbrush and started painting. By the way, this is a stress-free project – if you happen to mess up (which I did, several times), you can just wipe the paint off and start over. No pressure.
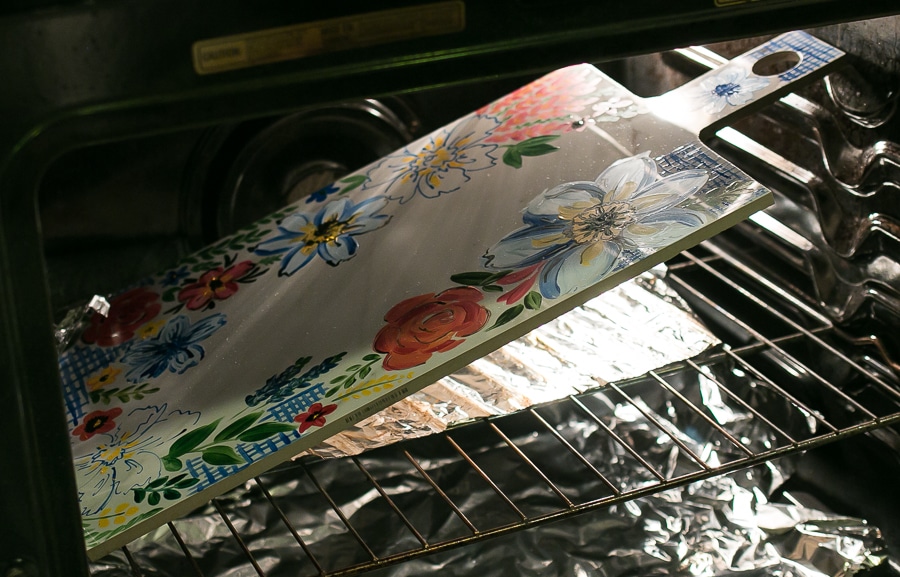
Now that the painting is done, it’s time to cure the paint. But nothing ever goes according to plan, does it? Once again, hindsight is 20/20. I tried to place the cheeseboard in the oven and this happened:
The cheeseboard was too large to lay flat in my oven! No worries though, I just stuck it in there at an angle and baked it anyway. No harm, no foul.
You’re going to want to allow the tile to warm up and cool down in the oven. In other words, don’t pre-heat. Simply place the tile in a cooled oven, then set the temperature to 350º F. Bake at 350º F for about 30-40 minutes, then turn the oven off and leave the tile in there until everything’s cooled down.
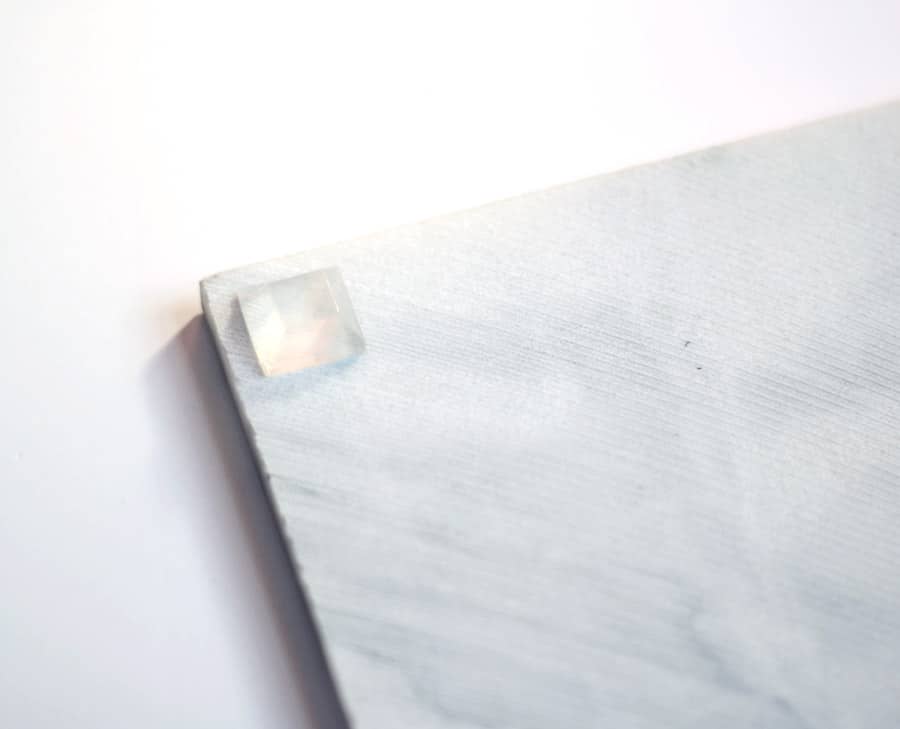
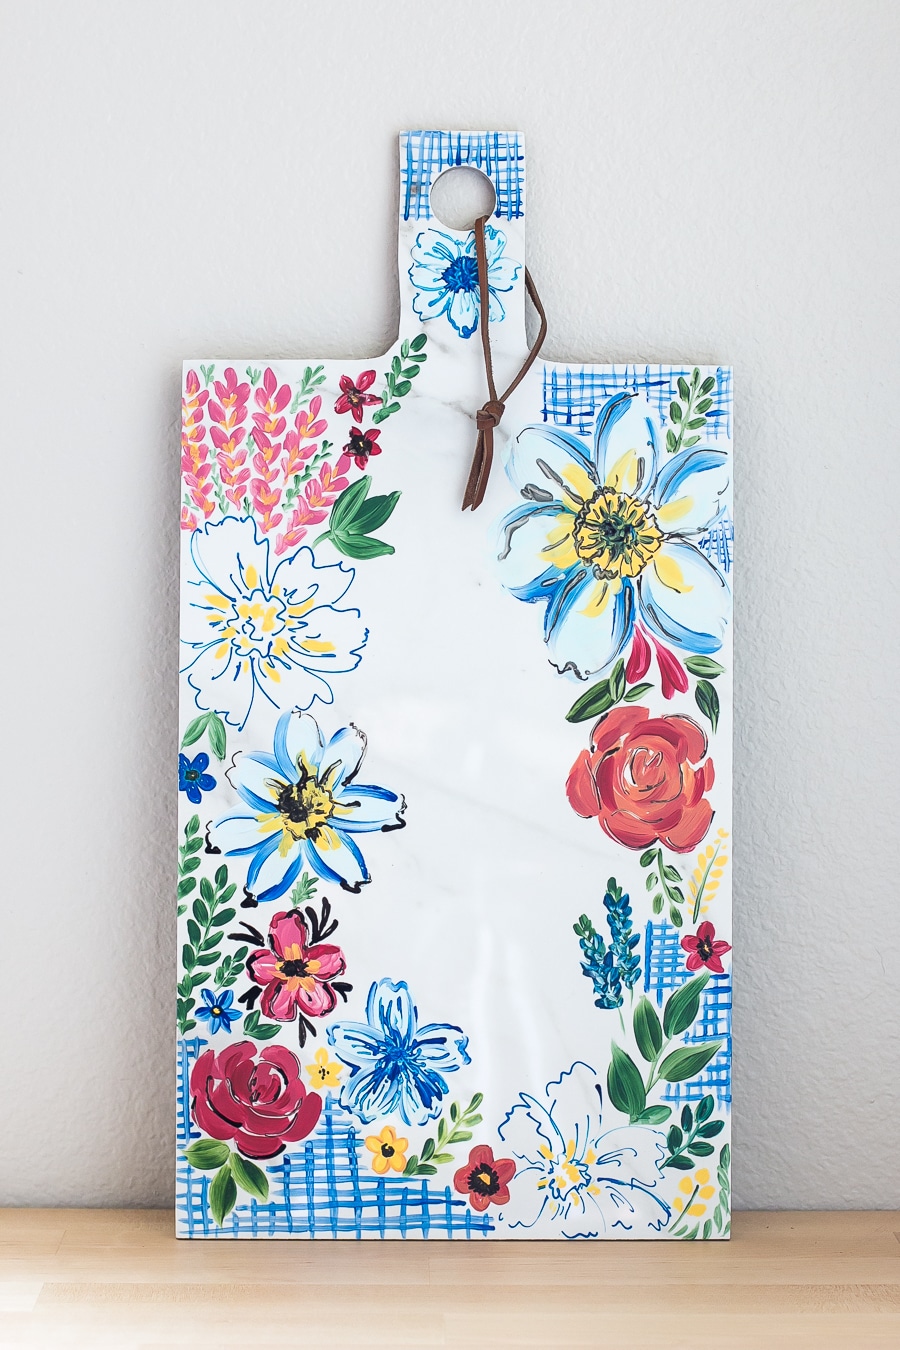
Finally, stick these little suckers on the underside of the tile, loop a leather cord through the hole in the handle and you’re done! The vinyl bumpers will help protect your table or counter and give your cheeseboard little ‘feet’ to stand on.
Isn’t she pretty?
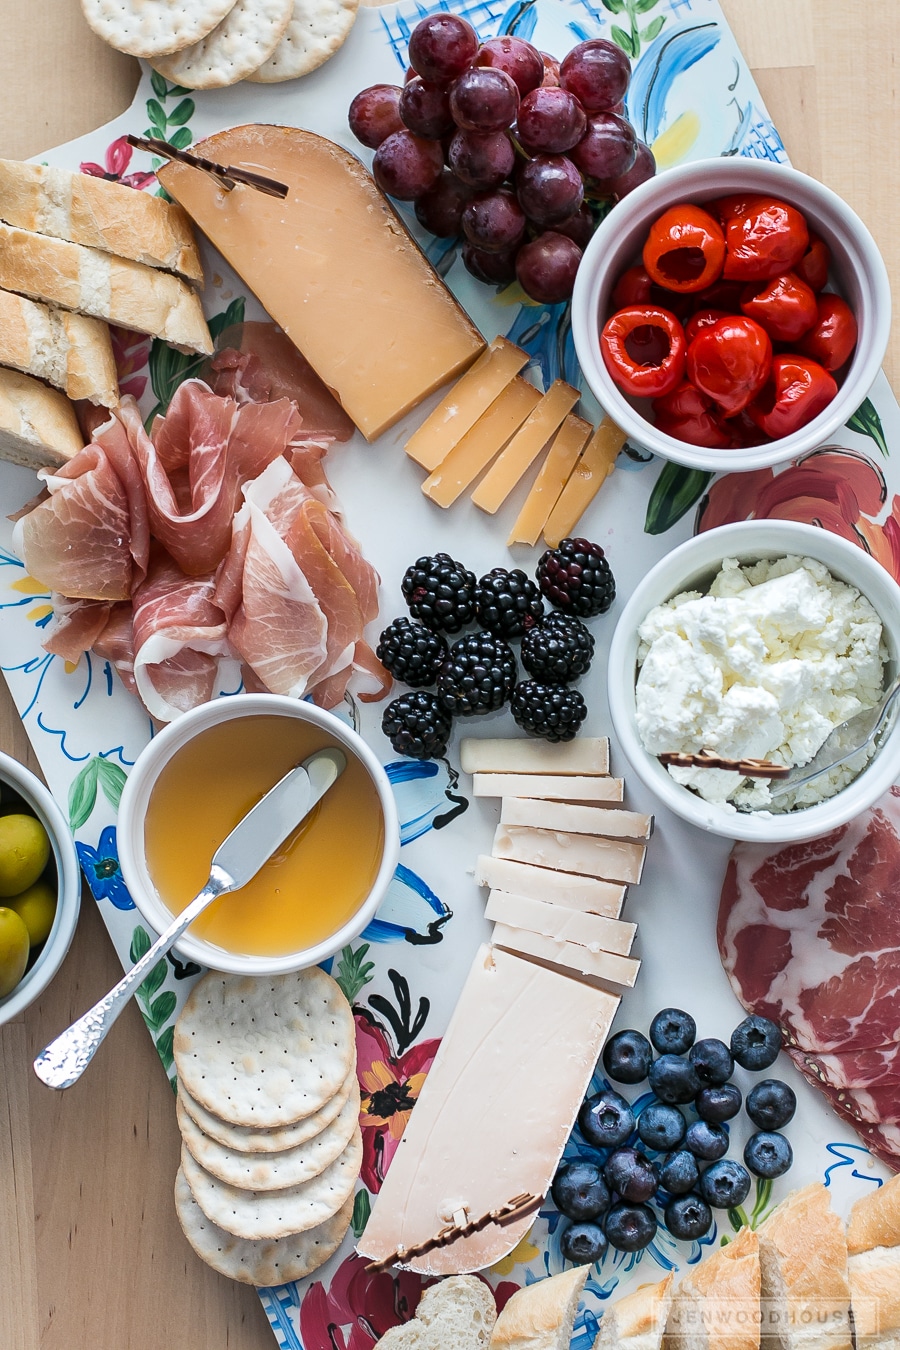
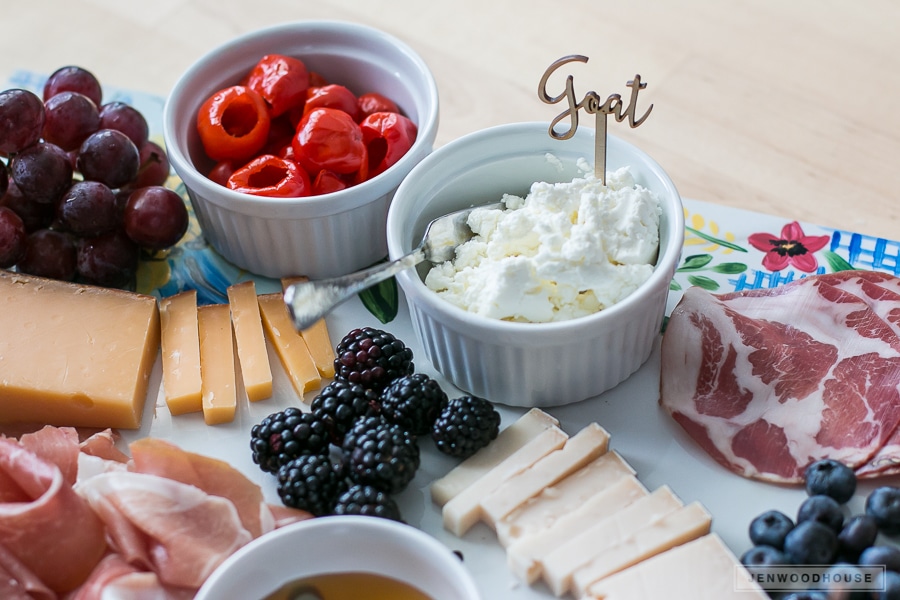
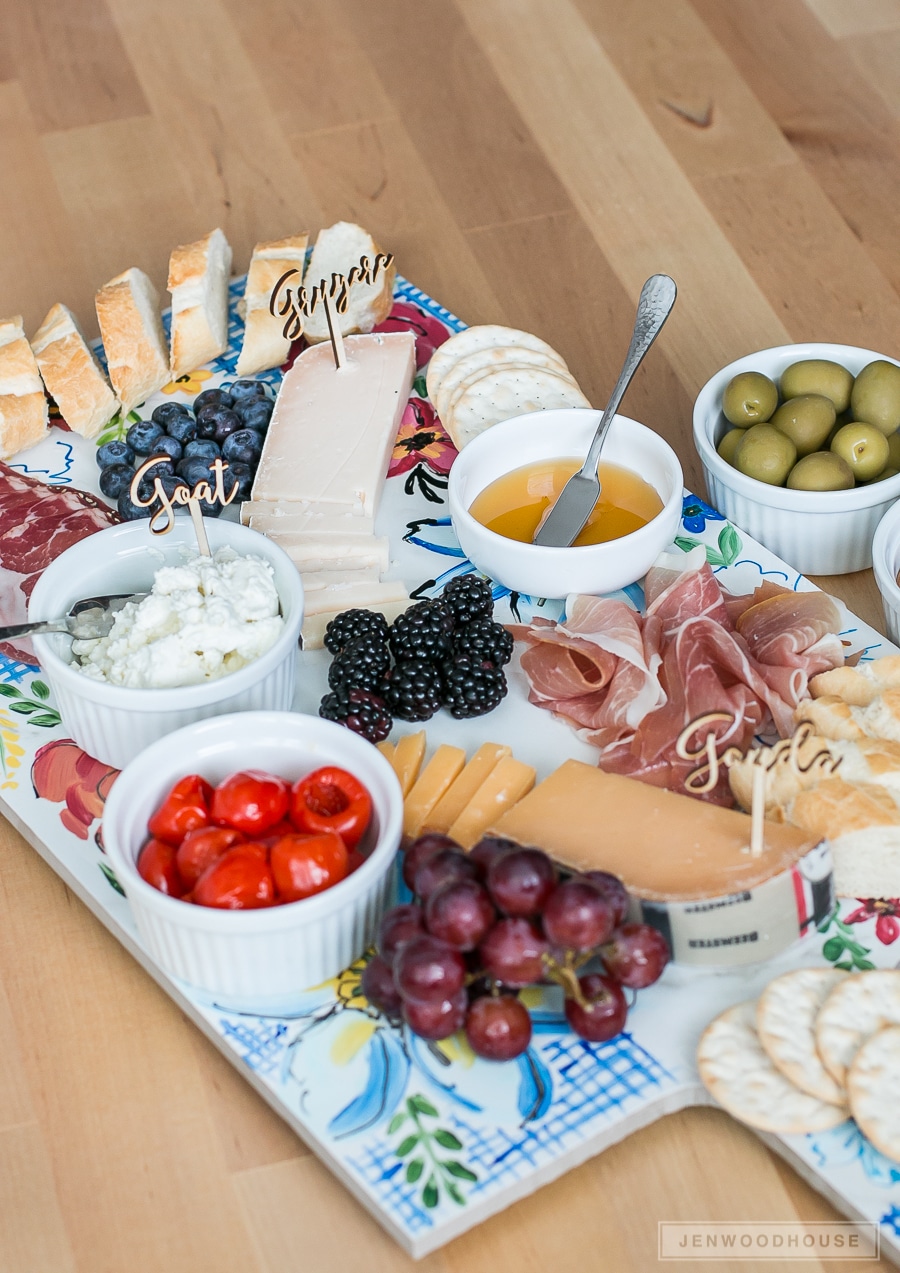
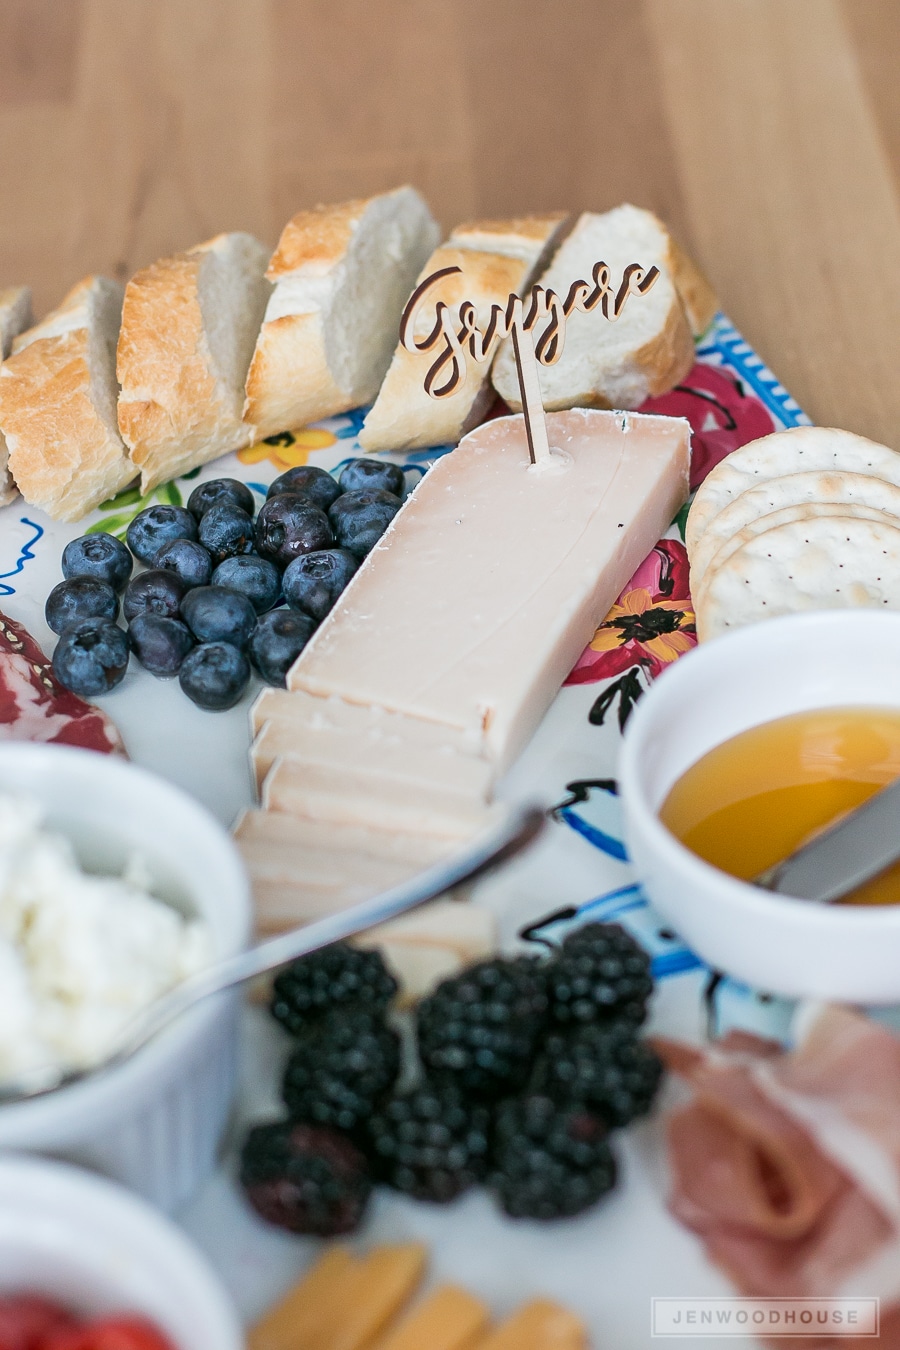
Okay, so let’s load this baby up with some cheesy deliciousness and get this party started.
Two of my absolute favorite things: peppadew peppers and chèvre. Stuff the pepper with goat cheese and wrap some prosciutto around this bad boy and you’ve got Heaven in your mouth-hole.
Another stellar cheese pairing is Humboldt Fog goat cheese with sweet fig jam. I could just die from happiness. I’m pretty sure the most epic cheese and charcuterie board will be in Heaven.
Speaking of cheese, there’s a neat little cheese shop in Austin called Antonelli’s Cheese Shop. Adam and I went on a “cheese date night” there and basically ate our weight in cheese. It was glorious. We didn’t poop for days, but there’s a price to pay for such things.
Don’t forget to check out the rest of our Anthropologie-inspired DIY projects:
- Hanging Letter Holder by Jaime from That’s My Letter
- Marble Cheese Board by Jen from The House of Wood
- Hand-Painted Dinner Plate by Katie from Bower Power
- Macrame Dishtowel by Jennifer from The Chronicles of Home
- Painted Tea Towel by Aniko from Place Of My Taste
Love this project? Please PIN and SHARE it!

*This post contains affiliate links. To read my full disclosure policy, please click here.


I’ve never seen anything like this before Jen, it’s so good! And man I wanna eat cheese now. xx
So amazing my friend! I didn’t doubt for a moment that you will do something jaw-dropping…you always nail it! Can’t wait to see what you create next! Xo
Gorgeous! I am going to try this – would make such a fun gift!
Where are your cheese markers from? They’re so fun!
Such a great collection of Anthropologie knock off posts! Thanks for getting this together. I love Anthropologie and will definitely be giving some of these a try.
I hear ya! I have a love-hate relationship with Anthro too…love thier products and hate their prices ha. This looks absolutely beautiful!
~Krisztina | http://www.krisztinaclifton.com