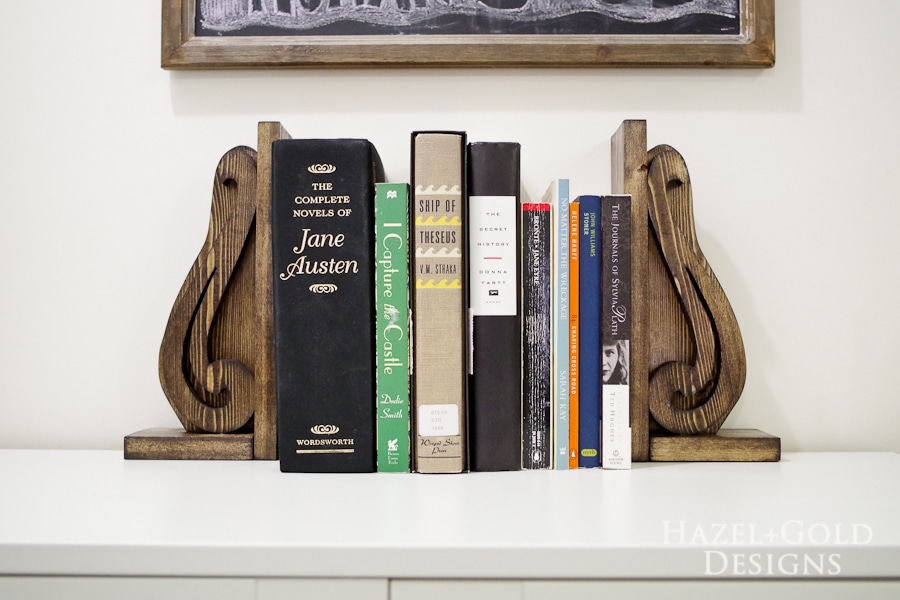
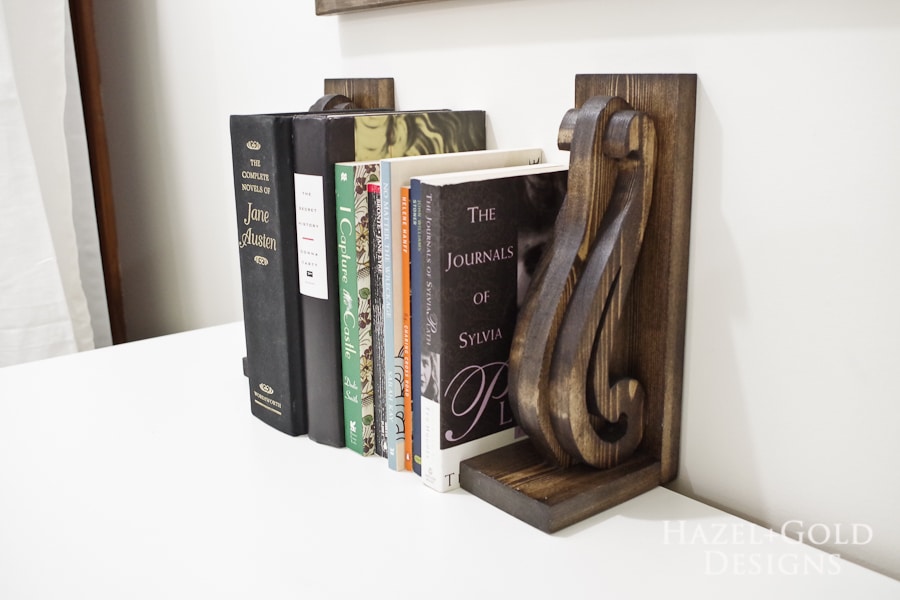
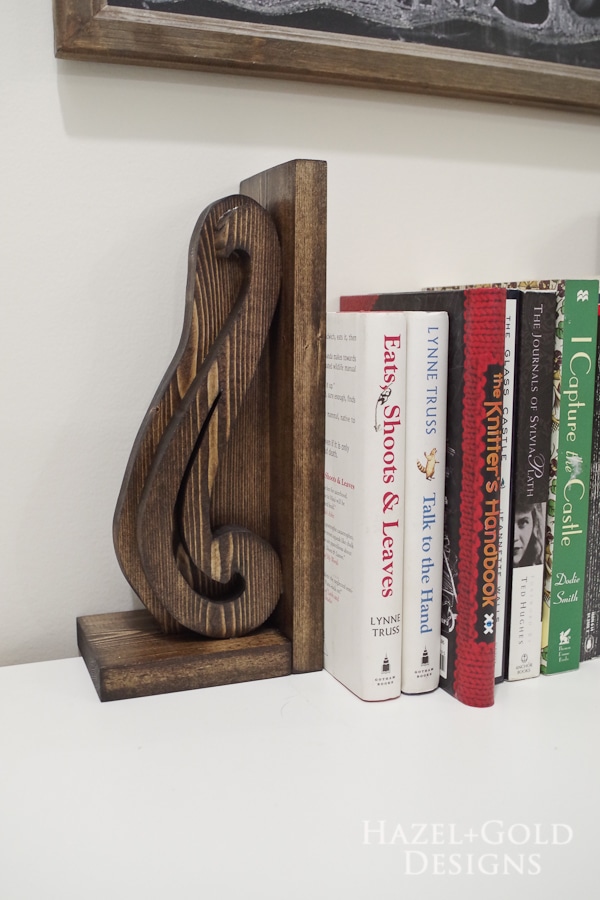
Hello everyone! I’m excited to be writing my first post as guest contributor on The House of Wood! I’m Sheri from Hazel + Gold Designs and I am a DIY blogger who dabbles in a lot of creative mediums. I also have many other hobbies. One of my favorite things to do (other than DIY projects) is read. I just love books. Everything about them. Which also means that I have books displayed throughout my home. Today I’m going to show you how to create these amazing DIY Decorative Wooden Bookends.
Let’s do it!
Tools and Supplies I used:
- 1×4 10-foot pine board
- French curve stencil or design
- Drill and bit
- Scroll saw
- Miter saw (a circular saw could work too)
- Sand paper – #120 and #220
- Orbital sander (optional)
- Wood stain
- Sponge brush
- Towel for wiping off stain
- Wood glue
- Clamps
- Polyurethane
Cut Curved Pieces:
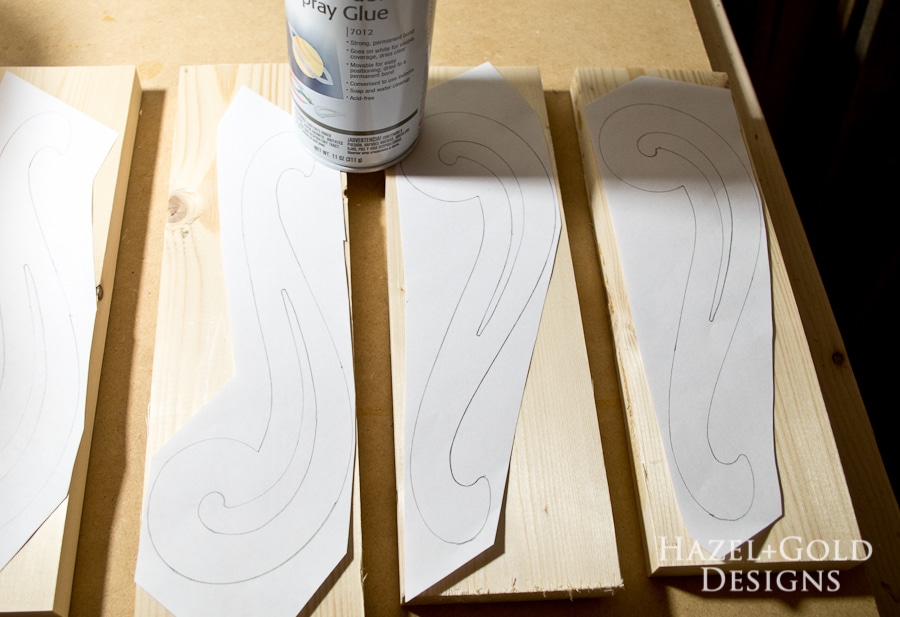
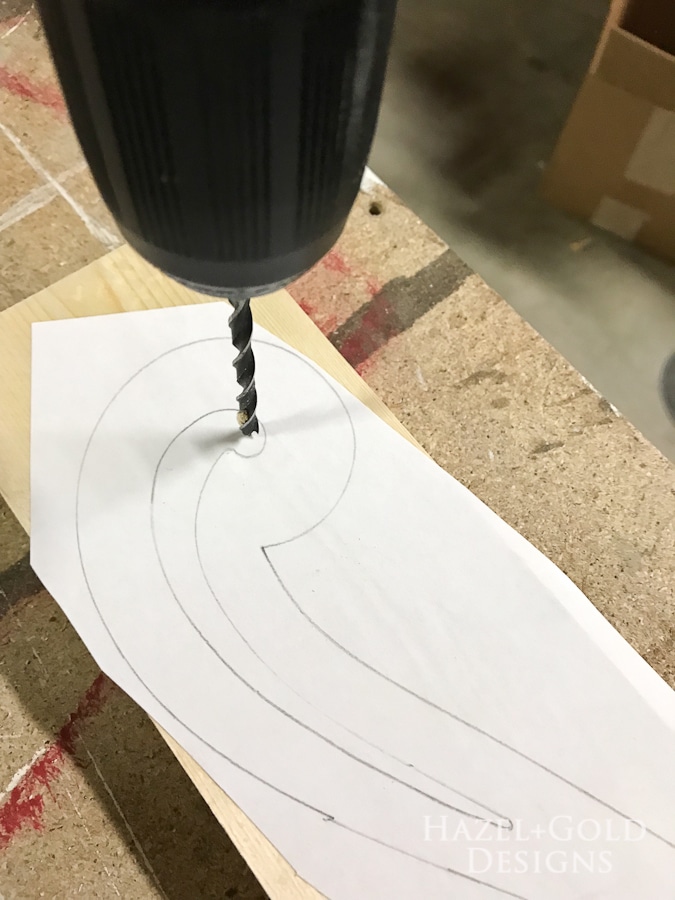
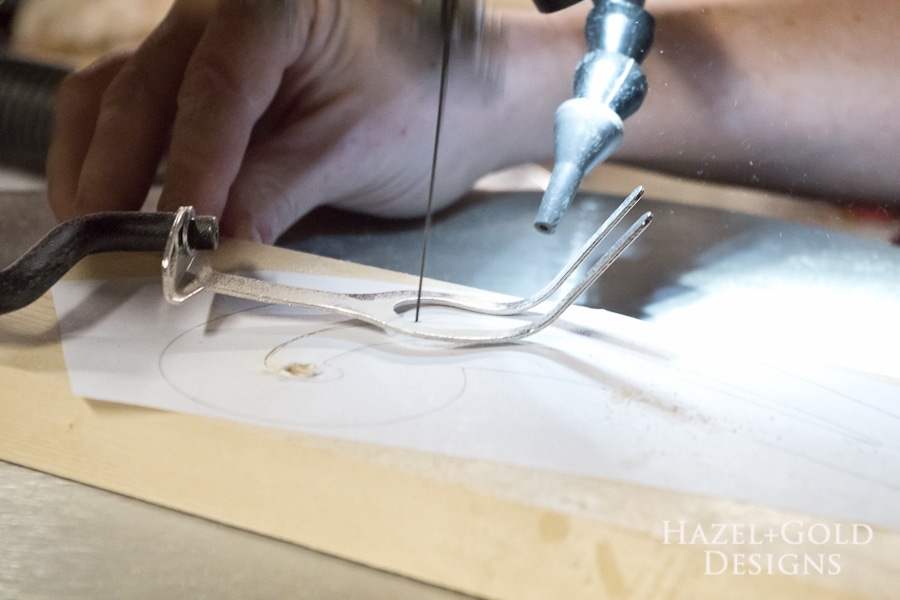
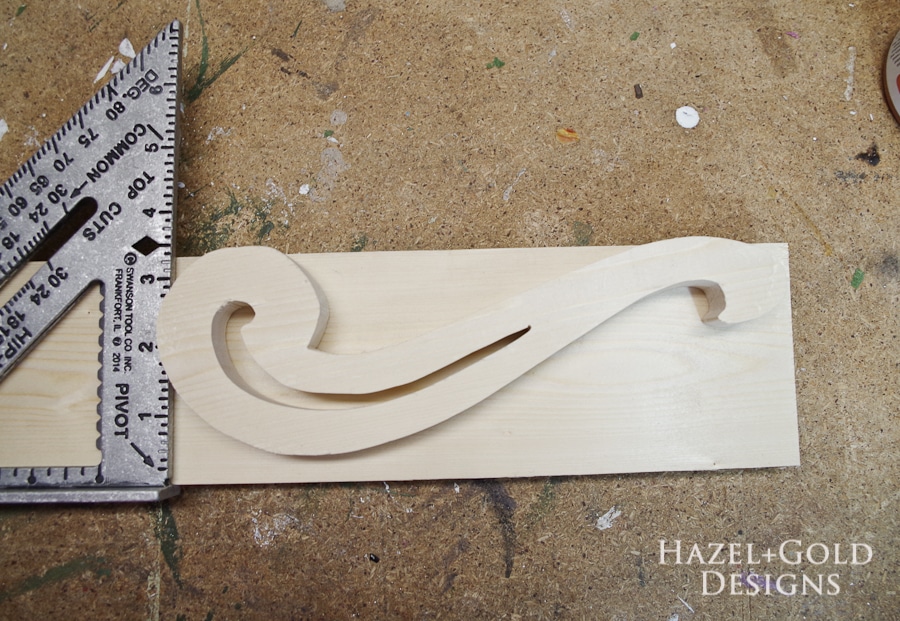
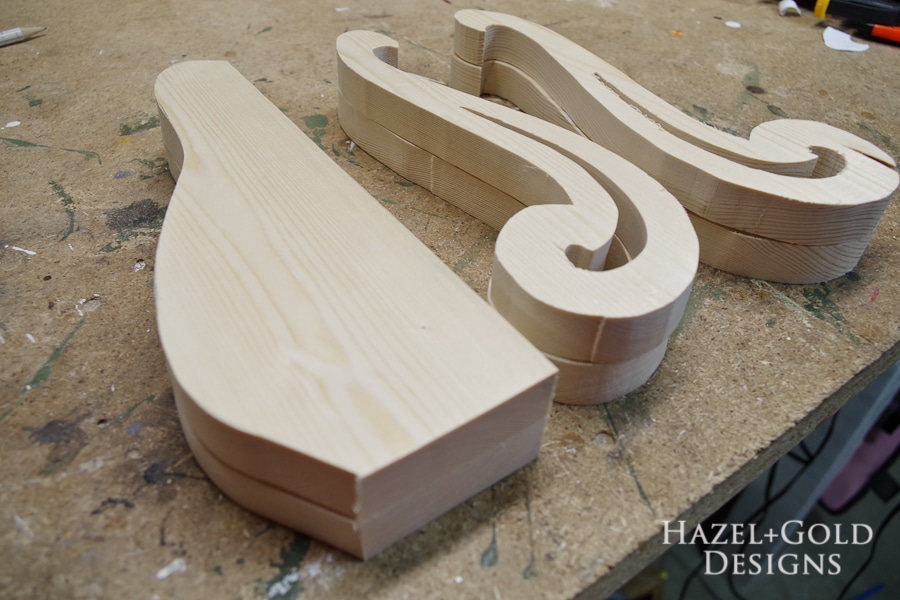
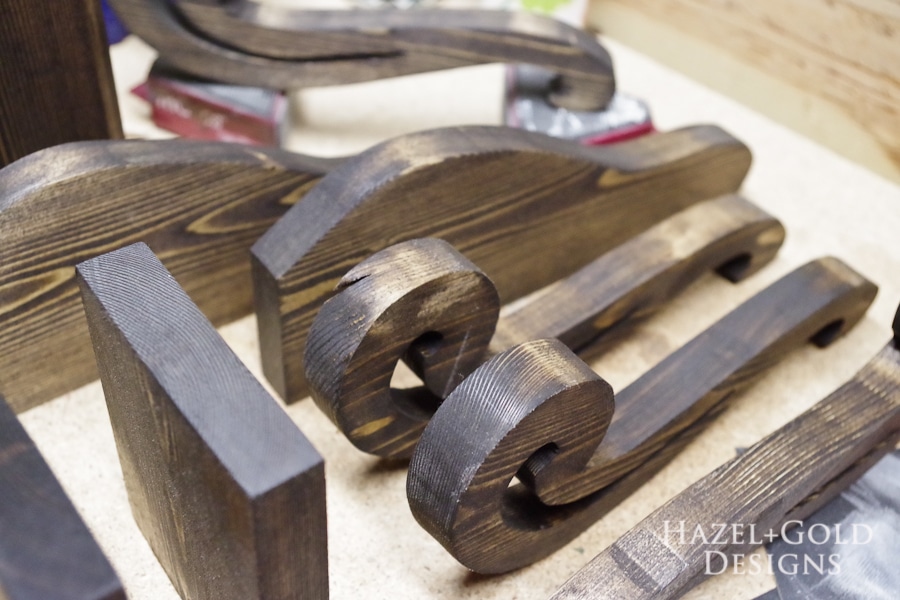
The first step in this project is to make the curved parts of the bookends. First, trace your design onto paper. I used a French curve stencil and traced out 4 pieces. Once you have them traced, cut 4 pieces of wood at least the length that you need. You may want a little extra to hold onto when cutting with the scroll saw. Use a spray adhesive to adhere the stencils to your wood.
Cut Base and Sand:
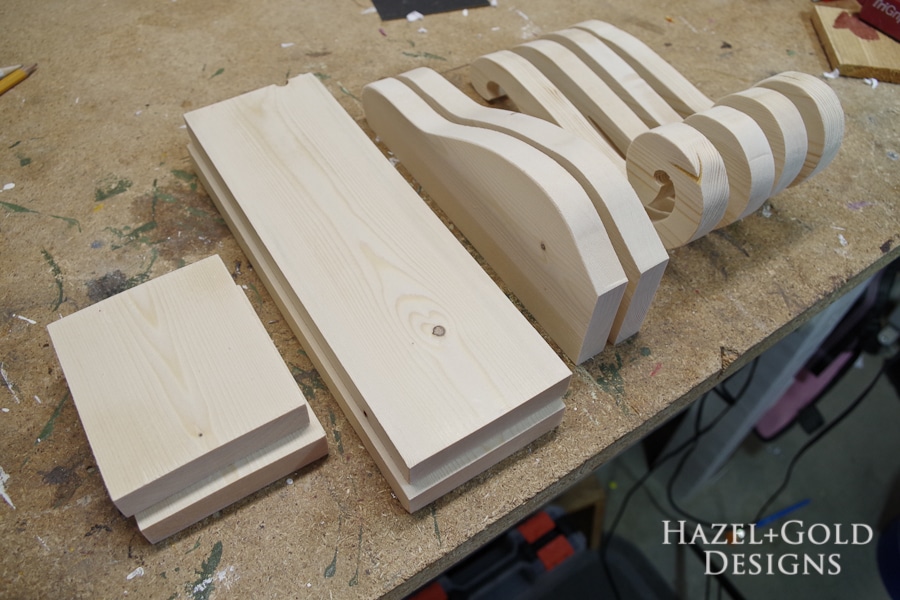
Next, cut the base on the miter saw. This just needs to be tall enough and long enough to encase the curved pieces. My curved pieces were about 9.5″x3.5″ so I cut my long pieces at 10.5″ and my short pieces at 4″. You will need two of each.
Now go ahead and sand all of the pieces. An orbital sander works for the straight pieces and sides, but I sanded the curved pieces by hand so they wouldn’t get damaged. First, sand with 120-grit, then move up to 220-grit for a nice smooth finish.
Stain:
Use a sponge brush to stain all of the pieces. Remember to wear protective gloves! The sponge tends to get just enough stain on the wood and is able to get into the crevices in the curved pieces. Cover the entire piece with stain, then use a towel to wipe off the excess.
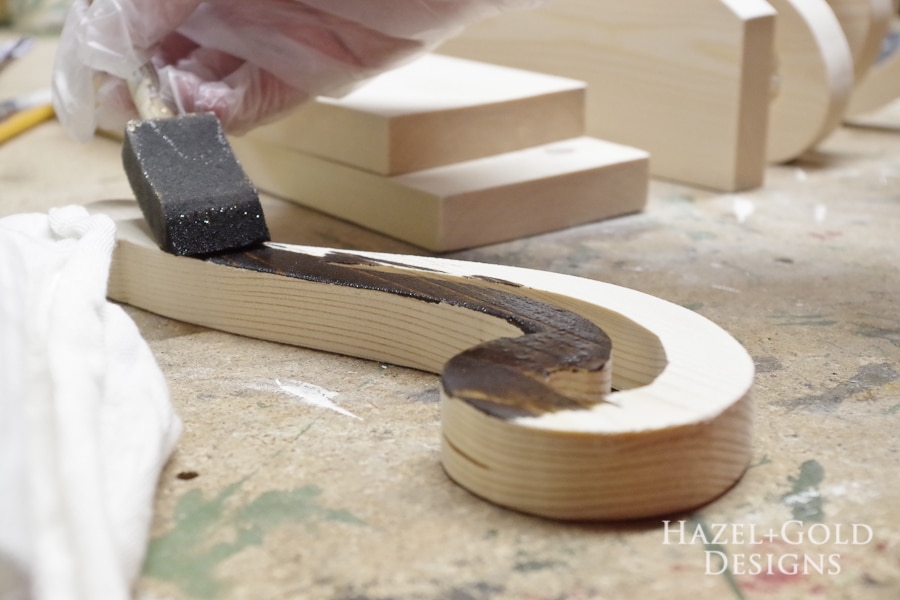
Let the stain dry according to the instructions on the can.
Assemble and Finish:
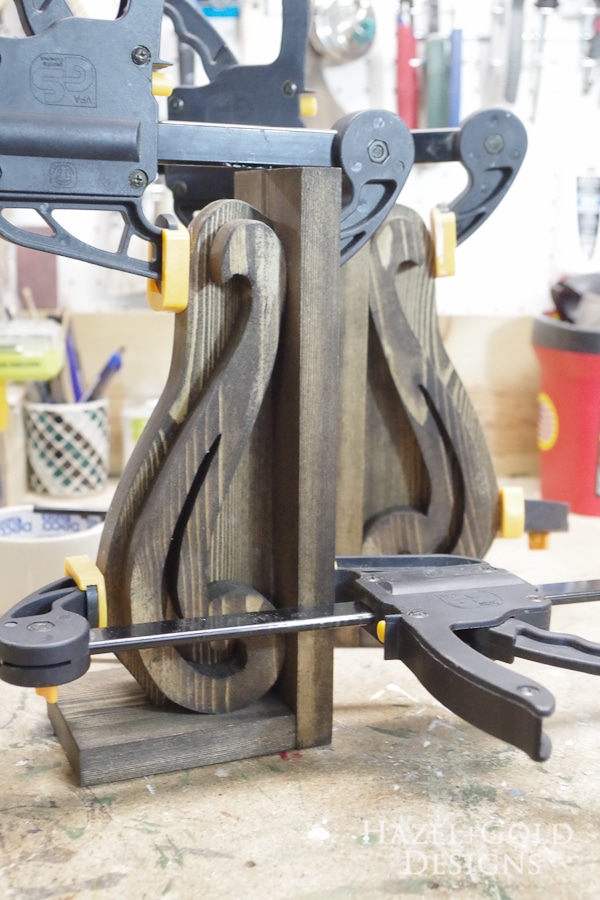
Time for the glue-up! Get your clamps and wood glue ready at hand. Glue a curved piece onto each side of your center pieces. I used a straight edge to make sure the bottom was flush.
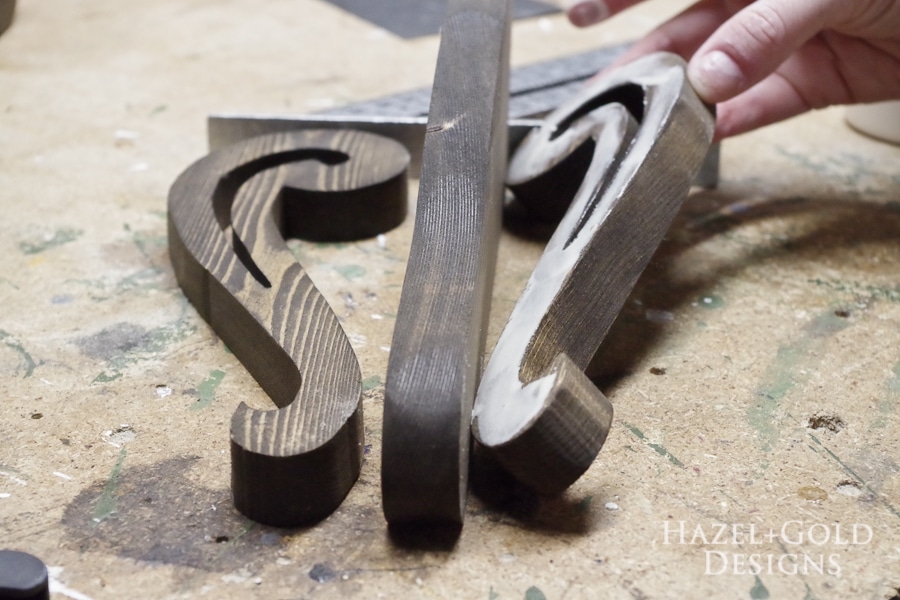
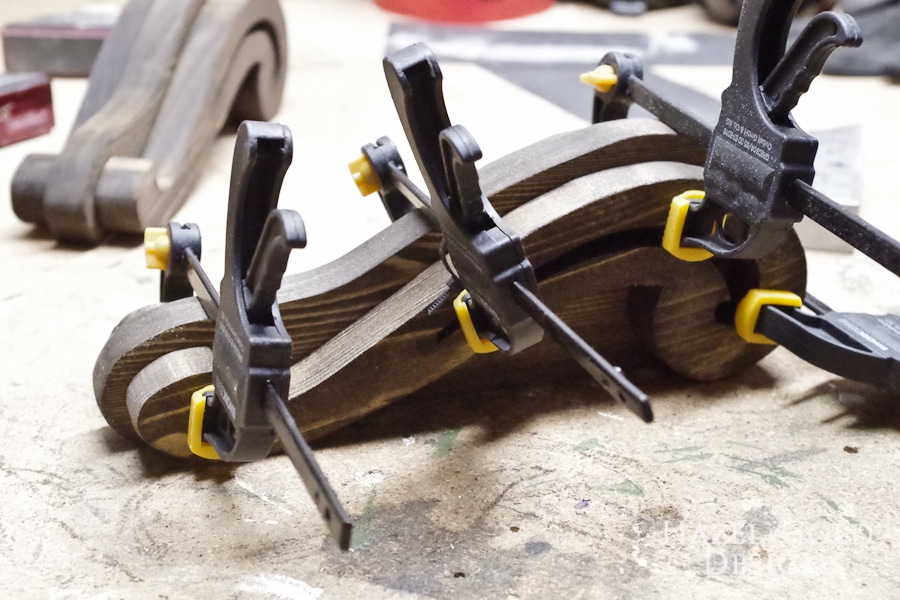
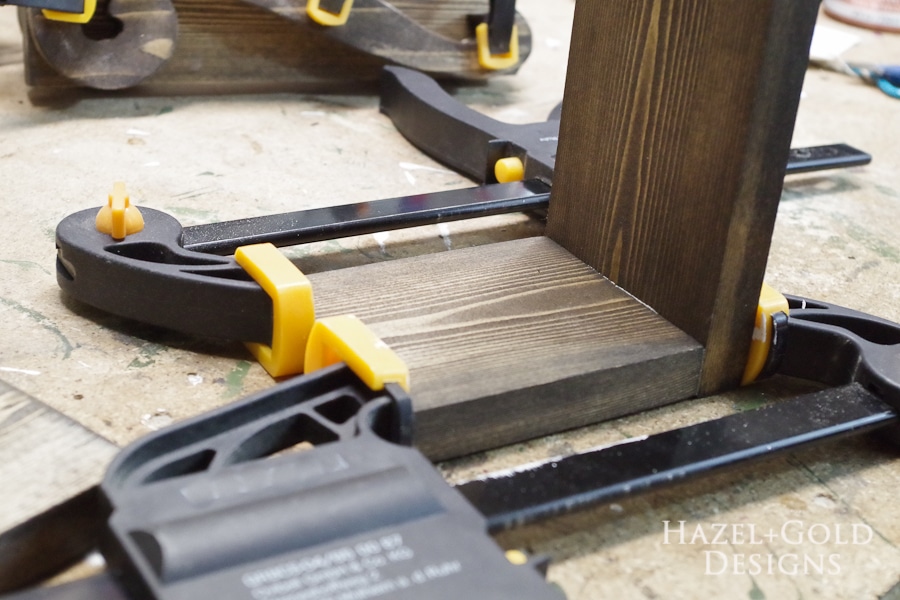
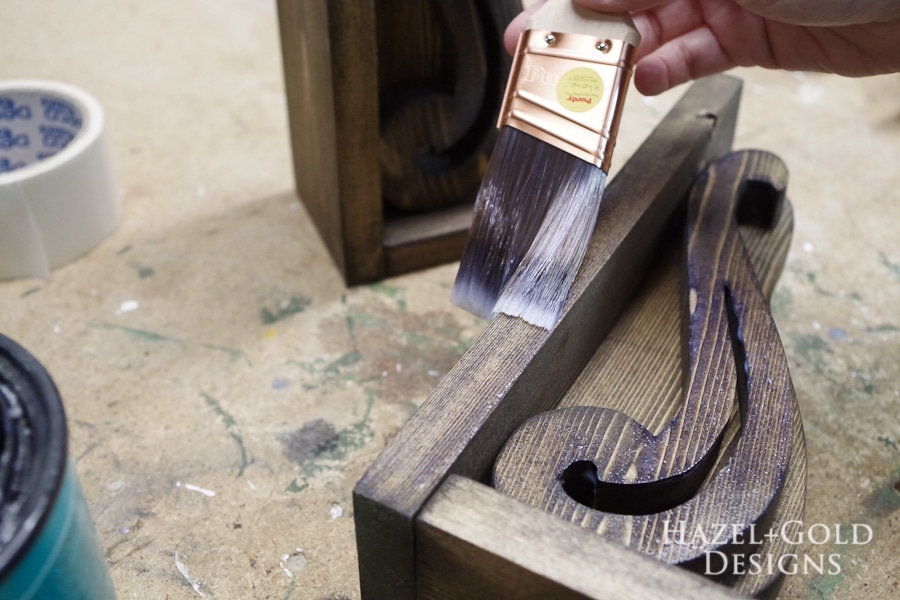
Now just use some polyurethane to add a little shine to the piece. I used two coats and sanded with 220-grit in between.
Finished!
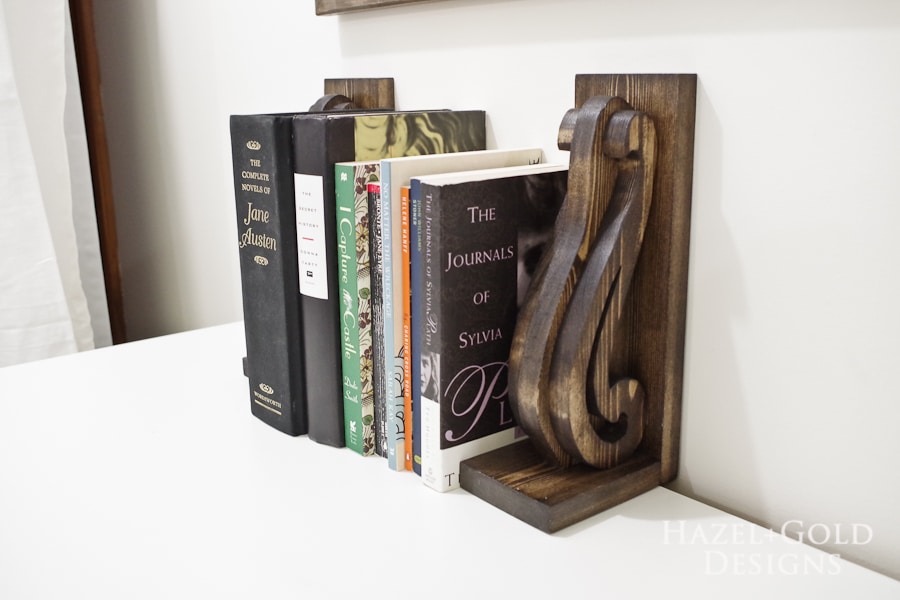
Now you have two gorgeous handmade DIY Decorative Wooden Bookends that didn’t cost much to make but will look beautiful on any shelf!

Depending on the layout of your shelf and where it lives in your room, you can even turn them sideways!
Please PIN or SHARE this project! Thank you!
–Sheri



Sheri, as always I love what you’ve creayed. I really need to Stocken up on some tools so I can start getting creative with wood.
Ooh!! Amazing!! Loved the photos in this post.
Allow the Glue to Dry: Leave the clamps in place until the wood glue has fully dried according to the manufacturer’s instructions. This typically takes several hours to overnight, depending on the type of glue used and environmental conditions.