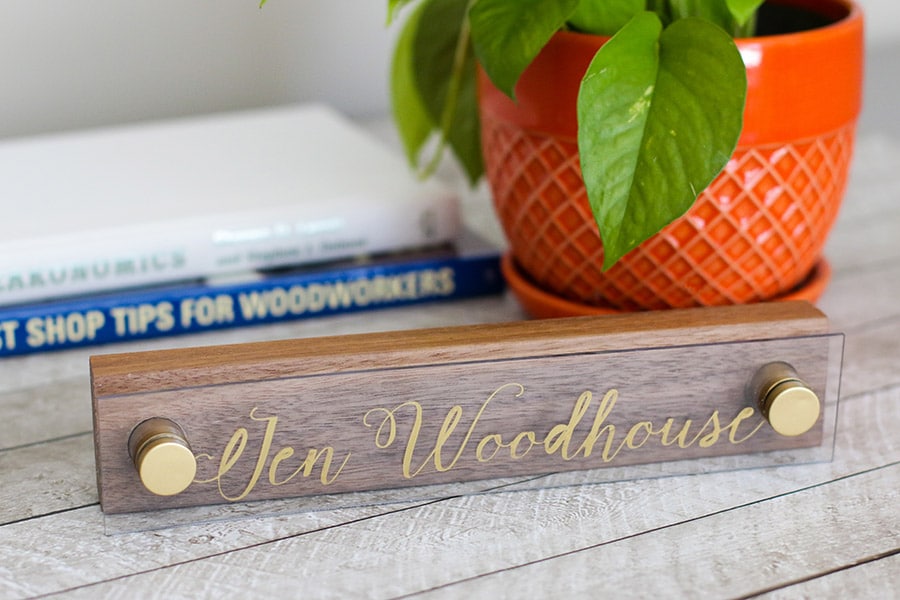
Hi friends! I’m excited to share my latest little DIY project with y’all today! I made this chic little desk name plate with some scrap black walnut, acrylic, and Sharpie paint pens.
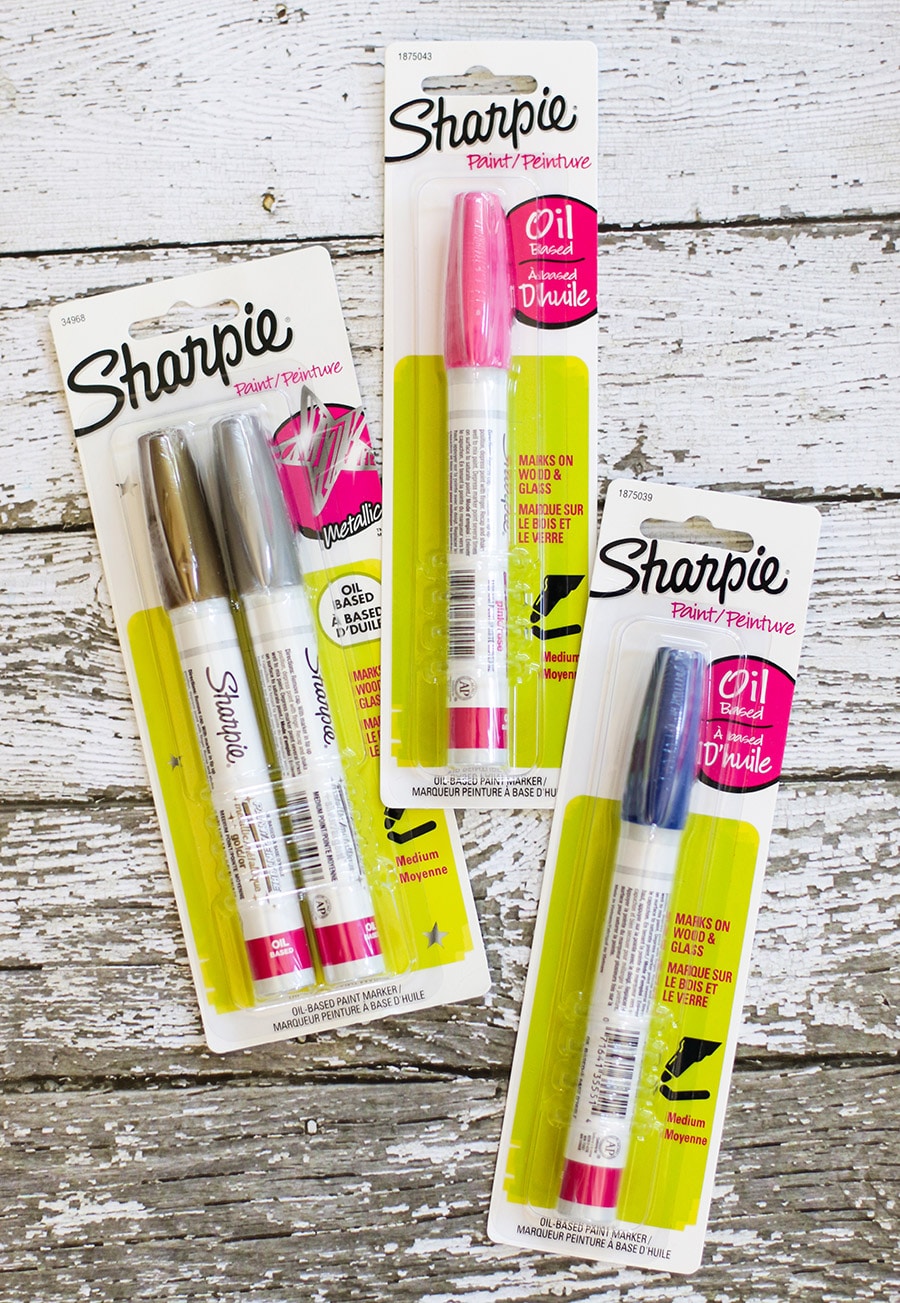
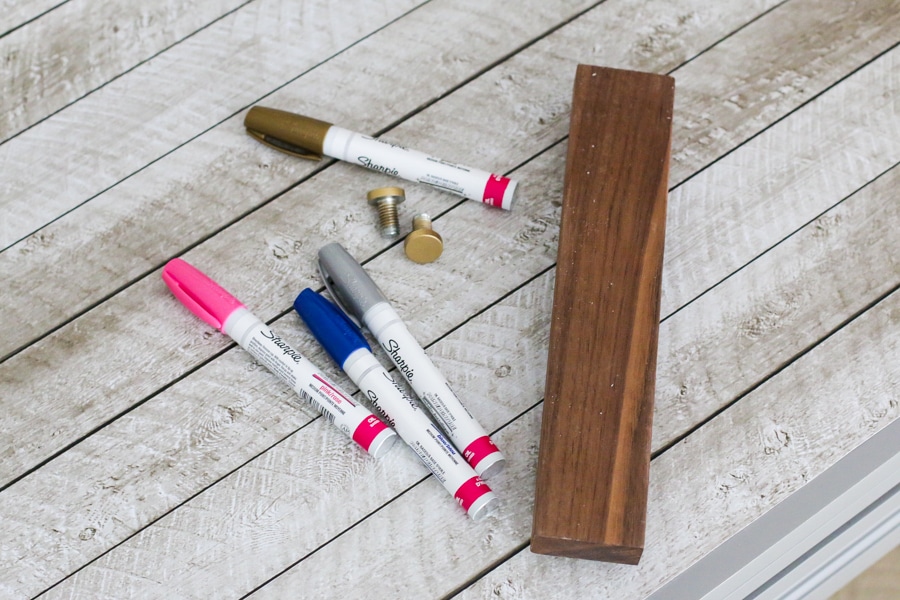
I picked up a few packs of these Sharpie oil-based paint pens from Michaels for this fun and chic little craft. Be sure to check your local newspaper and online for Michaels coupons while supplies last.
Are you ready to make yourself this stylish desk accessory? Let’s get started.
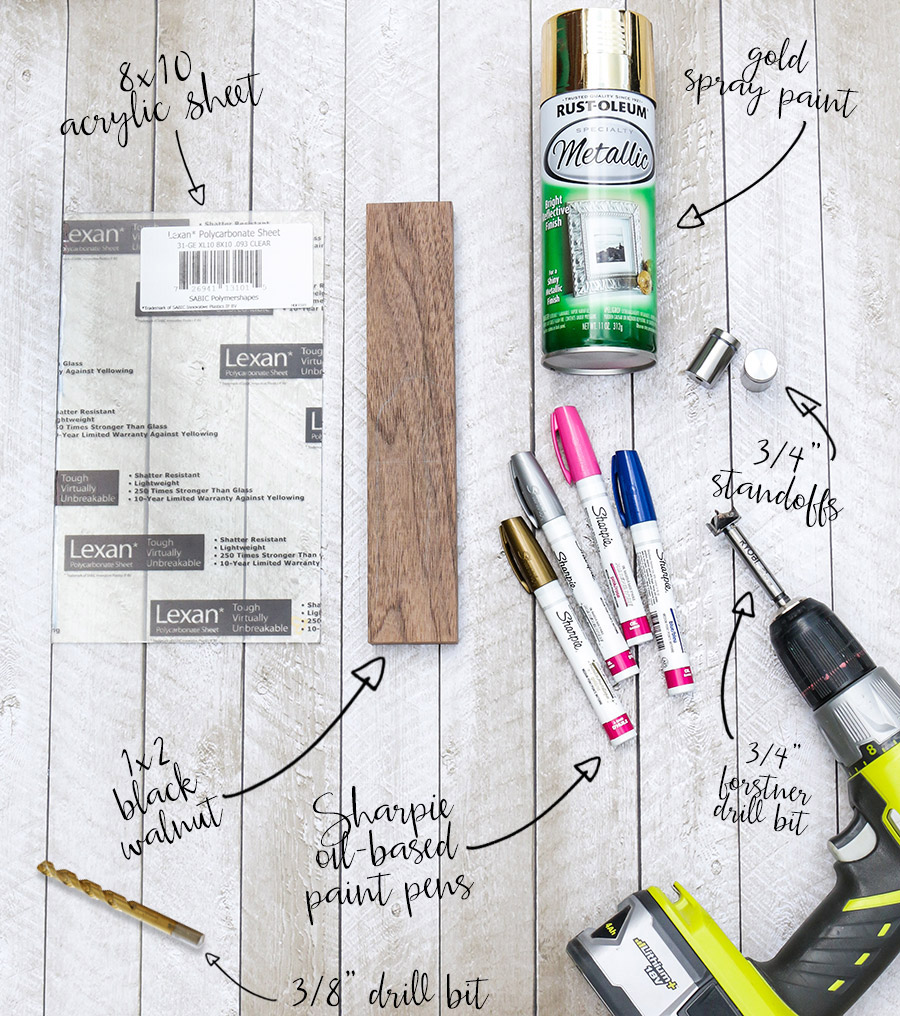
Here’s what you’re going to need:
- Sharpie oil-based paint pens
- 1 – 1×2 board (I had some black walnut scrap lying around)
- 1 – 8×10 acrylic sheet
- 2 – 3/4″ sign standoffs
- gold spray paint (optional)
- drill with a 3/4″ forstner bit and a 3/8″ drill bit
- not pictured: clamp, super glue, and plastic cutter
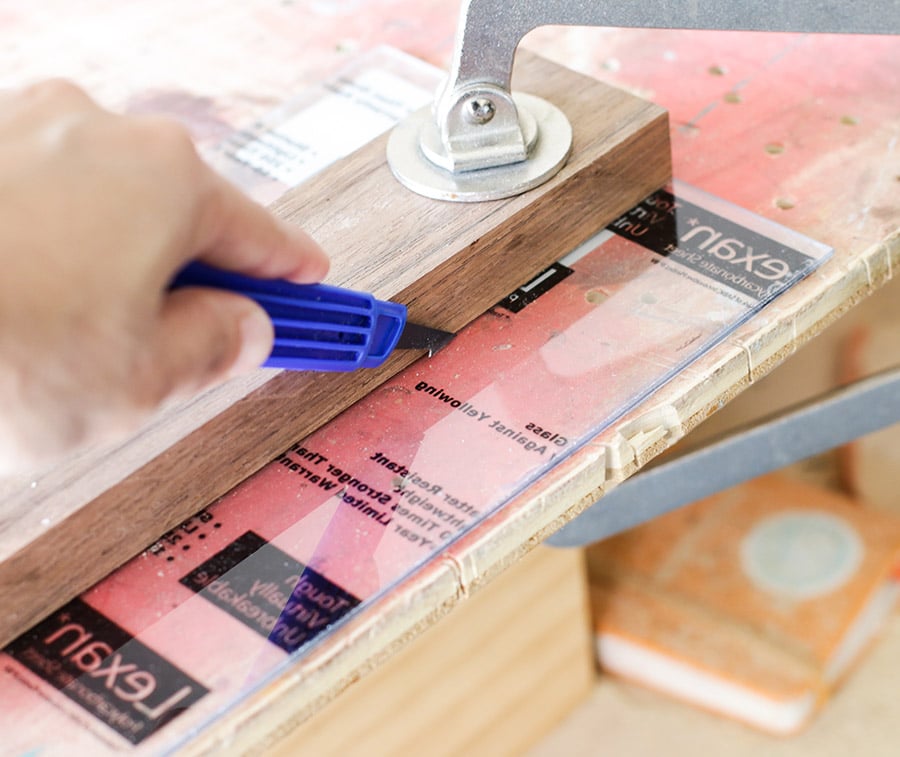
First, cut the acrylic sheet down to size. I chose to make the acrylic piece the same size as my 1×2 board. Clamp the acrylic sheet to the table and use a plastic cutter or box cutter to score the acrylic sheet. Remove the clamp and let the sheet overhang on the edge of the table and snap it. It should snap off cleanly. If not, you can use a sander to sand down any rough edges.
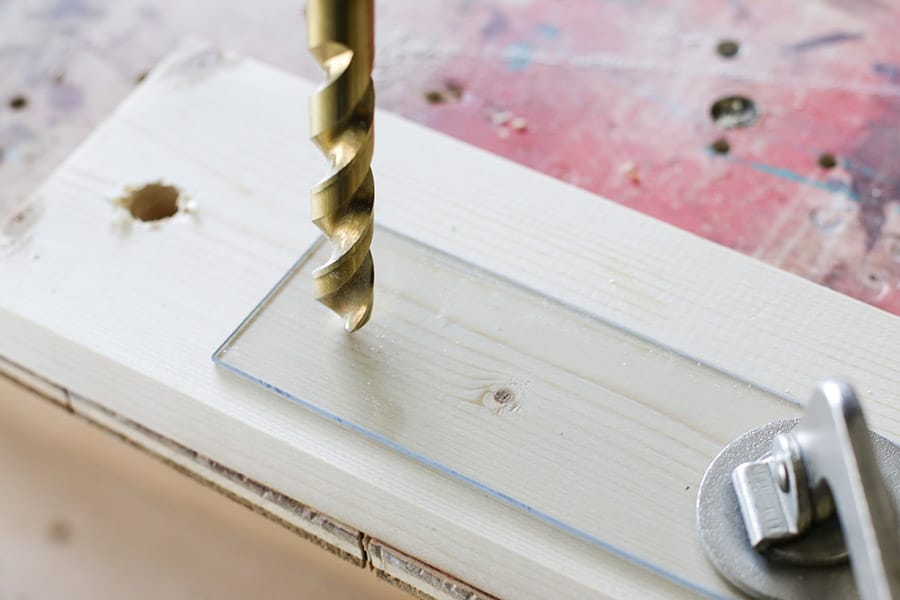
Next, determine where you want to drill the holes and use a 3/8″ drill bit to drill two holes on each side of the acrylic. Be sure to use a clamp to secure it, otherwise the acrylic sheet can get spun up into the drill bit.
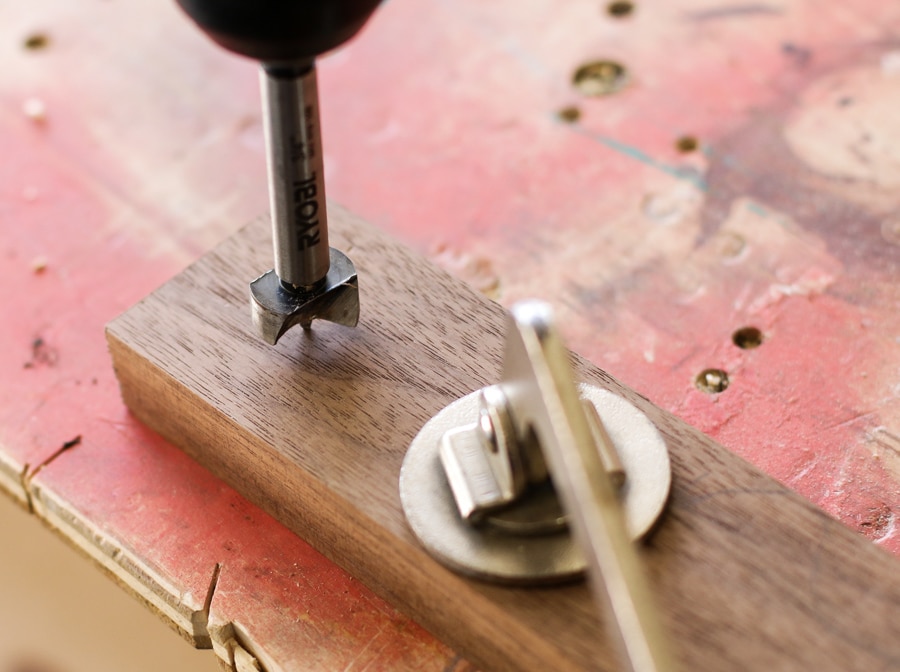
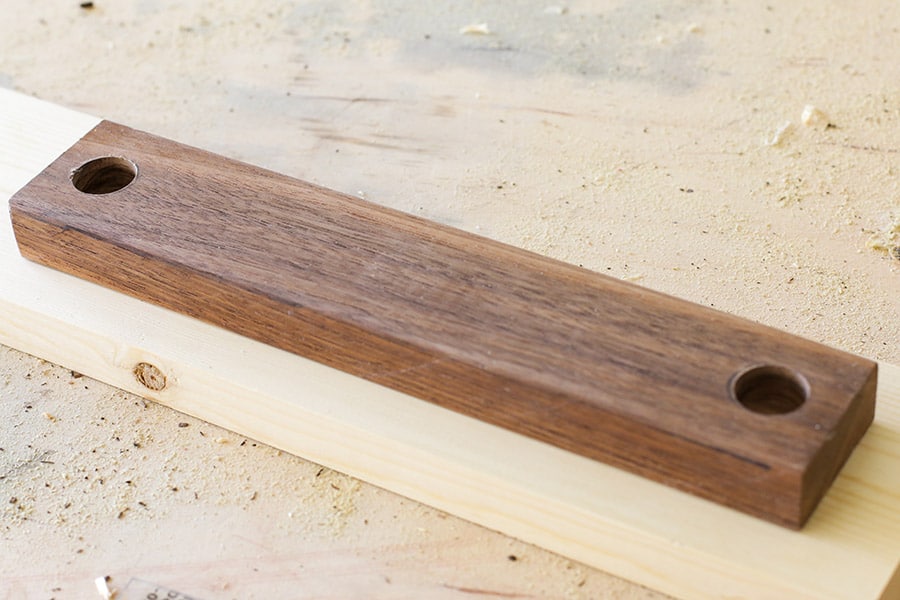
The standoffs were a bit too tall so I used a 3/4″ forstner bit to bore a hole into the wood for the standoffs to sit down in.

The standoffs were silver, so I spray-painted them gold. While they dried, it was time for the fun part: playing with Sharpie paint pens! They come in so many fun colors, but of course, I chose to go with the gold. #predictable
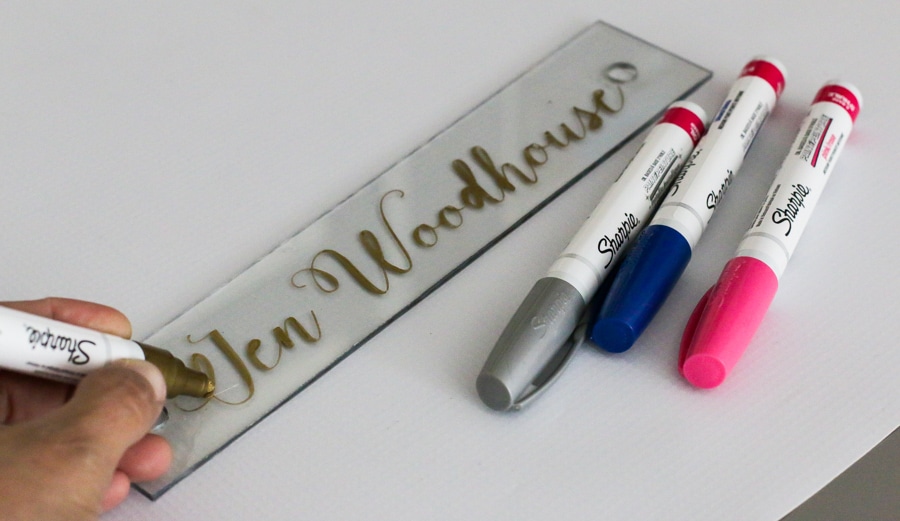
I’ll be the first to admit my hand-lettering skills could use some work, so I made a printout of my name in the “Caleigh” font and traced it onto the acrylic sheet with the gold paint pen. Because the paint pens are oil-based, the paint won’t wipe off. It goes on virtually any surface: metal, pottery, wood, rubber, glass, plastic, stone… you name it. I made a little mistake as I was scrawling out my name, so I wiped the acrylic with some mineral spirits and I was able to start brand new. I’m also a leftie, so I have to start from right to left so my palm doesn’t smear everything. #leftieprobs
 Finally, I dropped the standoffs into place, then added the acrylic sheet and screwed the caps on and voila! Chic personalized desk accessory! Super quick and easy, right? Thanks so much for stopping by and allowing me to share my DIY desk name plate!
*This post is part of a social shopper marketing insight campaign with Pollinate Media Group® and Sharpie Paint Marker, but all my opinions are my own. #pmedia #SharpiePaintCreate http://my-disclosur.es/OBsstV


I love this!! It will make such an awesome gift too!
Hi Jen,
I would like to use this project in my Father’s Day gift round up. I would obviously give you all the credit and link to you. Please let me know if it is ok to use. Thanks!
Thank you Anika! Yes, you may use 1 image and a link back to this post for your round-up. Thanks so much!
feeling silly… but i’m not seeing the link on the standoffs
Hi Jessie, sorry about that – I thought I had linked them. Here it is: http://amzn.to/1UBSqr2
Ok this is a seriously cool DIY name plate. You should sell those on Etsy, I’d buy it 🙂
Can you tell me where you got the acrylic and how thick it is?
Hi Jennifer,
I purchased the 8×10 acrylic sheet from Home Depot. It was .093 thick. Hope that helps!
Hi. I’m trying to do these now but how long were your wood pieces?? I cur mine 8 inches and it seems short. Then the standoff seem huge compared… so I think I need to cut longer piece of wood. Can you share all measurements please.