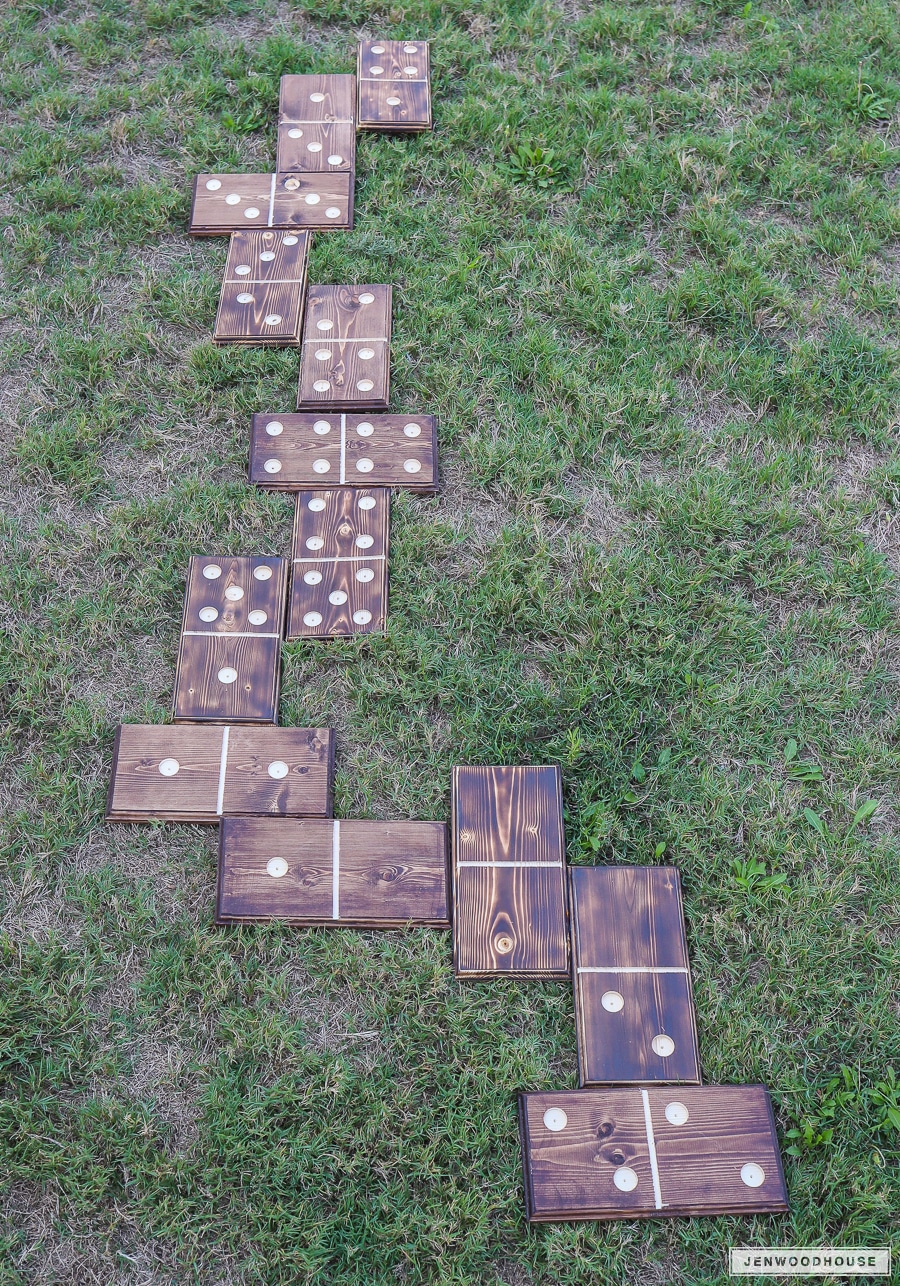
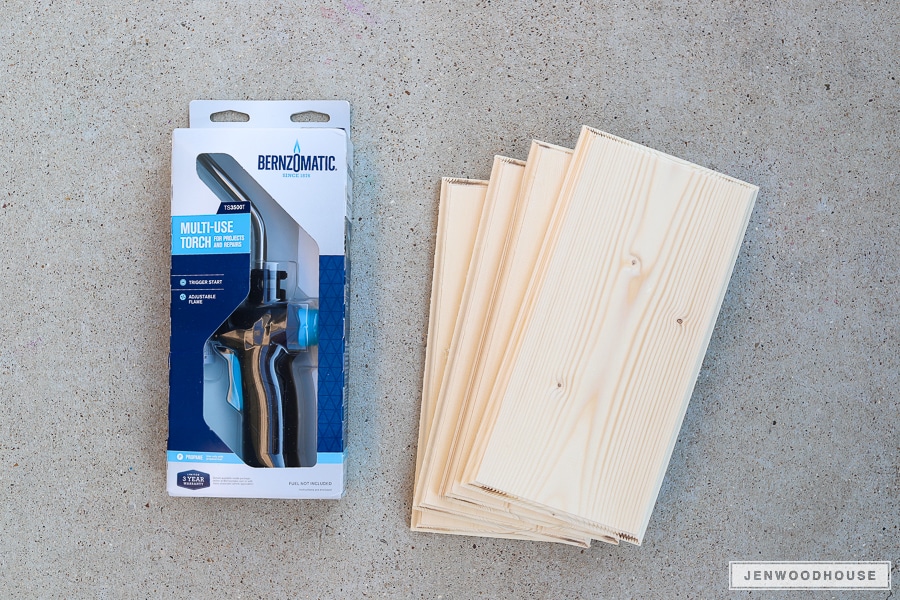
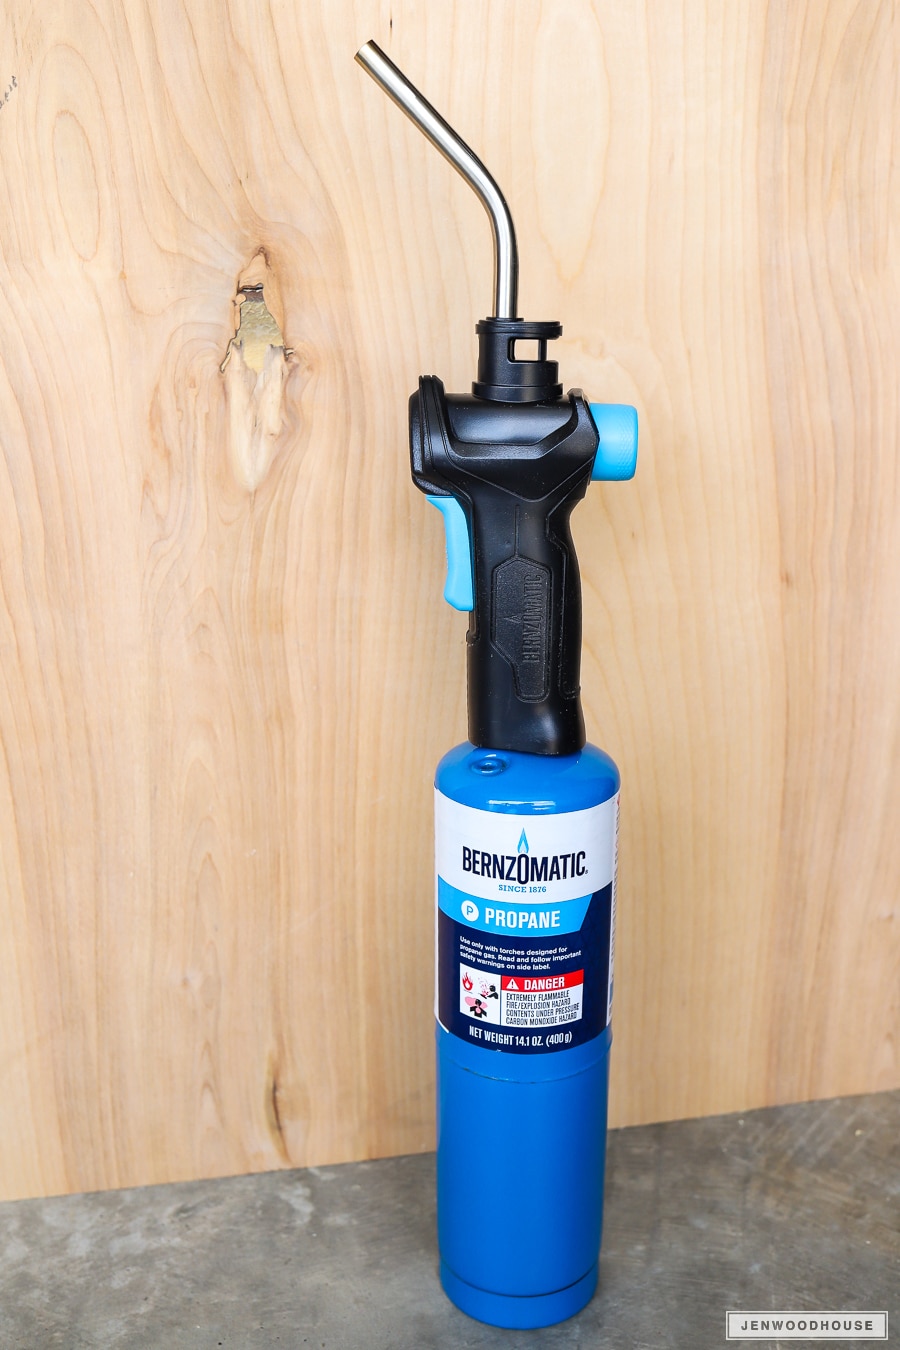
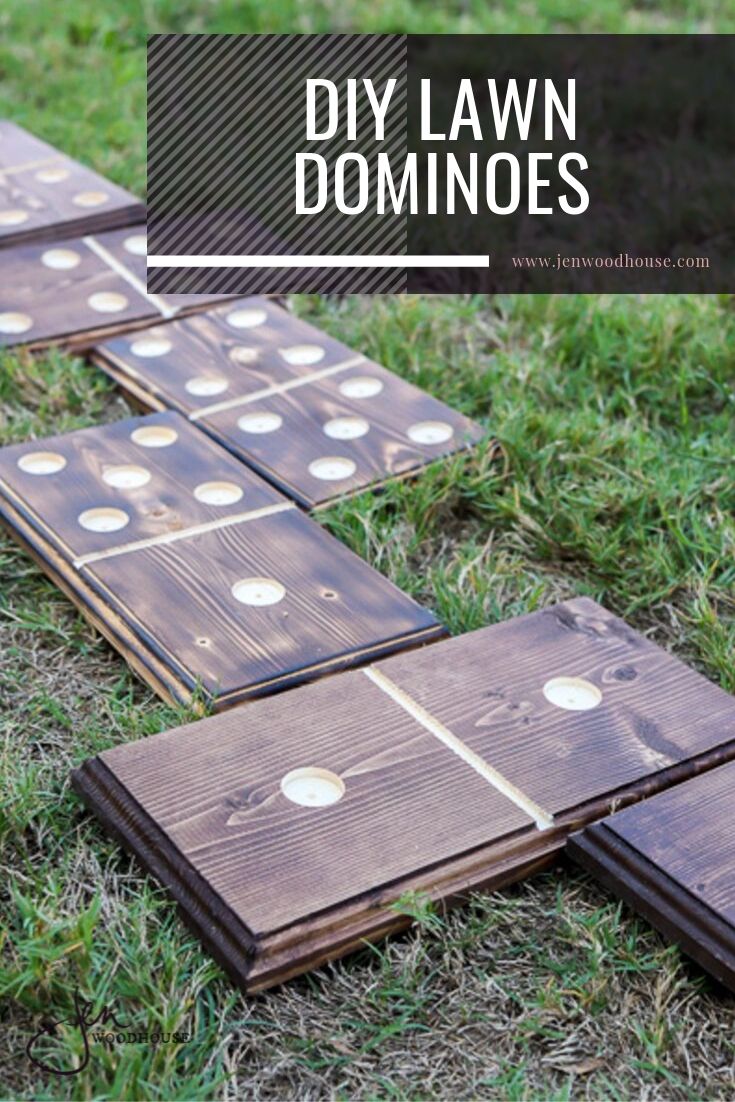
Happy Labor Day weekend! I’ve got another fun outdoor game for you – DIY Yard Dominoes! This time, I used a different finishing technique that required the use of a torch. Oh, yes. We’re going to fire up the Bernzomatic TS3500T Multi-Use Torch to burn some wood to bring out that beautiful wood grain.
If you recall, I am a Bernzomatic Torch Bearer, which means I’m sharing projects throughout the year using their torches. It’s definitely taken me out of my comfort zone, but I’ve loved not only learning a new skill, but working with a new medium. So far, we’ve made a metal candleholder sconce, copper spice rack, wood-burned Easter eggs, poolside towel rack, and metal iPad stand.
So are you ready to make some burnt wood yard dominoes with me? Let’s do this.
As always, I encourage you to read these general safety precautions and follow all safety warnings included with Bernzomatic fuel cylinders and hand torches.
Tools:
- Bernzomatic TS3500T Multi-Use Torch Kit
- RYOBI 18-Volt ONE+ Trim Router
- Circular Saw
- Drill Press (or drill) fitted with a 1-inch Forstner Bit
- Protective Gloves
- Safety Glasses
- Dust Mask
Materials:
Cut List:
- (28) 1 x 6 @ 11 inches
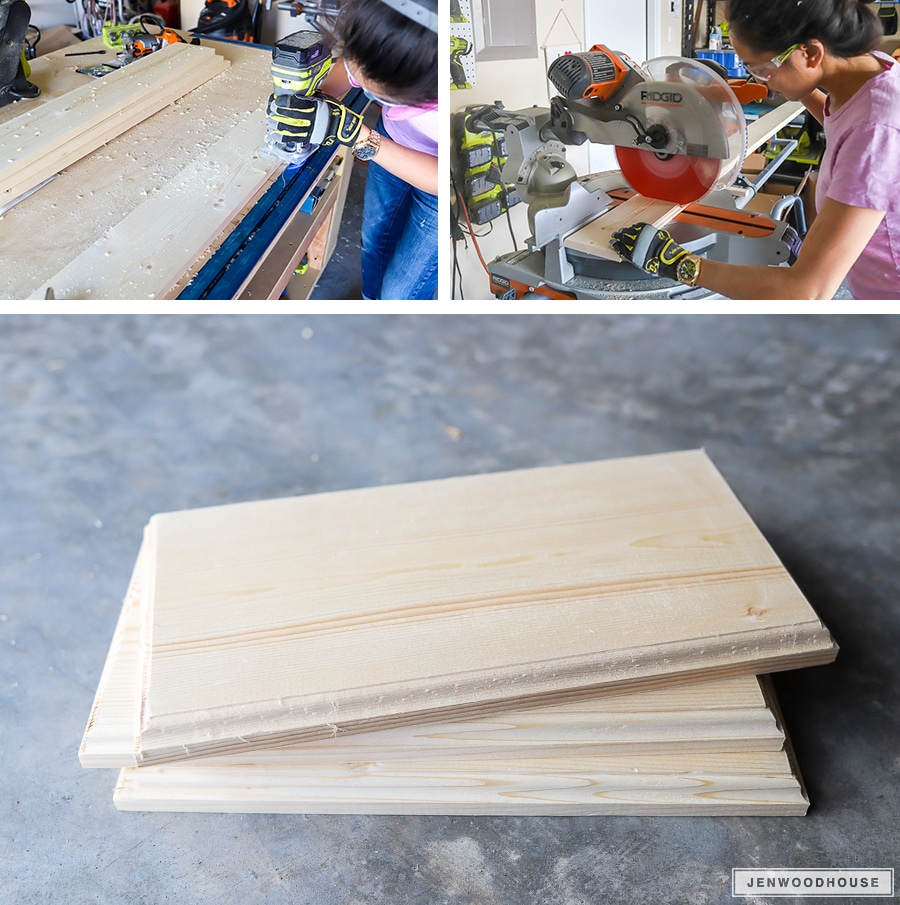
First, I wanted a decorative edge on my dominoes, so I used my cordless trim router fitted with an ogee bit to route the edges of my 1×6 boards. Then, I measured, marked, and cut the boards to 11 inches long. Dominoes are typically double the length of its width and since 1×6 boards usually measure 5 1/2-inches wide, I cut my dominoes to 11 inches long. After cutting all 28 pieces, I went back and routed the decorate edge on the cut edges of the dominoes.
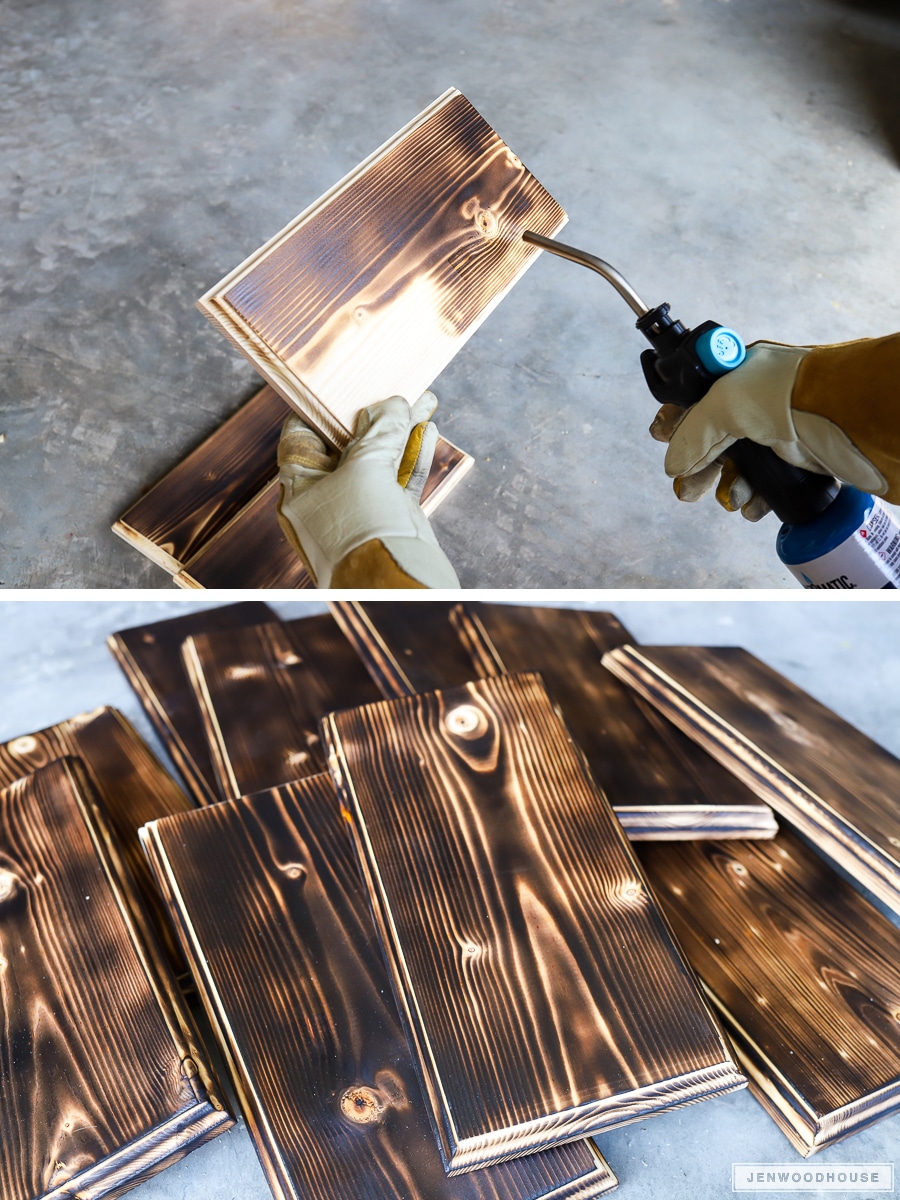
Now it’s time for the fun part… but before you light the torch, be sure to check the cylinders for leaks. Here’s a great video on how to do this, along with some helpful torch safety tips. We connected the nozzle directly to the propane gas cylinder.
All good? Okay, let’s fire it up.
Because it’s best to keep the torch upright while it’s on, we had to hold the boards up. Had we placed them on the floor, we would have had to tip the torch downward, which can increase the risk of flare-ups. Be sure to wear protective gloves and always be mindful of where that torch is pointed. We’re using welding gloves here. Simply use the torch to make a few slow and steady passes over the wood to bring out that gorgeous wood grain.
My garage smelled like a camp fire when we were done. So yummy. Win-win.
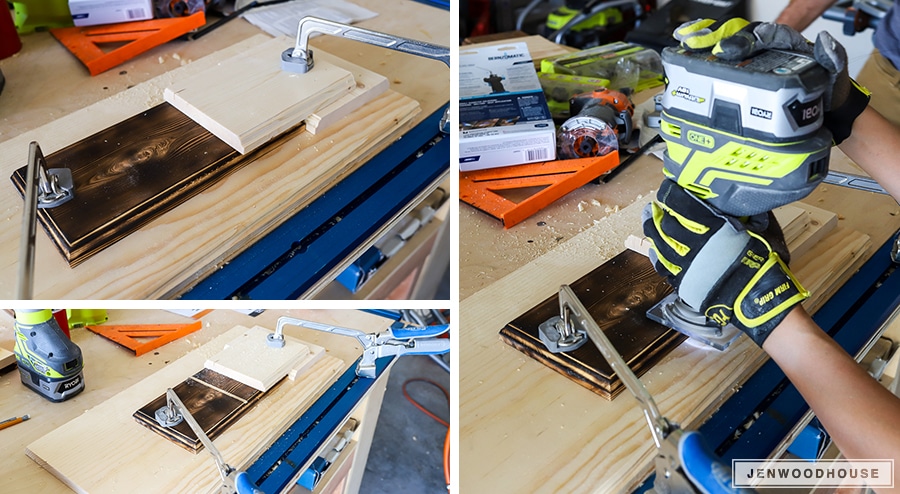
Next, I wanted to route a channel in the middle of each board to separate the pips on the game pieces. I used my router once again, but this time I built a little jig to make the repetitive cutting easier and more efficient.
I slid each domino into my homemade jig, then used the trim router to route a channel down the middle of the board. #worksmarter
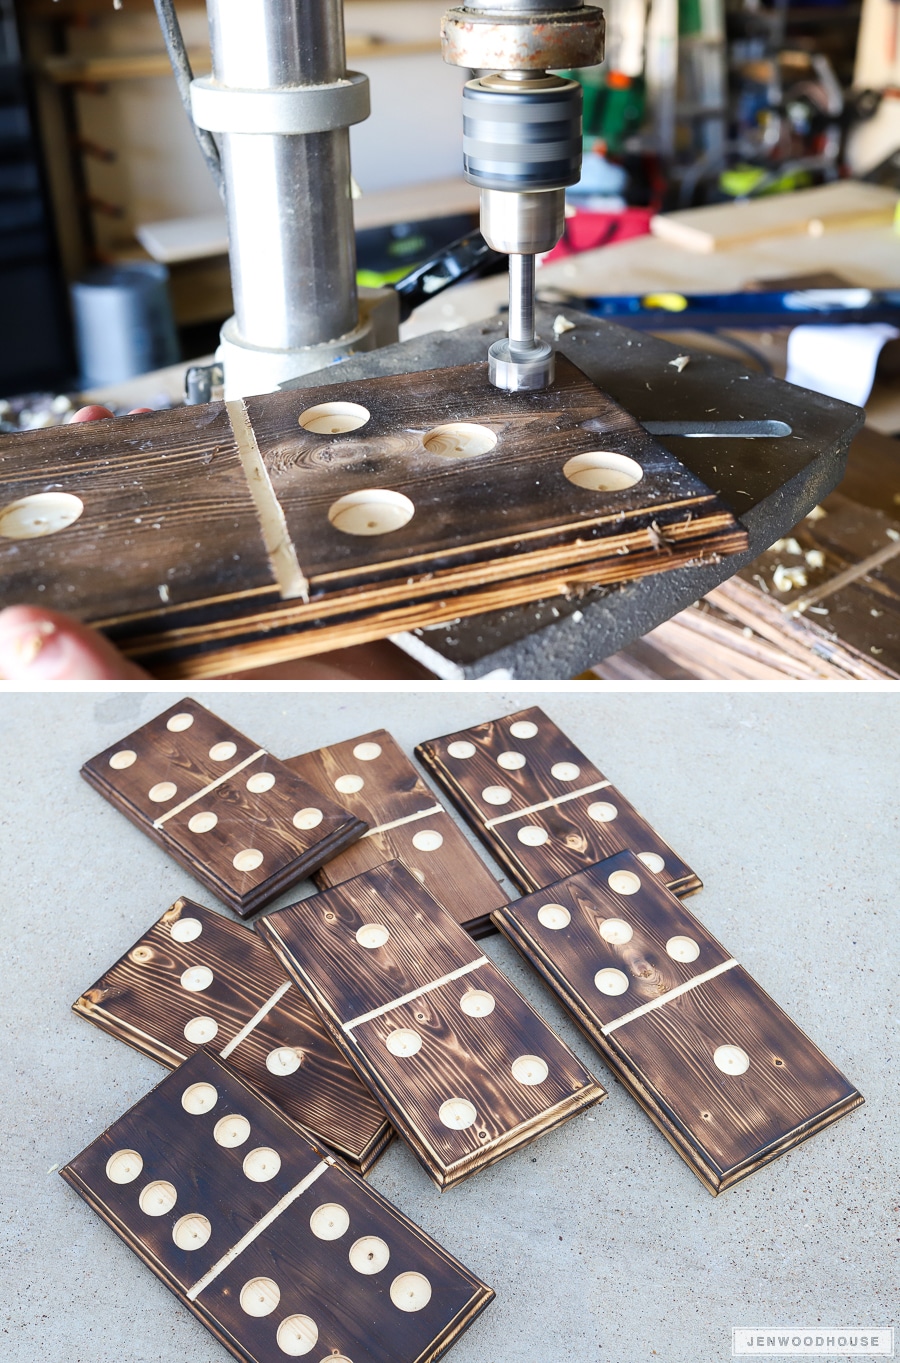
Okay, so now it’s time to drill the pips. I used a drill press fitted with a 1-inch forstner bit here, but you can also use a hand-held drill. Our pips measure 1 inch in diameter and are spaced approximately 1 1/2-inches apart.
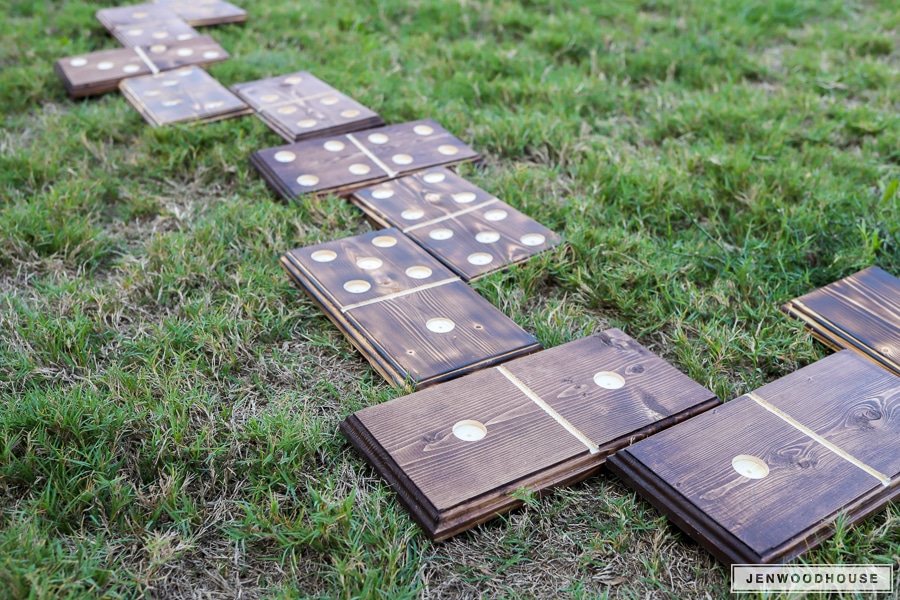
Super fun, right? Let’s play a game of lawn dominoes!
Thanks so much for stopping by – I hope you try to tackle this DIY Yard Dominoes project; it’s the perfect beginner project if you want to try your hand at ‘staining’ wood with a torch. Tag me or send me photos of your handiwork, I’d love to see them! Happy Labor Day weekend, friends!
Pin it for later!
*This post contains affiliate links and is sponsored by Bernzomatic. To read my full disclosure policy, please click here. I am a Bernzomatic Torch Bearer; all opinions and efforts are my own.


What is the configuration of the dots?