A tutorial on how to make a DIY Parallel Clamp Rack out of scrap wood
Q: How many clamps does a woodworker need?
A: Just one more.
There’s nothing more frustrating than being in the middle of a glue-up only to discover you need just one more clamp to finish the job. As my clamp collection steadily grows, I’m realizing that I need a dedicated place to store and organize all of them. A simple Google search renders a ton of clamp rack storage solutions, but I wanted quick, easy, and free. This DIY Parallel Clamp Rack fits the bill – I made it out of scraps (free!) in just a few hours (quick and easy!) and it holds 20-25 parallel bar clamps.
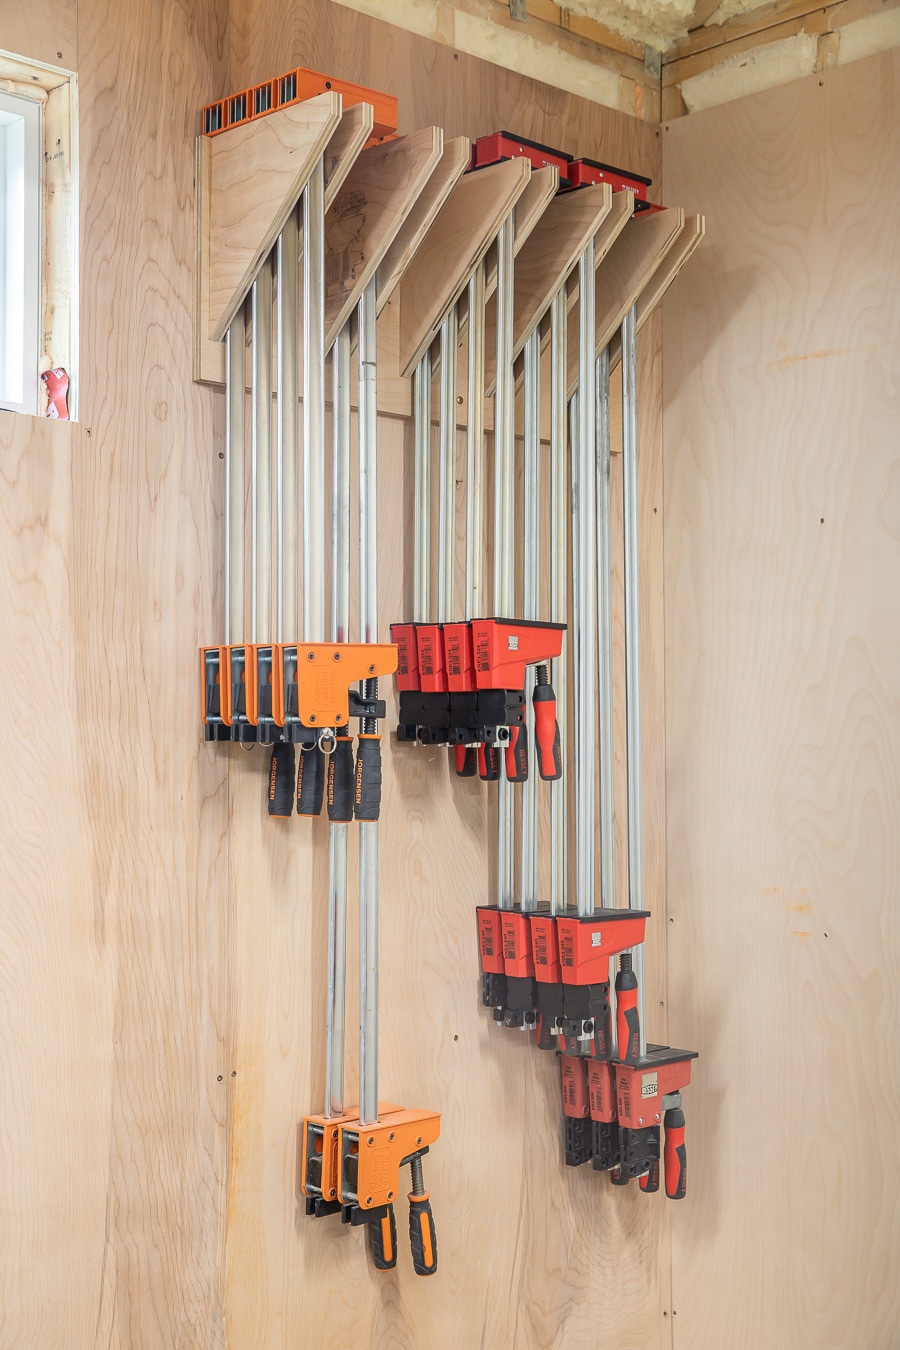
I recently moved into my #WoodhouseWorkshop and am on a workshop organization kick. I love having everything in its place, but for that to happen, you first need to designate a place for everything. These parallel bar clamps are my favorites to use for tabletop and cutting board glue-ups but they’re heavy and cumbersome. I needed a rack that could not only withstand the weight, but would give me easy access to them (that’s what she said). I based this clamp rack design on this Woodcraft one. You can download the original design here. My friends Johnny Brooke and Jay Bates both have built similar clamp racks, which I found super useful to reference as I was building my own.
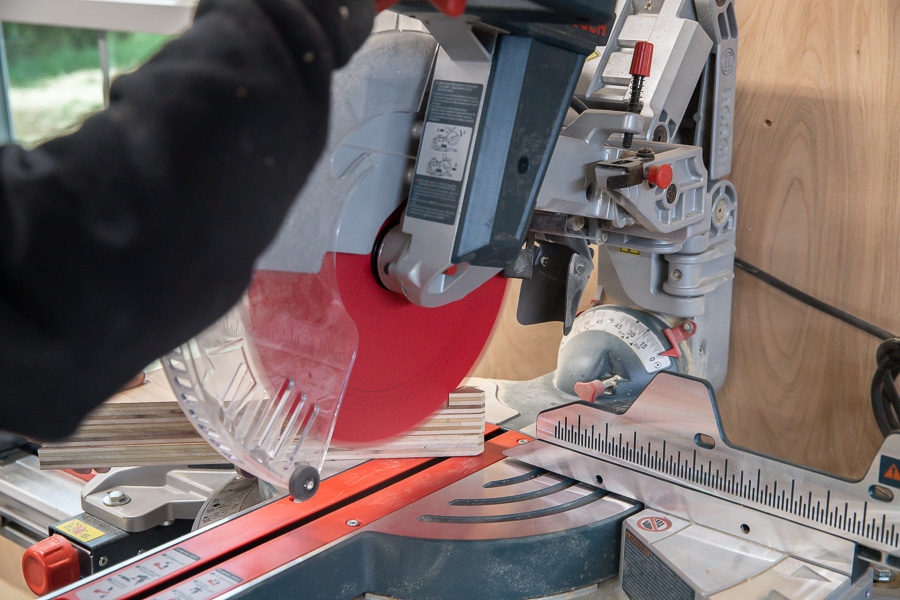
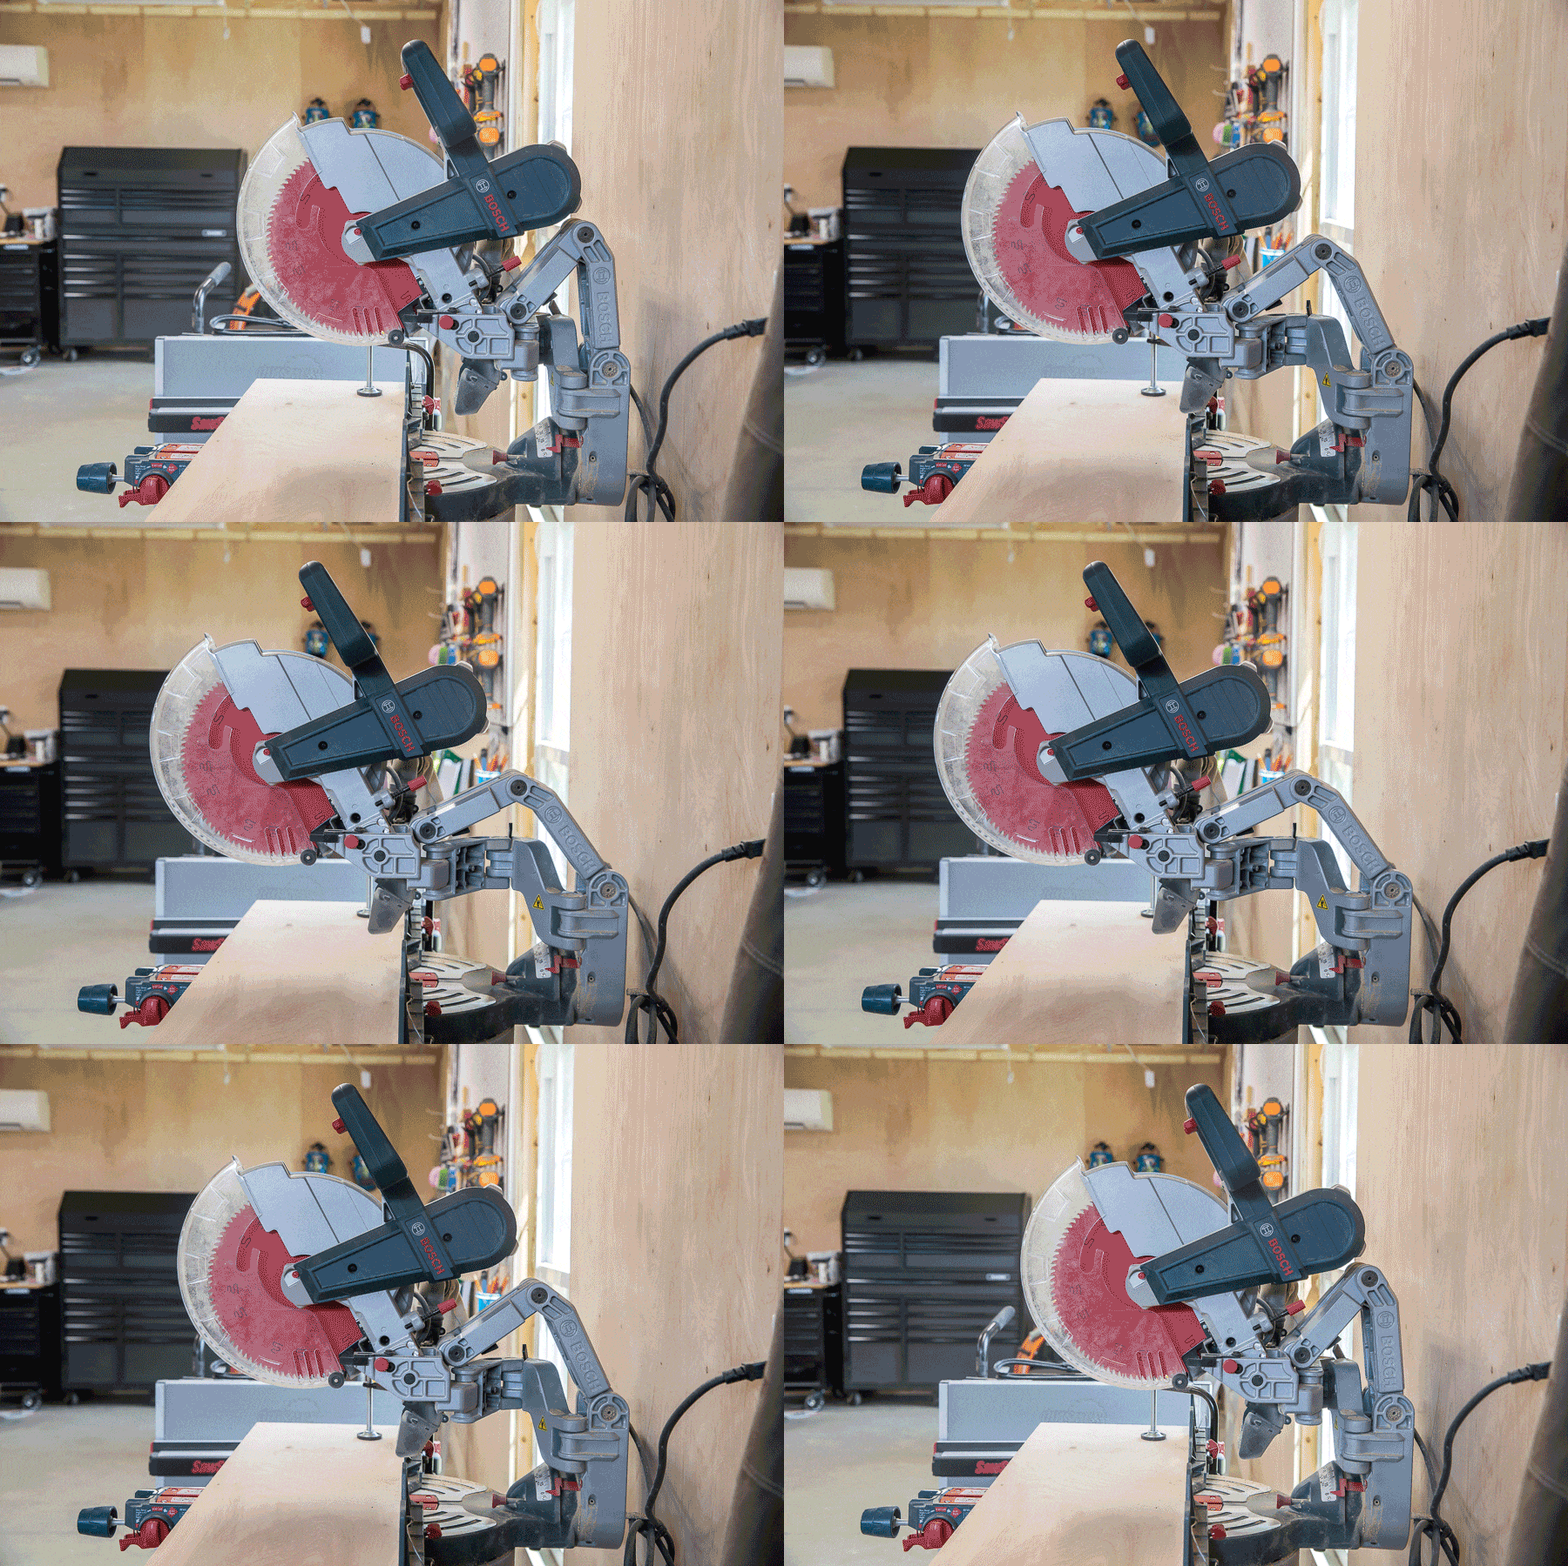
I used my brand new miter saw to cut the triangular pieces. Let’s take a hot second to ‘ooh and ahh’ over this Bosch miter saw. It’s a new addition to the shop and I am LOVING IT SO MUCH. It has an articulating arm, so you can scootch the saw tighter to the wall, so it takes up less space in the workshop. The handling is super smooth and the cuts are precise. The cutting capacity is also expanded – it can crosscut up to 14-inch wide material and up to 4 inches thick! This is seriously the nicest miter saw I’ve owned yet!
People often ask me what tools to buy when you’re first getting into woodworking and I always say to invest in a great table saw and miter saw. Buy the best you can afford because these tools will be your workhorses. So if you’re in the market for an awesome miter saw and are able/willing to invest in one, this is the one I’d recommend. Hands down. I have the gravity stand that goes with it, but it’s certainly not necessary. In fact, you can build a DIY miter saw station like Amy’s or Bob’s.
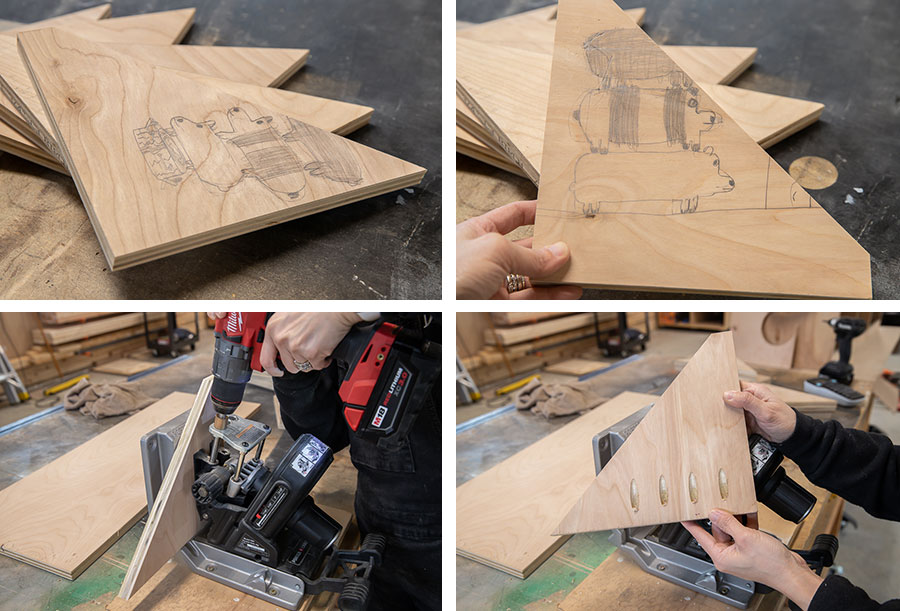
Check out these mysterious cave drawings on these scrap wood pieces! #momlife
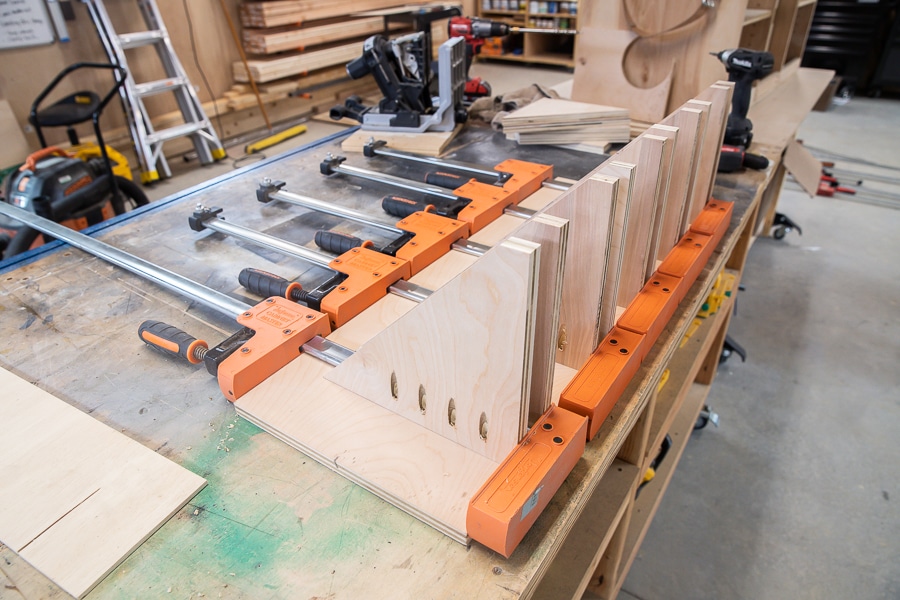
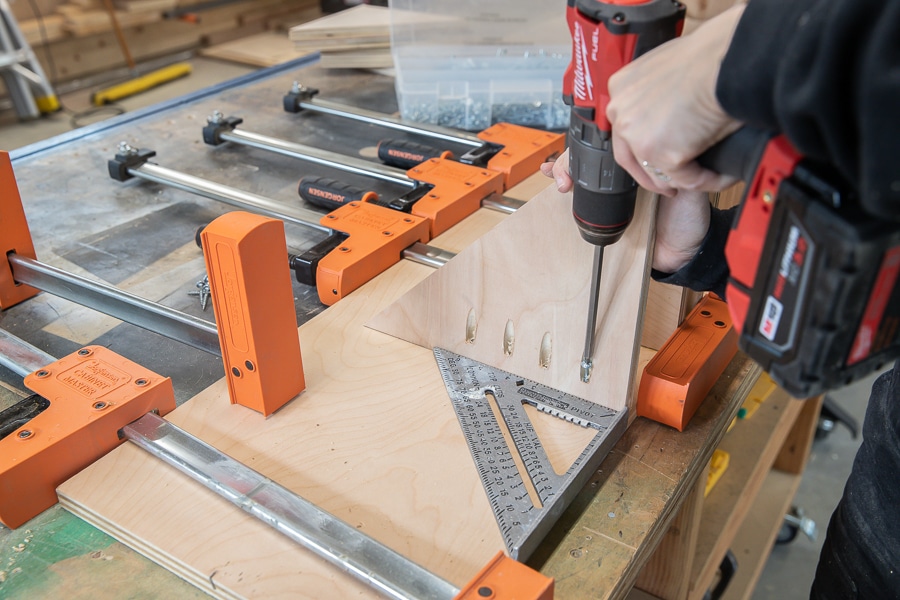
Next, I drilled pocket holes into the ends of the wedges and dry-fitted everything.
Another piece of 3/4-inch scrap plywood was used as the backer board. I simply laid out my clamps and eyeballed the spacing. Then I marked where each wedge needed to be attached and screwed them in place with pocket screws. I also used wood glue, just as added security.
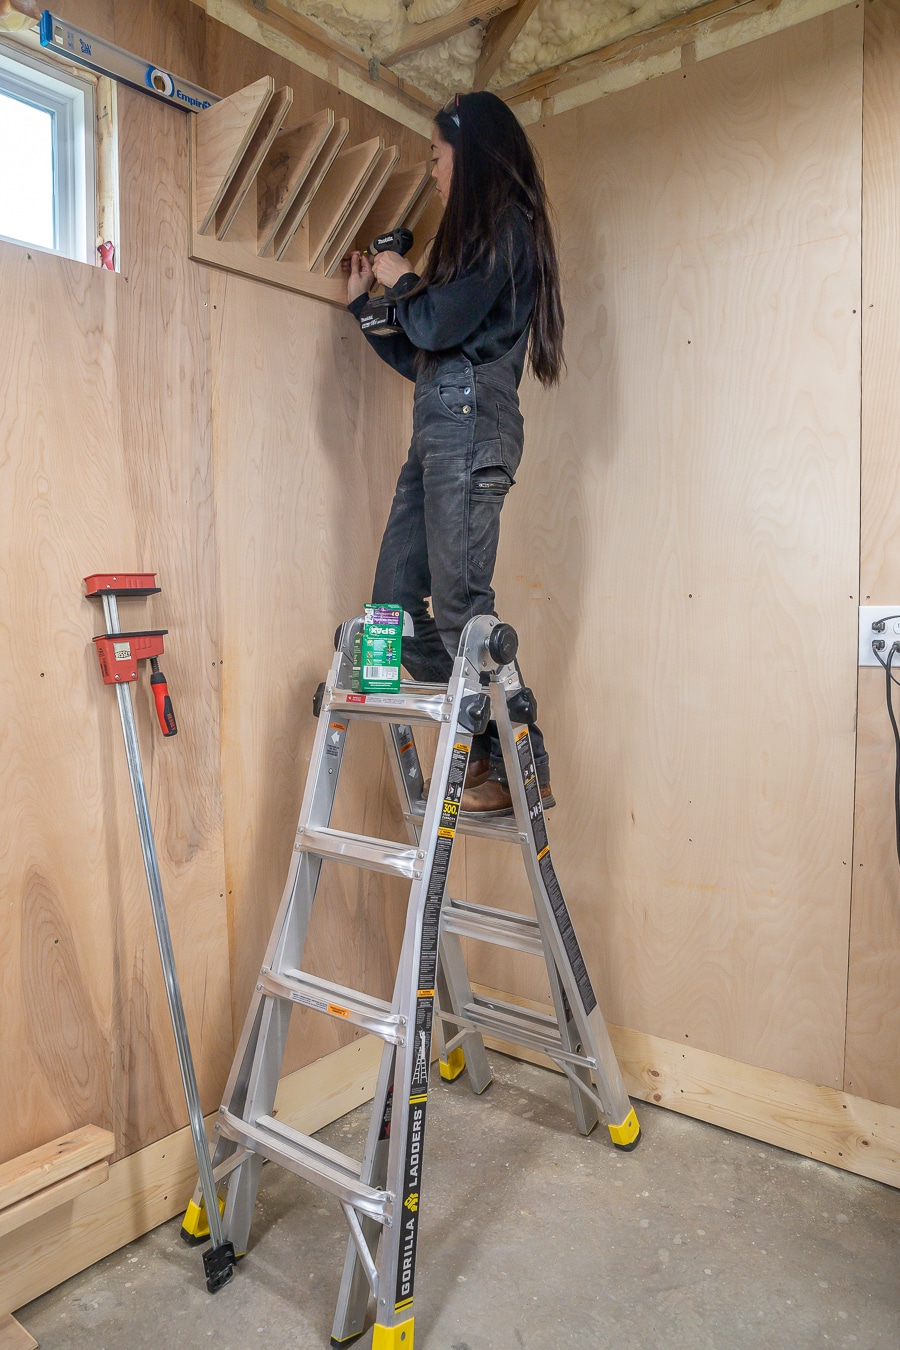
Finally, I located a stud in the wall and hung my DIY clamp rack up. Please excuse the offensive length of my hair – it’s what I like to call “quarantine chic.”
Now comes the fun part: loading it up! I love seeing all of my parallel bar clamps lined up neatly like this. The clamps are up and out of the way, organized, and easily accessible whenever I need them. Don’t you just love DIY projects that are fast, free, and easy?
Next on the To Do list: build another clamp rack for my F-style, spring, pipe, and C-clamps. What can I say? I LOVE CLAMP! (#namethatmovie)

Want to see more workshop projects? Check out my Simple Workbench, Workbench with Shelves, and Workbench with Drawers.
*I acknowledge that The Home Depot is partnering with me to participate in the ProSpective 2019 Campaign. As a part of the Program, I am receiving compensation in the form of products and services, for the purpose of promoting The Home Depot. All expressed opinions and experiences are my own words. My post complies with the Word Of Mouth Marketing Association (WOMMA) Ethics Code and applicable Federal Trade Commission guidelines. This post contains affiliate links. To read my full disclosure policy, please click here.




Why don’t you tell us any sizing details? Is there a purchase one has to make to get details?
Hi Mike, there’s a link to the plans in the post. Hope that helps!
I paid for it and it is telling me I have to pay to download, I did! Now what?
Hi John,
This plan is sold by Woodcraft. You will need to contact them regarding your purchase. Thanks!