*This post is sponsored by The Home Depot.
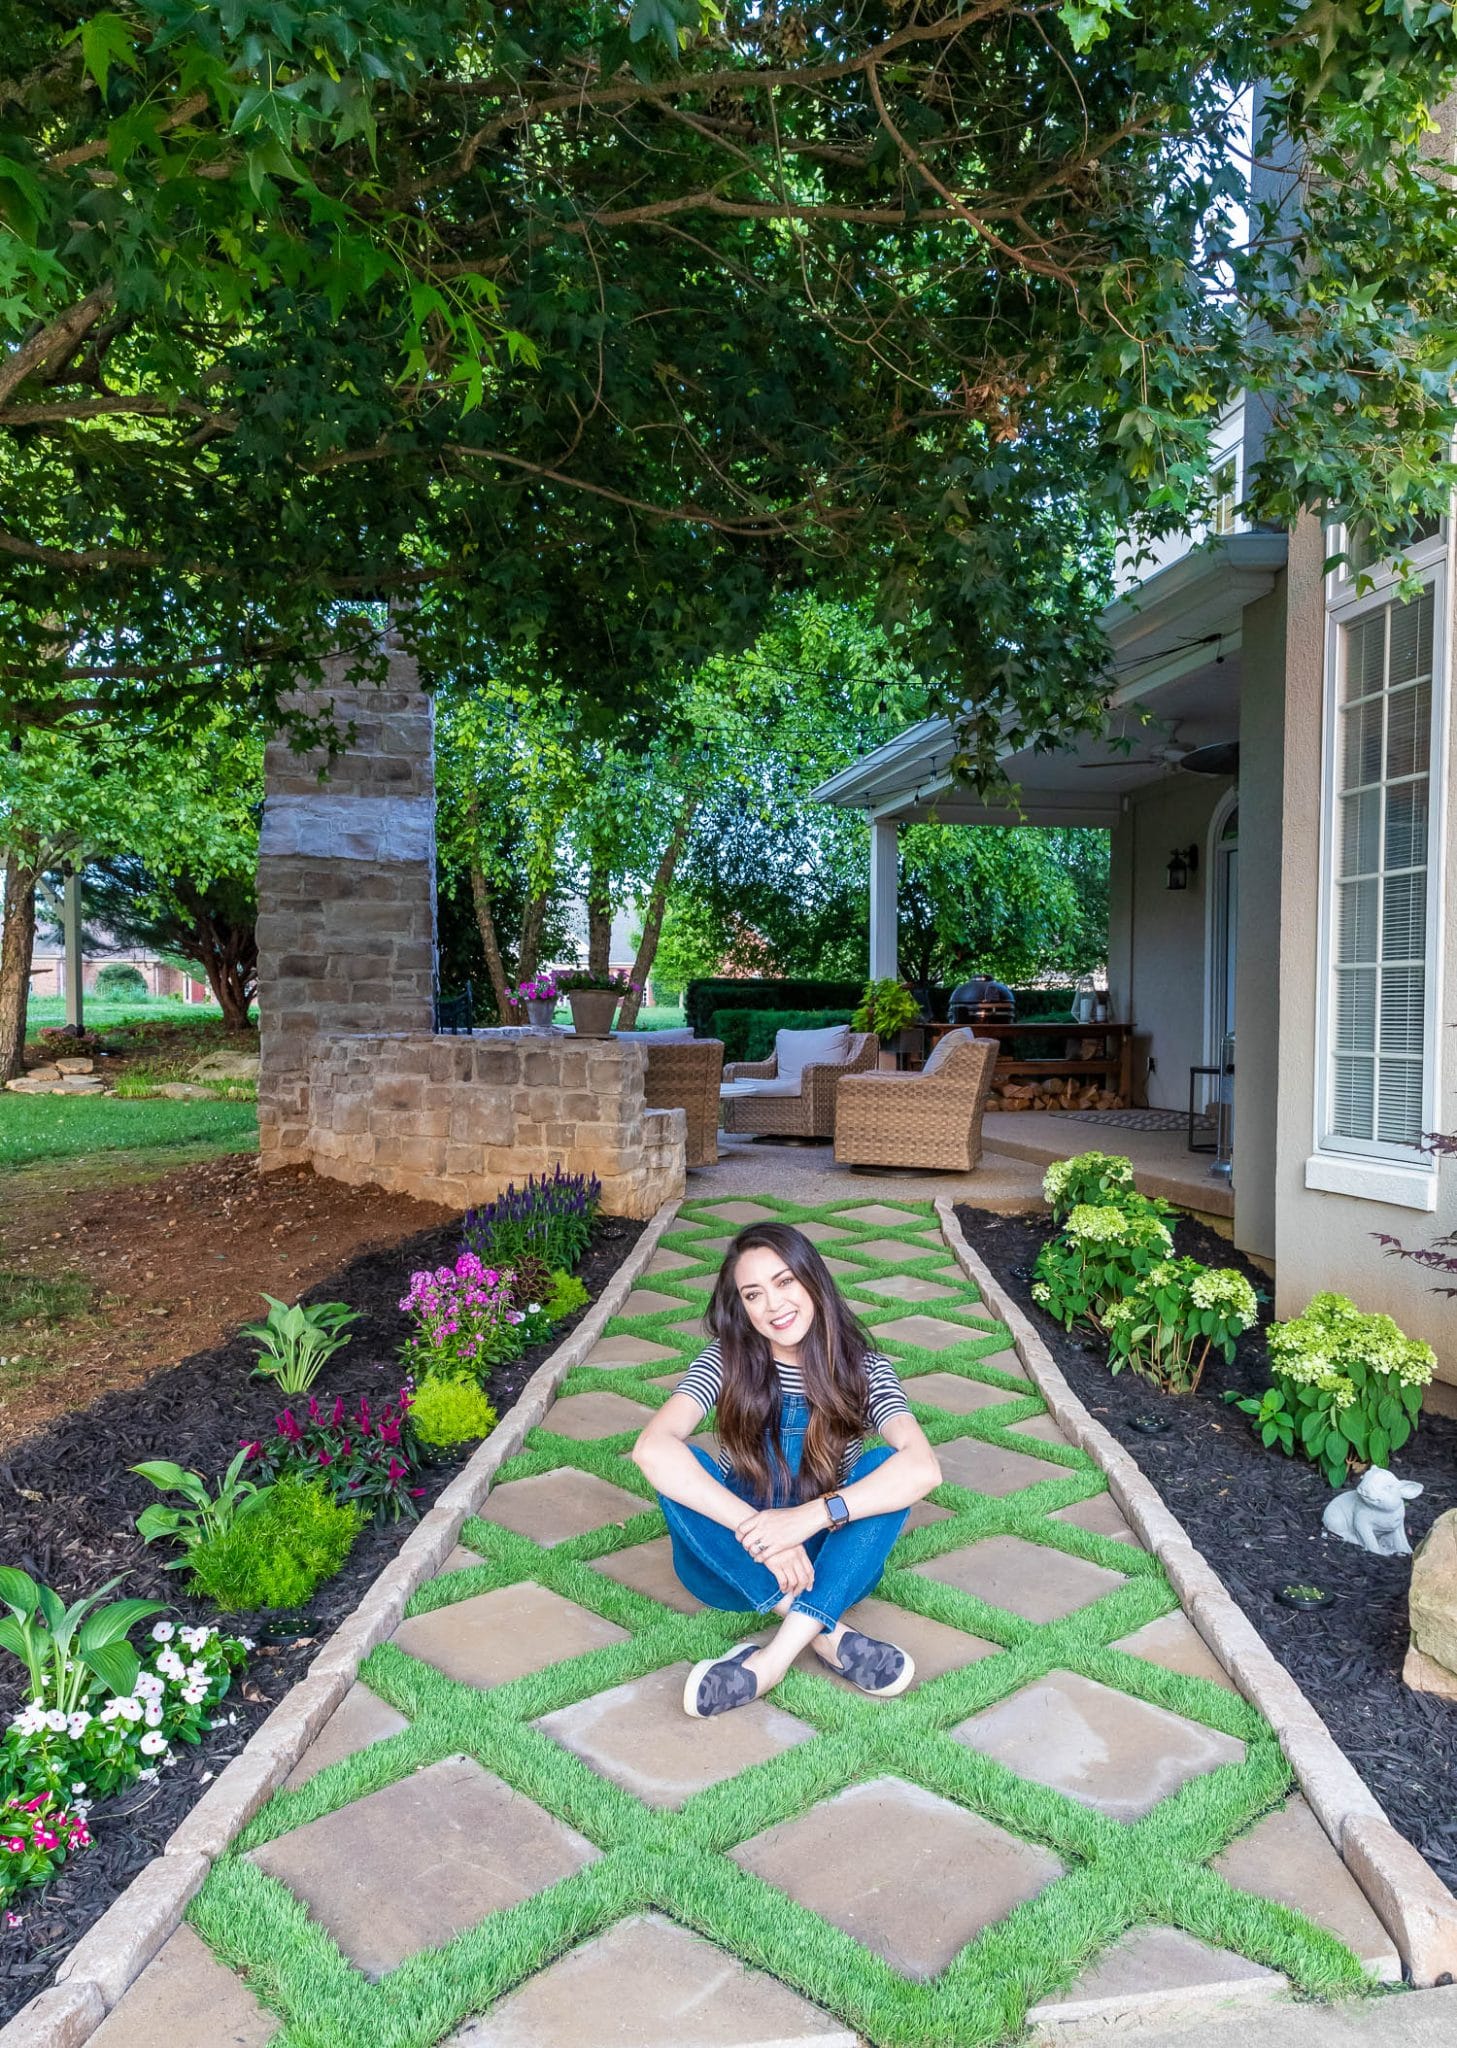
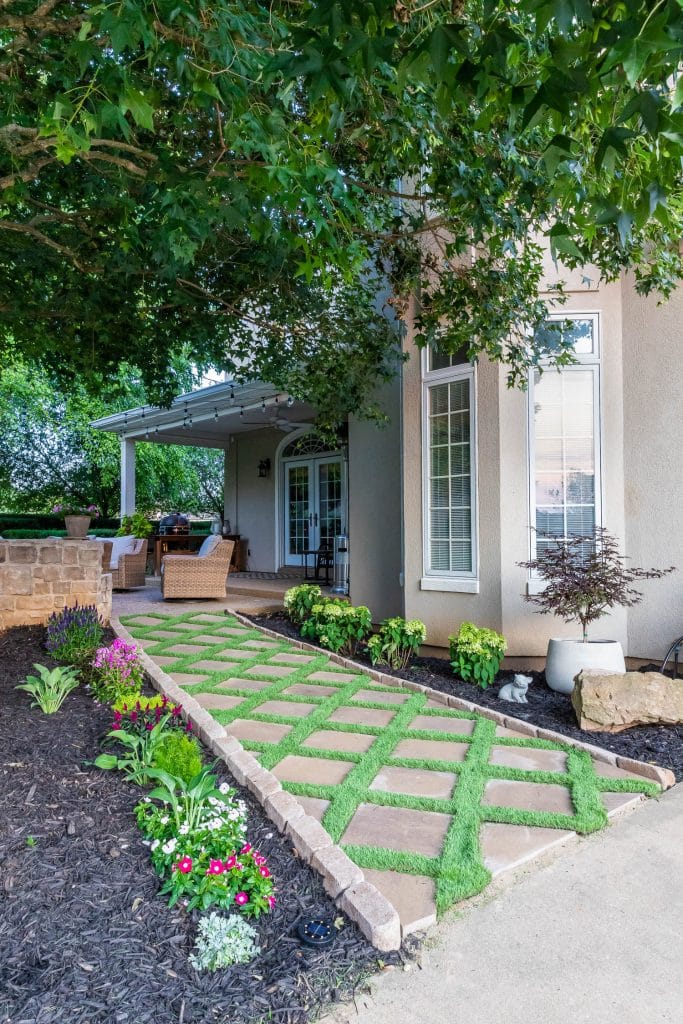
Hello and happy Summer! I’m pretty stinkin’ excited about today’s DIY project. Check out our beautiful new DIY Paver Walkway!
Watch the Video!
I wasn’t able to find much information online on how to achieve this “paver stones with grass in between” look, so I pretty much had to figure things out as I went along. Happy to share what we did so you can do it too! This paver walkway is about 4 1/2 feet wide by 20 feet long and this project took about 3 days and just under $1,000 in supplies and tool rental to complete.
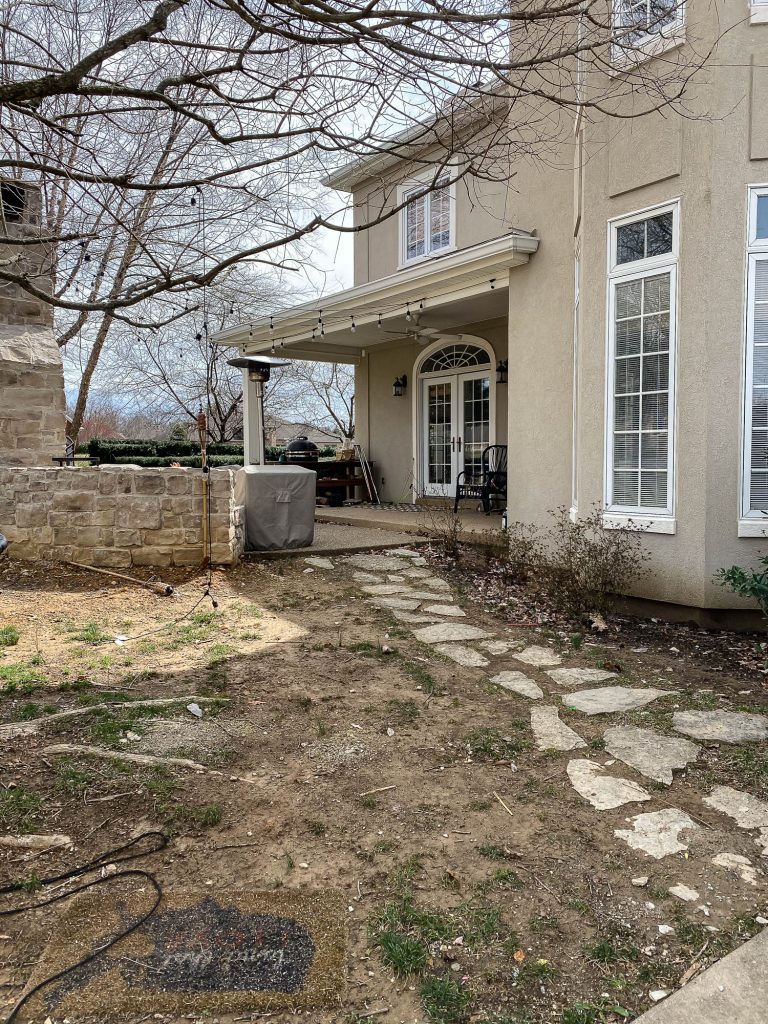
Before
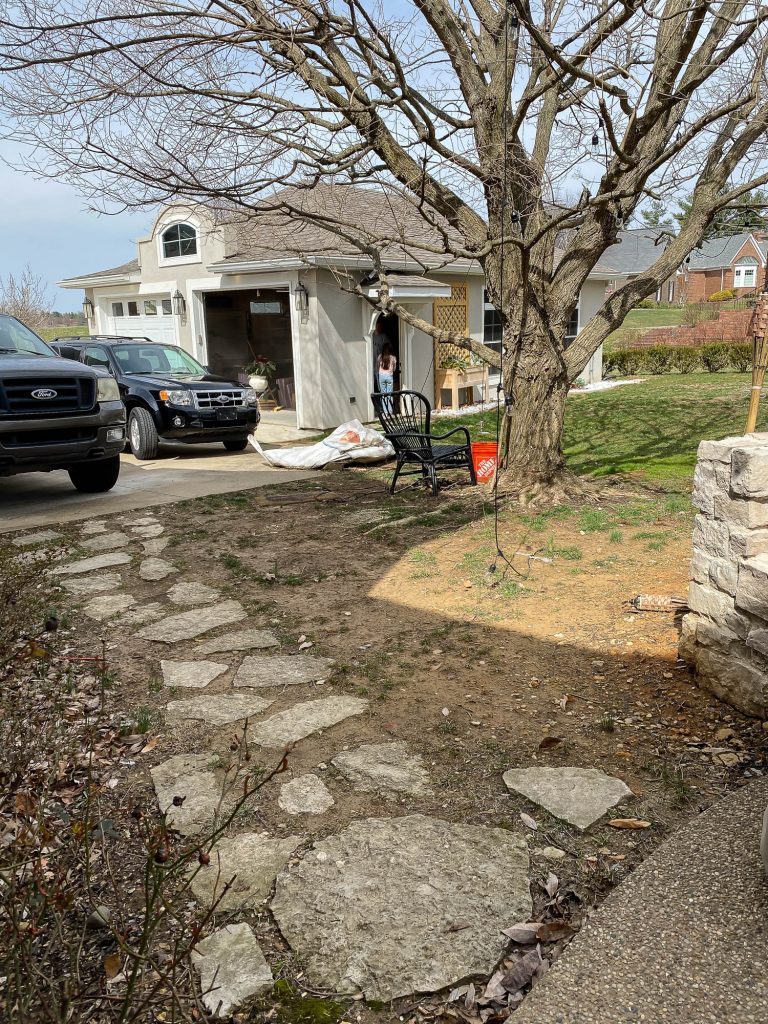
This is what the space looked like before we installed the paver path. It was a hot mess – we moved in and pretty much just neglected the area for close to 2 years. There was a lot of dirt, some sad patches of grass and weeds, a few trash bushes (that’s literally what they call them around here: “trash bushes”), and a haphazard flagstone path. The flagstones were really beautiful, but they were very awkward to walk on and were causing some flooding issues whenever it rained. We really needed to spruce up this area, especially after building our gorgeous outdoor fireplace.
Before Before
How To Lay A Paver Walkway with Grass In Between
Tools and Materials:
- Shovel, rake, and mattock
- Tiller (optional)
- Manual tamper
- Chalk reel
- 14-inch Plate compactor
- 16 inch x 16 inch Paver step stone (Pecan)
- Paver base
- Paver sand
- Landscape edging and anchoring spikes
- Landscape staples
- Artificial grass
- 2×4 scrap wood
- Saw with masonry blade or angle grinder
- Scissors, shears, or utility knife
- Mallet
- Safety gear (safety glasses, dust mask, hearing protection, work gloves)
Prepping and Grading the Area
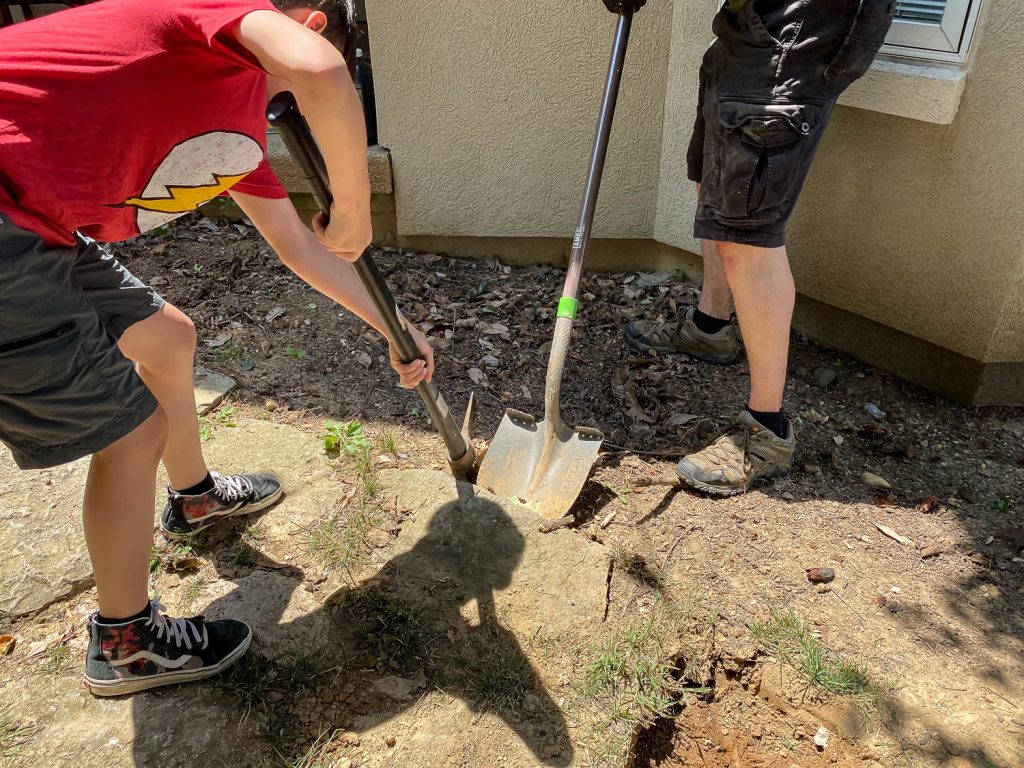
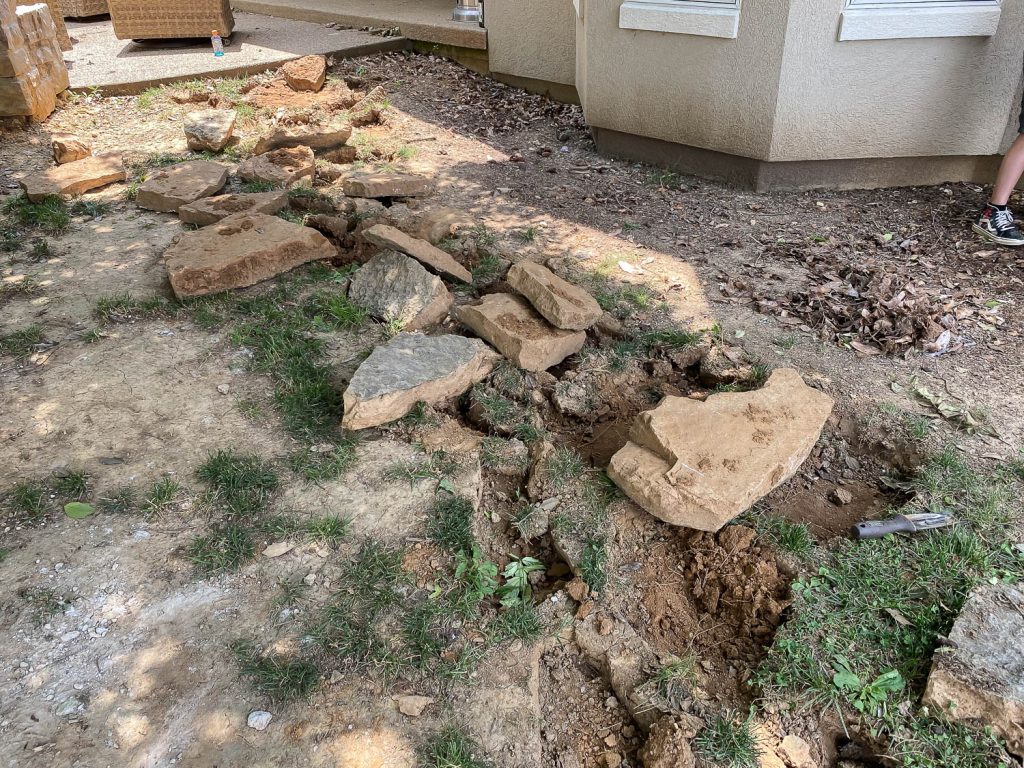
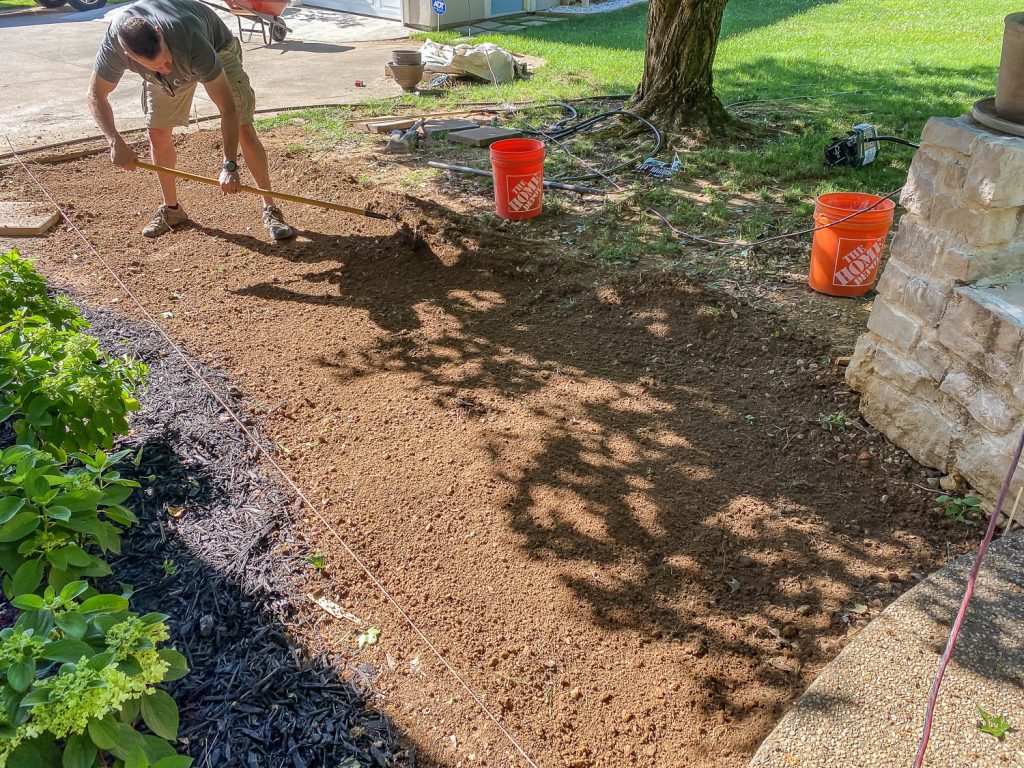
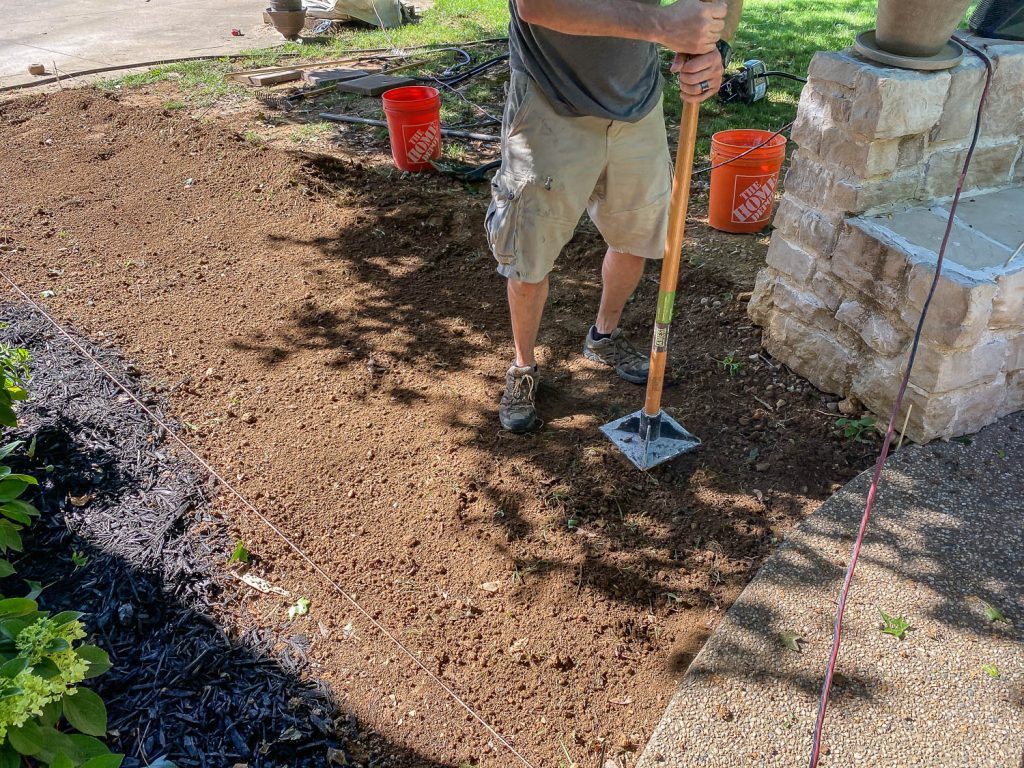
The first thing we had to do was clear the area. Adam pulled up the trash bushes and raked out the flower bed, then he and Liam pulled up the flagstones with a shovel and a mattock. Thankfully, the flagstones came up pretty easily. Then we raked out all of the stones and debris from the path and tried to level and tamp it down as best we could.
The Home Depot Tool and Truck Rental
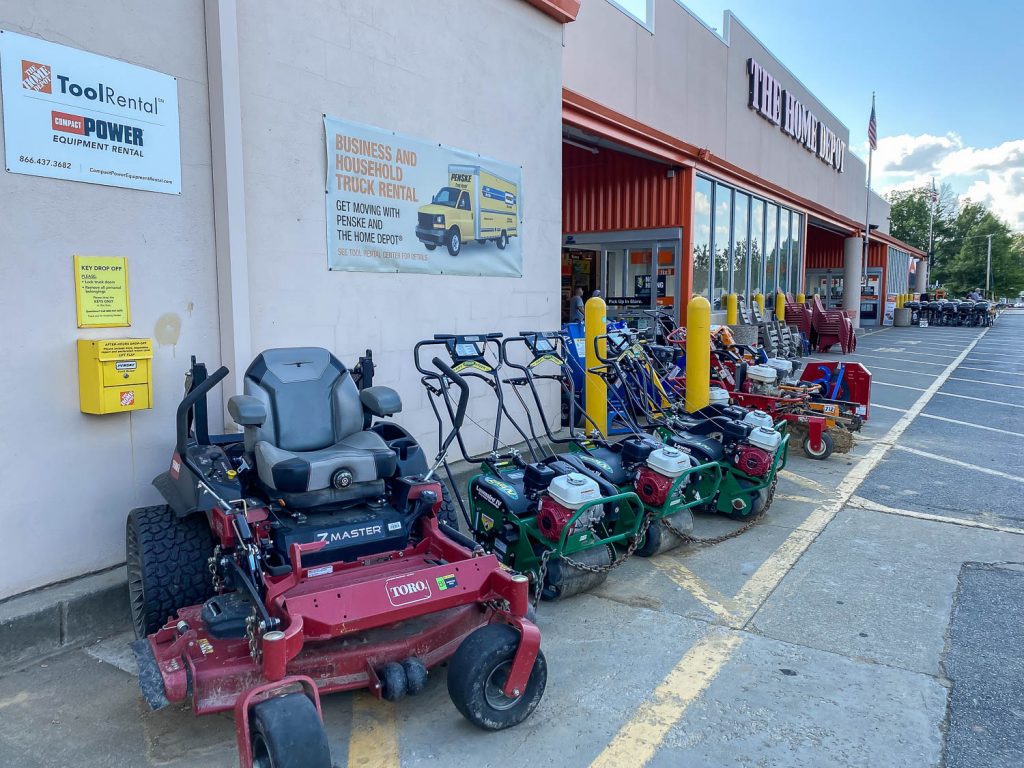
Did you know you can rent all sort of tools and equipment from The Home Depot? Everything from lawn and garden tools to large trailer and truck rentals. The Home Depot allows me to use pro-specific equipment while still staying within my DIYer/consumer budget. It’s my one-stop-shop for all things home improvement, both inside and outside of the home.


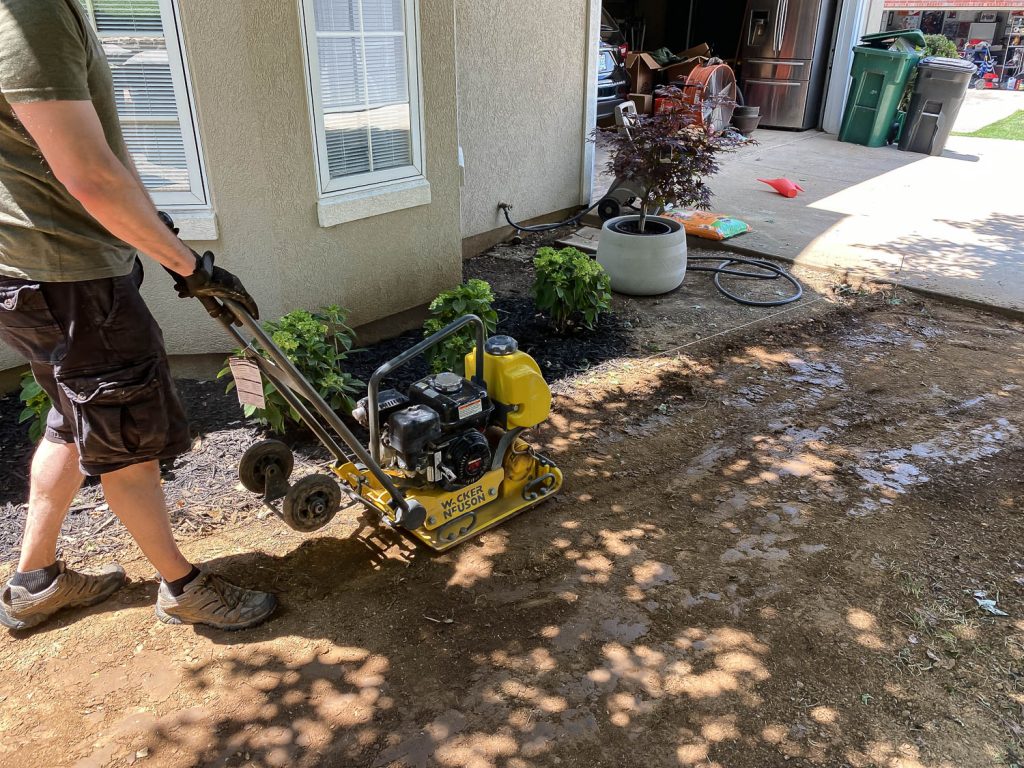
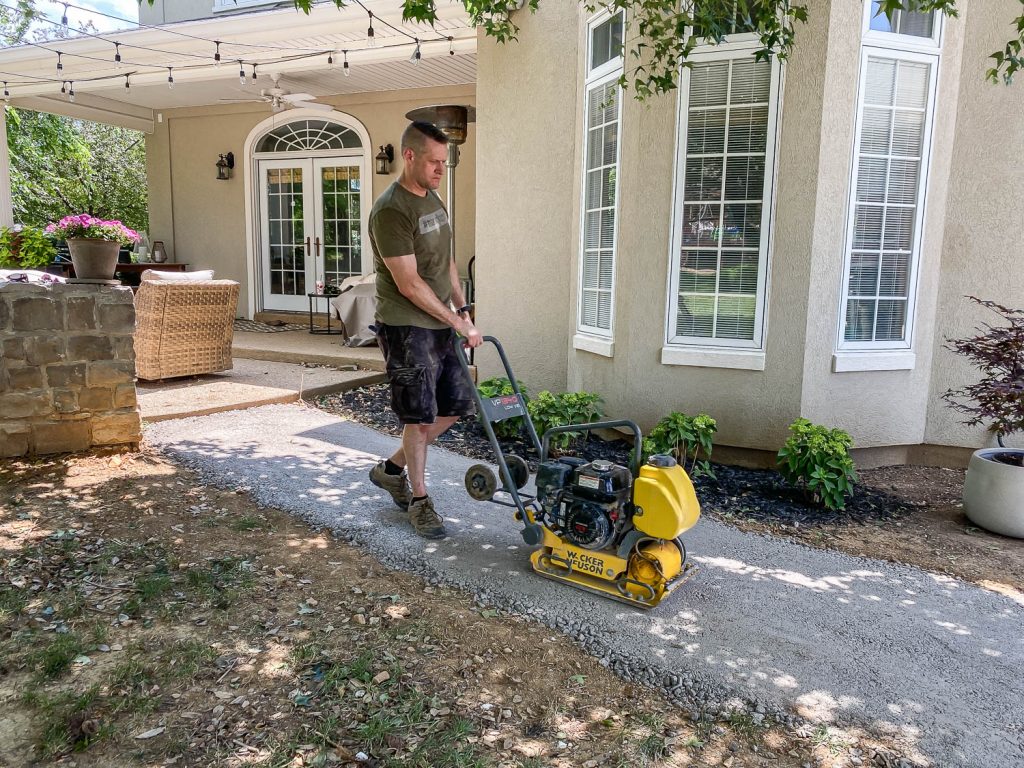
You can browse their tool inventory online and via the mobile app, make a reservation, and schedule your pickup date. Pricing varies among stores, but you can typically rent by the hour, day, or week. We rented a 14-inch plate compactor from our local store so we could properly level and compact our paver walkway.
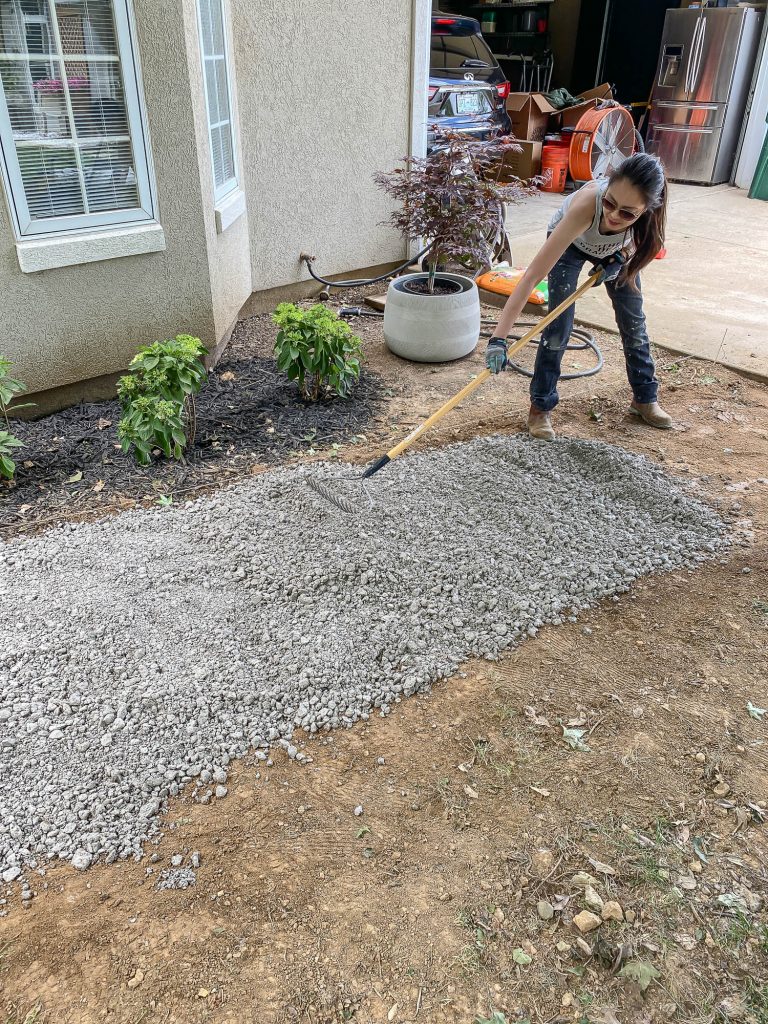
As soon as we got the plate compactor home, we used it to level and compact the dirt path so we could prep it for paver base. We poured the paver base down and spread it around with a rake, then used the plate compactor to compact the paver base.
Laying out the Pavers
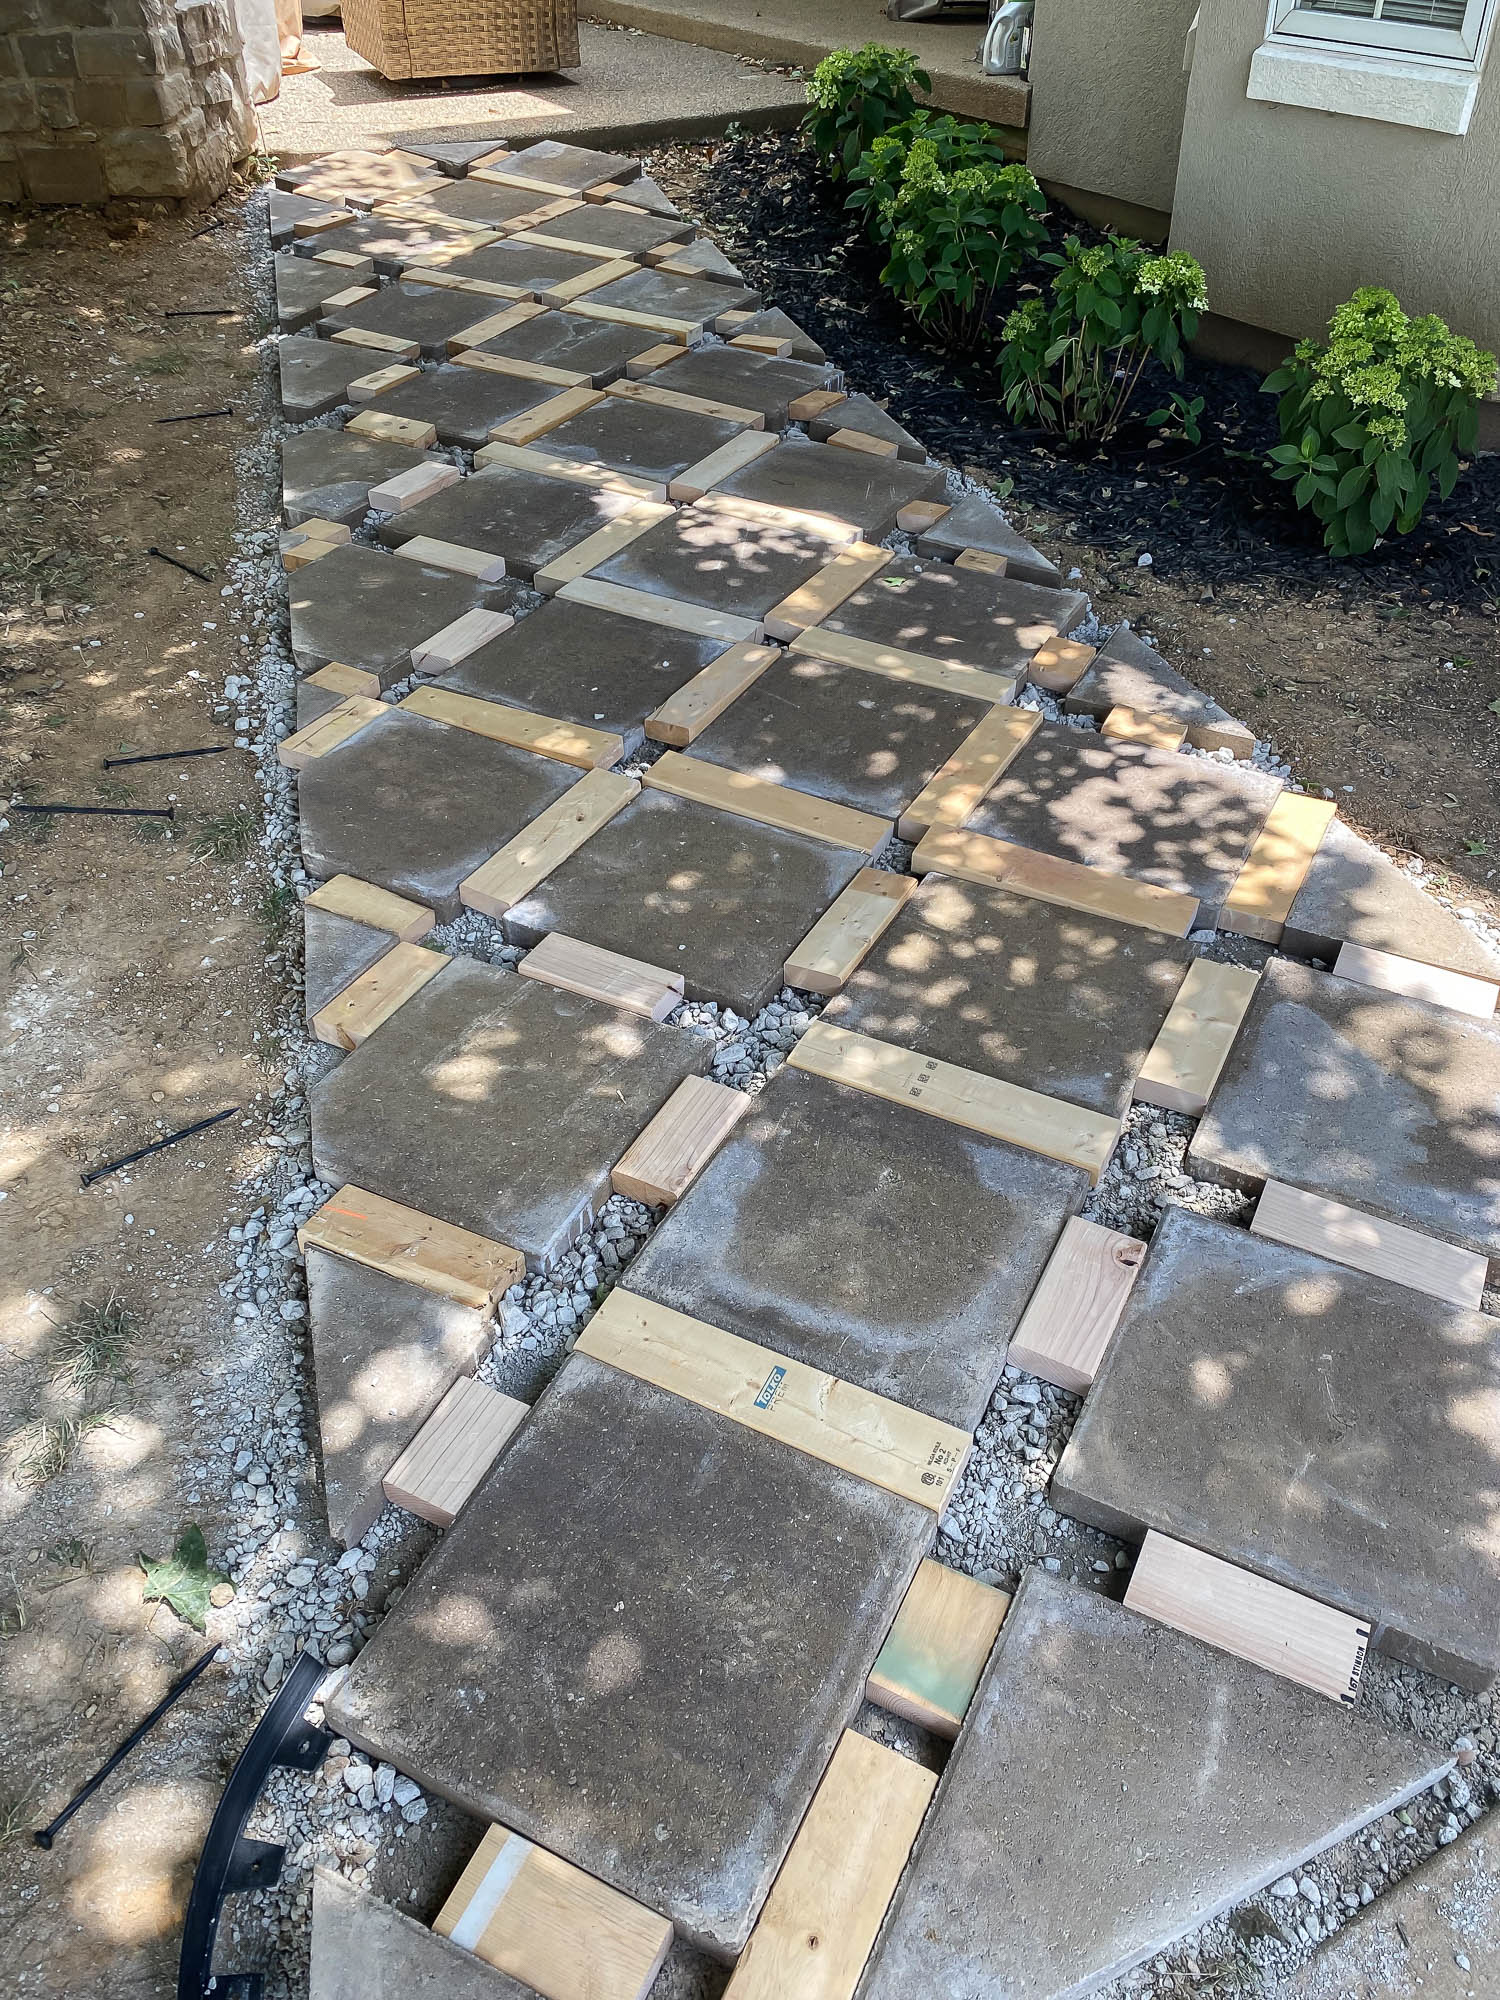
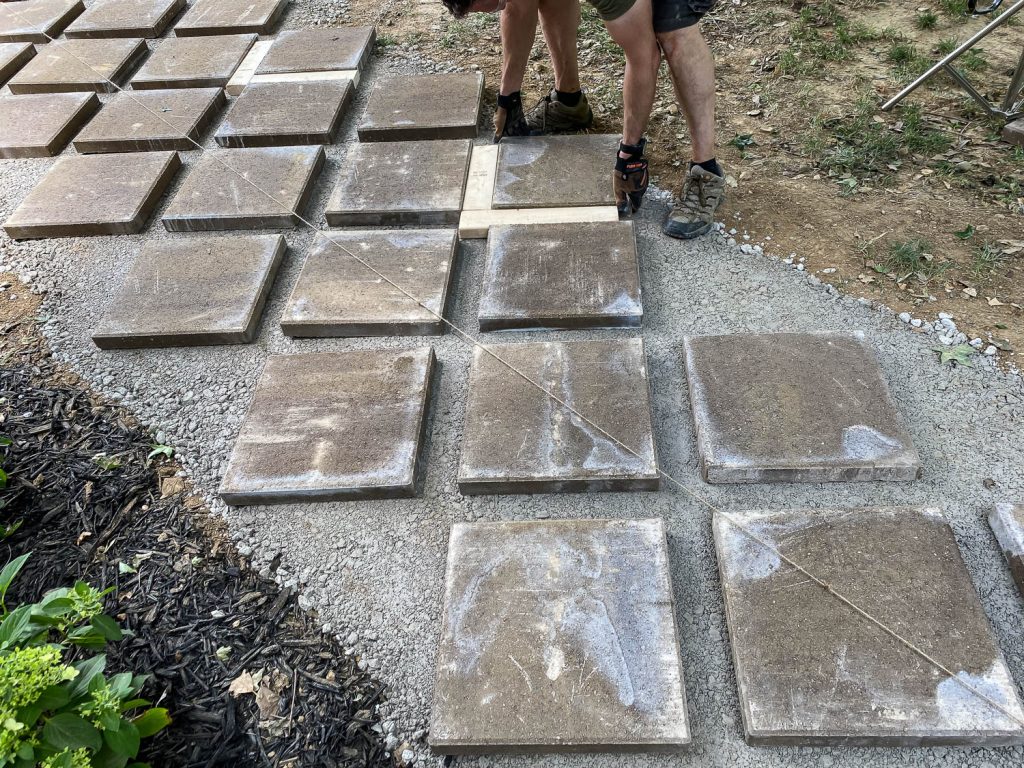
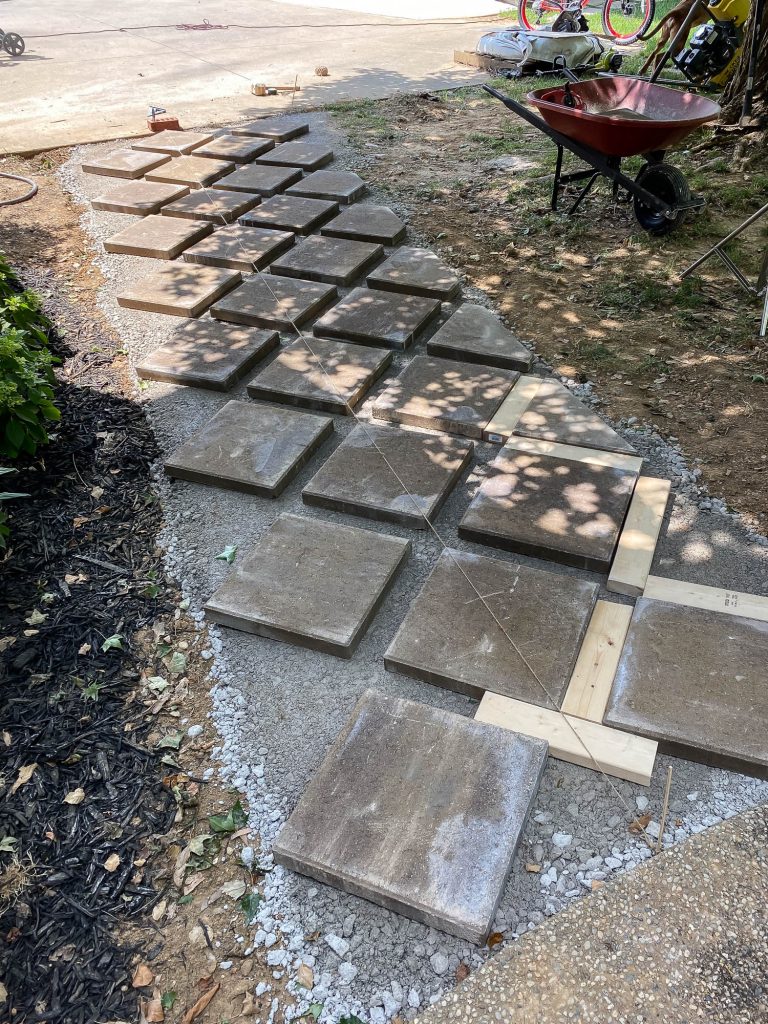
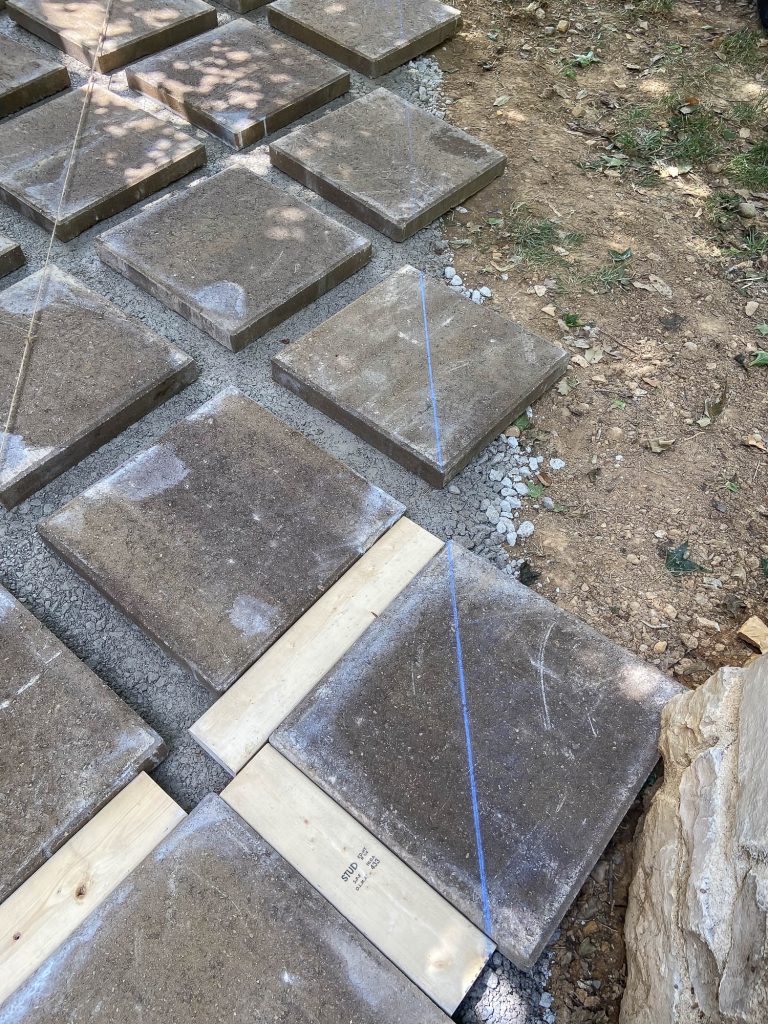
I wanted the paver stones to be oriented on a diamond pattern, so we found the center point along the path and used stakes and string to map it out. Then Adam laid the center paver stones down first, lining up the corners of the stones with the center string line. Once we had the center stones laid, we were able to lay the surrounding stones, using scrap 2×4 boards as spacers between the paver stones.
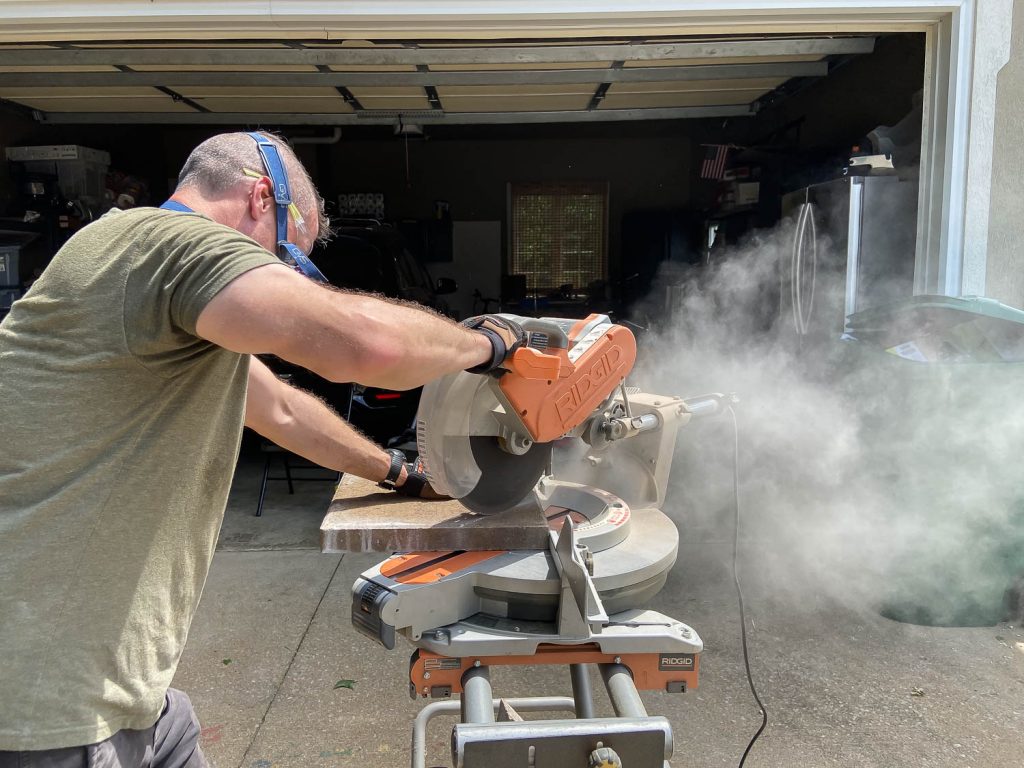
We went ahead and laid the exterior rows of stones and after determining how wide we wanted the pathway to be, snapped a chalk line to mark the edge of the pathway. This chalk line will be the cut lines. Adam used a masonry blade on my miter saw to cut the paver stones. You can also use an angle grinder, but we found the miter saw to be more precise.
Adding Paver Sand and Compacting the Walkway
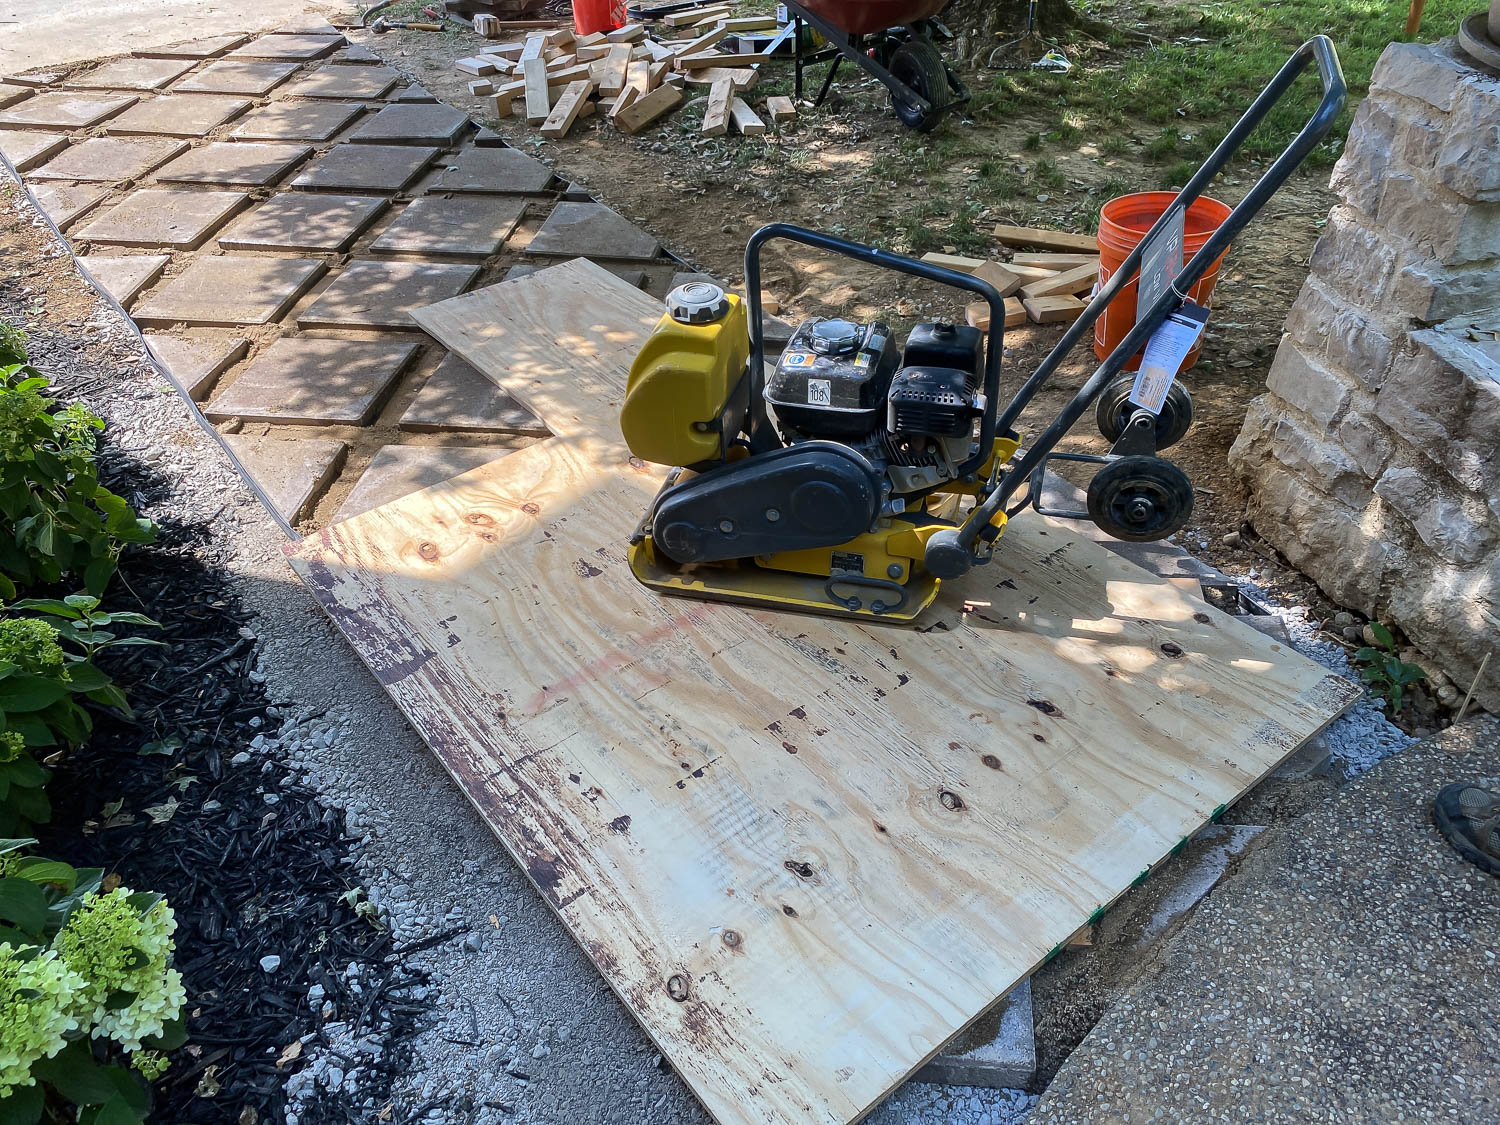
We poured a layer of paver sand in between the paver stones and tamped the sand down. Because I didn’t want the pavers to shift when the plate compactor ran over them, we laid 2×4 spacers into the grid lines. This helped ensure the spacing and alignment was consistent, while also holding the paver stones in place while the plate compactor vibrated above it. We were worried that the plate compactor would damage the paver stones, so we laid a scrap sheet of plywood over the entire walkway before making a few passes with the compactor. The paver sand helped lock the paver stones in place, enough that we were able to remove the 2×4 spacers and make another pass with the plate compactor. Again, we used the plywood sheet to protect the walkway and the tool.
The vibrations from the plate compactor shifted the pavers ever so slightly, which I only notice because I’m absurdly perfectionistic. It does bug me a little, but I don’t know how else to keep all of the paver stones in their precise positions and still stay married to my husband. Adam isn’t one for attention to detail and can only take a certain percentage of my annoying perfectionism. After all is said and done, when I stand back and look at the walkway as a whole, the fact that the pavers aren’t perfectly aligned doesn’t bother me as much as I thought it would. At least that’s what I tell myself so I can sleep at night. Bottom line, we’re not professional landscapers, we’re just DIYers and this is the best we can do at this point in time, and that’s just going to have to be enough.
Installing the Landscape Edging
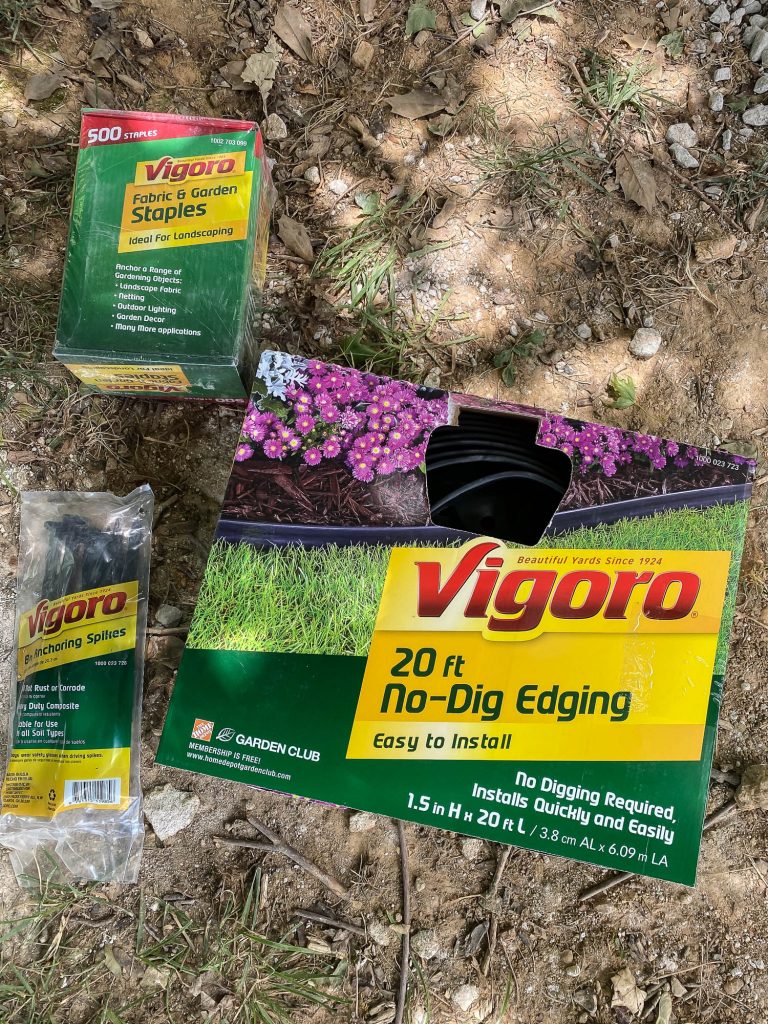
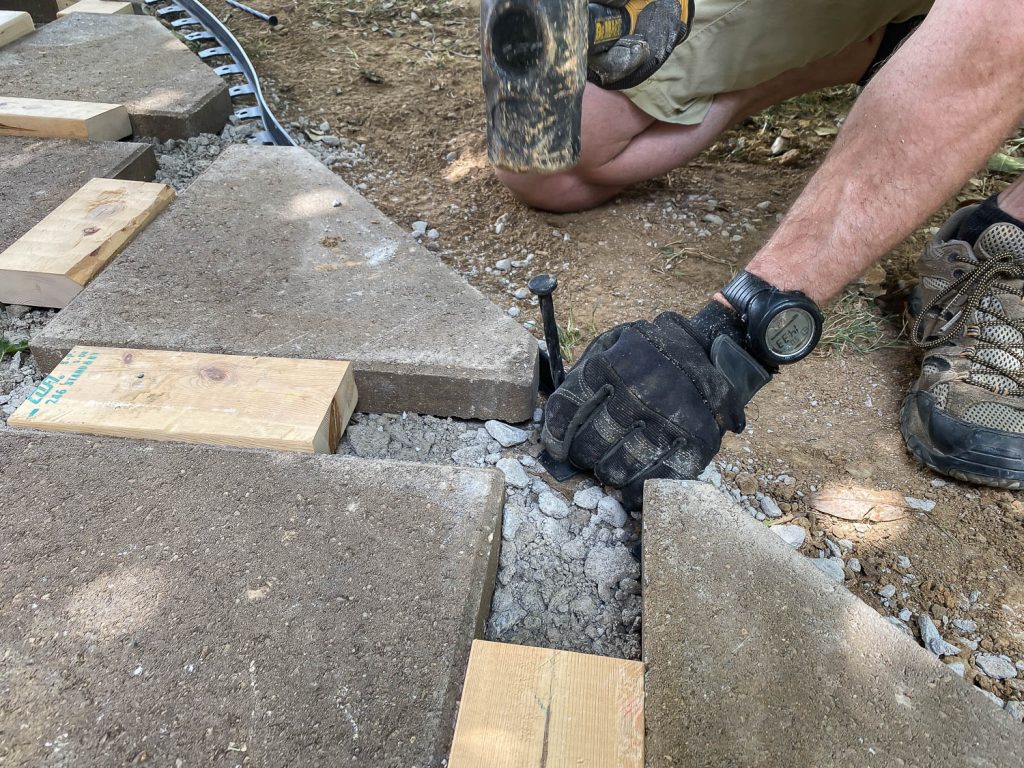
The smaller paver cutoffs were much lighter in weight, so they didn’t stay in place quite as well as the full size paver stones. For this reason, we installed this no-dig landscape edging to keep them from shifting. It’s really easy to install this edging. You just roll it out and use a mallet to drive in the anchoring spikes to secure it. Then we made one final pass over the entire walkway with the plate compactor. I poured the rest of the paver sand on the walkway and used a push broom to fill the remaining gaps before installing the artificial grass.
Installing Artificial Grass
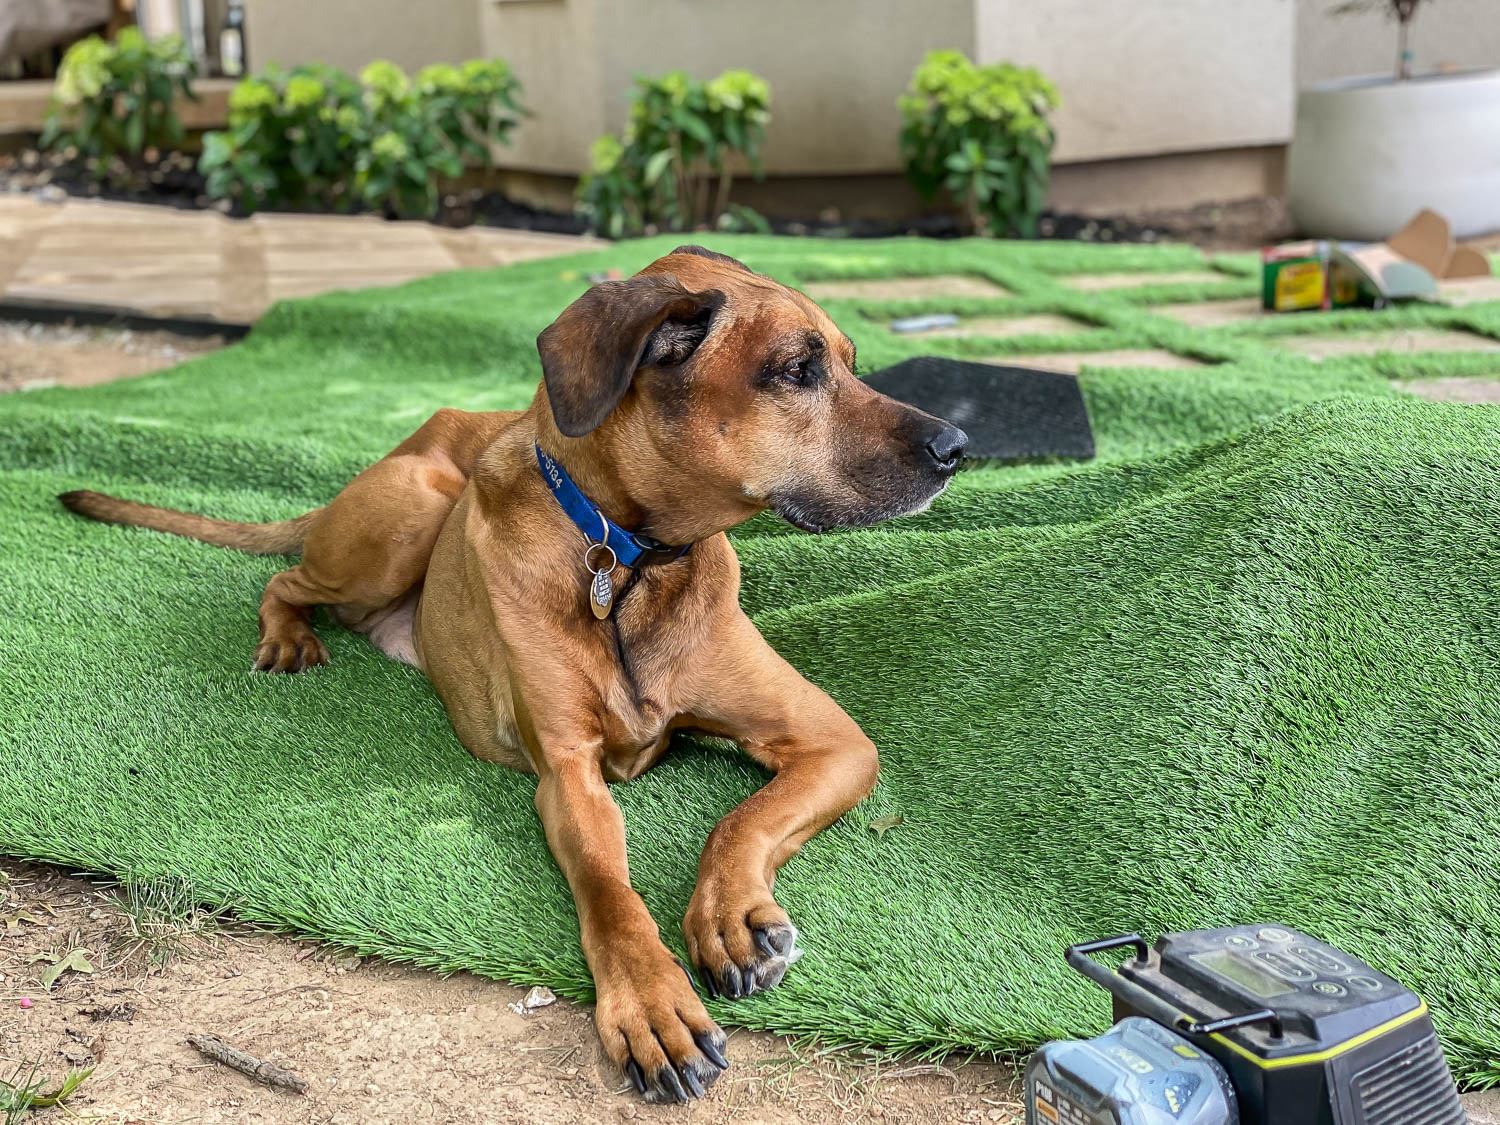
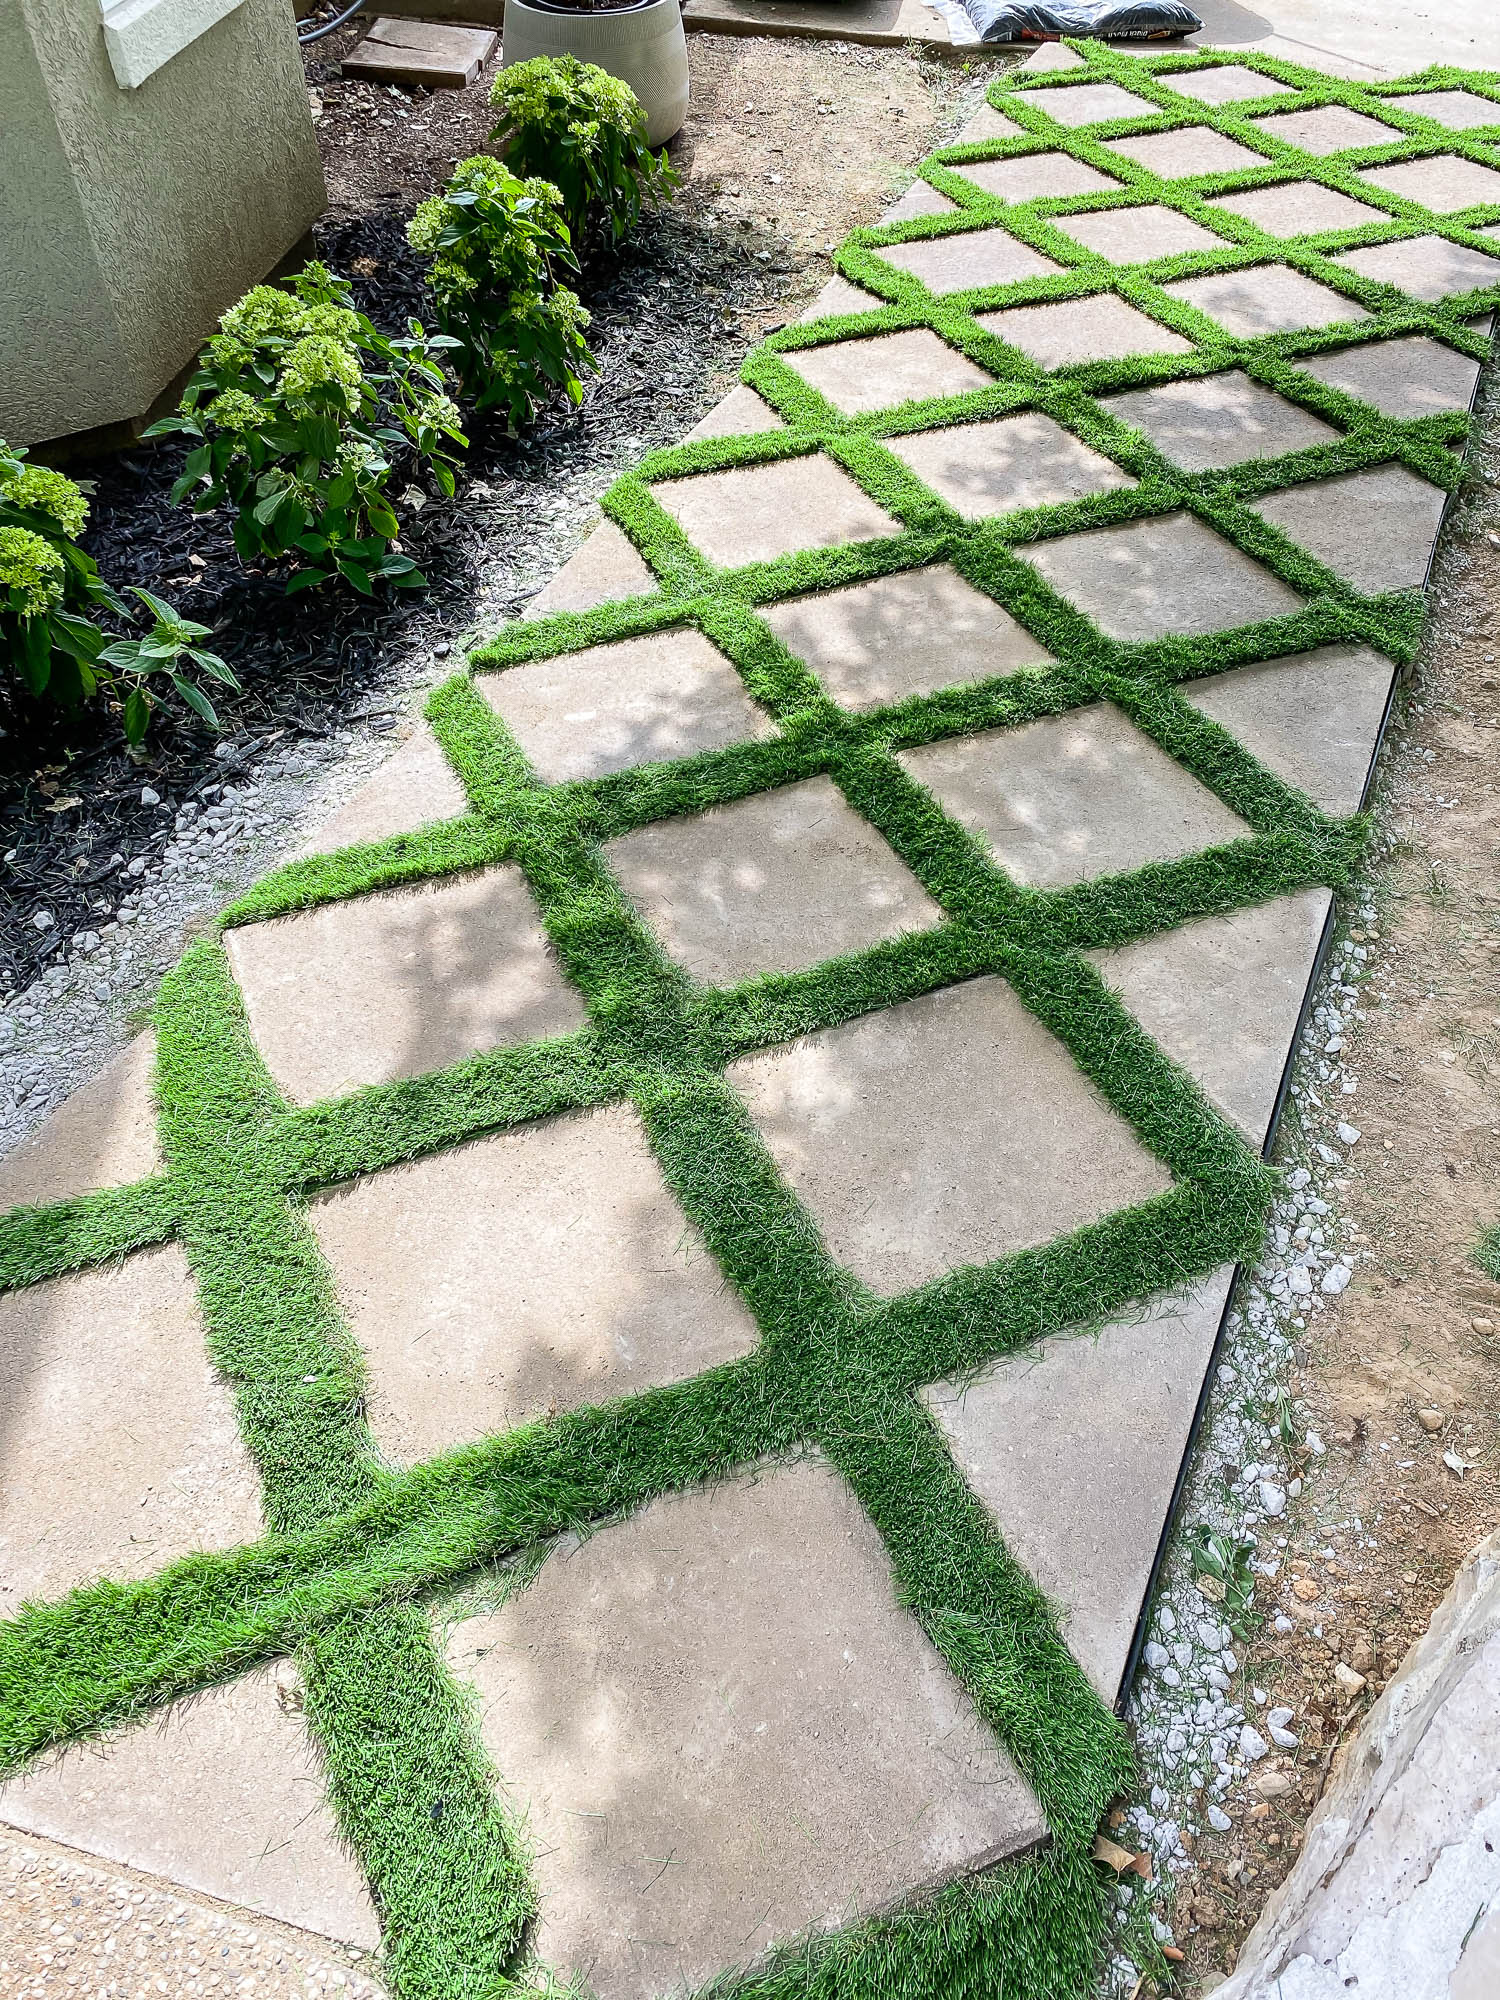
Now that the paver stones were locked into place and the walkway was flat, even, and straight (enough), it’s time to install the artificial grass. You’d think the way ahead would be to cut strips of the artificial grass and lay them in between the paver stones, but no, there’s a better way, albeit A LOT more tedious and time-consuming. (Isn’t that always the case?) While I wasn’t able to find much information on how to DIY this whole “grass between pavers” look, I did find a couple of professional landscaping websites that hinted at how they install this design. Of course, they’re not going to divulge all of their secrets so I had to just dive in, try things, and figure it out along the way. From what I gathered from these pro landscape designers, they actually place the artificial grass over the entire walkway, then carefully cut the pavers out. This does yield more wasted material and won’t be as efficient as cutting strips to lay into the grid, but in the end, I think you’ll find that the grass will be more secure because the entire grid is connected and the whole design will look more precise, which is gold for a perfectionist like myself. As soon as I rolled the artificial grass out, Watson made himself at home. Safe to say, he’s a fan.
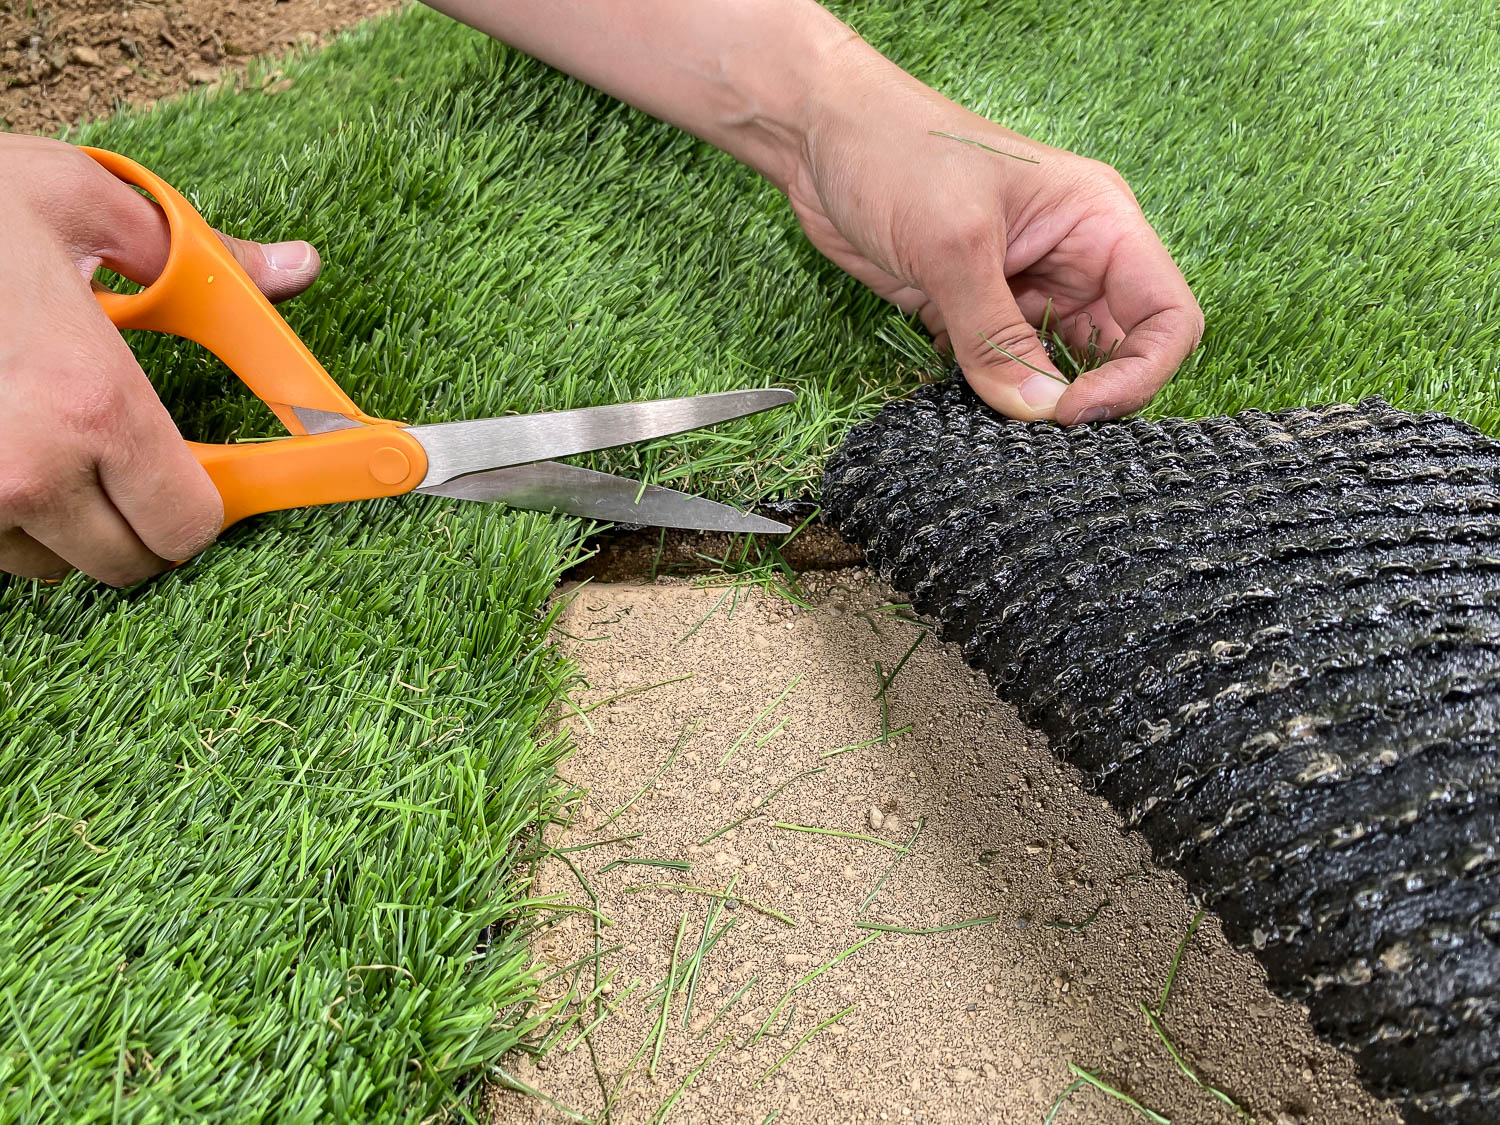
Cutting the artificial grass took some trial and error because you can’t see the pavers underneath the blanket of grass, so you’re ultimately cutting blind. Unless, of course, you have X-ray vision. In which case, kudos to you, this project will be a breeze. For us mere mortals, however, it’s going to take a lot of feeling around and double- and triple-checking our work.
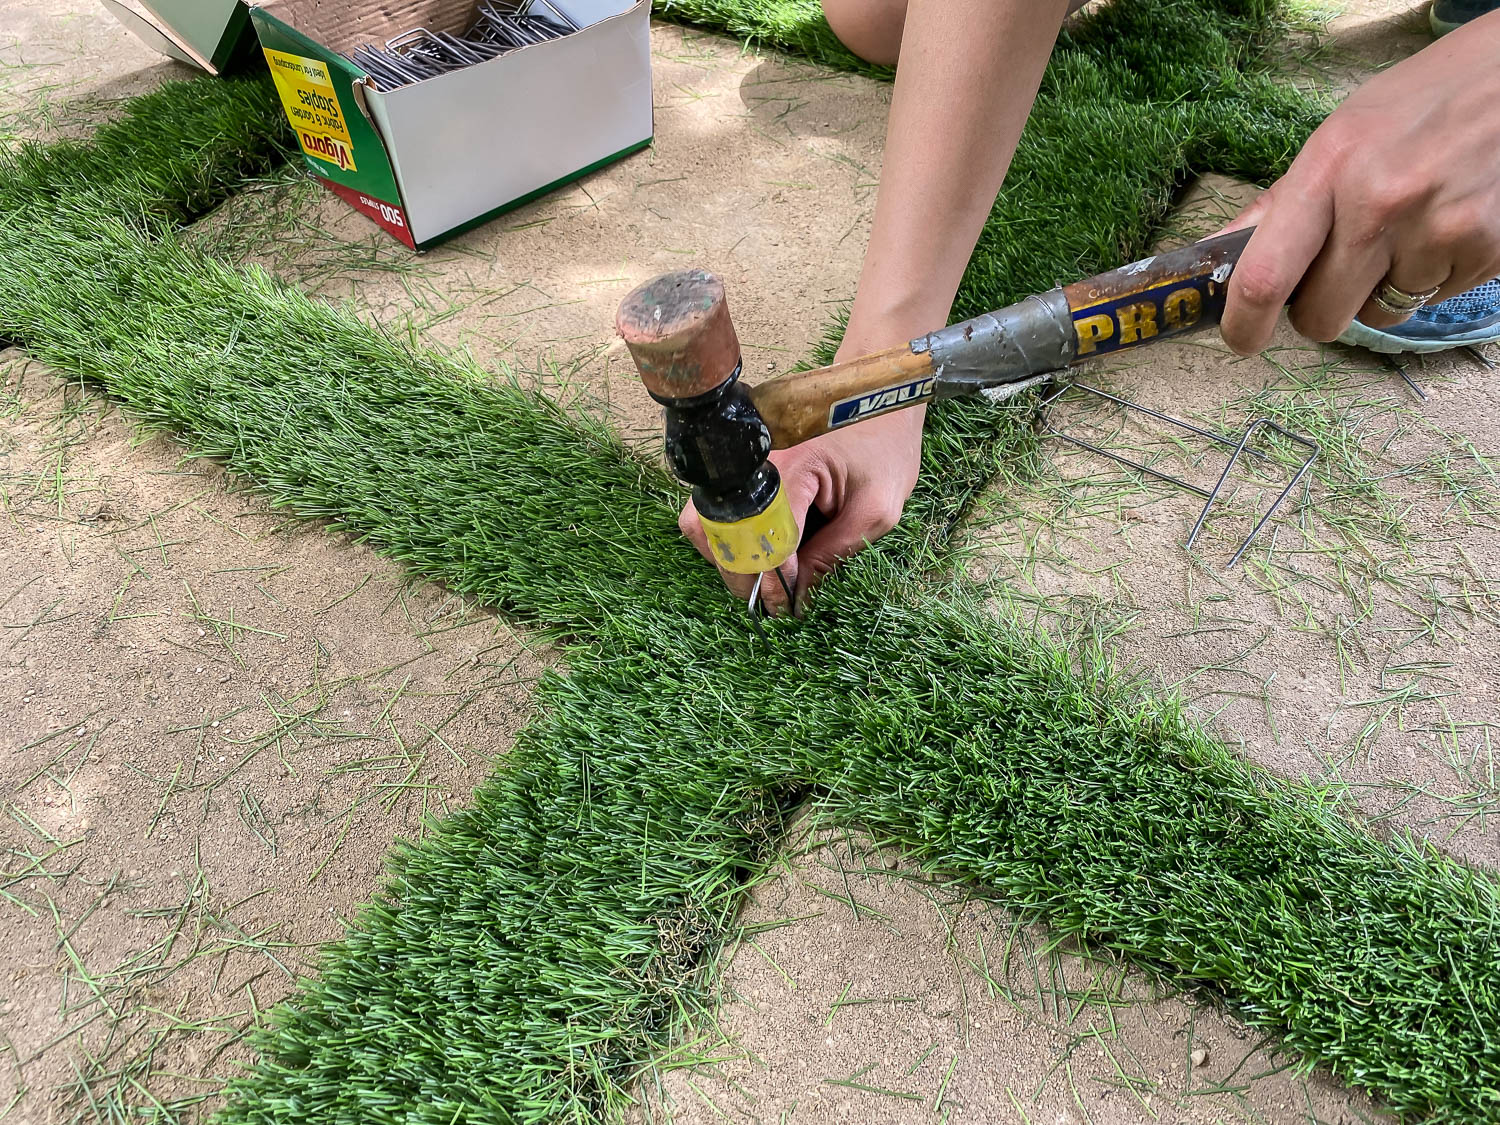
To cut the artificial grass, I tried using different tools: a utility knife, kitchen shears, scissors, and an Olfa blade. I found that the scissors worked best for me. First, I’d feel around to see where the corner of the paver was, then make a small cut with a utility knife so that I could insert the scissors. Then I’d cut the grass with the scissors, making sure to keep the blade of my scissors running along the edge of the paver stone. Make no mistake, this is very tedious work so put on some music and embrace the monotony. Lather, rinse, repeat and then question your life choices because cutting fake grass is how you’re choosing to spend countless hours of your day. Break up the workload if you can because this part is going to get old really fast. And if you’re able to cut with gloves on (I wasn’t), then do so – otherwise, you’ll get nasty blisters on your hands like me. Finally, I secured the artificial grass with landscape staples.
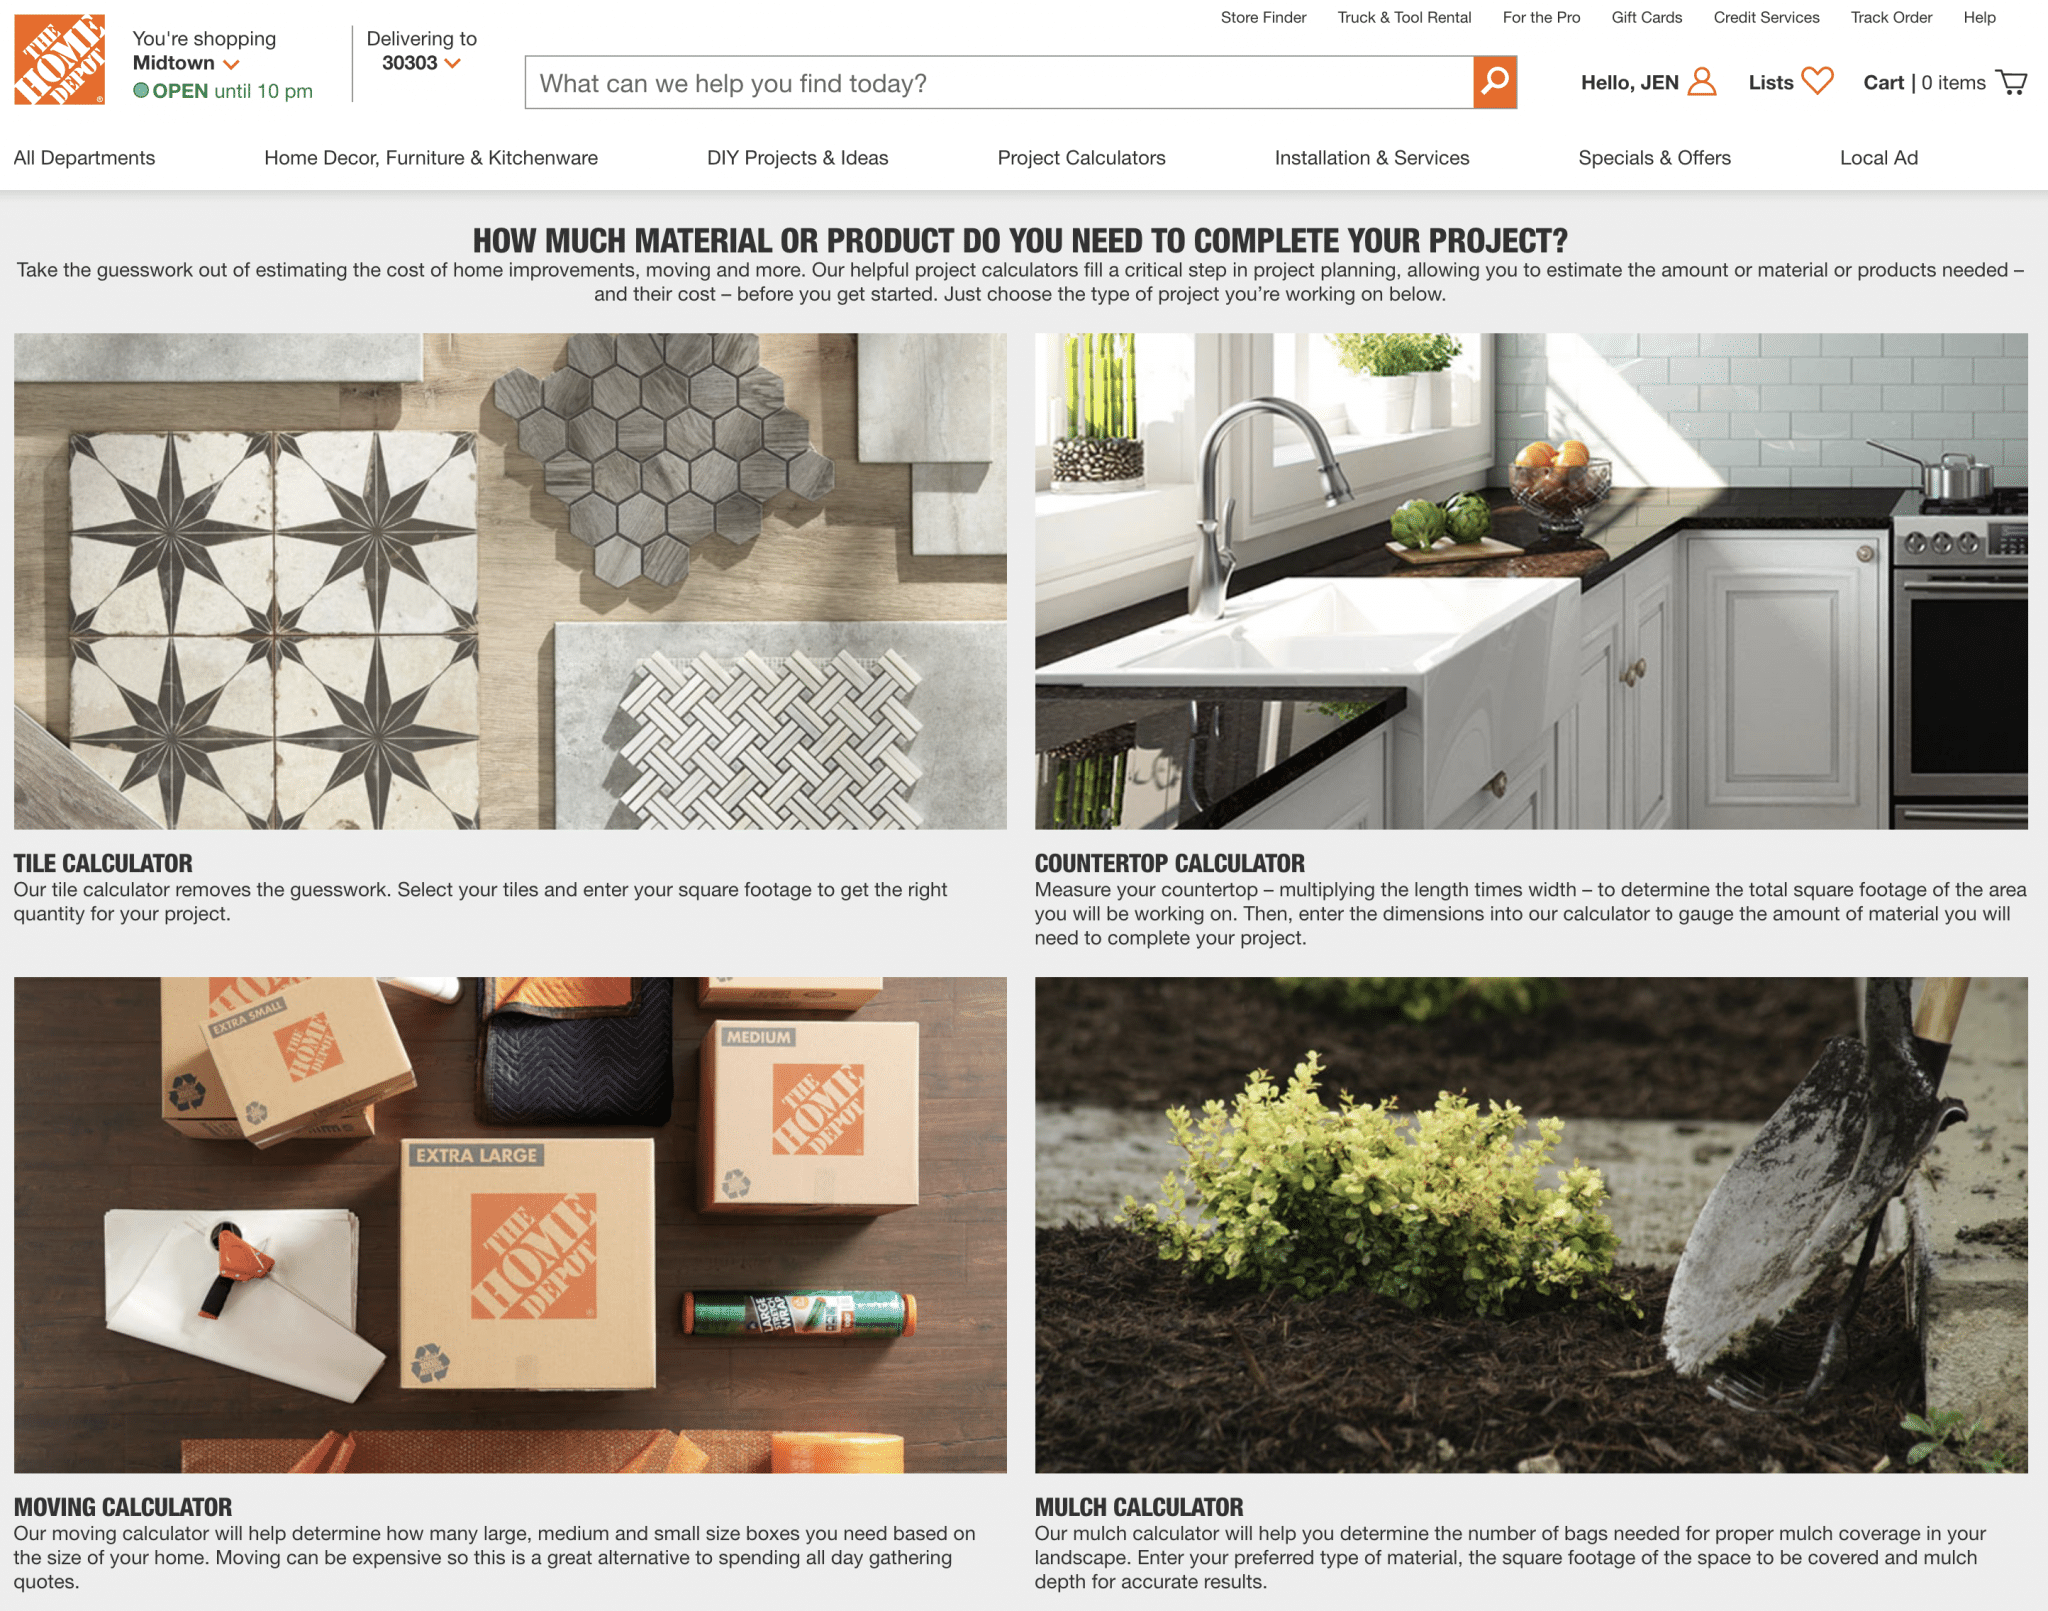
The Home Depot Project Calculator
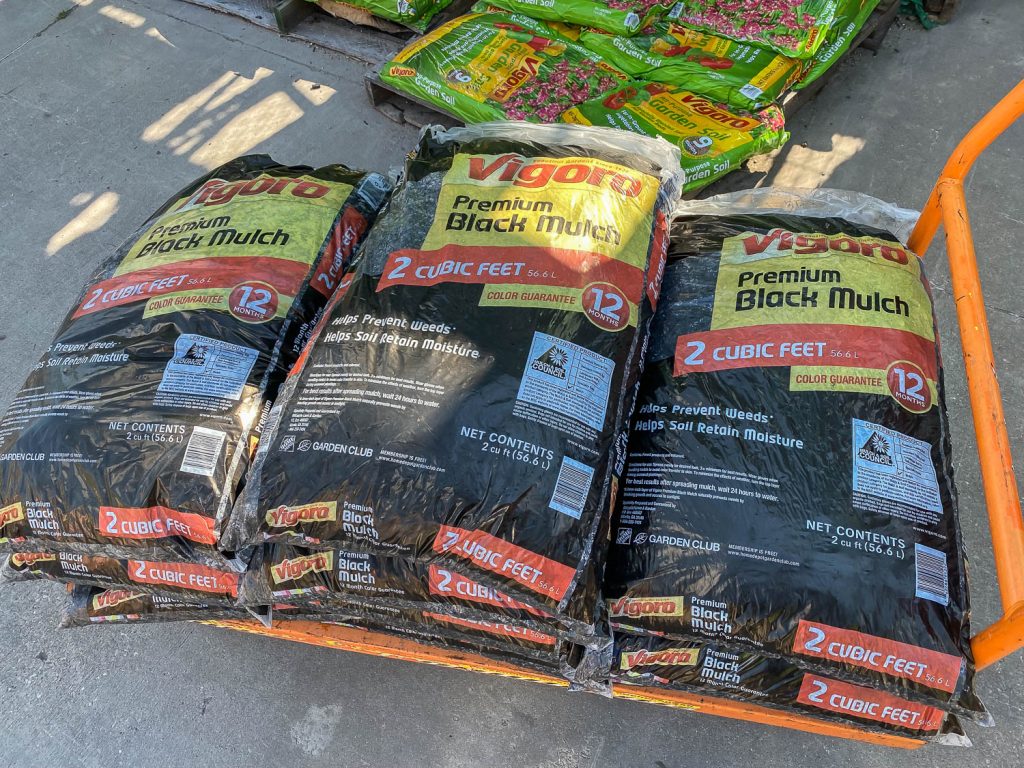
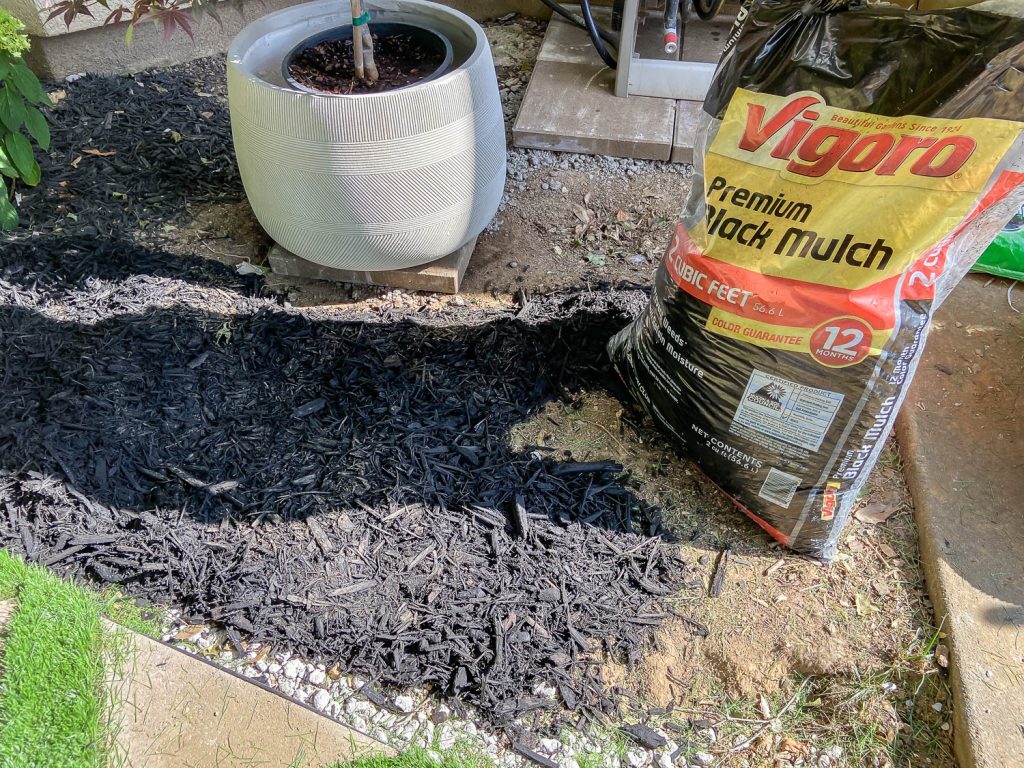
For the finishing touches, Adam laid some edger stones alongside the paver walkway and filled the flower beds with black mulch. The Home Depot has Project Calculators that takes the guesswork out of your projects. We used the Mulch Calculator to help us figure out how many bags of mulch we’d need for our space. There’s a project calculator for tile, countertop, mulch, grass seed, wallpaper, paint, drywall, fencing, and more. Super helpful!
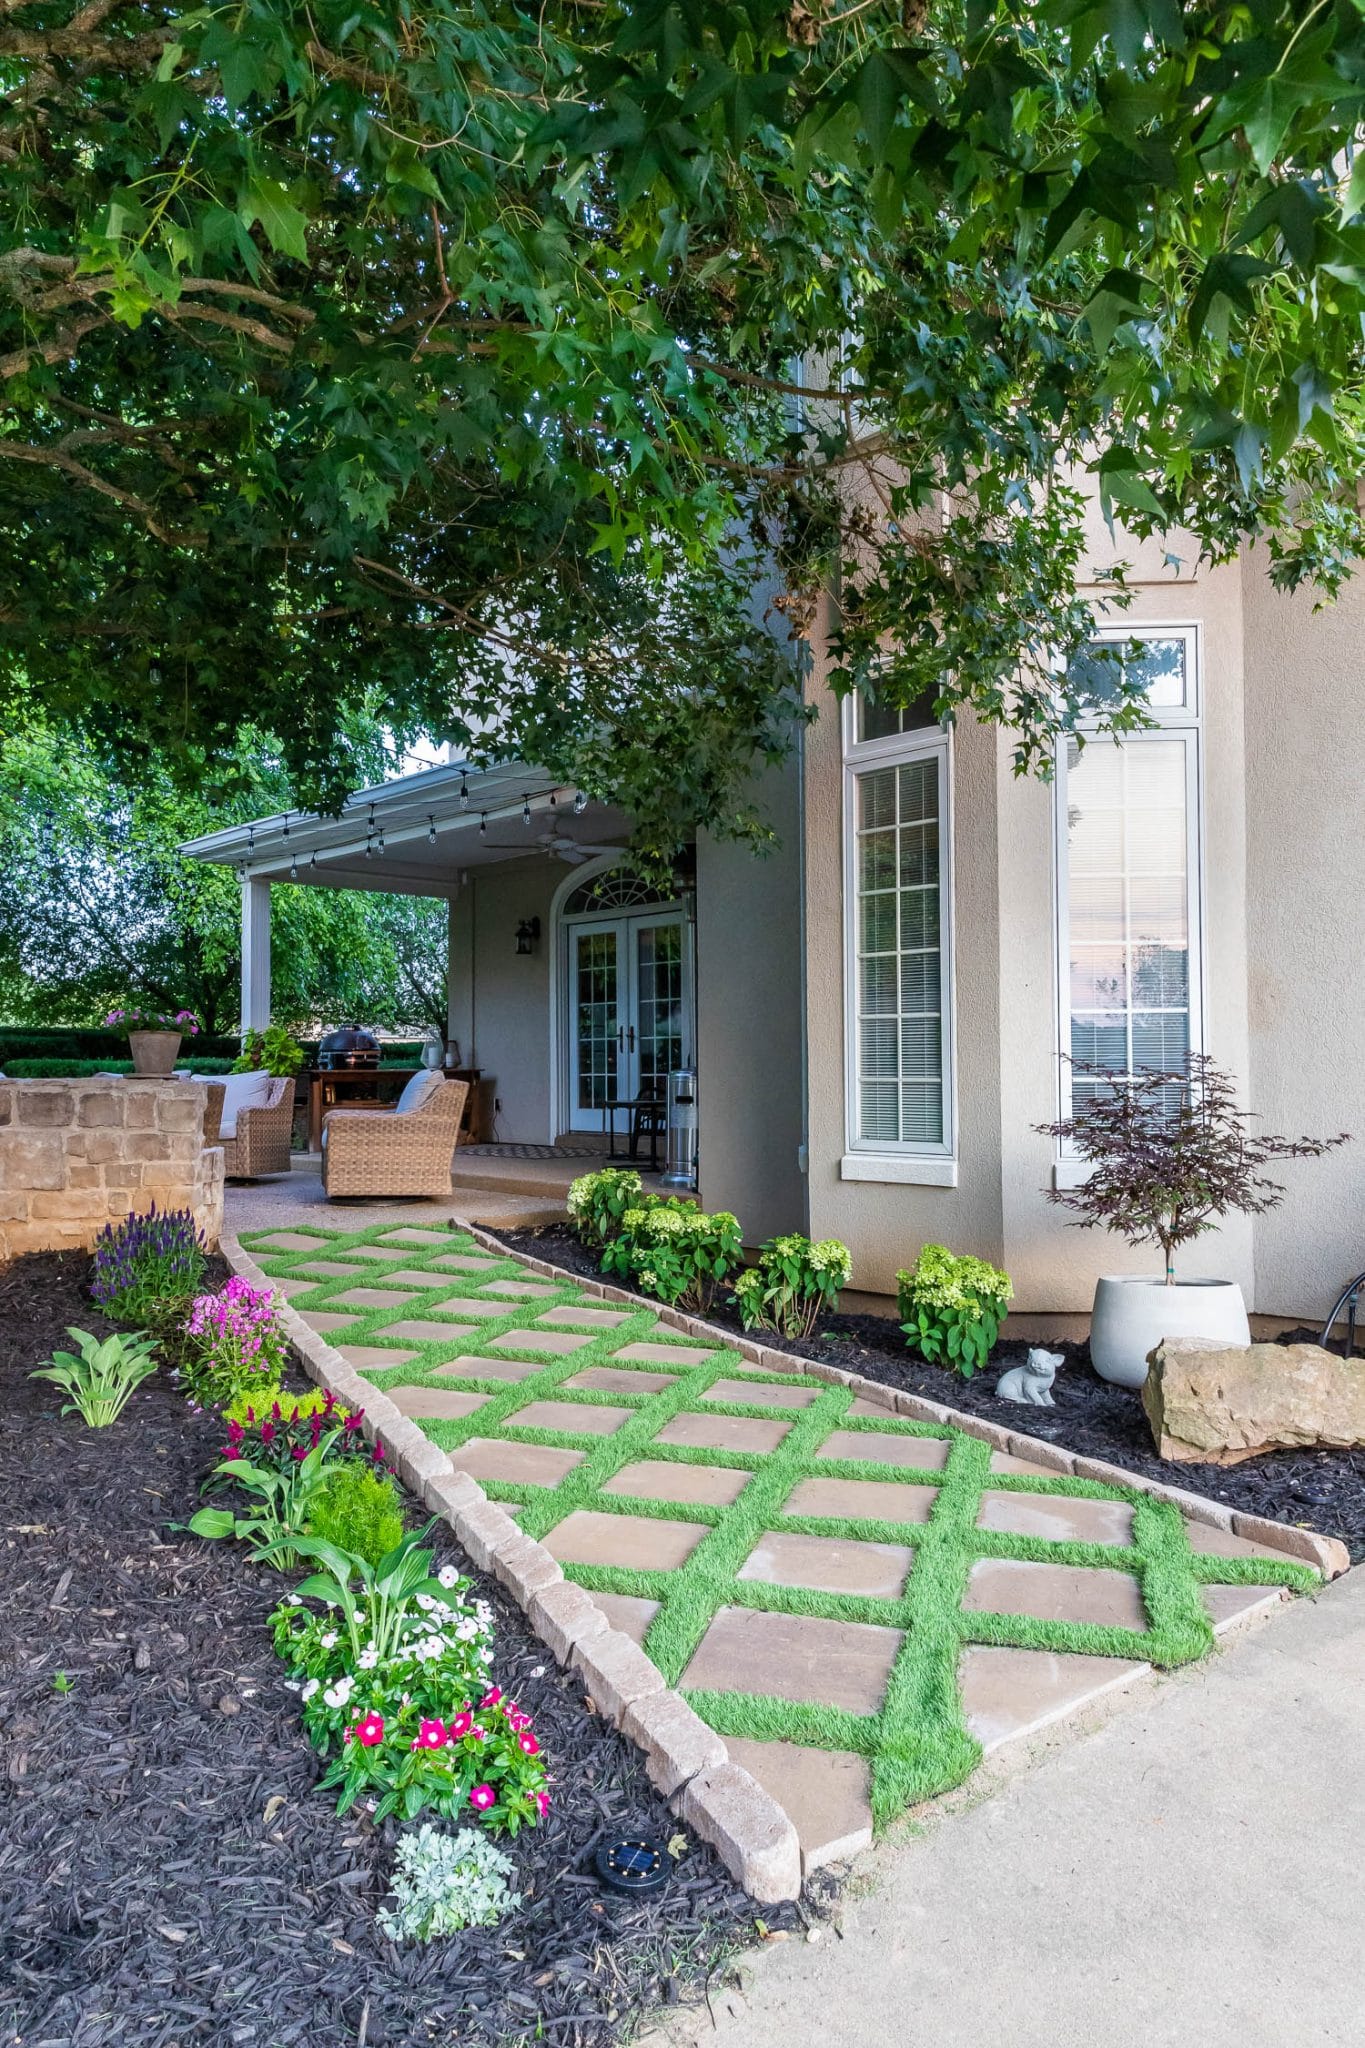
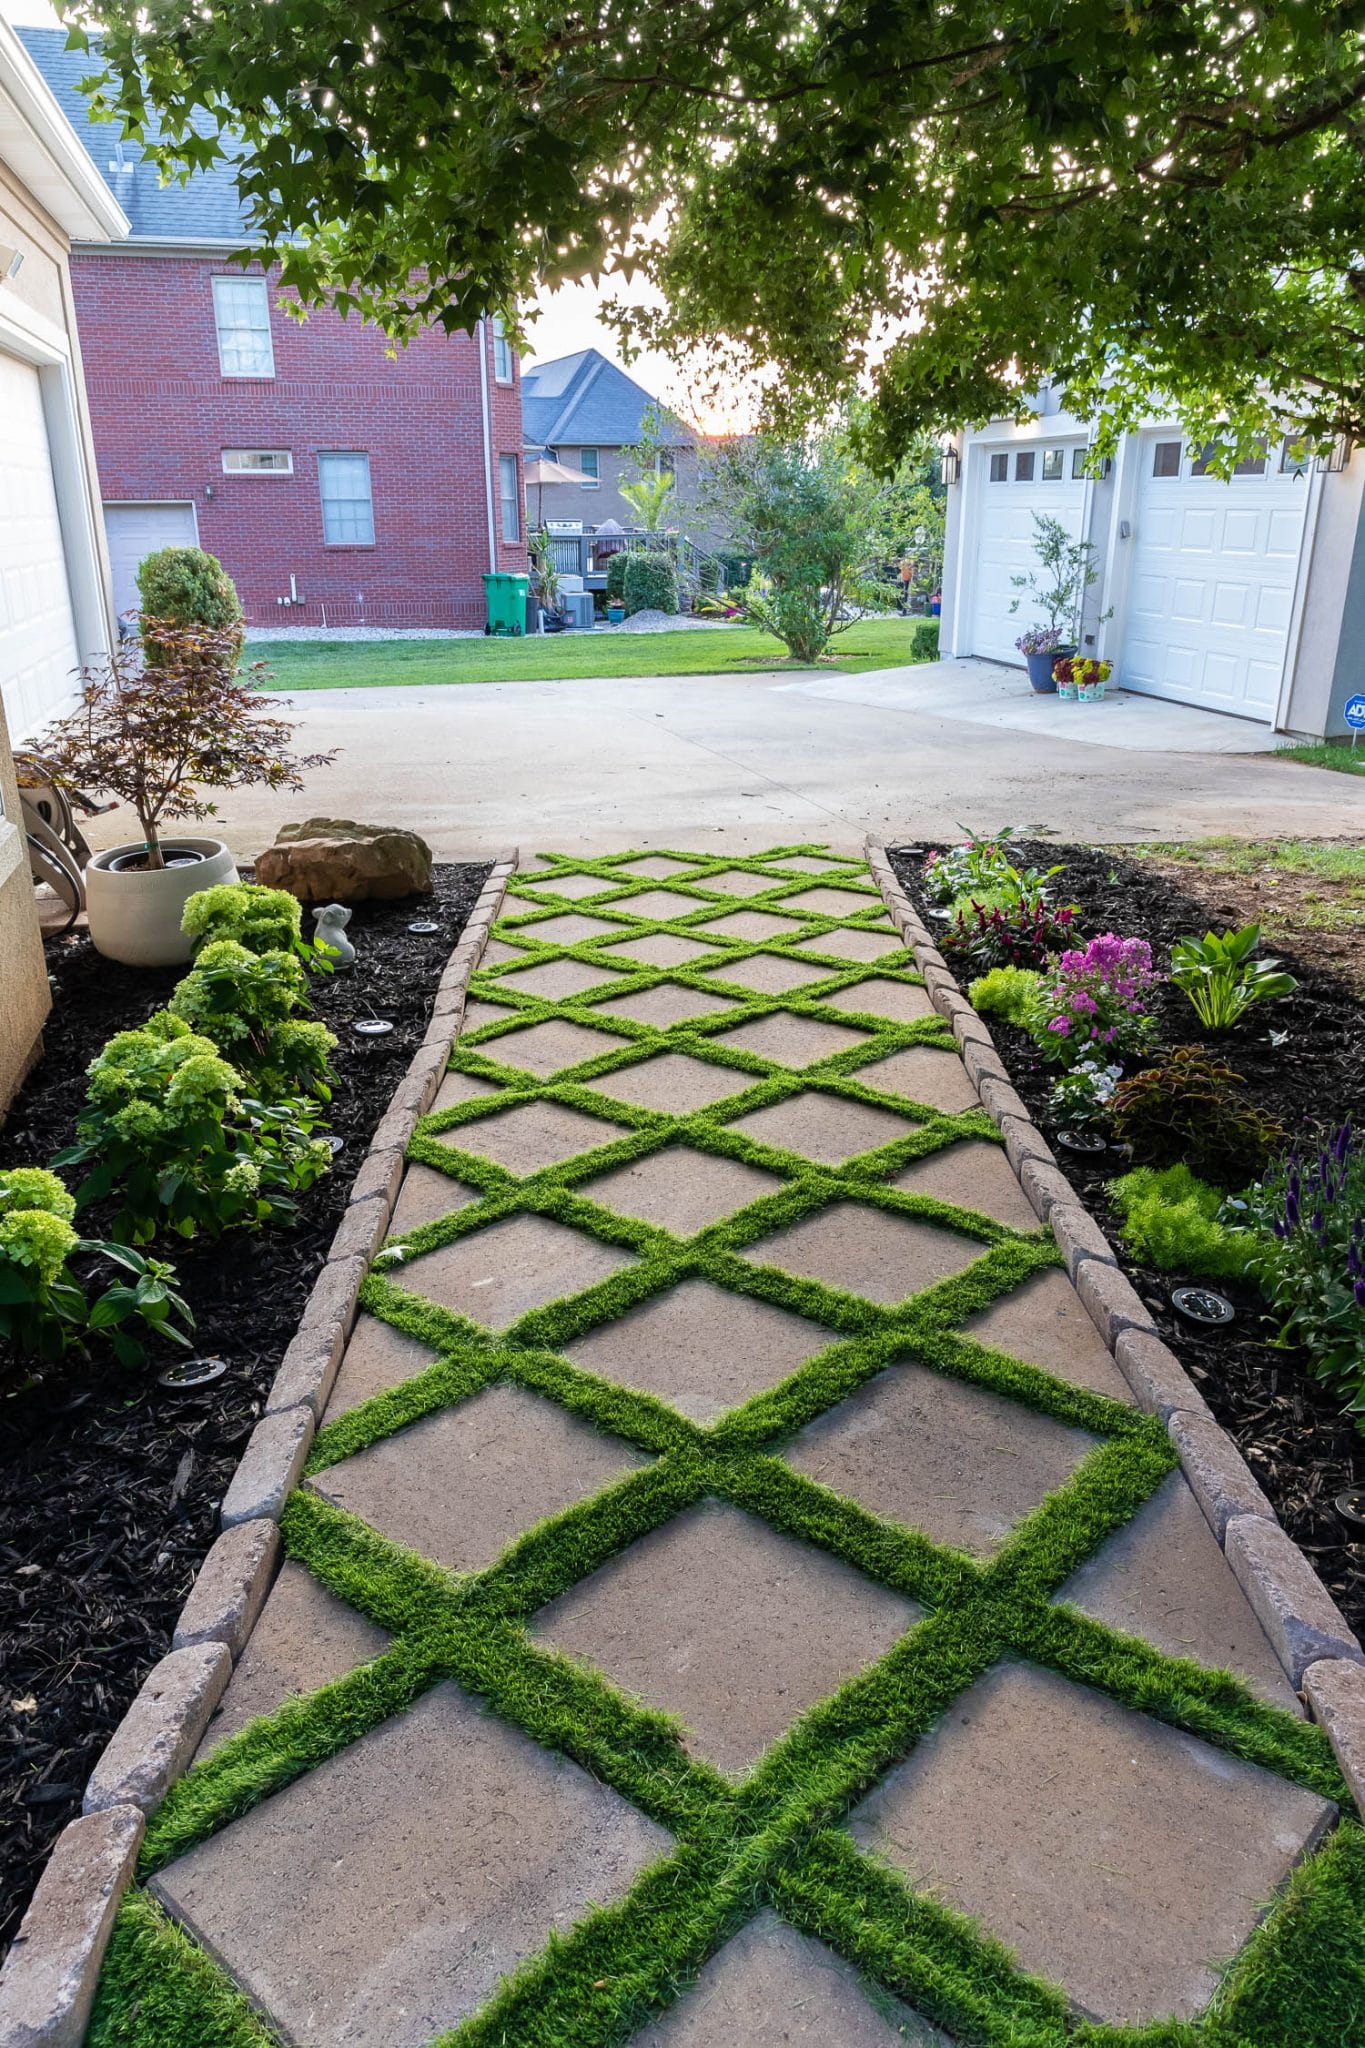
We absolutely LOVE how our DIY paver walkway turned out – it’s such a huge improvement! And because we all love a dramatic before/after photo, let’s see a side-by-side comparison.
Before After
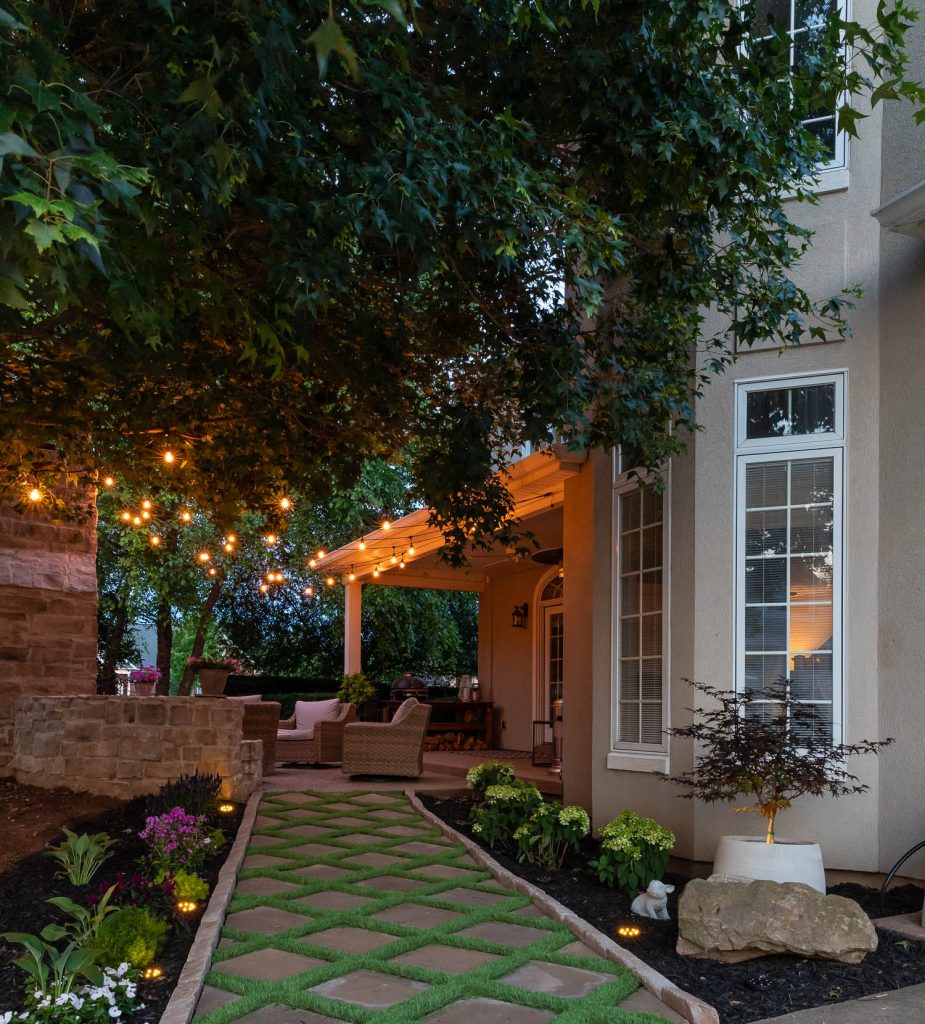
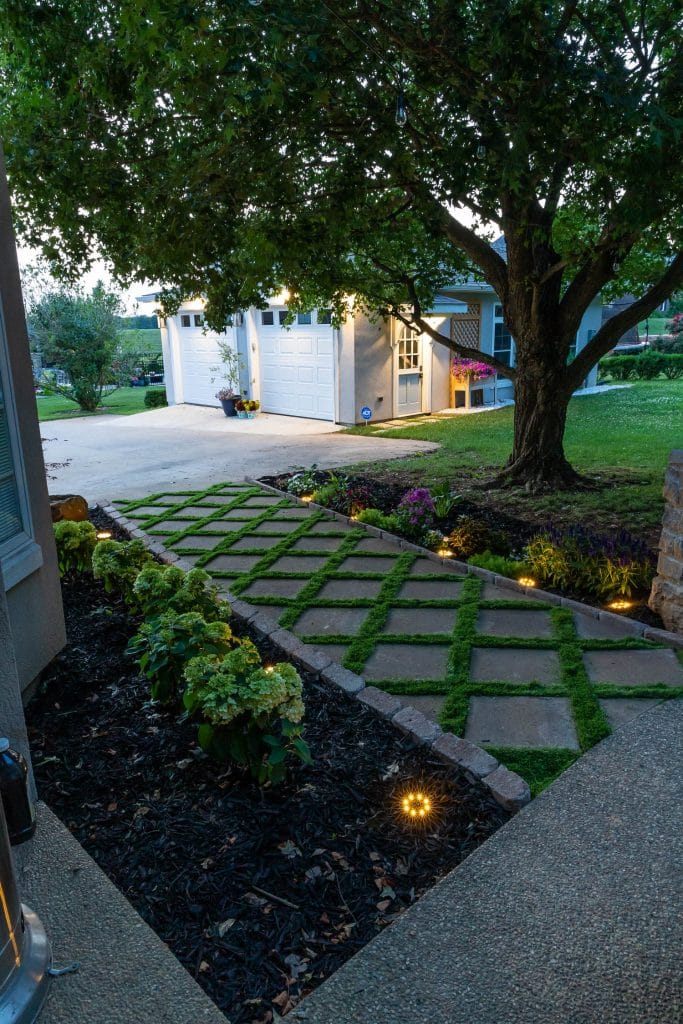
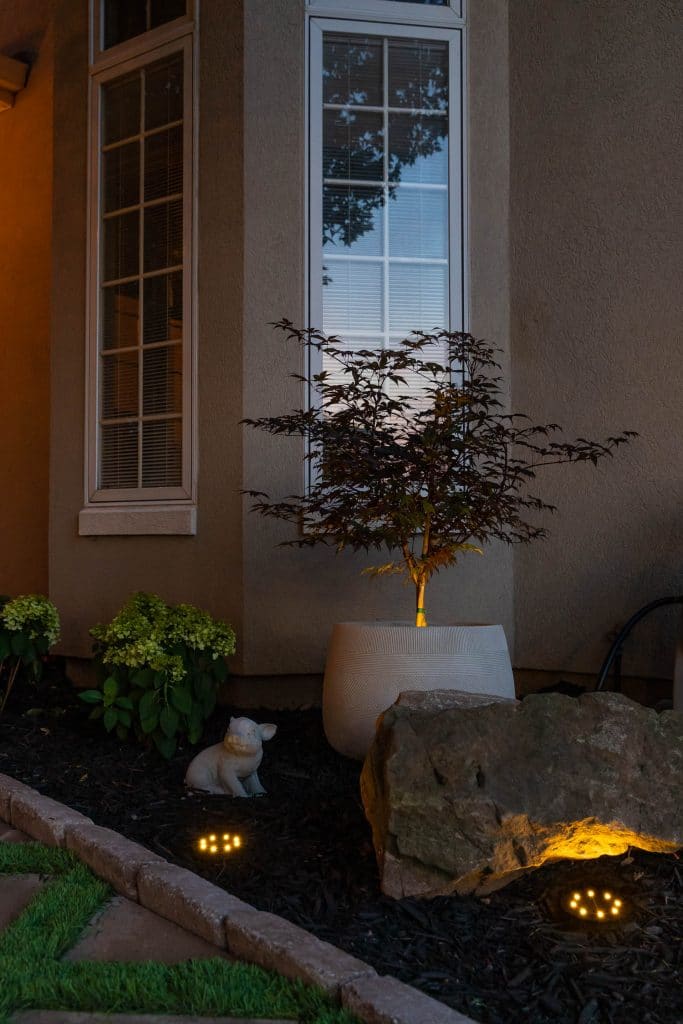
We planted five white wedding hydrangea bushes right next to the house and I can’t wait to see those grow up, when I can look out our kitchen window and see gigantic hydrangea blooms. It’s going to be so beautiful. On the other side of the walkway, we planted a variety of plants and flowers in small, eclectic groupings. I’m envisioning an English cottage garden scene here. We’ll also plant more hydrangea bushes behind the fireplace, so that the blooms spill over the bench seating. I’d also love to see a flowering vine, maybe some bougainvillea, climbing up the back of the fireplace chimney. As much as we love seeing this view in the daylight, it’s even more magical at dusk.




Stunning! Absolutely, beautiful. Love the changes. I might remove the gravel in my path and use the grass idea.
Beautiful Job Jen and Adam !!!!
I see one mistake and was advised not to do it your way. Notice how the Artificial Grass sticks up a little where your staples are driven in. I was told by a professional to lay your pavers on top of your artificial grass then cut. However you want to do it, You and Adam did a great job. I like the pop of color with your plants next to your walkway and your boulder and lighting. I can tell by your smile you are proud of your work and you should be. I love that feeling when I complete a project. A real sense of accomplishment.
Pat yourself on the back.. The diamond shape is best in laying your pavers.
I’m getting ready to lay pavers, but with tight ground cover (Thyme) in between the pavers. It leads up to a water feature.. The thyme can be stepped on without hurt it and I can save water. My backyard grass has not been doing so well over the last few years. It’s been super hot out here in the Southwest. The thyme can take the dry heat and likes the water too..
Keep Up The Good Work !!!
HI Jen,
Super job, poor hubby. It took a lot of work but really paid off. Thanks for the posting, I cannot do anything of the sort yet, but will one day.
You all should be proud of your project, it really makes the house pop.
R/S
Eric S.
Forgot to ask. How did you finish off the ends to keep the grass down ?. Especially at the end that doesn’t land at the patio. ?
Thank you !! I have learned some tricks from you all.
If someone doesn’t have a truck, Uhaul trucks are cheaper than Lowes and Home Depot.
Hi – new to your blog, this pathway looks amazing! I was wondering if you could share what kind of lights are sitting in the mulch next to the path? Thank you!
What a beautiful transformation. And the grass in between the pavers is so unique. I love it!
Did you use the grass squares somewhere else? Beautiful idea but seems like a waste of grass.
I researched elsewhere. The strips of grass are an option but grass blades could be going in different directions and seams might show. Other videos showed using sand to make the grass blades stand up . this was applied after the grass was down.
Wow. Looks great. Just the look I was looking for. I plan to try this using your technique. I have St Augustine out back so May attempt to place that between the tiles and just keep it cut down using the mower and week whacker. Thanks for posting!
This is so beautiful! We are currently on hold with a 600sf flag stone patio because we can decide together what to put between it. I initially wanted creeping thyme, but everyone is telling my the rock will get too hot for it and it will die. So we are considering sod. We have water issues in the area and need something that will soak all the water up. I love your idea of the carpet. Hubs not so much because of our water issue. This article is great we have a similar situation and it’s driving us crazy! Thanks for sharing!
Personally, I prefer the natural stone and don’t like the artificial turf at all. But I can see how the new path would be more stable. My preference is for natural stones with natural grass growing between them.
Rebecca,
I live in the Southwest(NM) and have had great success with my creeping thyme in between pavers and near a boulder. The thyme likes climbing up the base of the boulder. Of course, the thyme needs watering 2 or3 times a week here. Other plants are ajuga or bugleweed. Check your local nursery for ground cover. It’s July 23 here and the nurseries are running low on plants now as we are ending our planting season.
I’m sure you will make the right choice.
This turned out so pretty. I have a side yard area that will NOT sustain grass. Multiple large oak trees… It has been re-sodded repeatedly and all grasses consistently dies out within 2 years. This is a great suggestion for us.
Yall are super cute! Great video. 👍
I love this tutorial! It’s just what I’m wanting to do- my question is: what part of the county are you in and how has the artificial turf stood up thus far? Is it looking worn? We are in Michigan so I wonder what the winters would do to the turf.
Thanks!
Hi Dawn,
We’re in Kentucky and the turf has held up great through rain, sleet, hail, snow, and sun!
But where can I find the materials and rent the equipment needed? Maybe spend some more time highlighting the brands.
Thank you so much for your inspiration! This weekend, I have been working on my faux grass between the pavers project. This is tedious work, but the result is stunning. I made all of the cuts and put the faux grass in place, and now I have the task of pinning everything down left to do. This will be my work this coming weekend. I was so worried and terrified about perfection when I started. Once I gave myself the grace not to be perfect, I got to work and was proud of myself for trying it.
I love how this turned out! We have some extra sod from a recent landscaping project, so I would love to use that up and have it be real grass between the pavers. I’ve been trying to figure out how to fill a section of our side yard and this is exactly the kind of inspiration I needed! Thanks so much for sharing!