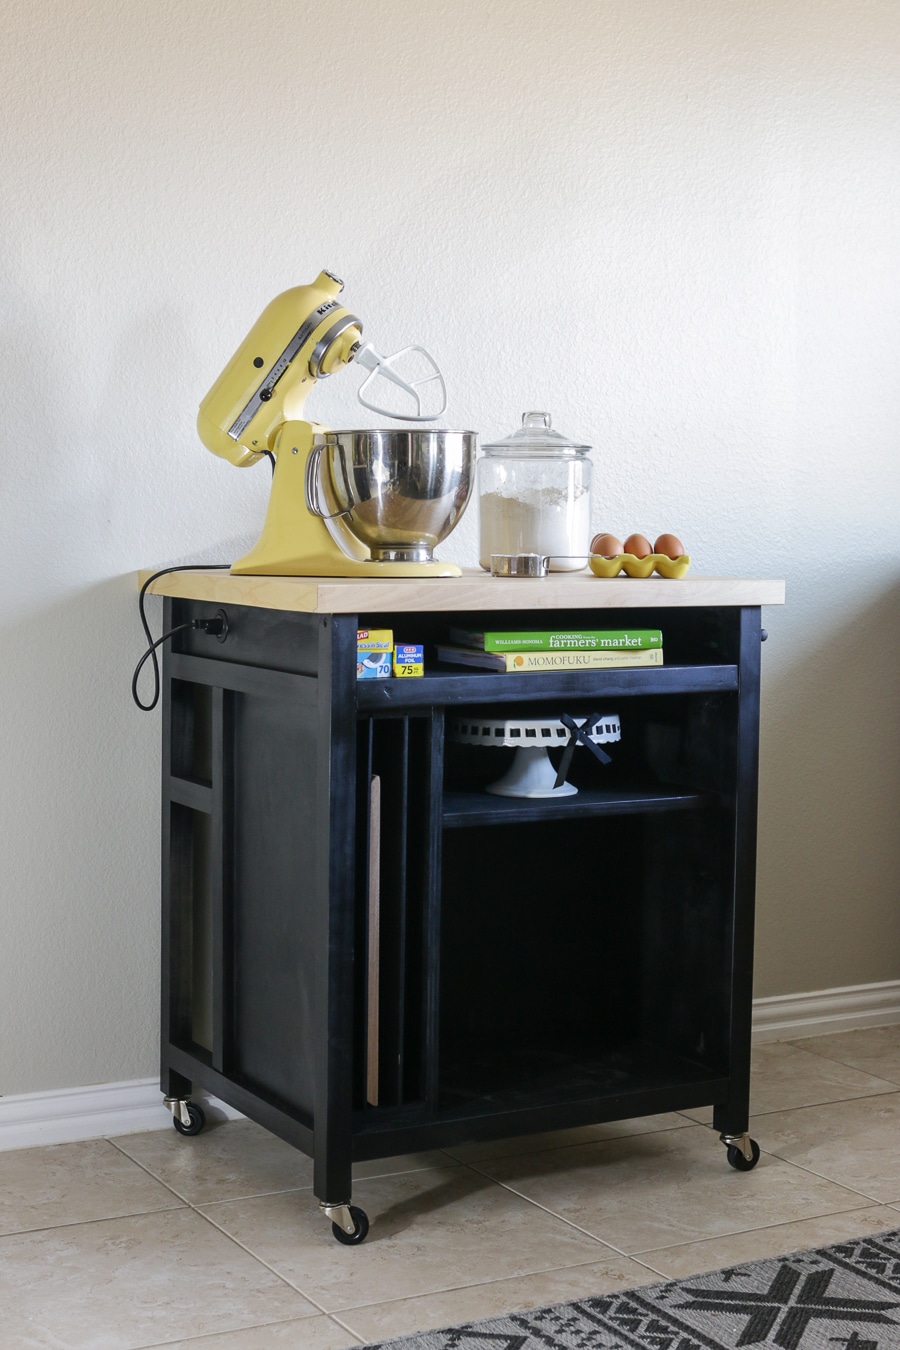
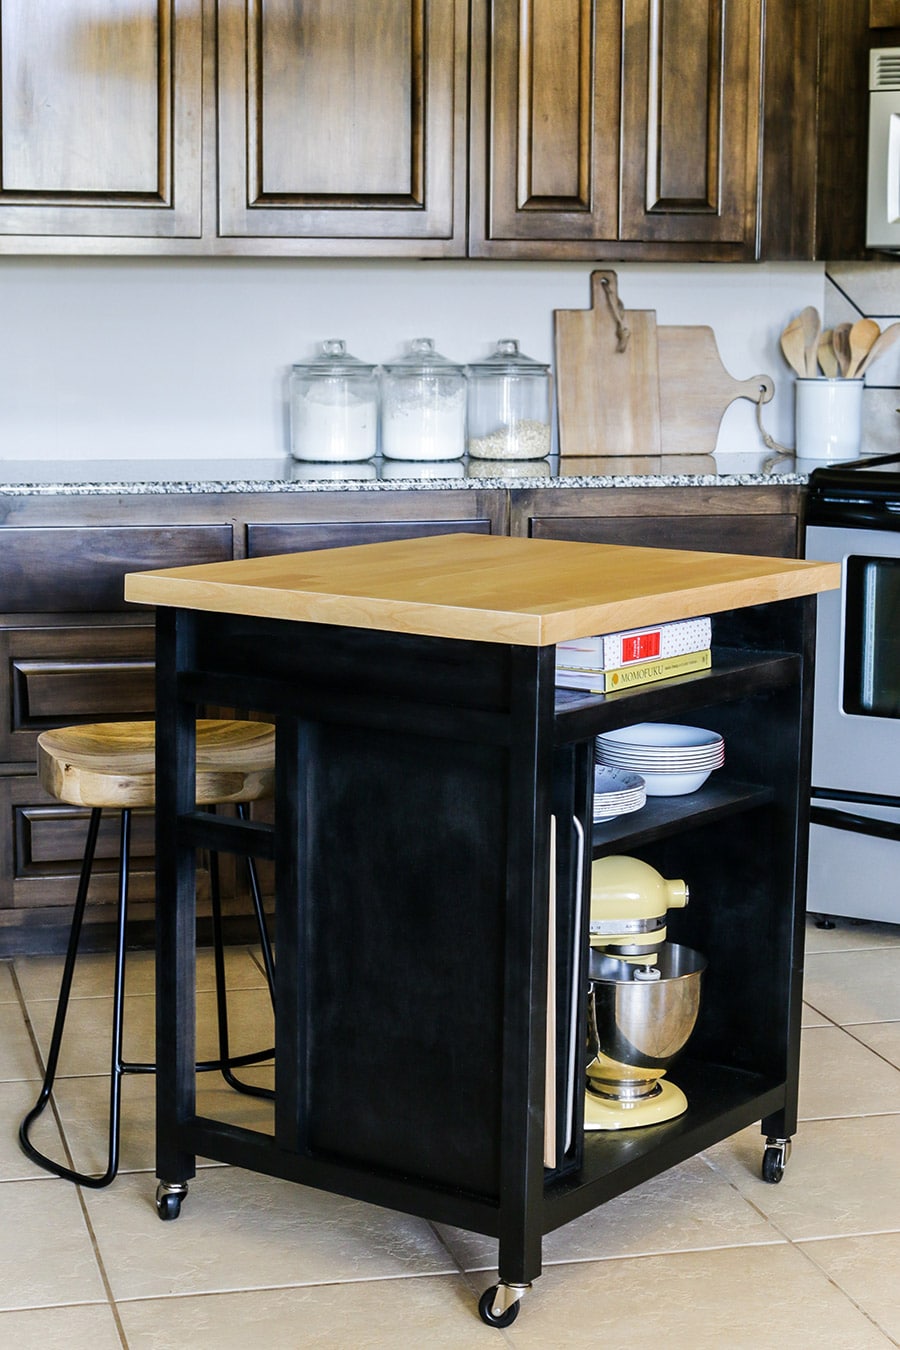
Hello and happy Monday! Remember that time when HGTV.com asked me to build a couple of projects for them? Well, here’s project #2: a rolling kitchen island! (Psst… project #1 was a DIY coffee bar.) I’m so excited to share this build with you guys because a lot of time and thought went into the design of this kitchen island. I designed it for folks who need a bit more workspace in their kitchen, but may not have room for a large, permanent kitchen island. This island is on wheels so you can roll it out when you need it, and tuck it neatly away when you don’t.
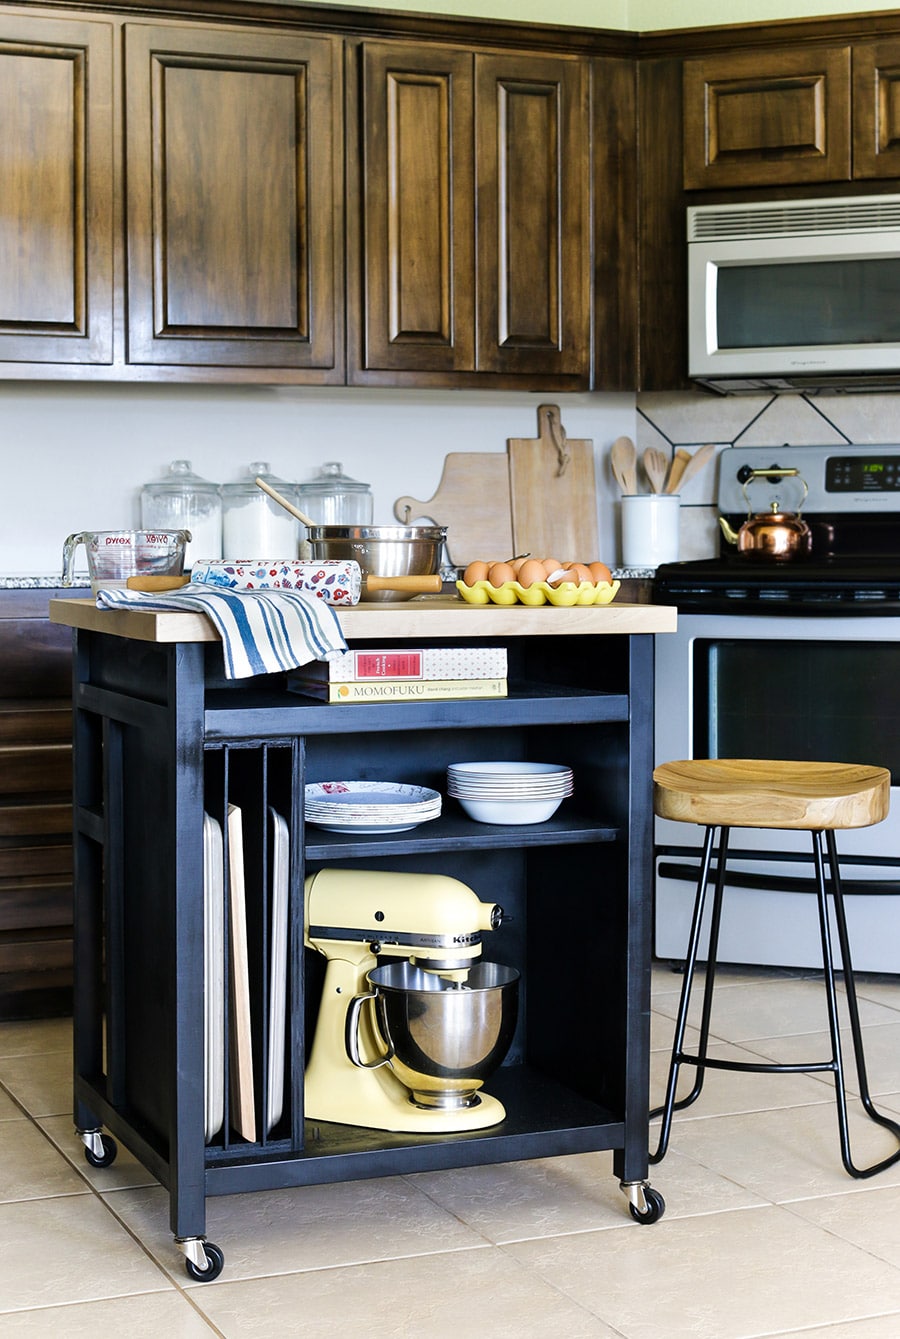
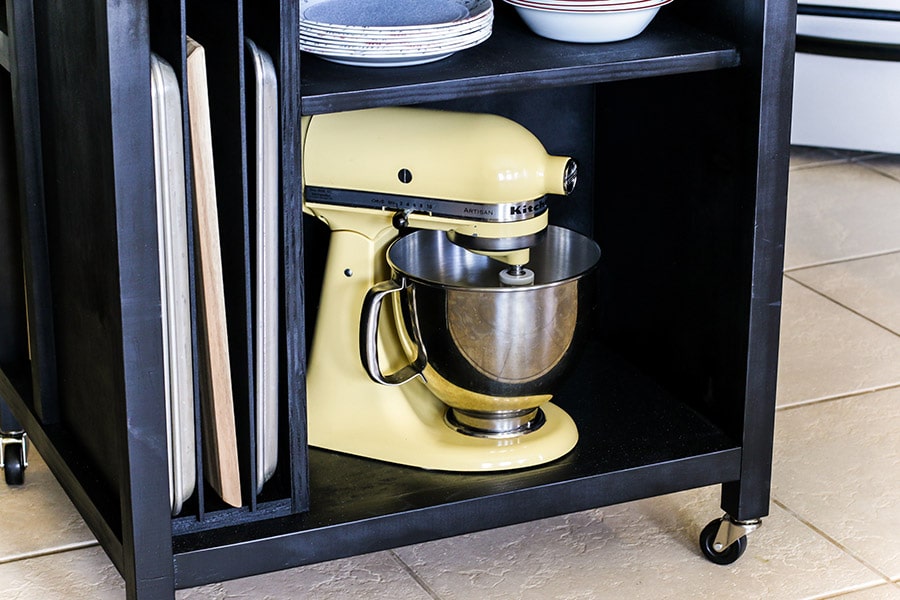
In addition to addressing the workspace issue, I wanted to offer up some smart storage solutions. The bottom shelf is large enough to store a stand mixer and the divided vertical cubbies are perfect for organizing sheet pans, cutting boards, and cooling racks. The dividers slide in and out, so you can adjust the size to fit your needs.
Before we get too deep into it, can we talk about the elephant in the room? The drawer under the stove. Whoever designed that drawer should be punched in the face. That drawer is so dysfunctional and frustrating – it makes me question my life choices because despite past experiences, I keep trying to use that drawer, thinking it will actually work this time. Listen, I don’t need that kind of guilt in my life which is why I built a better home for my muffin tins and sheet pans.
There. I said it.
I feel better, don’t you?
Good talk.
I also added a towel bar on the other side. It was a happy accident that I found one straight off the shelf that fit perfectly in the space.
Are you ready for my favorite part? Let’s swing this kitchen cart around and take a peek at what’s on the other side.
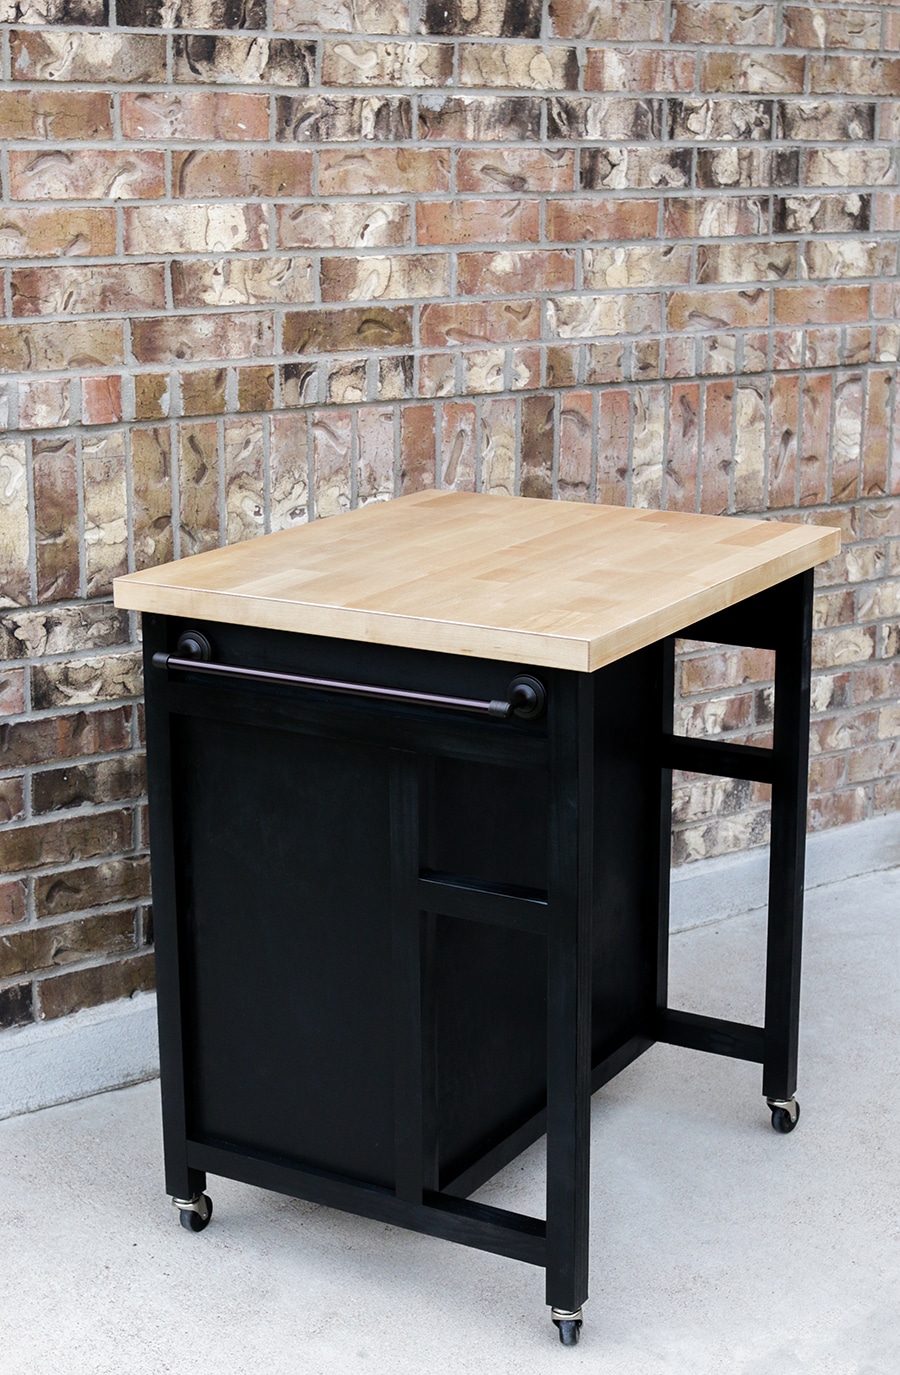
*Just to clarify: the photo below shows the island before I installed the towel bar.
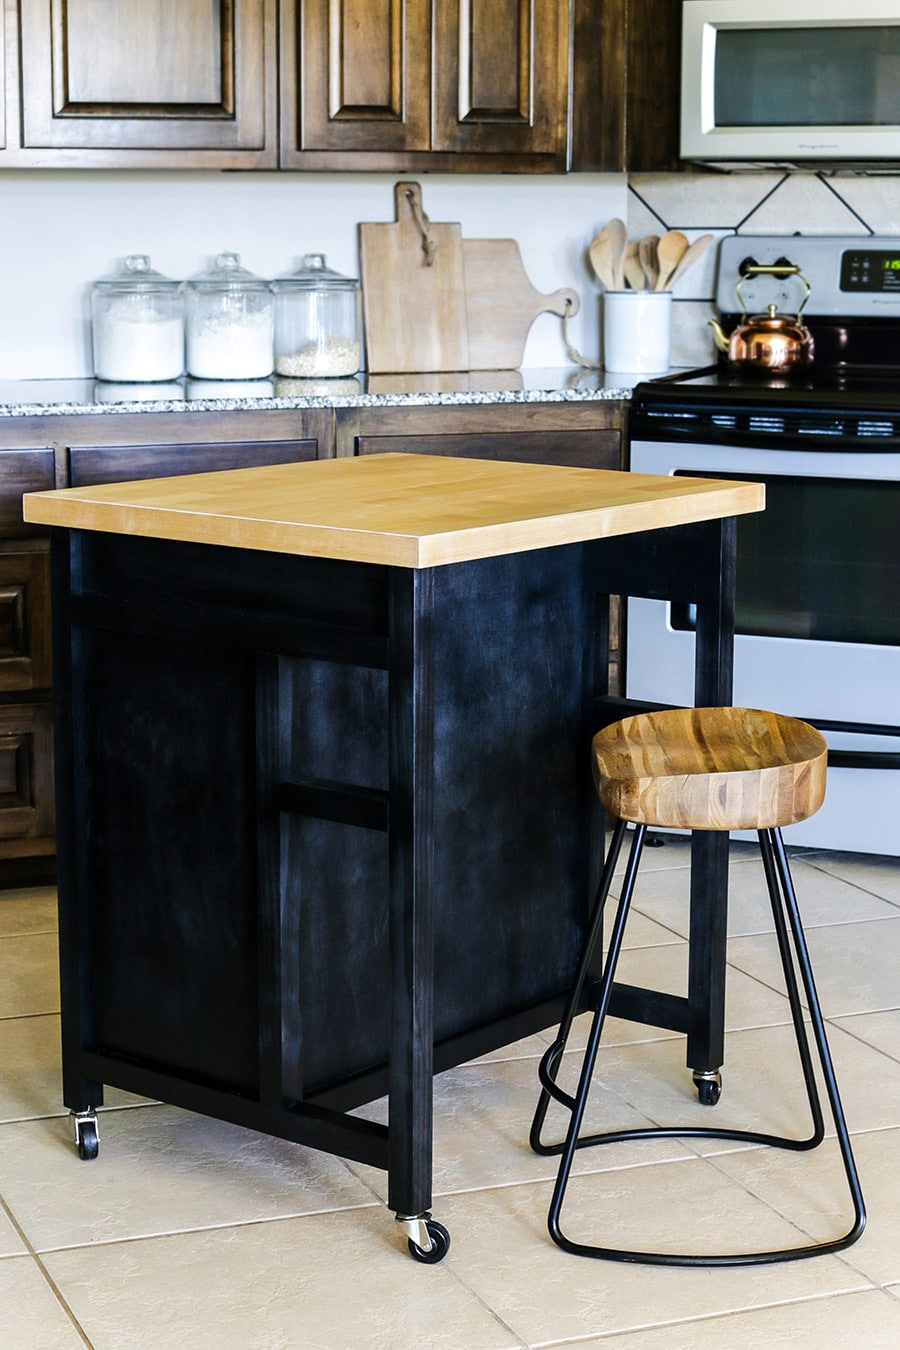
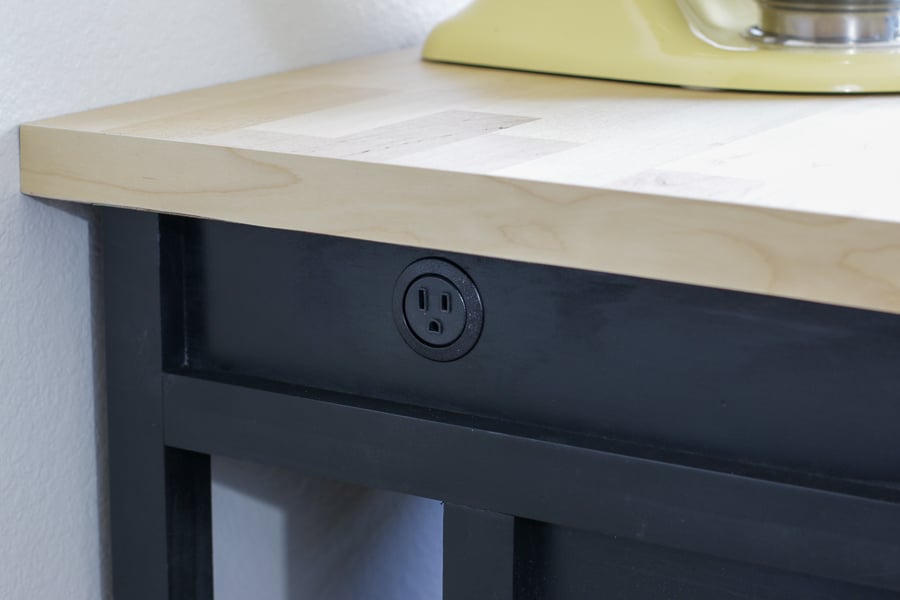
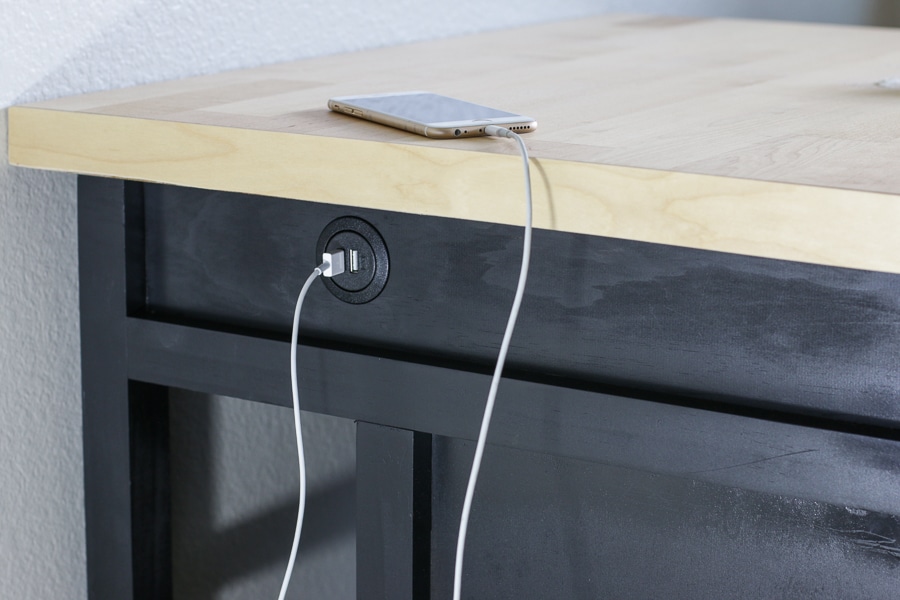
So are you ready to build this DIY rolling kitchen island for yourself? Here’s the tutorial with extra tips for building this DIY Rolling Kitchen Island and you can download and print the PDF plans below.
DOWNLOAD DIY ROLLING KITCHEN ISLAND PDF PLANS
If you build this DIY rolling kitchen island, please tag me (@jenwoodhouse) on social media so I can see your beautiful builds! Thanks for reading friends – get out there and make some sawdust!
SHOP THIS POST
*This post contains affiliate links.



This is fabulous!! I really like it. Though prob locking castors might make more sense to prevent it rolling away while you are rolling out dough or whatever.
I love the design and build, your island is incredible! I especially think the USB charger is cool lol.. I wanted to share the Drop Leaf Kitchen Island that I built, which can be great for people with smaller kitchens: http://bacheloronabudget.com/diy-drop-leaf-kitchen-island-cart/
Looking forward to trying out some other projects on your site!
This is such a great functional island. When you can move countertops to where they are needed, it offers such a great design!